How to paint a radiator in 7 steps
Painting radiators properly is all about choosing the right paint and the best process. Get interior designer-worthy results with our how-to.

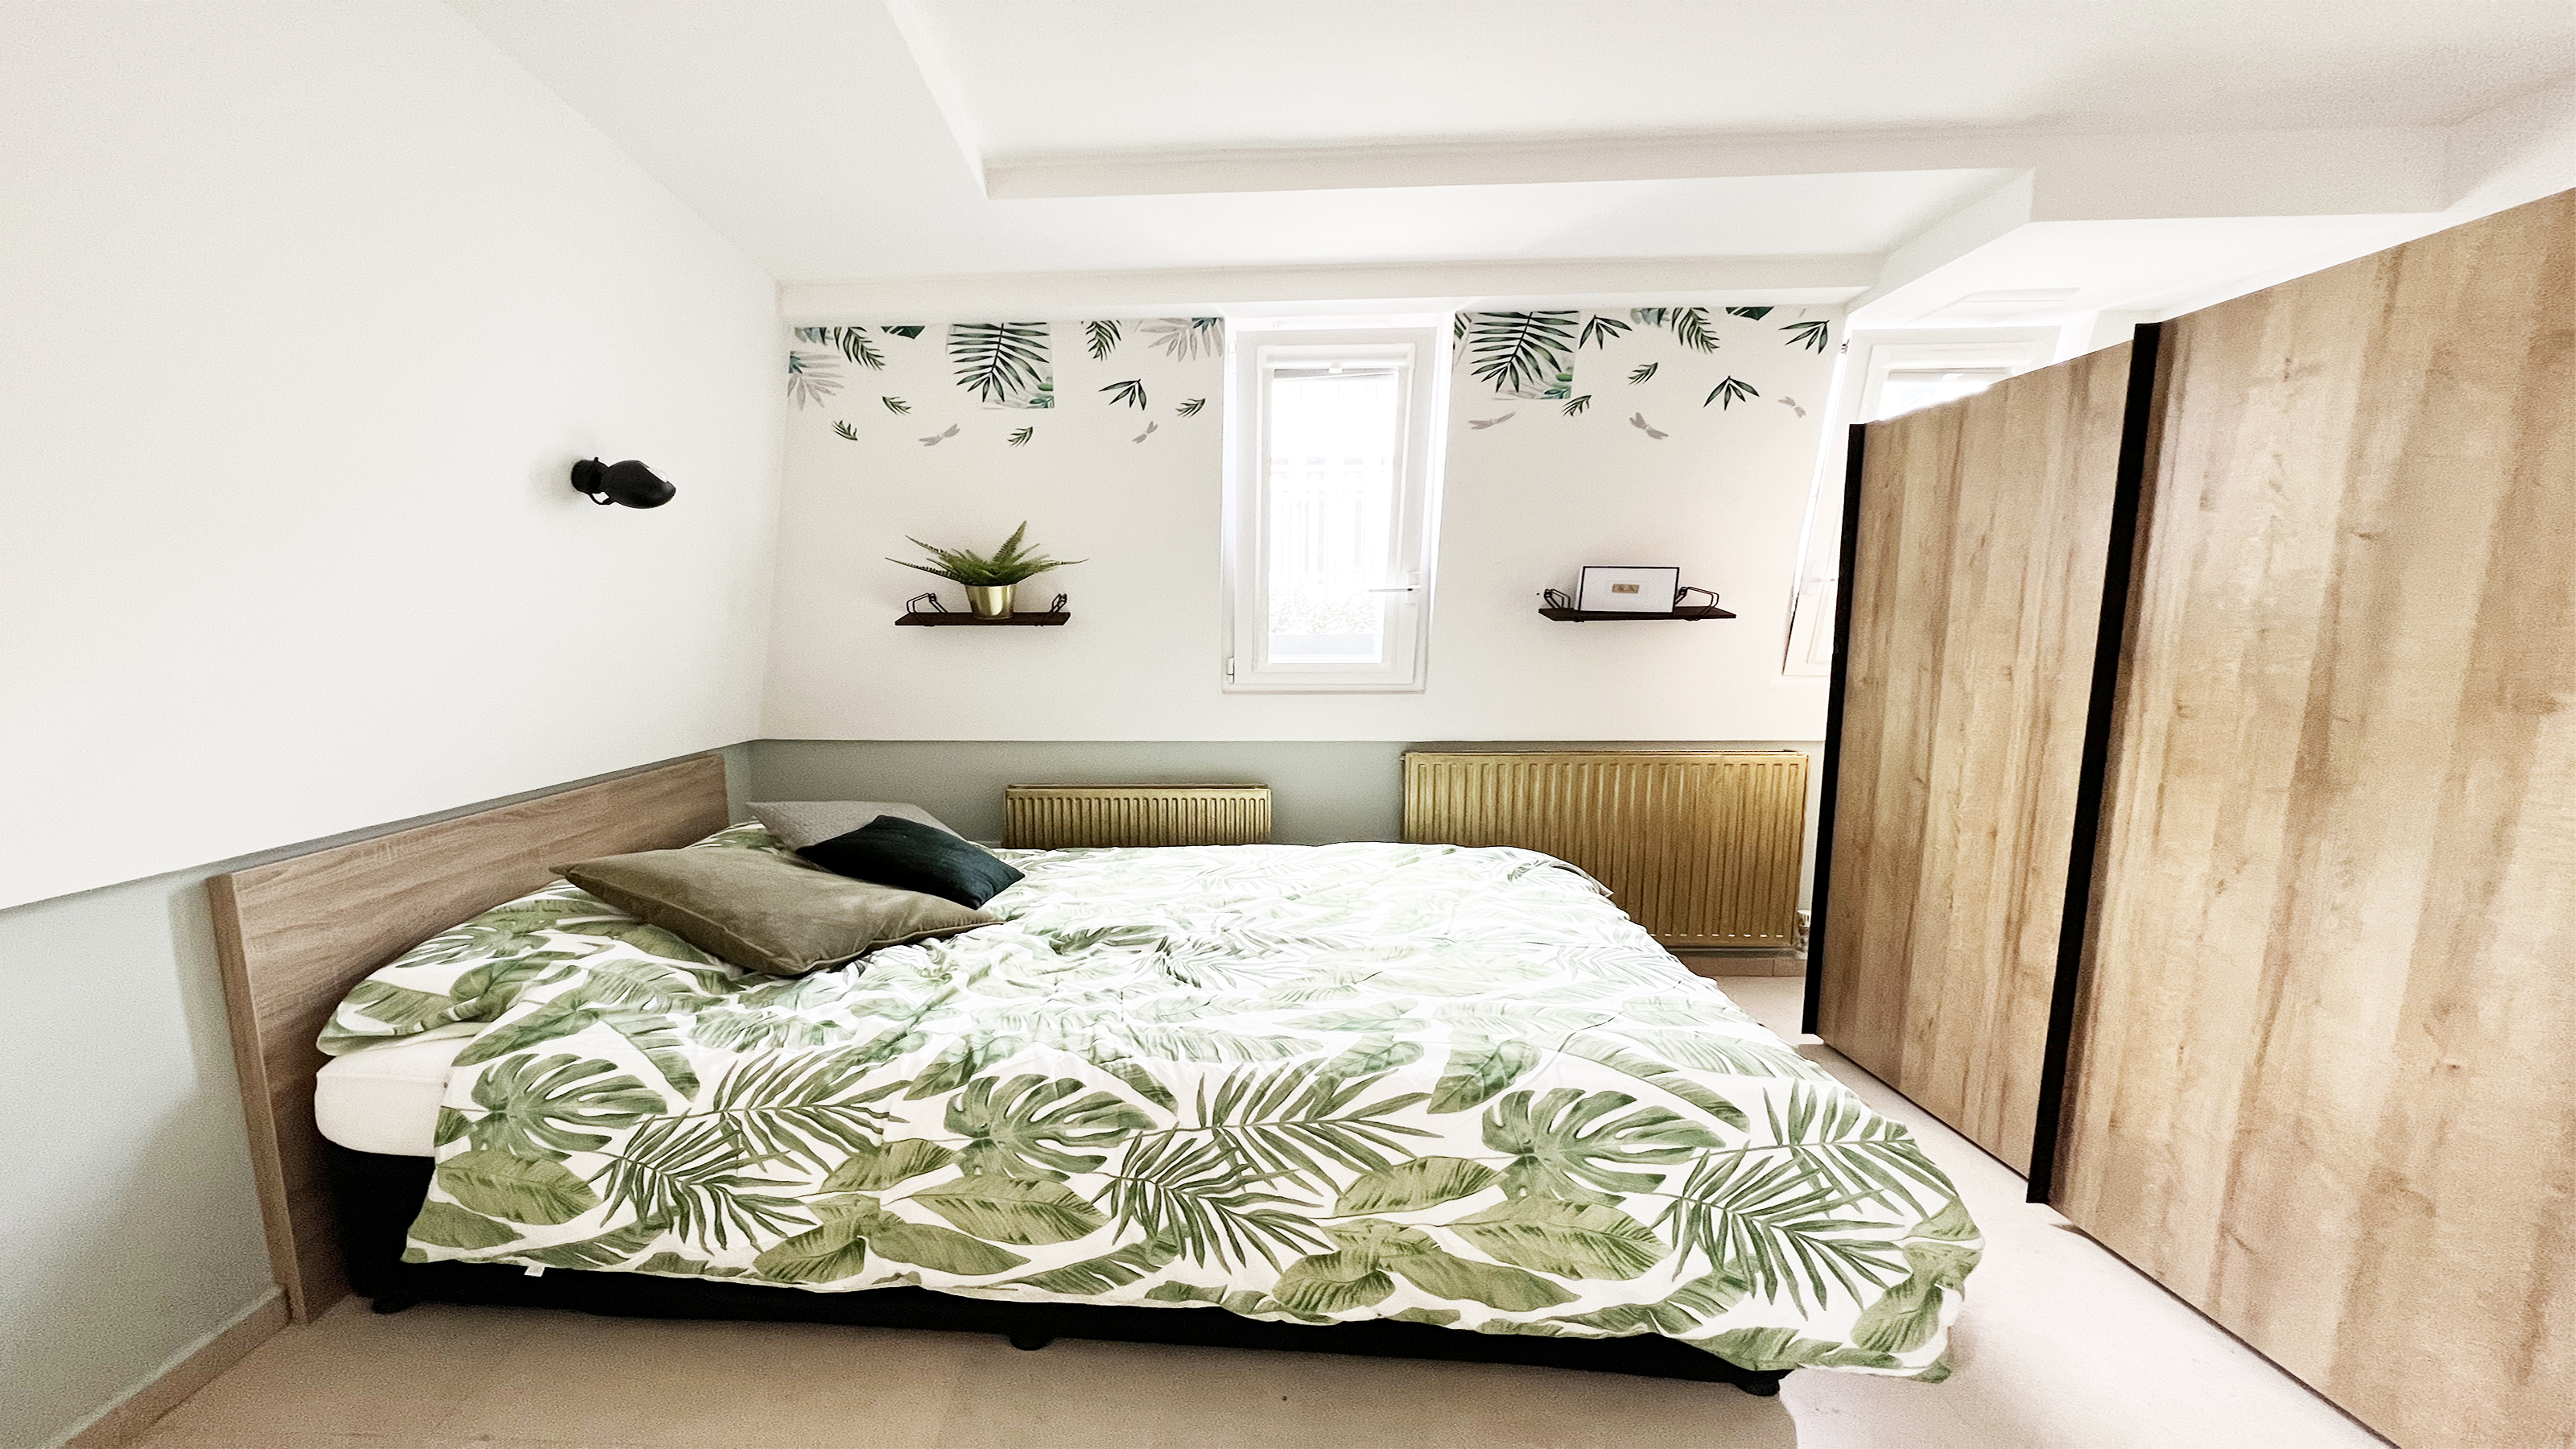
All too often, radiators are forgotten and wind up being plain old white or, a little flaky and unfinished which isn't exactly inspiring! But what if we told you that painting radiators is a viable option? And one that when done well, will add an extra dimension to a room?
Not only are radiators a sound type of heating for your home but by pairing up their look and color with the rest of your interior design scheme, you can give your space a mini makeover, without a whole lot of effort (or budget).
What's more, you can either paint a radiator on the wall, or before you fit it. The latter is definitely easier but on the wall is totally doable too.
Is it a good idea to paint radiators?
As easy as it may be to learn how to paint a radiator yourself, you need to get some key details right including: what paint to use, what paint not to use and the best working conditions for safety.
It's a great idea decor-wise, so long as you pick the right paint for the job and that you prime your radiators properly if they need it, to protect their efficiency. Daniel Nezhad, director at UK Radiators, says 'It may sound hard to believe but painting your radiator can affect its heat output. The main relationship between painting your radiator and its efficiency is to do with the type of radiator paint rather than the colour. Some studies show that darker colours can increase your radiator’s efficiency but this is only by an extremely small amount (we’re talking around 1 percent). The real factor to consider is the kind of radiator paint you use.'
How to paint a radiator
When it comes to actually painting radiators properly, there are quite a few steps. The key again is to not skip on prep and priming. You will need the following materials:
You will need:
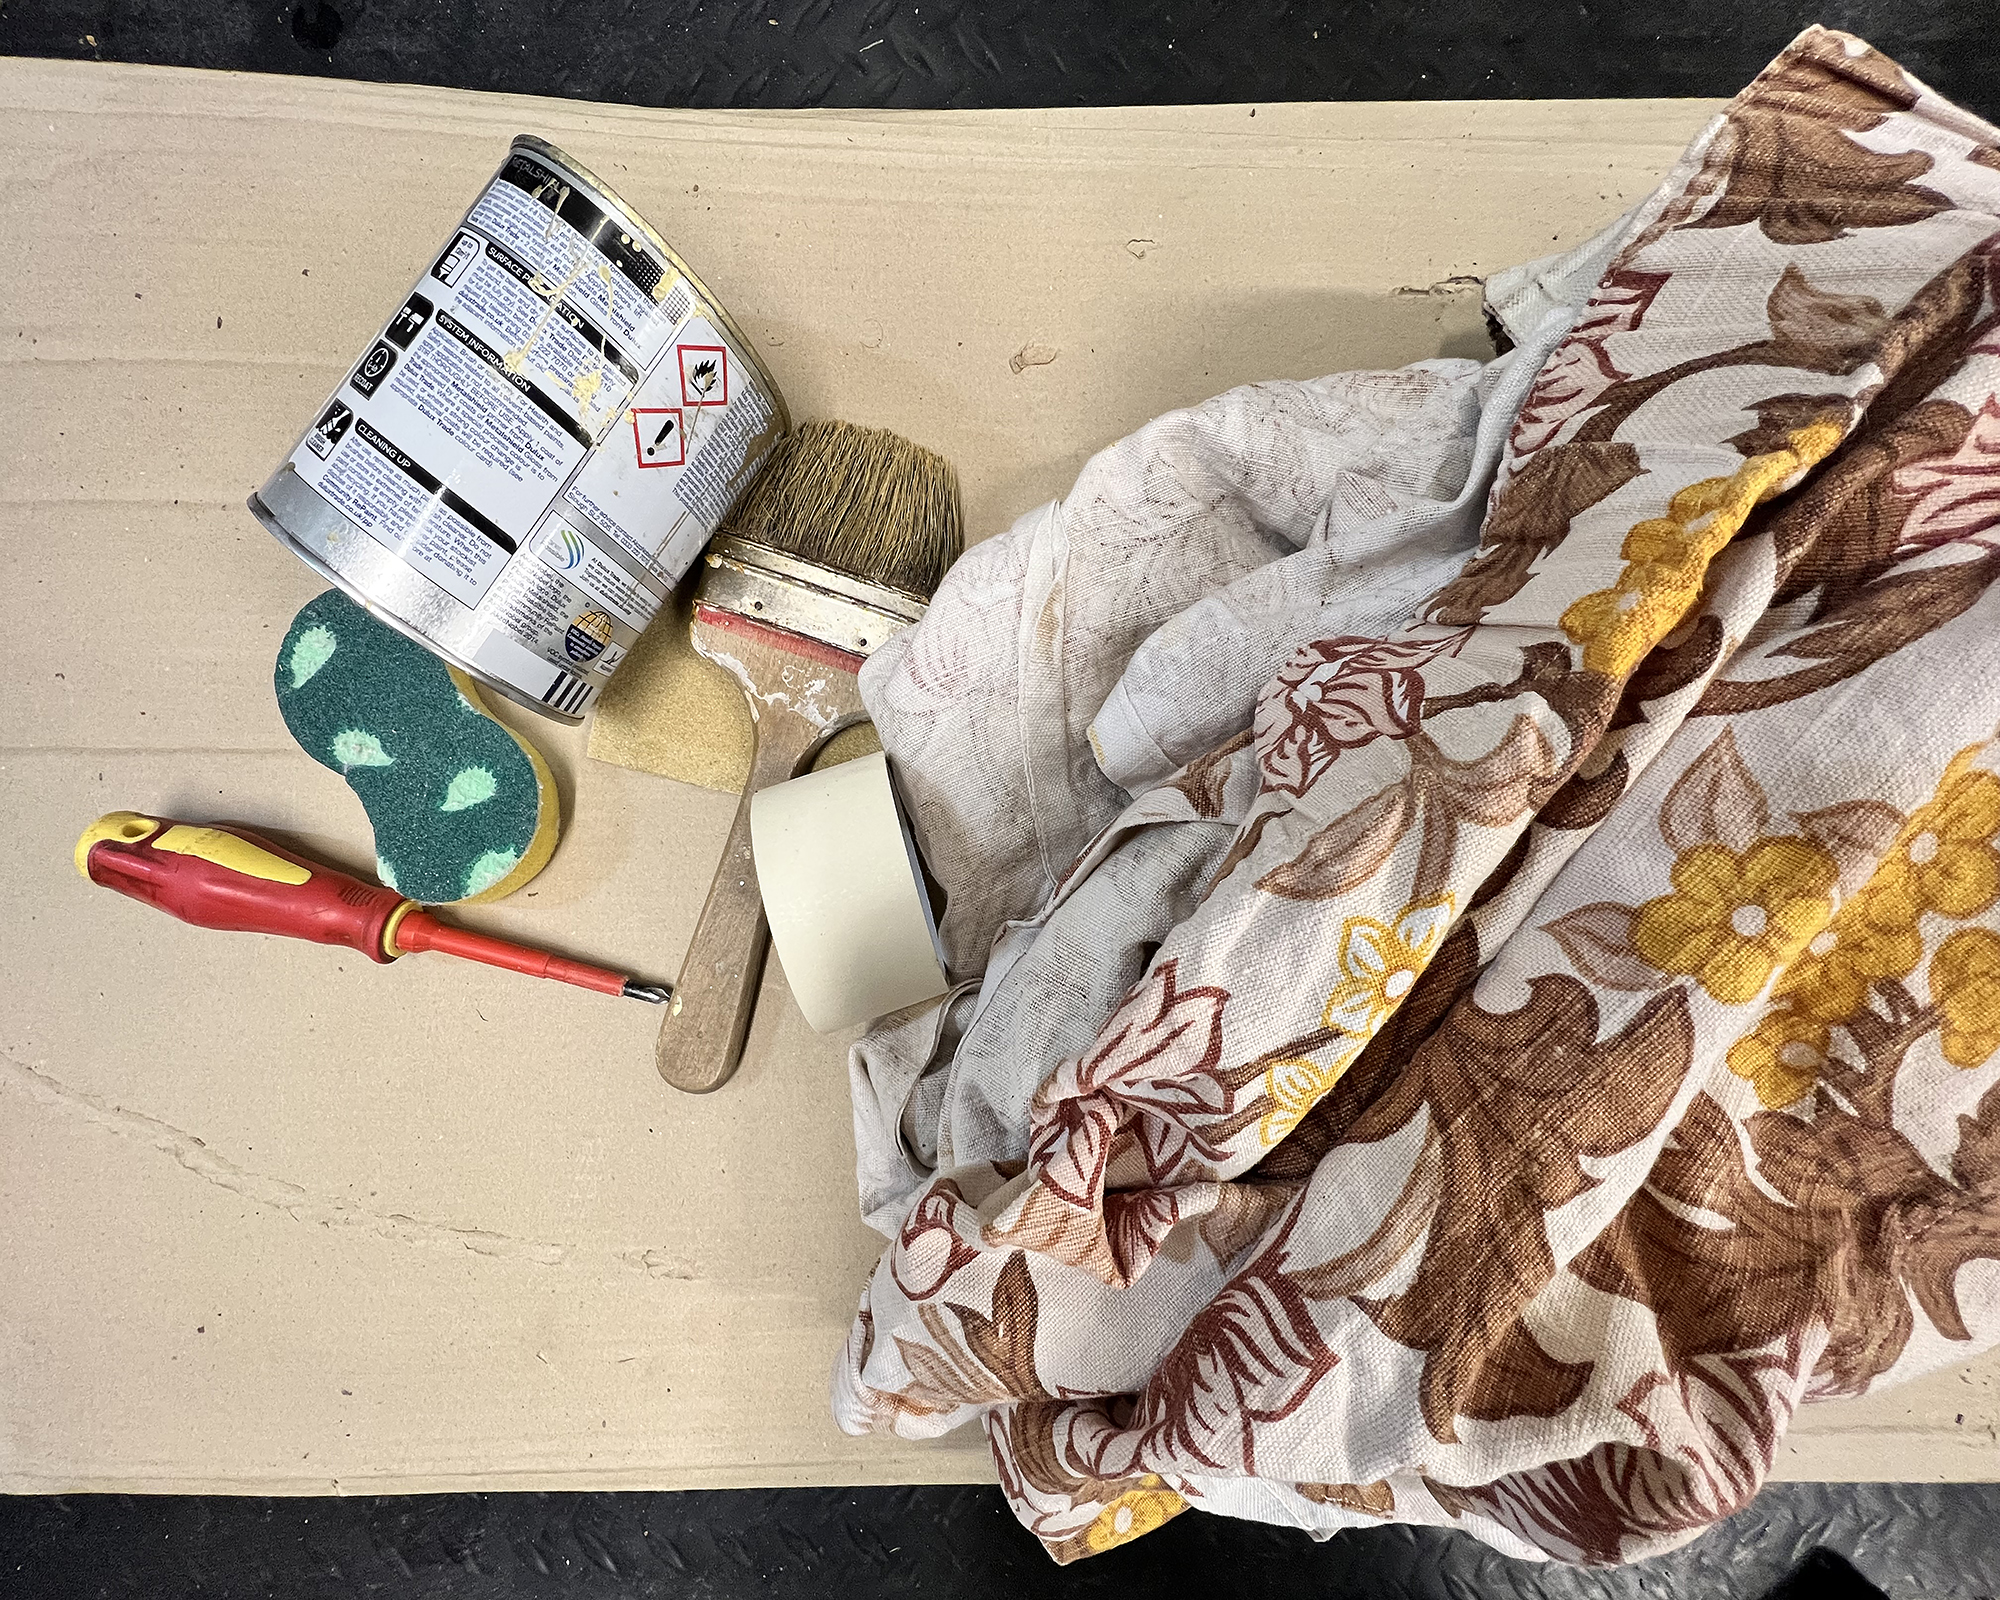
1. Dust sheet
2. Cardboard
7. Old towels
8. Paintbrush
9. Paint: I used Hammerite Smooth metal paint, this Rutland Flat Stove Paint is a good choice too
11, Water and sugar soap
12, Sponge
13. Sandpaper (take two grades, start with 40/60 then move on to a finer, 80/120)
1. Choose the right paint for the job
Decide on the look you want and then choose the most suitable paint. 'You need to opt for a specially formulated radiator paint that will be able to withstand constant temperature changes without damaging the integrity or quality of the paint.' Says Nezhad.
Get small space home decor ideas, celeb inspiration, DIY tips and more, straight to your inbox!
Crown Paints recommend to 'Look for any paint designed for wood or metal such as gloss, satin or eggshell.'
'It has been shown that a radiator coated with metallic paint will emit less heat, under otherwise identical conditions, than a similar radiator coated with non-metallic paint. It can affect the efficiency of your radiator to the point where using a metallic-based paint is the same as removing 1/6th of the radiator!' Continues Nezhad.
For this DIY, Rutland's, Black Rutland 1200-Degree F Brush-On Flat Stove Paint is a good option if you want a chic black finish.
2. Turn off your radiator
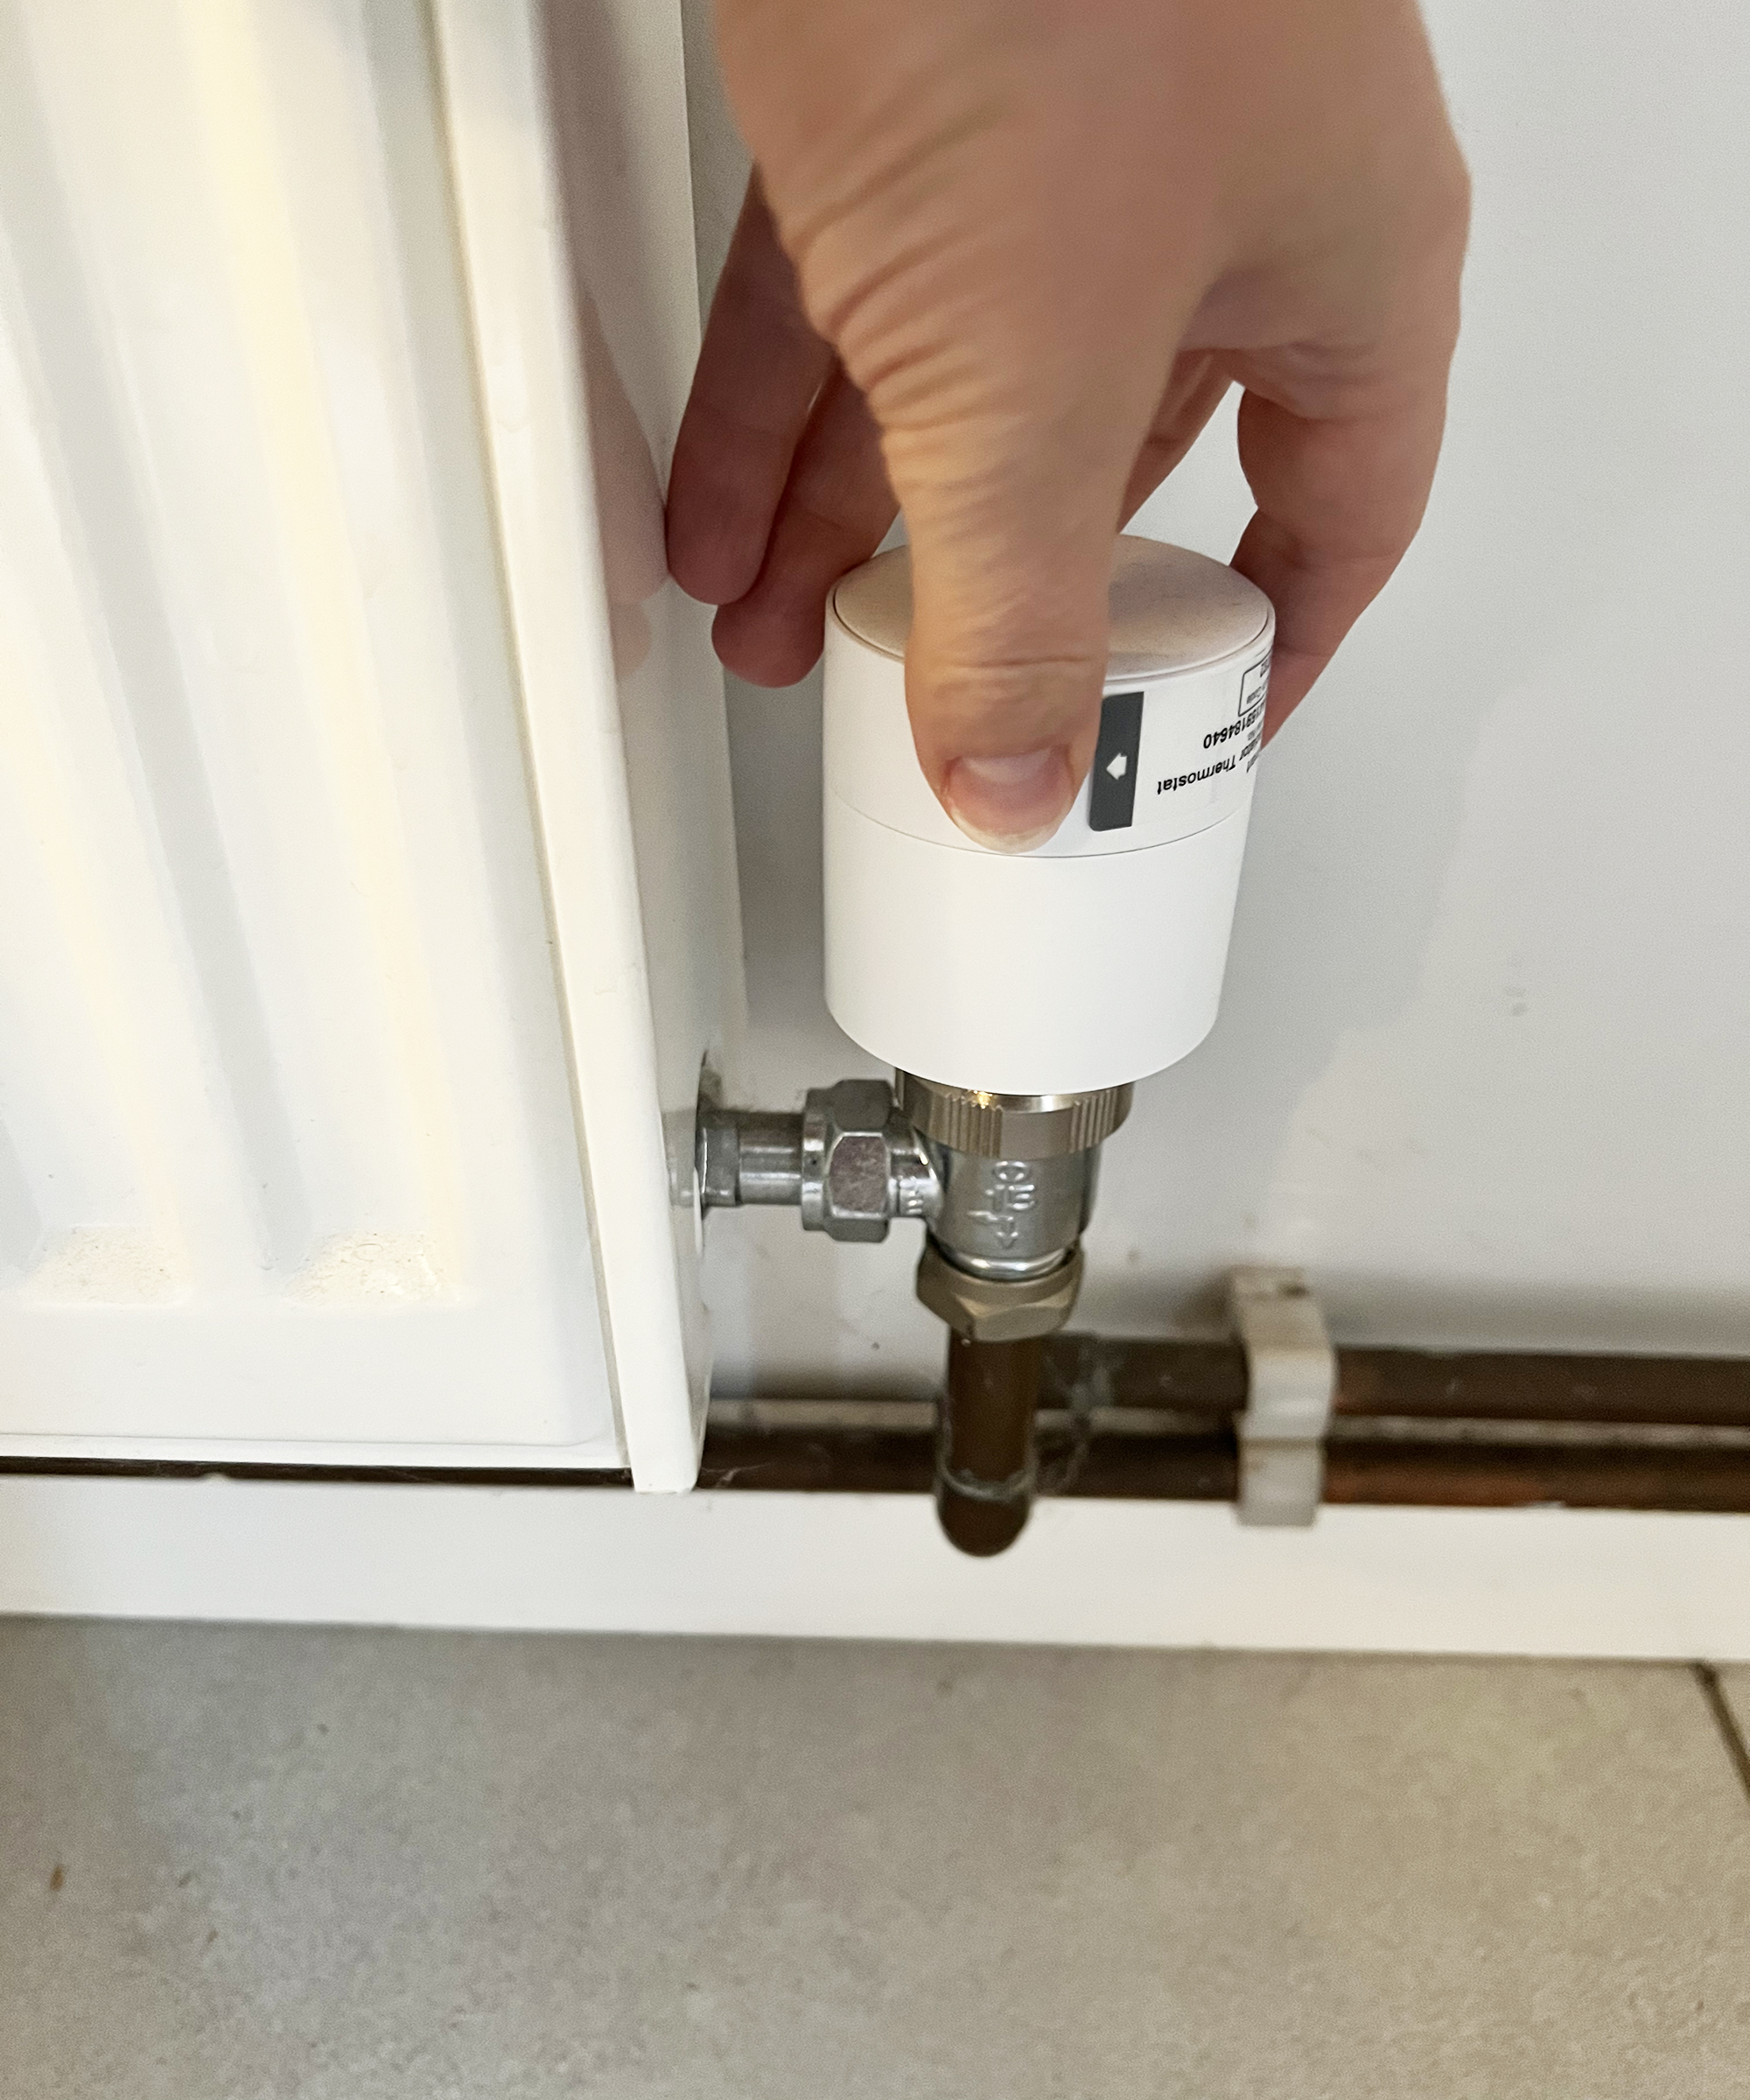
For safety and for better painting conditions, you need to switch off your radiator completely and ideally leave it to cool down overnight. '...if your radiator is still warm, the paint will drip and not adhere to the radiator’s surface very well.' Notes Nezhad.
3. Prepare the area
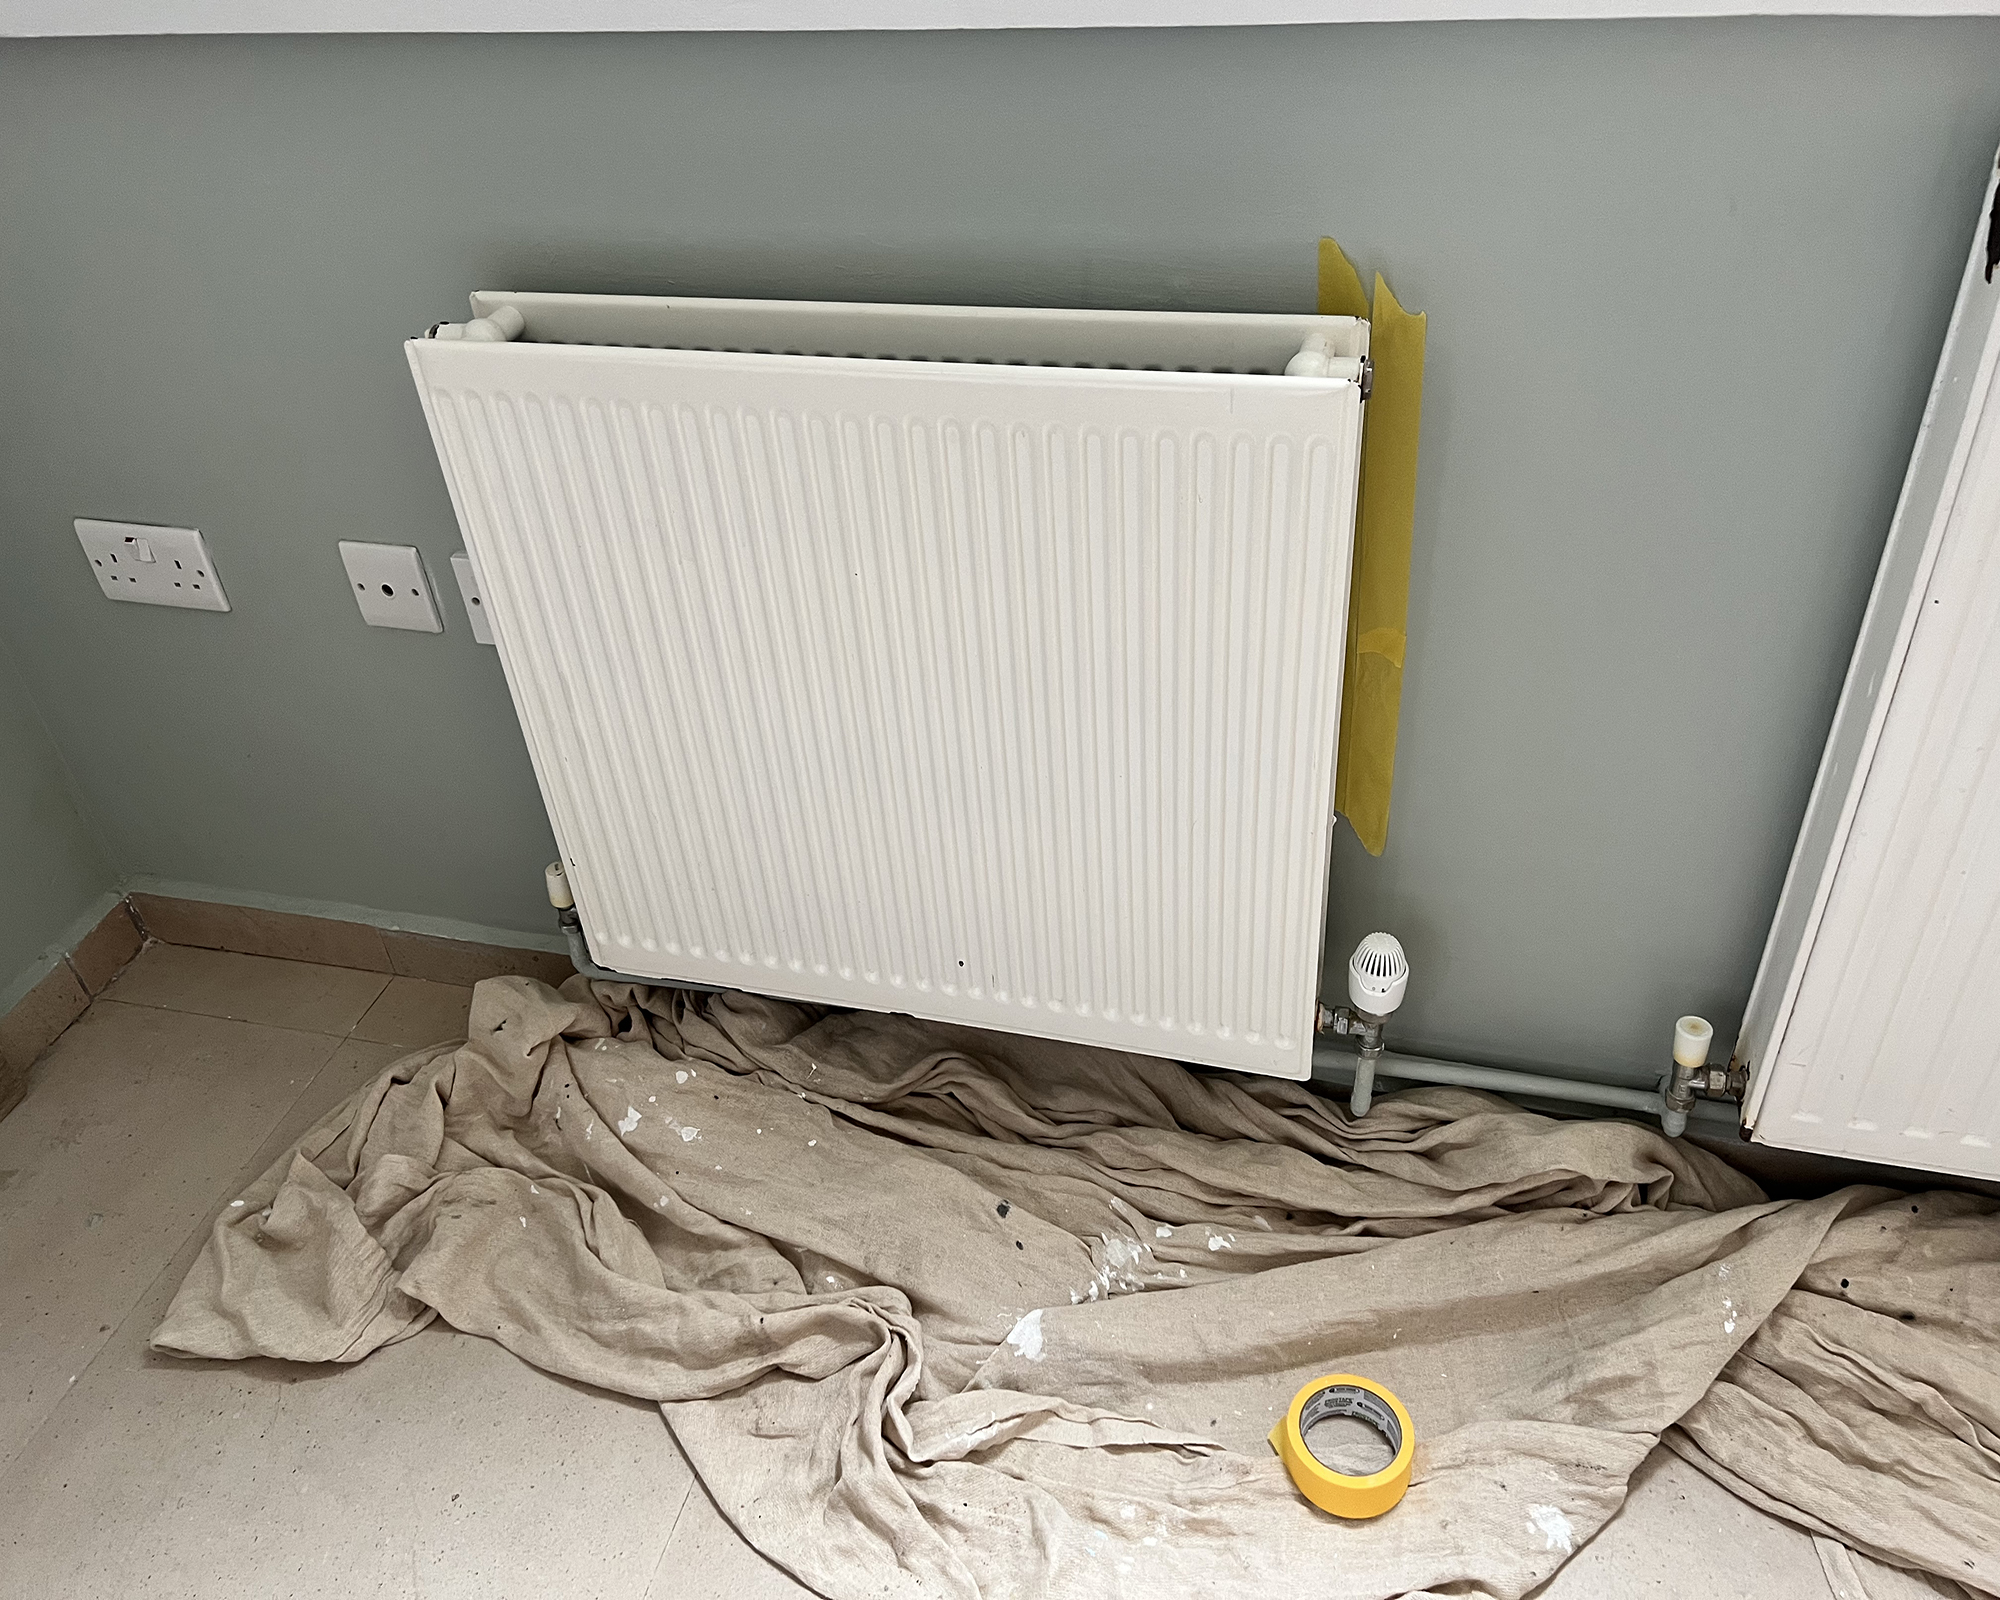
If you're a savvy DIYer you may want to take your radiator off the wall completely. Do do so:
- Turn off your heating
- Turn off the radiator valves. Firstly, turn the thermostatic valve (an example is in the photograph above) to zero or off (this will be the valve that has a knob on it that you can turn to 'off'). Then, on the other side (known as your lock shield valve, an example is in the photograph below), remove the cap and locate the small spindle inside. Turn it to clockwise using a screwdriver or a wrench until it is closed. A good tip is to count the number of turns you make and note them down then use the same number to open it. This will help you get the radiator back up to the same pressure when you put it back on
- Place towels and a bowl beneath your radiator valves to catch any running water (be sure they are old towels you no longer care about as they may get ruined if the water is gunky)
- Gently loosen the valves and with a wrench, drain the water from the radiator
- Once the water is drained, you can disconnect the radiator by loosening the nuts and lifting it off the brackets. Once it is disconnected then tilt it to one side to drain any remaining water into your bowl or bucket
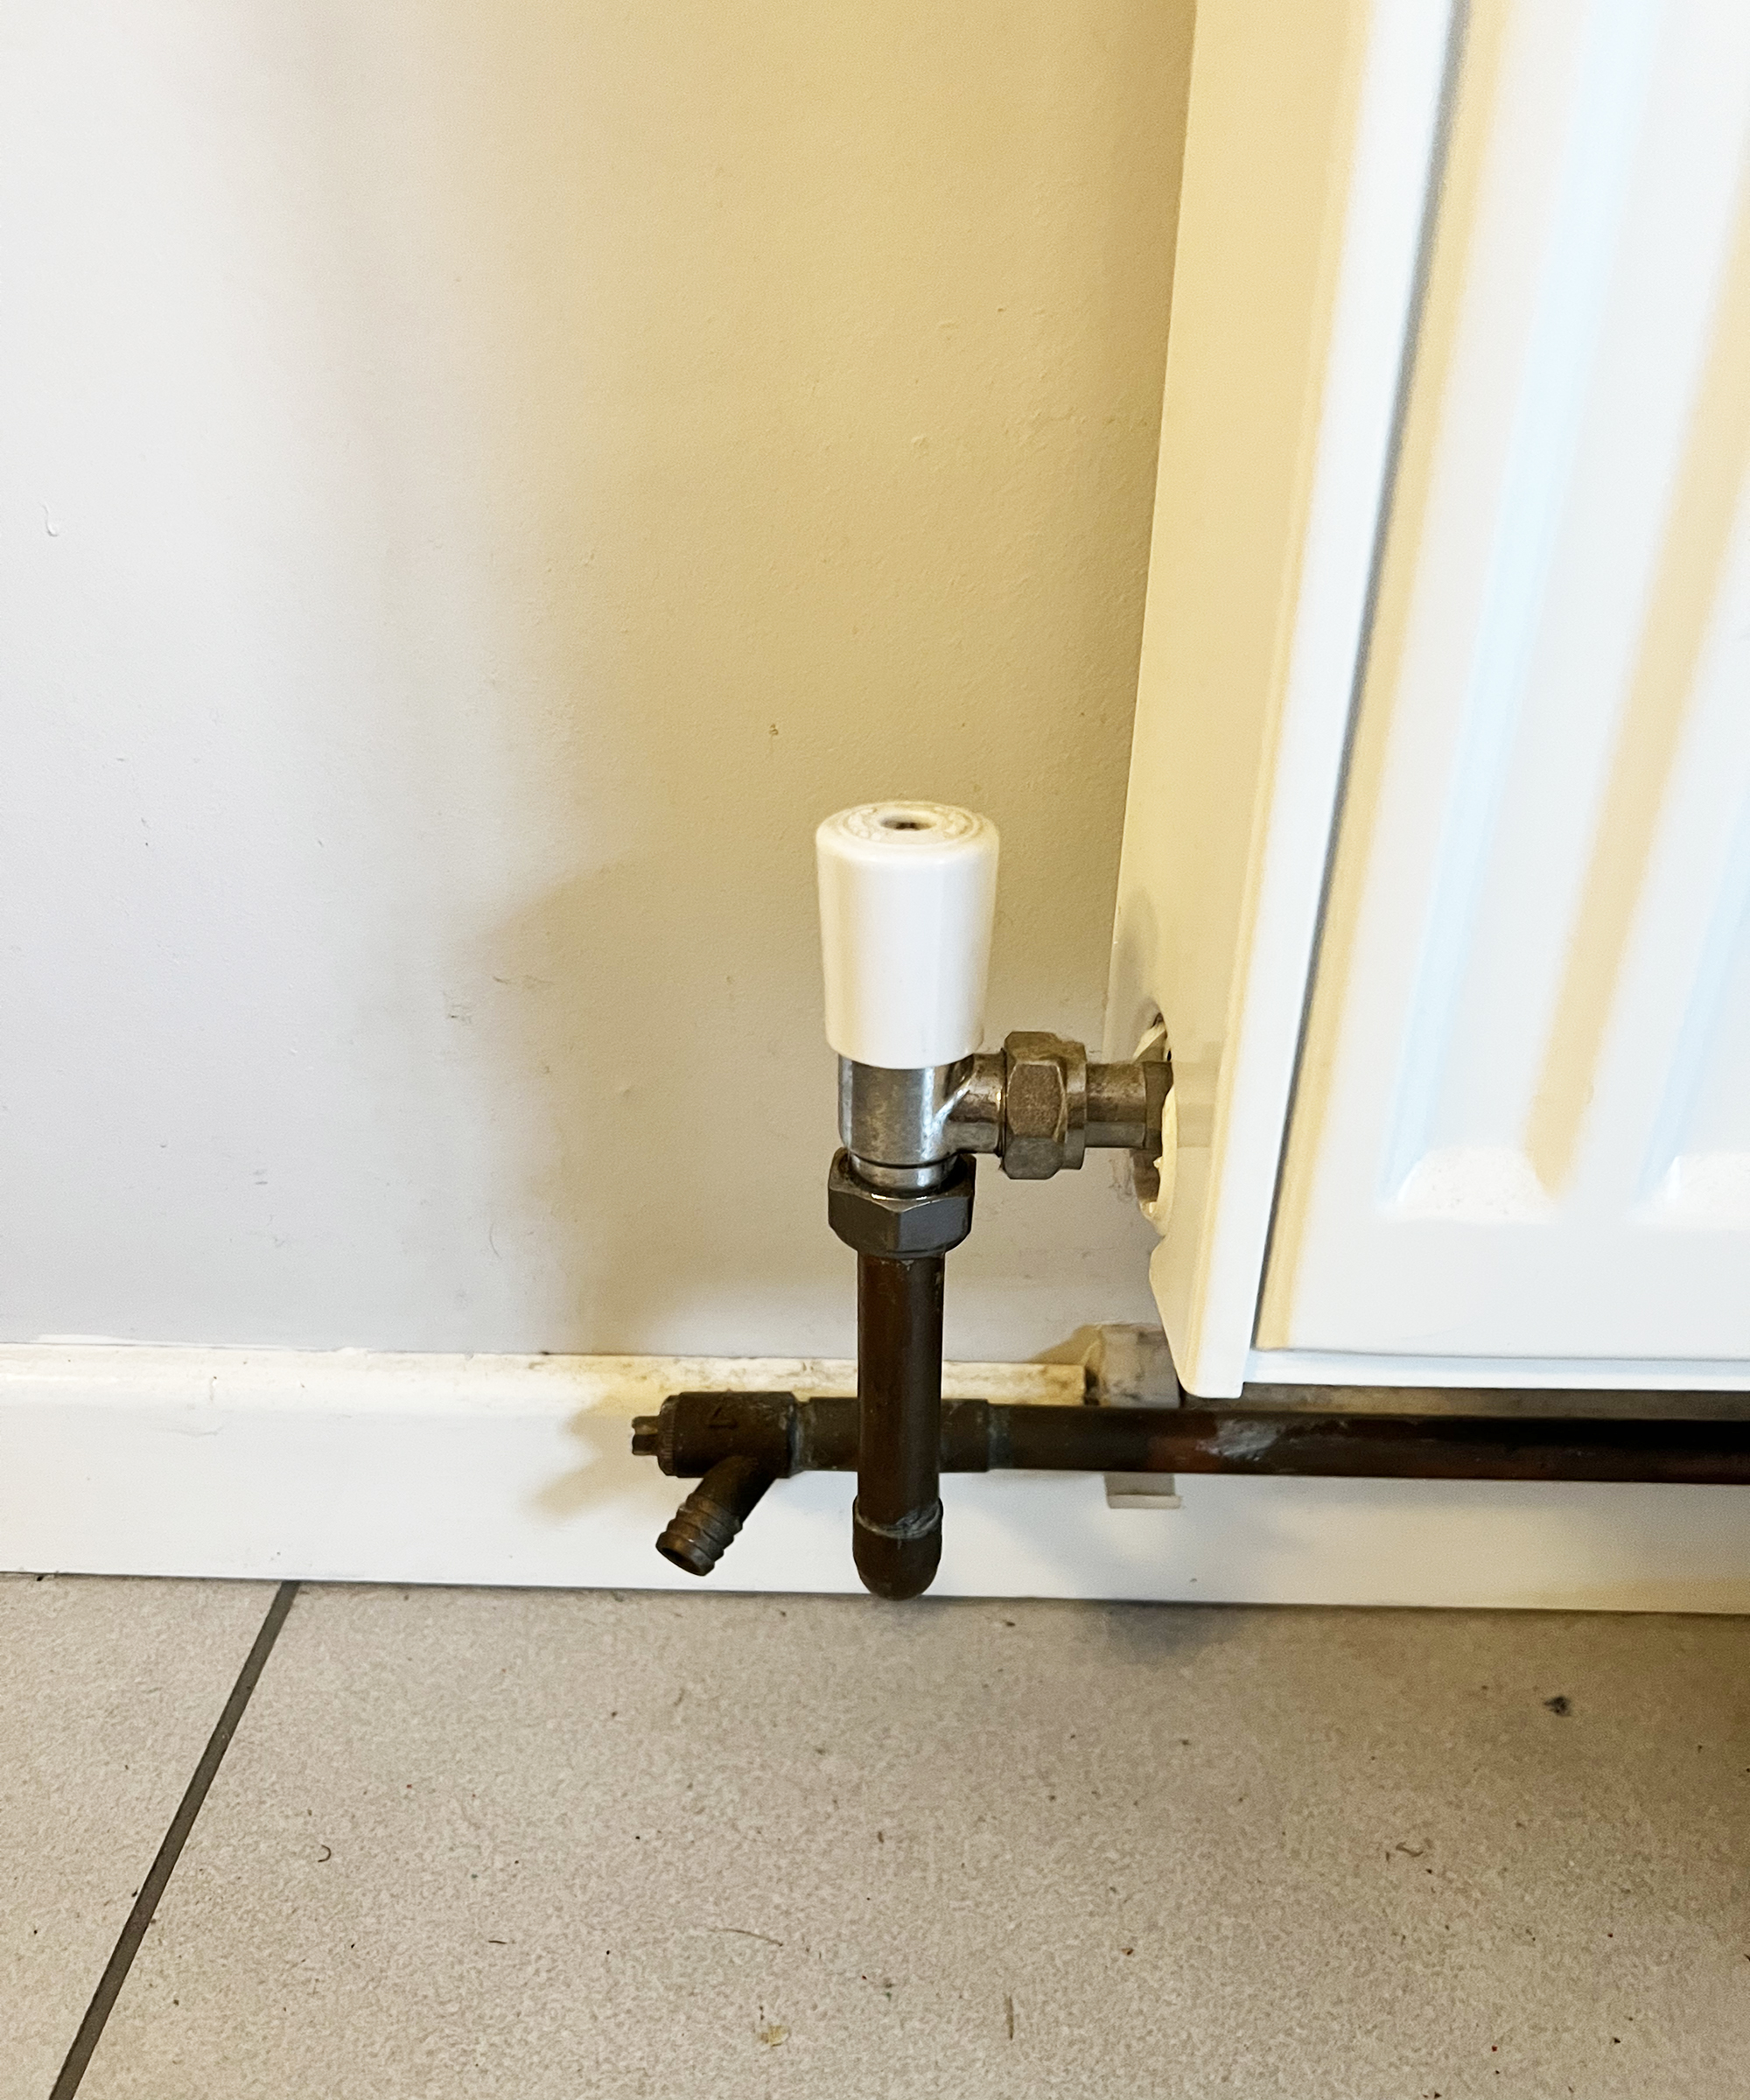
However, if this isn't an option for you, you don't need to remove the radiator and you can still paint it while it's attached to the wall. You just need to protect the wall behind it which you can do with painter's tape, some paper taped behind it or a cardboard sheet. You should lay dust sheets like this one from Heyjiong down for both methods also to protect the floor.
4. Prepare and repair the radiator
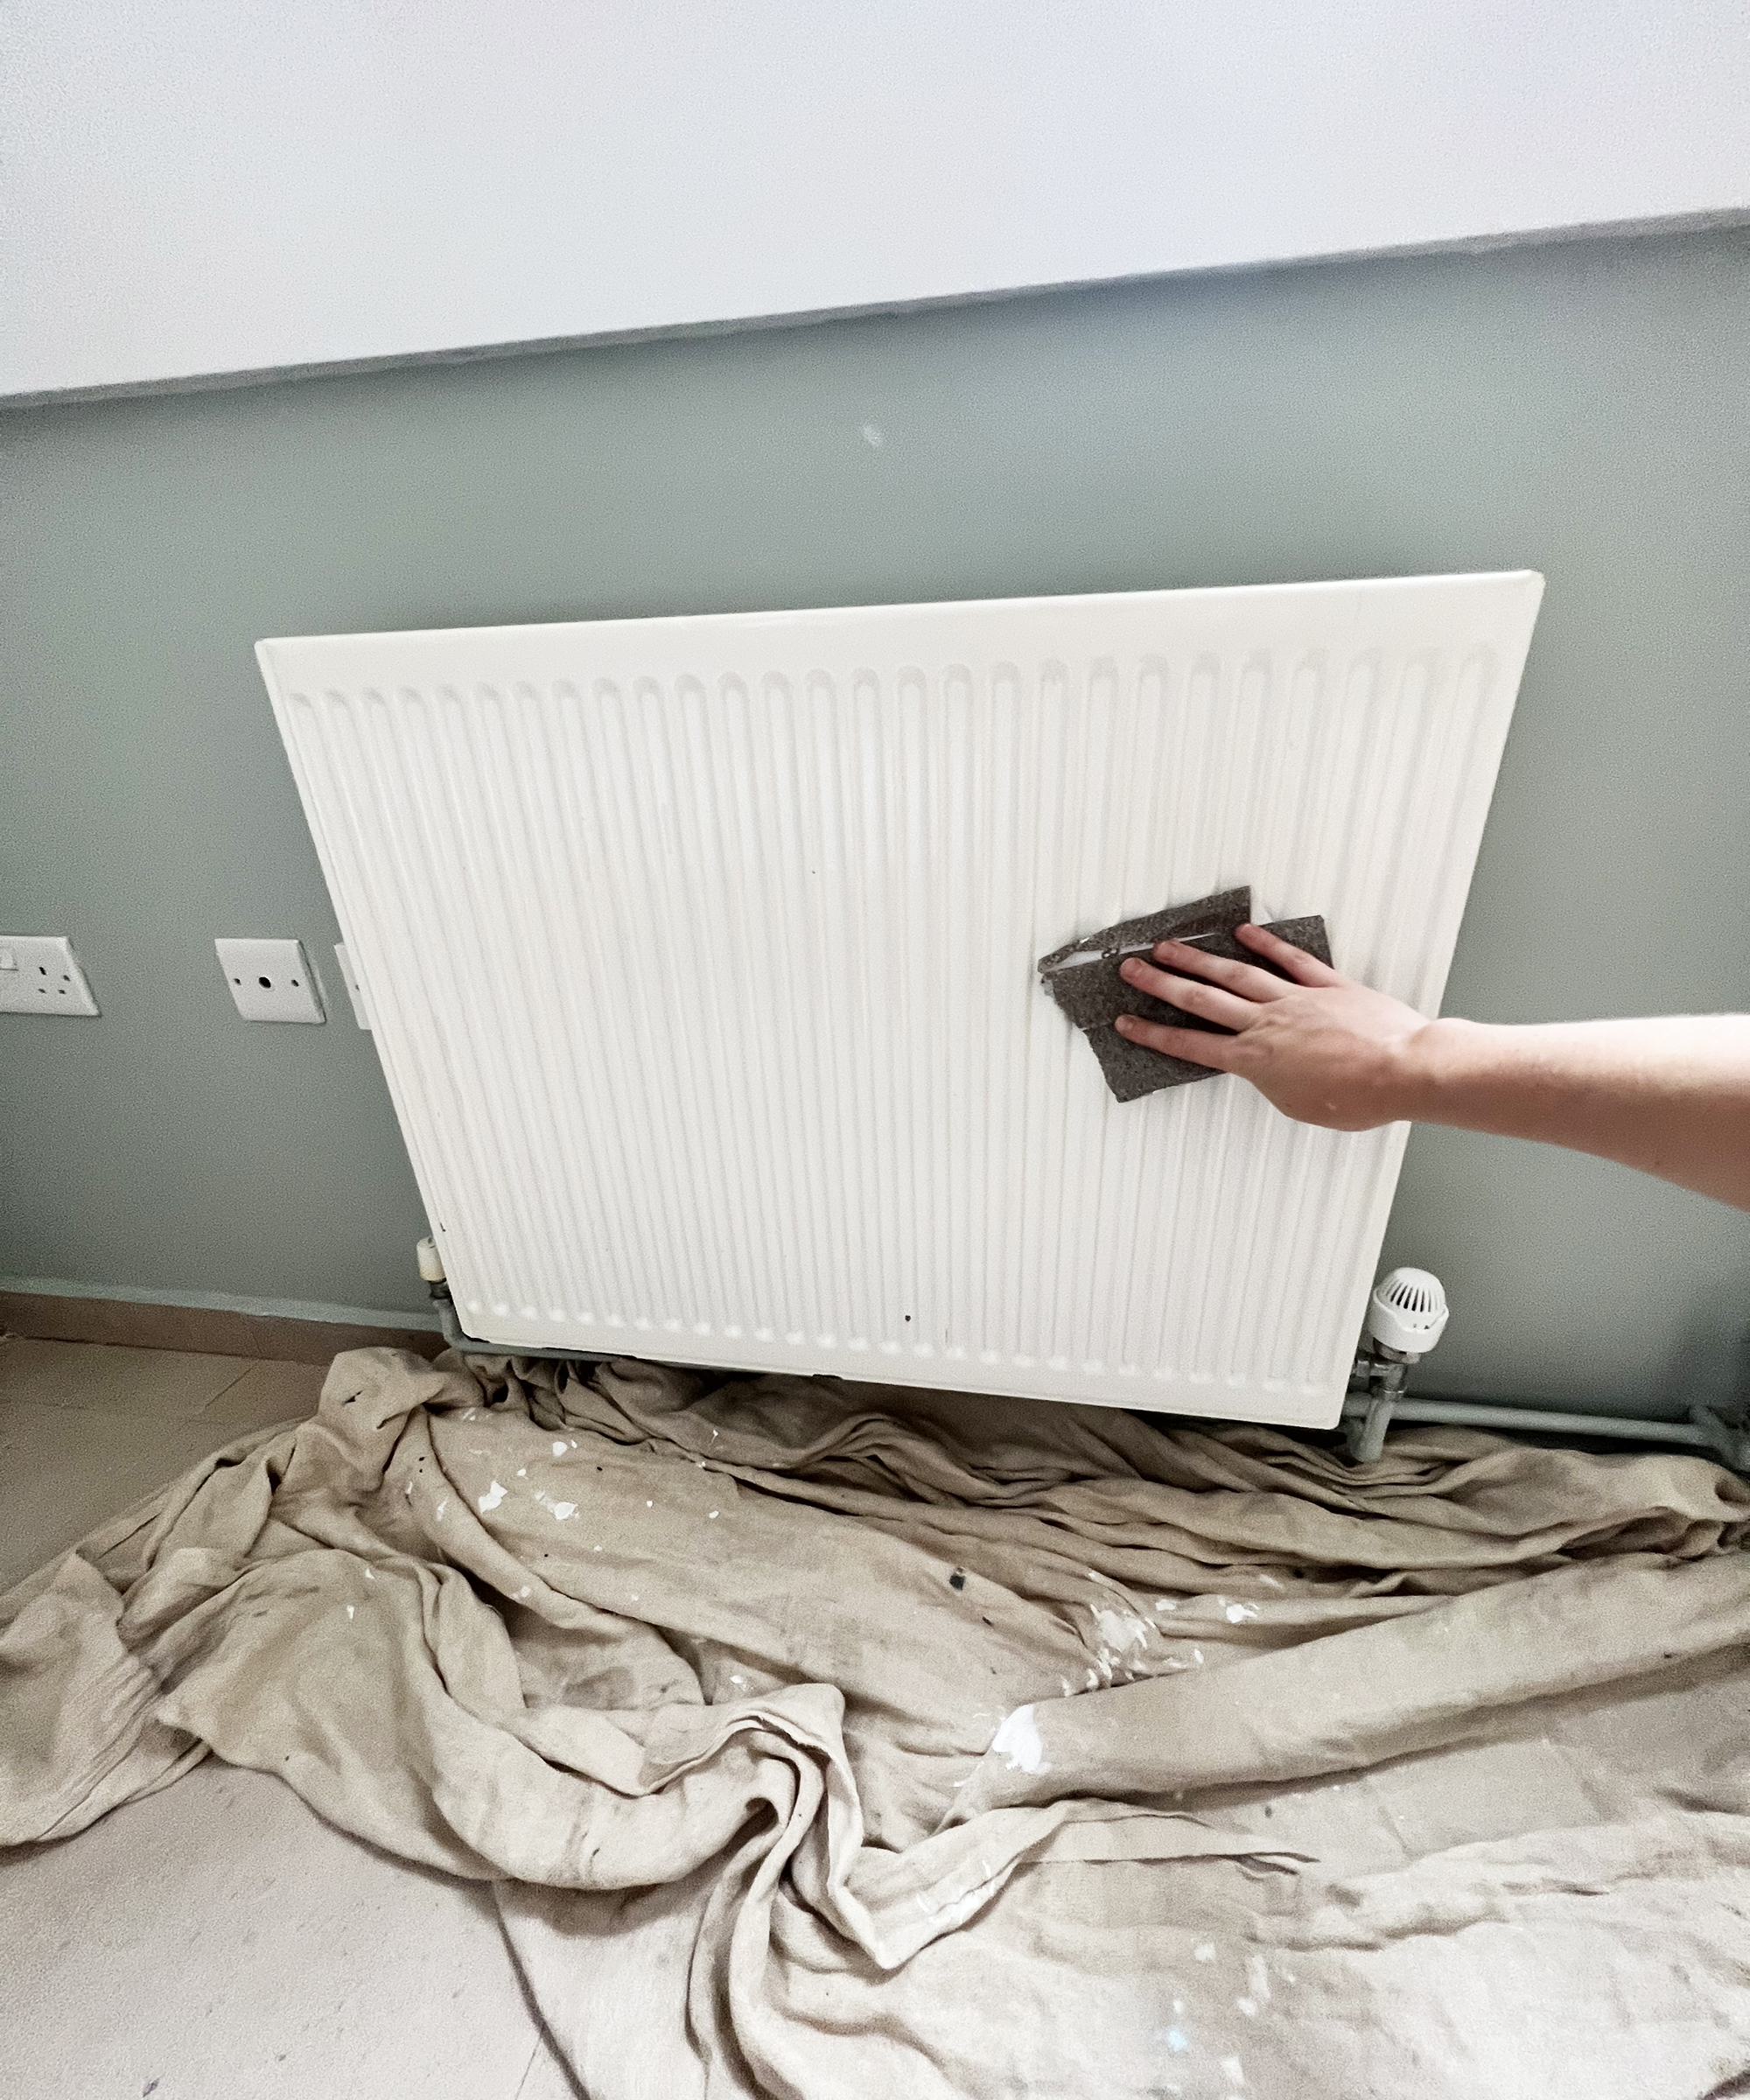
If you're painting an old radiator with flaking paint, you may have to strip and sand it down. 'When it comes to stripping your radiator, any paint stripper is fine to use, and the aim is to remove any layers of paint that are currently on your radiator. Be careful when scraping the paint off that you don’t damage the original structure of your radiator. This step will make the application of your new paint easy and smooth.' Notes Nezhad. 'The radiator needs to be sanded down to ensure that the surface is smooth and ready to be painted on. It’s recommended to use two different grades of sandpaper like this from Arilier so that you can achieve a smooth finish that removes bumps and imperfections of any size.'
5. Clean your radiator
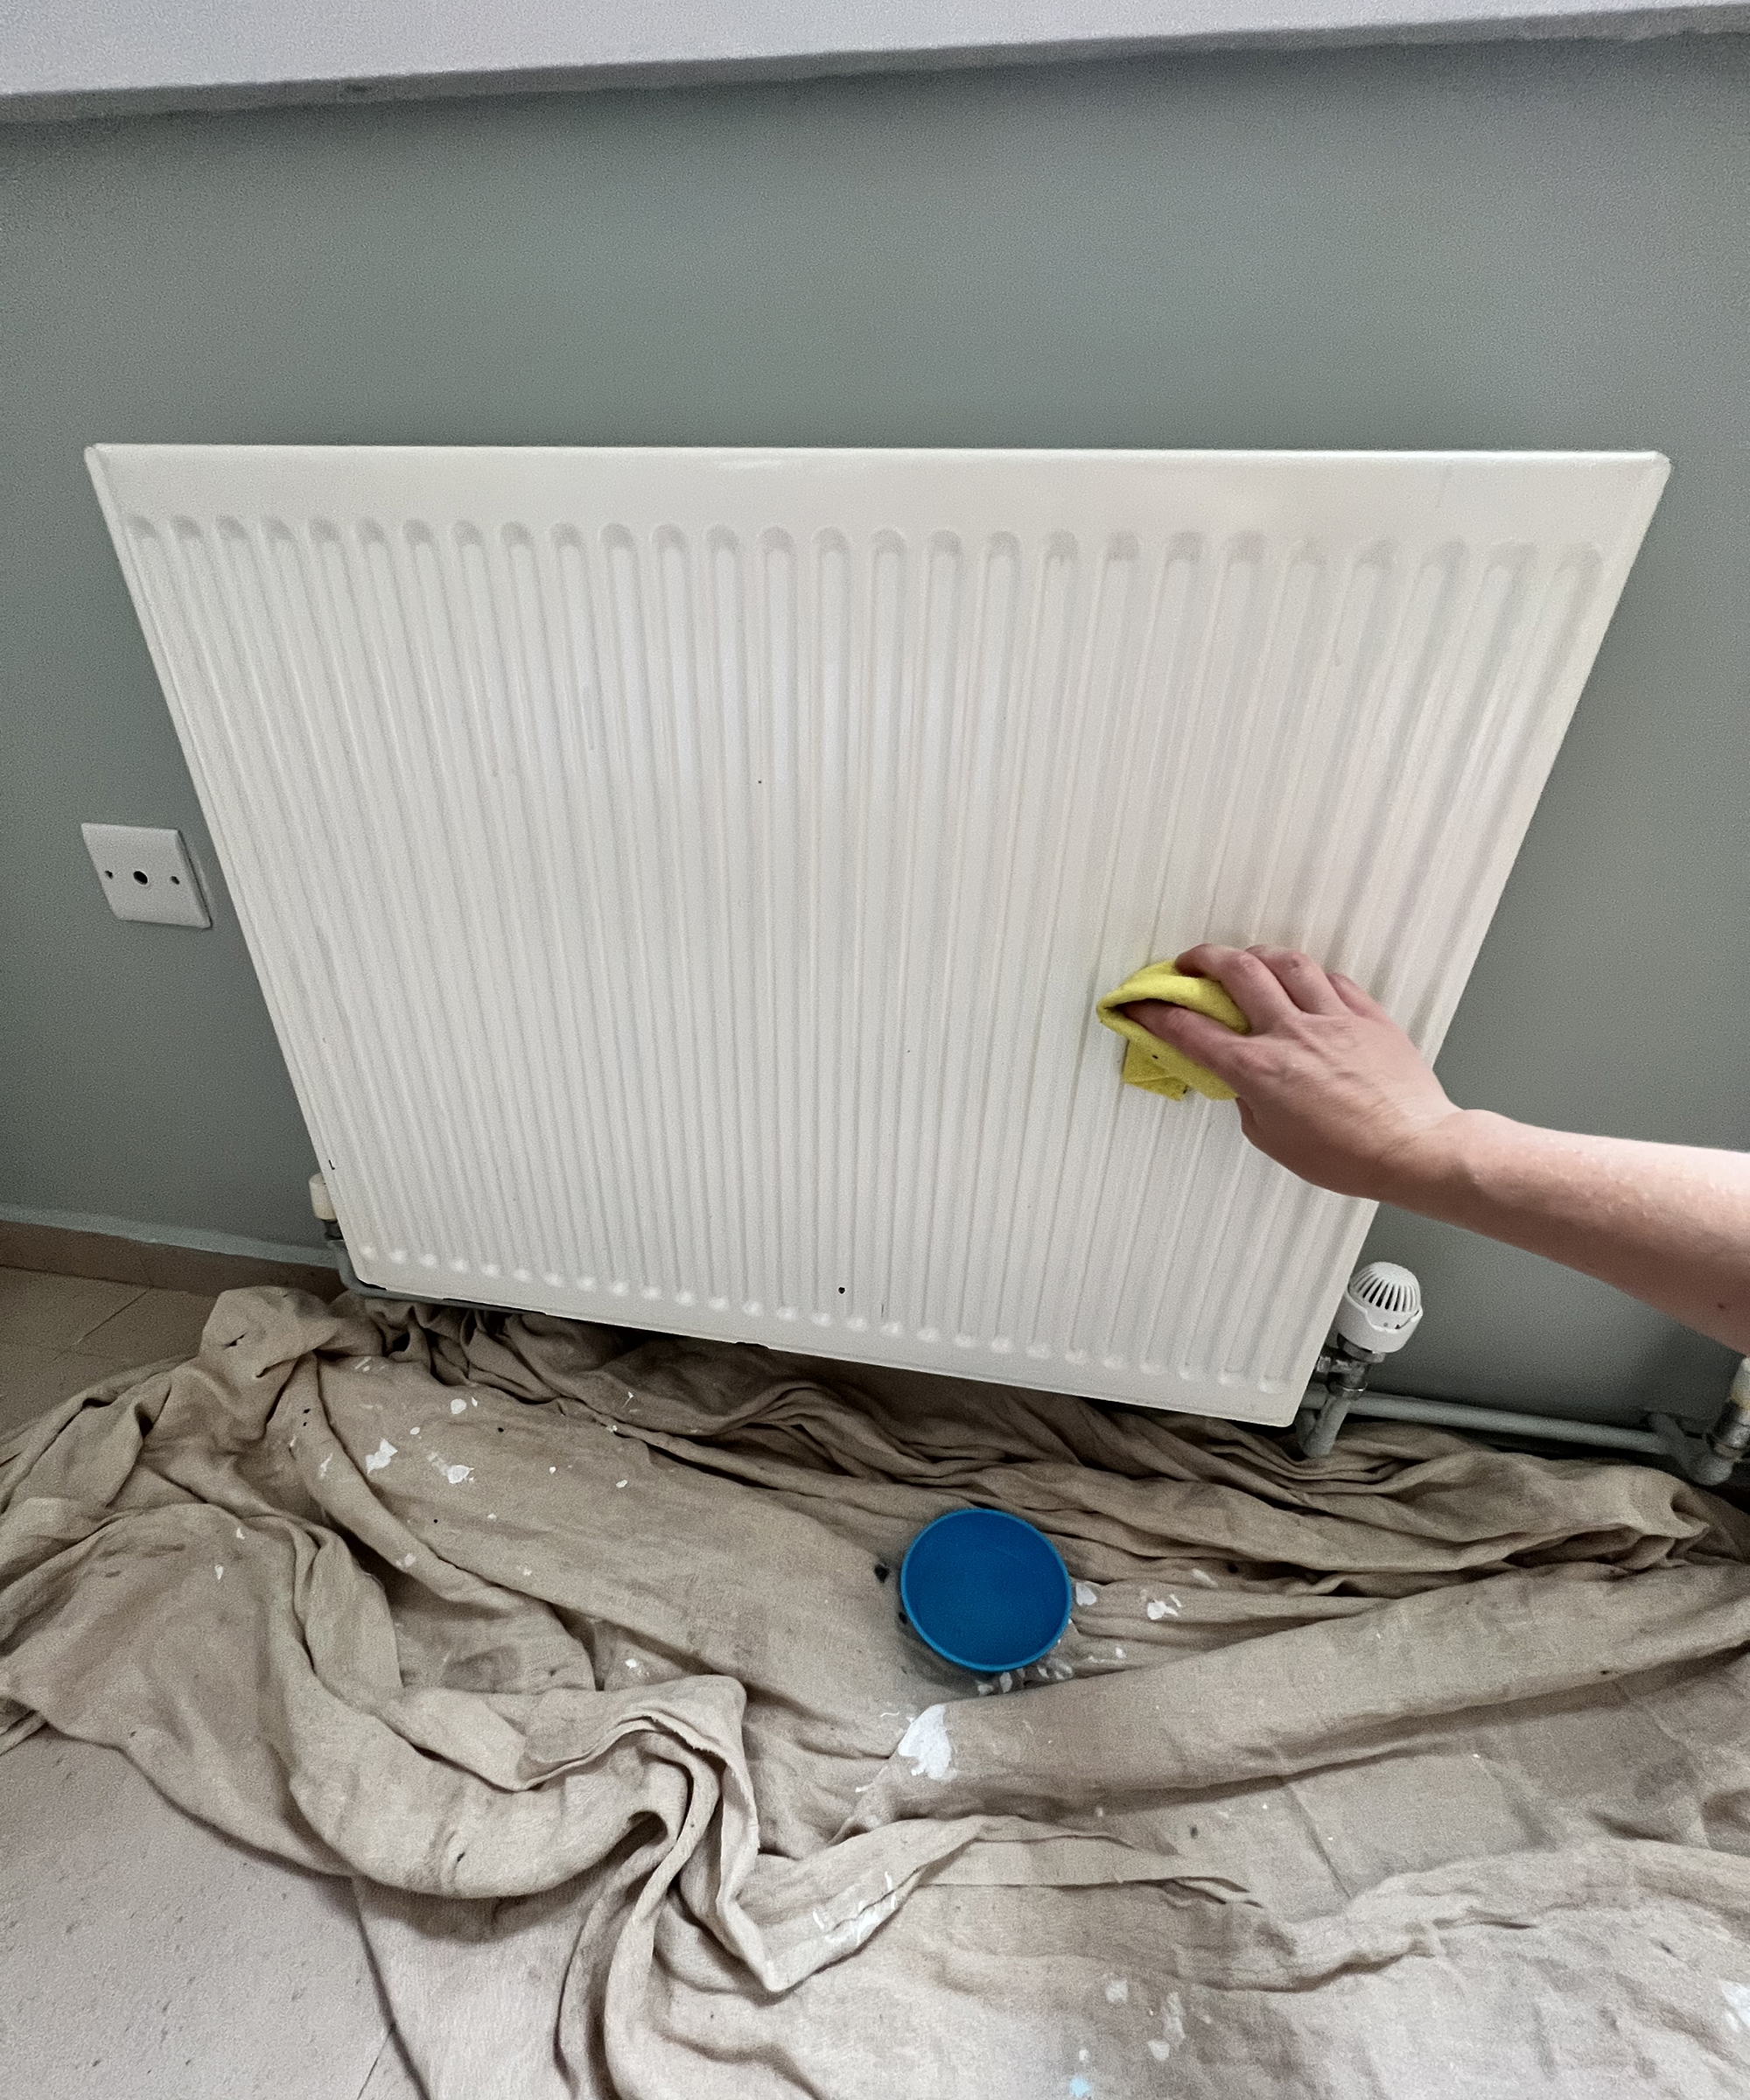
You'll need to wipe your radiator down completely, if your radiator isn’t in too poor of a condition, you could just use a sponge, warm water and mild detergent to get rid of dust (we know you have some!) and dirt. If it needs a little more TLC then you can use sugar soap as it is slightly abrasive and will remove any last little bits of old paint flakes. Be sure to wipe the radiator down once you have finished with the sugar soap.
Whether you manage to strip the old radiator paint or not, the most important part is to make sure that you have a clean, dry, flake and grease-free surface to paint on. It is best to wait a little once you have cleaned it, to make sure it is properly dry.
6. Paint the radiator
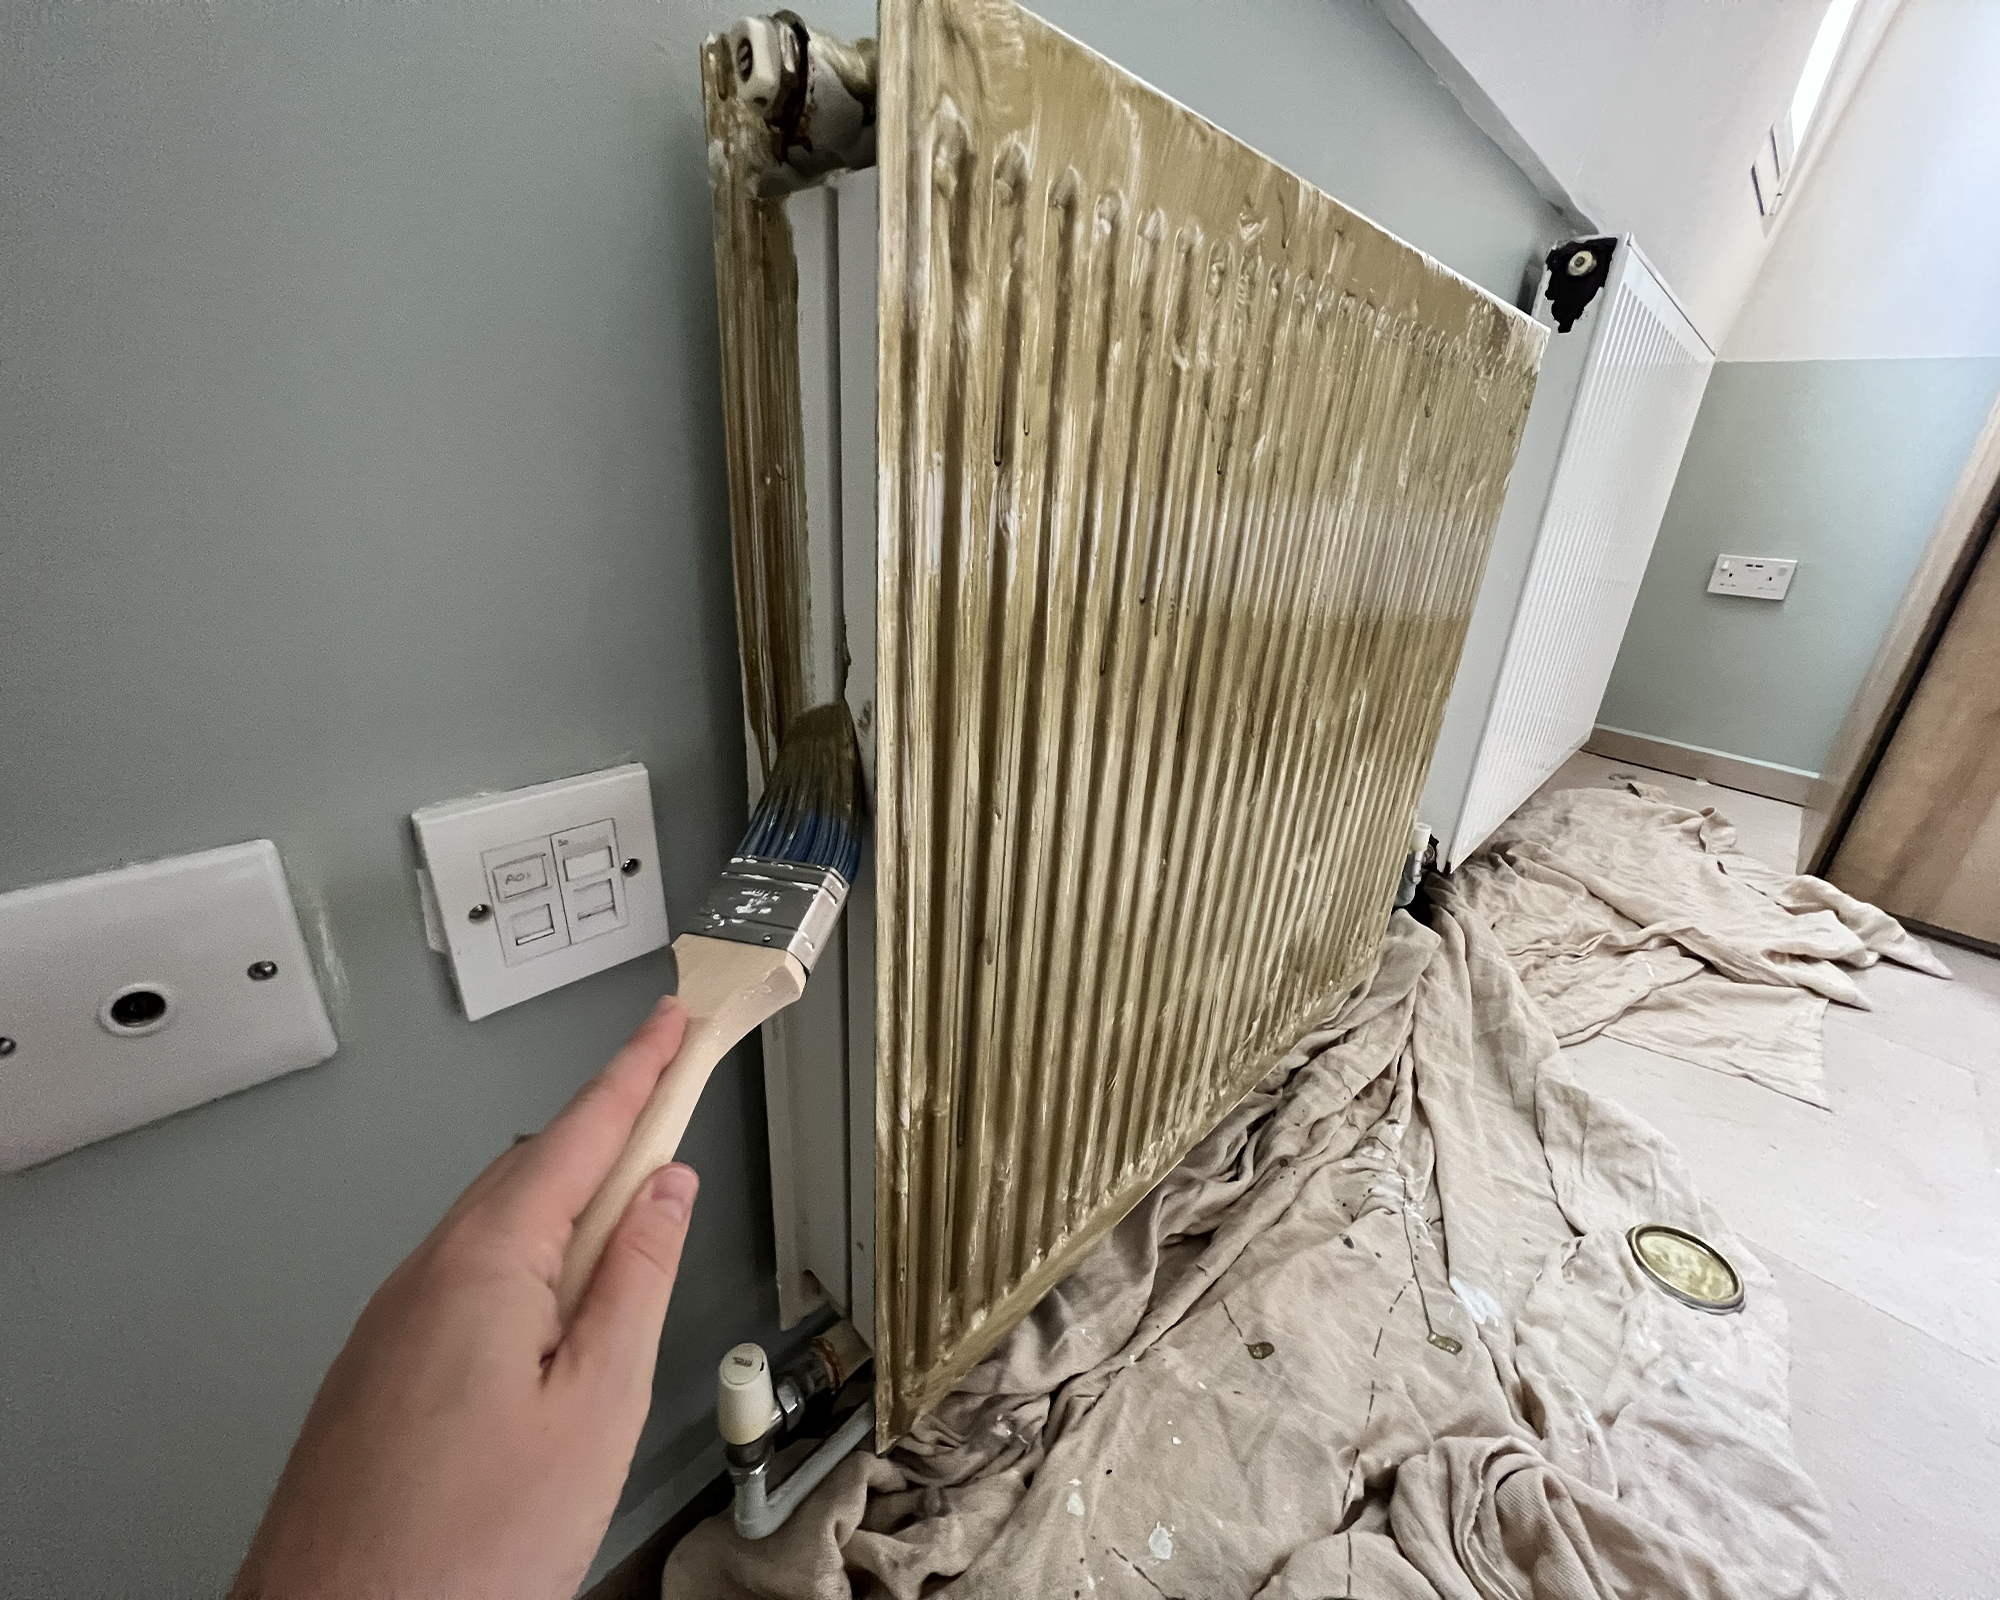
You can prime the radiator before painting, but actually, not all radiator paint requires priming so check your radiator paint before you decide.
You can paint your radiator with either a roller like this one from Foam Pro or a brush like this one from Amazon (or you can combine; brushes are useful for getting into grooves whereas rollers are useful for painting broad, flat sections). If you like, you can even use spray paint. If you leave the radiator on the wall and want to paint the back then you will need a special brush to reach those tricky areas like this one from Nge.
To use a brush, don't overload it is the best tip! Start with the inner edges, moving onto the face of the radiator. By working in smaller sections you'll get a more precise finish. Take your time, painting the front moldings from the top, then from the bottom before pulling your paintwork together. Finish off with the front edges, working your way across the entire radiator. You can paint into and from already painted sections using sweeping actions to ensure it's even.
You can combine your brush with a small roller on the flat parts if you like which can speed things up a little. If you use a roller then be sure not to overload it and make sure you give the roller a little roll in the tray before applying it to the radiator to remove excess paint and avoid any dripping. Allow at least an hour to ensure that your paint is fully dry before applying another coat.
If you fancy trying your hand at spray painting a radiator instead, follow these steps:
- Make sure you put more dust sheets down than normal and make sure that the room is well ventilated;
- Shake the spray paint like this one from Rustoleum can well (for around 2 minutes)
- Hold the can 20 to 30 centimeters away from the radiator and spray in a sweeping motion, covering the whole radiator
- Wait 30 minutes for the coat to dry and then spray again. Usually, spray paint will need three coats for full coverage.
7. Let it dry
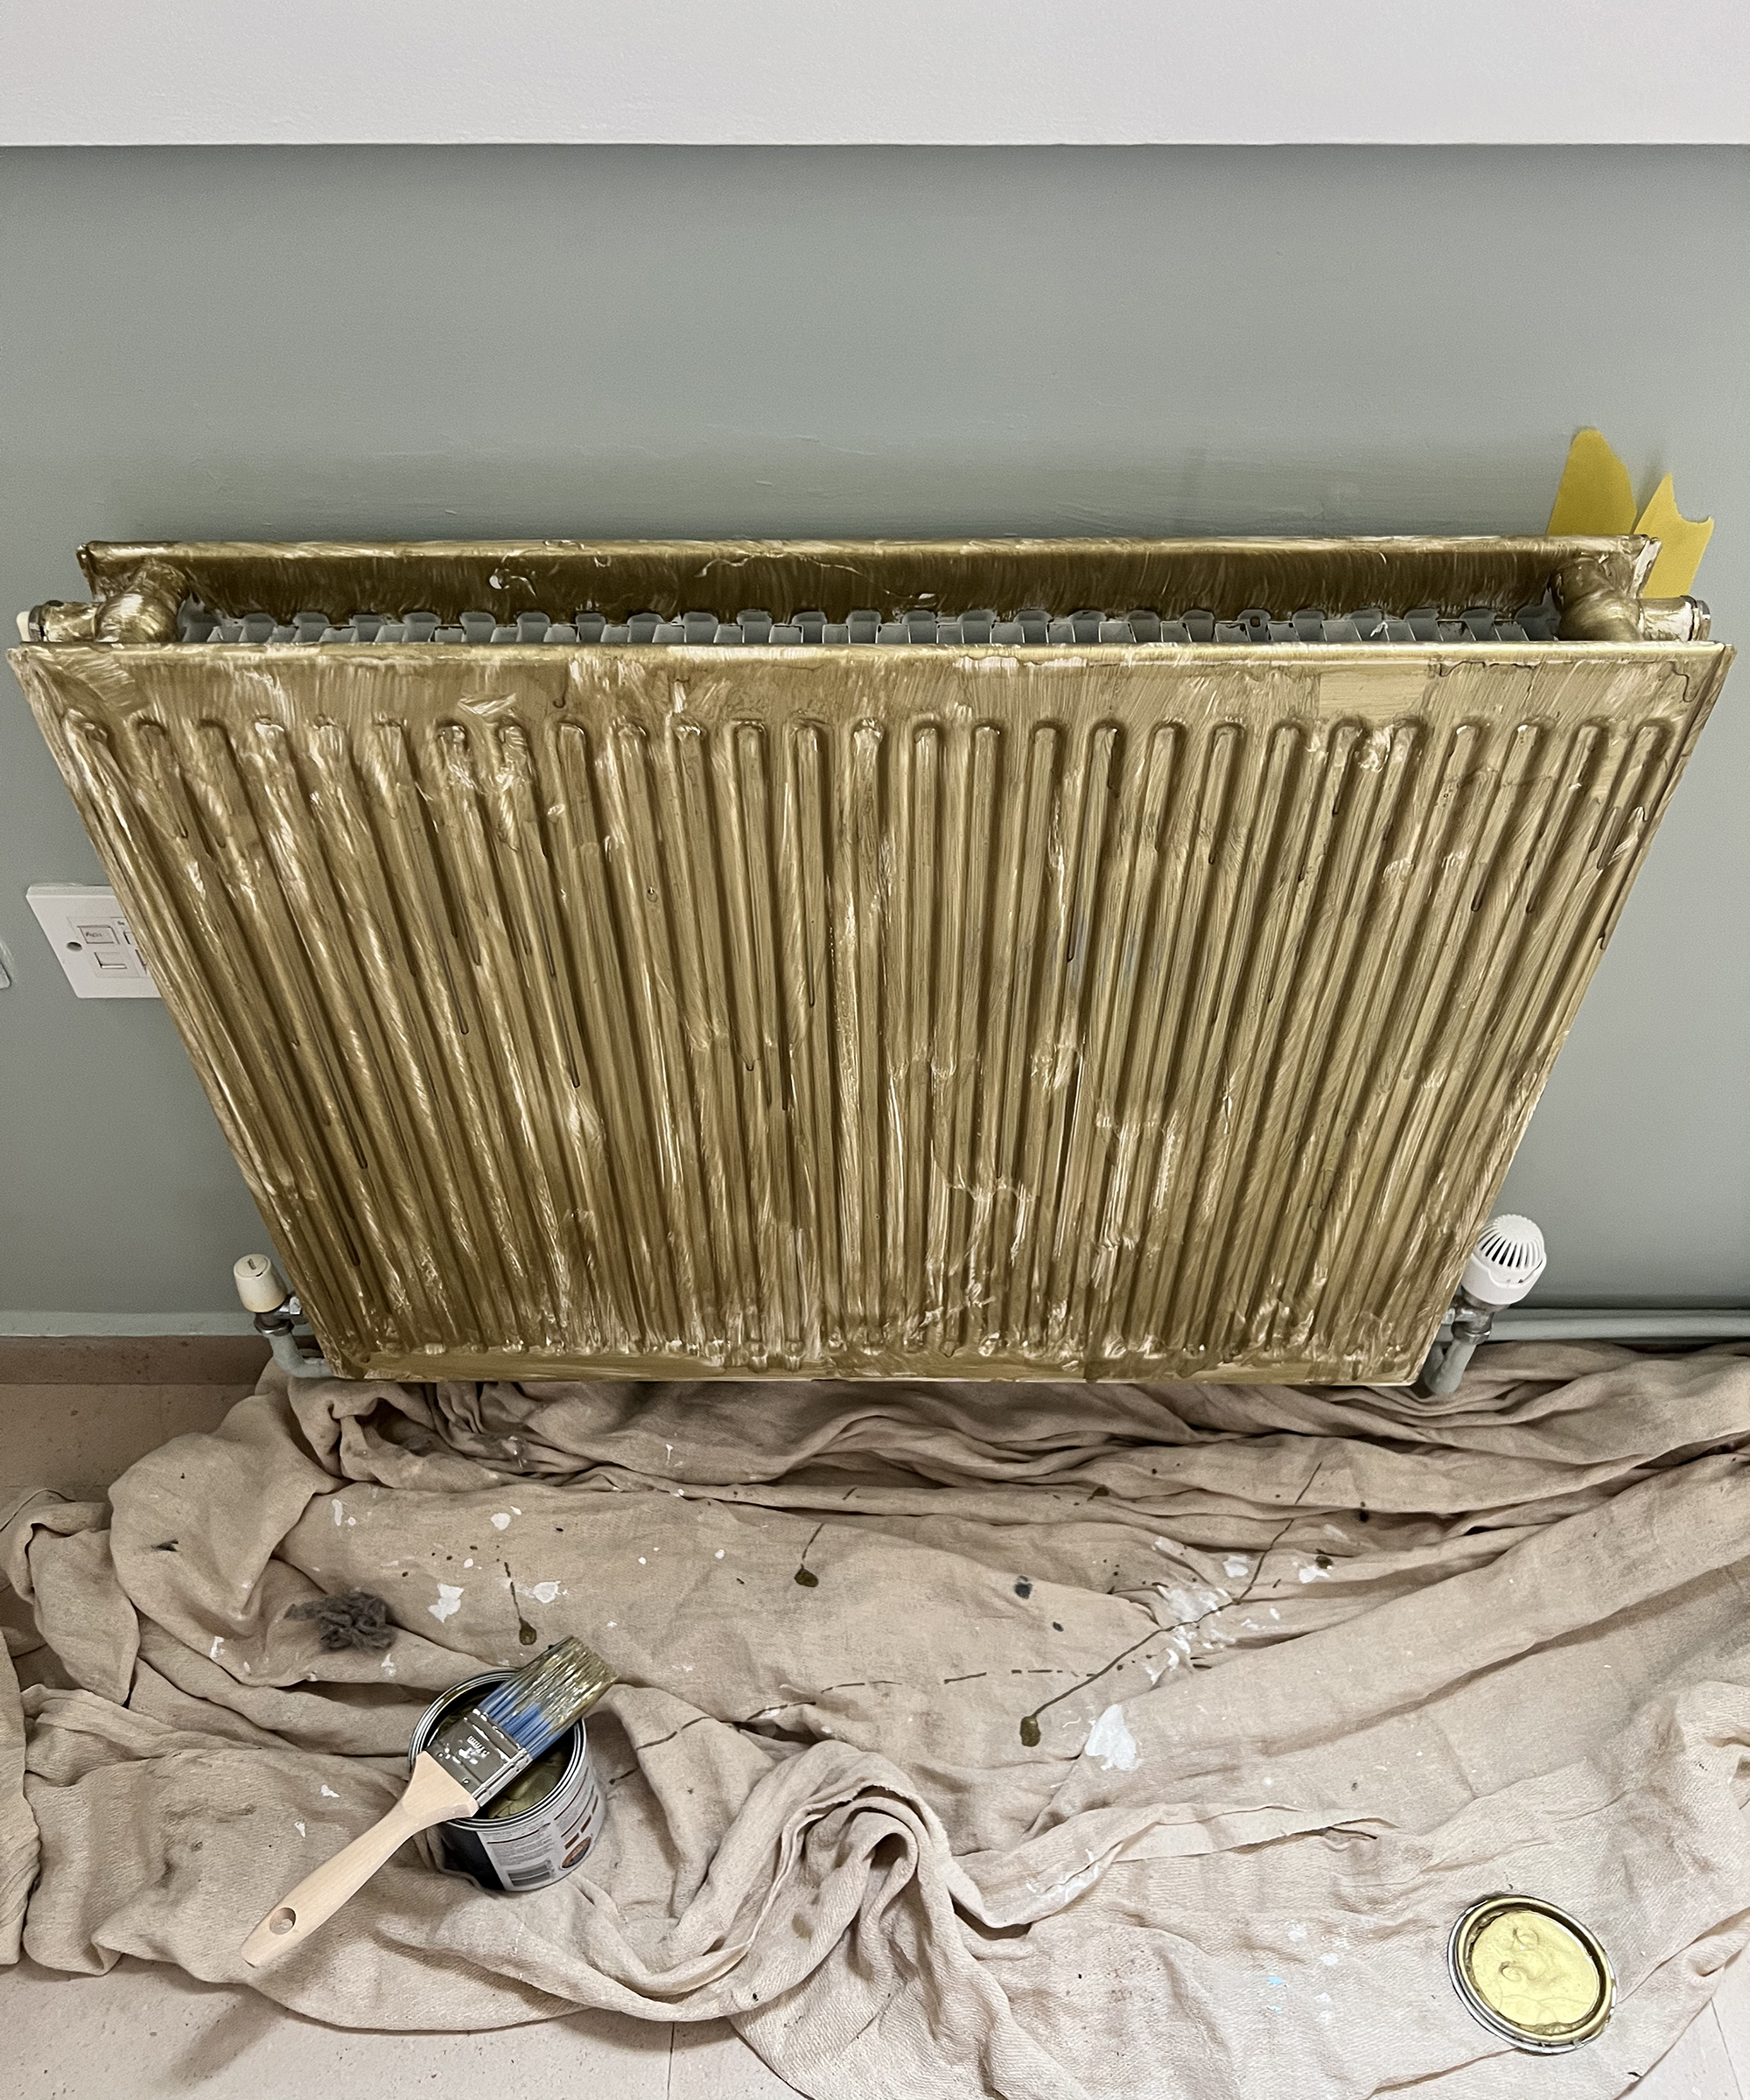
As we mentioned above, let the radiator dry in between coats. Because you are using a special radiator paint it may look patchy after the first one but don't worry, the paint will build up nicely over two or three coats.
When you have finished, you need to let your paint fully dry before turning the heating on. Nezhad recommends waiting at least a day for precise results, 'Once painted do not turn your radiator straight back on, you will need to leave it to dry for at least 24 hours to avoid peeling or dripping.'
What colors are best to paint a radiator?
Depending on your radiator of course, you might want to make more of a statement, and highlight yours in contrasting colors. If you take a more minimal approach to decorating, then you can alternatively paint them in a complementary shade. Either way, painting radiators has become a really popular home DIY, follow the step-by-step and you'll get a great finish.
DIY done!

I’m a DIY and renovation expert from a family of renovators; it's in my blood! Renovation is my passion and I love sharing my knowledge, either through my Instagram renovation tips or my renovation course. I love seeing how it helps others build the confidence to create their dream home without it costing the earth!