My DIY cane dining chairs – 5 steps for success
I used cane to create DIY rattan dining chairs out of a standard solid oak wood set. The results are stunning.
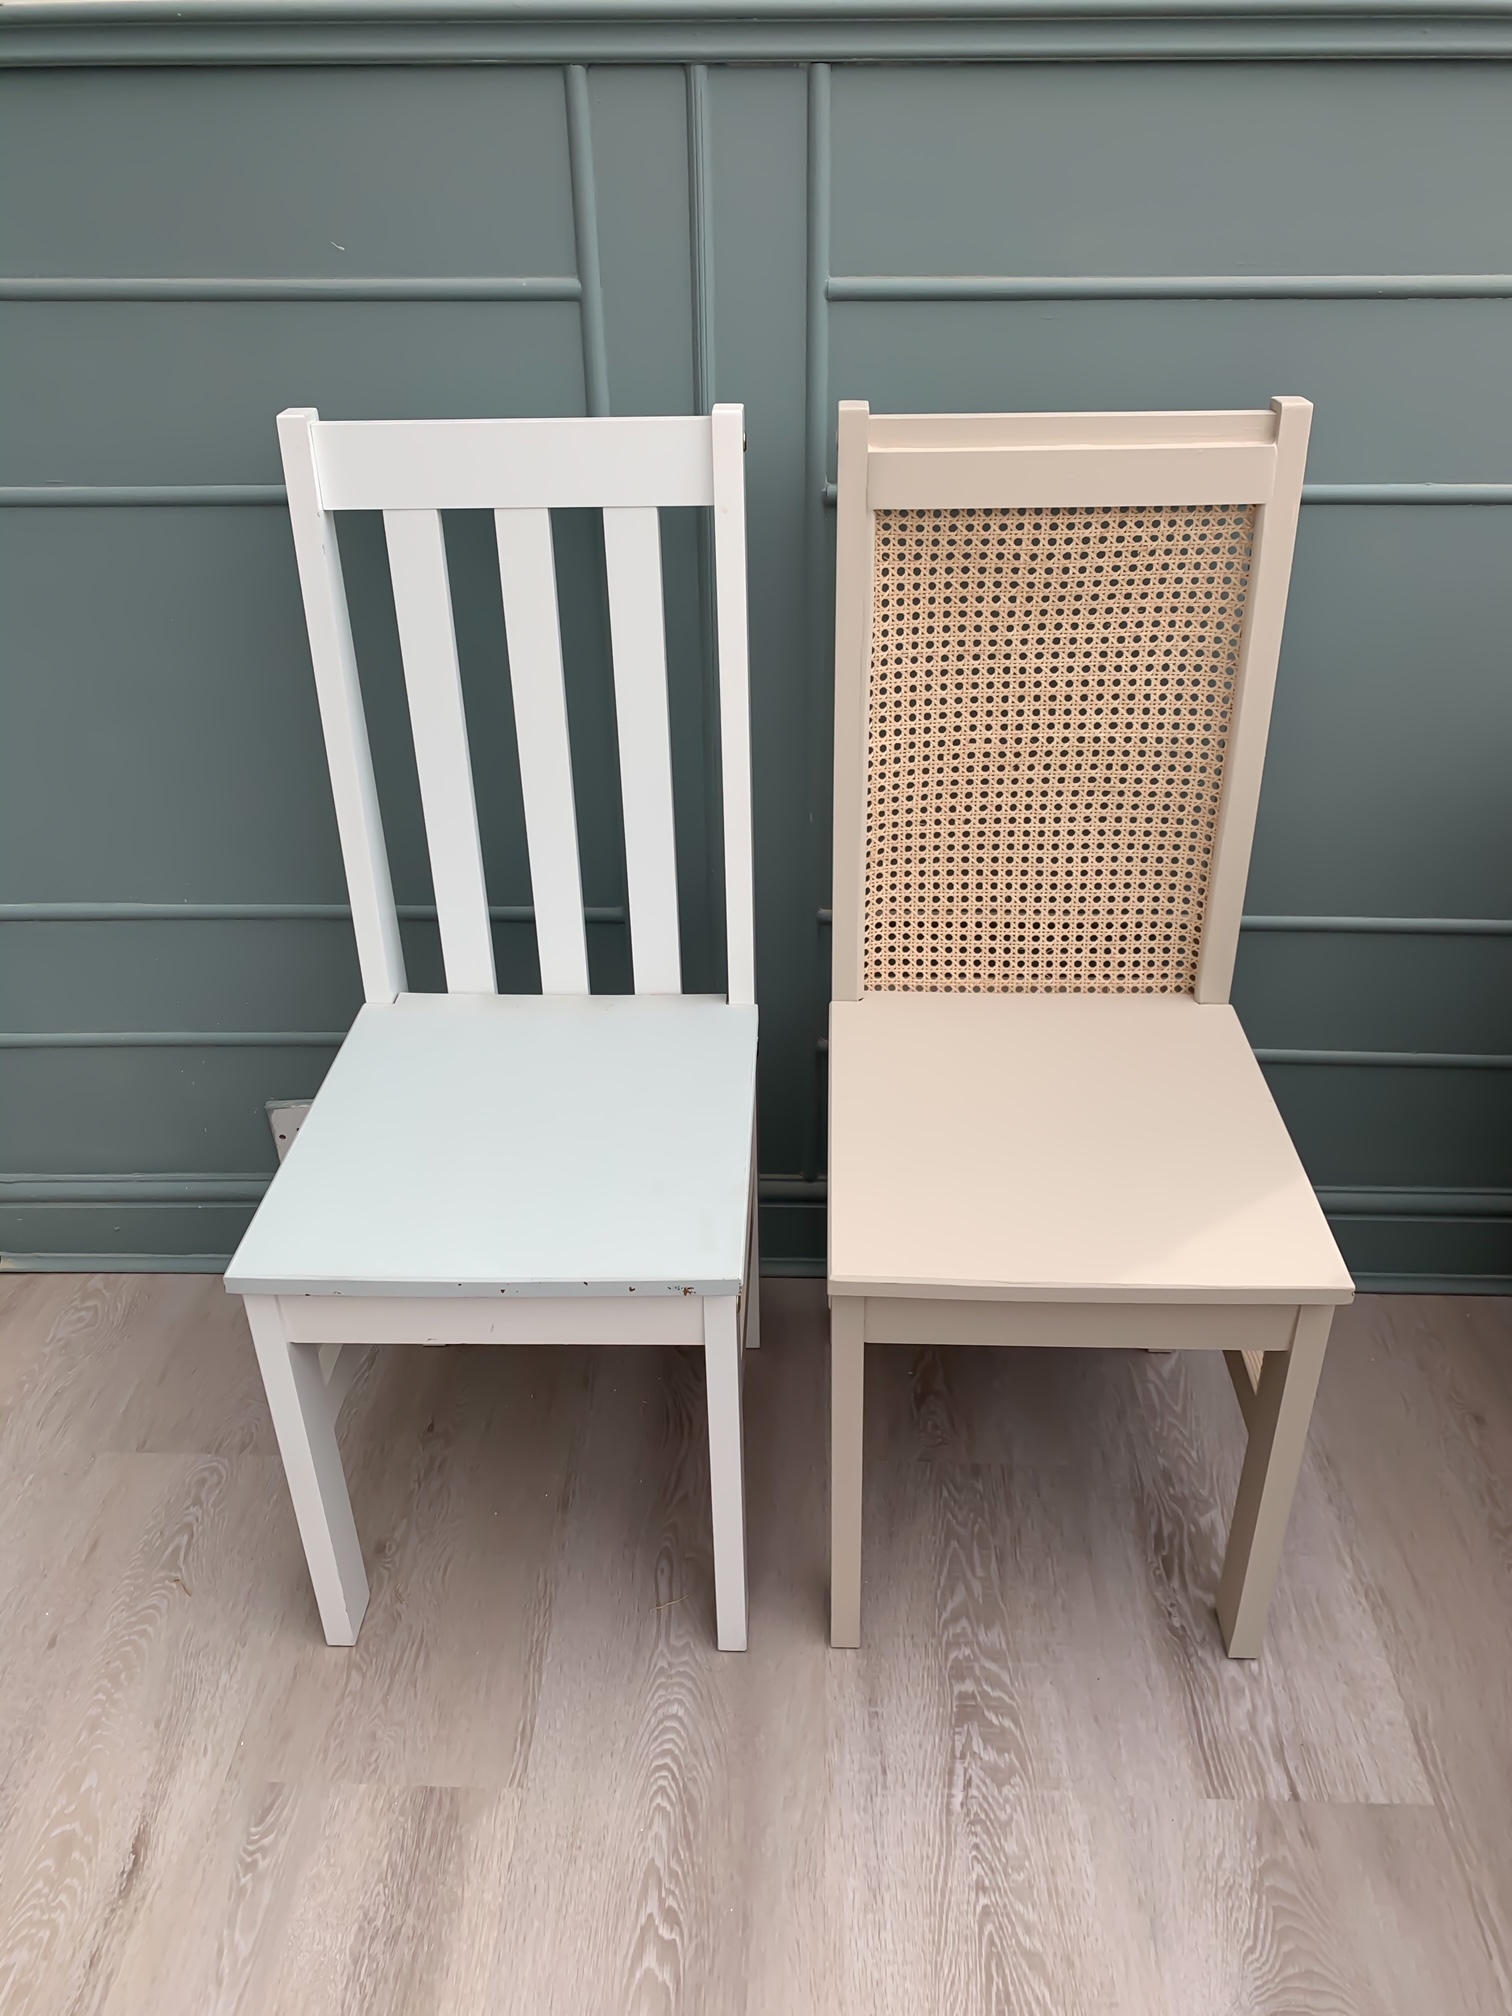
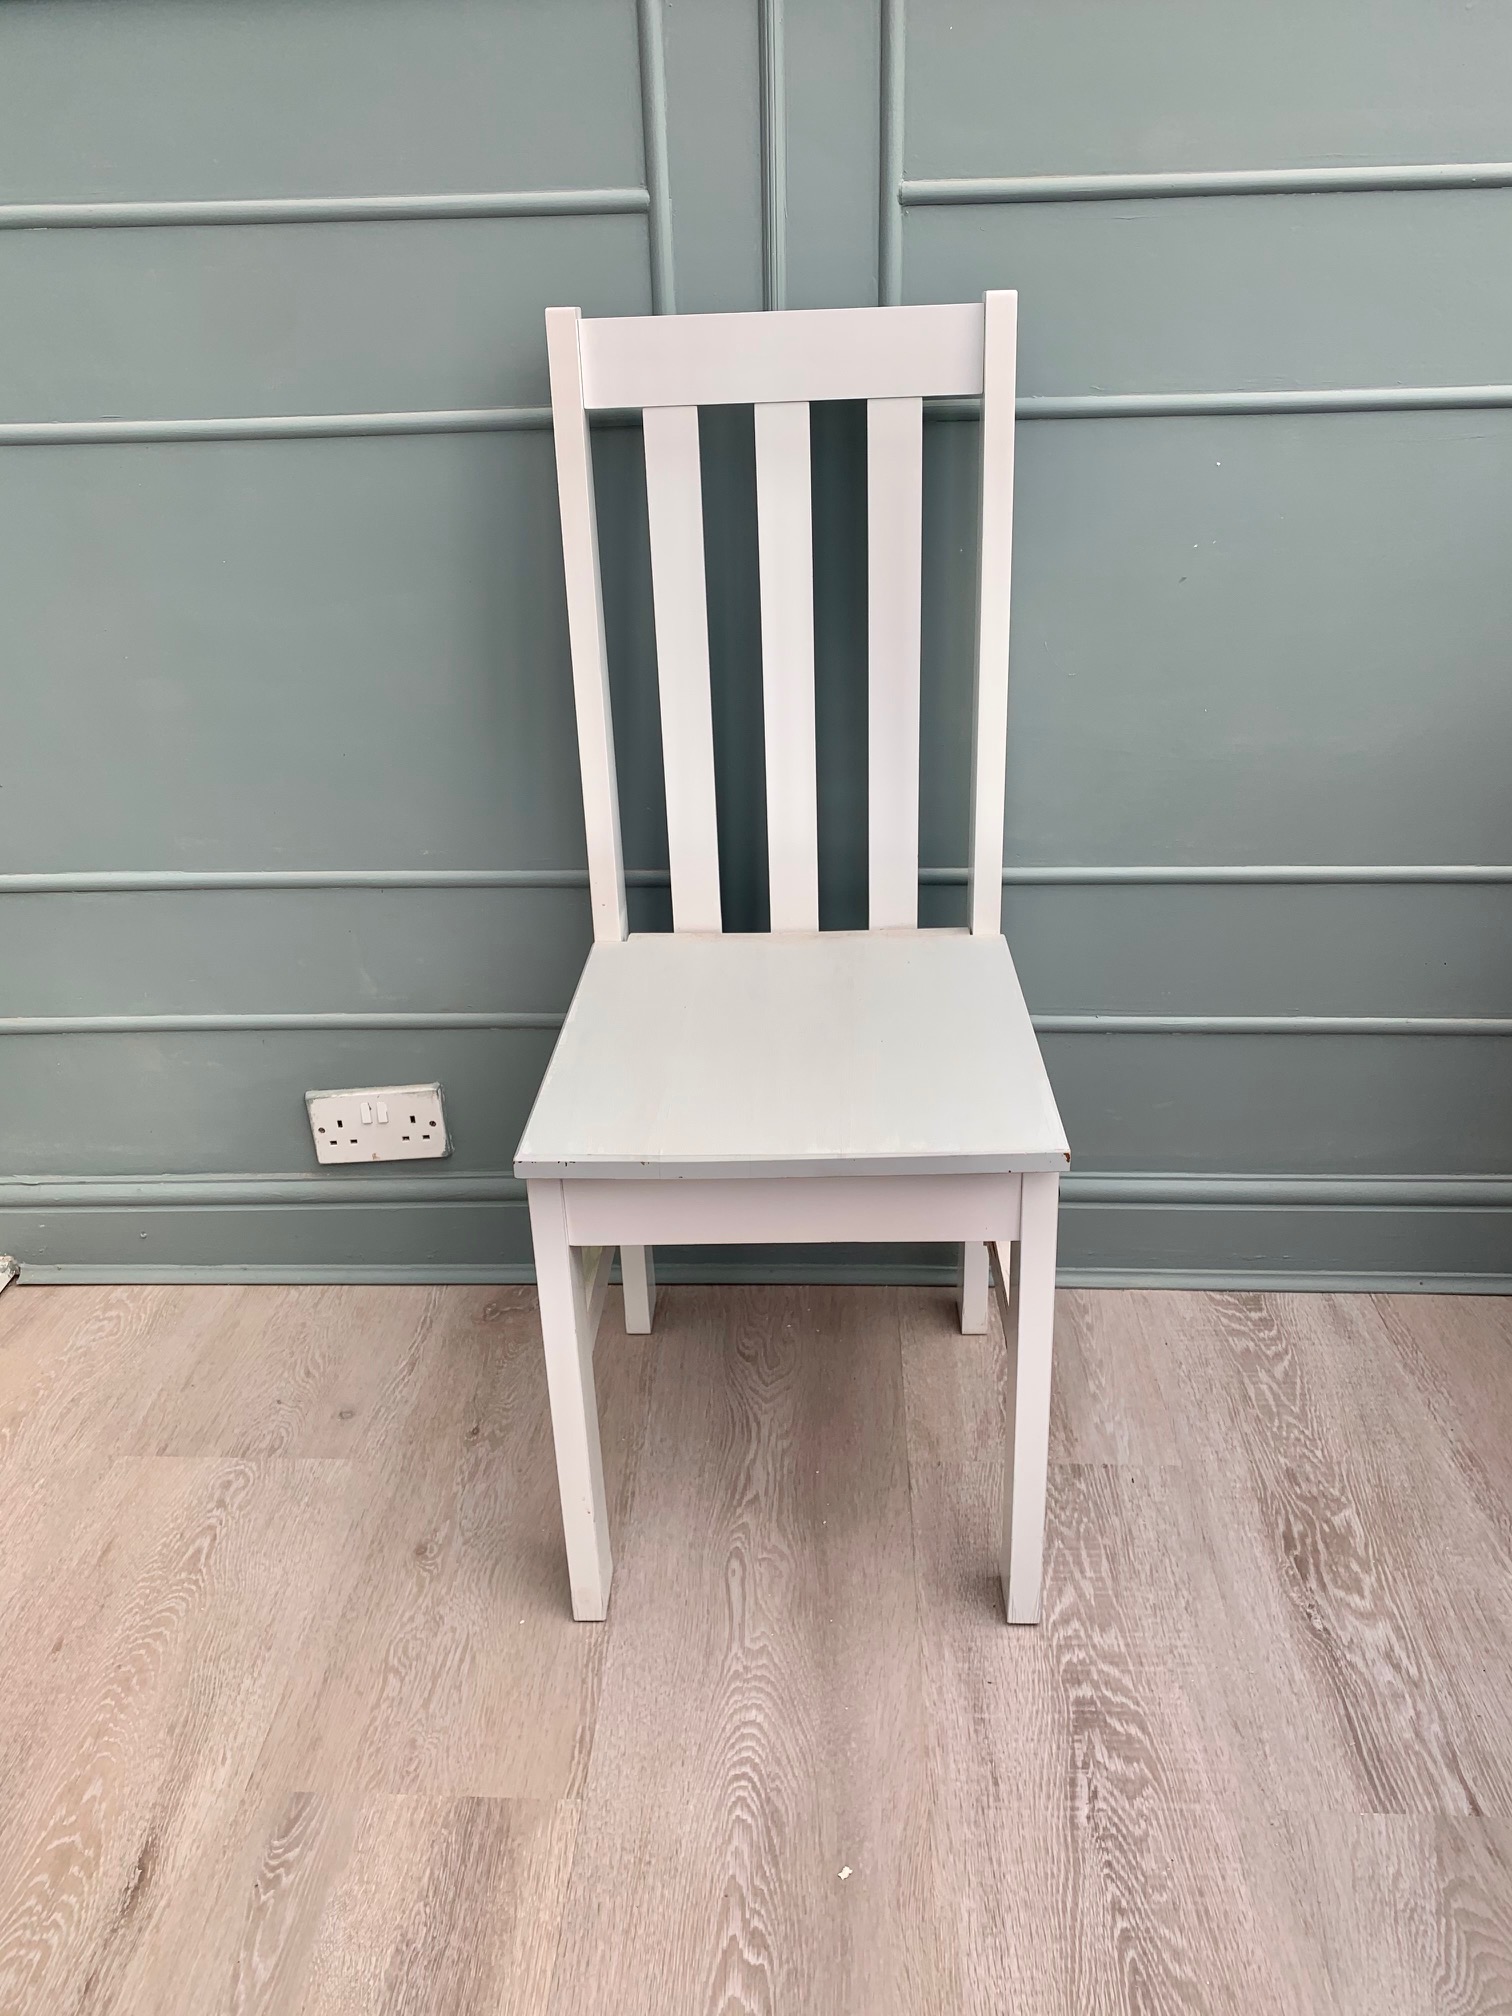
We were given this dining table set when we first bought our own home, and believe me, it was a great help to us back in the beginning – before we had any furniture. I also loved how the table top and the actual seats were made of solid oak wood.
Although this set was really useful, it didn’t excite me or look interesting enough, so I wanted to make a few changes. It made for an easy DIY project, here’s how I upcycled my basic dining set with matt furniture paint and rattan.
Before:
- Learn how to reupholster a dining chair too.
Supplies
- Set of chairs
- Cane webbing rattan fabric – you can find some on Amazon
- Cordless screwdriver
- Mouse sander + rotary tool
- Paint – I used Hessian Matt Furniture Paint by Rustoleum
- Oval paint brush
- Staple gun
- Mitre saw
- 1cm x 4.5cm piece of timber
- Half dowel trim
- Wood glue
- Clamps
- Wood filler
How to DIY cane dining chairs: step-by-step
Cane dining chairs make a great addition to modern dining room setups as we all know rattan is still trending hard! Plus, you can use this technique to upcycle other pieces of furniture too such as kitchen cabinets, dressers and the like.
1. Strip and sand
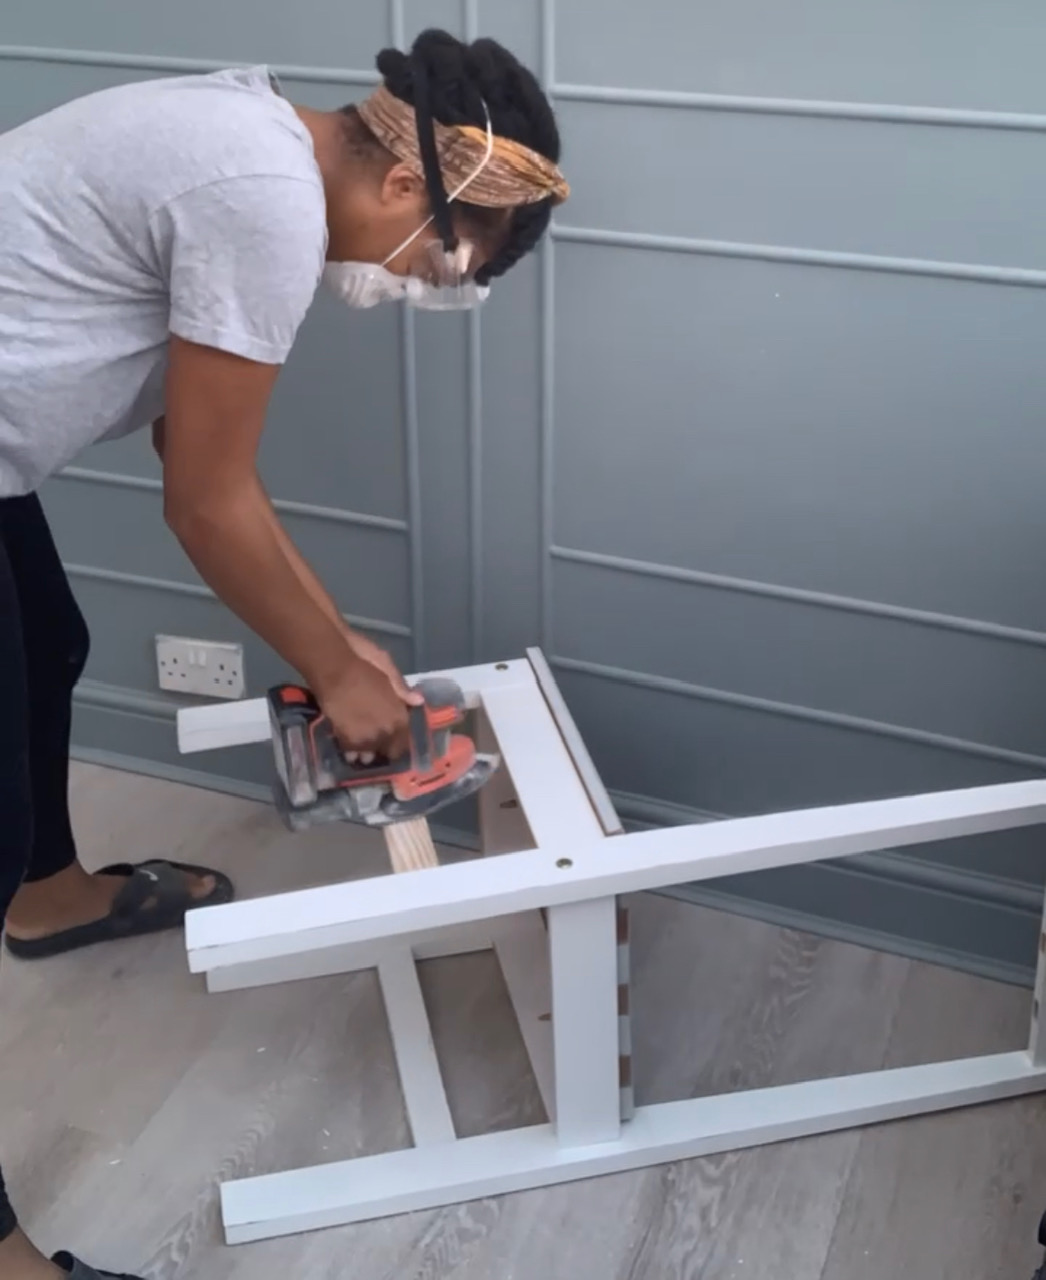
The first thing I needed to do was remove the spindles in the back of the chair, as that was where the cane would be. I took the chair apart with my cordless screwdriver and kept the screws in a safe place for later on.
The chair seats were previously painted, and the rest of the chair had a sheen to it, so they all needed to be sanded down. I used my mouse sander for the majority of the project, however, for the more intricate parts I used a rotary tool.
Once it was all sanded, I cleaned it down with a sugar soap solution to rid the surface of all the sawdust.
2. Paint it
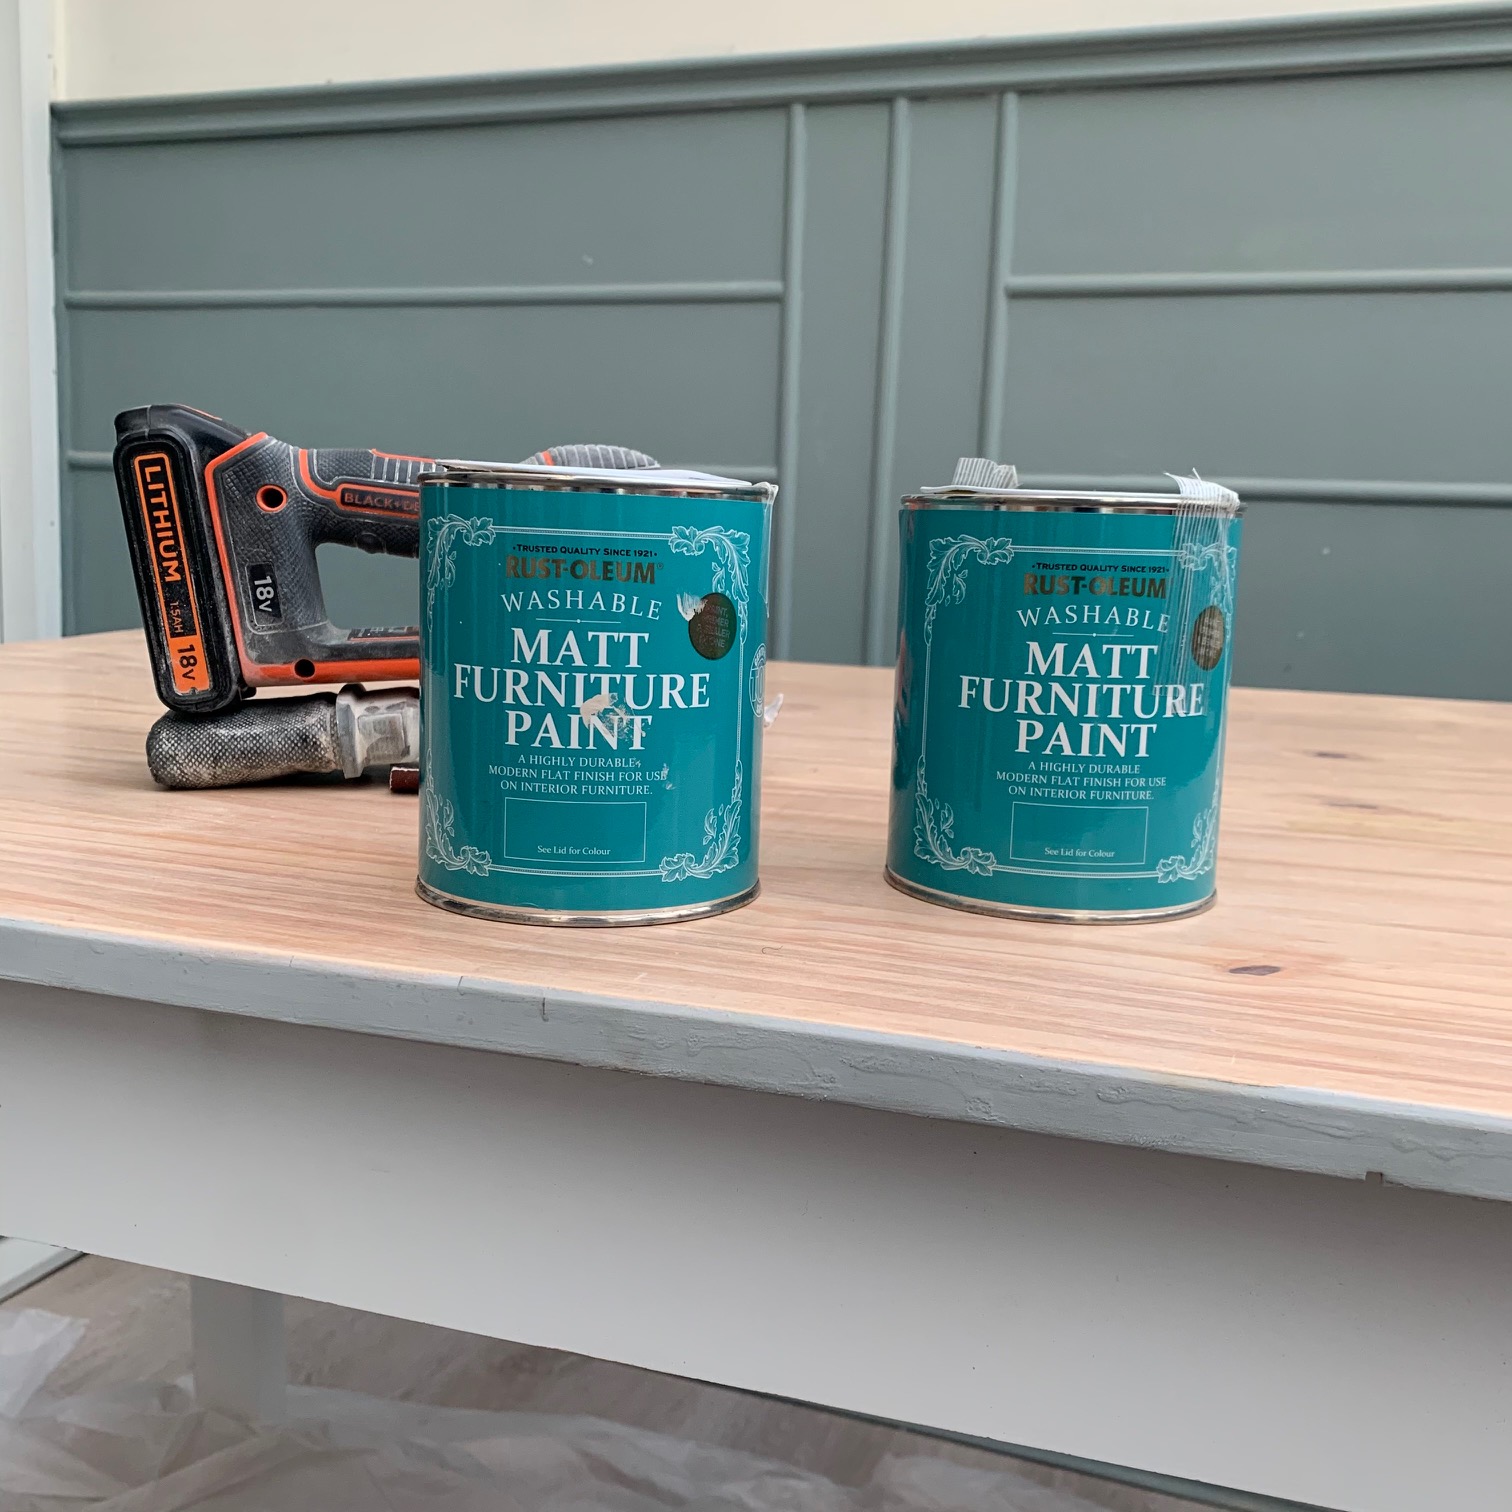
The colour I used has to be my favourite colour so far. It is Hessian Matt Furniture Paint by Rustoleum, and it’s a beautiful warm neutral.
Get small space home decor ideas, celeb inspiration, DIY tips and more, straight to your inbox!
In total, the chairs needed around two coats, three in some places.
I have found that using an oval paint brush is the best type of brush when upcycling. It distributes the paint really well on the surface of my projects, and also fits well around contoured surfaces. It’s a way better feel than a normal flat paint brush.
3. Prepare the rattan
I’ve heard that rattan material should be soaked for around 30 minutes in warm water before fitting, as this makes it easier to handle and much more flexible. The thing is, I heard this after I completed these chairs. I didn’t find it difficult to apply the cane to the chair, but I can’t help but think it could have been even easier if I did.
The only preparation I did was cut the cane to size and made sure I cut the pieces bigger than I needed to, to allow for movement when fitting. My first piece was way too small, so I learnt from that mistake!
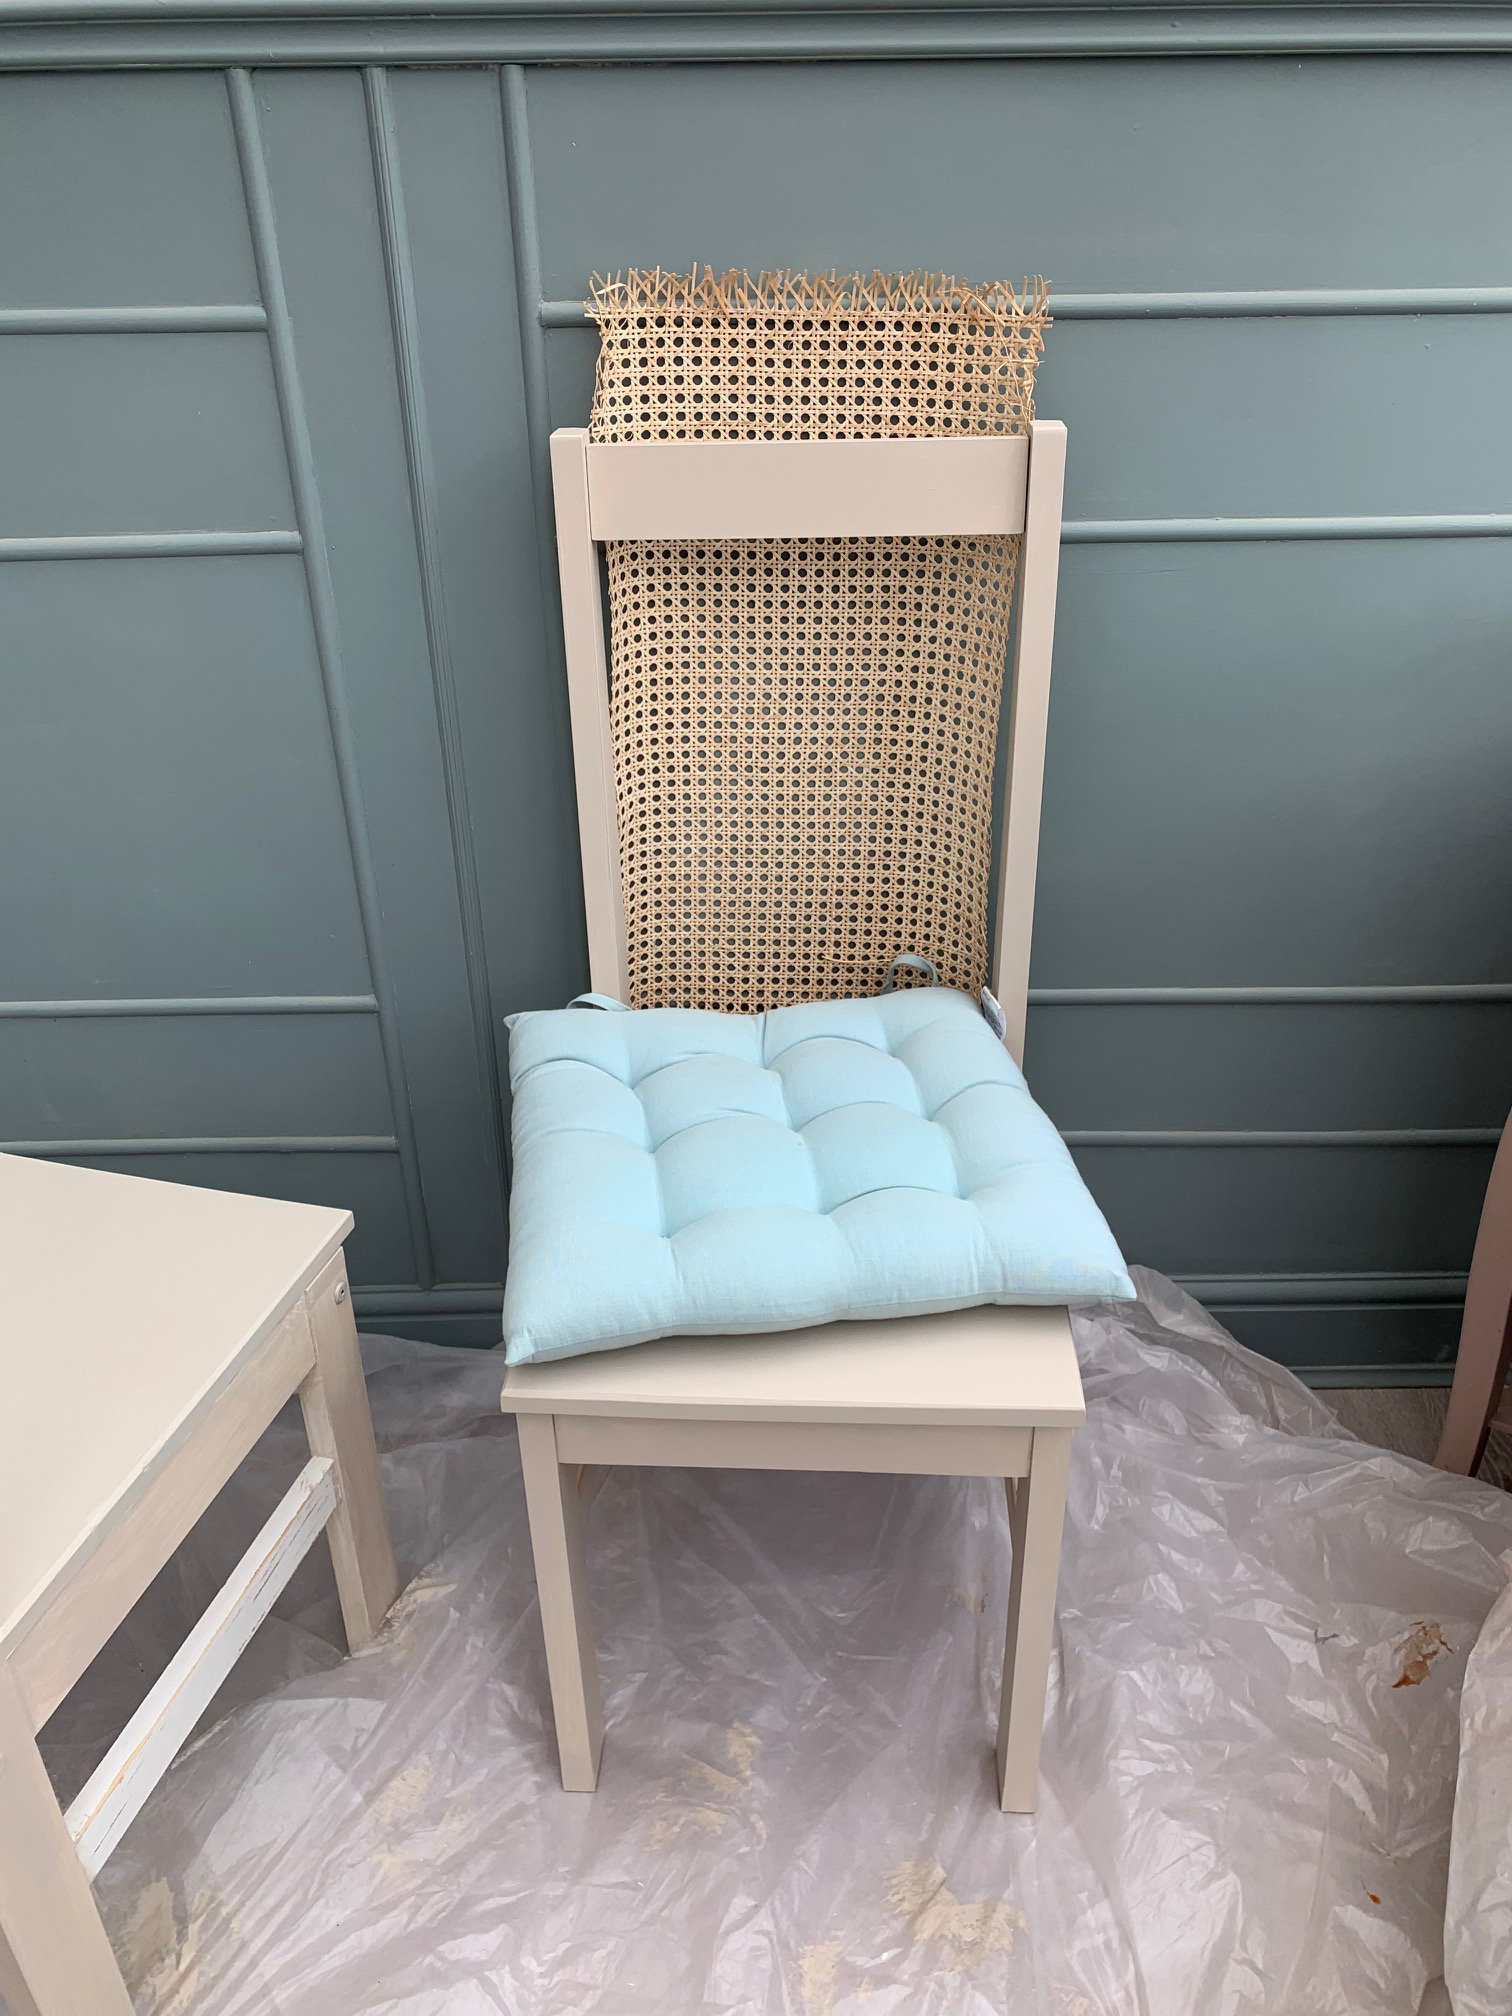
4. Add the cane and the timber
This part of the project took a little bit of trial and error.
I used a staple gun to fix the rattan to the wooden frame of the chair. I started with the top and then worked my way down towards the sides, making sure I stretched the rattan so that it wouldn’t sag.
Once it was all in place, I cut pieces of timber with a mitre saw to fit around, and cover the edge of the rattan. I used a 1cm x 4.5cm piece of timber to cover the top and back, and a half dowel trim for the sides.
I secured all the timber to the frame with wood glue and a load of clamps. Corner clamps, spring clamps and quick release trigger clamps.
I filled all the gaps and holes with wood filler, and once dry sanded it all down for a smooth finish.
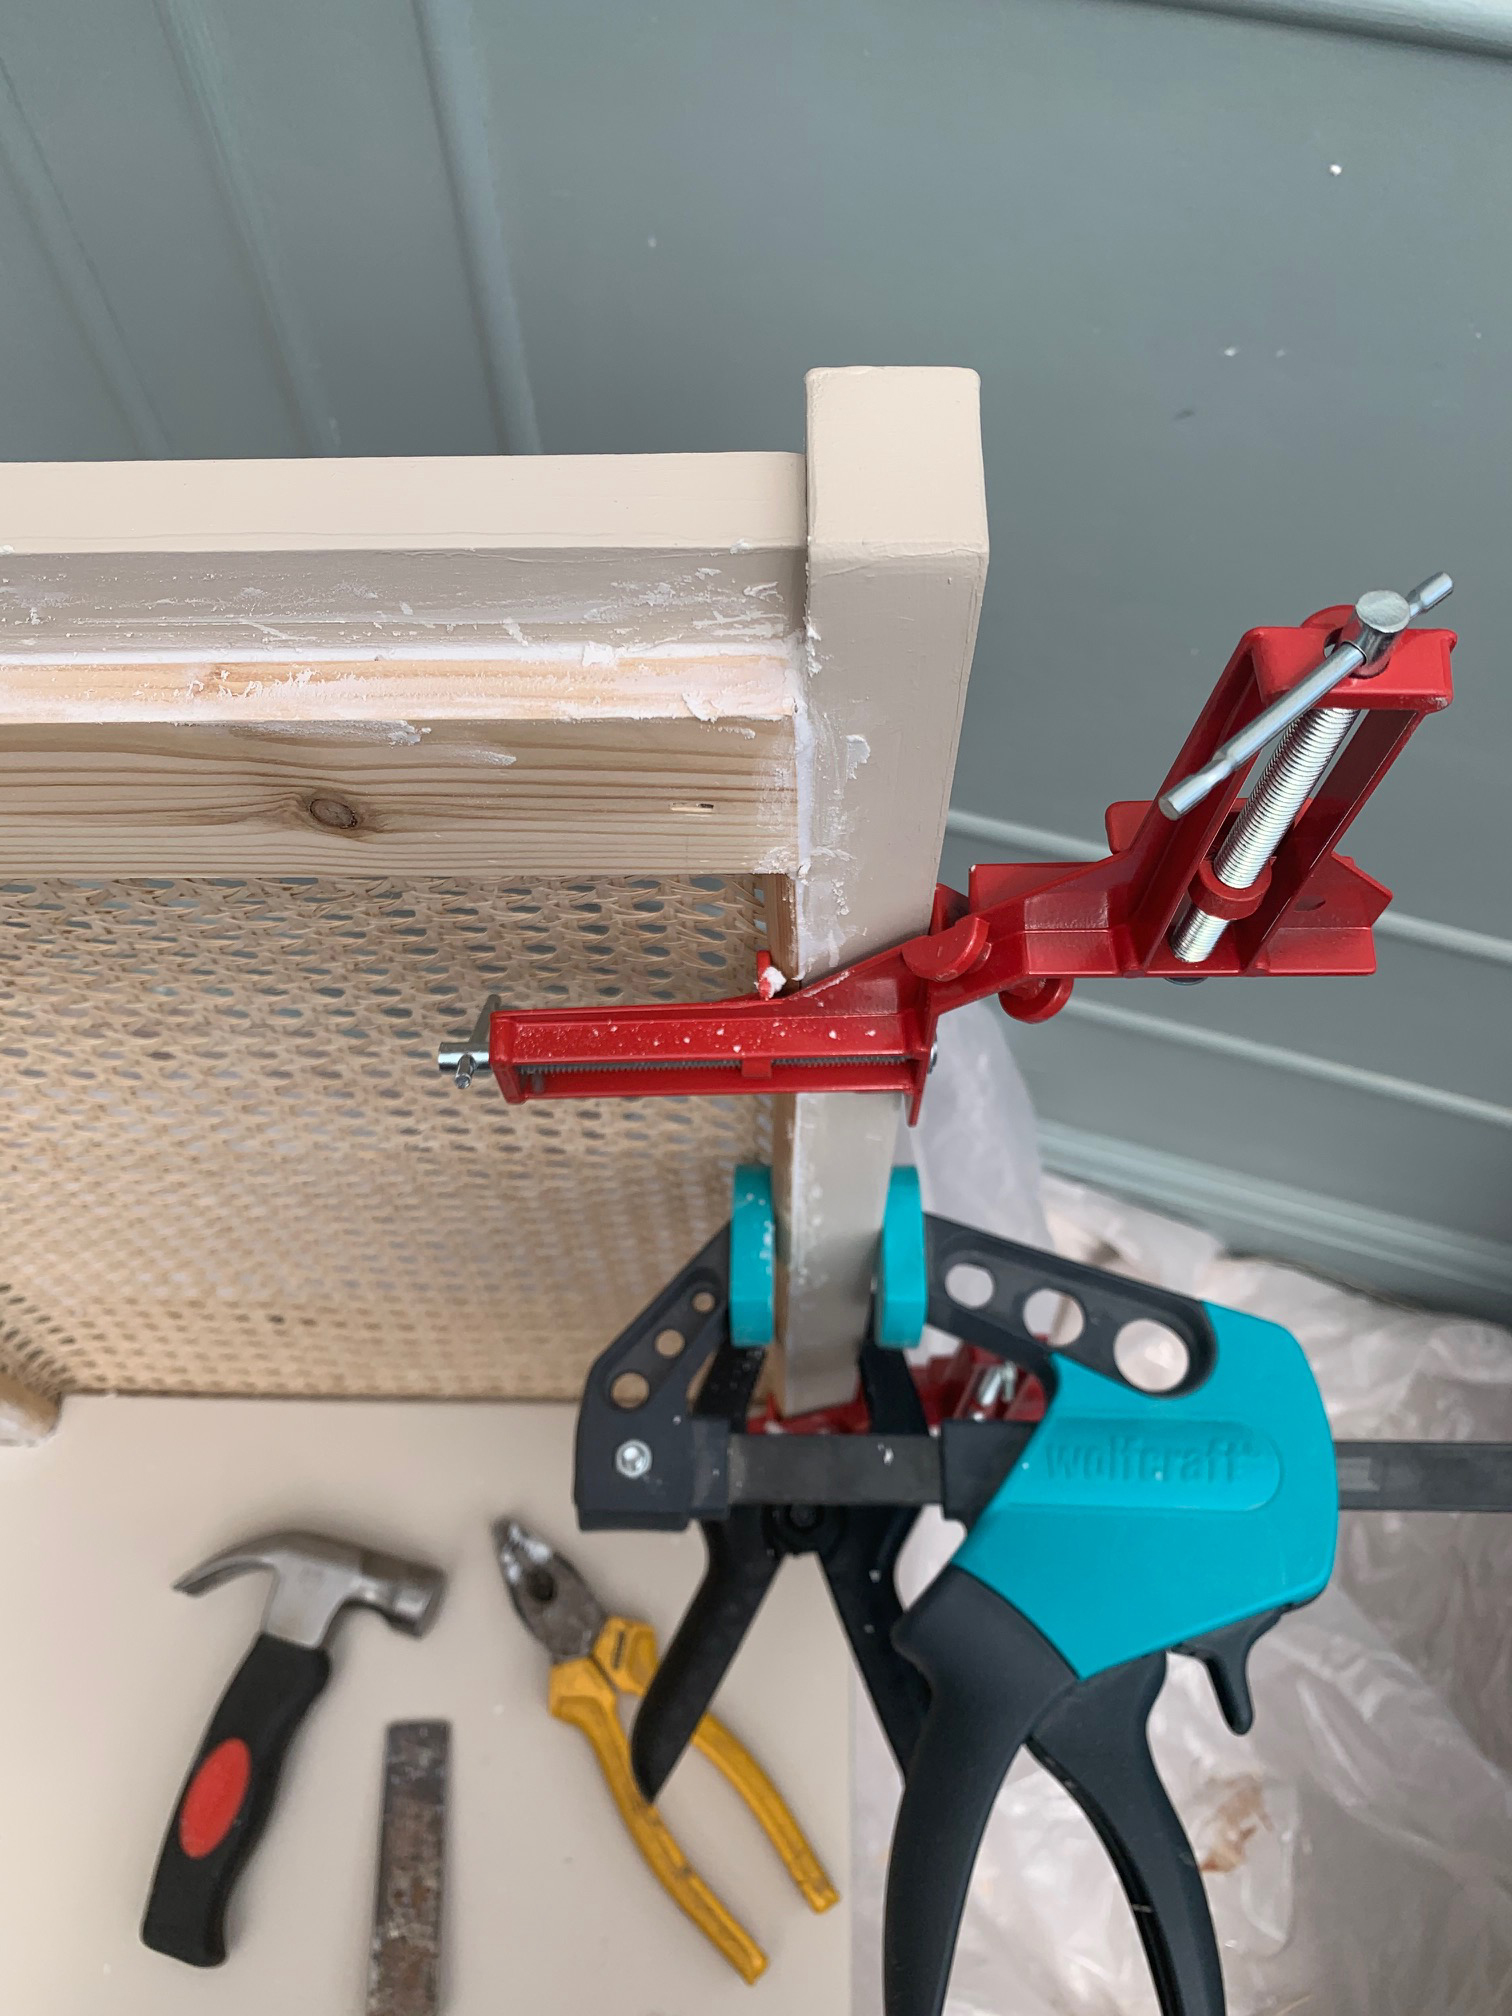
5. A final lick of paint
The last thing was to do a couple coats of paint on the bare timber, and then I was all done. Apart from having to repeat this for the remaining three chairs of course!
It took a while, but it was totally worth it.
- Learn how to paint furniture the right way.
The results:
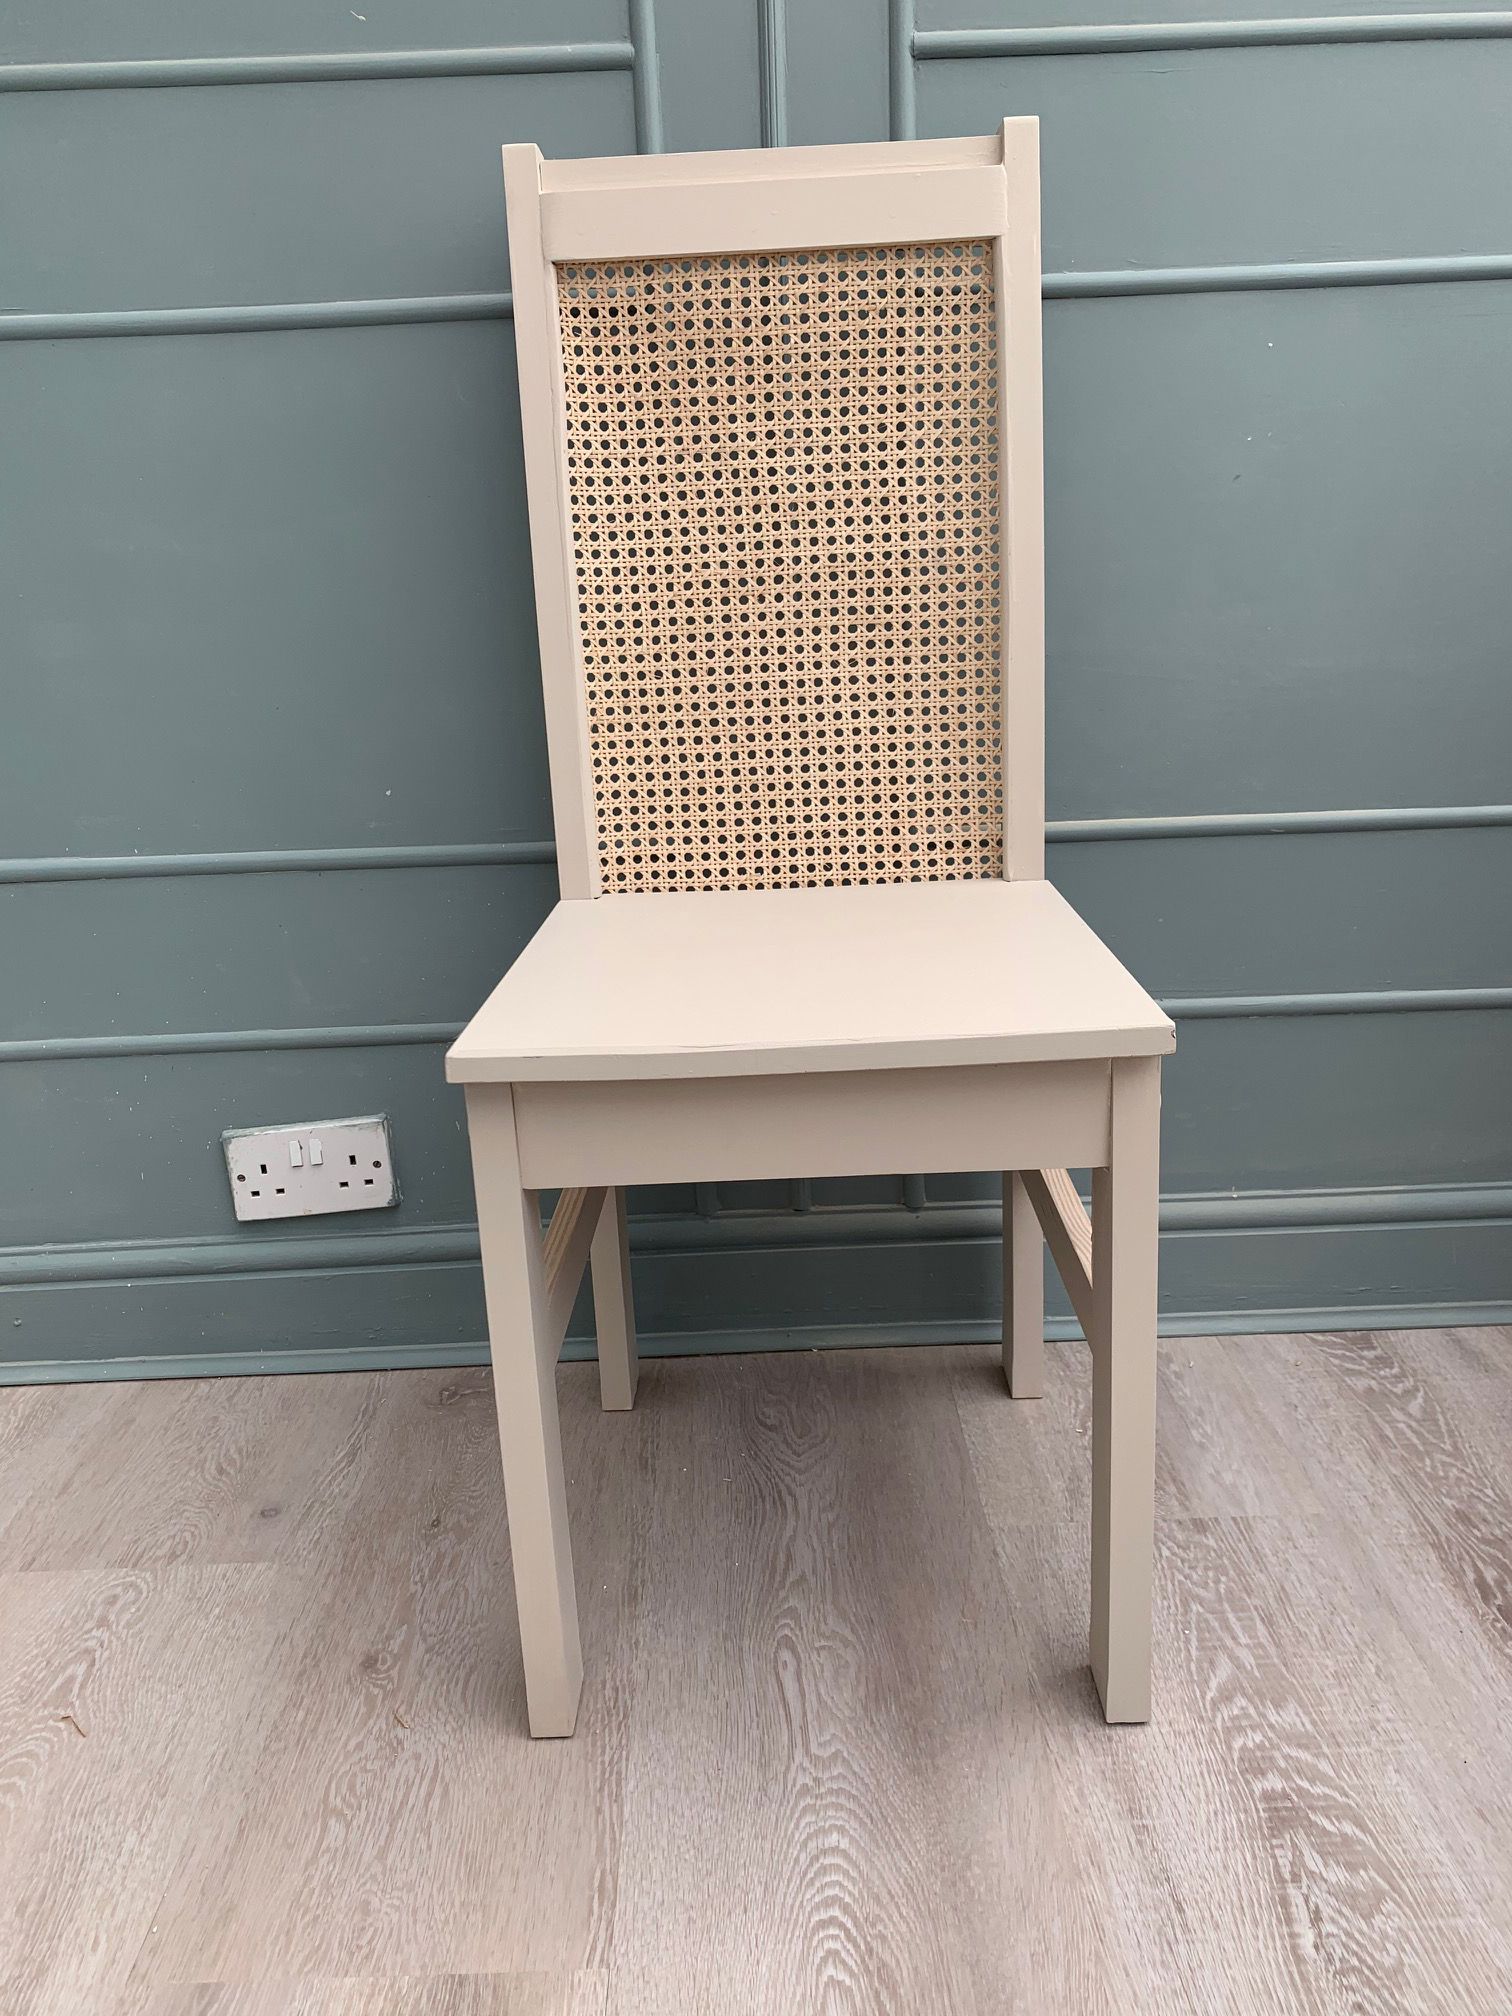
And, there we have it, my DIY cane dining chair.
Jess Grizzle is a multi-award winning content creator and home interiors influencer. Her social media platforms include her Instagram @grizzle_abode which she started in May 2019. Here she shares the joys and trials of living in a home during a renovation and her many DIY projects.
Although she has always been creative, she really found her love for DIY once she and her husband became homeowners. She realised quite quickly out of the two of them, she was the one with the desire to buy power tools and learn new DIY skills.
She found her passion of championing women to do DIY and take on their own challenges. This led her to become a co-founder of the @femalediycollective, a growing female DIY community celebrating projects from women all around the world.