This flower wall is an easy DIY hack – and can be made in an afternoon
A flower wall is an easy DIY hack you can complete in just a couple of hours. Plain old walls begone!
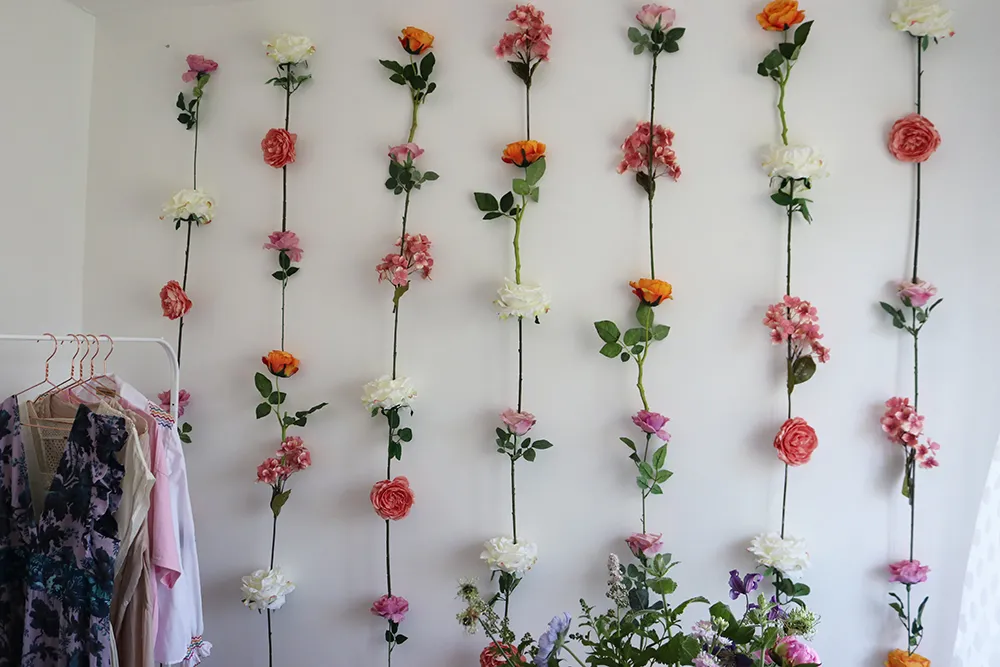
This flower wall is our next installment for #NationalDIYWeek. On Monday, we featured a five-day room transformation for under £500; yesterday, it was plant-filled wheelie bin storage and now it's a DIY flower wall by the very colourful Instagrammer @charlottejacklin. A perfect way to jazz up an otherwise plain looking bedroom, spare room, nursery or office, we think.
How? We explain that below. All you need to get started is a glue gun, a range of faux flowers you love, a hammer, some slim nails and some paper clips. You can complete this in an afternoon once you've got the tools to hand. We're rooting for you.
HOW TO CREATE A FLOWER WALL
1. The first step in creating your very own flower wall is to source the materials. Charlotte's DIY was a collab with Hobbycraft, so all her flowers are from there (more on that below) and we think they're a fab option.
2. The next step is to find a big area of floor in which you can lay out your flowers so you can be sure the arrangement is pleasing. You'll need to decide how many rows you'd like and how many flowers will be in each row. This is also where you can trim stems and leaves if need be.
3. Once you're happy with the look and order of your flowers, begin gluing them together. Starting from the top of each row, grab your top two flowers and your (now hot) glue gun. First, pop some glue in the head of your second flower. Then quickly pop the bottom of the stem of the top flower into the hot glue – and leave to dry. Continue this process until you have a string for each row.
4. Now hang your flower strings on the wall. You might need two people to do this – one to hang and the other to make sure they're evenly spaced from afar. Simply hammer a nail into your wall where you'd like the top of each row to sit. Then, using a paper clip, attach the row of flowers to the nail, being sure to hide the paperclip behind the head of a flower. And you're done!
Head to Charlotte's blog for the full how-to and comprehensive steps.
WANT TO COPY THIS DIY? HERE'S WHAT YOU NEED


