How to make a home bar: a doable DIY for an outdoor bar that you will love
Find out how to make a home bar and bring the pub to your own garden this summer
Get small space home decor ideas, celeb inspiration, DIY tips and more, straight to your inbox!
You are now subscribed
Your newsletter sign-up was successful
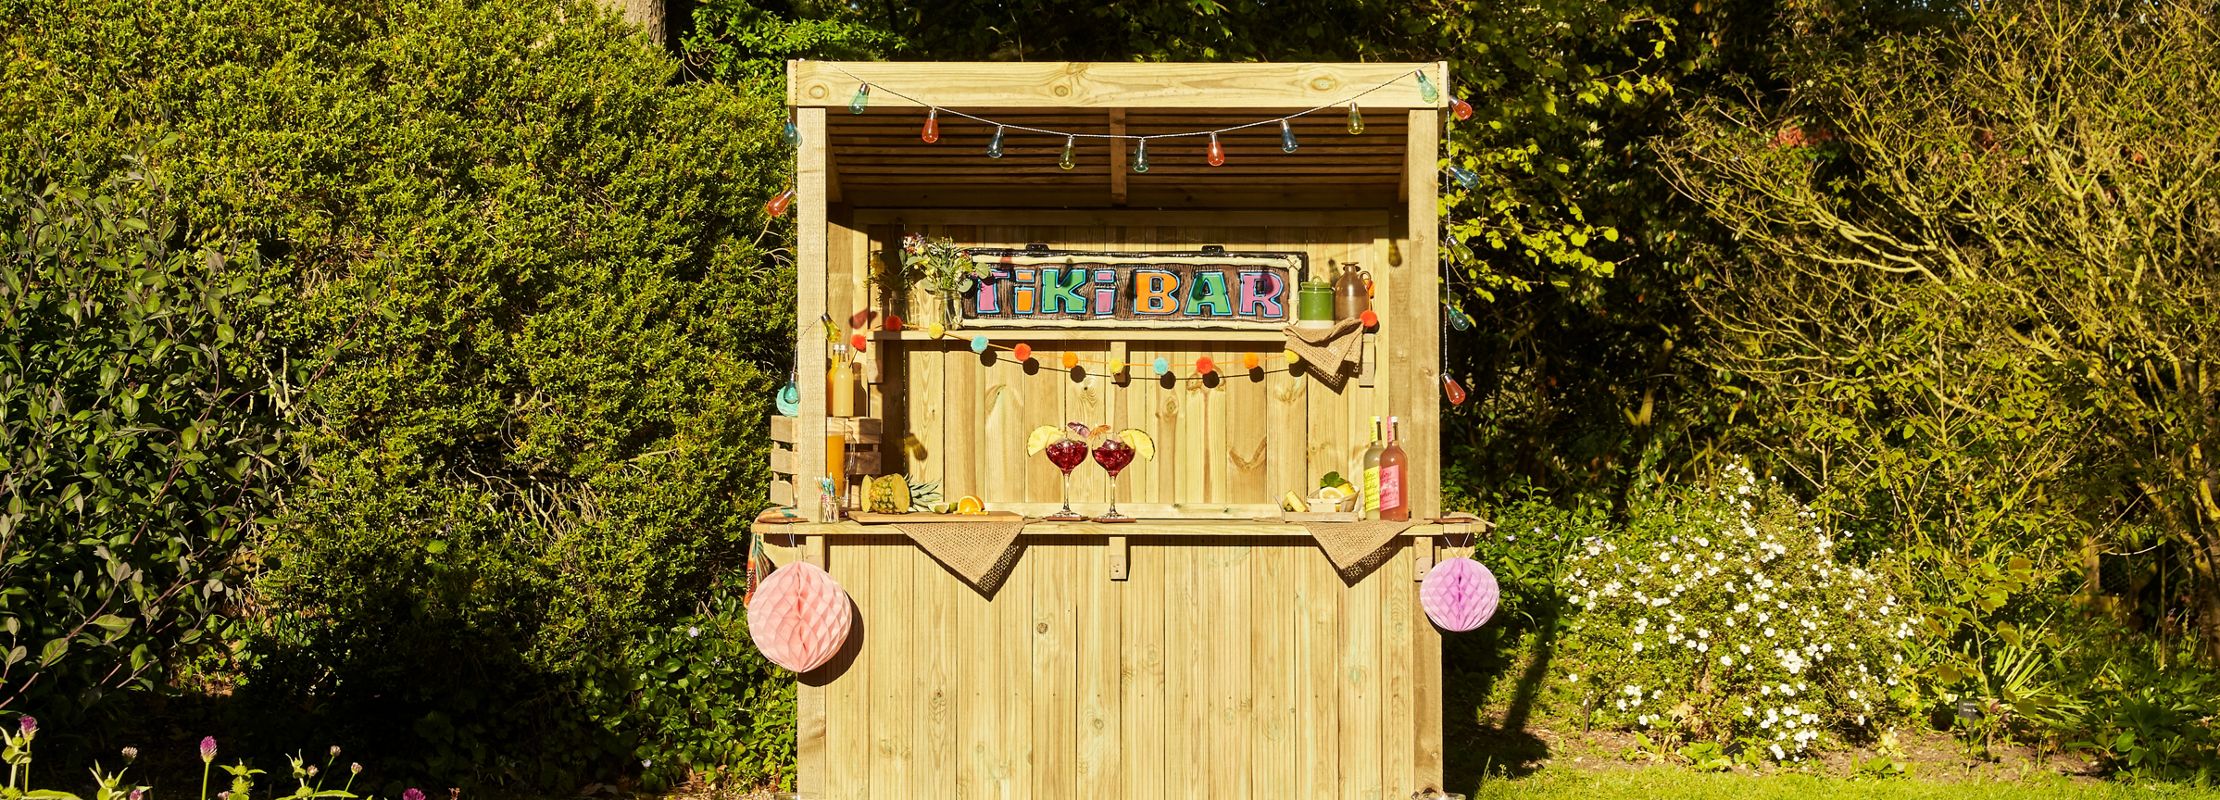
Want to know how to make a home bar this summer? With many of us sorely missing the sociability of the local pub or wine bar, why not recreate an outdoor bar in your own garden? Now that lockdown rules are being relaxed, you can have family and friends around, and, perhaps best of all, you can stock your bar with all your favourite drinks.
Find more amazing garden ideas on our dedicated page.
This step-by-step guide to making your own home bar from timber is generously provided by Wickes. The outdoor bar will cost you under £400 to make and will take approximately eight hours to complete. Wickes recommend you choose a dry day to build your outdoor bar, as working with wet wood can cause problems.
For your outdoor bar you will need:
- Chop saw
- Hand saw
- Battery drill
- Hammer
- Gloves
- Sandpaper
- Tape measure
- Pencil
- Sliding bevel
- Stepladders 3ft/4ft
- Paint brush
- Paint kettle
- Wickes build your own bar timber
- 8 x 64mm Decking Screws
- 5 x 80mm Wood Screws
- 4 x 40mm Wood Screws
- Clear Wood Preserver
- Exterior furniture paint
1. Prepare the plot for your home bar
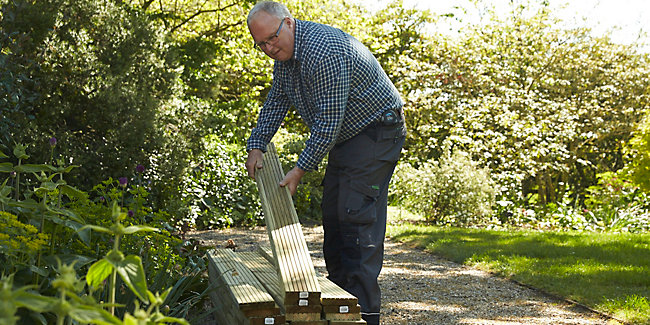
Before you begin the build, select the area of your garden where the bar will be constructed We recommend the bar is built on a solid base of concrete slabs, patio stone or decking. Ensure your workbench and chop saw are close to the area of construction for ease. Once you’re set up, stack your timber close by in separate piles.
2. Cut the timber for the frames
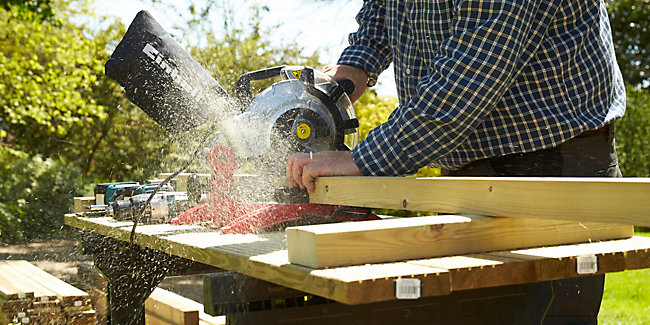
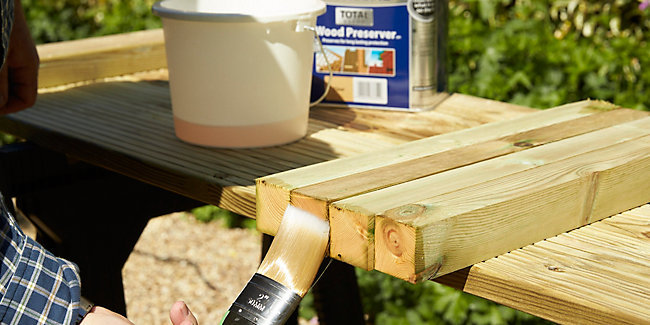
Begin by following the cutting list, cutting all of the 44 x 44mm treated timber for each frame to length with the chop saw. Stack the timber as you cut and apply a coat of wood preserver to the cut ends to seal the timber. Store the cut lengths for each frame in separate piles.
3. Assemble the timber frames
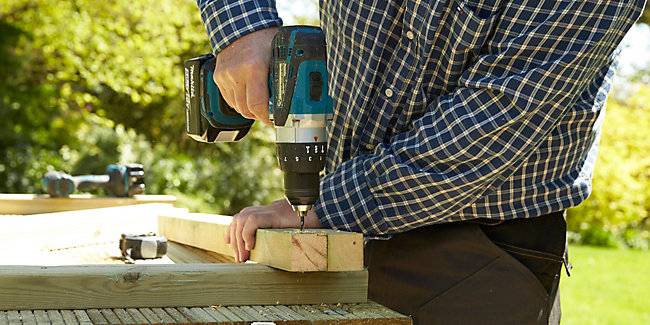
Dry lay each frame on the ground ready for assembly. To help prevent the timber from splitting, drill pilot holes 22mm from the end of each length ensuring the exit is central, to help prevent the timber from splitting.
Working on a frame at a time, lay the cut lengths flat on the workbench and butt the corners together.
Get small space home decor ideas, celeb inspiration, DIY tips and more, straight to your inbox!
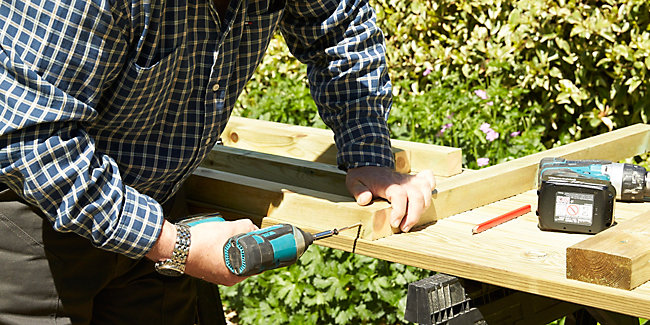
Feeling for a flush join, hold the lengths in place and screw together using the 5 x 80mm wood screws so the head of the screw is sunken into the timber. Repeat this process for all of the frames.
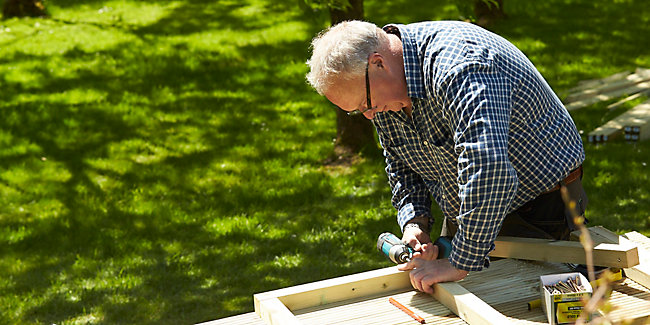
Measure and mark the centre of the opposing outer lengths, drill a pilot hole then drive a screw partway through on the outside.
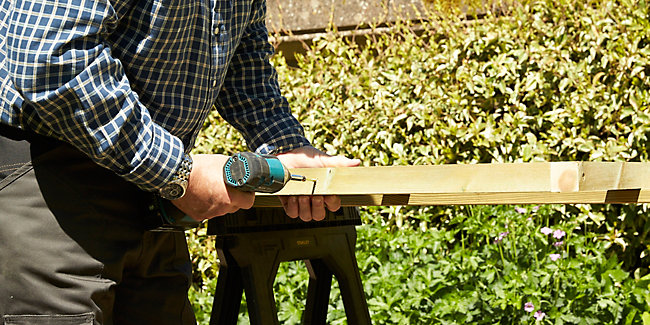
Laying the frame flat on the work bench, position the cross brace making sure it’s centrally aligned, then drive in the screws so the heads are sunken into the timber. You may find with larger frames that it’s easier to stand them on the ground and drill down into the lengths instead.
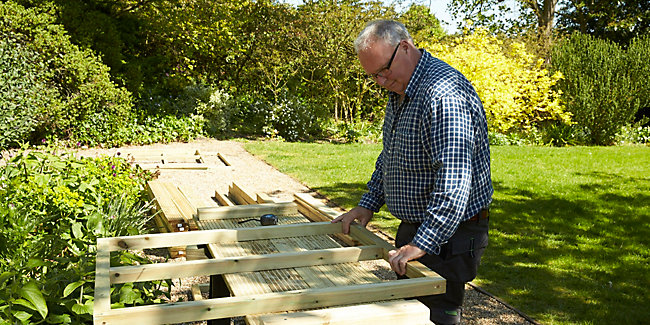
To check the frames are square and the corner joints are 90-degrees, measure each frame diagonally from corner to corner. If your frames are square, the measurements will be equal. Repeat this process for the all of the frames. The right entrance frame does not require a cross brace.
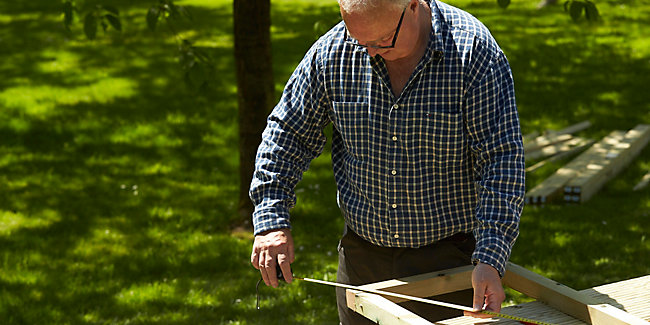
4. Cut the feather edge and decking boards for cladding
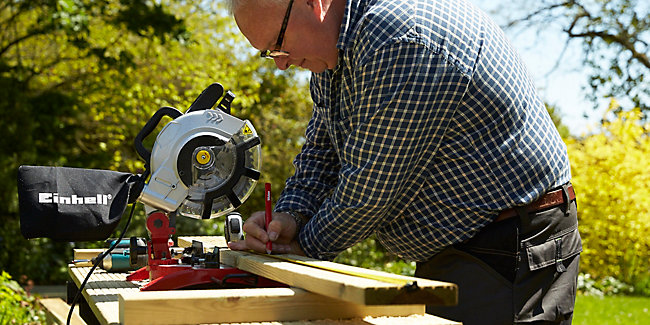
Refer to the cutting list and cut all of the 25 x 120mm x 1.8m deck board to length in one session, treating the cut ends with wood preserver to seal the timber.
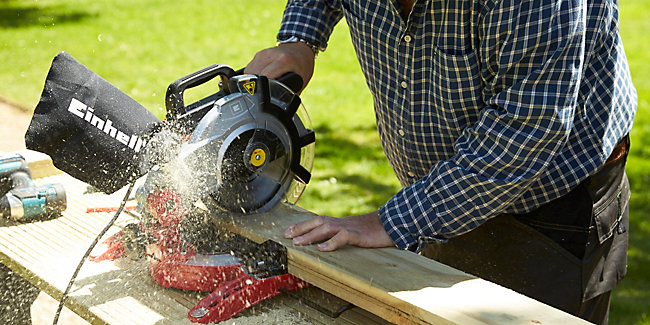
Repeat, cutting the 11 x 150mm x 1.8m feather edge fence board to length, also coating the cut ends with wood preserver.
5. Cut the timber posts
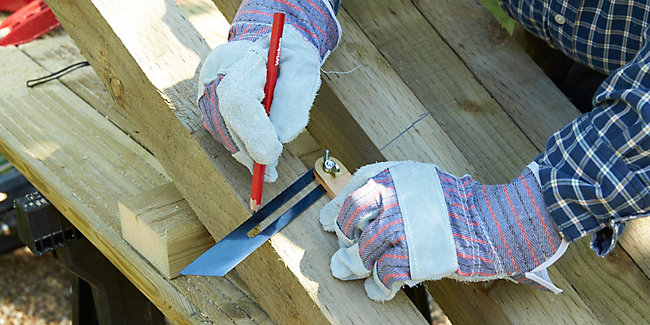
Referring to the cutting list, measure and mark the lengths of four of the 75 x 75mm x 2.4m timber fence posts at a 15-degree angle to create a sloping edge for the roof to sit on.
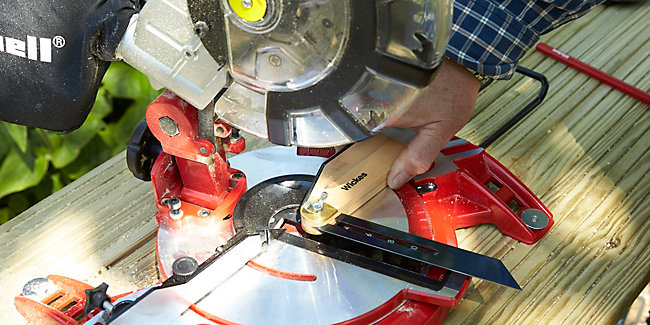
Adjust the chop saw and adjustable bevel to 15-degrees then cut the four posts to length at a 15-degree angle, treating the ends with a coat of wood preserver.
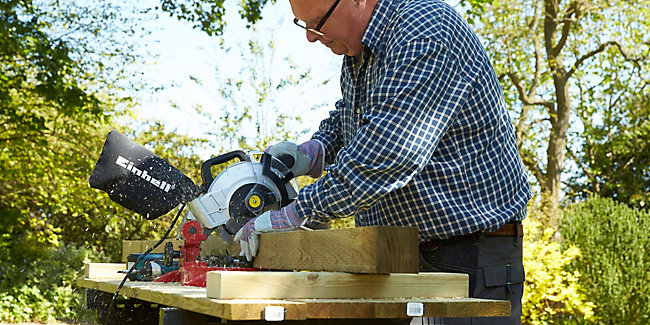
The fifth post that is attached to the bar entrance does not require a sloping edge. Measure, mark and cut it to length treating the cut end with wood preserver. If you find that your chop saw is too small to completely cut through the timber, finish by hands using a universal saw.
6. Clad the frames with decking boards
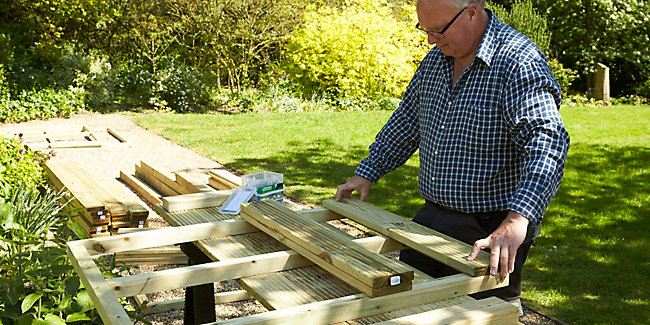
Lay a frame flat on the workbench ready for cladding. Starting at one end, place the first deck board onto the frame, ensuring the corner of the 25 x 120mm x 1.8m deck board is flush and in line with the corner of the frame.
Holding the deck board securely, drill two pilot holes at the ends of the length and one in the centre cross brace, then secure with 8 x 64mm deck screws.
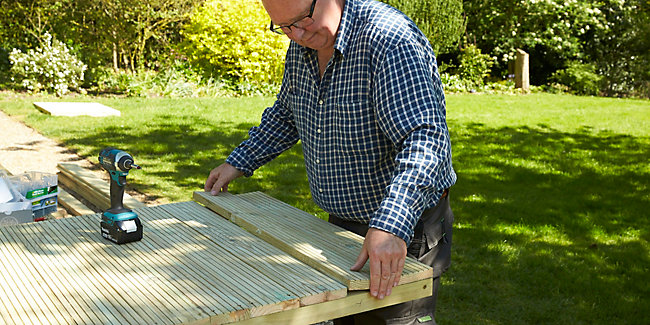
Continue cladding with lengths of 25 x 120mm x 1.8m deck board until the entire frame is covered. Repeat this process for the other frames excluding the roof.
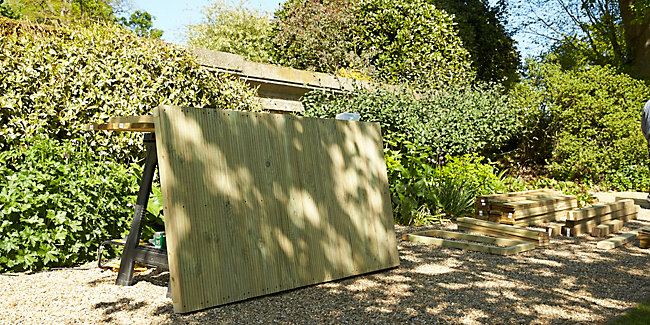
7. Prepare the frames for assembly
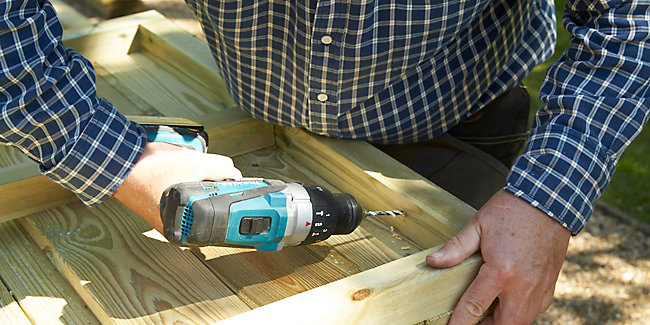
To prepare the cladded frames for final assembly with the 75 x 75mm x 2.4m timber fence posts, drill pilot holes and insert 5 x 80mm wood screws at each inside corner of the frames.
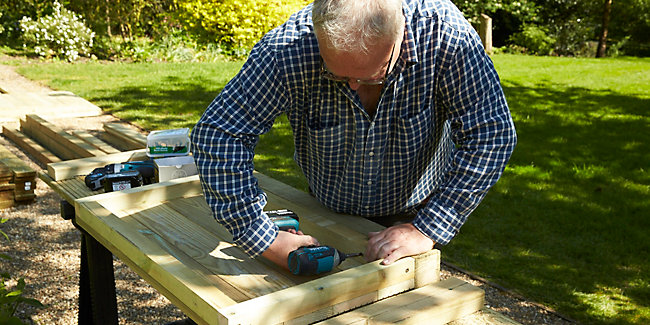
Screw the smallest length of 75 x 75mm x 2.4m timber fence post to the right entrance panel.
8. Clad the roof panel with feather edge boards
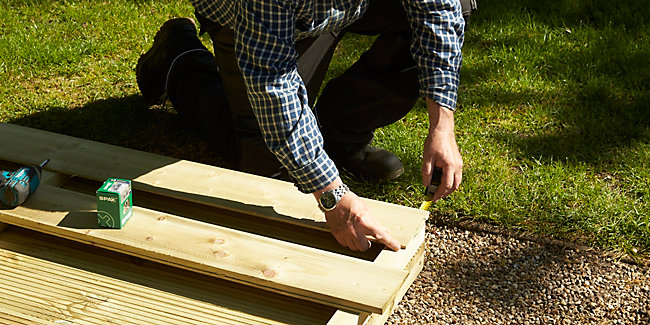
Starting at one end of the roof frame, lay the first length of 11 x 150mm x 1.8m feather edge fence board with a 20mm overhang. Screw through the thickest part of the board with 4 x 40mm wood screws.
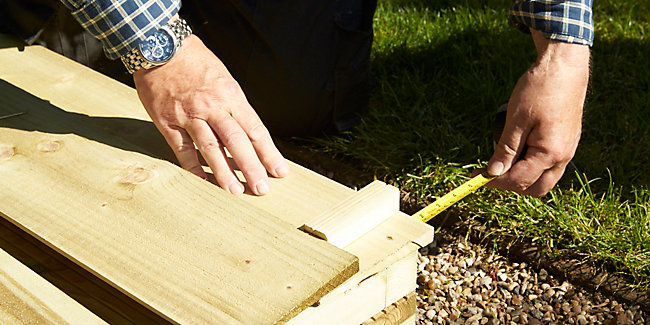
Lay the next length of 11 x 150mm x 1.8m feather edge fence board so the thickest part overlaps the first board. Use a 100mm long spacer to align the overlap then one 4 x 40mm wood screw at either end of the length and one to secure the boards to the centre cross brace, making sure to screw through both boards to the frame.
Repeat until the frame is completely clad.
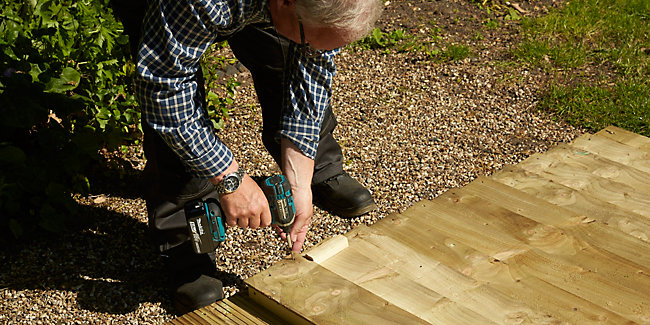
9. Assemble the bar frames, posts and roof panel
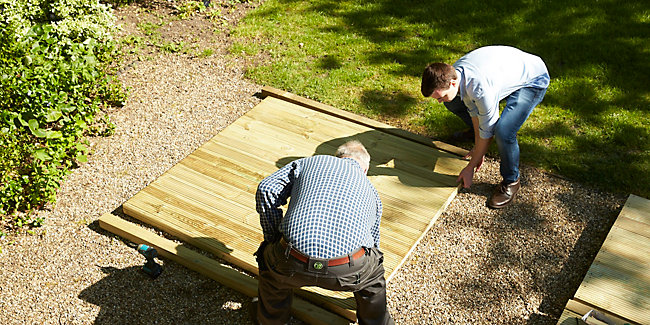
To start assembling the bar, move the back panel and posts into position. The cladded panels will be heavy, so have another pair of hands around to help.
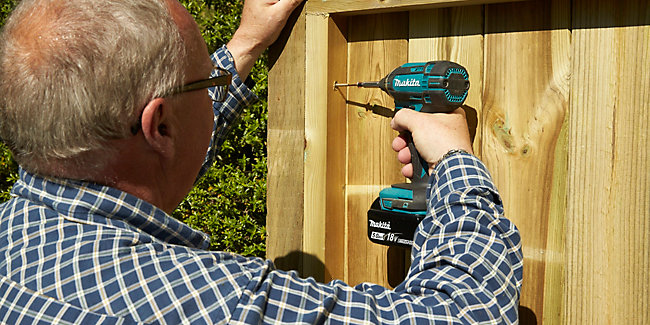
With the back panel standing in position, screw the first medium length post onto the back panel using the 5 x 80mm wood screws that are already driven into the frame.
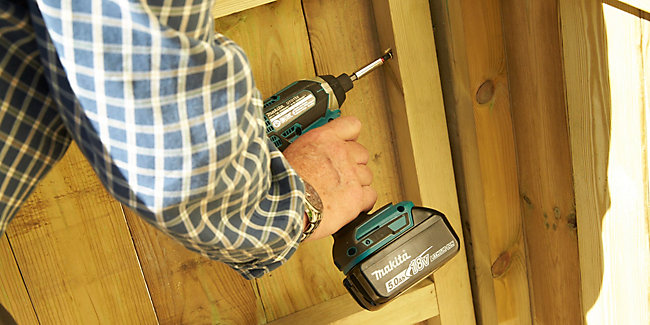
Ensure the cut angle of the post is sloping towards the back of the bar, then screw the longer side panel to the back panel post.
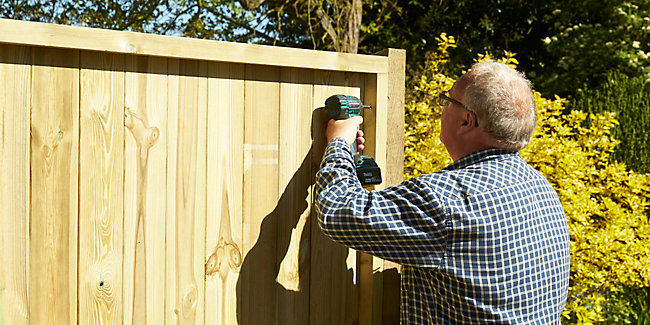
Now the frame is temporarily secure, screw the second medium length post to the other side of the back panel, ensuring the cut angle is sloping towards the back. Repeat this to secure the first longer front post to the front of the side panel.
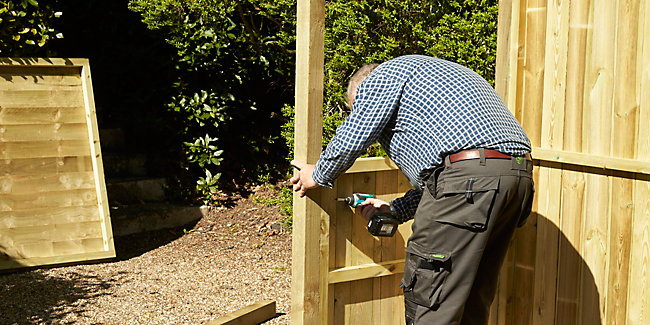
Then move the front panel into place, screwing the cladded frame into the longer front post with the wood screws that are already in place, followed by the last longer post to the other end.
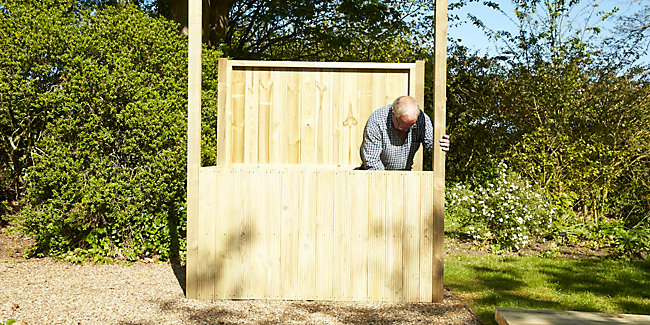
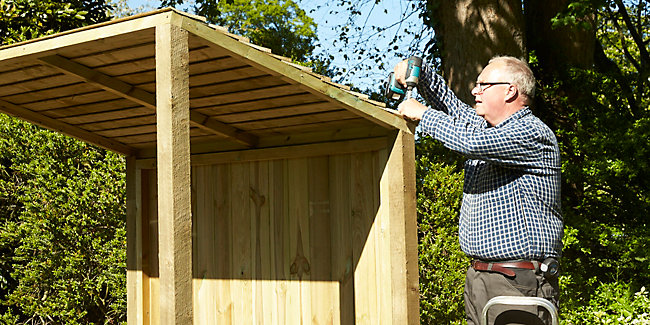
Finish by screwing in the right entrance panel (which already has the small post attached) to the long front post. Lastly, with assistance, lift the feather edge cladded roof panel onto the structure so it’s sloping towards the back of the bar and secure to each of the posts using 5 x 80mm wood screws.
10. Make the bar brackets
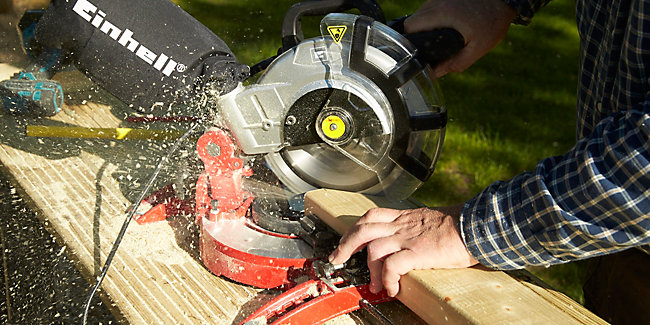
Now the structure of the bar is in place, the bar brackets that support the bar tops can be made. Adjust the chop saw to a 45-degree angle. Using the 45 x 95mm x 2.4m treated timber measure 20mm across the width of the timber then cut the corner off at 45-degrees.
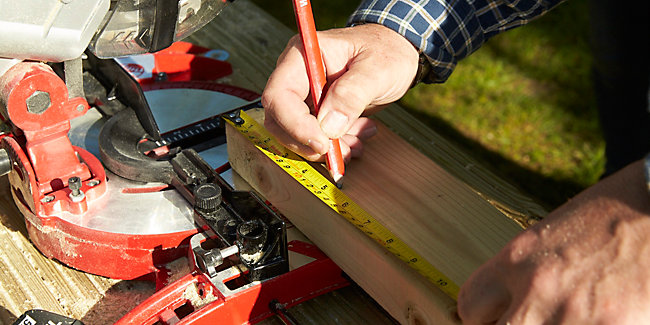
Reset the chop saw to 90-degrees, measure 125mm from the top of the length, mark and then cut. Repeat this process to make ten brackets. Once all ten are cut, drill a pilot hole into the 45-degree face of each bracket, keeping the drill at 90-degrees, then coat all cut ends with wood preserver.
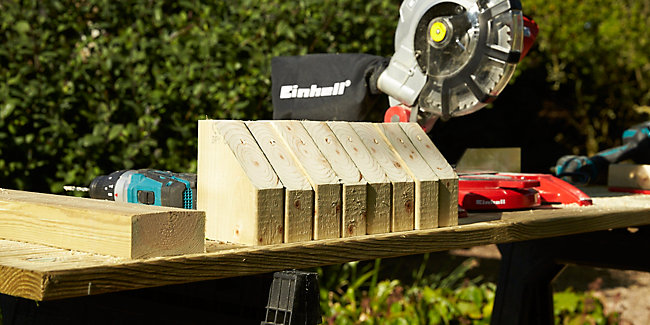
11. Fit the bar brackets
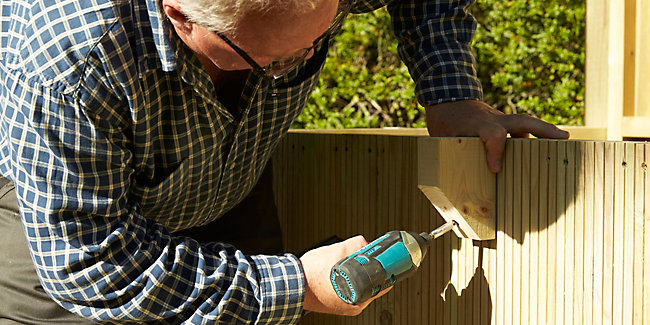
Taking seven brackets, screw two to the sides of the back posts and two to the sides of the front posts using 5 x 80mm wood screws.
Then screw two brackets onto the front of the front posts and one in the centre of the front cladded panel, so the top of the bracket is flush and in line with the top of the panel.
12. Measure and cut the bar worktops
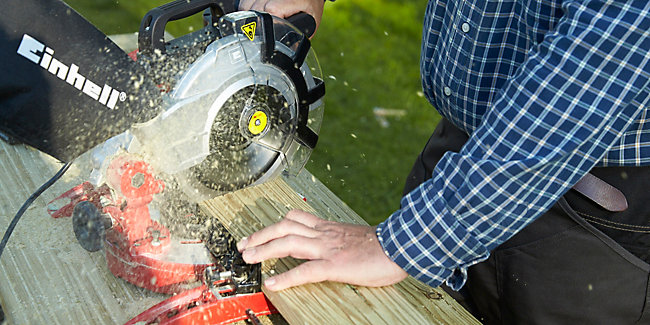
To make the bar tops, you will need to measure the structure of your bar.
To make the front worktop, measure the width from external post to external post and make a note of the measurements.
For the side worktops, measure from the back posts to the front posts adding the width of the front worktop 25 x 120mm x 1.8m deck board and make a note of the measurements.
For the three internal worktops, make a note of the measurements from inner post to inner post.
Using the 25 x 120mm x 1.8m deck board cut the six lengths to size, then adjust the chop saw to 45-degrees.
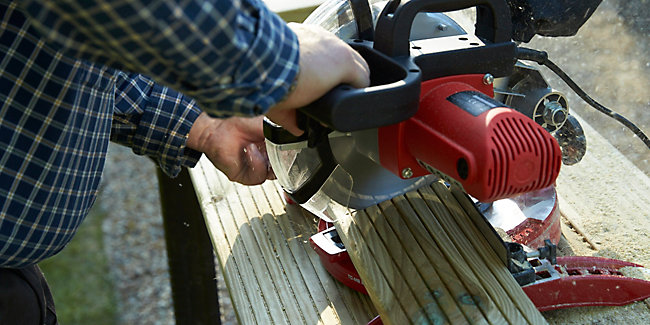
At the ends of the lengths for the two outer bar tops, measure and mark the centre point then cut off a 45-degree angle to the outer edge, to create an angled corner. Finish by treating the cut ends with wood preserver to seal the timber.
13. Fit the bar worktop and shelf
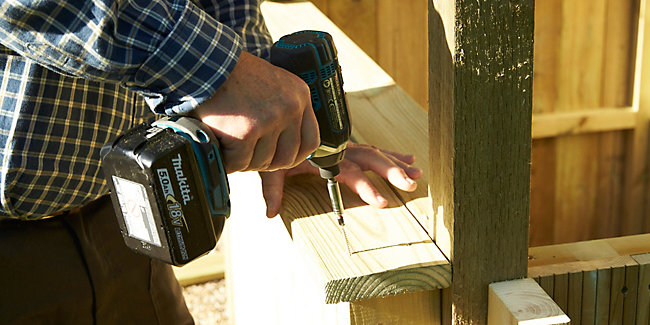
With the decking board grooves facing down, screw all six lengths onto the brackets with 8 x 64mm decking screws to create the bar surfaces.
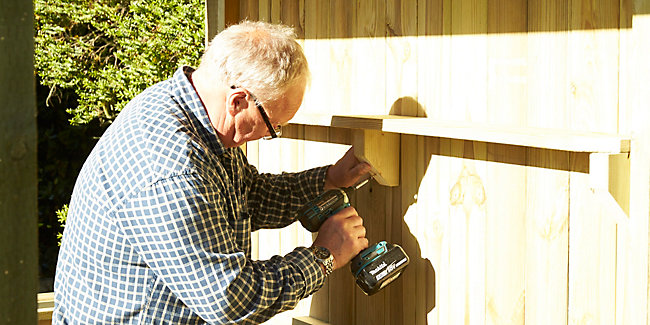
To create a shelf for the back panel of the bar, measure the internal width of the back panel frame then cut a 25 x 120mm x 1.8m deck board to length.
Taking the remaining three brackets, screw two at either side of the internal back panel frame, to hold the shelf in place.
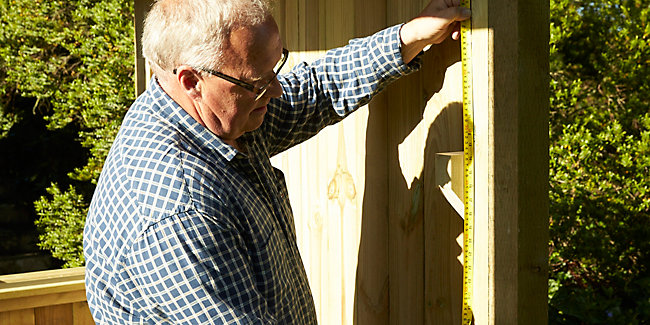
You can get the perfect placement for the second bracket by measuring from the top of the inside back panel frame to the top of the first bracket.
Secure the shelf by driving 5 x 80mm wood screws through the length into the brackets, then affix the third and last central bracket under the shelf before securing in the same way.
14. Cut and fit the roof fascias
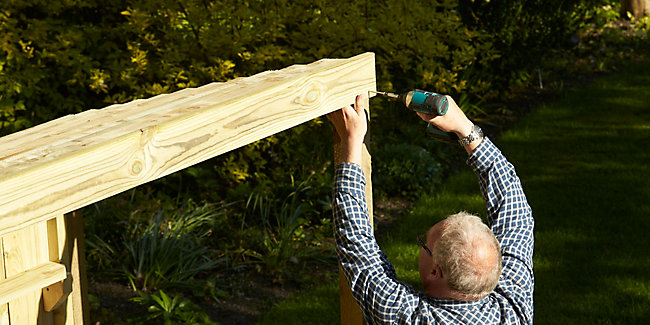
To create a roof fascia to neaten up the edges of the frame, measure the front of the roof width and cut a length of 25 x 120mm x 1.8m deck board to size.
Screw this into the front posts at either end using 8 x 64mm decking screws, so the groove of the deck board is on the inside and the top of the length is sitting slightly proud of the frame, to conceal the feather edge boards.
For the side fascias, measure from the front fascia to the back of the roof frame. Adjust the chop saw to 15-degrees and cut two lengths of 25 x 120mm x 1.8m deck board to size with 15-degree parallel angles at either end.
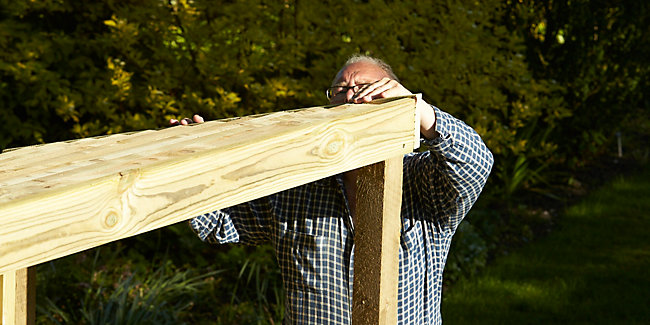
Screw these onto the sides of the roof frame so the grooves and on the inside, using 25 x 120mm x 1.8m deck board. Ensure the length has a neat butt joint to the front fascia and sits slightly proud down the length of the roof frame to conceal the feather edge boards.
15. Cut and fit the bar fascias
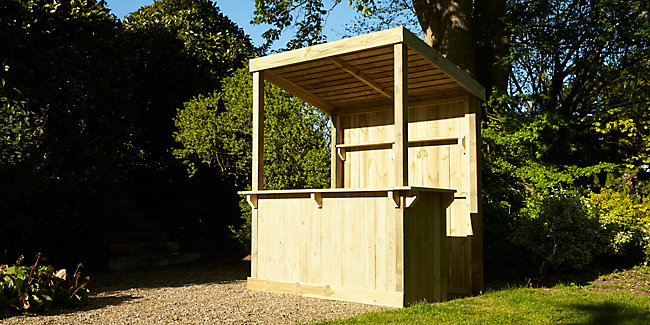
Finally, to make bottom fascias for the bar, measure the front and side width of the cladded bar panels.
Reset the chop saw to 90-degrees and cut three lengths of 25 x 120mm x 1.8m deck board to length. Ensure the side lengths have neat butt joints to the front of the bar length, then secure to the cut lengths to the four posts using 8 x 64mm decking screws.
And that’s it! Once the bar is constructed, you’re ready to go.
Get creative with your timber bar
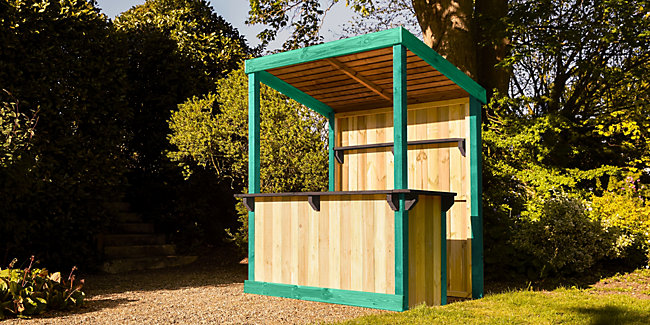
Get creative and make the bar into a garden feature with exterior paints and wood treatments. Once the timber has acclimatised and is fully dry, give the bar a good wipe down before you treat the timber, to remove any leaves, moss, dust and dirt.
The best time to apply treatments or paint is following a dry spell and when the weather forecast looks clear for the next few days.
If you choose to stain, oil or varnish your shed to waterproof and protect the timber against UV light, make sure to choose a quality exterior treatment for wood. Several coats with a timber brush will provide long lasting protection.
Choose clear treatments to enhance the natural timber of your bar, or muted garden stains for a traditional finish to help your bar blend into its surroundings.
If you choose to enhance your timber bar with paint, a good quality wood primer can help your paint go further and make application easy. Once the primer is dry, apply several coats of your chosen colour using a timber brush or exterior paint sprayer, allowing drying time in between each.
Paint the bar with pastel colours for a beach hut look, go bright with bold colours to match your borders or get trendy with vintage style blues, soft pale shades and contrasting window and door frames.
Check out the best exterior wood paint for the job in our guide.
More DIY know-how:
Anna is a professional writer with many years of experience. She has a passion for contemporary home decor and gardening. She covers a range of topics, from practical advice to interior and garden design.