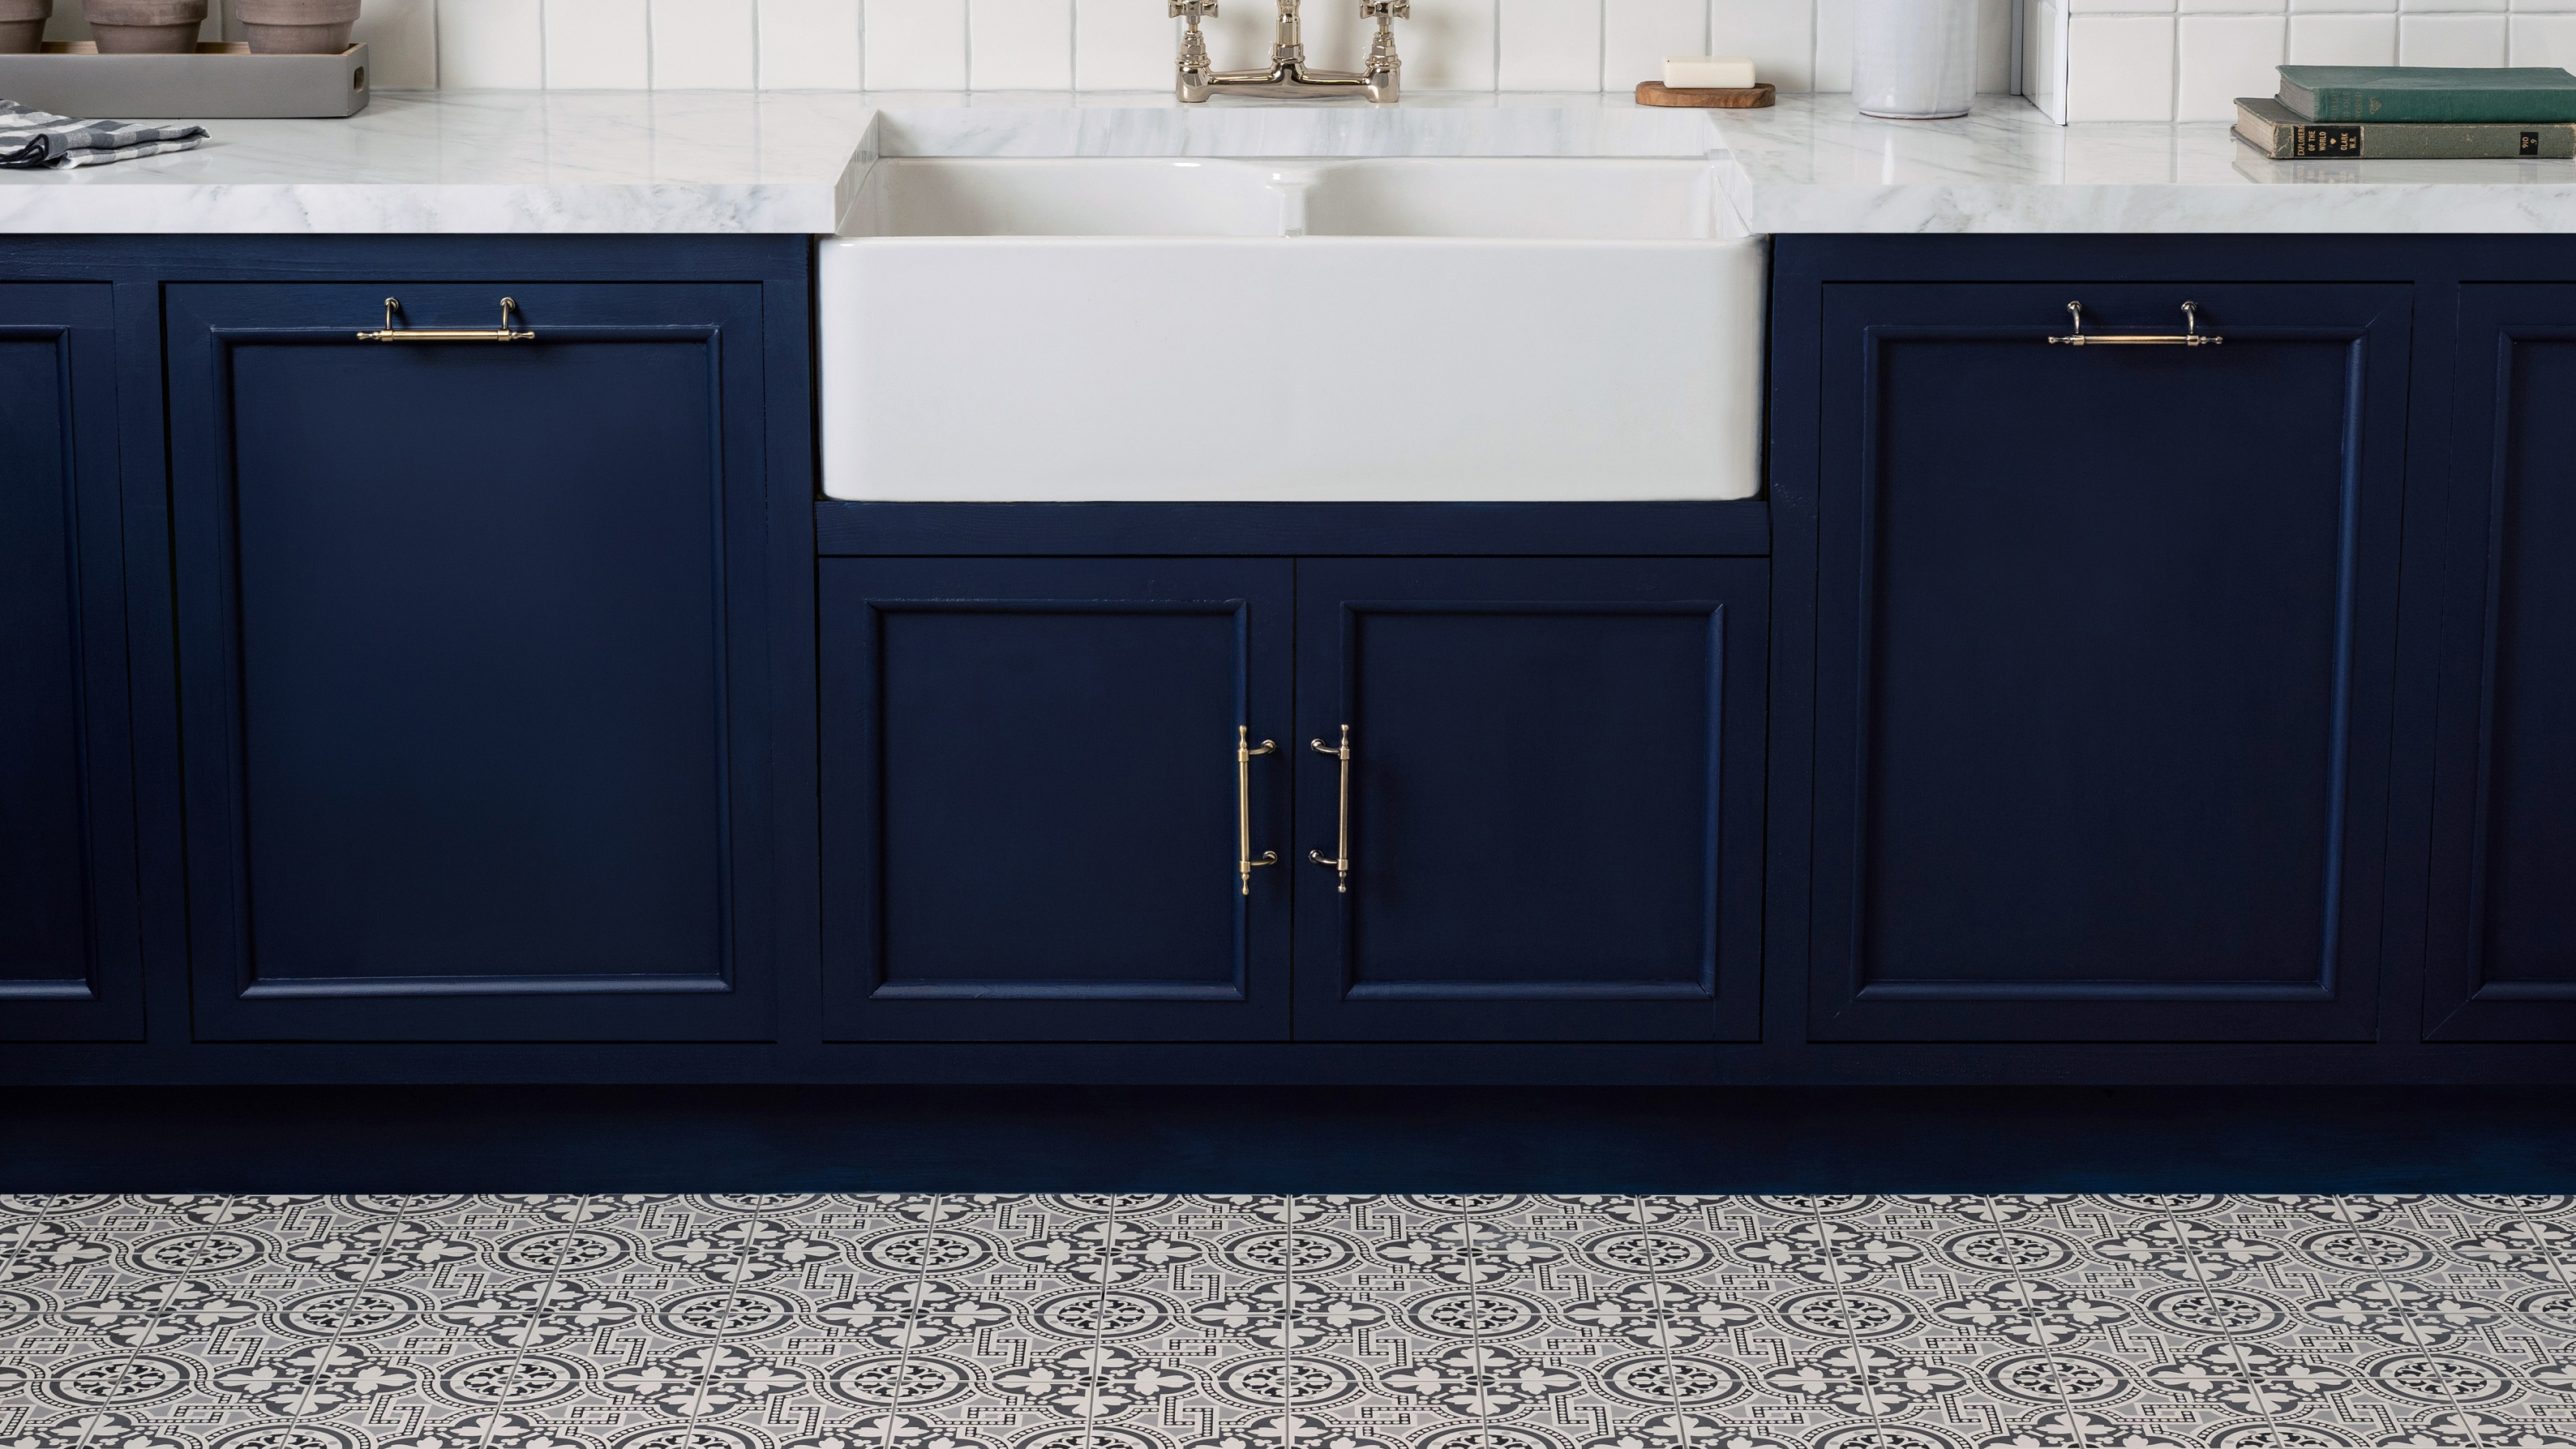
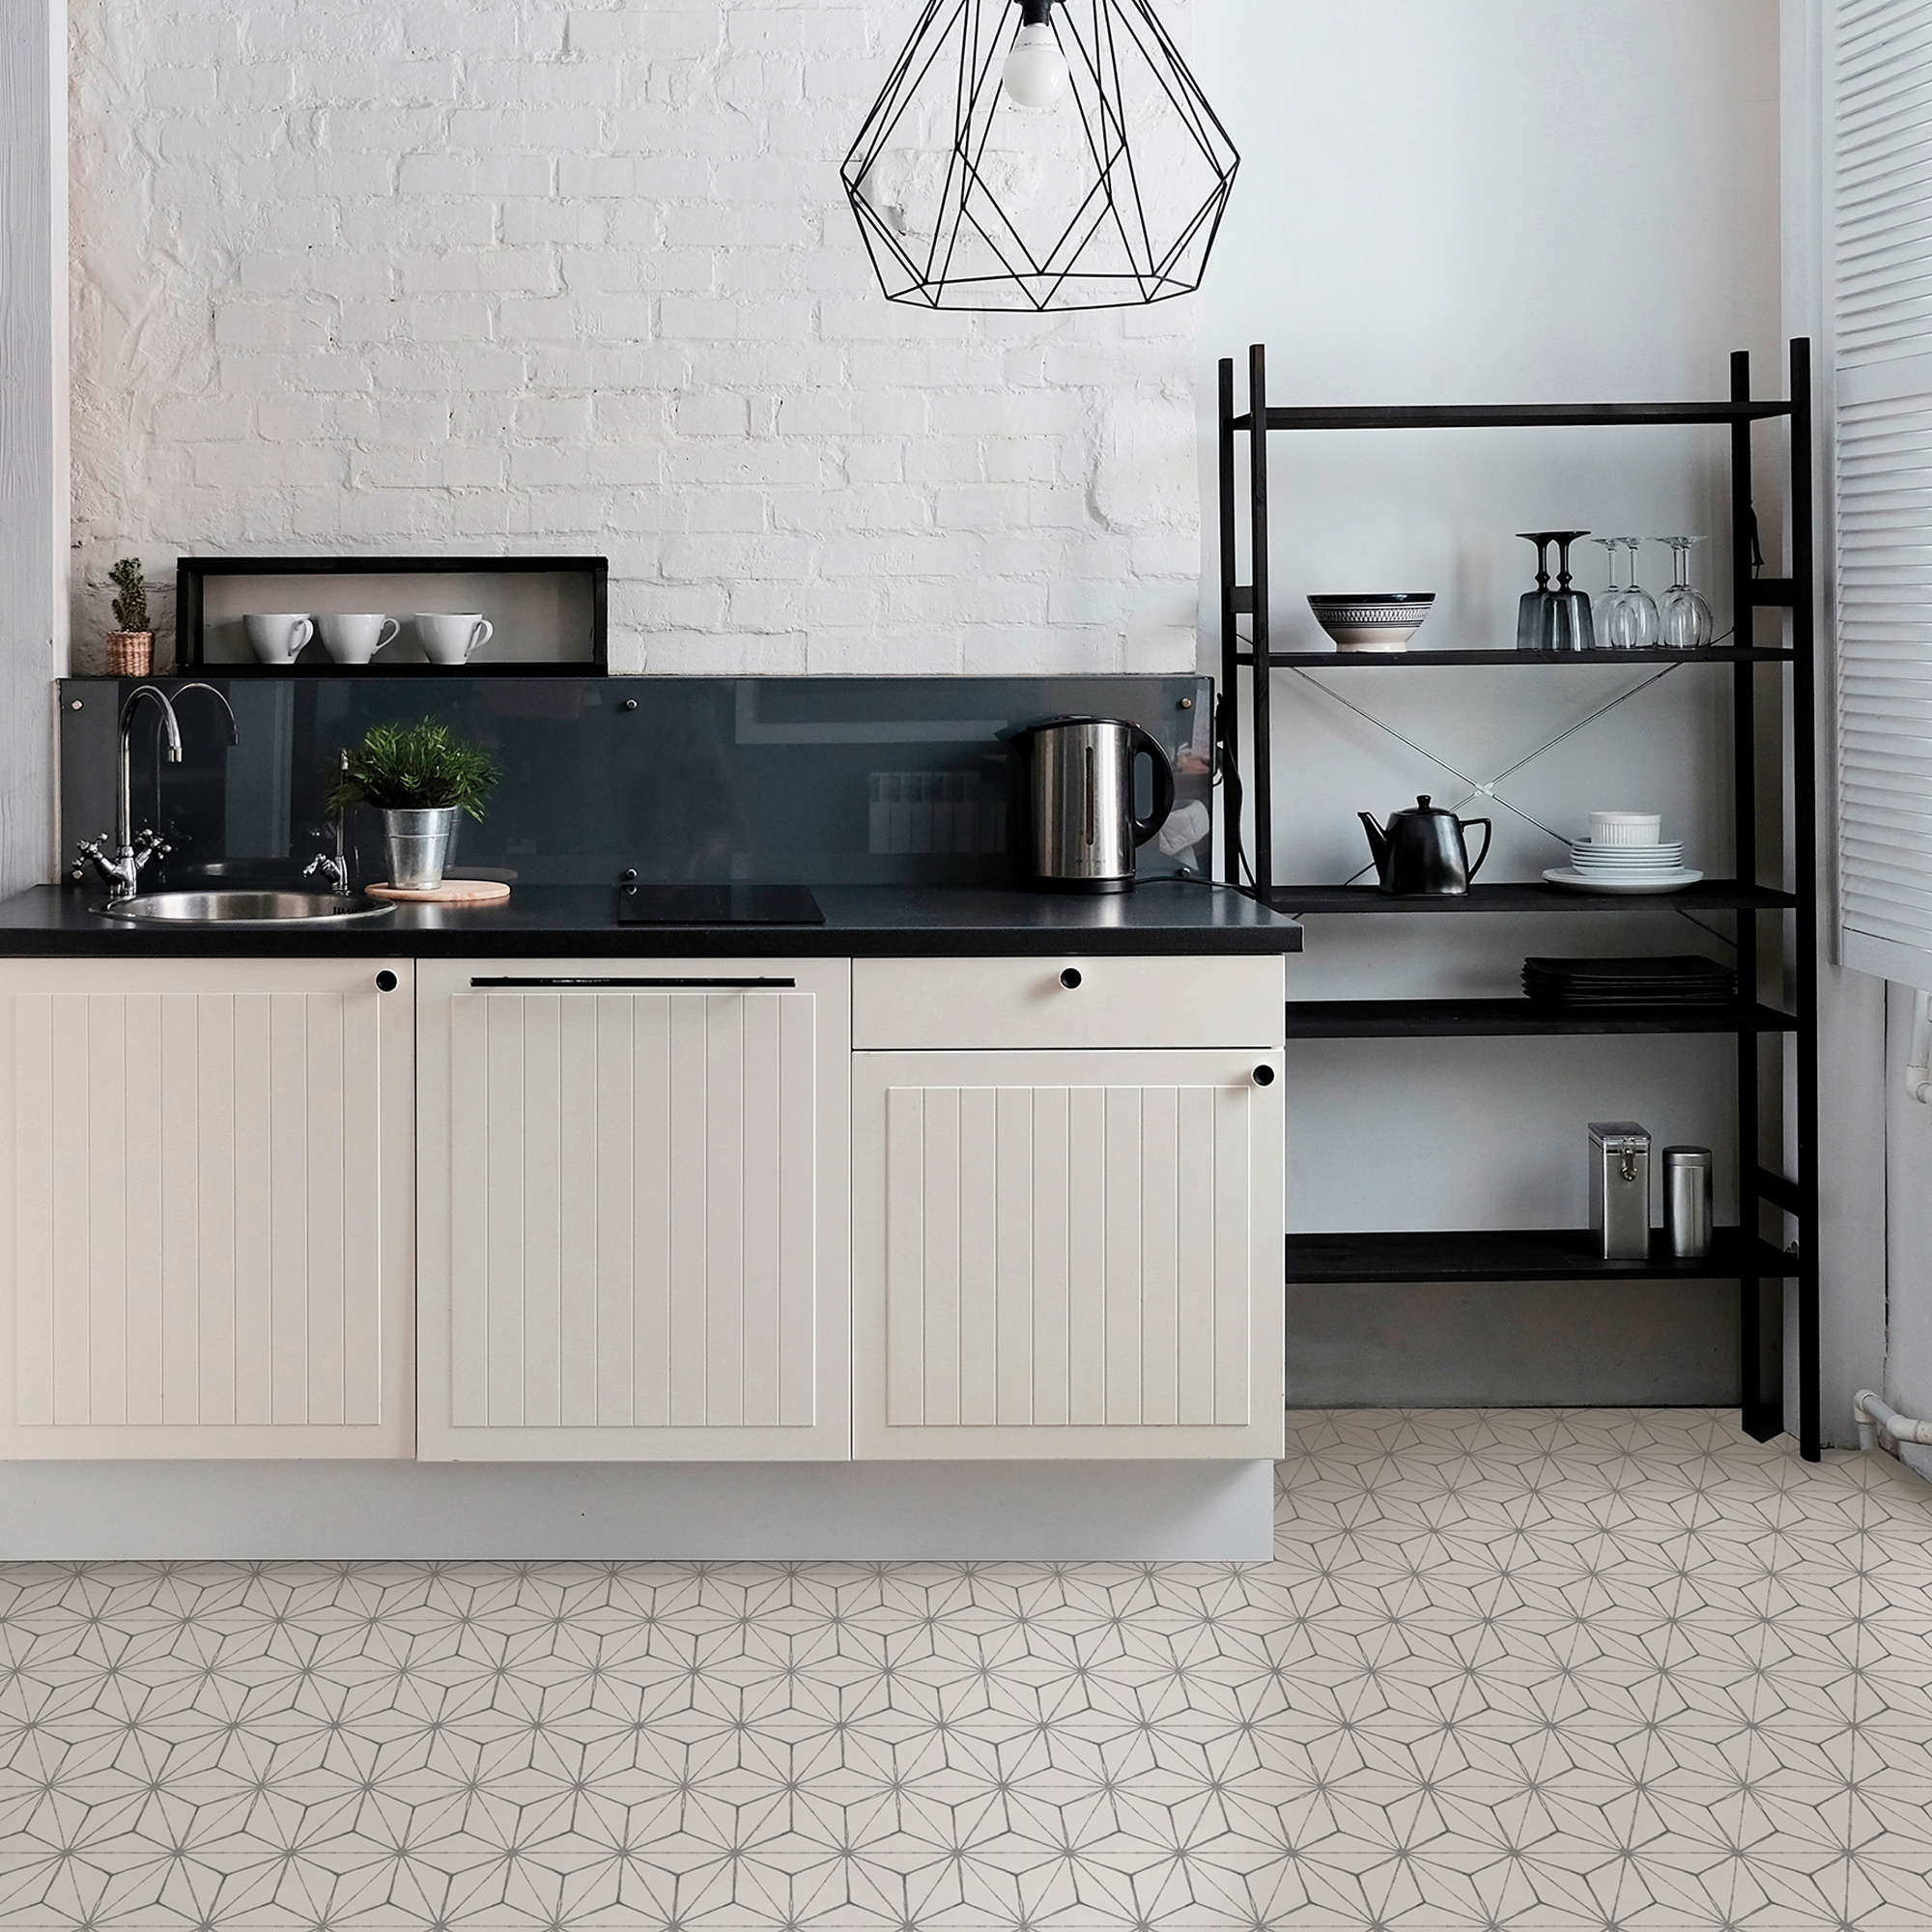
This clever hack with tile stickers can makeover a kitchen for under £50
Kitchen floor seen better days? Pick up some kitchen tile stickers for a cheap, easy and effective spring update


All hail tile stickers! Literally, the quickest, easiest and cheapest way to cover up old flooring. Great if you are looking for an instant update for your kitchen and also a fab solution if you are a renter too as you can just pull them up when you leave (although guarantee you, your landlord will be desperate for you to keep them down).
Tile stickers come in so many sizes and designs and you can use them on your walls and splashback too! Below we have created a really easy step by step to make sure you get the best results when updating your kitchen (or any room for that matter) with tile stickers. We have also rounded up some of our favourite places to buy really stylish, authentic-looking tile stickers.
For more kitchen ideas, head over to our hub page.

Are tile stickers waterproof?
You can get these tiles wet – which is ideal if they are going to be sat on your kitchen floor – but in saying that, you will better protect the floor underneath the stick on tile by limiting the amount of water they are exposed to.
Whether you're looking for easy grey tile stickers, classic monochrome, crisp white or even for a bit of texture, just keep scrolling to find out how you can create the best looking results. And without further ado, this is how to use tile stickers in your kitchen.
You will need:
- Self Adhesive Vinyl Tiles (Etsy, B&Q and Amazon have some gorgeous ones)
- Mop
- Floor cleaner
- Scissors or retractable blade
- Squeegee
Step one: clean your floor tiles
And we mean clean them. Sweep or hoover first to make sure you have got rid of any dust and dirt and then go in with a mop and floor cleaner. Wait for your floor to dry before laying any of the tile stickers.
Step two: plan your layout
Before you get straight in with sticking down the floor tiles, plan where each tile sticker is going to go. We wouldn't recommend just starting to lay your tiles along one wall and work from there – your wall might not be straight or you might end up having to chop up your stickers when you reach the other side of the room which will just look uneven. Start in the centre of the floor and work outwards, aligning all the tiles before starting to stick them down.
Get small space home decor ideas, celeb inspiration, DIY tips and more, straight to your inbox!
Don't cut any until you have laid all the ones that can stay whole as you might find the sizes of the gaps have changed.
Top tip: avoid leaving tiny gaps when you reach the skirting as even if you cut a bit of tile sticker to fit, it won't look polished. Really take your time to get the layout right as it will pay to be patient.
Step three: start sticking
Once you have decided where each of your tile stickers is going to go, start sticking. Start in the centre and work outwards, leaving any stickers you will have to cut until last. Peel the paper off the back of the first tile sticker and press the top edge onto the floor, then lower the rest onto the tile, smoothing it out as you go. You can use a squeegee here if you want to. Repeat the process for each tile.
One the whole floor is covered, go over them all again with a squeegee, or just your hand a dry cloth and make sure everything is flat and secure. Then just stand back and admire your new budget-friendly flooring.
Shop the best (and cheapest) tile stickers:
Read more:
- Kitchen design: how to design and plan a kitchen like an expert
- White kitchen ideas: 18 designs for a fresh new look this year
- Designing an open plan kitchen: expert advice and decor ideas to copy

Hebe joined the Real Homes team in early 2018 as Staff Writer before moving to the Livingetc team in 2021 where she took on a role as Digital Editor. She loves boho and 70's style and is a big fan of Instagram as a source of interiors inspiration. When she isn't writing about interiors, she is renovating her own spaces – be it wallpapering a hallway, painting kitchen cupboards or converting a van.