Bath panel ideas: how to DIY a stylish bath panel
On the hunt for new bath panel ideas? Well you can DIY yourself one cheaply, easily in just a few steps


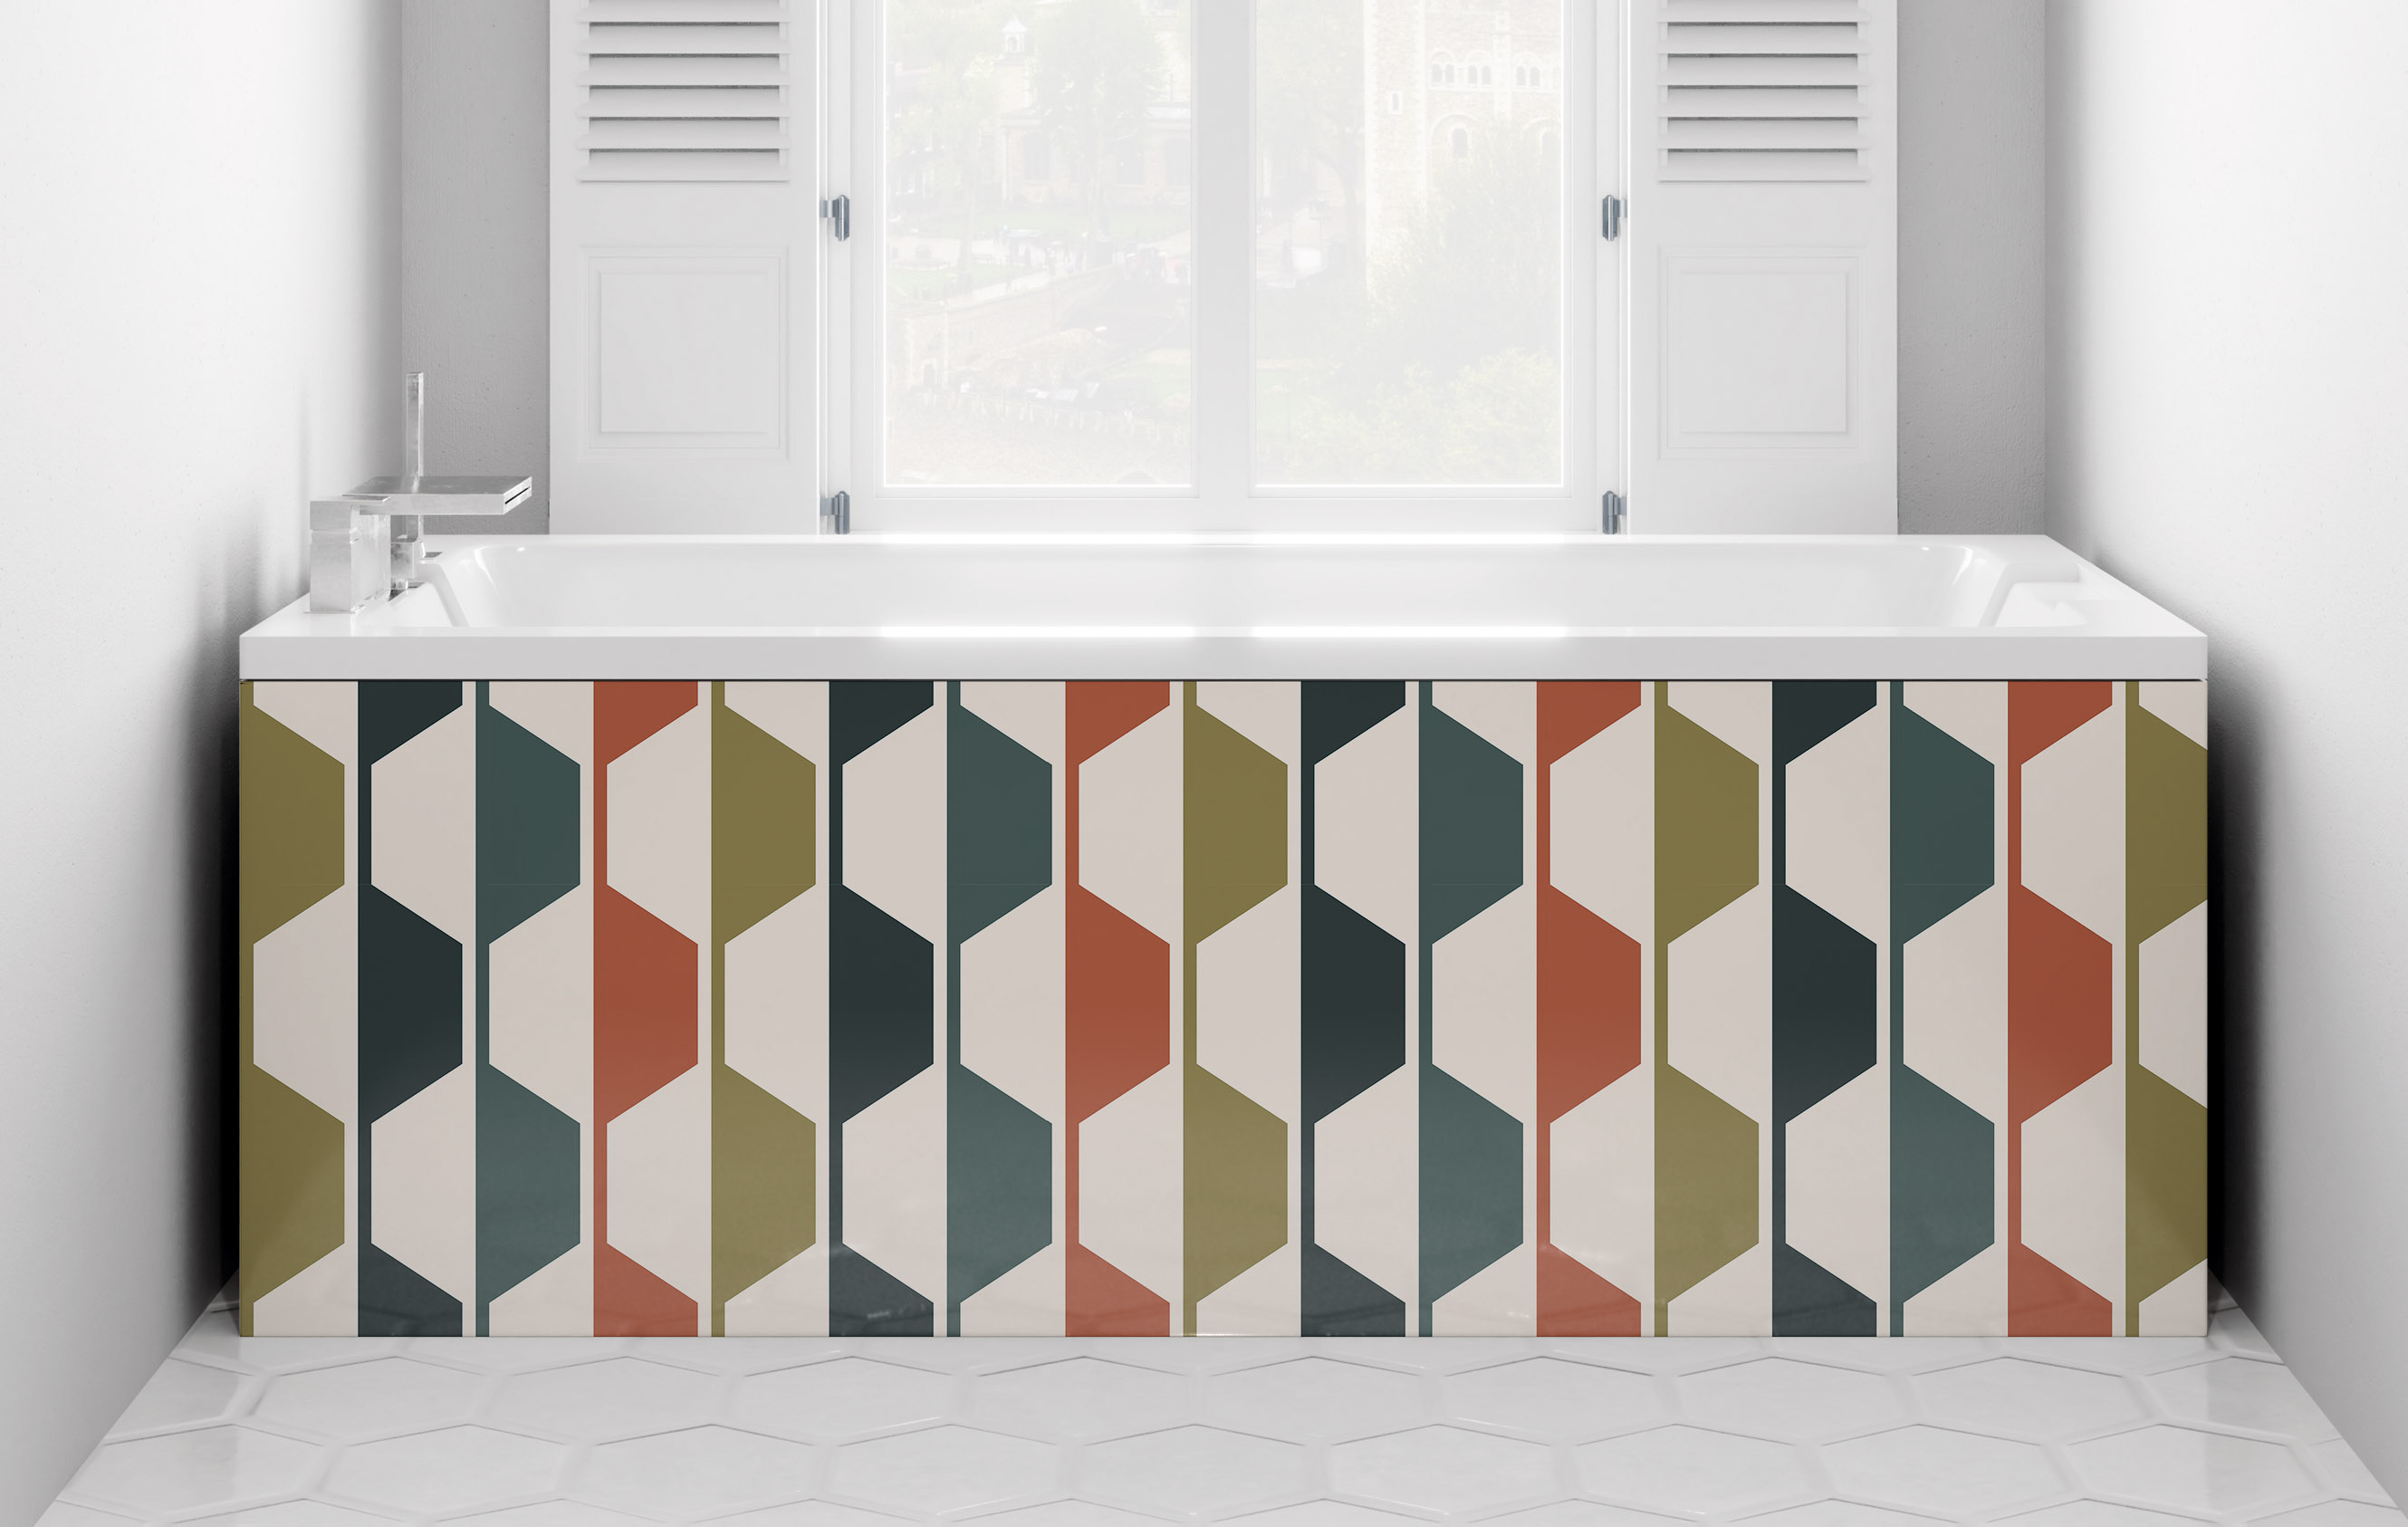
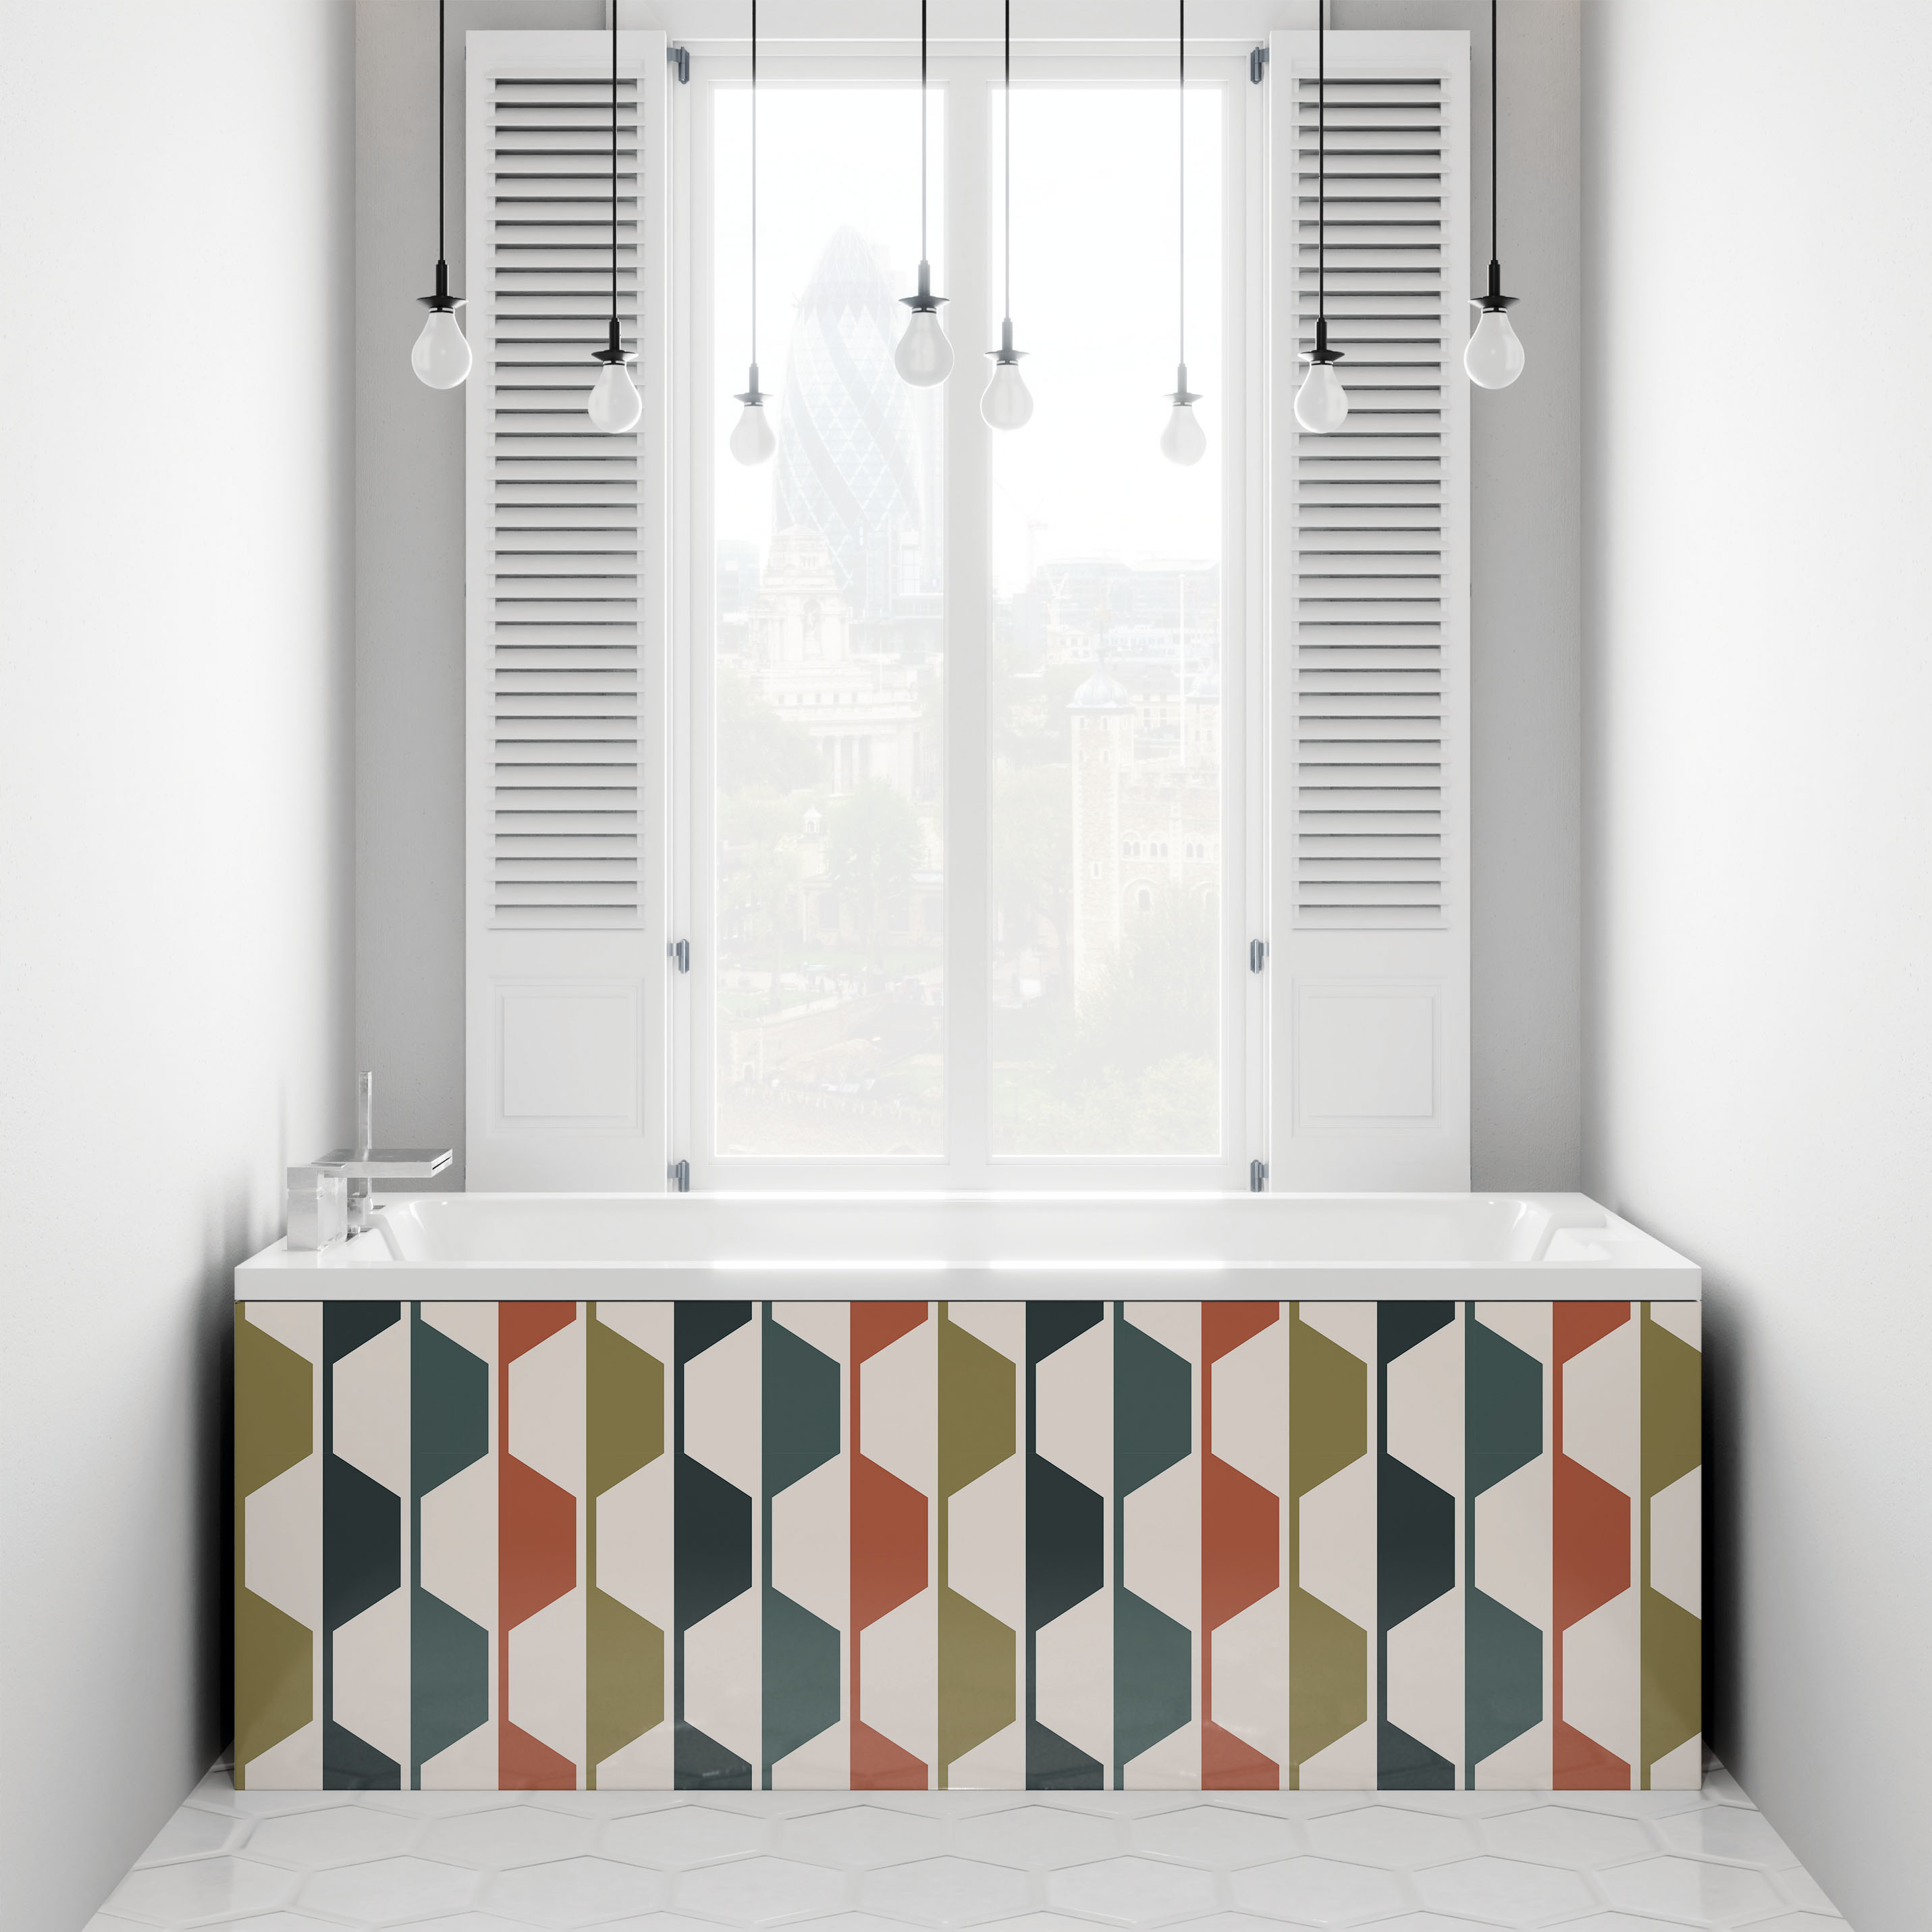
Looking for bath panel ideas and inspiration? A bath panel that's unique to your bathroom can transform a plain room into a bespoke space. Revamping a plain white tub with a bright bath panel is easy to do and a quick way to refresh a tired-looking scheme, injecting pattern and colour. Here, we take you through the steps of this easy DIY hack so that your new bathroom can get a brand new look (almost) instantly.
If you're starting your bathroom design from scratch and you don't know where to begin, make sure you head over to our feature of bathroom ideas for heaps of inspiration.
- How to design a bathroom
- After some more weekend projects? Head over to our hub page.
You will need:
- A splashback panel (2mm smaller all round than the MDF panel, below)
- MDF or plywood panel, the same size as your existing bath panel (DIY stores will cut to size)
- Tape measure
- Sandpaper
- Low modulus sealant
- Microfibre cloth
- Spacers (tile spacers will do)
- Masking tape
Step one: measure up and order
For this bath panel idea, measure your existing panel for the MDF backing and new bath panel. For the new bath panel, we've actually used a splashback panel from Genie Splashbacks. These come in either glass or acrylic, and in a wide range of designs. Simply enter your existing bath panel's dimensions online, to get one that's the right size. You could also order a splashback panel that matches to sit on the wall behind the bath. Perfect for a co-ordinated look.
Step two: remove the existing bath panel
Remove an existing plastic bath panel. Or, if your bath already has an existing MDF bath panel, carefully remove any raised mouldings from it. Otherwise, fix the new MDF bath panel in place, recessing it by around 5mm from the front lip of the bath.
Next, test fit the acrylic panel against the MDF panel, allowing a 2mm expansion gap at either end between the panels and the wall.
Step three: key the rear of the acrylic
Lightly key the rear of the acrylic panel with sandpaper, wipe clean with a microfibre cloth, then evenly apply beads of low modulus silicone. Use spacers between the panel and floor.
Step four: press bath panel on with your hands
Press the new panel on to the MDF with your hands and allow the silicone to cure for a day before removing the spacers.
Get small space home decor ideas, celeb inspiration, DIY tips and more, straight to your inbox!
Step five: apply masking tape to the edges
Apply masking tape around the edges of your panel to protect it, then seal the 2mm expansion gap with sealant. Remove the masking tape and allow the sealant to dry. Stand back and admire your new statement bath panel.

Read more

After joining Real Homes as content producer in 2016, Amelia has taken on several different roles and is now content editor. She specializes in style and decorating features and loves nothing more than finding the most beautiful new furniture, fabrics and accessories and sharing them with our readers. As a newbie London renter, Amelia’s loving exploring the big city and mooching around vintage markets to kit out her new home.