Real Costs: These decorative double doors cost less than $1k to DIY
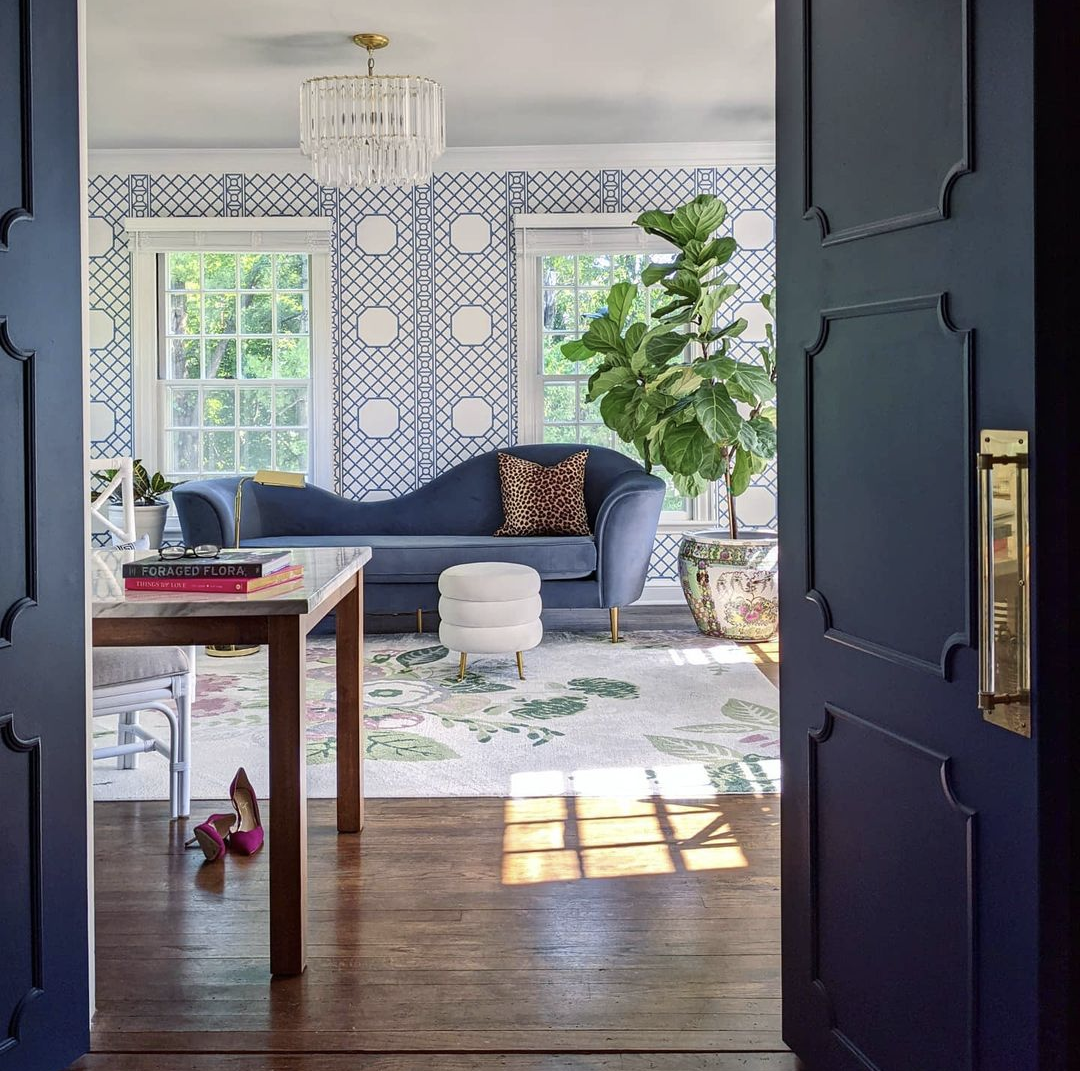
Blogger Ruth Jackson turned plain double doors into 1930s-style decorative French doors on a budget. Here's how she did it.
Get small space home decor ideas, celeb inspiration, DIY tips and more, straight to your inbox!
You are now subscribed
Your newsletter sign-up was successful
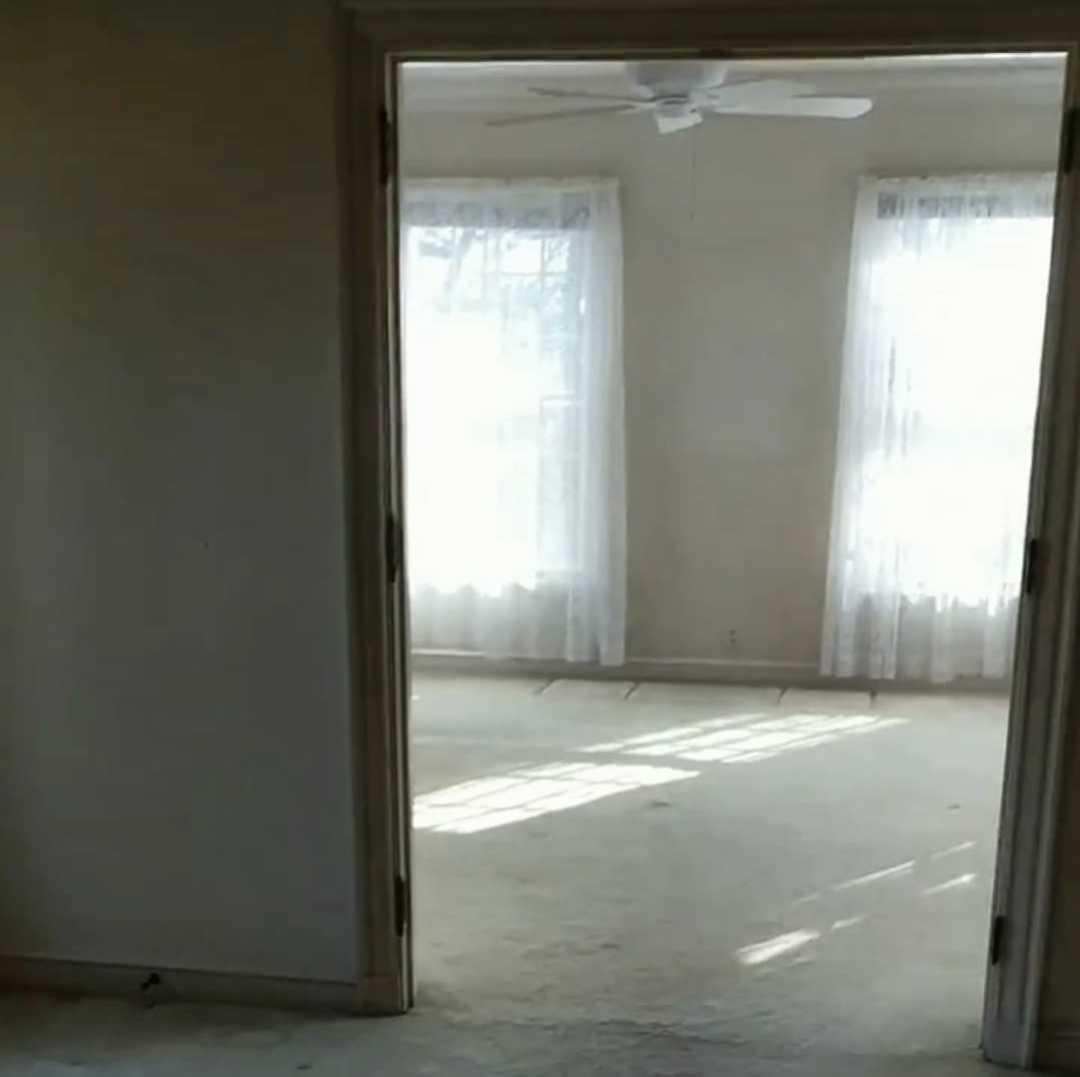
When we moved into our 1935, dream house, fixer, the French doors between the sitting room and our primary bedroom were sadly missing. The hinges remained attached to the door frame as a reminder of what had once been. I longed for Aerin Lauder-esque, highly decorative and dramatic double doors.
For the first few years, while we took on more pressing repairs, I scoured architectural salvage shops, with dreams of scoring 1930s doors, magically in the perfect size.
The empty door frame before
Without luck, I moved on to the local woodworking shop. I was quoted $3,500 – not including hardware or install. After sulking for a good amount of time, I dusted off my door dreams and instead started to think up a new DIY project to help create my vision within our budget. This is how it went.
French door DIY: Step-by-step
Decorative door tools & materials:
- Flat paneled doors
- Door trim (from the kitchen cabinet)
- Miter box
- Hand saw
- Masking tape
- Nail gun/liquid nails
- 12” cabinet pulls
- Push plates
- Lucite handles
- Screws
- Shiny gold paint
- Behr, Starless Night paint – find it at Home Depot.
- Paint roller & brush
1. Finding a replacement door
With the help of our handyman, I found unfinished, flat paneled doors at Menards that clocked in at $350. I didn’t have a decorative plan yet, but I knew the possibilities were endless. I flirted with adding wood trellis or wallpaper to the panels, and created a whole Pinterest board dedicated to decorative door inspiration.
2. Creating the door pulls
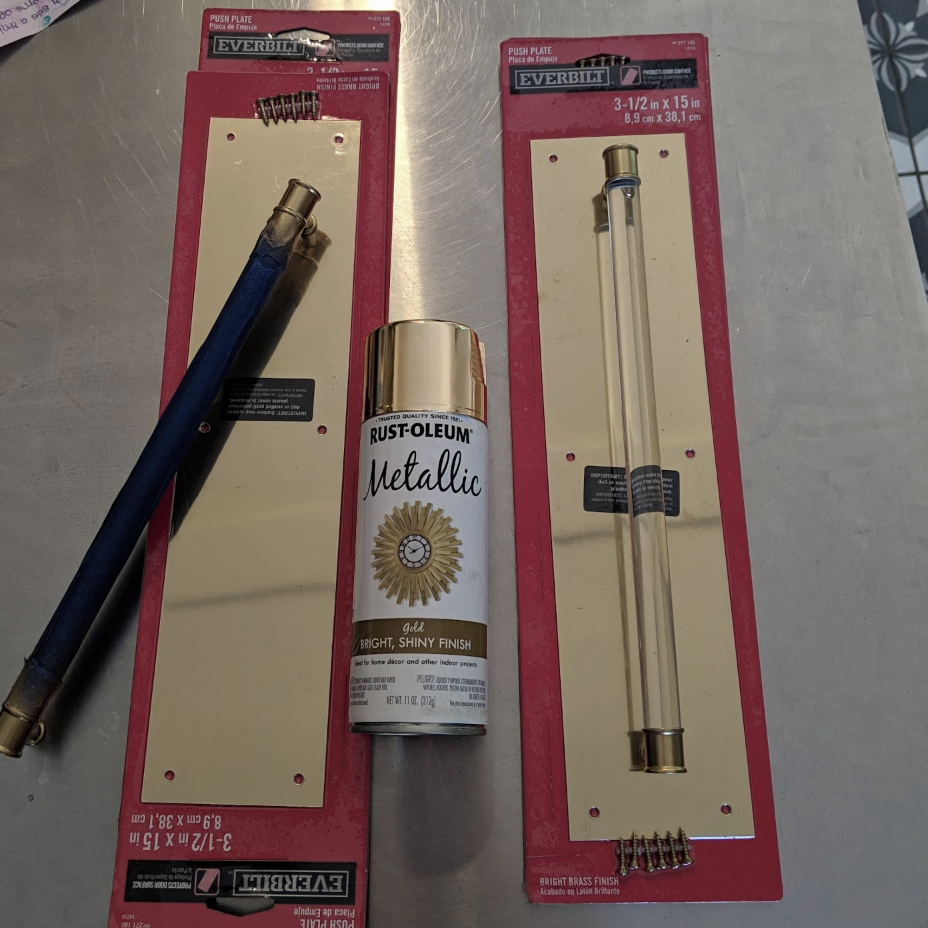
Even though I didn’t, yet, have a clear direction to dress up the plain doors, I started with creating bold, lucite, pulls inspired by Tory Burch’s store entrances as seen in the NY Times.
I used large, 12” cabinet pulls and mounted them to brass, push plates, by swapping the included screws for shorter versions. The brass finish pulls were not available at that time, so I taped off the lucite and gave the metal a quick spray with a shiny gold paint.
Get small space home decor ideas, celeb inspiration, DIY tips and more, straight to your inbox!
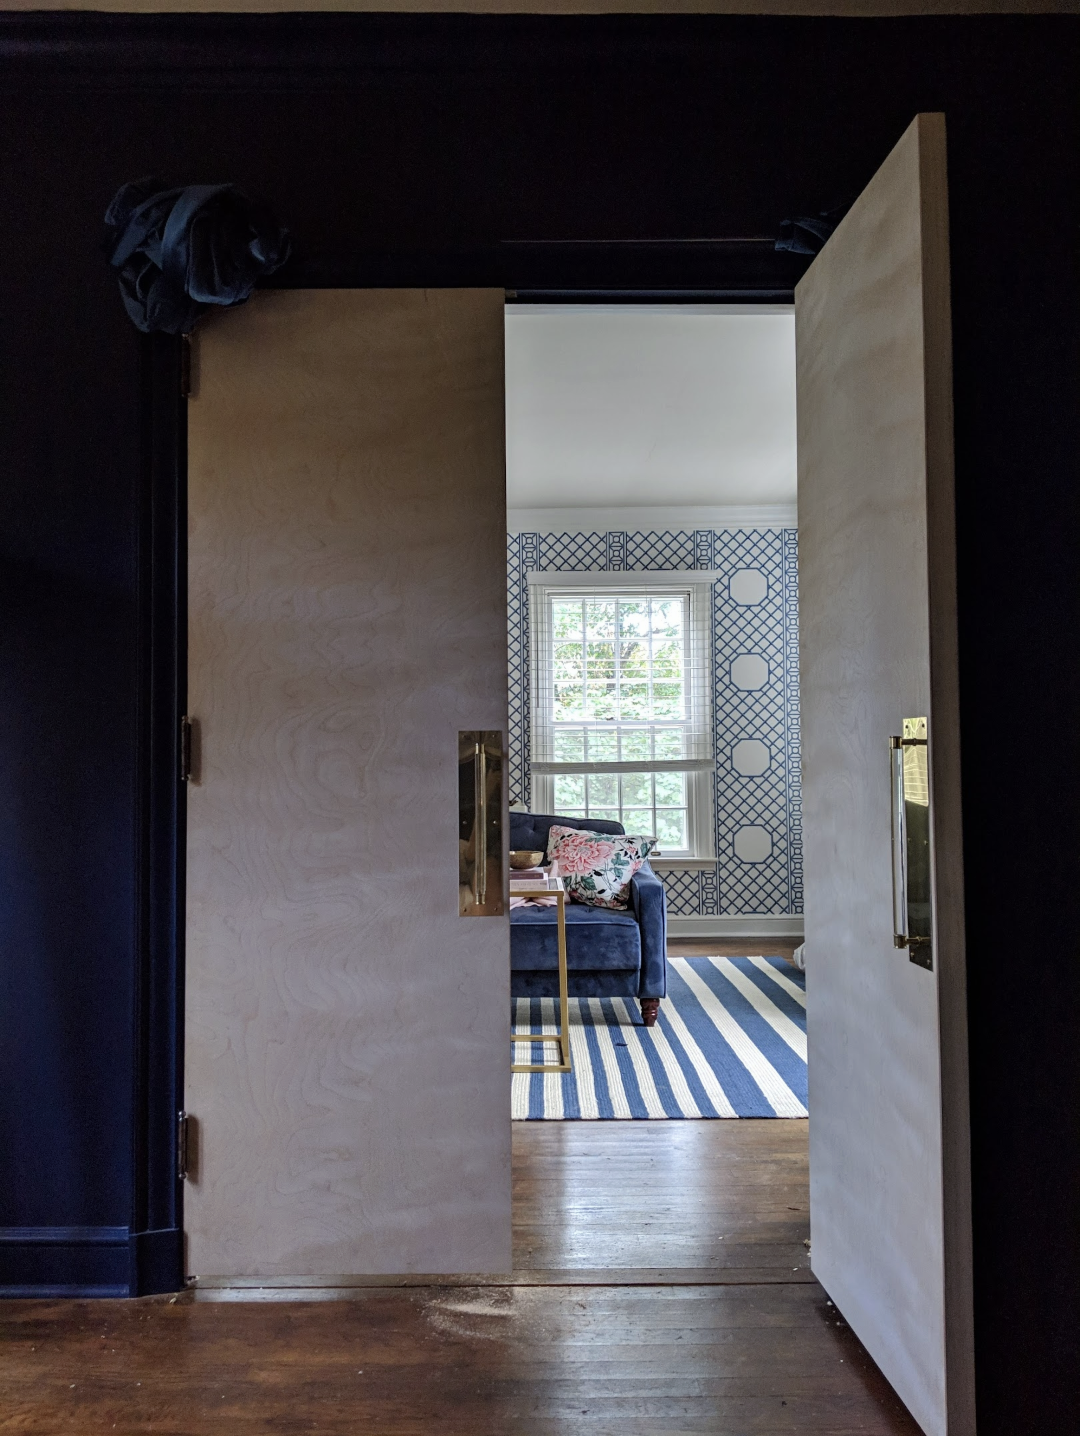
3. Painting the doors
I then masked off the push plates and painted the doors with paint I had leftover from the bedroom. The color matches the wallpaper pattern and surrounding blue accents in both rooms the doors open out to also.
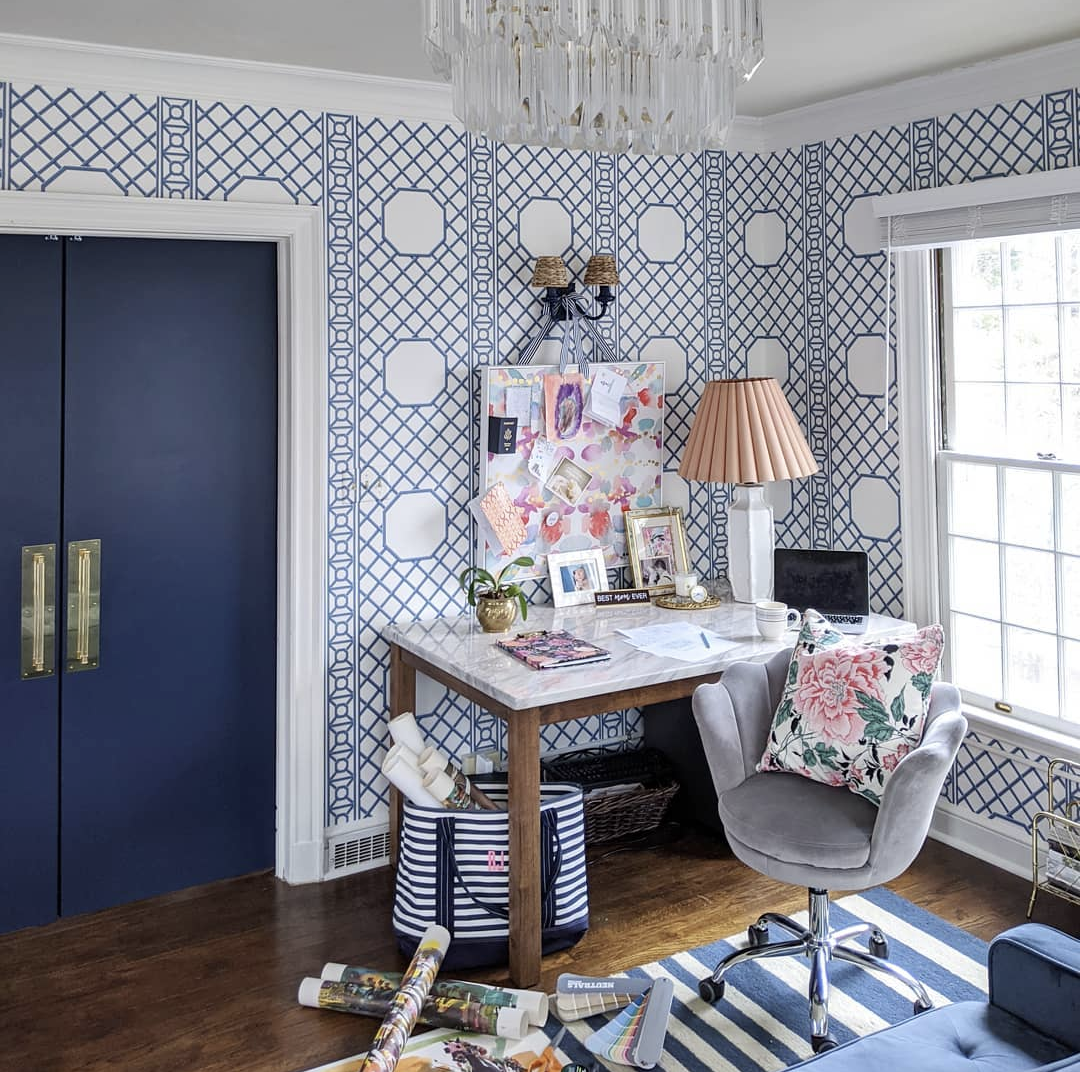
And that’s where the doors sat for months... They looked great but they still weren't quite as bold and dreamy as I had hoped.
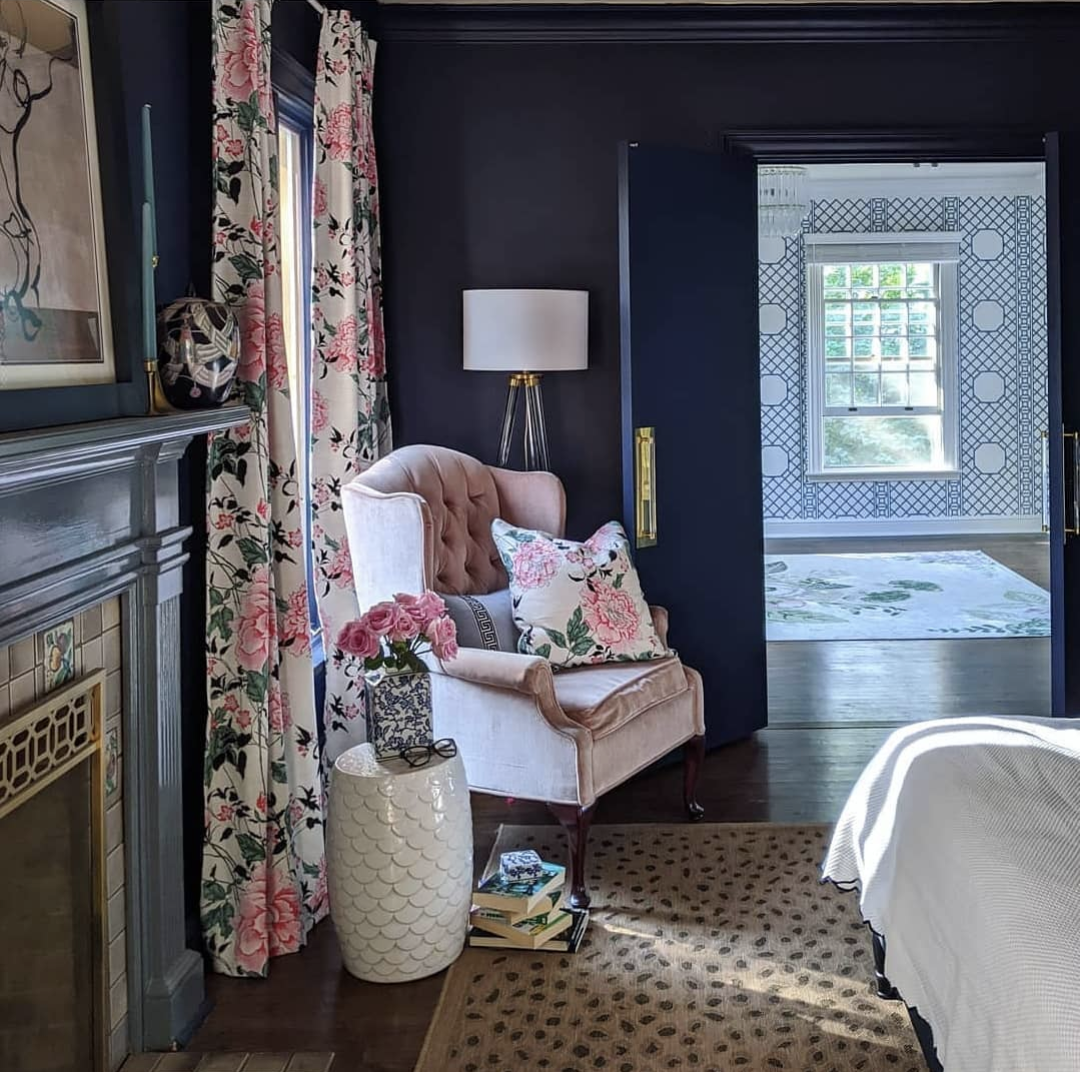
4. Using reclaimed kitchen trim
Then I remembered the trim I popped off our 1960s cabinets during our no reno kitchen makeover...
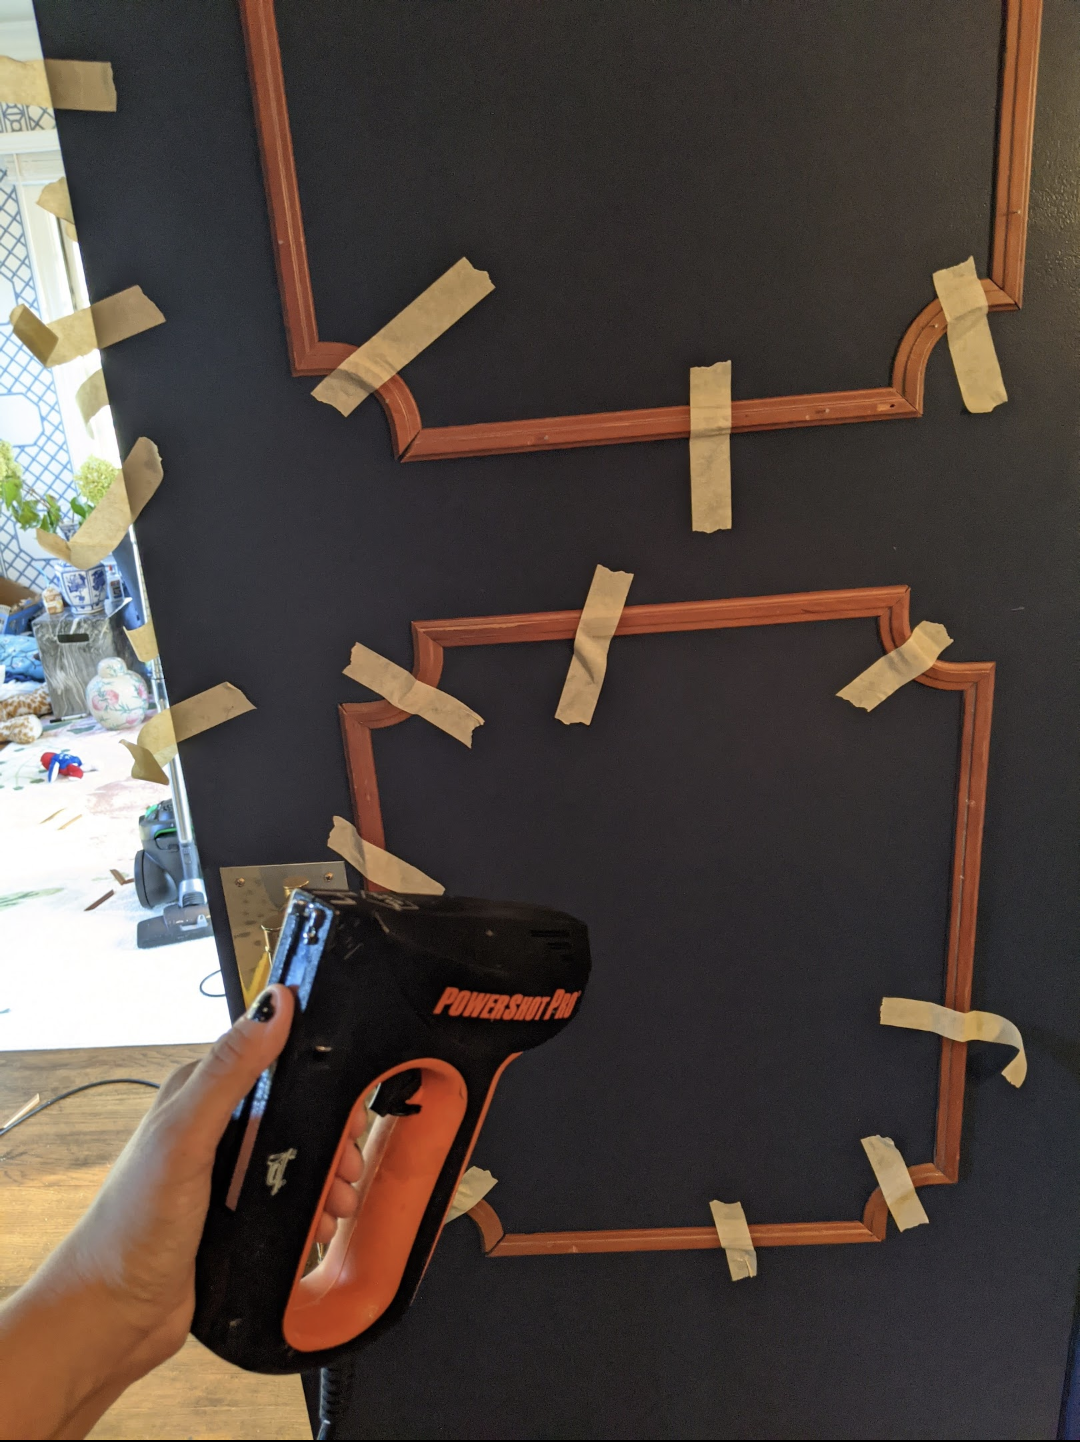
I played with a few shape and size options, using the reclaimed kitchen trim, and landed on three boxes per door.
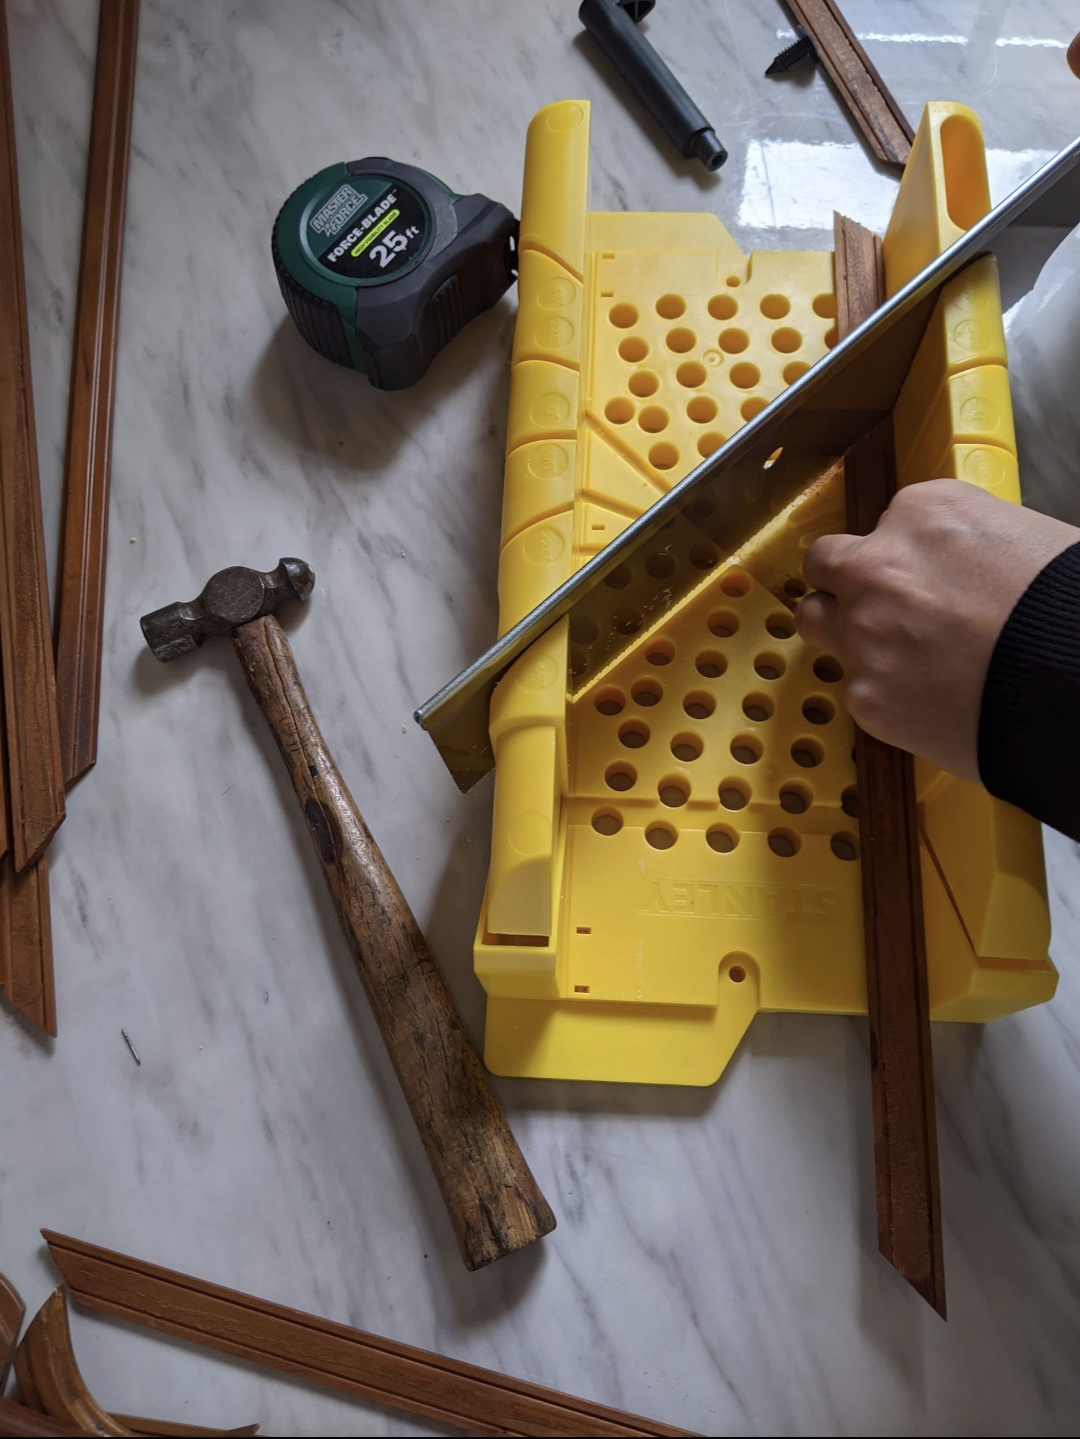
I cut the trim to size using a miter box and hand saw. I then used masking tape to hold the trim in place on the door and attached the trim with my nail gun.
Top tip: If you don’t have a nail gun, you can also use liquid nails to attach the trim.
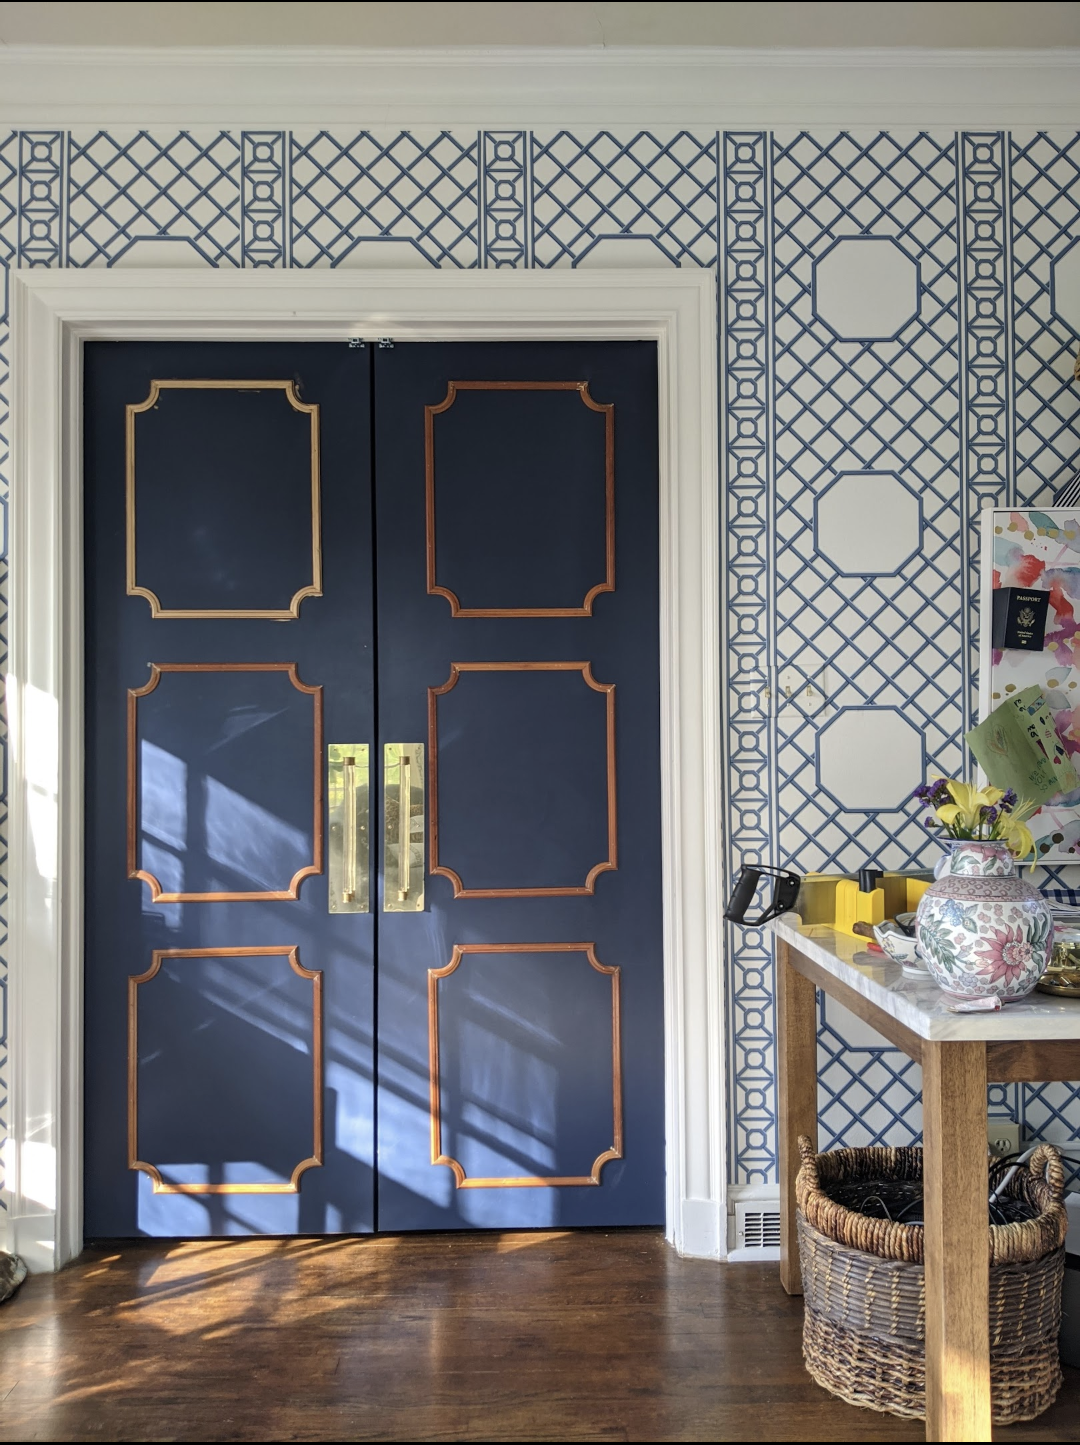
5. Adding the final touches
I finished by caulking all the seams and painting the trim to match the bedroom walls and doors in Behr, Starless Night paint which you can find at Home Depot.
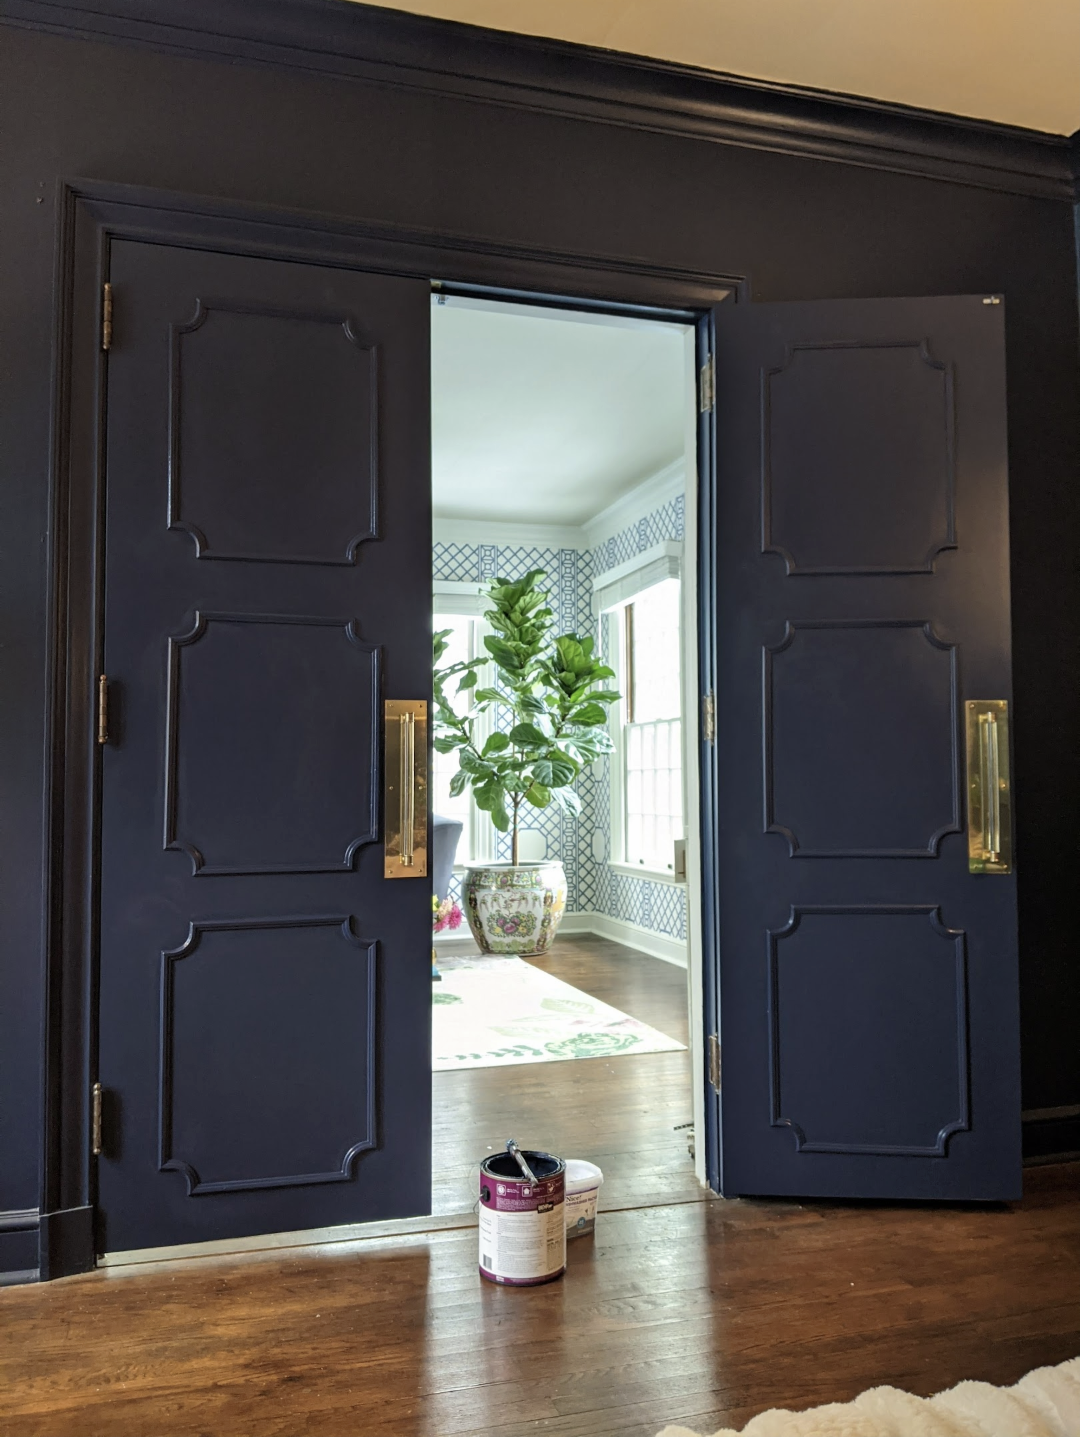
Replacing the French doors ended up becoming more than just an aesthetic improvement. They have come in clutch to separate our new work from home office spaces and the temporary online classrooms our home unexpectedly required.
The results:
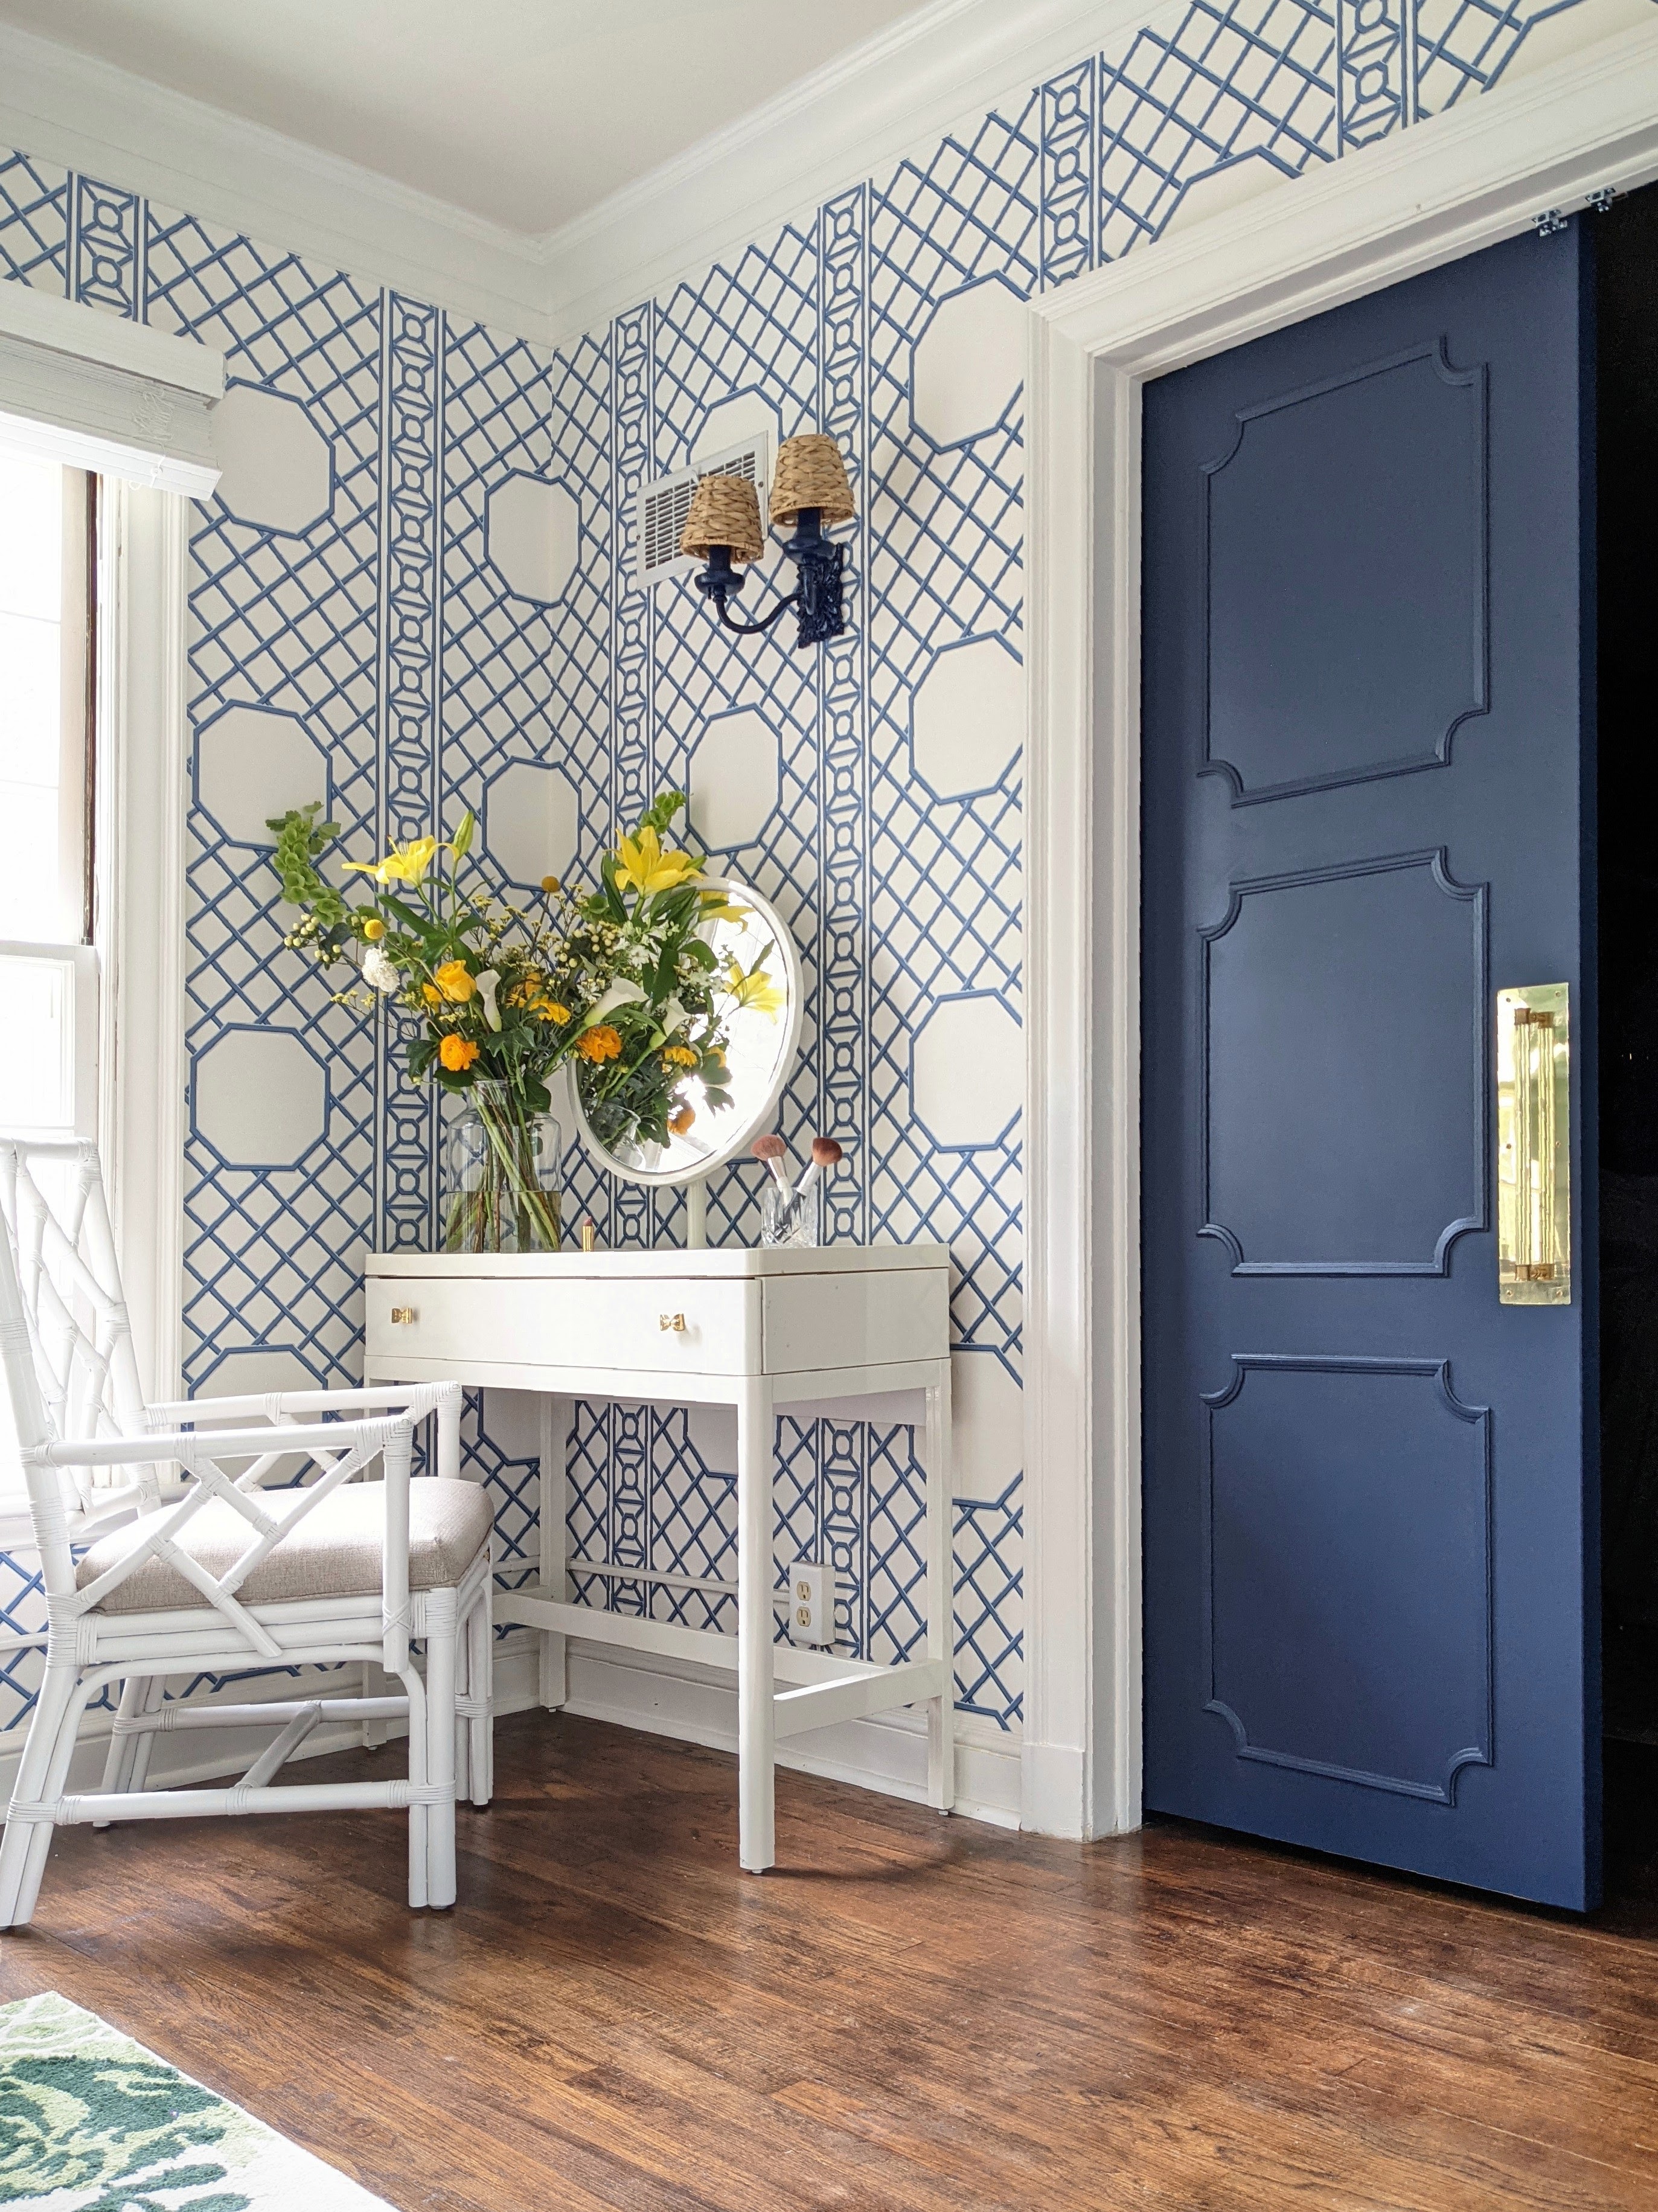

Real costs: a breakdown of project material costs
Below you can see a breakdown of our project costs. I love the way the doors look, and even more so, the money we saved to put towards the continued repairs on our dream house!
- Doors: $350 Unfinished, solid core, flat panel doors
- Trim: Free
- Cabinet pulls: $28 x 4 from Amazon
- Push plates: $14.51 x 4
- Labor: Door install $200
Total cost: $720.04
Ruthie Jackson is an Iowa-based DIYer, furniture flipper, certified interior decorator, and lover of all things vintage. She's currently renovating her family's 1930s colonial home, which she documents on Instagram at @miracleonthirtyfourth.