How to wire a dimmer switch in 10 steps
Replacing or wiring a new dimmer switch is easily done with this step-by-step for UK fittings. Whether you have a 2 or 3-wire lighting system.
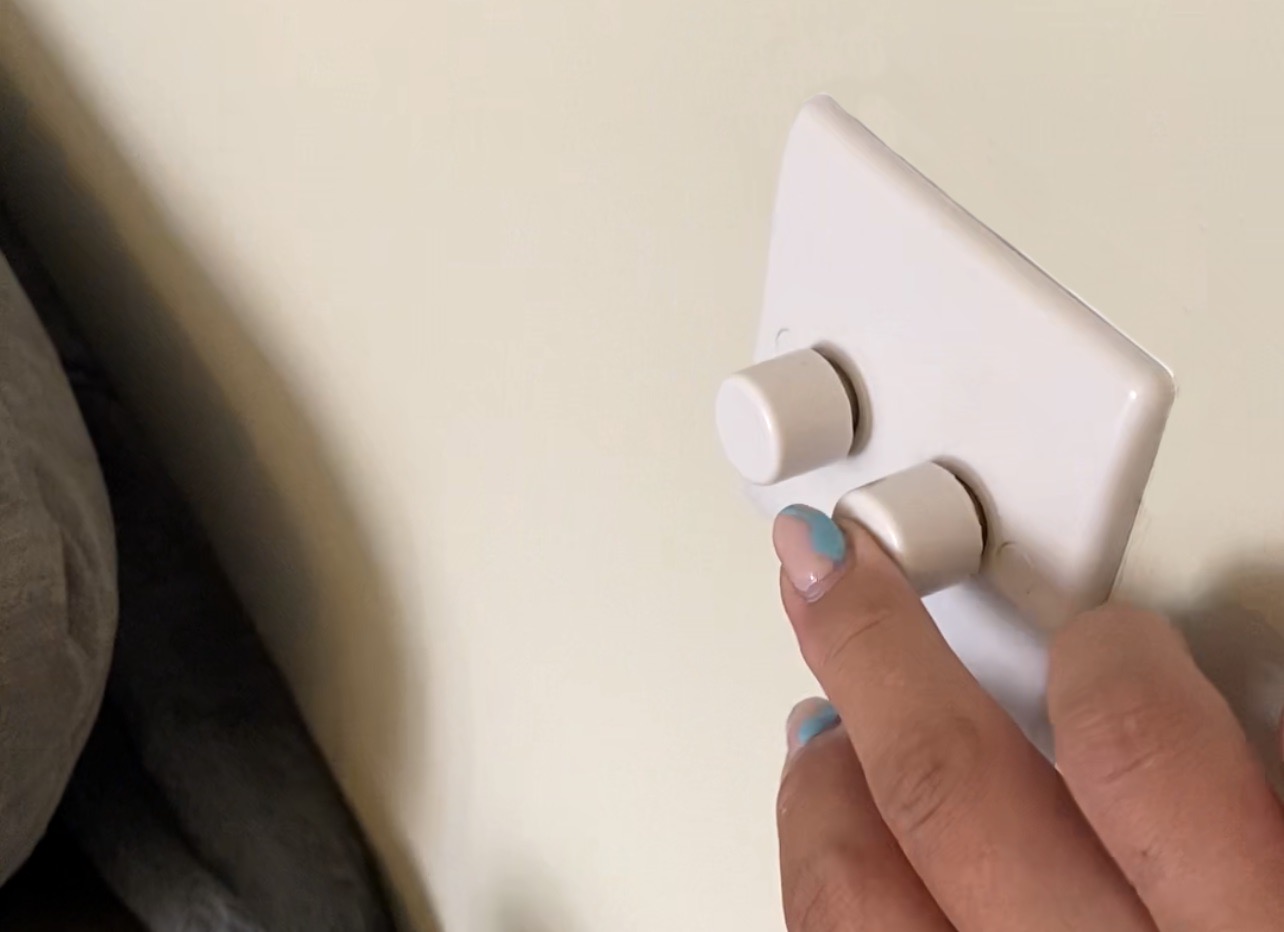
When you’ve got a multi-bulb light fitting, chandelier, or downlights, it’s not always possible to go down the smart-bulb route to be able to control their brightness and sometimes, their colour – whether it’s due to lack of compatibility, or cost. This was the case for me in my lounge, where I’d found the most perfect light fittings – but there was a catch, they required 6 bulbs per fitting.
For someone whose home is filled with smart gadgets – hoovers, lawnmowers, lights, speakers, tv etc., buying 12 smart bulbs just for one room didn’t really seem like an economical option. 12 standard LED bulbs also let off a LOT of light – blinding in fact!
- Find your favourite living room lighting ideas.
To remedy this, I looked into swapping the switch to a dimmer. A straightforward DIY, and one that will save me over a hundred pounds vs buying smart bulbs. Full disclosure, I am not an electrician, nor have any electrical qualifications, all knowledge has been gained through research and trial and error and hope to pass this knowledge onto you, so you too can try things for yourself.
Safety Notice
The most important thing to note here, is ALWAYS turn off the electrics at the fuse box before touching wiring, light fittings or their switches.
Having wired in all the lights in my house, I knew wiring a switch wouldn’t be that much more complicated, especially if it’s a multi-light switch or if there are multiple switches for the same lights. The key is to ensure you know which wires go where, so taking a photo of the current wire setup and labelling each wire with a bit of masking tape and a pen can make the process a lot easier for you.
What you’ll need for this task:
- A small flat head screwdriver to loosen and tighten the wire clamps
- A larger screwdriver to remove and secure the fittings to the wall
- Tape or blu tack to remove any decorative screw covers
- An AC non-contact voltage detector – available on Amazon
- Wire strippers (not always necessary)
- Masking tape and a pen to label wires for ease
- Your phone to take photos of the setup (or you could draw this out)
- Dimmable bulbs available on Amazon
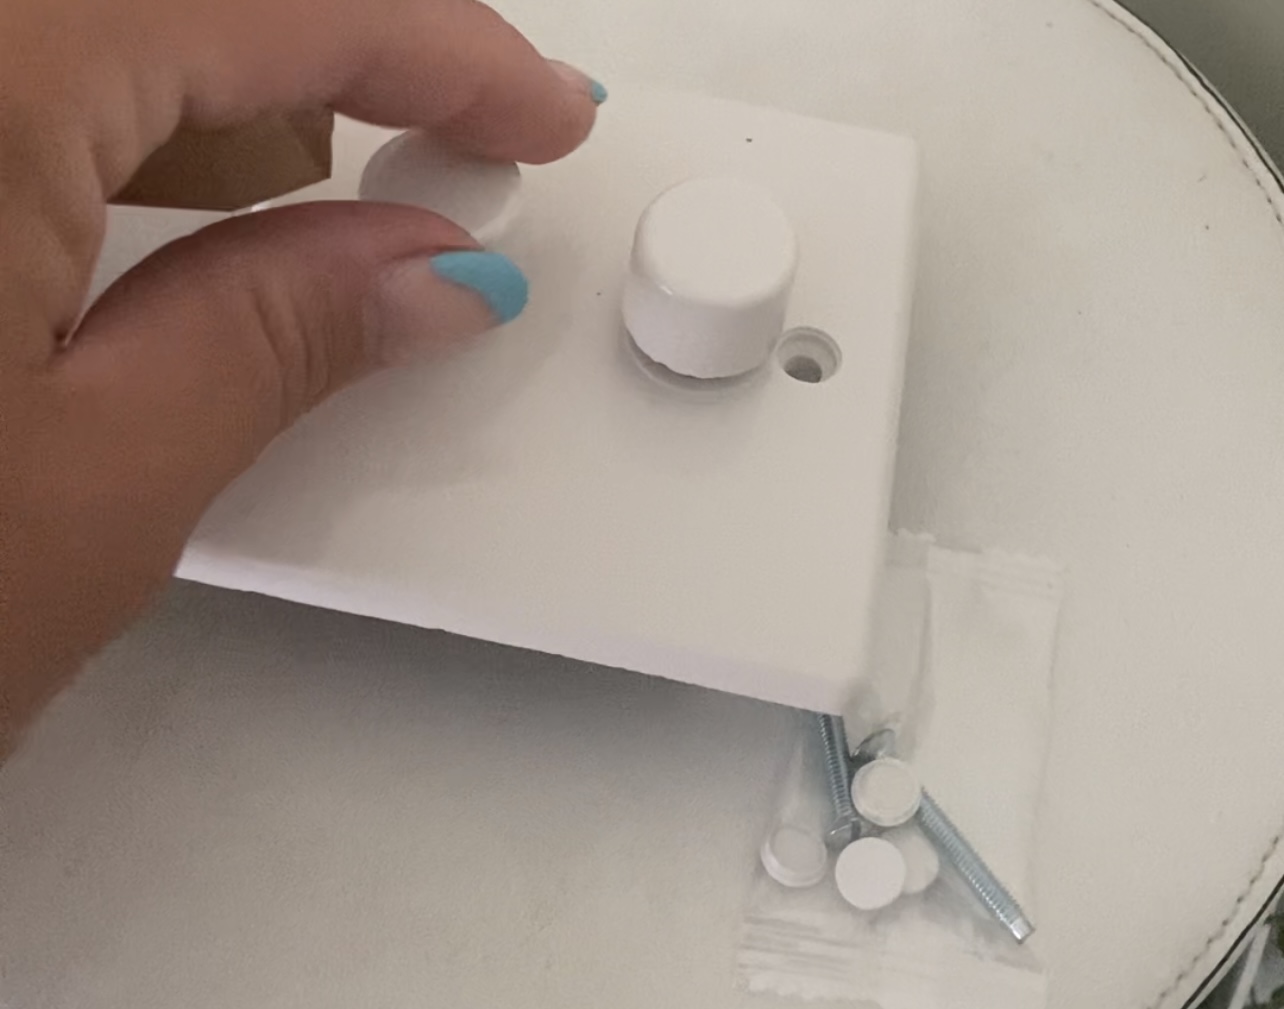
How do you wire a dimmer switch?
Whether you’re switching to a shiny new fitting, switching from a standard on/off switch to a dimmer, re-wiring two lights into a single switch or splitting two lights into separate switches, the process is essentially the same. Provided you copy the existing working setup and label the wires before disconnecting, there’s not much room for error!
Of course, this does come with another safety warning to turn the fuse off before touching any electrics, but also, if you go wrong, see any sparks, or just don’t want to give it a go yourself, get in a professional electrician to help.
1. Turn off the power on the main circuit switchboard
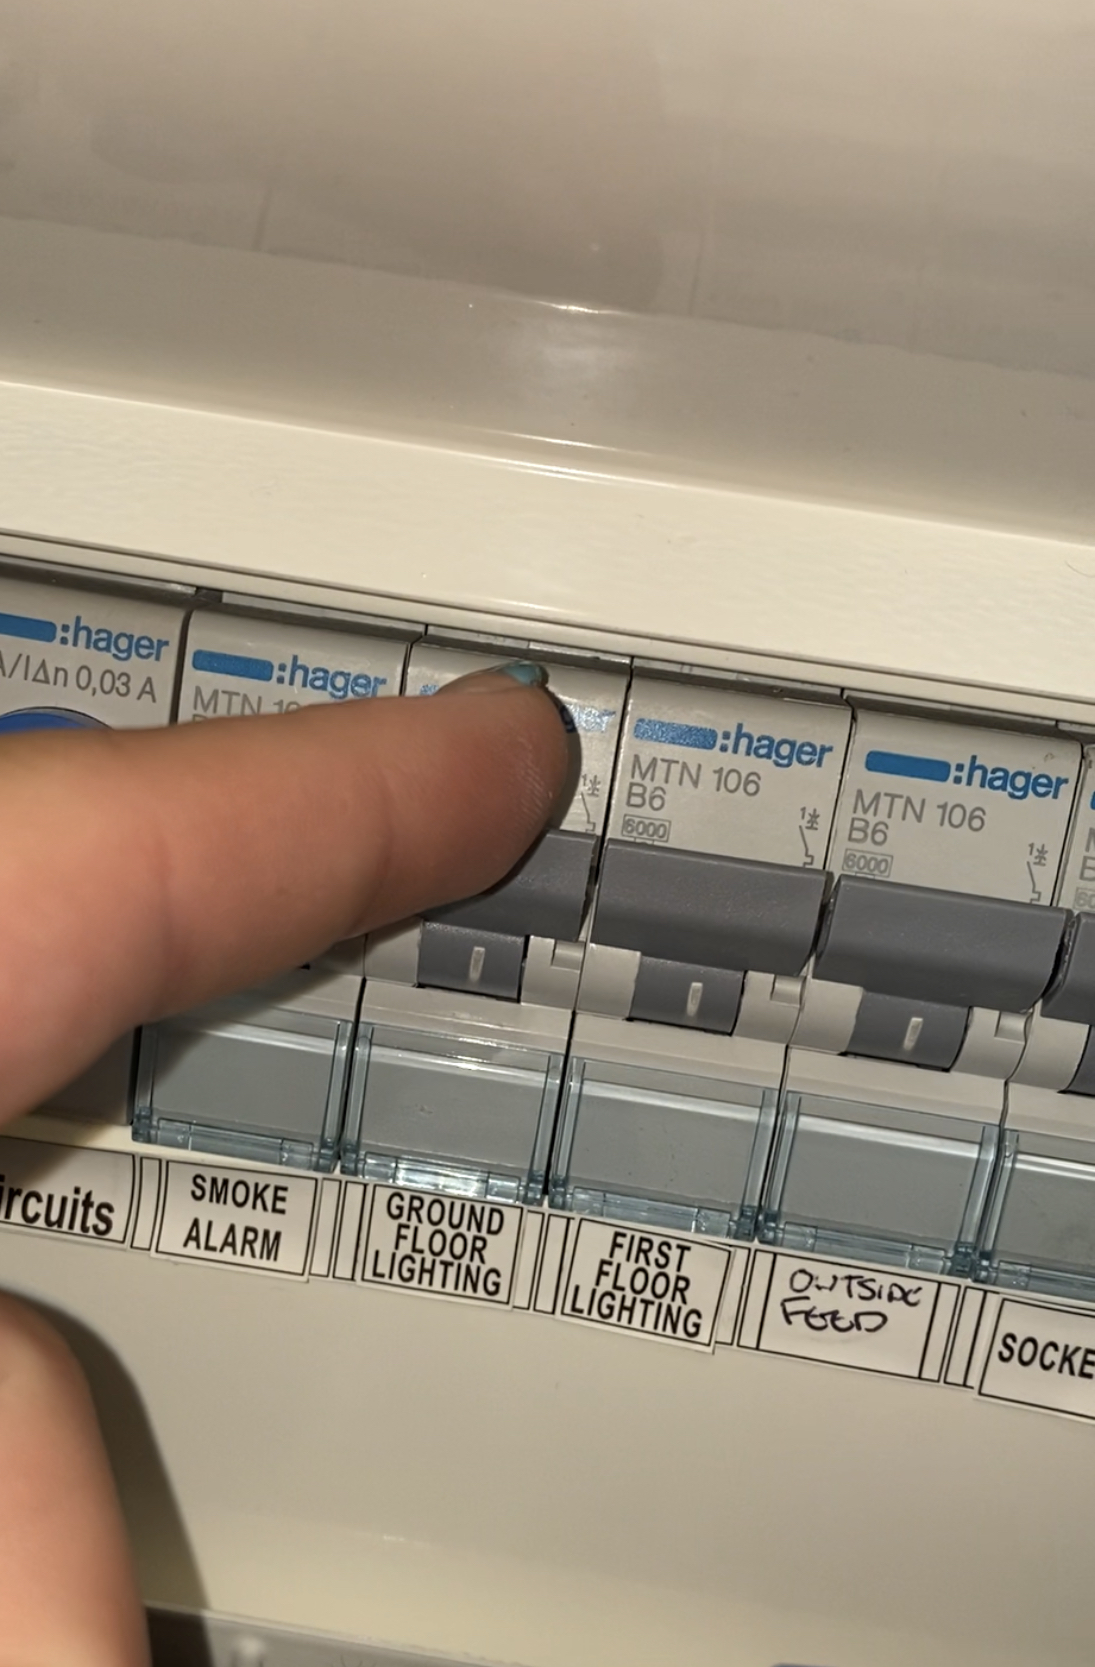
Turn off the light ring on the main circuit switchboard/fusebox and check they’ve been turned off by flicking the switch on and off.
Get small space home decor ideas, celeb inspiration, DIY tips and more, straight to your inbox!
2. Remove the screw covers
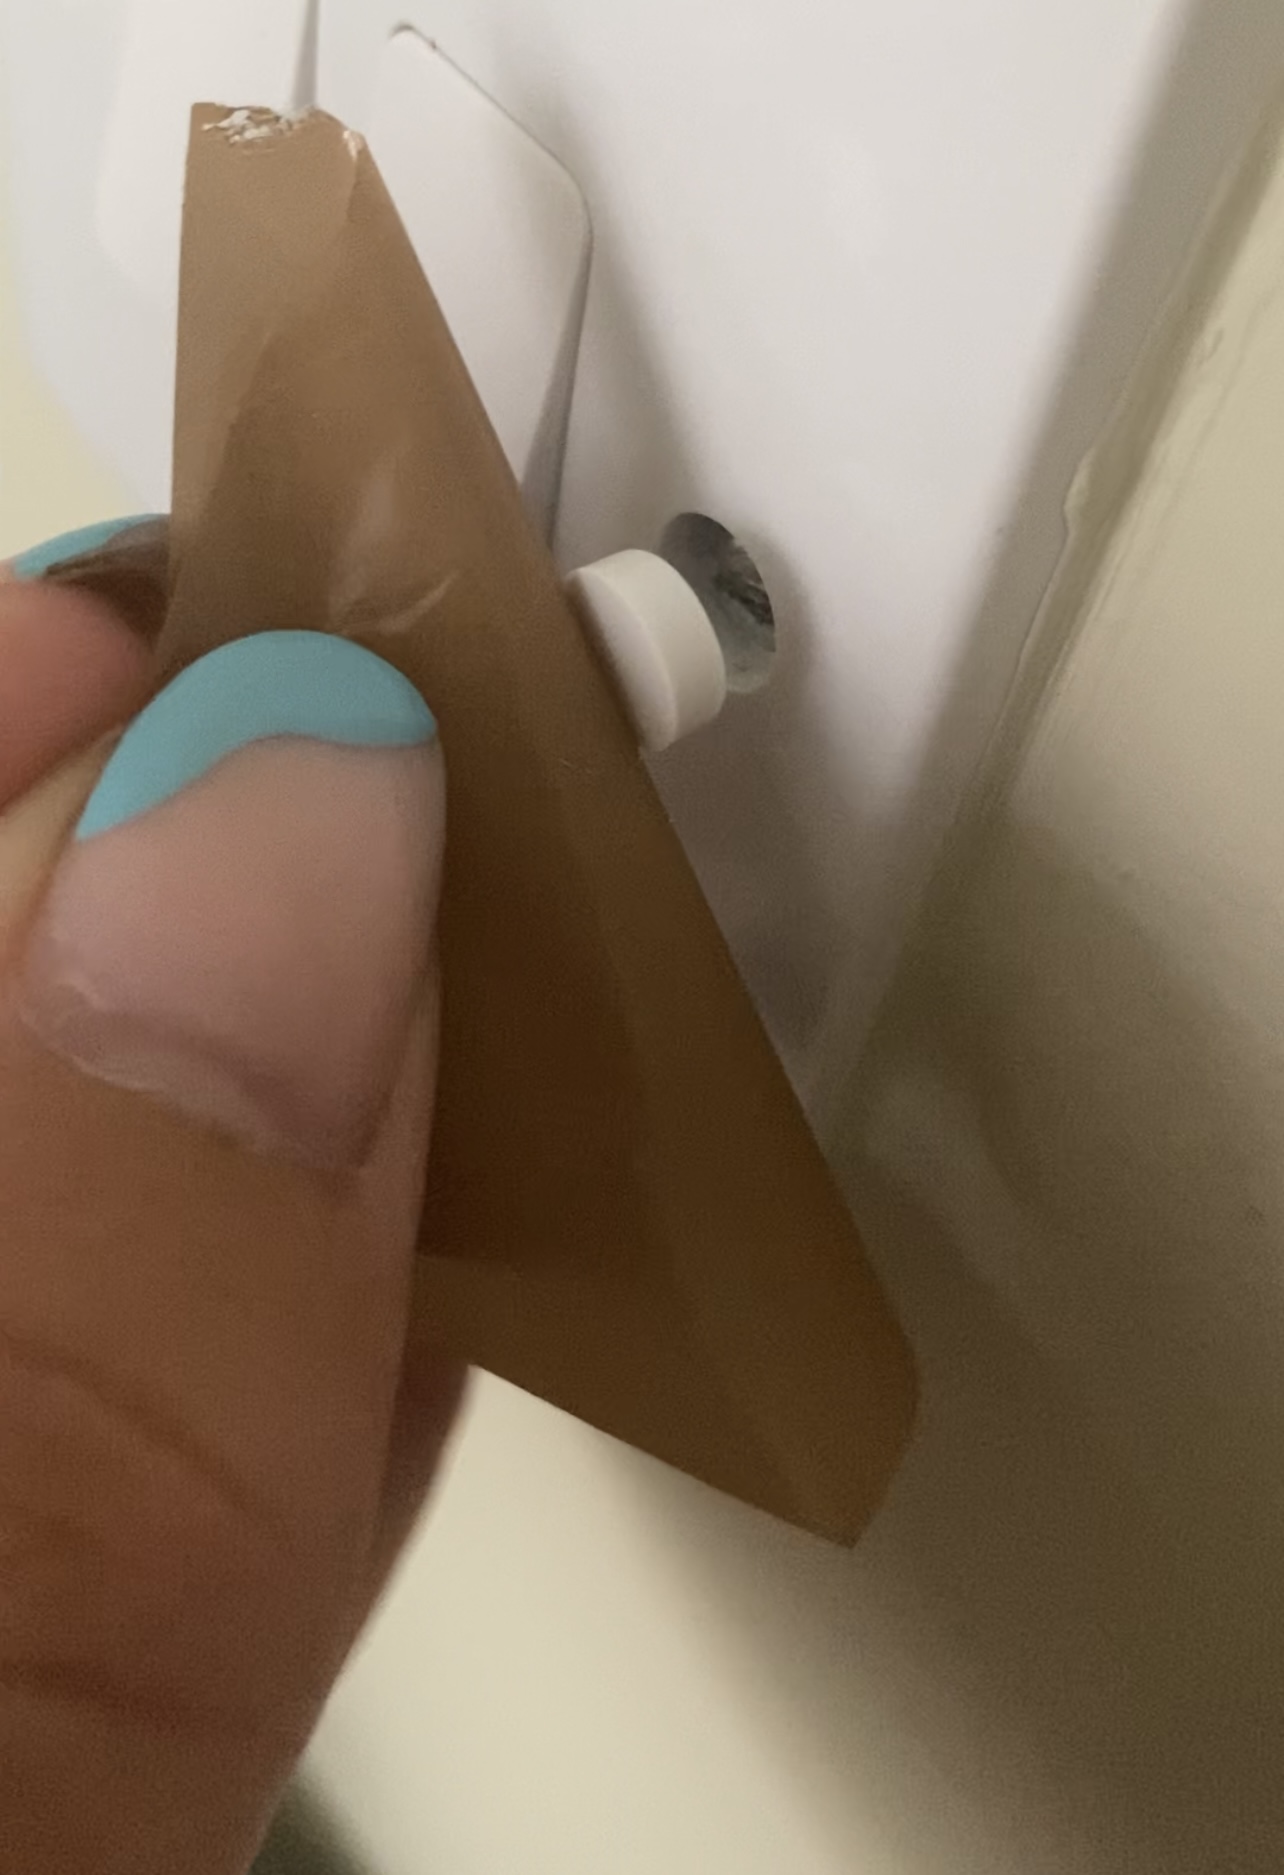
Using tape or blu tack, remove the decorative screw covers of the existing fitting and use your larger screwdriver to undo the two screws and carefully pull the fitting away from the wall. If you did not remove this fitting when decorating, you may need to score the paint around the edge of the fitting with a Stanley blade to prevent the fitting lifting any paint.
3. Double check the wires are not live
Using your voltage detector, triple check that the wires are not live. If they still are, go back to the fuse box and shut off the main power (everything!) to be safe. You don’t want to be thrown across the room having touched 240 volts!
4. Draw out your wire setup
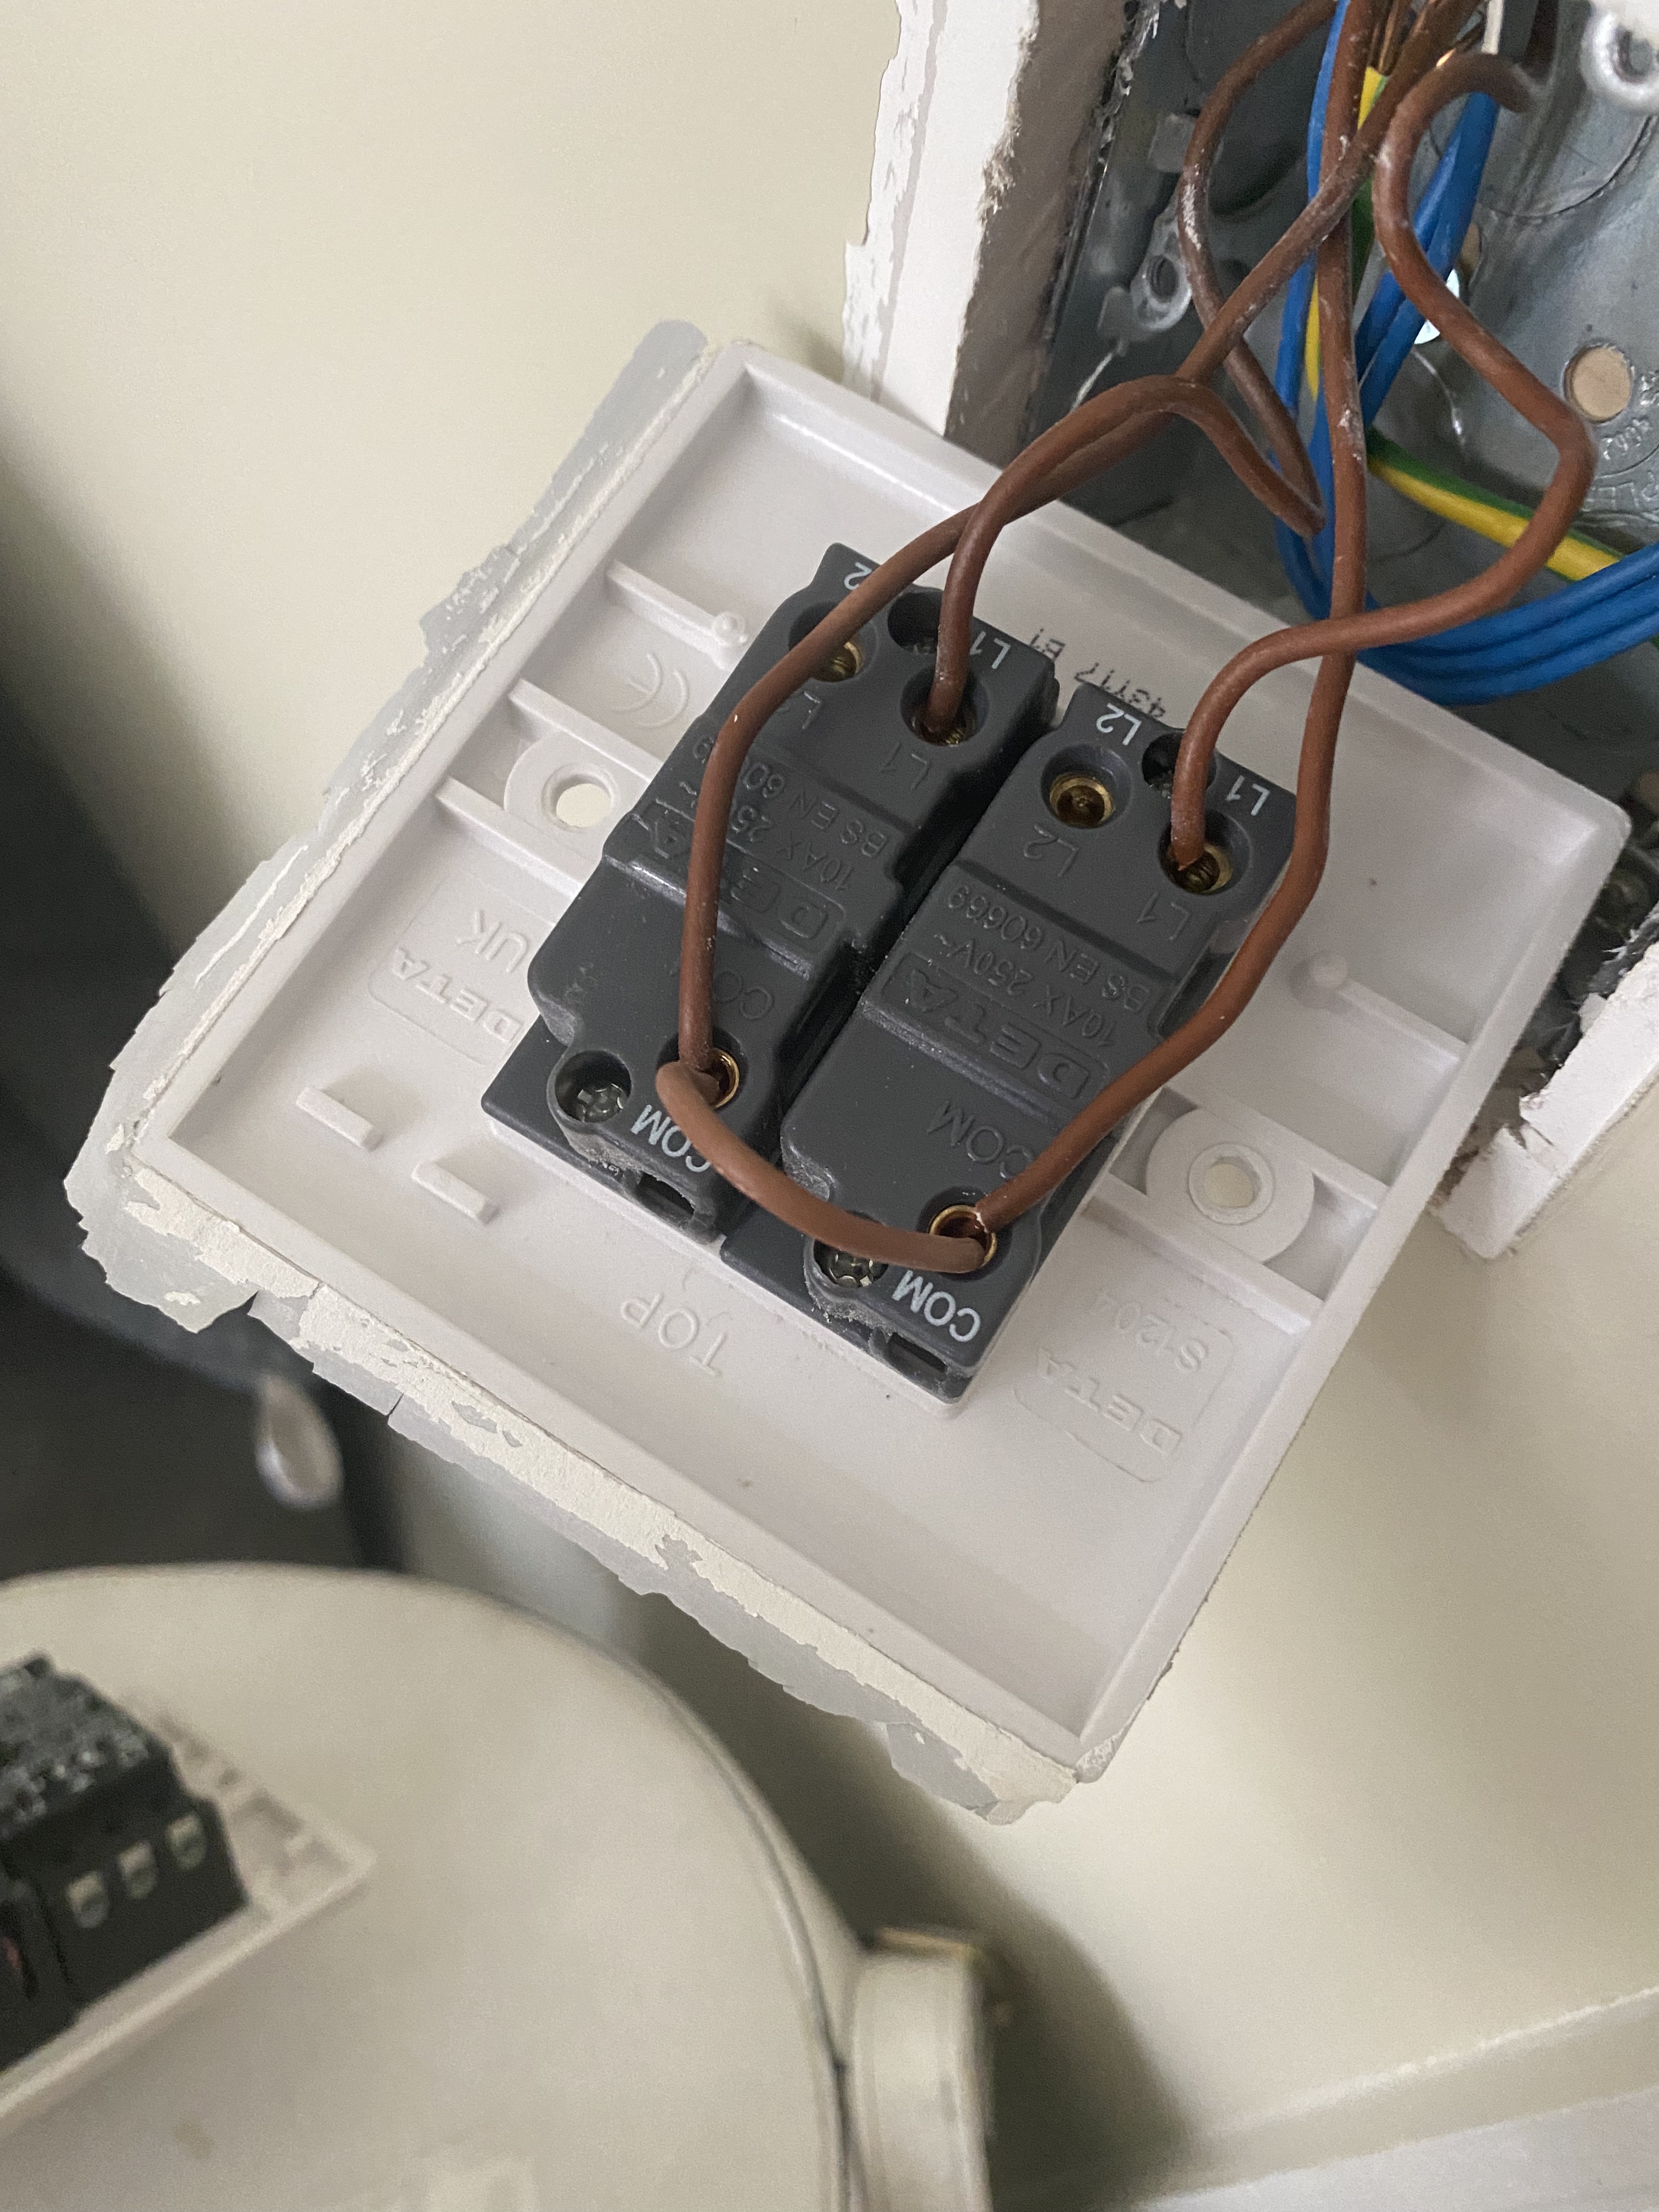
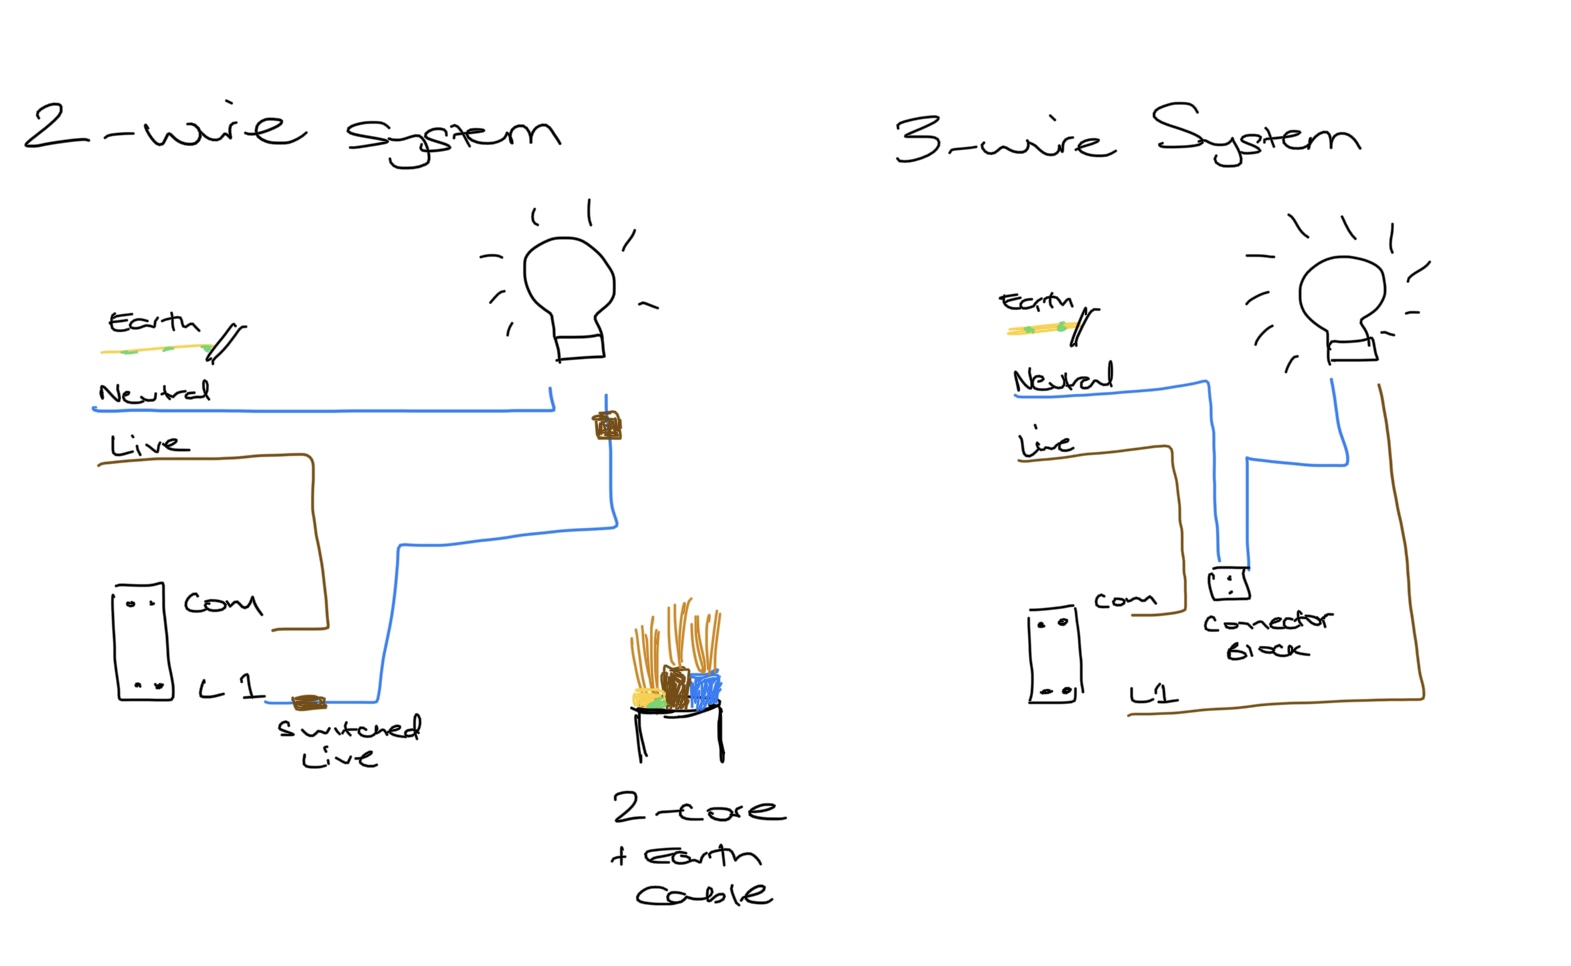
Take a photo or draw out the layout of the current wire setup. You will have a 2-core cable (or multiple) from the wall with a yellow and green (earth) wire earthed inside the wall box, a brown (live) wire going into the switch and a blue (neutral) wire. This is connecting the switch to the fuse box.
There will also be another brown wire, or a blue wire with a brown sleeve coming out of the switch into the wall. This is a ‘switched live’ wire connecting the light to the switch. If you live in an older property, the wires may be black and red, red being Live and black being the Neutral.
The live wire brings the power supply to the switch. The neutral wire takes power to the light and the switch sits on the live wire to complete/break the circuit. If your setup differs from a standard 2-wire system, it could be a 3-wire lighting system which usually includes an additional neutral wire that goes into the light via a connector block as per the poorly drawn diagram below.
5. Identify and tag your wires
You will notice that the brown wires from the wall goes into the COM port on the existing switch and the blue with a brown sleeve switched live wire will be going into the numbered L ports. (To make things even more confusing, the switched live wires can sometimes be completely brown.) You may also have a separate wire connecting the two switches via the COM port on a multi switch fitting to connect the circuit. For mine, the wire was a little too short, so I had to trim some spare wire I had to ensure it reached between the COM ports.
Your new light fitting should come with an instruction leaflet to help you identify which wires go where. Using masking tape and a pen, label which wires went into which port before you disconnect them. It can get very confusing when there’s more than one switch and lots of brown wires floating around!
6. Release the wires from the switch fitting
Using your small flat head screwdriver, loosen the screws clamping down the wires, releasing them from the switch fitting.
7. Re-wire the new switch
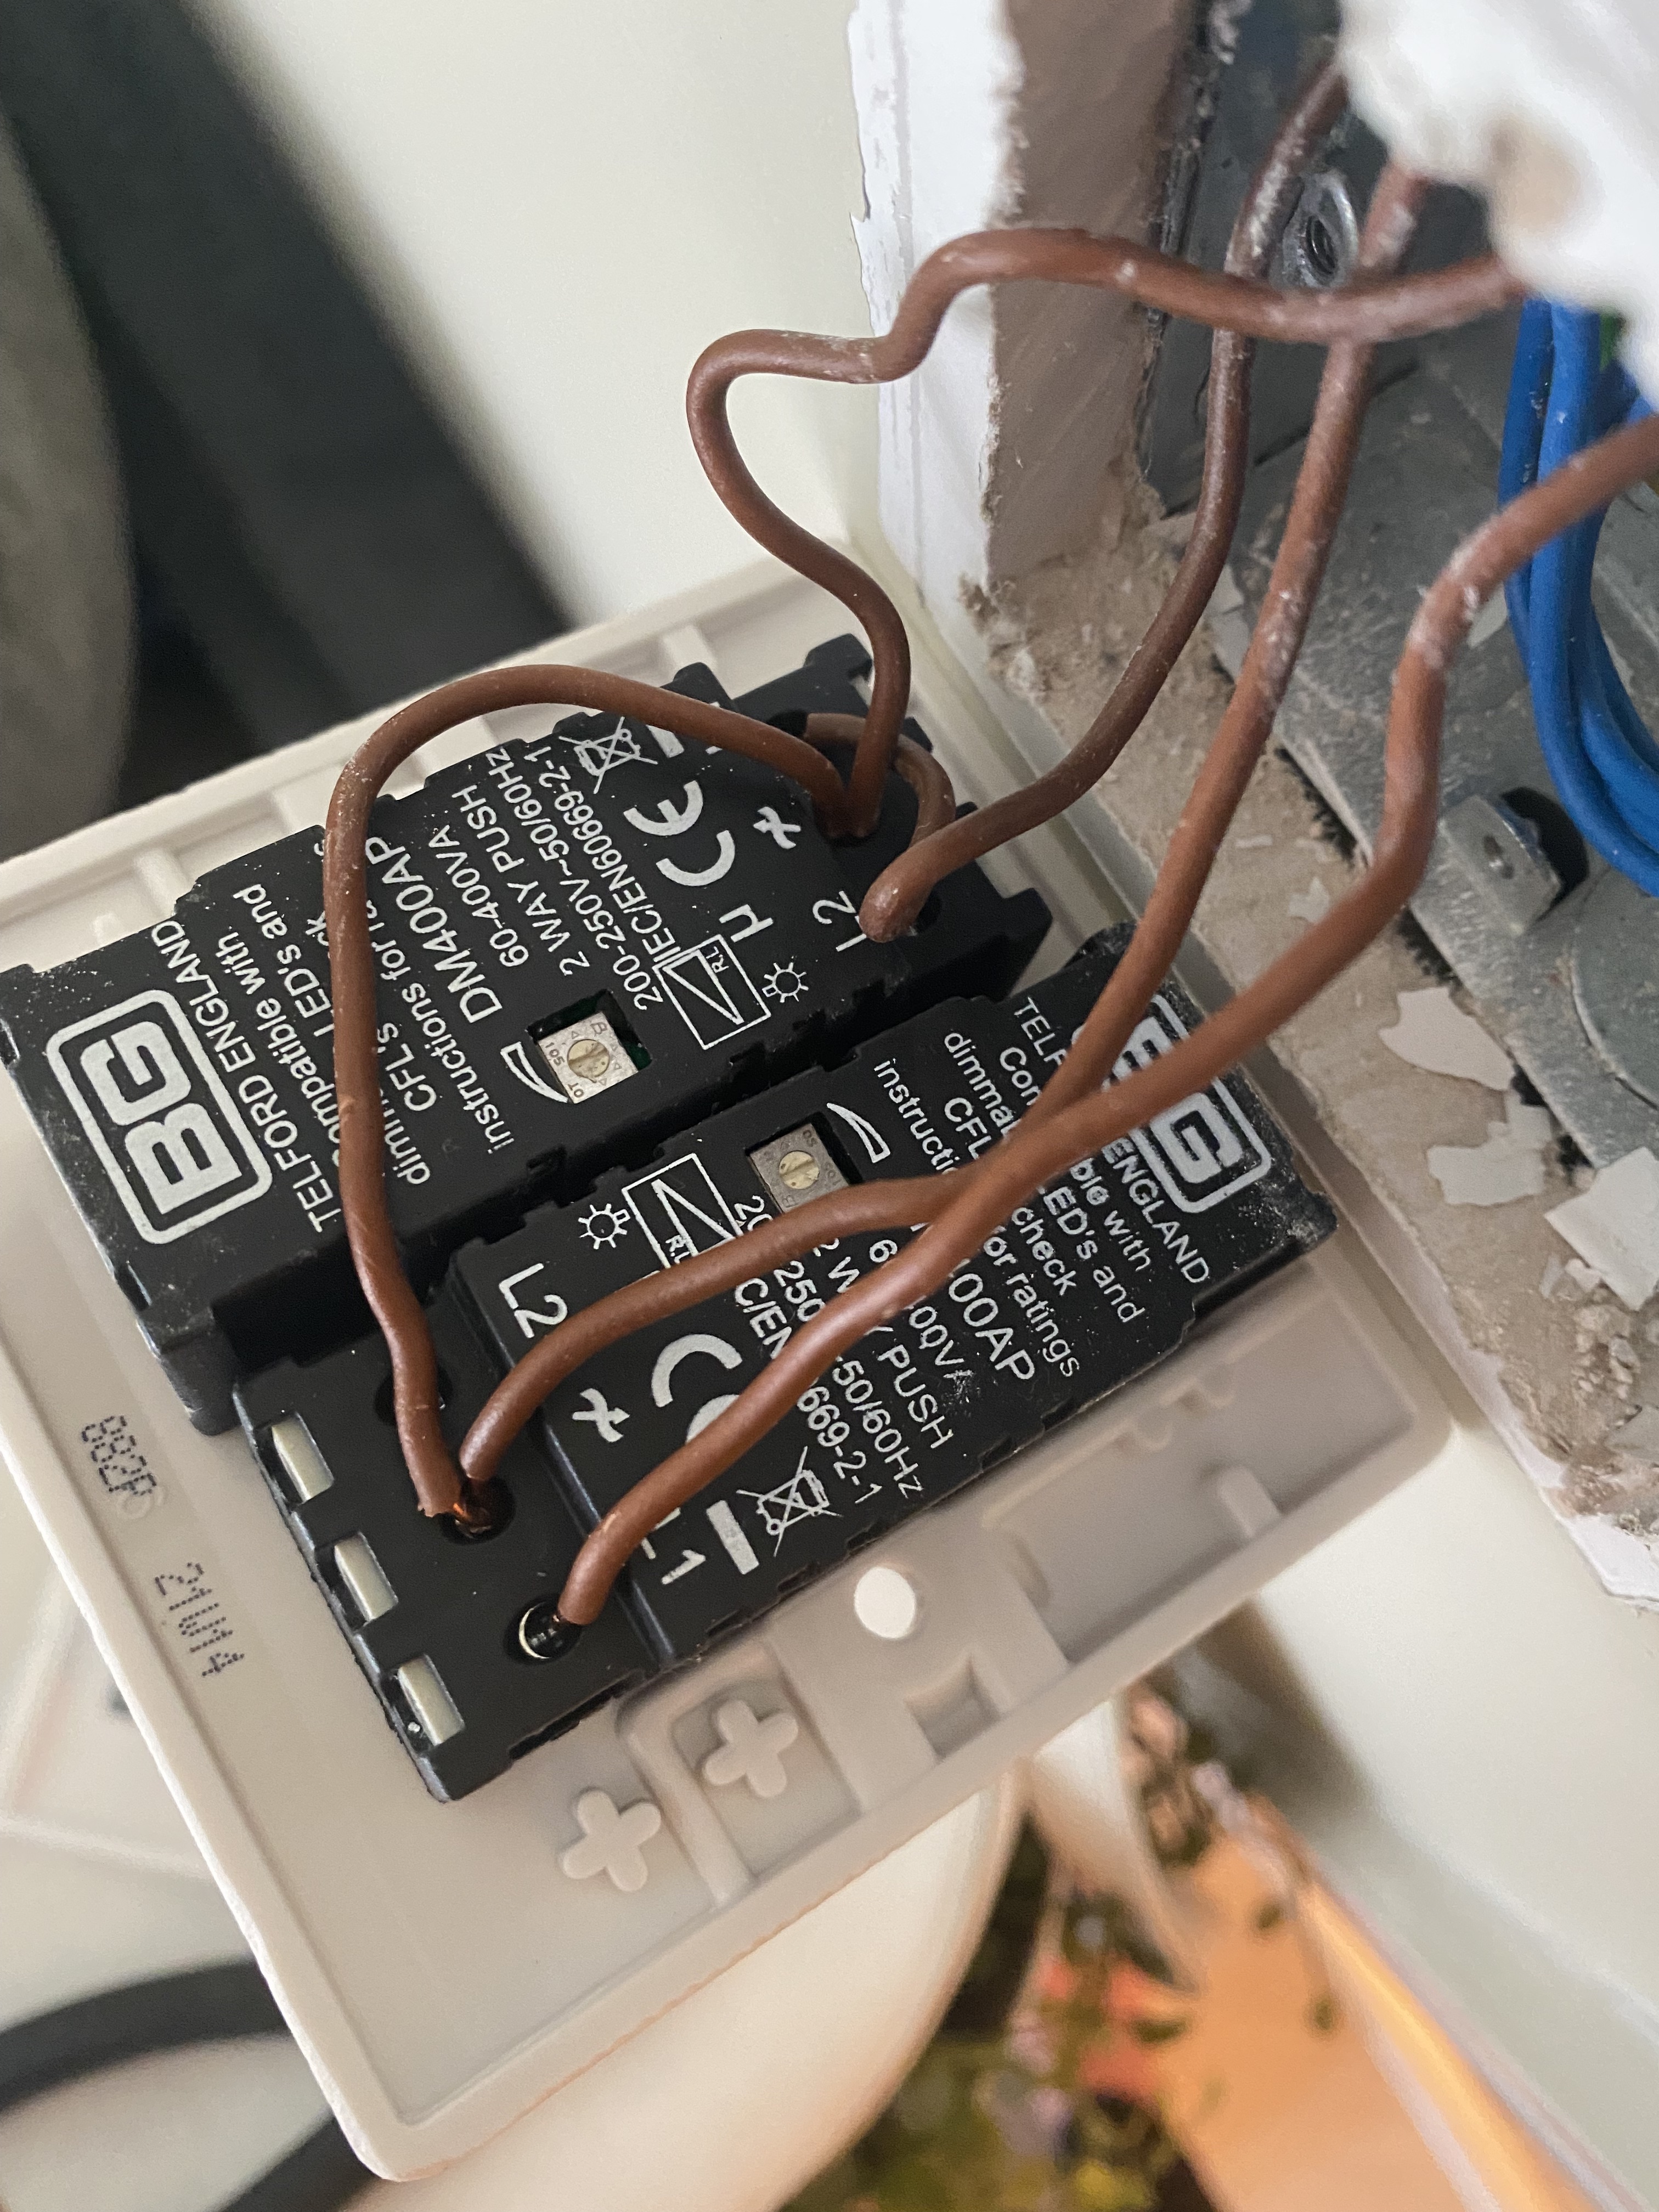
Using your diagram/ photo, it’s time to re-wire the new switch, stripping the wire if needed to ensure better contact in the port or if the copper wires is damaged or crimped. You will notice in the setup above that the COM ports are labelled with a wavy line with an arrow through it instead, but this is where the Live wires from the electrical circuit go into.
Again, the switched live go into the L ports. The switch above is a dual light fitting, meaning it controls two lights, hence the jumble of live wires.
If you have one switch that controls multiple lights (rather than multiple switches, each controlling one light each), you will need to use the L2 ports which would control the second light with the same switch.
8. Set the brightness level
Your dimmer switch will also have a dim level control screw to adjust how dim (minimum dimness) or how bright (maximum brightness) you want the lights to go when turning the dial. Set this to whatever setting you like. Give each of the wires a little tug to ensure they can’t easily come loose.
9. Add your dimmable bulbs and check the wiring
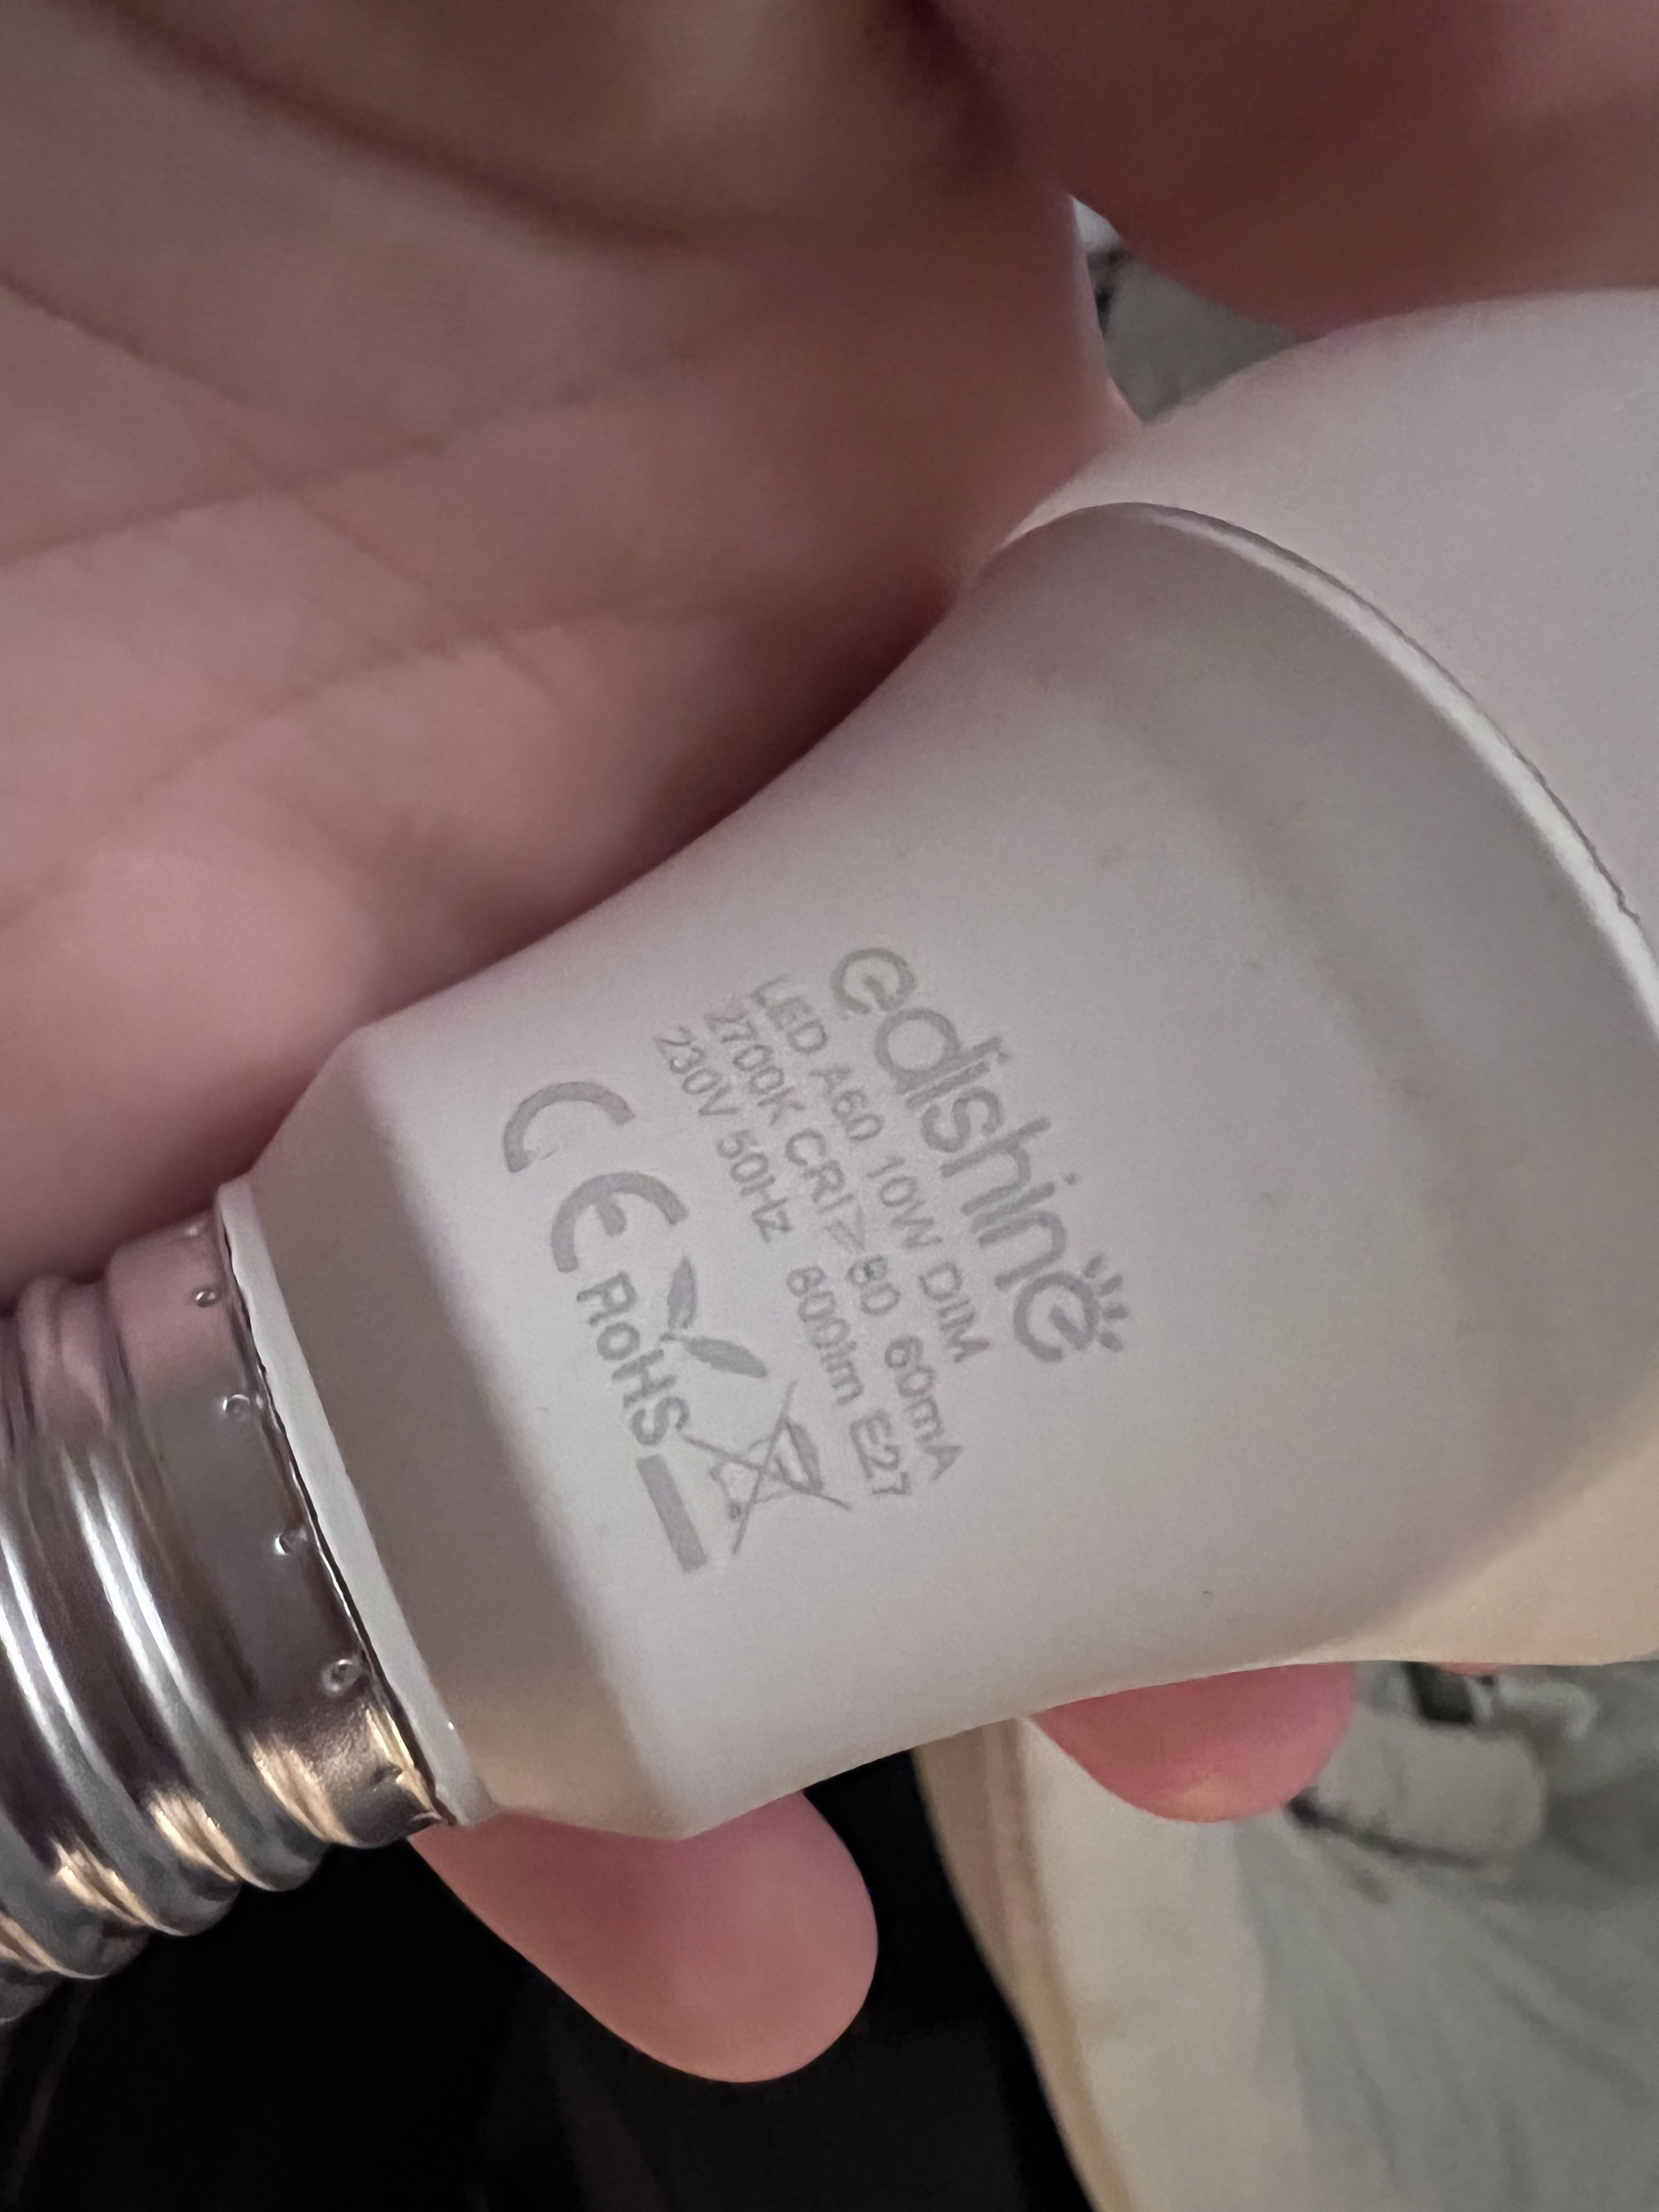
Add your dimmable bulbs to the light fitting, then it's time to check the wiring. Go and turn the fuse back on and return to the switch. Without touching any of the wires, turn on the switch on the front, adjust the brightness and ensure all is okay. It is normal for the unit to hum quietly when dimmed, however if the humming or buzzing is loud or there is any crackling sound, you will need to turn the fuse off again and check the wiring setup. A loud hum could also indicate that the bulbs you are using are not in fact dimmable. They will usually say DIM on them if they are dimmable.
10. Mount your new fitting
If all works, it’s time to mount the new fitting on the wall, using the screws it comes with to fix it to the existing box unit. Put the decorative caps back on and touch up any paint that may have been lifted when removing the original switch. You can now enjoy your new dimmable lights!
- Living room wall lighting ideas to brighten up your home.

Jasmine Gurney is a DIY pro, inspiring women with power tools via her home improvement blog Oh Abode and on Realhomes.com.