Coving: how to repair Victorian coving and contemporary ceiling cornicing
Whether you have original coving or more modern ceiling cornicing in your home, restore it to its former glory with our step-by-step guide and video
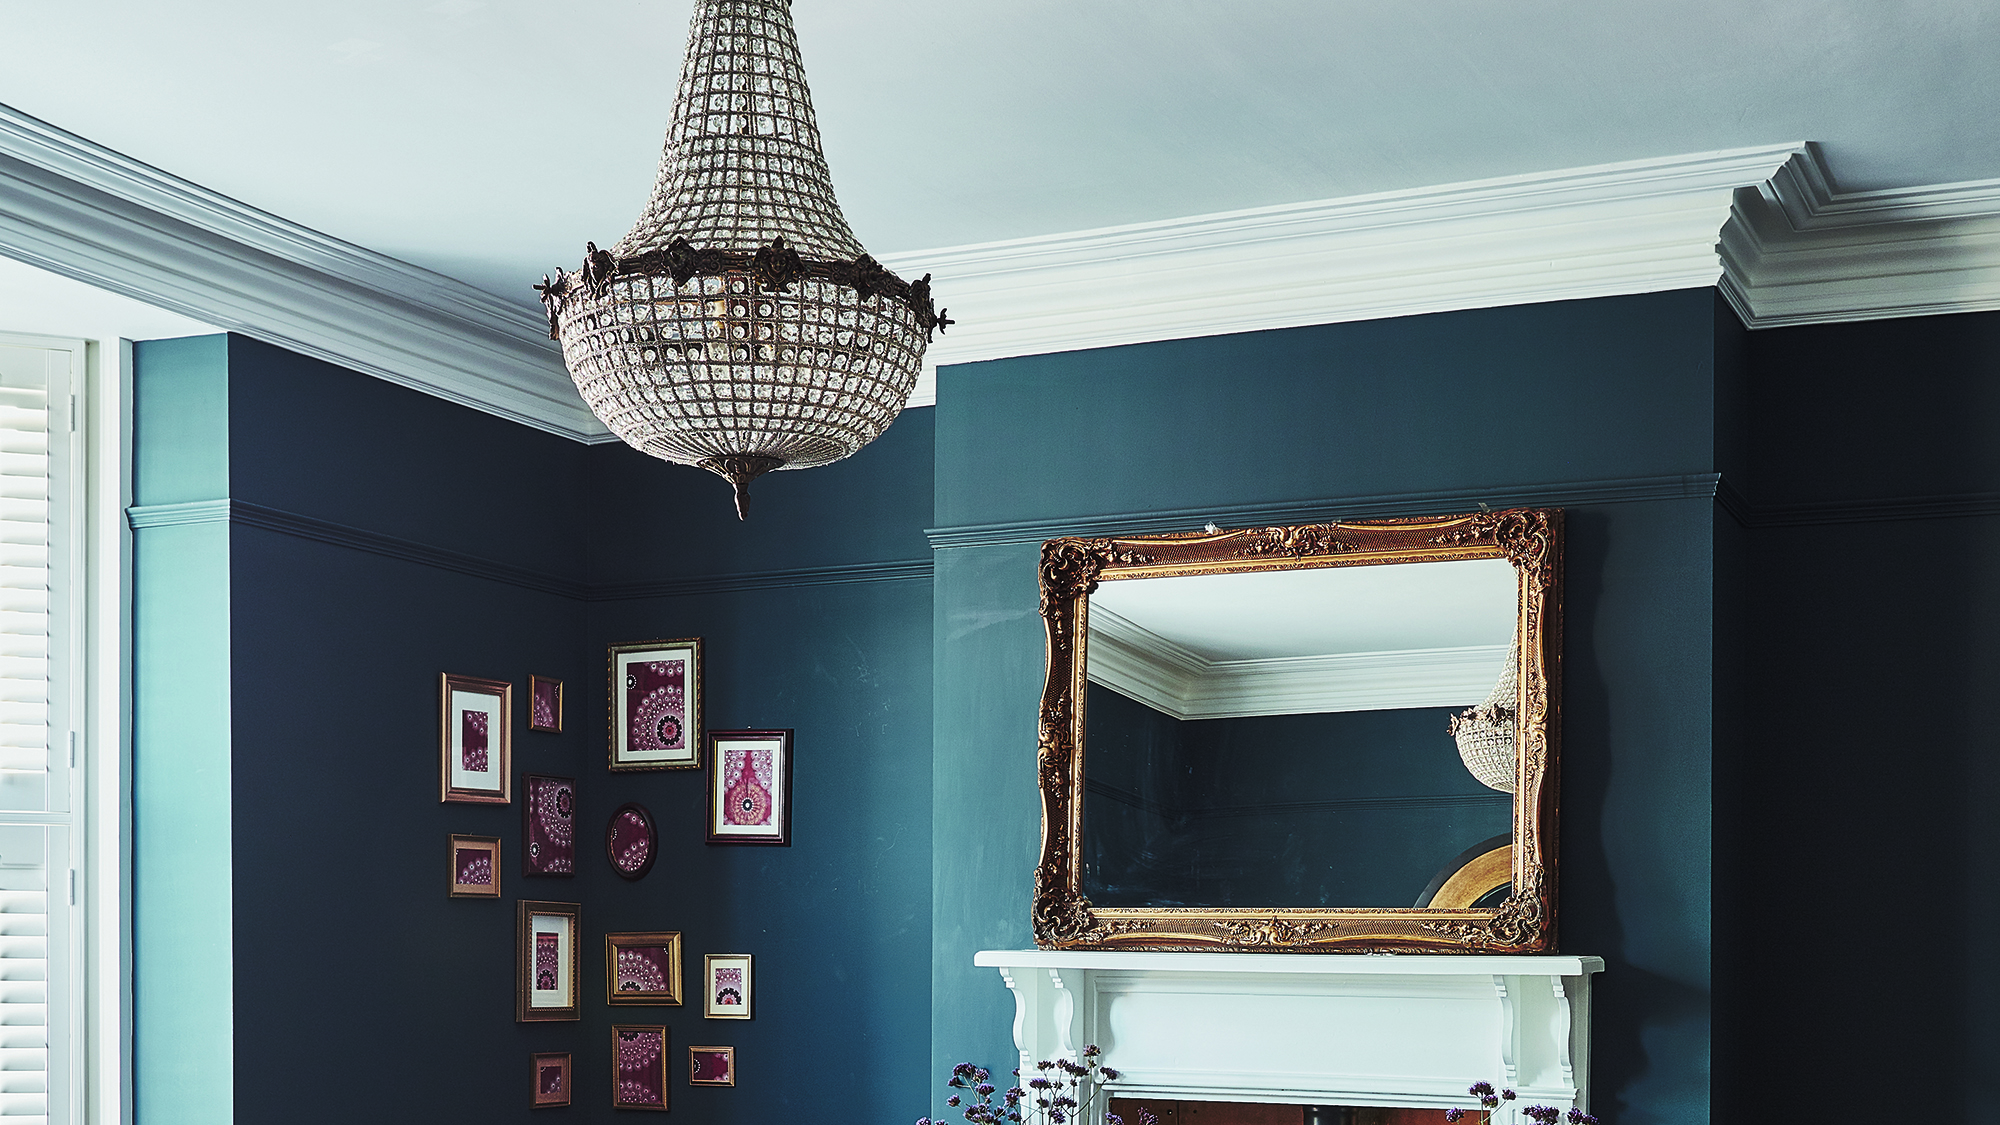

If your home has original coving – whether Victorian, Edwardian or Georgian – or more contemporary ceiling cornicing, then chances are it'll need some TLC as part of your house renovation. Layers of paint that build up over years can obscure the detail of the coving and need stripping back so that you can get a smooth, even finish.
Cracks can also appear in the coving that need careful filling before you apply another coat of paint. We've teamed up with builder Sian Astley to produce a step-by-step video guide to restoring your cornicing.
Once your coving is restored, check out our guides to painting a room and painting a ceiling.
Essential kit
Before you start, make sure you have the right tools. You’ll need:
- A paint stripping product like Peelaway, if required
- Ladder or platform to safely stand on
- Clean water
- Light disinfectant
- Cloths
- Non-abrasive sponges
- Soft filler
- Chisel
- Clean brush
- Sandpaper
- Paint, if using
Related articles: How to prepare and paint a wall | How to cut in when painting a wall or ceiling | How to paint a door
Get small space home decor ideas, celeb inspiration, DIY tips and more, straight to your inbox!
1. Strip off layers of paint
If your coving is covered in thick layers of paint, use a product like Peelaway to get it strip it back to the plaster and then you can paint from scratch. A paste is applied to the coving using a spatula, brush or trowel and the surface is then covered with a poultice blanket for the required amount of time. When stripping is complete, the blanket, paste and paint are removed with the stripped paint sticking to the blanket to prevent any harmful particles becoming airborne.
2. Sand and clean
If you don't have layers of paint to strip off, then start by giving the coving a sand and a good clean. Use sheets of sandpaper that you can shape into the nooks and crannies, then apply a mild detergent spray and then wipe off with clean water.
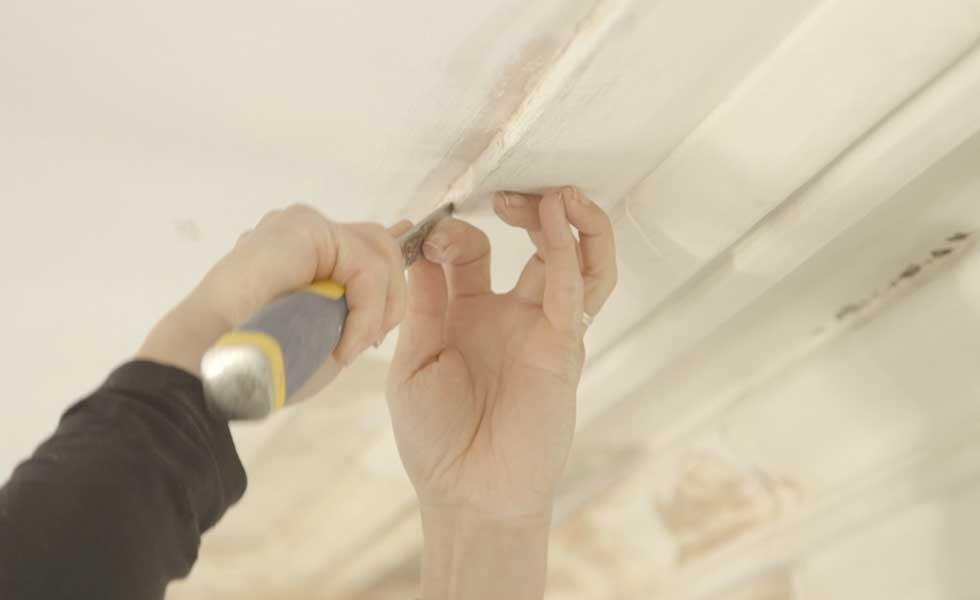
3. Refine the edges
To make the most of the decorative cornice, restoring defined, crisp edges is key. Using a small chisel or blade, carefully skim along the edge or the front-facing groove first to highlight the corners and right angles, chipping away any excess paint to get a smooth finish. Do the same along the other lines of your cornice, working down to the bottom, but being careful not to chop away too much and compromise the original shape.
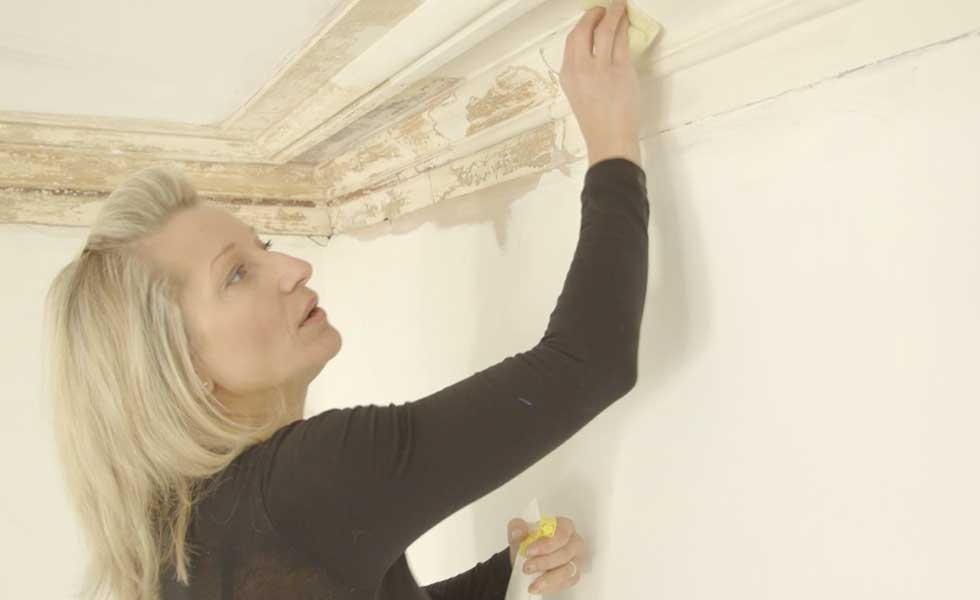
4. Repair any cracks
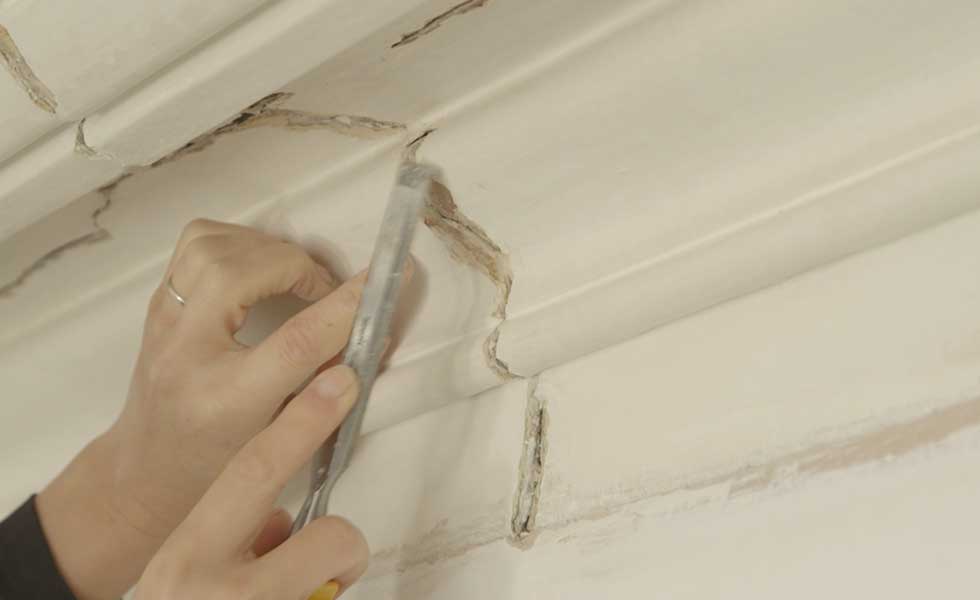
Original cornice may have become damaged over the years, or you may find cracks that have been covered with paint once you’ve stripped it back.
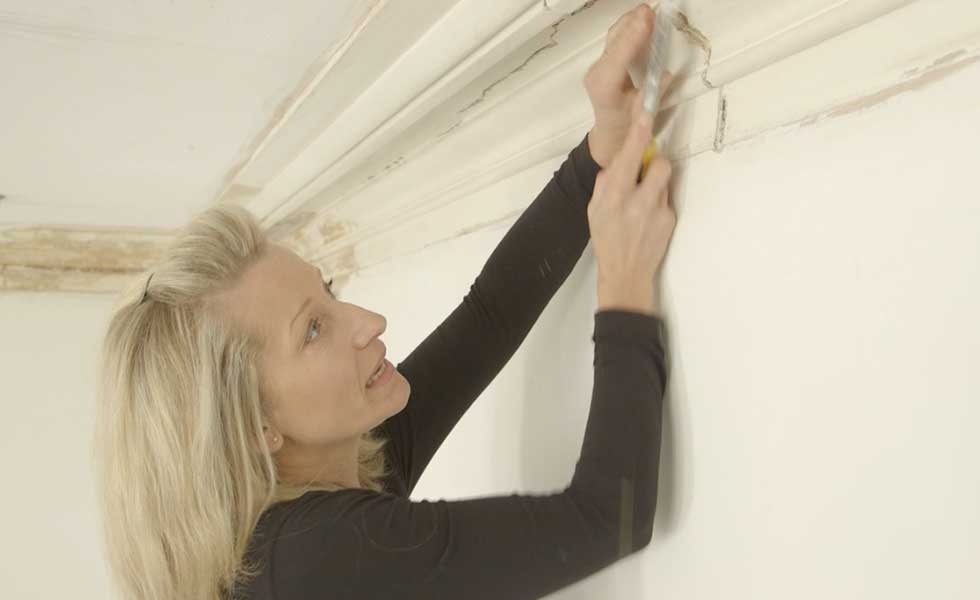
First, use a small chisel to carefully chip away the edges of the crack, resulting in a more even surface, and then sand away any lumps so that the area is smooth.
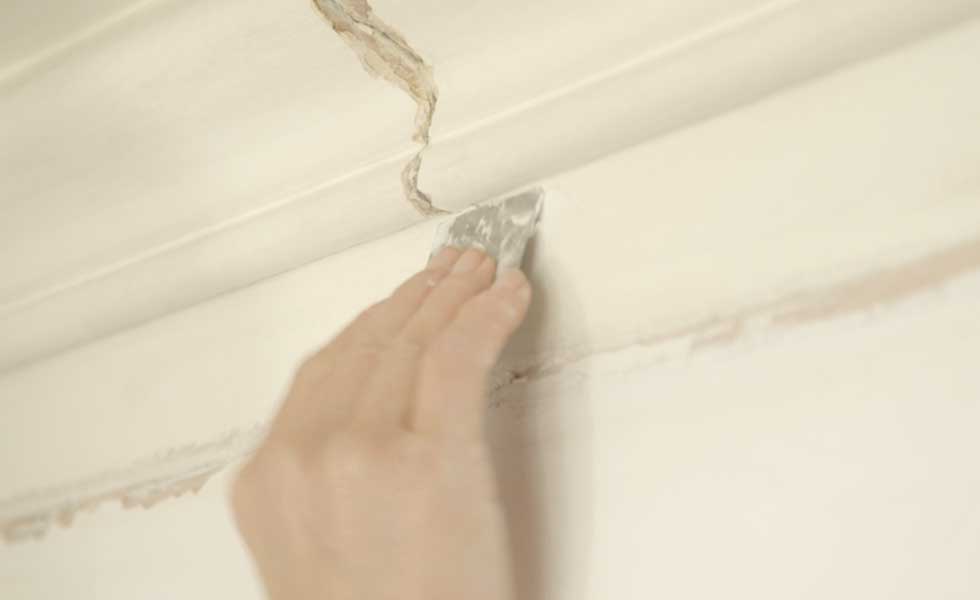
Using a spatula or wide chisel, apply a pre-prepared soft filler to the area, filling the crack and smoothing over, so that when paint is applied, the finish is seamless. Make sure to not overload the filler – it’s best to use a little bit at a time and top up with more if required.
5. Clean the cornice again
After refining the edges and applying filler (and waiting for this to dry), clean the cornice with a cloth and clean water to remove dust. Finish by spraying on sugar soap and wiping away residue before you begin painting.
6. Apply your paint
You may like to leave your cornice stripped for a distressed look, but if you’re planning to paint it, use a basic matt emulsion. Apply the first coat, leave to dry and then paint over with a second coat. If you stripped the coving right back to the plaster, then you'll need to apply a primer before you begin applying your emulsion.
Check out these related articles
- Learn how to paint a room, walls and all, with our handy guide
- Find out how to cut in when painting walls and ceilings
Laura Crombie is a journalist and TV presenter. She has written about homes and interiors for the last 17 years and was Editor of Real Homes before taking on her current position as Content Director for Country Homes & Interiors, 25 Beautiful Homes Period Living and Style at Home. She's an experienced home renovator and is currently DIY-renovating a 1960s house in Worcestershire. She's been quoted on home design and renovating in The Times, The Guardian, The Metro and more. She's also a TV presenter for QVC and has been a commentator for Channel 4 at Crufts dog show.
