How to make a cork board wall – WFH can be practical and pretty
Love the idea of a practical and stylish cork board wall? Here's how to create one this weekend, whether you always WFH or are self-isolating...


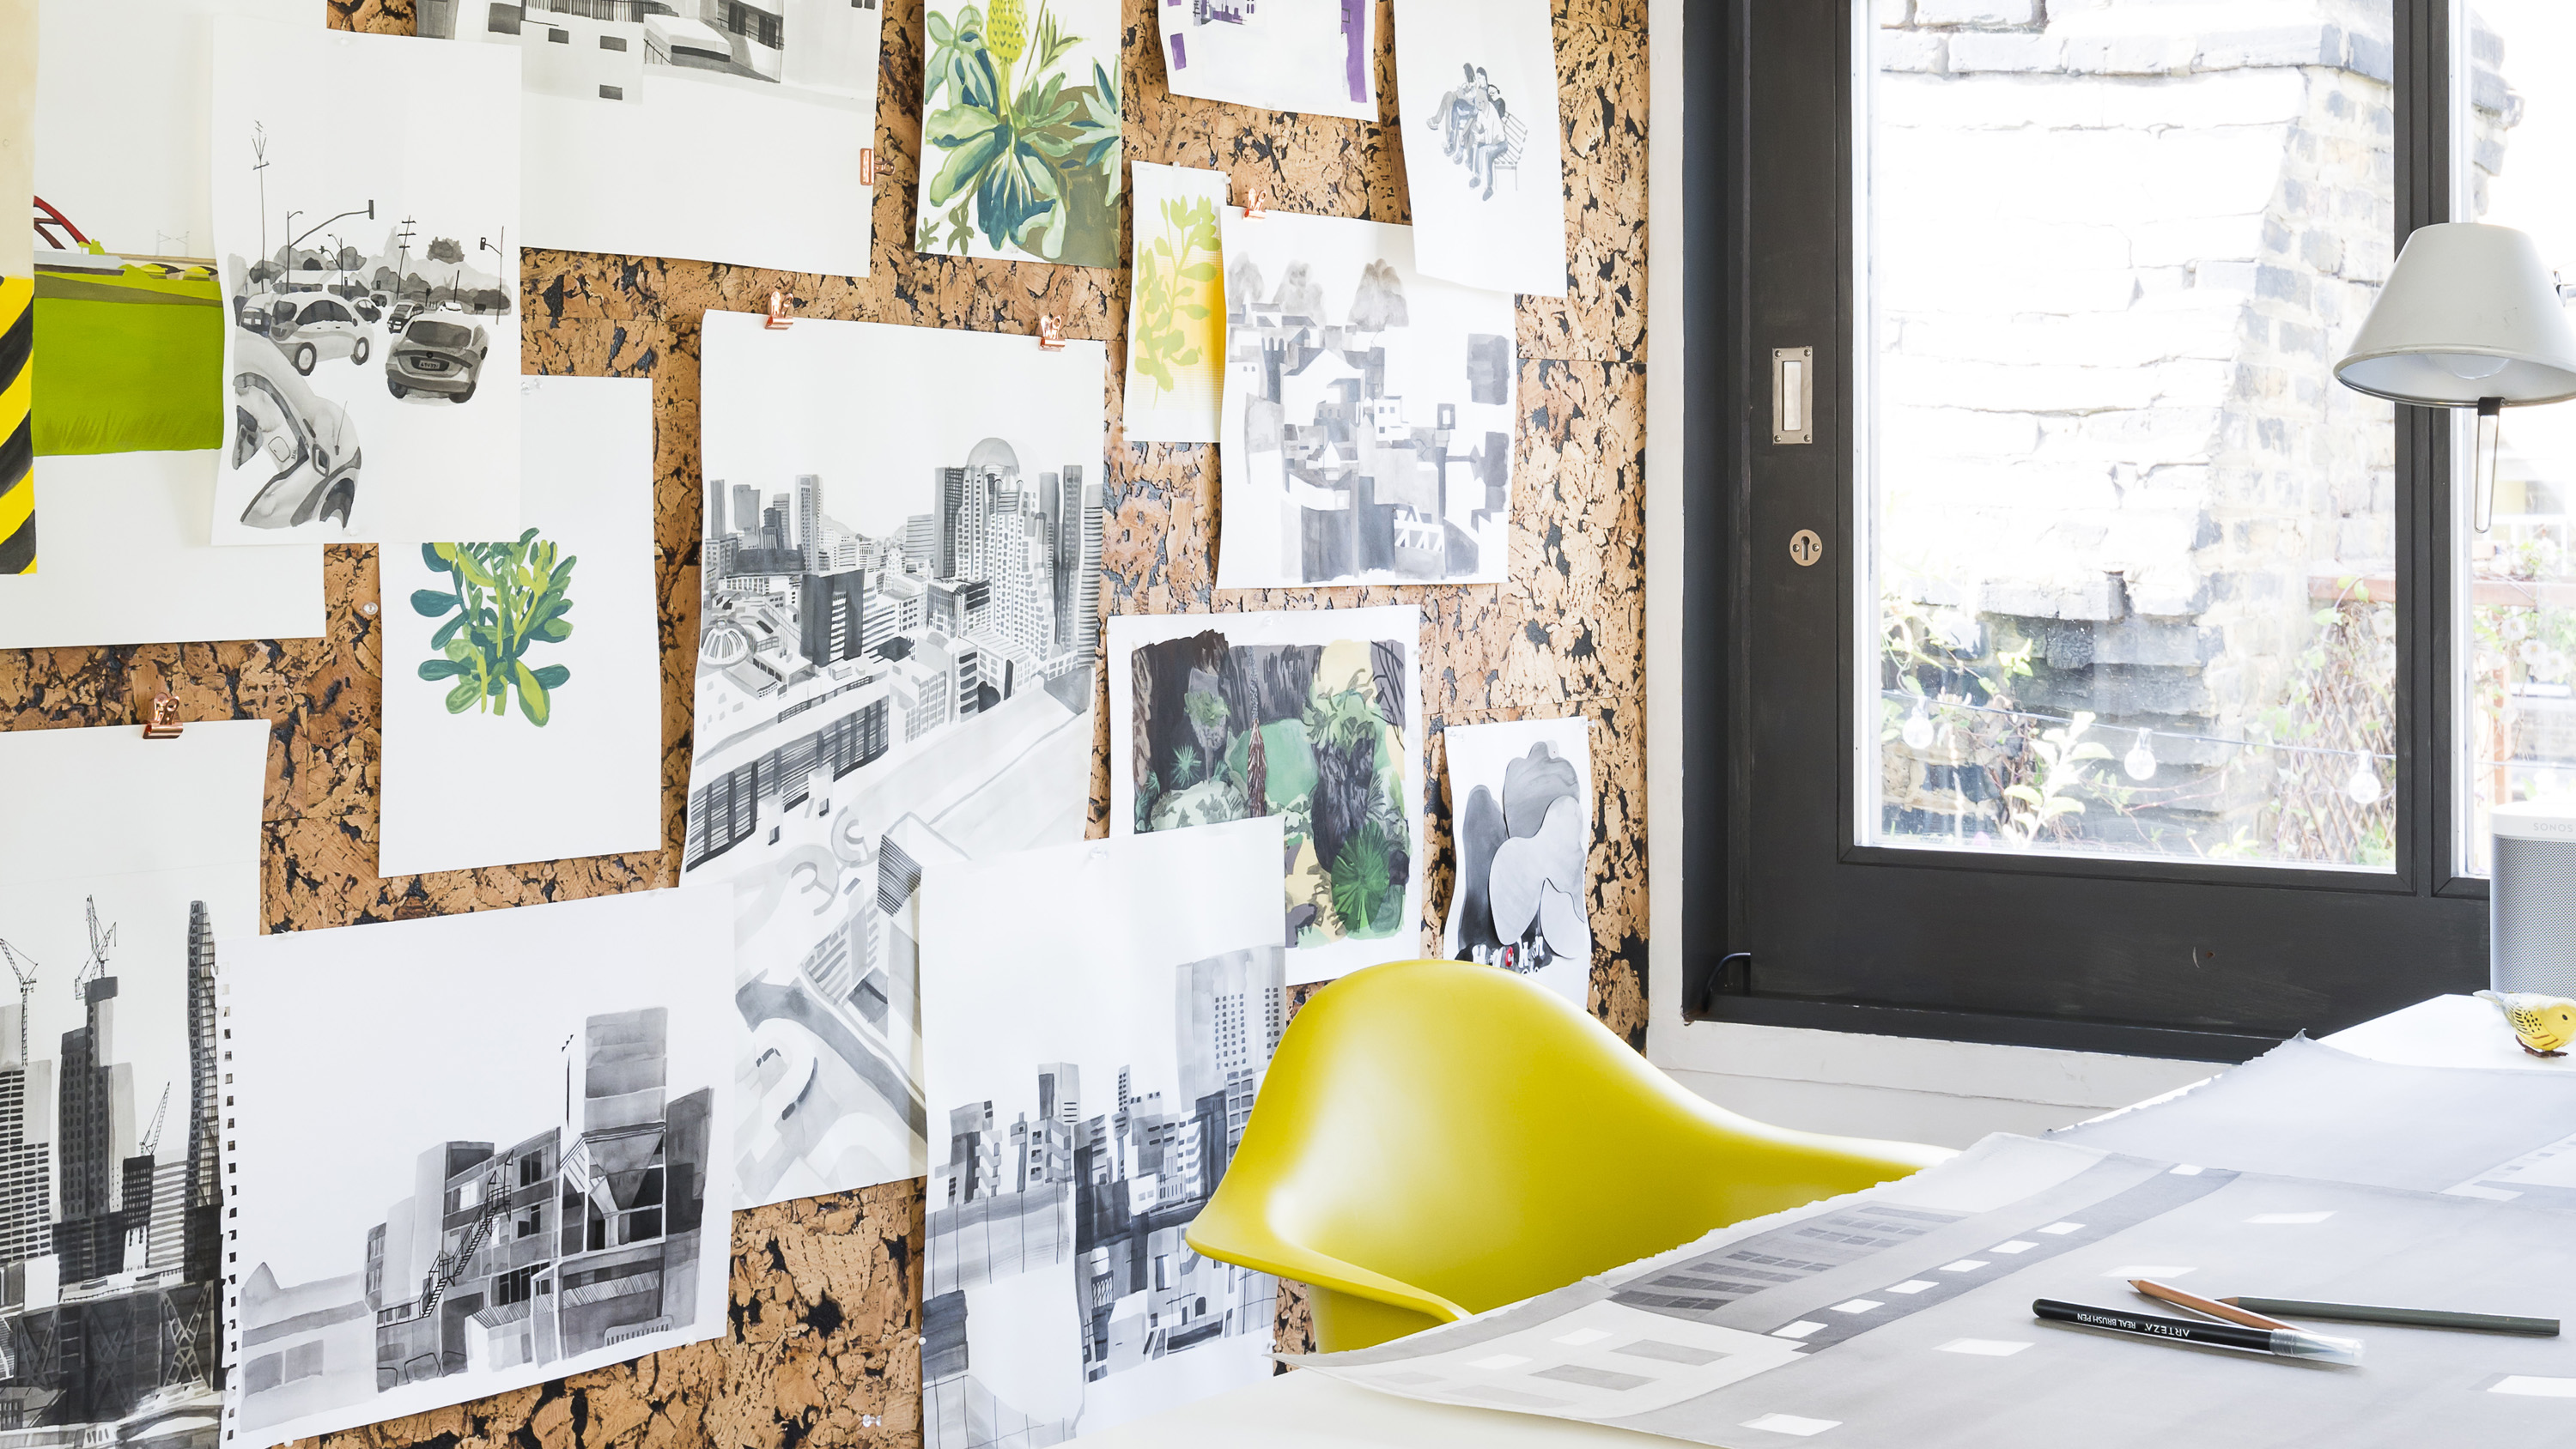
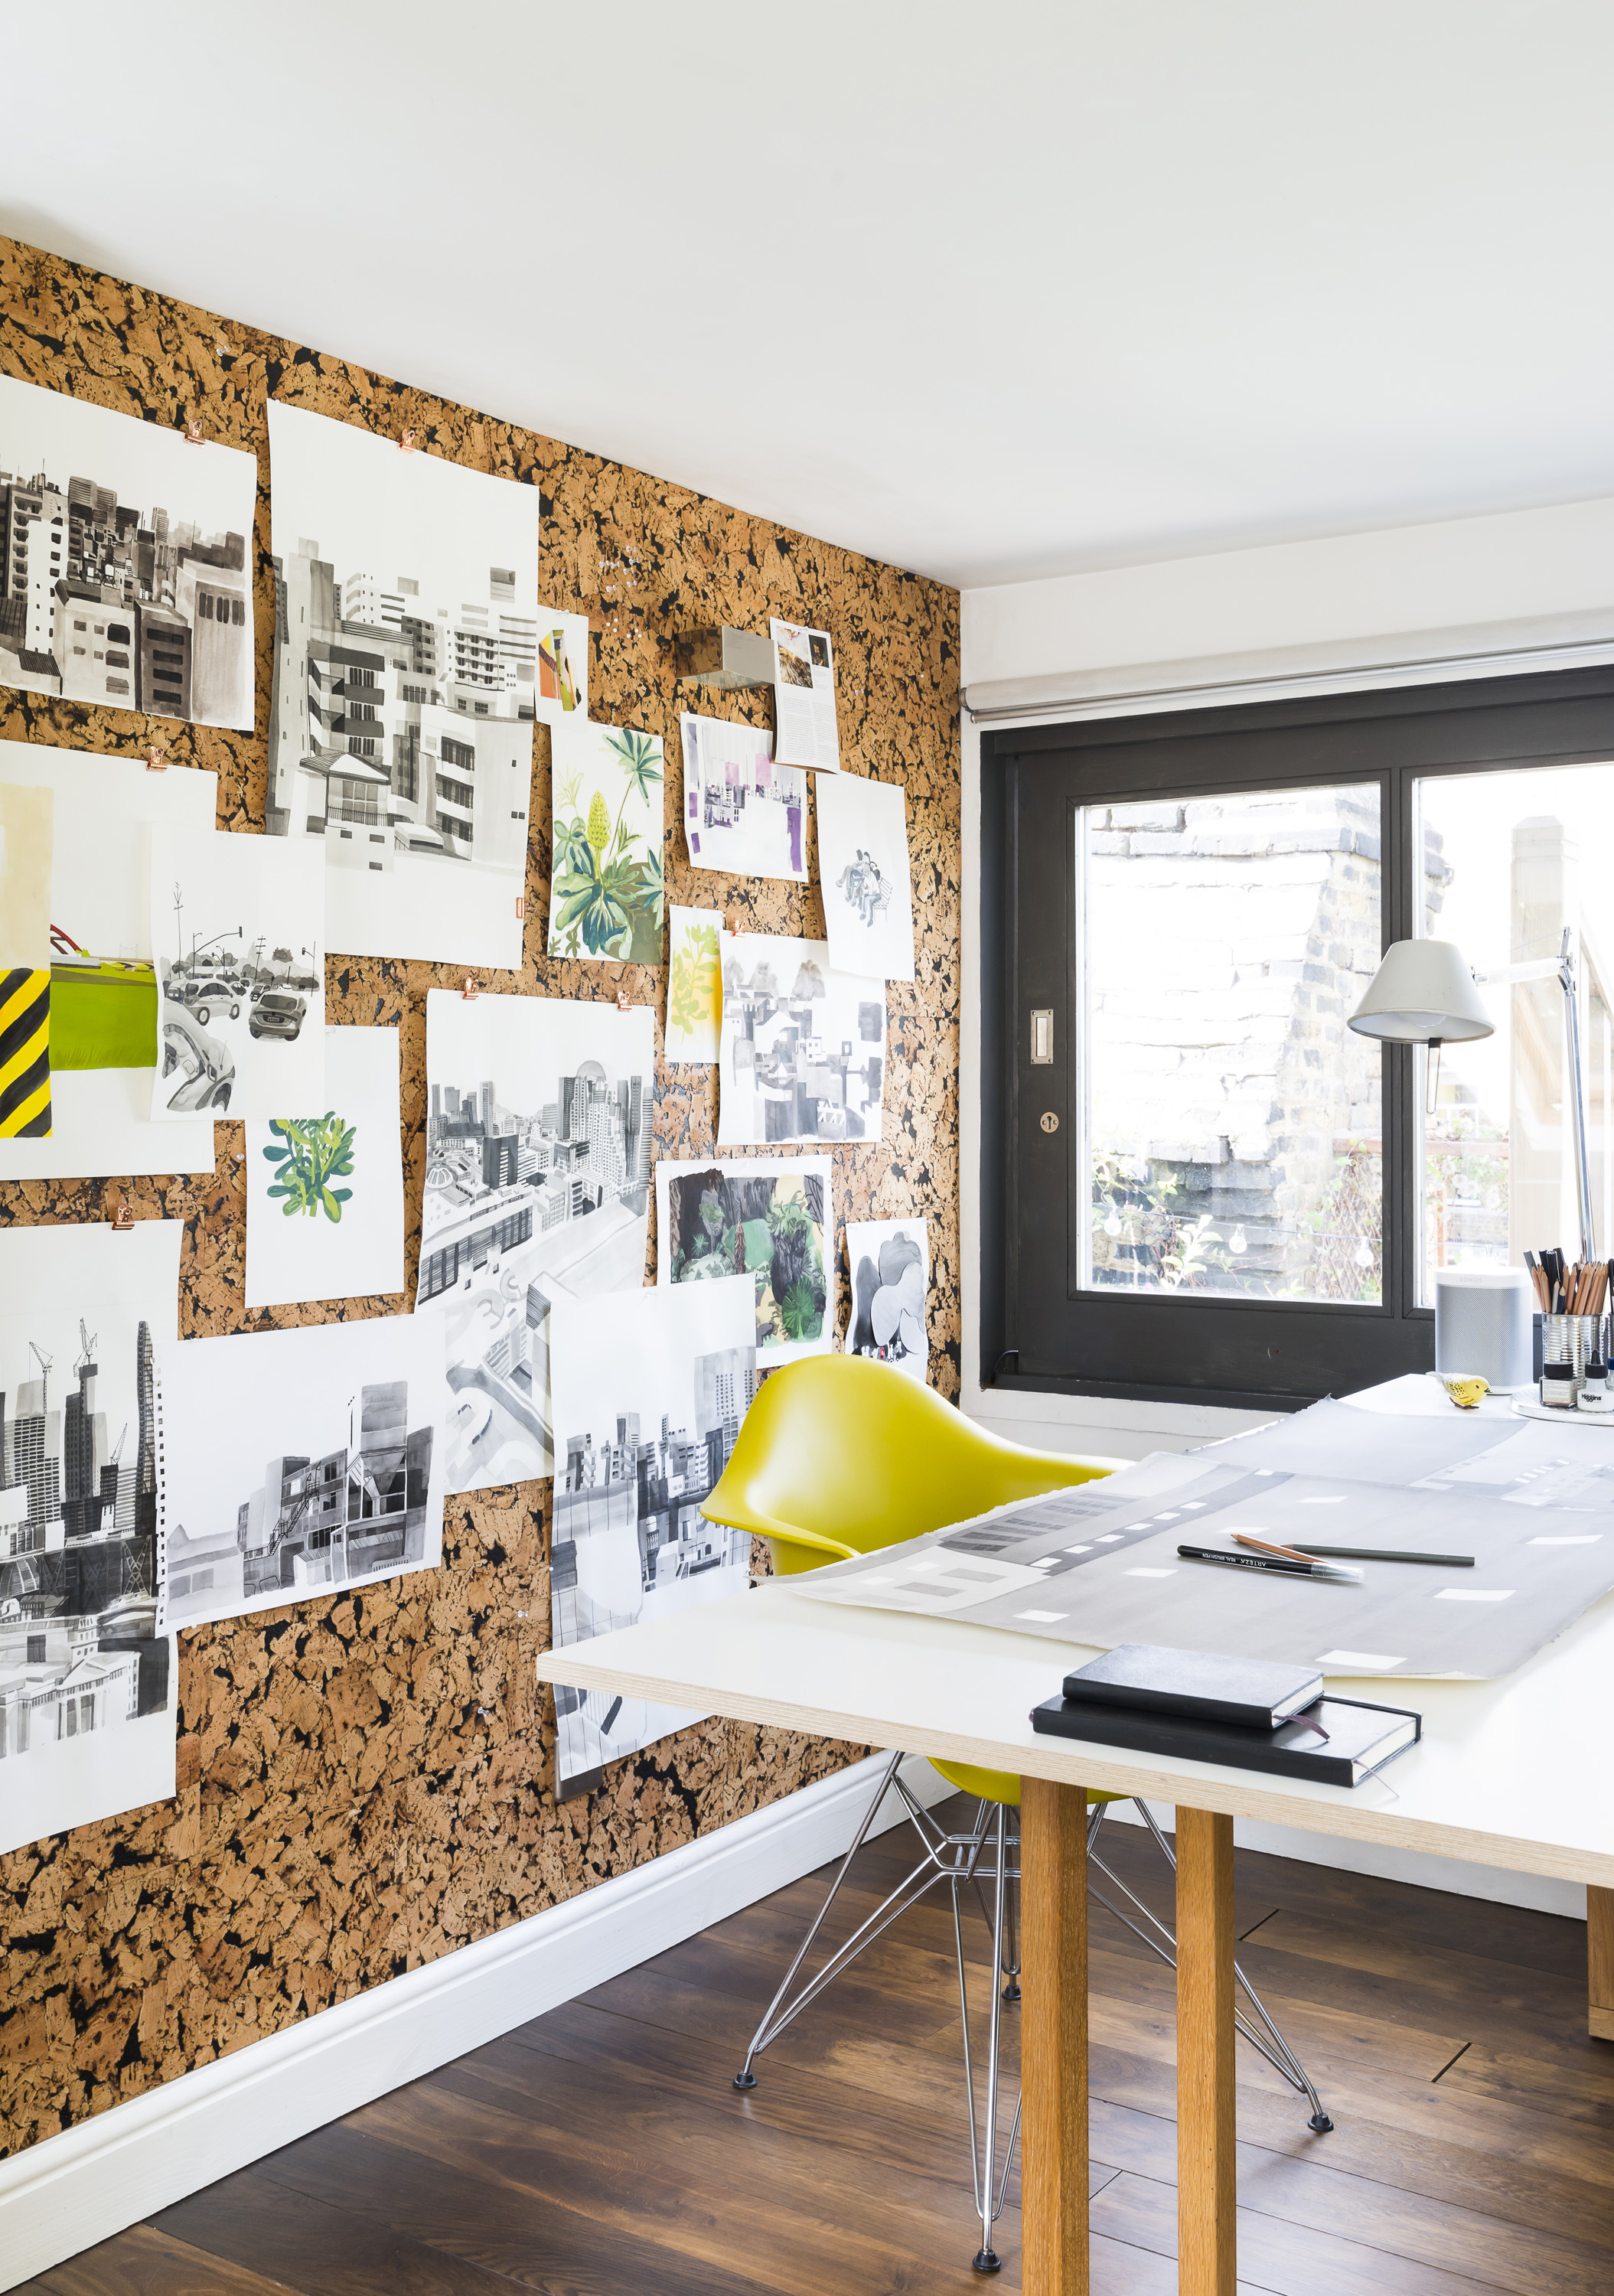
This cork board wall made from cork tiles is a clever way to create a striking feature in your space. Practical and stylish, it's perfect for small rooms where you need to be super-organised and want to keep your desk space free from clutter.
Whether you use it for pinning essential paperwork, displaying colourful artwork or even showing off pictures your budding artists have drawn at school, a cork board wall is a great way to add some personality to your space. Plus if you're working from home more now (as many of us are at the moment in particular), you'll find it a real boost. Read on for how to achieve it. For more home office ideas, go to our hub page.
- If you want to try your hand at more DIY ideas, check out our other weekend projects

Create a cork board wall with these Cobblestone Black cork wall tiles from Jelinek Cork
You will need
- Cork wall tiles – this project uses Cobblestone Black cork tiles
- Cork tile adhesive
- Ruler
- Framing square
- Cutting knife
- Roller
- Decorative cork board pins
Step one: measure your wall
Measure the height and width of the wall where you want to create your cork board to work out the surface area and the amount of tiles you will need to order. Cork wall tiles are readily available online at Amazon and come in a range of thicknesses. Some of the thinner designs even come with a self-adhesive backing for ease of installation.
The tiles pictured in this project are these Cobblestone Black wall tiles, which are also available as a thicker acoustic wall tile for spaces where you want to minimise the sound either getting in or out of your room (ideal if you want a quiet work zone).
Top tip: like all natural products, you should allow the cork tiles to acclimatise in your home for a minimum of 48 hours before you install them to allow for any natural expansion or contraction of the cork material.
Step two: clean the wall
Before applying the tiles, it's important to clean the surface of the wall (a sugar soap solution is best) and lightly sand any lumps and bumps to create as smooth a surface as possible for the tiles to be attached to.
Step three: apply adhesive to the tiles
Follow the tile manufacturer's guidance to pick the correct adhesive for your chosen wall tiles. Apply the adhesive as directed and then starting in a bottom corner of the wall apply your first tile, working your way along the bottom of the wall one tile at a time. Once several tiles are in place, go over the top of the tiles with a small decorating roller (a wallpaper roller would be fine) to ensure they are completely flat and have properly bonded with the surface of the wall.
Get small space home decor ideas, celeb inspiration, DIY tips and more, straight to your inbox!
Step four: cut the tiles to size
It's likely you'll need to cut a number of tiles to fit the space at the end of each row. Simply measure the gap at the end of the row and then cut the tile to size using a framing square and sharp cutting knife. Make sure the tile is placed on a suitable cutting board to avoid damaging the surface below.
Repeat the process, working your way up the wall in rows until the entire wall is covered in cork tiles.
Step five: decorate your cork board
With your cork tiles in place, all that's left to do is accessorise your new cork board with some decorative touches such as postcards, favourite art prints or photos. Simply pin them to your new cork wall for a creative display you can update as and when the mood takes you.
Subscribe to Real Homes magazine
Want even more great ideas for your home from the team at Real Homes magazine? Subscribe to Real Homes magazine and get great content delivered straight to your door. From inspiring completed projects to the latest decorating trends and expert advice, you'll find everything you need to create your dream home inside each issue.
More home office must-haves
- Go smaller with the best noticeboards for home
- Home office storage: 17 ideas for a tidy and inspiring work space

