How to install peel and stick wallpaper in 6 simple steps
Leaning how to install peel and stick wallpaper will let even beginner DIYers change up a space in quick time. Ideal if you rent or are on a tight budget

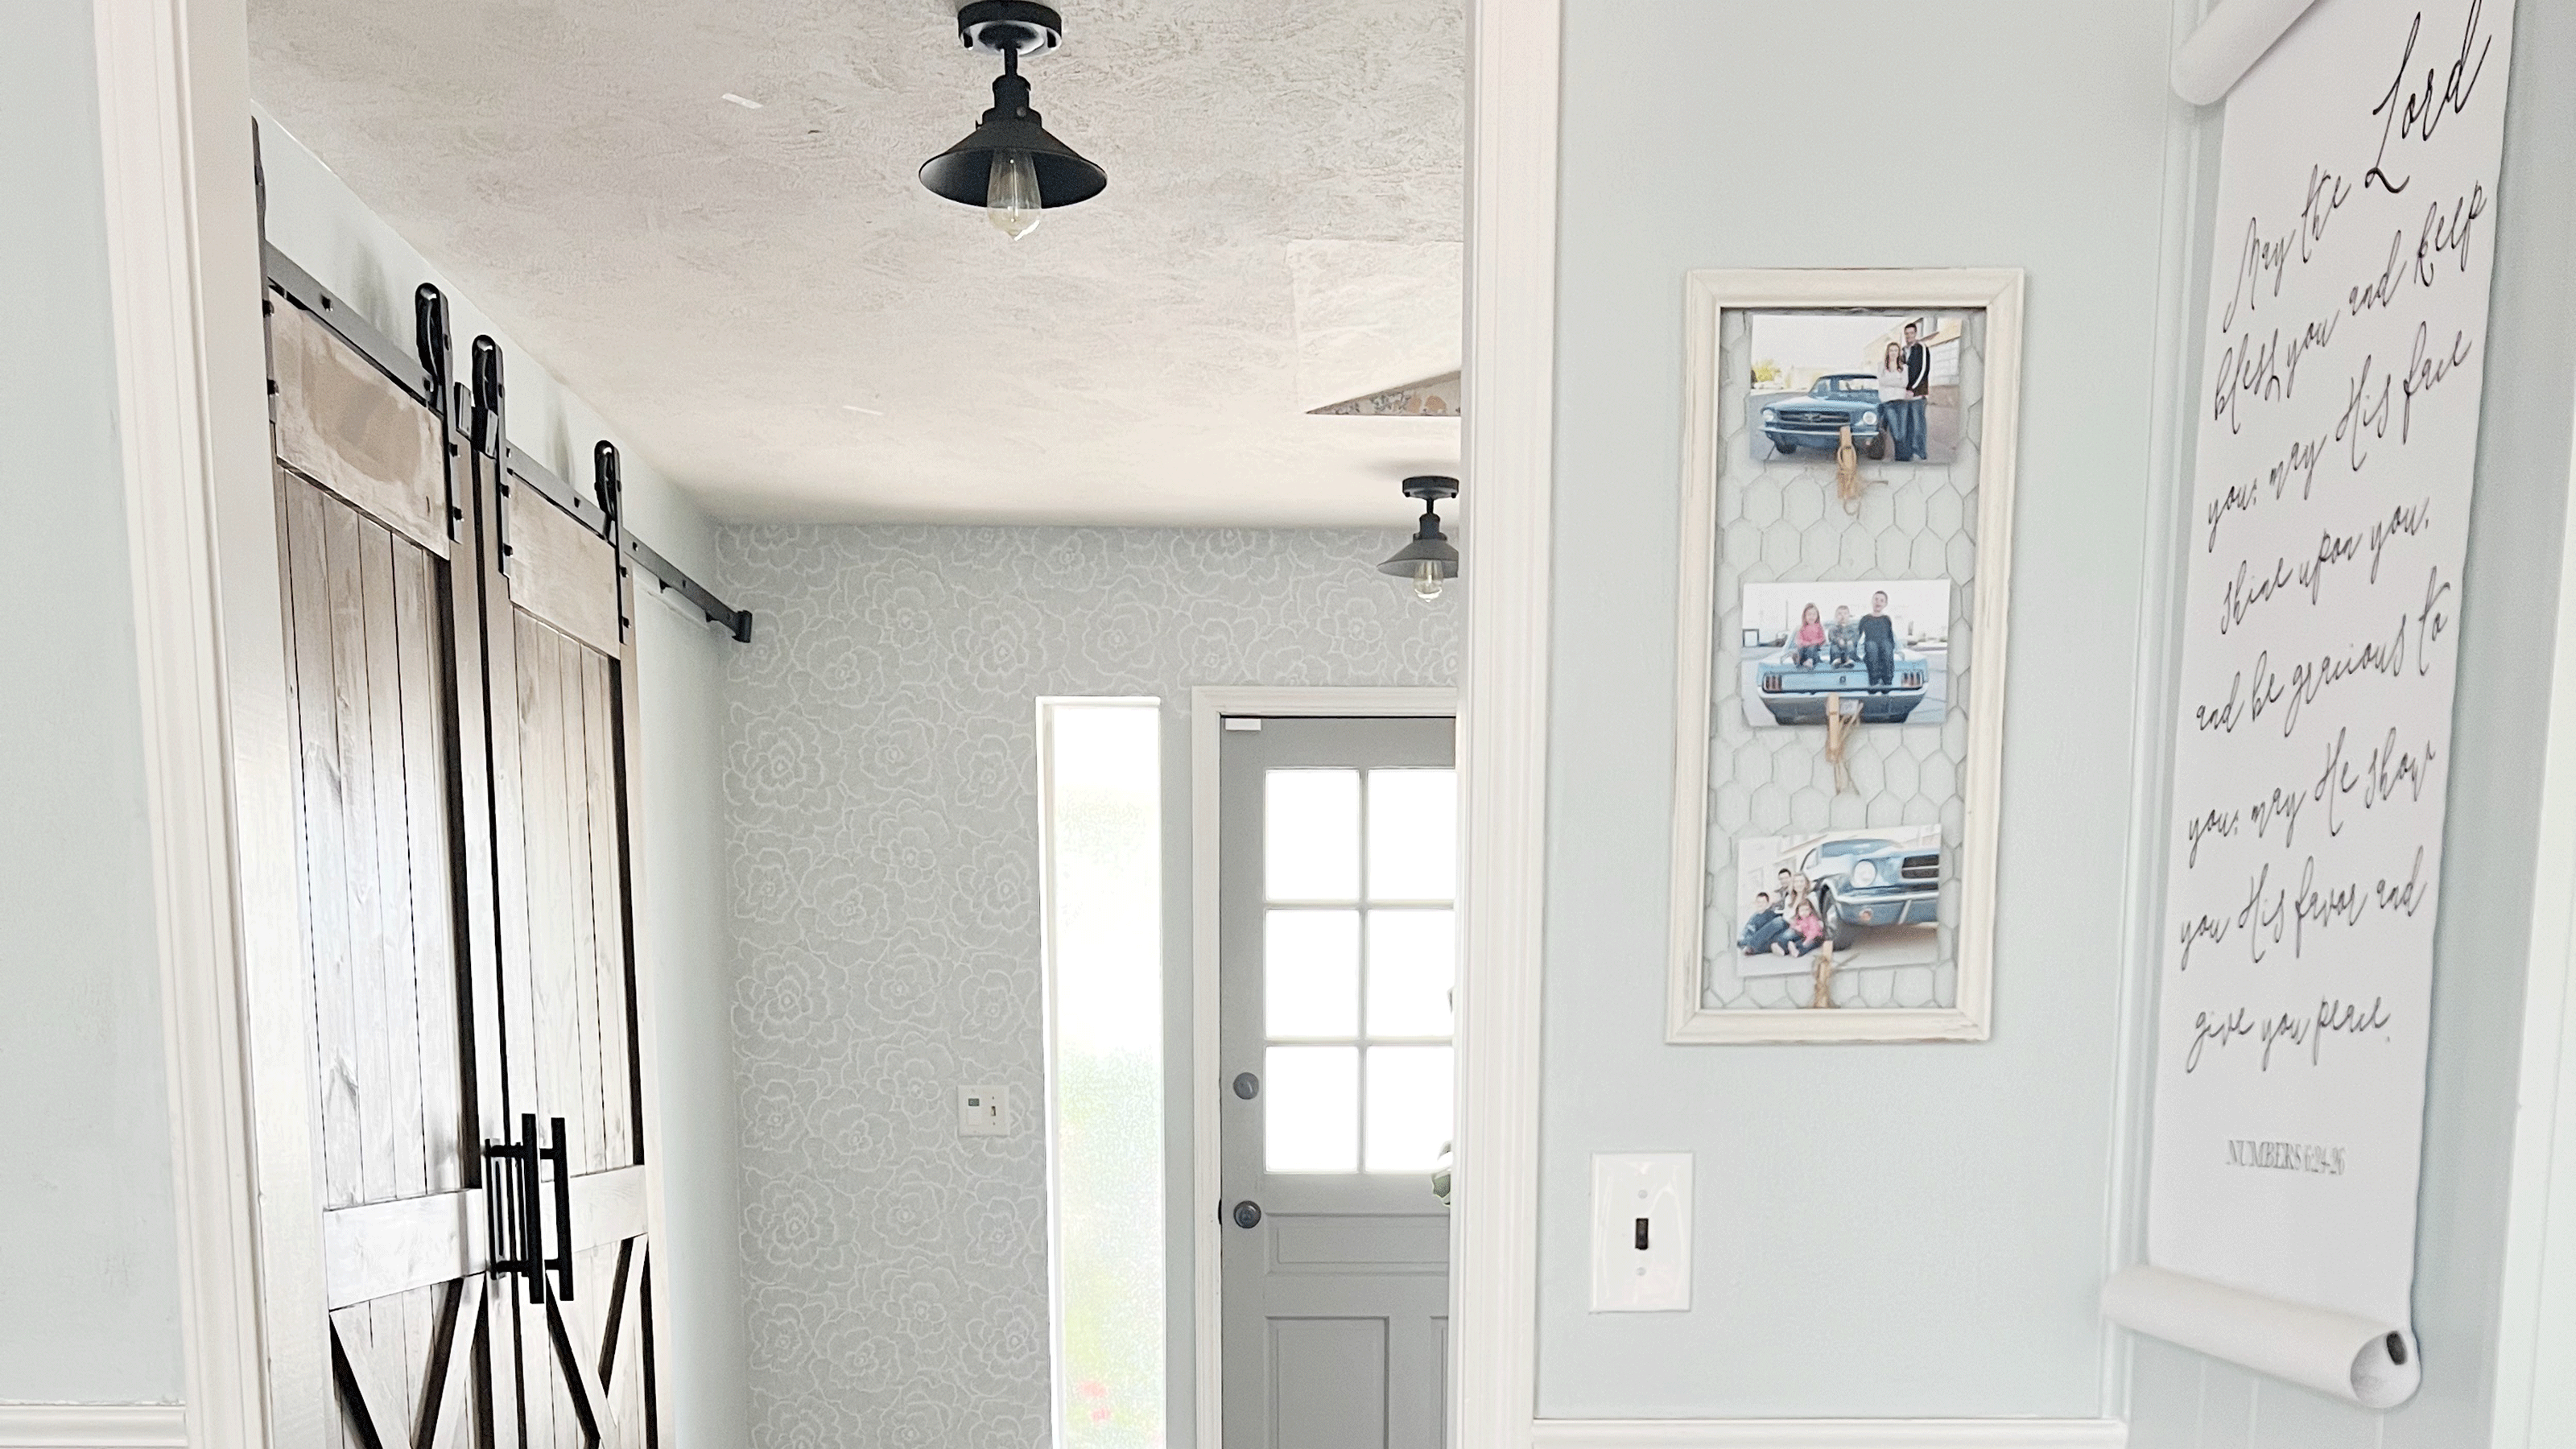
Wallpaper is a great way to add character and interest to a room. And thanks to the invention of peel and stick, installing wallpaper and changing up the look of your space has never been easier! Anyone can learn how to install peel and stick wallpaper, it is super DIY-friendly and once you have the process down you can use wallpaper throughout your home for added texture and visual appeal.
Unlike the pasting method, peel and stick wallpaper comes with an adhesive backing for a mess-free application. Being able to easily remove and reapply the paper to the wall, if needed, makes fixing mistakes a breeze.
You also don’t need a ton of supplies to apply peel and stick wallpaper and you can order it online where you can choose from almost endless designs and colors to work in any space. So it’s the perfect cheap DIY project when you need an affordable upgrade that still has impact – whether you’re looking to use it on just one wall or throughout the entire room.
Article continues belowAnother benefit of peel and stick wallpaper over the traditional pasting method is that it’s easy to remove when you’re ready for a change!

What to consider when hanging wallpaper
Before deciding on a pattern, study the lighting in your space and make sure the design and color will work for the look you’re going for. You may want to order samples of different styles to see how they’ll look in the space.
Measure your walls so that you know how many rolls of wallpaper you need to order. Wallpaper comes in assorted widths and lengths on the roll so you’ll want to double-check your measurements before ordering. You also need to consider if your wallpaper has a pattern that you’ll need to match as you move across the wall - this will require more, as well. If you run out and have to reorder you run the risk of the color of the paper not quite matching due to different dye lots used in the processing.
Equipment list
1. Stepladder
2. Tape measure
3. Scissors
4. Utility knife
5. Wallpaper – I used NuWallpaper in Saraya
7. Seam roller
8. A box cutter
1. Prep the walls
Before hanging wallpaper you want to make sure your walls are prepped. If you have any kind of texture on your wall it will come through the paper so make sure you’re working with a smooth, flat surface.
Ensure that your walls are clean and free of any dust that may interfere with the wallpaper sticking to the wall. If there are any holes in the wall you’ll want to fill them with joint compound and allow to dry completely before sanding to a smooth finish.
Also, give your wallpaper time to acclimate to the space you’ll be installing it. Leave the rolls in the room for 24-48 hours before beginning to install.
2. Measure the height of the wall
Starting at the top, measure the height of the wall, adding an inch on the top and bottom to allow for trimming. As your home settles, your walls shift and aren’t square anymore. Making allowances on either ends after measuring will ensure you don’t run short when you go to install the paper.
3. Cut the wallpaper
Using your height measurement, unroll the wallpaper and cut the first strip accordingly using sharp scissors. After you’ve cut the first strip of wallpaper, unroll the next strip and line it up with the pattern on the cut strip. Use the cut strip as a guide to cut the next piece. Number the pieces in order on the backside of the wallpaper so you’ll know which one goes next.
Tip: The wallpaper will want to roll back up after cutting. Cut the strips you need for an entire wall then lay them face down on the floor and place a heavy object on either end. Leave for a period of time until the wallpaper lays flat on its own.

4. Hang the wallpaper
Using your stepladder, begin just above the top of the wall. Peel back the corner of the wallpaper and, leaving an inch of overhang, attach the paper to the wall. Work in small sections, peeling the backing as you go. Use a wallpaper smoother to smooth out any bubbles or creases as the wallpaper makes contact with the wall. Continue in this way until you have reached the bottom of the wall.

Use a utility knife to trim the top and bottom of the wallpaper where it meets the ceiling and trim. Taking a seam roller or your smoother, go over the seams to ensure they attach securely to the wall.
Take your next strip of wallpaper and line the pattern up against the piece you just installed. Following the same process as before, attach the strip of wallpaper to the wall. Continue in this way until you reach the last piece.

If you are doing a feature wall, you will most likely have to trim the final piece vertically. Line the piece against the previous strip as you did before. Peel a corner of the backing off to attach the top of the paper to the wall. This way the paper will stay put while you cut. When you come to the corner where one wall meets the next, crease the paper into the nook all the way down the length of the strip. Using your utility knife, cut the paper down the length of the wall to get rid of the excess.
Now you are ready to move back to the top and install the final piece using the same method as the previous strips.
If you’re doing an entire room, you do not need to trim the piece along the corner of the wall, you can just carry the wallpaper over to the adjoining wall and continue the pattern.

5. Working around outlets
If your wall has outlets, you’ll need to remove the covers before starting. Once you reach the outlets with your paper, place your paper over the outlet and carefully cut around the edges of the outlet with your box cutter. Remove the cut paper and continue applying the wallpaper to the wall, replacing the covers when done.

6. Working around doors and windows
Wallpapering around awkward objects, like doors and windows can get tricky but there are ways to ensure you still get smooth results.

You’ll want to install the wallpaper starting at the top of the ceiling as usual. When you come to the top of the door or window, carefully trim the wallpaper to fit around the trim work. If your windows don’t have trim, you’ll need to wrap the wallpaper around the sides of the window and trim off the excess.

Once you’ve trimmed the edges and used the seam roller over all of the seams on your wall, step back and admire your work!

The results:


