DIY board and batten wall – how to cheaply install this accent wall paneling
A DIY board and batten wall is so simple to copy. Discover our step-by-step tutorial for fitting this siding and paneling style.

Christina Chrysostomou
A DIY board and batten wall is one of the best ways to elevate any room on the cheap. Trim work of any kind adds visual interest and gives a space character in a way not many other design elements can. It's no wonder then, that this type of wall paneling or wainscoting has become a big home design trend in the last few years.
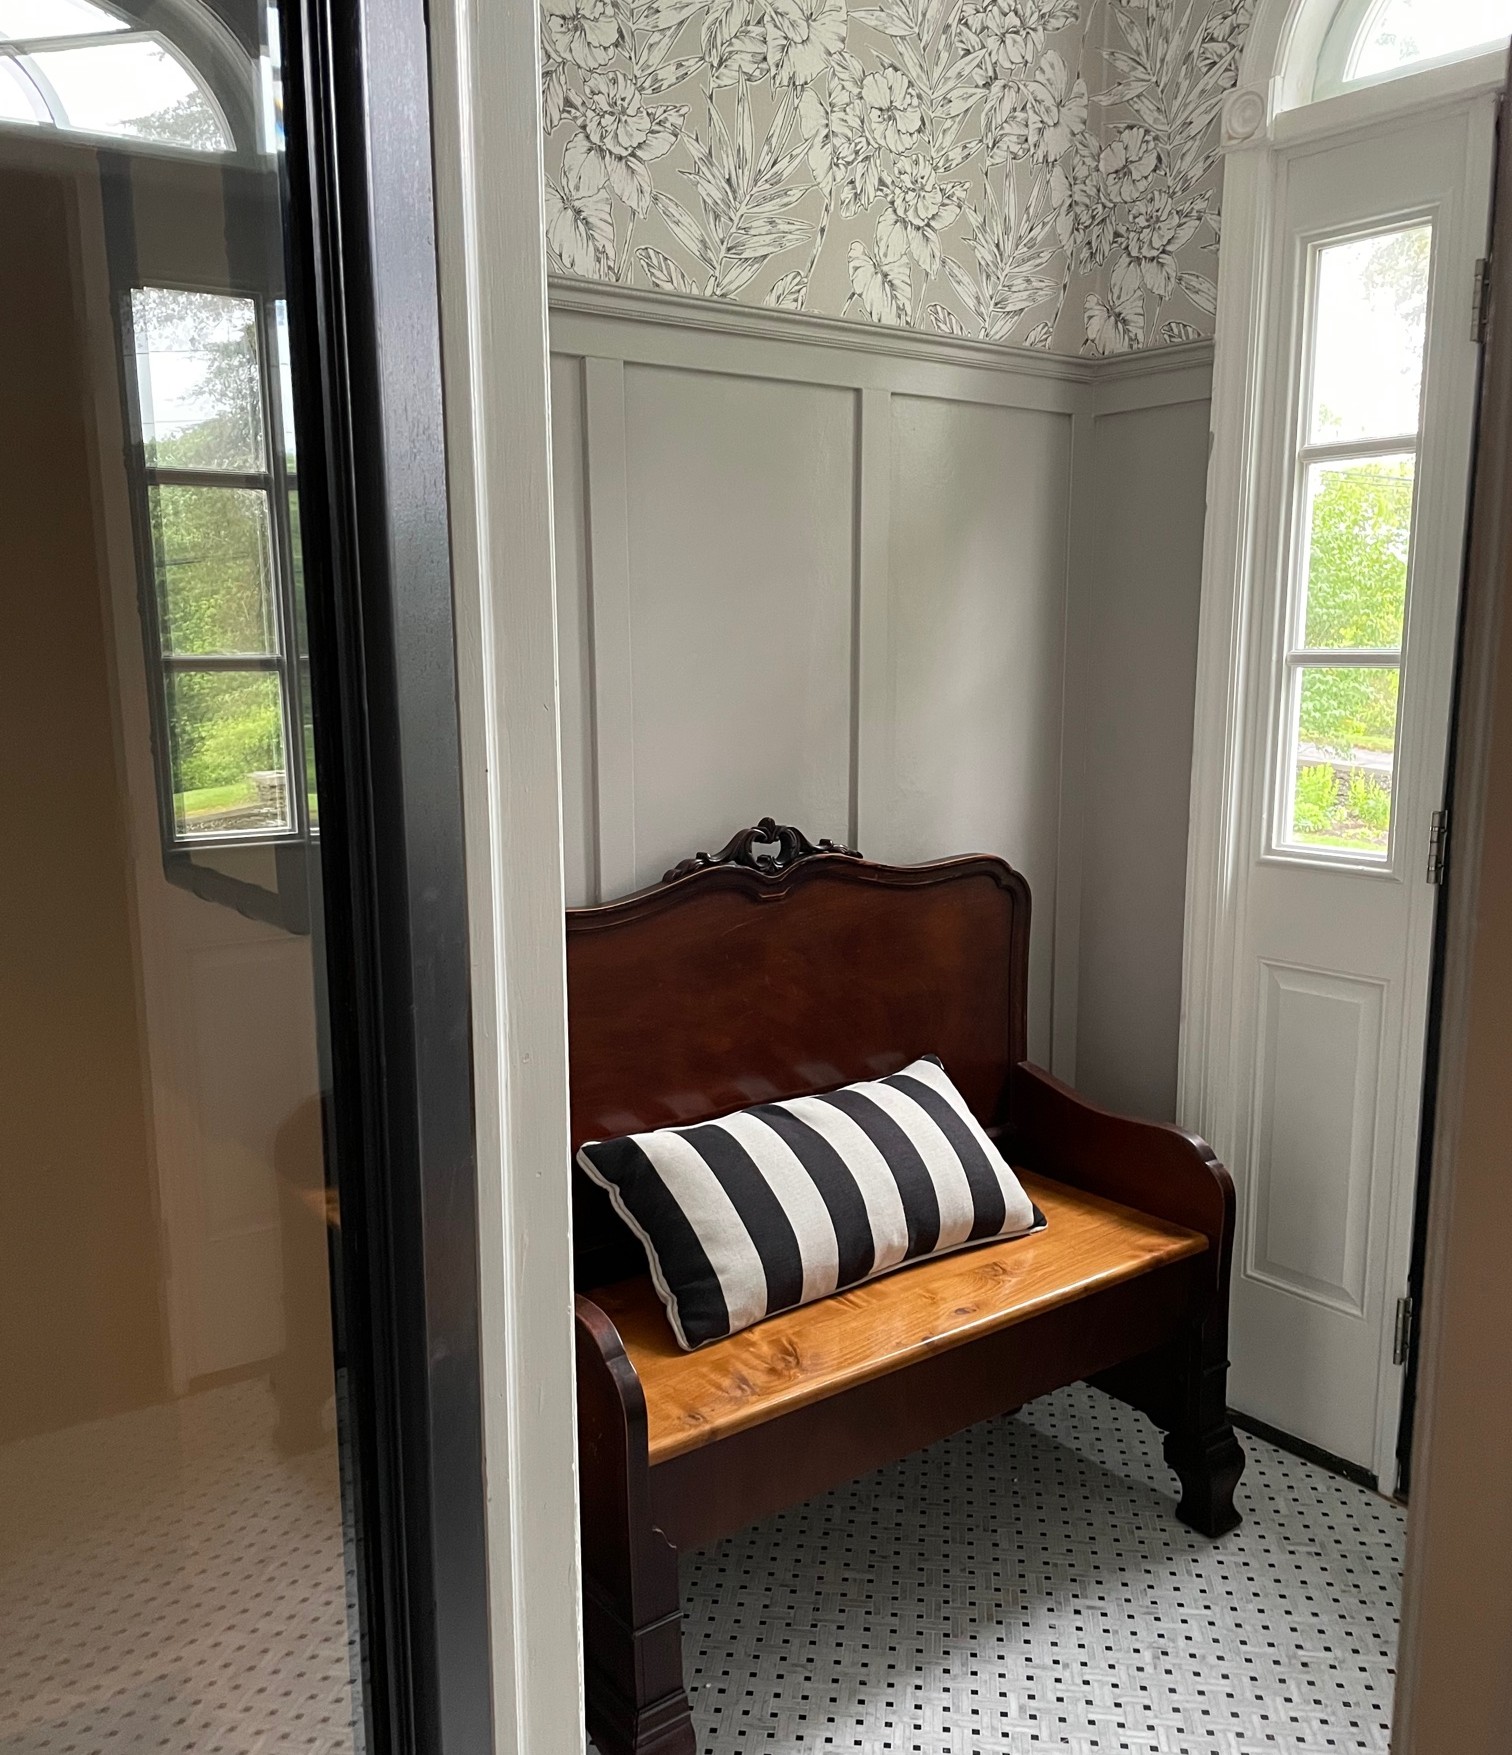
After thinking about installing DIY board and batten siding in my own home for over a year, and reading up on how to DIY a board and batten wall, I finally took the plunge and hung the paneling in my entryway. The verdict: I'm not sure what took me so long.
Overall, the project took my husband and I a day to complete, then a few extra hours over the course of the next week to finish caulking and painting. We did it on four small walls, and it looks incredible (if I do say so myself).
We're no DIY pros, but once we got the process down for hanging the paneling, we actually became pretty efficient at it.
If you're thinking about trying your hand at a board and batten wall, here's a 7-step guide on how we approached ours.
How to install a DIY board and batten wall
'An accent wall is a beautiful addition to your decor. Board and batten may seem intimidating, but by following simple instructions you can add this striking statement to your bedroom or any other room in your home.' says Drew Scott aka Lone Fox.
You will need:
- Measuring tape
- Two-foot level (available from Home Depot)
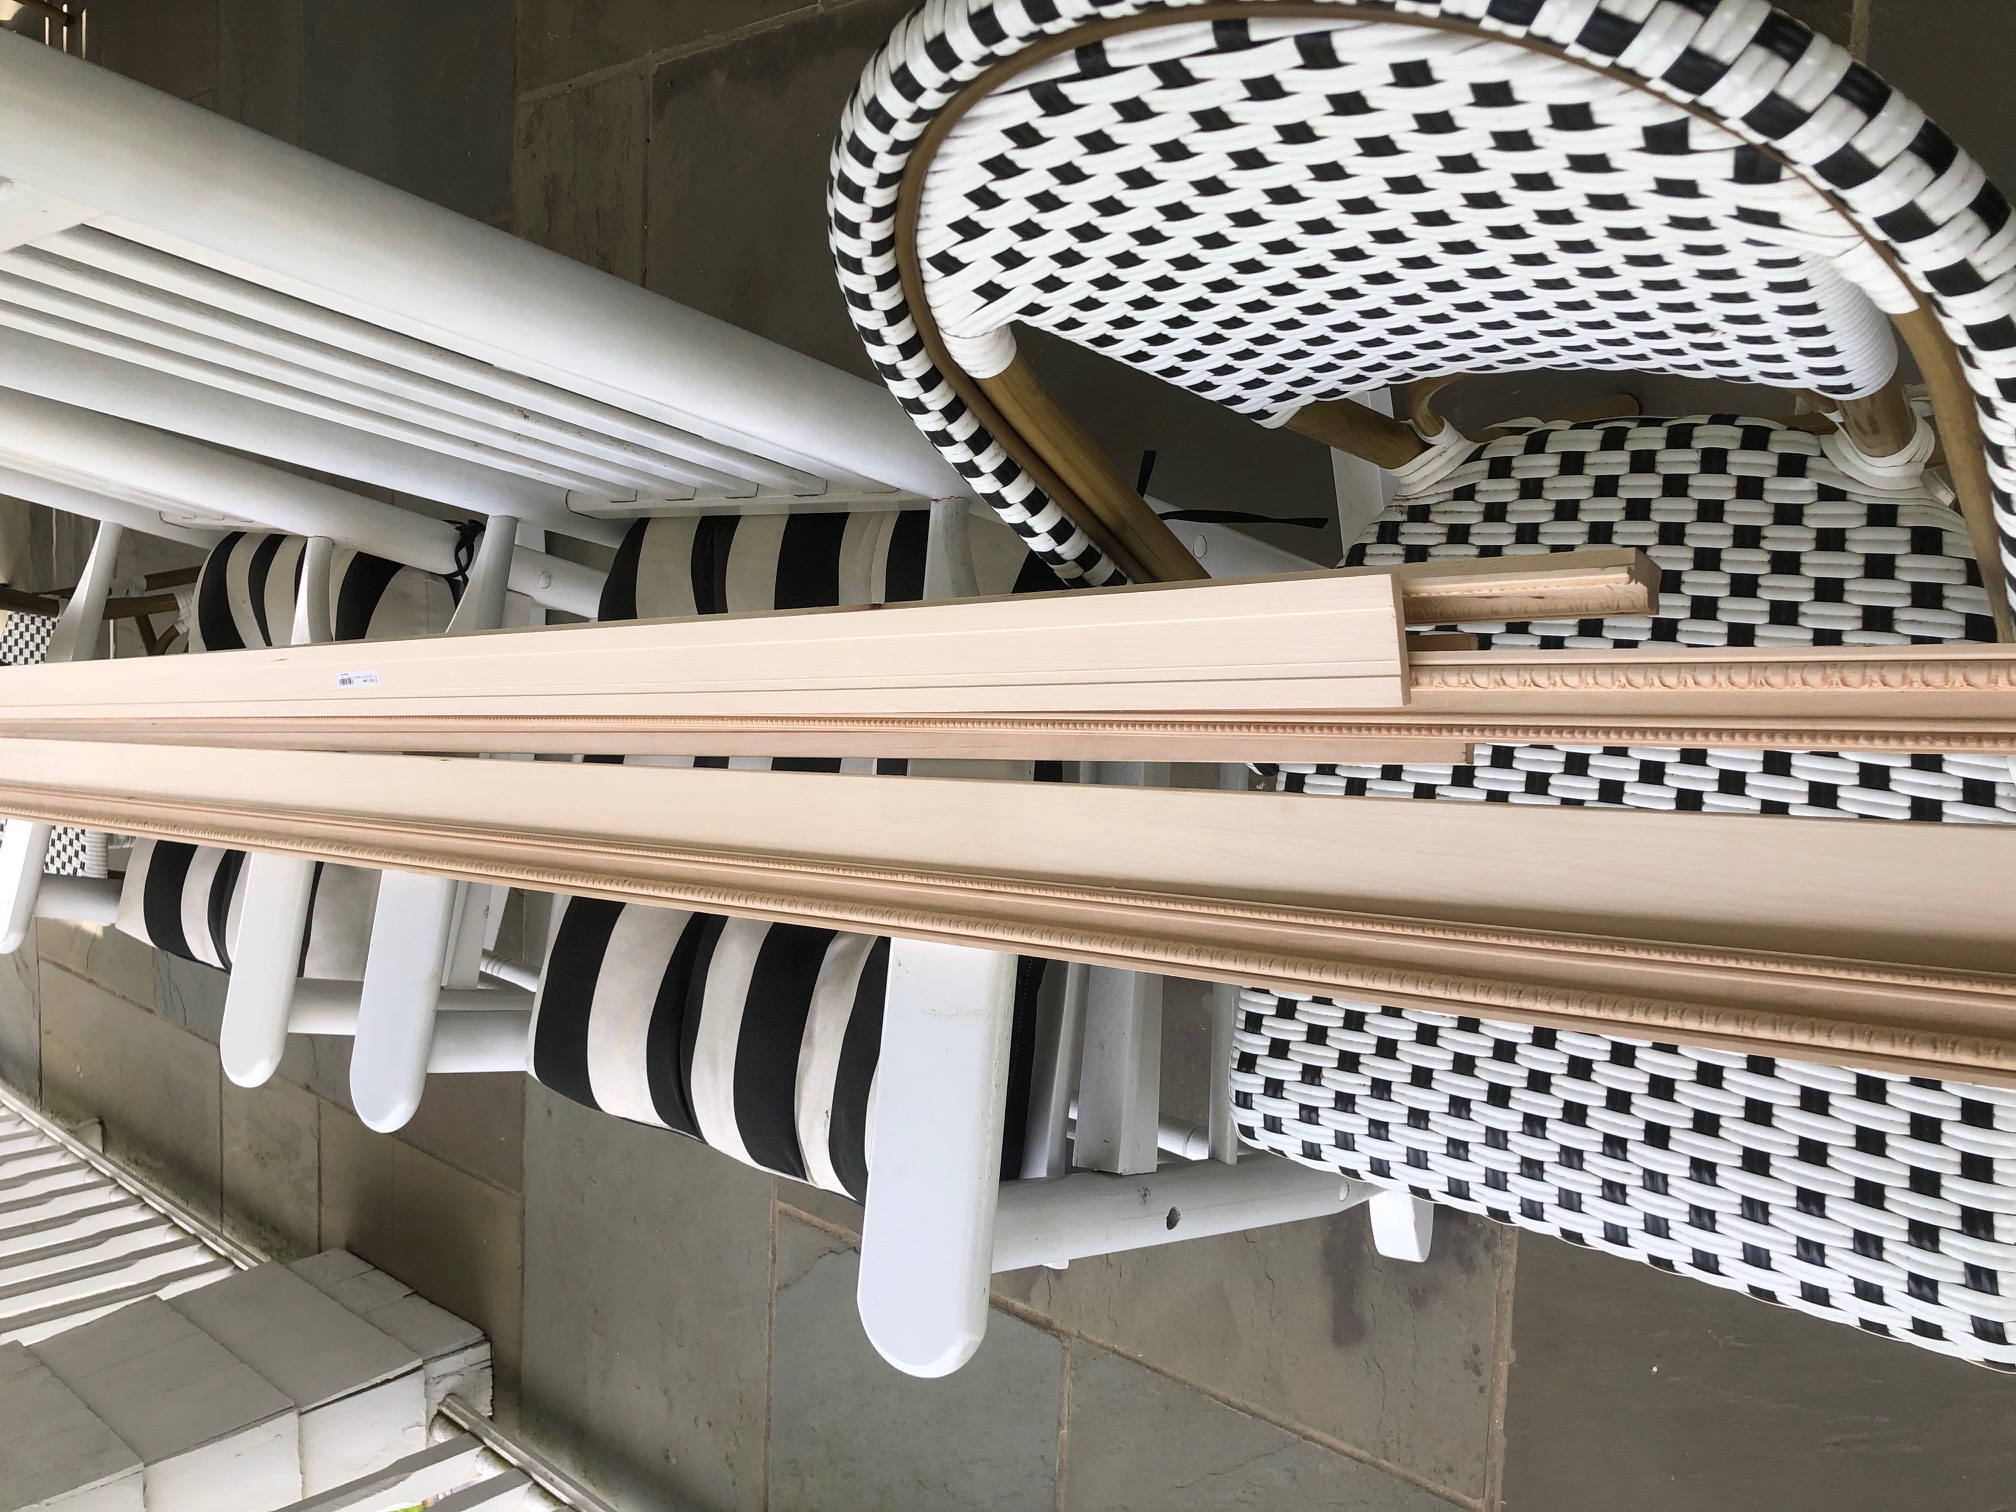
- Vertical batten trim (I used 1 3/8" pine lattice molding from Home Depot)
- Horizontal trim (I paired the same 1 3/8" pine lattice molding with a thinner piece of decorative molding, which I placed at the top - see image below)
- Miter saw or miter box and hand saw
- Liquid nails (available from Home Depot)
- Caulk gun
- Brad nailer (available from Home Depot) (this linked version is my favorite because you don't need an air compressor) and nails
- Painter's caulk
- Sandpaper
- Primer
- Paint
How to:
Get small space home decor ideas, celeb inspiration, DIY tips and more, straight to your inbox!
1. Measure the width of the wall(s)
Before you head to the hardware store, measure your walls so you know how much trim to buy for your feature wall. You'll need both board (the horizontal trim pieces) and batten (the vertical trim pieces).
For your horizontal trim, measure the width of each wall you'll be paneling in inches. Note the measurements in your phone for when you go to the hardware store.
If you will be installing trim at the bottom of your board and batten wall as well (I prefer this look whether or not you have a baseboard), you'll want to double the amount of trim you buy.
2. Measure the length of the batten
The next measurement you'll need for your wall paneling DIY is for the batten, or the vertical trim piece.
First, decide how high you want the board and batten to go up the wall (we did ours about 2/3 of the way up). Use a level and a pencil to mark the spot with a line.
Then, measure the distance between that line and your baseboard or floor. Note this measurement in your phone or on a piece of paper. This is the length of your vertical trim pieces, or batten. (Tip: If it's a tricky measurement, like 42 3/8" long, round down or up to a nice even number to make cuts a little easier, and adjust the height of your horizontal pieces accordingly.)
Once you have the height of your vertical trim, you'll want to determine how many trim pieces you'll need for the wall. A good rule of thumb is to space them roughly 18" apart, give or take a few inches depending on the dimensions of your wall and the look you're going for. (Experts recommend anywhere from 12"-24".)
Note: Don't forget corner pieces. We added a piece of trim in each corner of our wall to make it look more finished, which meant accounting for two extra pieces of trim per wall.
3. Buy your trim
With measurements in hand, head to the local hardware store. I bought 2.25" wide flat, unfinished trim for both the horizontal and vertical pieces, and then bought an additional decorative molding piece to go around the top of the wall.
It was a lot thinner than the other trim, about .75". This part is optional but I love how it turned out in our house, and recommend it for homes with more traditional architecture.
Trim is sold in 8-12' lengths, so you'll need to cut it to fit in your car. Sometimes, you'll be able to find someone at the hardware store to make all of your cuts for you. I was not that lucky on the day I went, so I used a hand saw to trim them to a length that would fit in my car.
4. Add top and bottom pieces
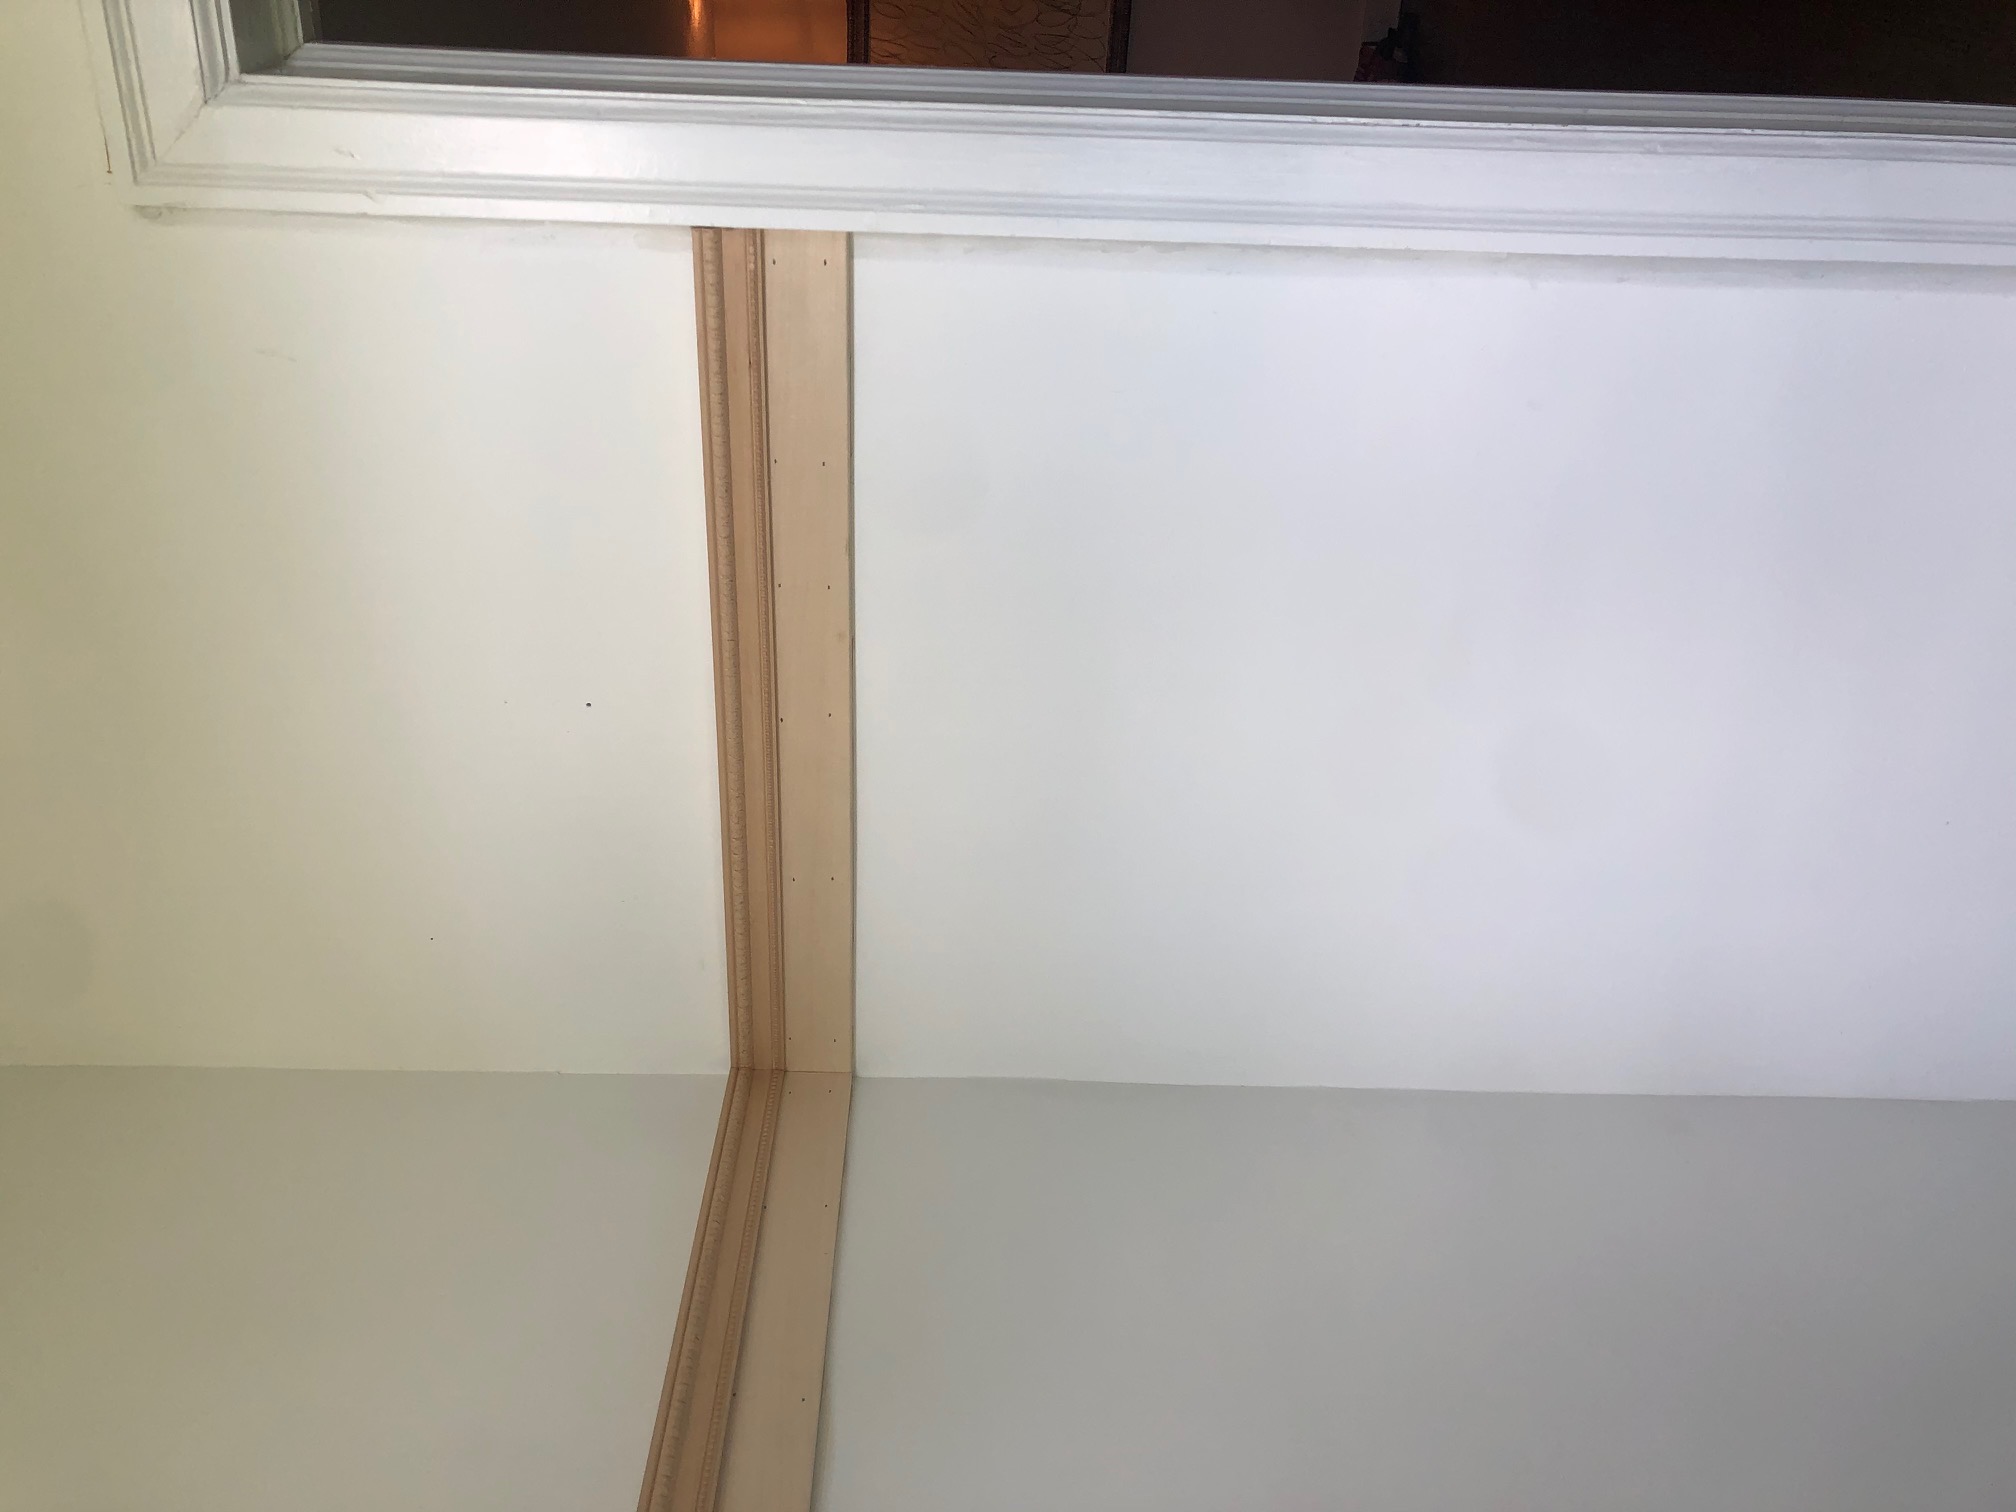
Next, it's time to install the horizontal trim pieces. If you're doing a whole room's worth of wall decor, you'll want to use a miter saw to cut the ends of the trim pieces to a 45-degree angle so they fit together nicely at the corners. If you're only doing an accent wall, you can make a straight cut.
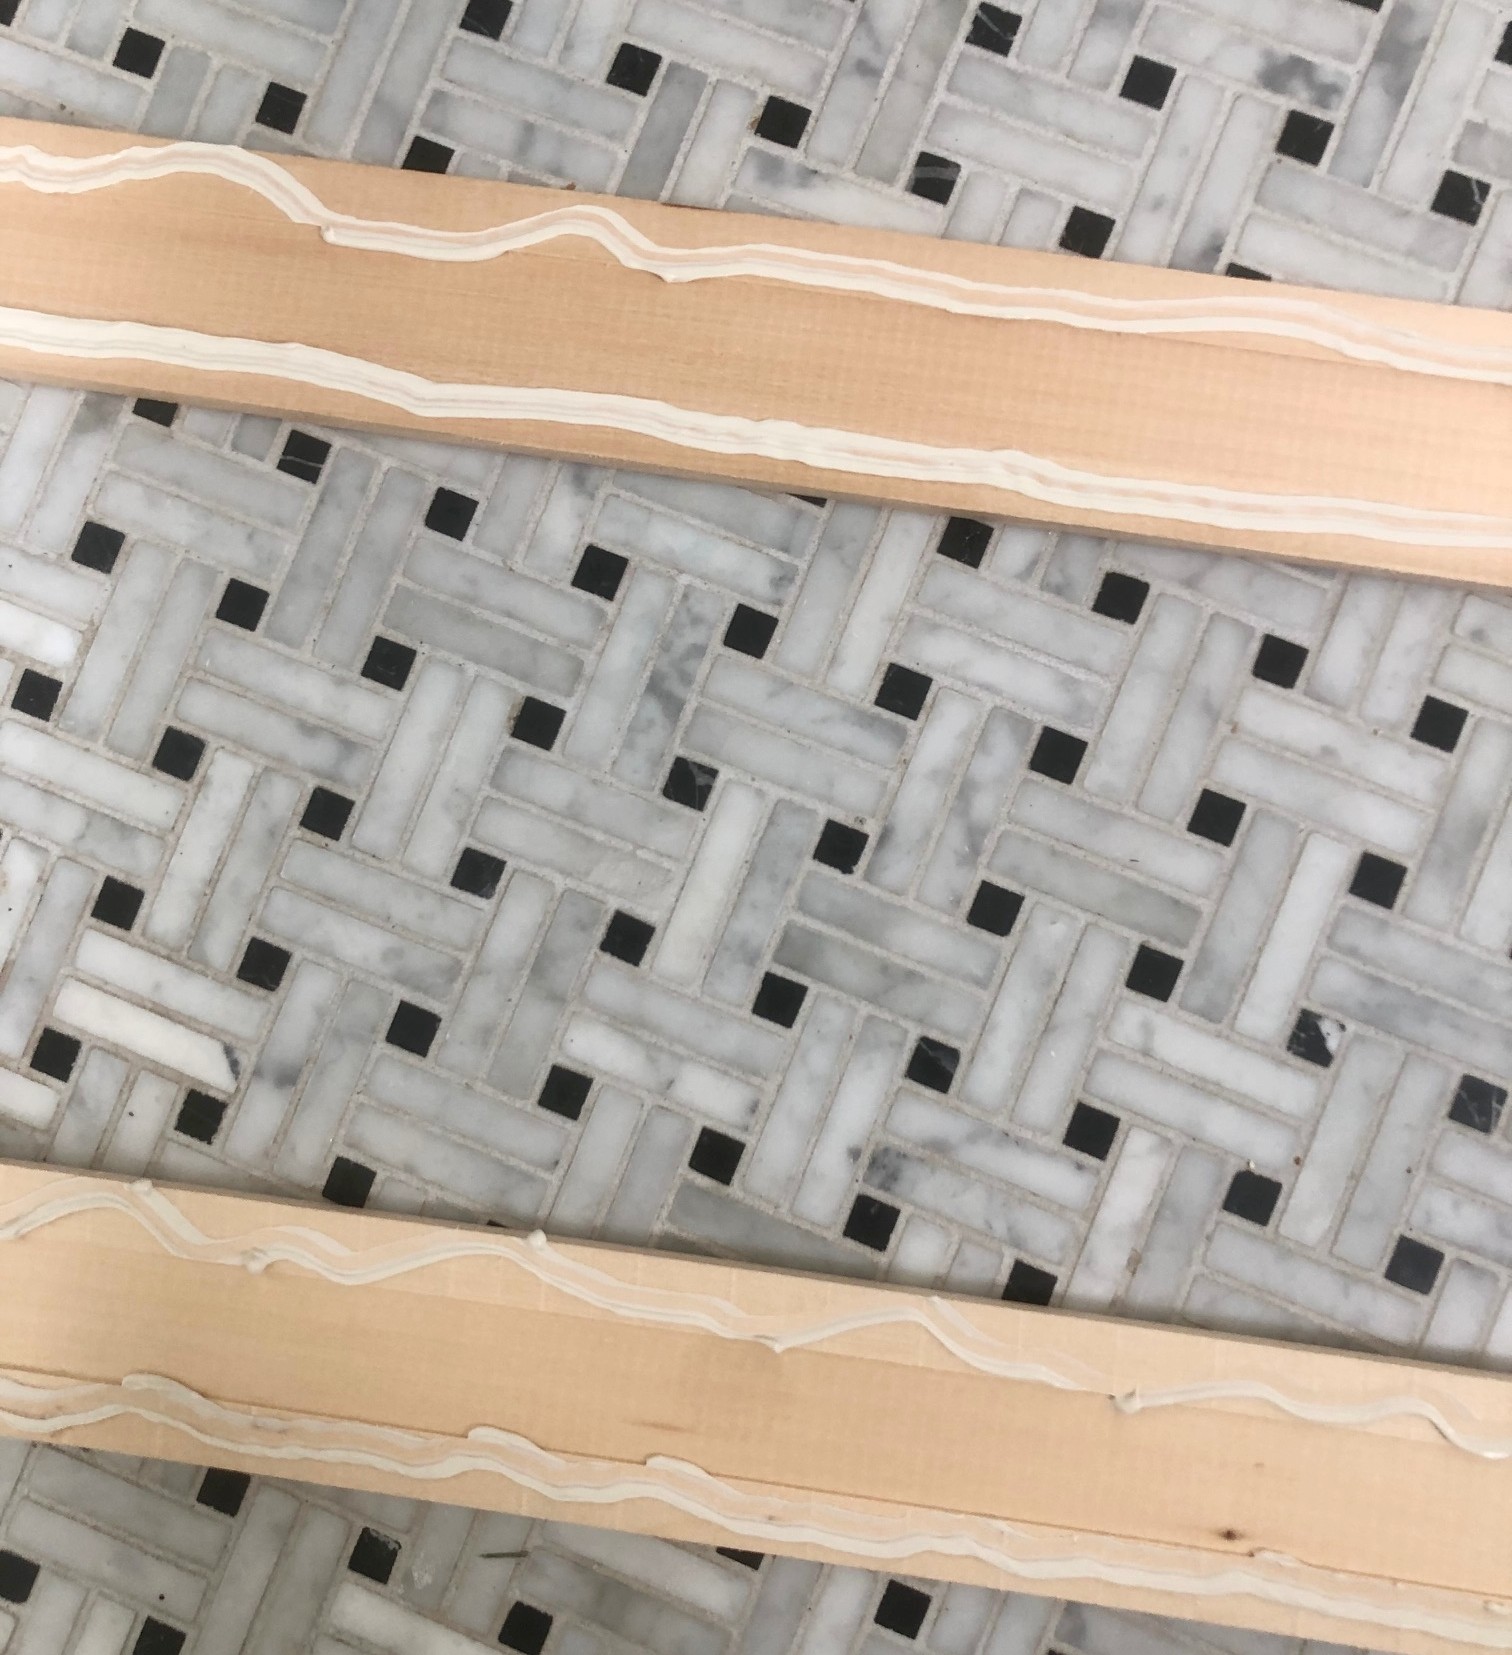
Then, add a squiggly line of liquid nails to the back of the trim, and stick it on the wall, using a level to make sure the trim is even. Once it's level, use a brad nailer to secure it to the wall, adding a nail every 3-4". Repeat for the rest of the walls and/or the bottom trim piece.
5. Add batten pieces/vertical trim
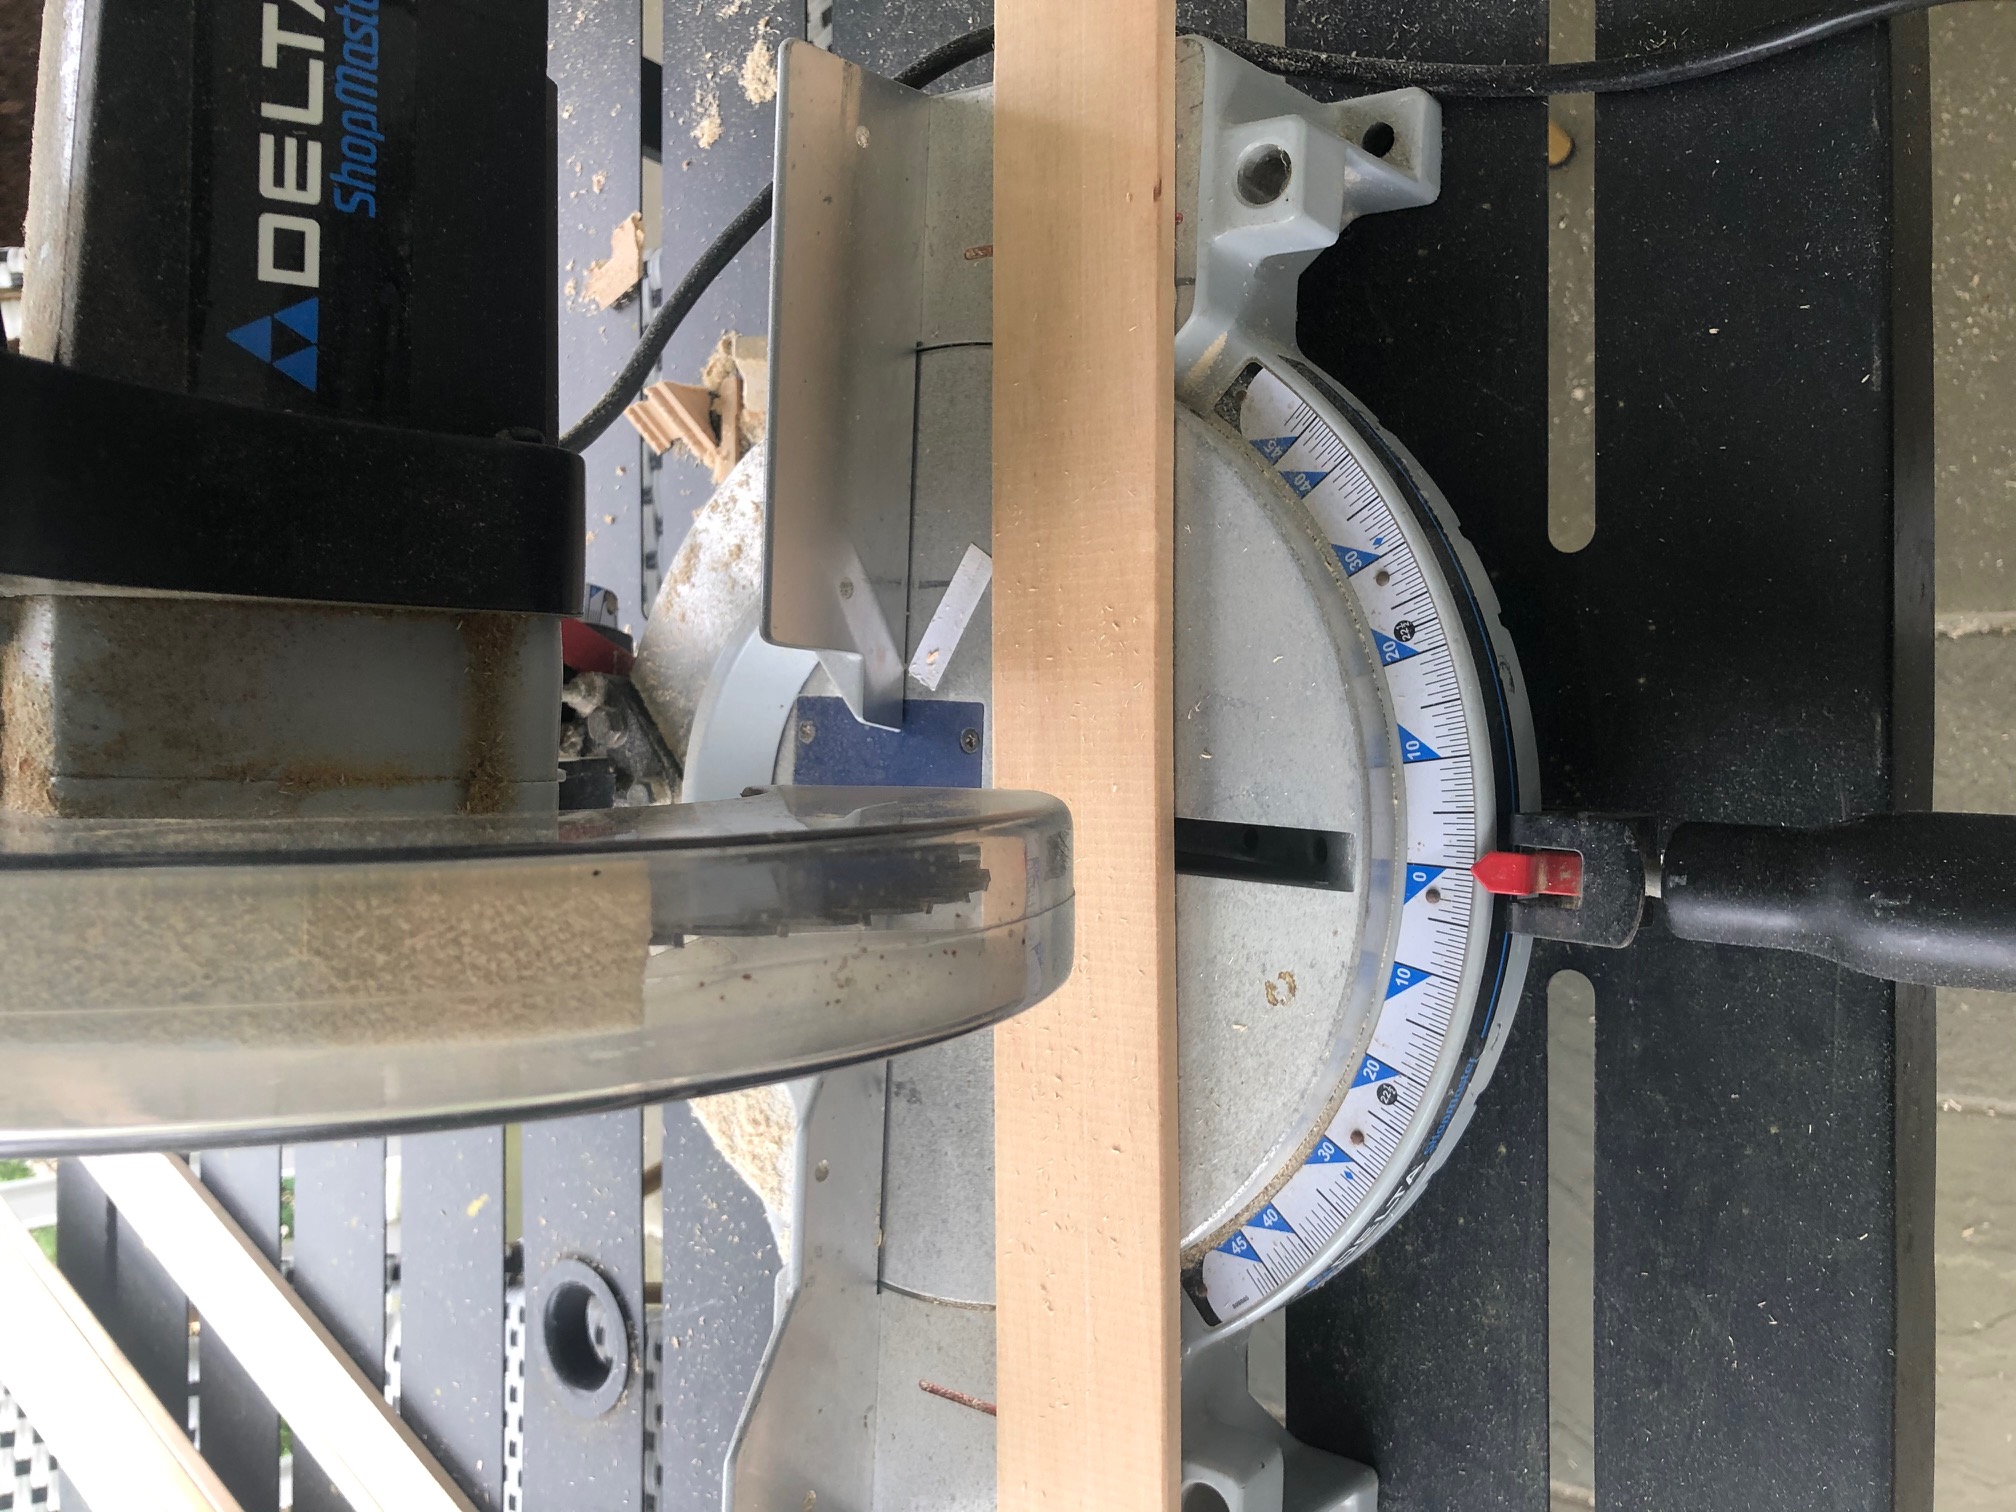
Once the top and bottom trim is in place, it's time to cut the vertical pieces. Measure the distance between the top and bottom pieces of trim (or your baseboard/floor) so you know how long your pieces should be.
Start by installing a piece of vertical trim at each of the far edges (or in the corners) of the wall (see image below).
From there, you'll want to mark and measure where each vertical length will go. To make sure your trim pieces are evenly spaced:
- Measure the width of the wall between the two corner trim pieces you just installed
- Measure the width of your trim piece
- Multiply the trim width by the number of pieces of trim you have left for the wall. In my case, we were using 3 pieces of trim in the middle of the wall. So I multiplied 3 x 2.25" (the width of our trim), to get 6.75"
- Subtract this number from the width of the wall.
- Then, divide by the number of trim pieces you're installing (in our case, again, this was 3). The resulting number is how far apart you'll space your trim pieces from edge to edge.
Again, in our case, we started with a 58" wall, and added two, 2.25" trim pieces in the corners, so:
58" - (2.25"x2) = 53.5"
2.25" x 3" = 6.75"
53.5" - 6.75" = 46.75"
46.73" ÷ 3 = 15.58" of spacing between each trim piece, edge to edge.
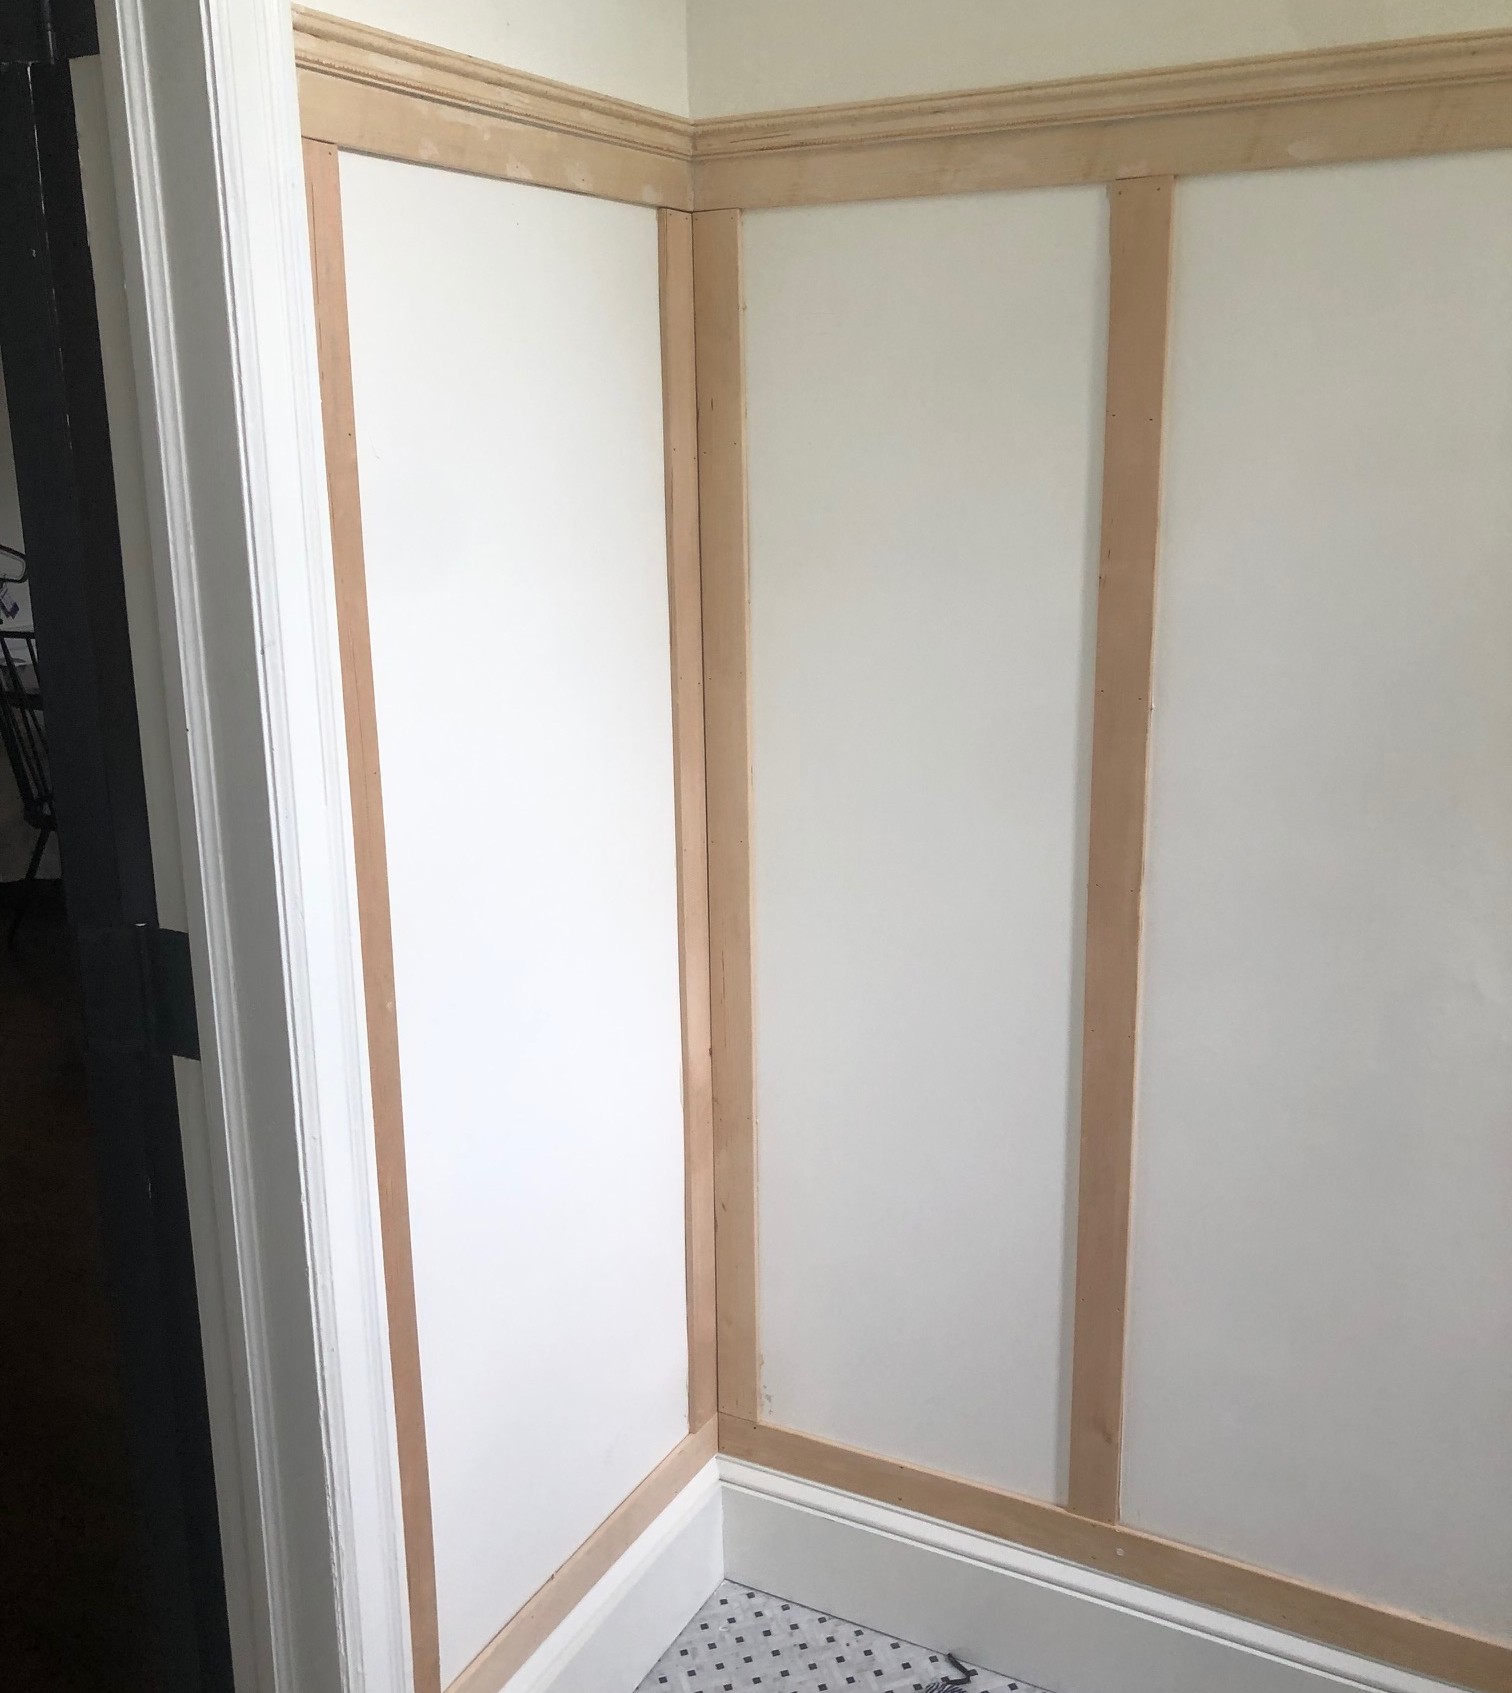
Once you have your spacing measurement, cut the rest of the trim pieces to fit.
Then, install each vertical trim piece using liquid nails and a brad nailer.
6. Fill nail holes and gaps between trim and sand
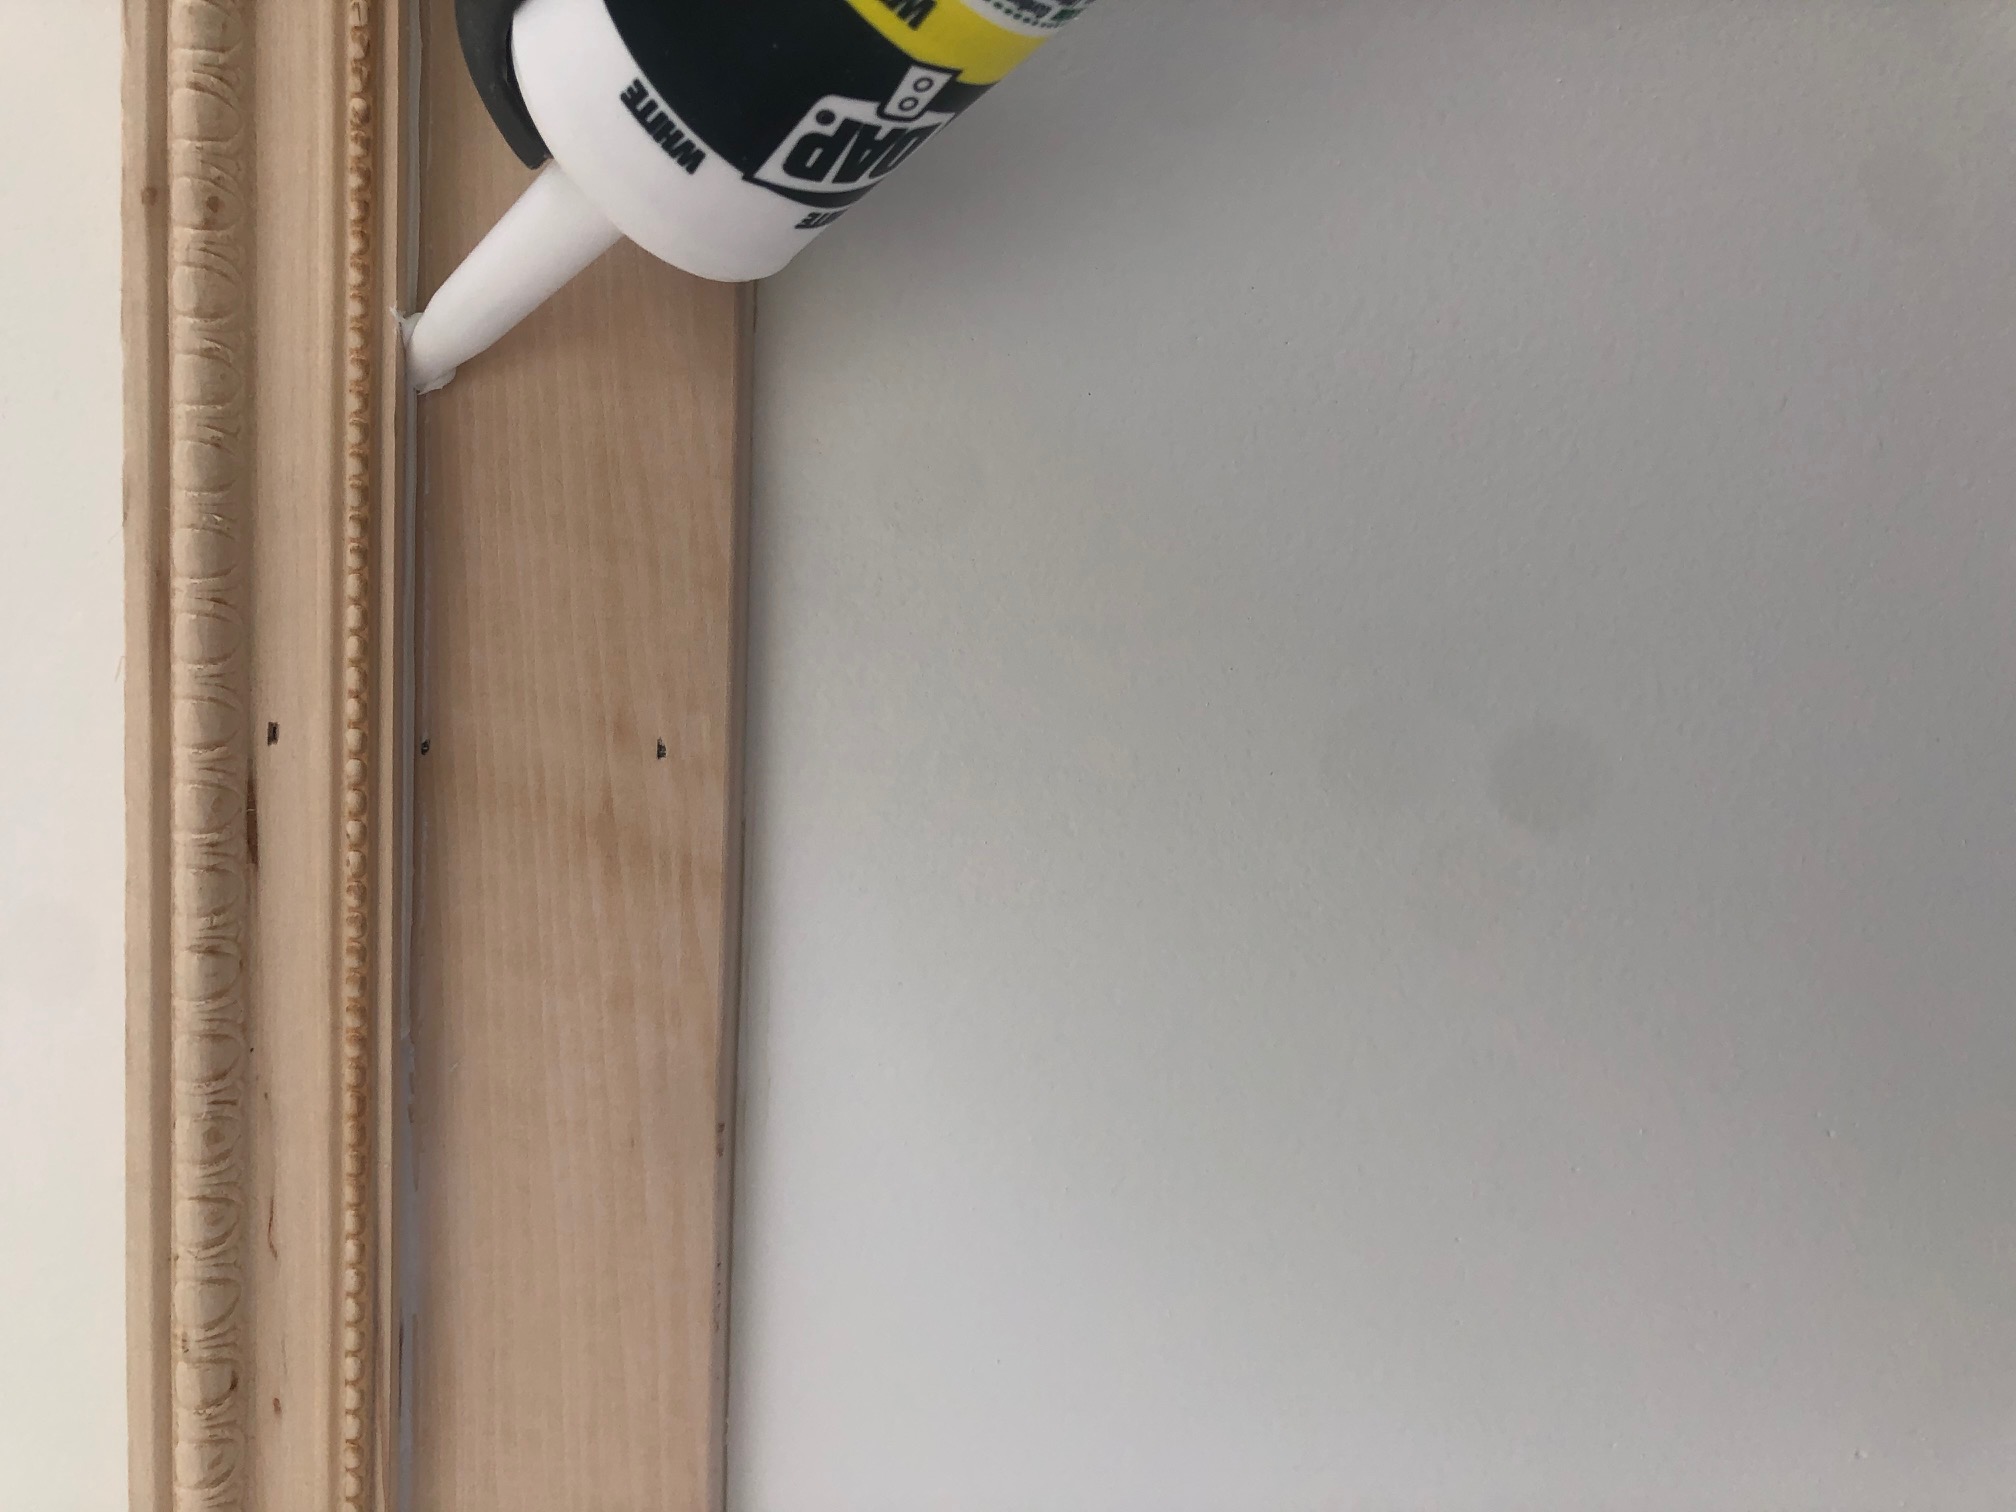
Once your trim is up, it's time to go back and fill in any nail holes and gaps between your wood pieces. Use painter's caulk and a caulk gun to seal cracks, wiping away any excess caulk with a paper towel or cloth. Let the caulk dry, then sand the caulked spots smooth.
7. Prime and paint
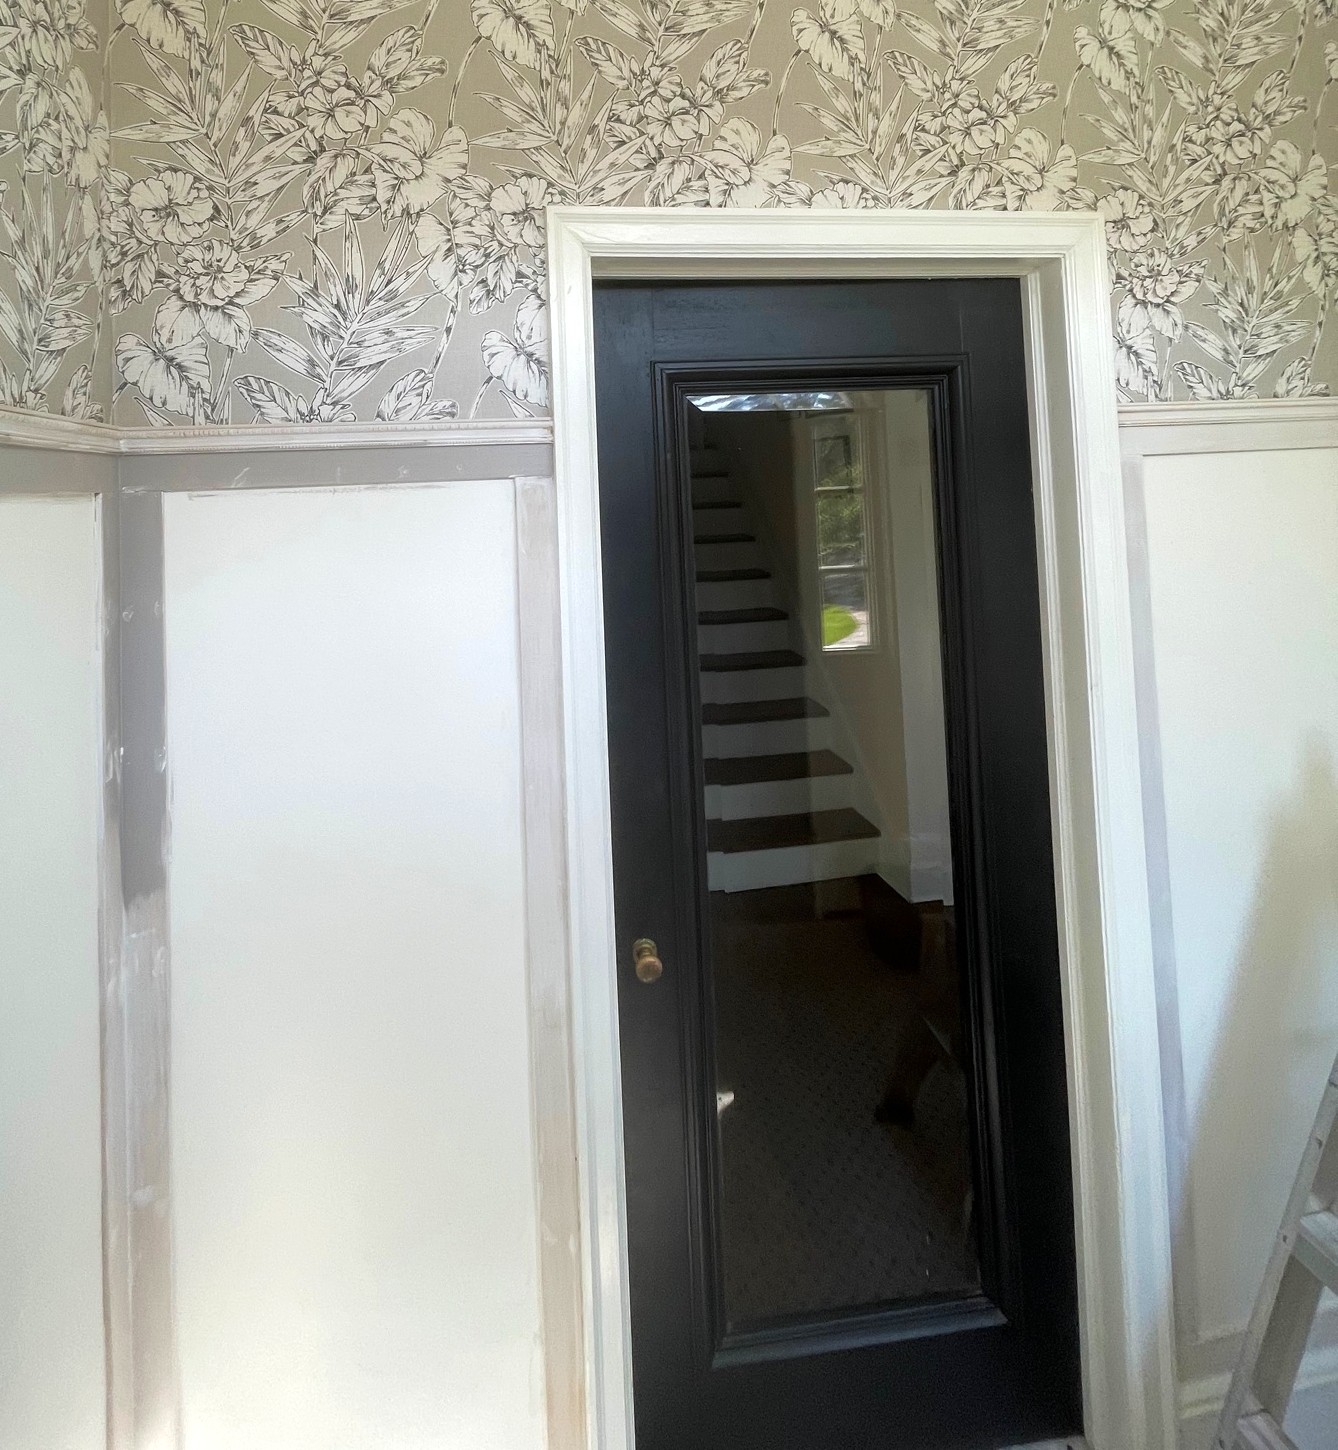
Finally, you're ready to paint. If you're using bare wood as I did, you'll want to prime your wood first. If you're using pre-primed MDF, you can skip this step and go straight to the paint. Paint your wall, and you're done.

What is the difference between shiplap and board and batten?
'Shiplap and board and batten are two different wooden wall treatments,' says Catherine Ballard, author of DIY Without Fear.
'Shiplap refers to wooden boards of the same width with grooves that help each board fit together tightly, while board and batten refers to boards of different widths installed with space between, usually vertically.
If you prefer a DIY shiplap wall, we've got a tutorial for that too.
How thick should board and batten be?
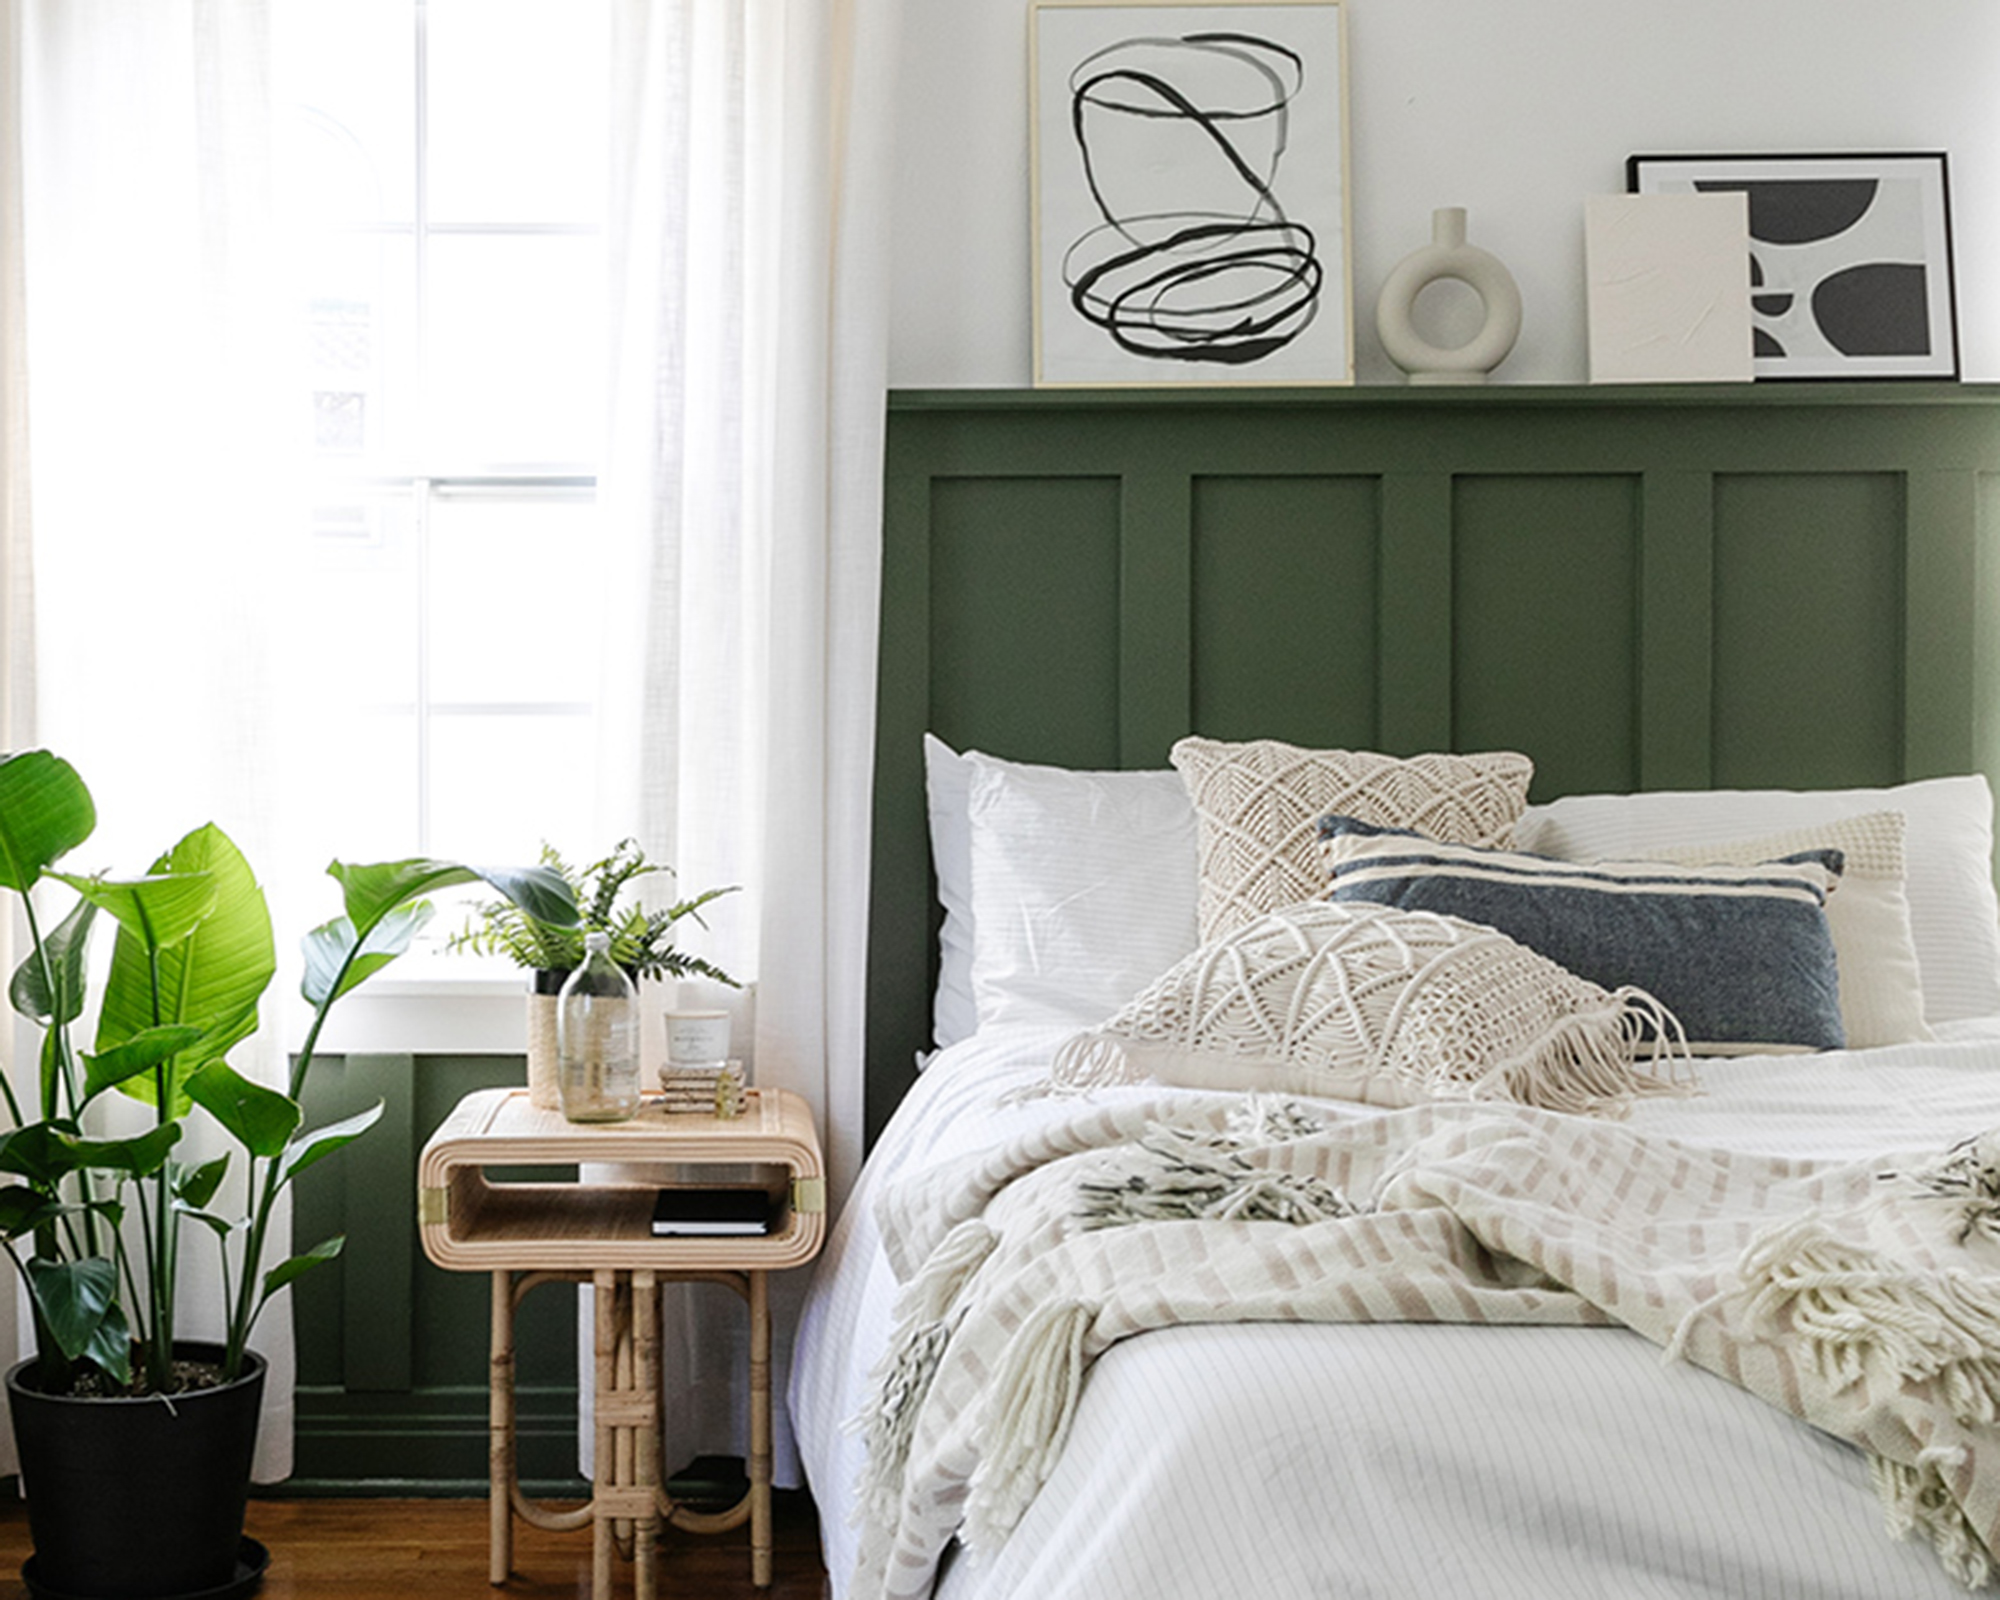
'If you’re dealing with a smaller bedroom in a house with 8 ft ceilings, you’ll want to use something in the 2.5” to 3.5” width range for the trim work,' explains Daniel Bryant, father, licensed general contractor and co-founder of Home Like You Mean It.
'If you’re installing it in a large living room with 10ft ceilings, you may want to move up to the 4.5” to 5.5” range or wood width. You don’t want the trim to feel like it’s dominating a tiny room or swallowed up and flimsy in an expansive living space.'
'While this decision is largely up to your aesthetic preference, you should definitely take into consideration the scale of the room.'
What kind of wood is used for board and batten?
'If you plan on installing exterior board and batten siding, you must use wood that is both insect and moisture resistant. A popular choice is a cedarwood, cypress, white oak, and redwood, to name a few,' says Rebecca Fernandez, author at Restyled Homes Blog.
'For interior projects, the standard wood choice is pine since it does not need to withstand outdoor elements. You can opt for MDF instead of wood to reduce your cost even further.'
Is board and batten outdated?
'Many people have asked the question, “Is board and batten out of style?” To which my response is, “never.”,' says Sarah Symonds aka @graceinmyspace.
'While various board and batten sizes and designs seem to ebb and flow as a trend, the main concept of board and batten remains classic and timeless. For quite a while, vertical board and batten was very popular. This is the style of board and batten in my entryway. It has also been coined as modern board and batten.'
'While it remains a popular style, traditional board and battens are starting to come back onto the scene as well. Overall, board and batten as a design statement is always a good idea if you love it!'

Kaitlin Madden Armon is a writer and editor covering all things home. In addition to Real Homes, she's written for Architectural Digest, Martha Stewart Living, Refinery29, Modern Luxury Interiors, Wayfair, The Design Network, and lots more. She graduated from Northeastern University with a degree in journalism and currently lives in Connecticut with her husband, two sons, and black lab.
- Christina ChrysostomouFormer acting head ecommerce editor