5 essential tips you need to know before you DIY vinyl flooring
It's not always a project for the faint-hearted so ensure you are best prepared with these 5 DIY vinyl flooring tips.

Get small space home decor ideas, celeb inspiration, DIY tips and more, straight to your inbox!
You are now subscribed
Your newsletter sign-up was successful
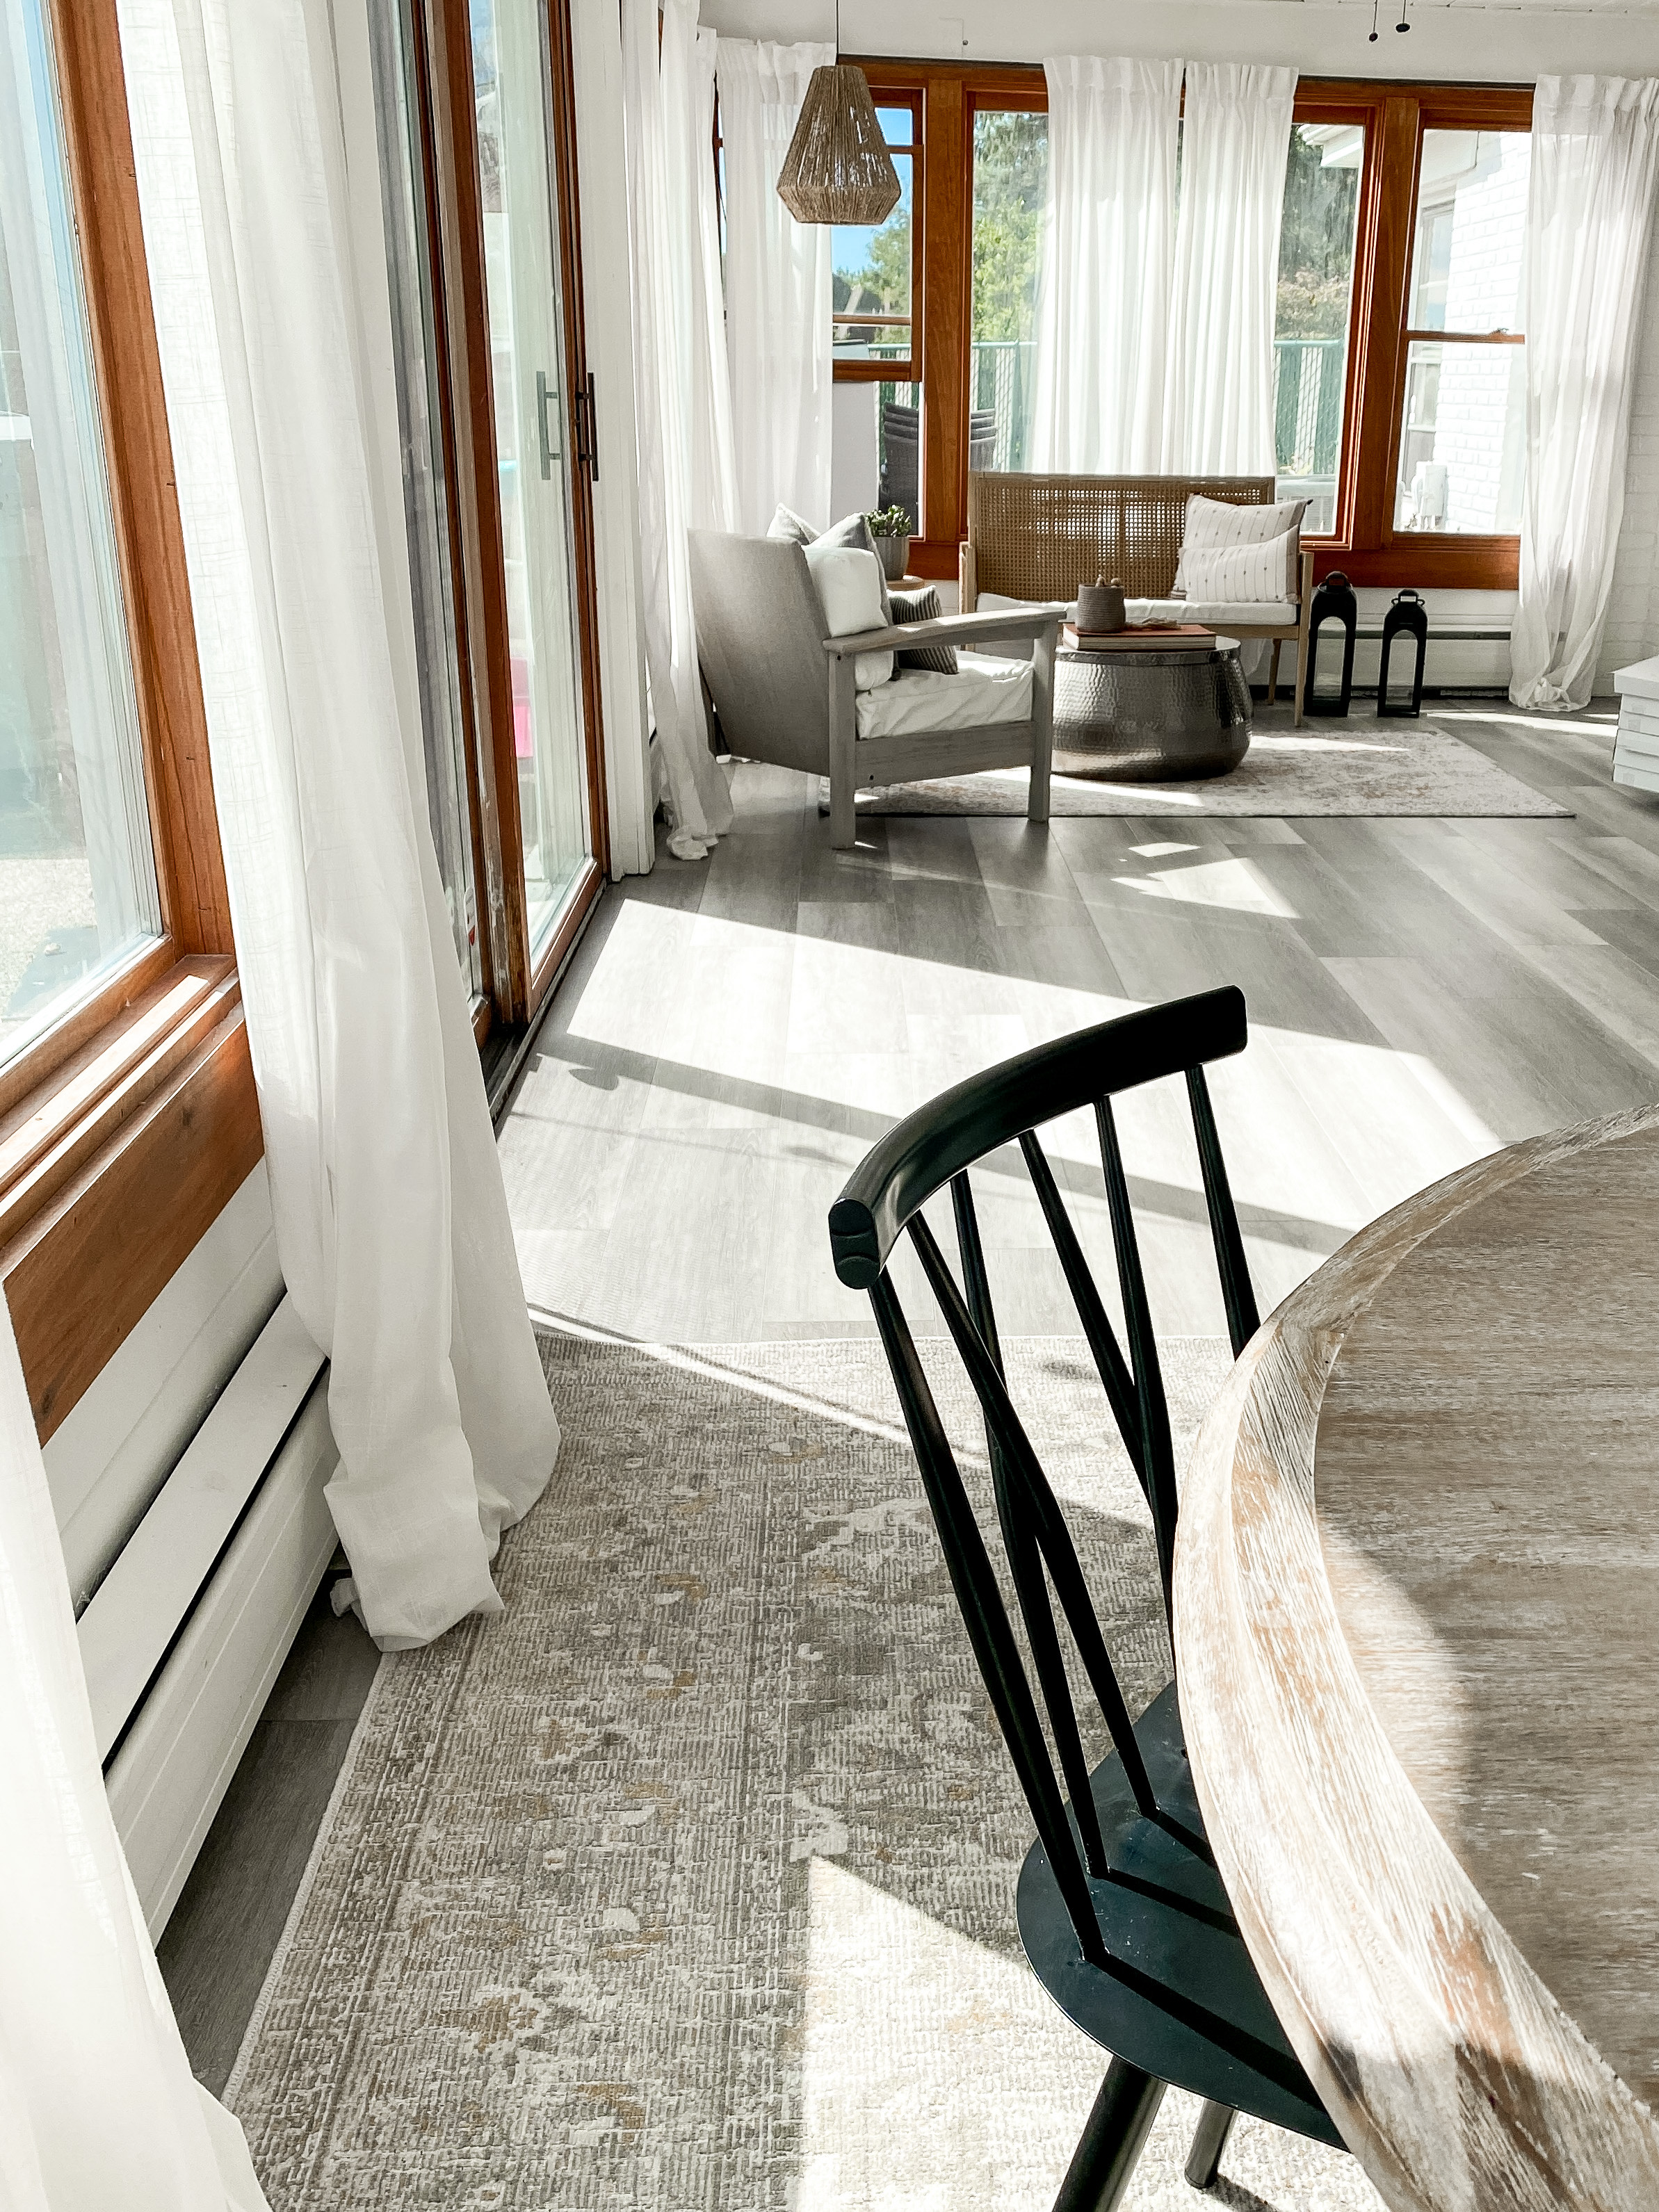
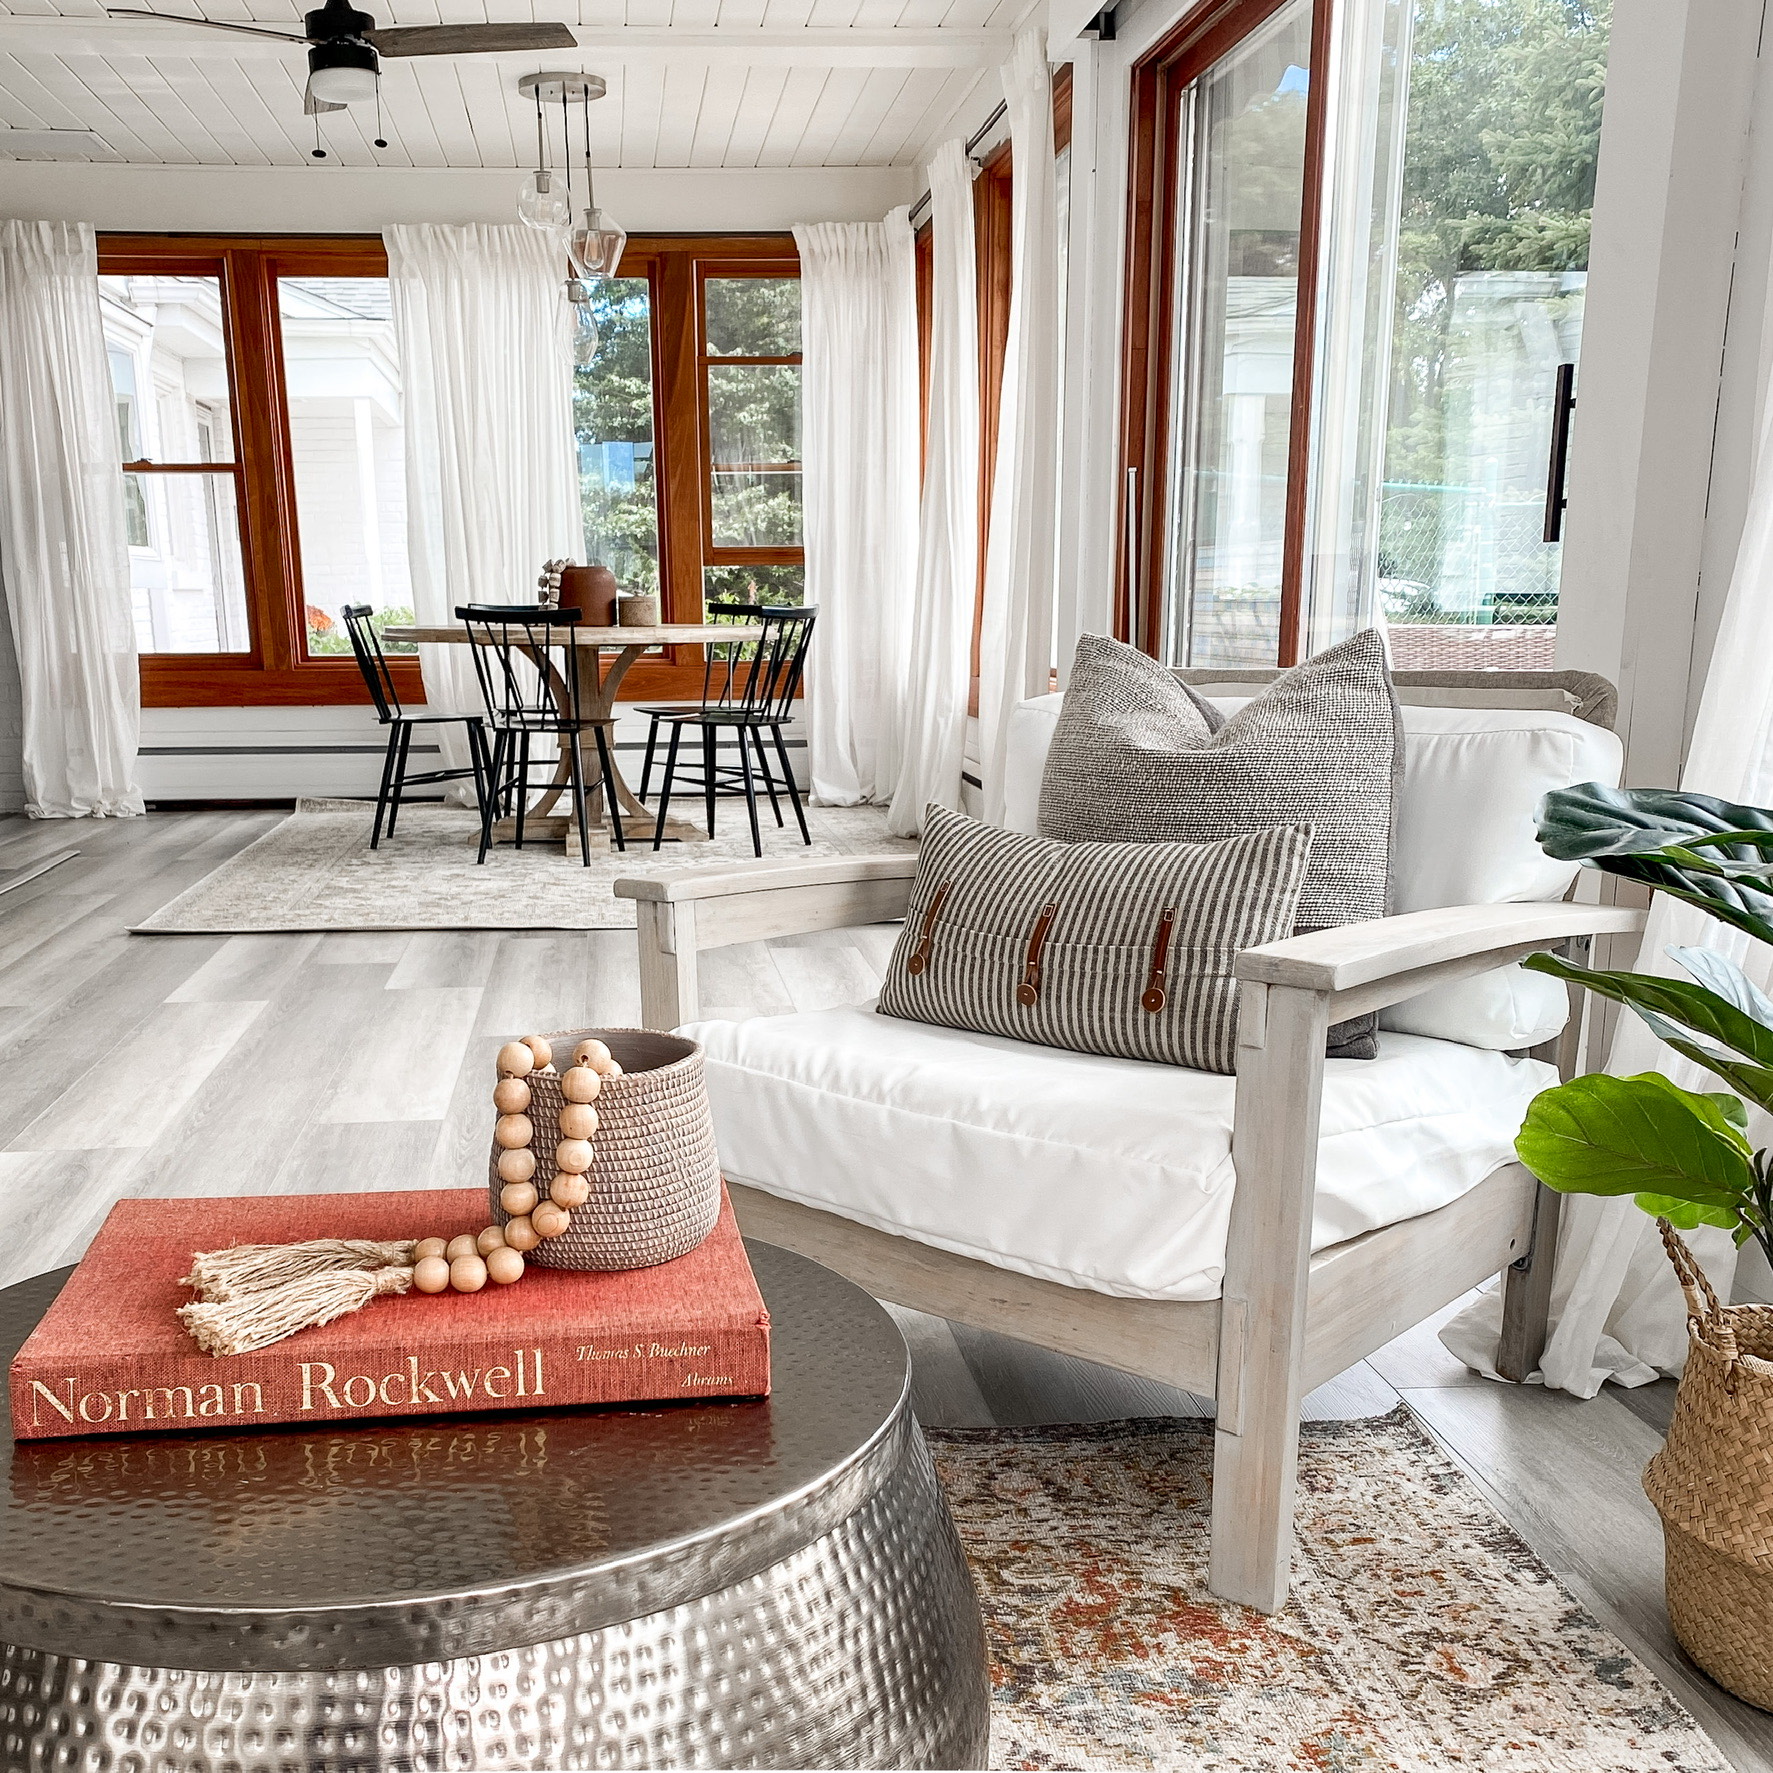
There are endless DIYs that may sound intimidating, but to me, no DIY sounds quite as intimidating as that of installing your own vinyl floors. I recently undertook this very project in our sunroom, and I lived to tell the tale. Was it the easiest DIY that I have ever attempted? Definitely not.
However, installing vinyl plank flooring was a lot easier than I thought it was going to be, and there are a few key pointers to keep in your back pocket if you want to live to tell the DIY floor tale too.
1. Do your research
First and foremost, as with most DIY projects, do your research. There is an endless supply of videos out there at our fingertips, and they aren’t going to watch themselves! I highly recommend studying a few videos of others who have laid your exact type and/or brand of floors. Learning from others’ mistakes is a great way to learn best practices, and I always try to check out a video or two before I undertake a project that is new to me.
2. Use the right tools
Next, make sure you have the right tools. For this particular project using vinyl flooring, I highly recommend knee pads, a rubber mallet (or two), a tapping block (or two), pull bar, utility knife, speed square, laser level, chalk line, and spacers. You may be familiar with these tools, but if not, I’ll give you the run down.
Knee pads are an absolute MUST in this project, and you won’t be disappointed if you spring for a nice pair.
Rubber mallets are extremely important for tapping the boards into each other, and by the end of our project, ours had been through the ringer, so I recommend more than one.
Tapping blocks and pull bars are tools made specifically for installing floors, and they do the job of tapping the pieces in nice and tight.
Get small space home decor ideas, celeb inspiration, DIY tips and more, straight to your inbox!
A speed square and a utility knife will help you to score and cut the boards (providing they don’t need to be cut with a saw).
Spacers are vital to make sure that your floors have proper room to expand with changes in weather and temperature.
Finally, a laser level and chalk line will help with ensuring that your first row is laid straight. With these tools in your bag, you’ll be prepared to take on this project like a pro!
3. Acclimatize the floors to room temperature (really)
Once you are prepped with all the right tools, you can start on your floors! I recommend placing the boxes of floors in the room that you are working on for a couple of days prior to laying them. This will give the floors time to acclimatize to the temperature of the room.
4. Start in the right place
When starting, you will want to first make sure that you are using spacers between the floor and the wall so that the floor has room to expand. It’s important to start in a top left corner of a room, and as you lay, go to the right and down at the same time.
So, you will connect a couple of boards to the right, and then connect a couple of boards on the next row. I found that placing the unopened [heavy] boxes on the boards that are laid was really helpful, so that they don’t move around as much.
5. Be scrupulous with detail
For the first couple of rows, it might be trial and error at first, but ensuring that your seams are, well, seamless, will make the rest of your project a lot easier. Small taps with the rubber mallet on the tapping block and scrap pieces are your keys to creating a tight fit between boards. If one seam isn’t tight, it will create a snowball effect and the rest of the boards will eventually have errors as well.
Slow and steady wins the race with the first couple of rows but taking your time and paying attention to the details will get your floors rolling in no time at all. Once the first couple of rows are laid, it starts to go pretty quickly, and you will find yourself in a groove.

- Find more decorative sunroom ideas in our edit.
A few tips to ensure success, and you will be well on your way! Do your homework – no matter what type of flooring you're installing, have the proper tools, and take your time. Before you know it, you will find that you really have the hang of it, and you will be able to add floor installer to your resume!