
Knowing how to clean a Dyson filter is essential to keeping your Dyson vac in good working order.
As the best vacuum cleaners go, Dyson vacuums are so effective in part thanks to their filters – these trap finer particles of dust. Trapping the dust inside the filter both prevents the dust from flying around the room as you clean and protects the motor inside your vacuum cleaner from overheating.
Every best Dyson cordless vacuum model, like the Dyson WashG1, has at least one filter, but some models have two – one near the cyclone part of the vacuum and one at the back of the appliance. Here's how to clean a Dyson filter properly (hint: it may be a bit different from the official brand recommendation).
Article continues belowClean a Dyson filter with this step-by-step
1. Remove the filter
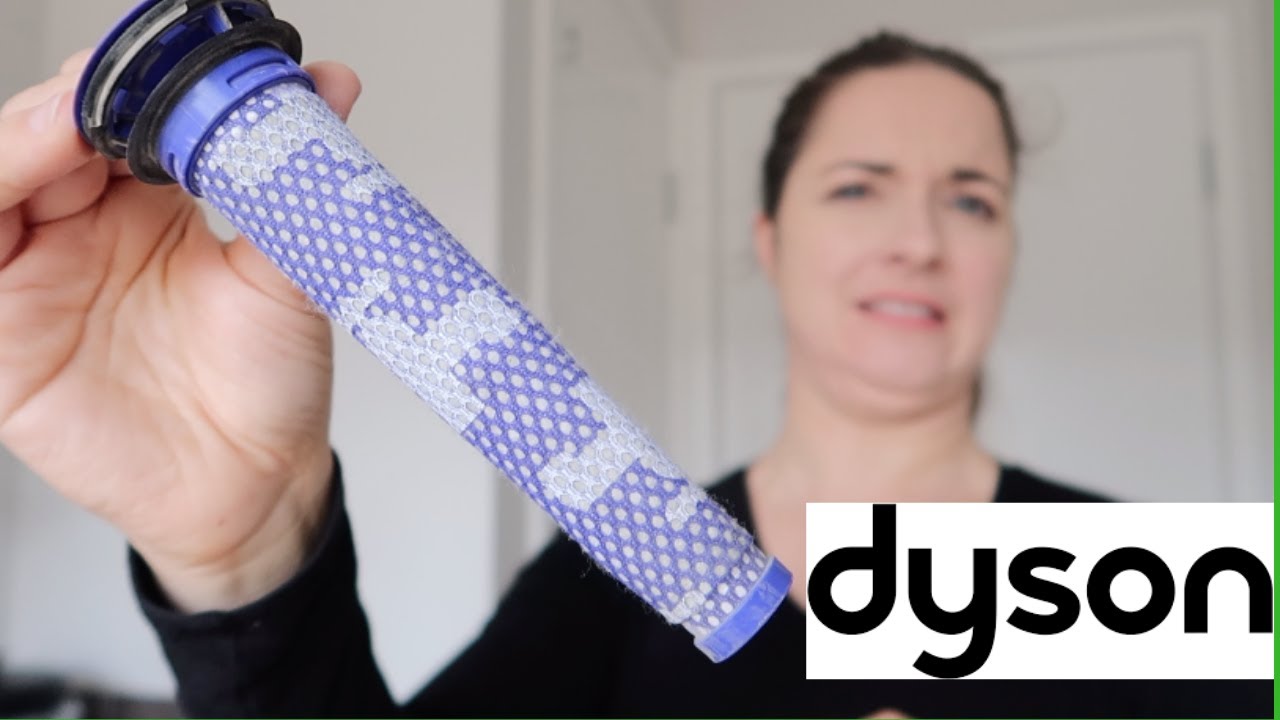
First, remove the filter. It's very straightforward with a Dyson – the filter part is always purple and you simply twist it and then pull it out. Most official advice stops here and goes straight to step three. However, there's a very compelling reason for doing step two, even though it's extra work. Once you've pulled out your filter and understood its construction, you'll see why.
2. Take the filter apart
Most online recommendations for cleaning Dyson filters – including, interestingly, official Dyson advice – will tell you to rinse your filter under running water at this point. However, many people who actually own Dyson vacuums still experience problems after cleaning them. That's because the paper part of the Dyson filter is inserted into a plastic part – and you will be amazed by how much dirt is trapped between the plastic and the paper.
DIY YouTube enthusiast Love Happy Alison clearly demonstrates this by prising the paper filter out of its plastic casing with a butter knife. She then physically knocks out the trapped dirt and dust. As you can see from the amount of dust that comes it, this is well worth doing to achieve a more thorough clean.
Alison also uses a stiff paintbrush to really get into all the awkward places in the filter. This is a very good tool to use to physically dislodge dirt that has become caked in.
3. Rinse out with cold water
Now go ahead and rinse your filter (both the paper and the plastic part) until cold water runs completely clear from it. You don't need to use soap or any other type of detergent. Never use hot water (lukewarm is ok if your hands are getting cold). Do not soak the filter for a prolonged period of time – a quick rinse is all it needs.
4. Dry out the filter
This step is very important: never reassemble and re-insert a filter that's still wet. Let it air dry for 48 hours. The official guidelines are 24 hours, but we've found that 24 hours isn't enough, especially if you have given your filter a very thorough rinse.
Don't try to artificially dry the filter – a dry room is all it needs.
How do I know when my Dyson needs a new filter?
Even with regular cleaning, eventually, your filter will need to be replaced. This is because of the mechanical wear to the filter – after a while, it no longer will be able to do the filtering all that effectively.
As a general rule, Dyson recommends replacing filter every 12 months. However, you may find that you can get yours to last a little longer (we've gone a couple of years with ours) – or that you need to replace yours sooner if you do a lot of vacuuming.
If you notice any of the following, it's time to get a replacement filter from Amazon:
- The filter is losing shape
- Loose threads or pilling is appearing on the surface of the filter
- The filter won't get completely clean despite your best efforts
- Your Dyson vacuum emits a dusty odor when you use it
Can I clean a Dyson filter without water?
Some people don't like the idea of wasting water on cleaning a vacuum filter. If this is you, then skip the rinsing stage and just mechanically remove as much dust and dirt as possible with a paintbrush or clean old toothbrush. Give the filter a good knock over the end of your trashcan, too.
It's unlikely that you'll get your filter completely clean this way but it's definitely better than nothing.