How to use furniture paint to update a roll top bath
Give your bath a DIY makeover with a lick of furniture paint


Get small space home decor ideas, celeb inspiration, DIY tips and more, straight to your inbox!
You are now subscribed
Your newsletter sign-up was successful
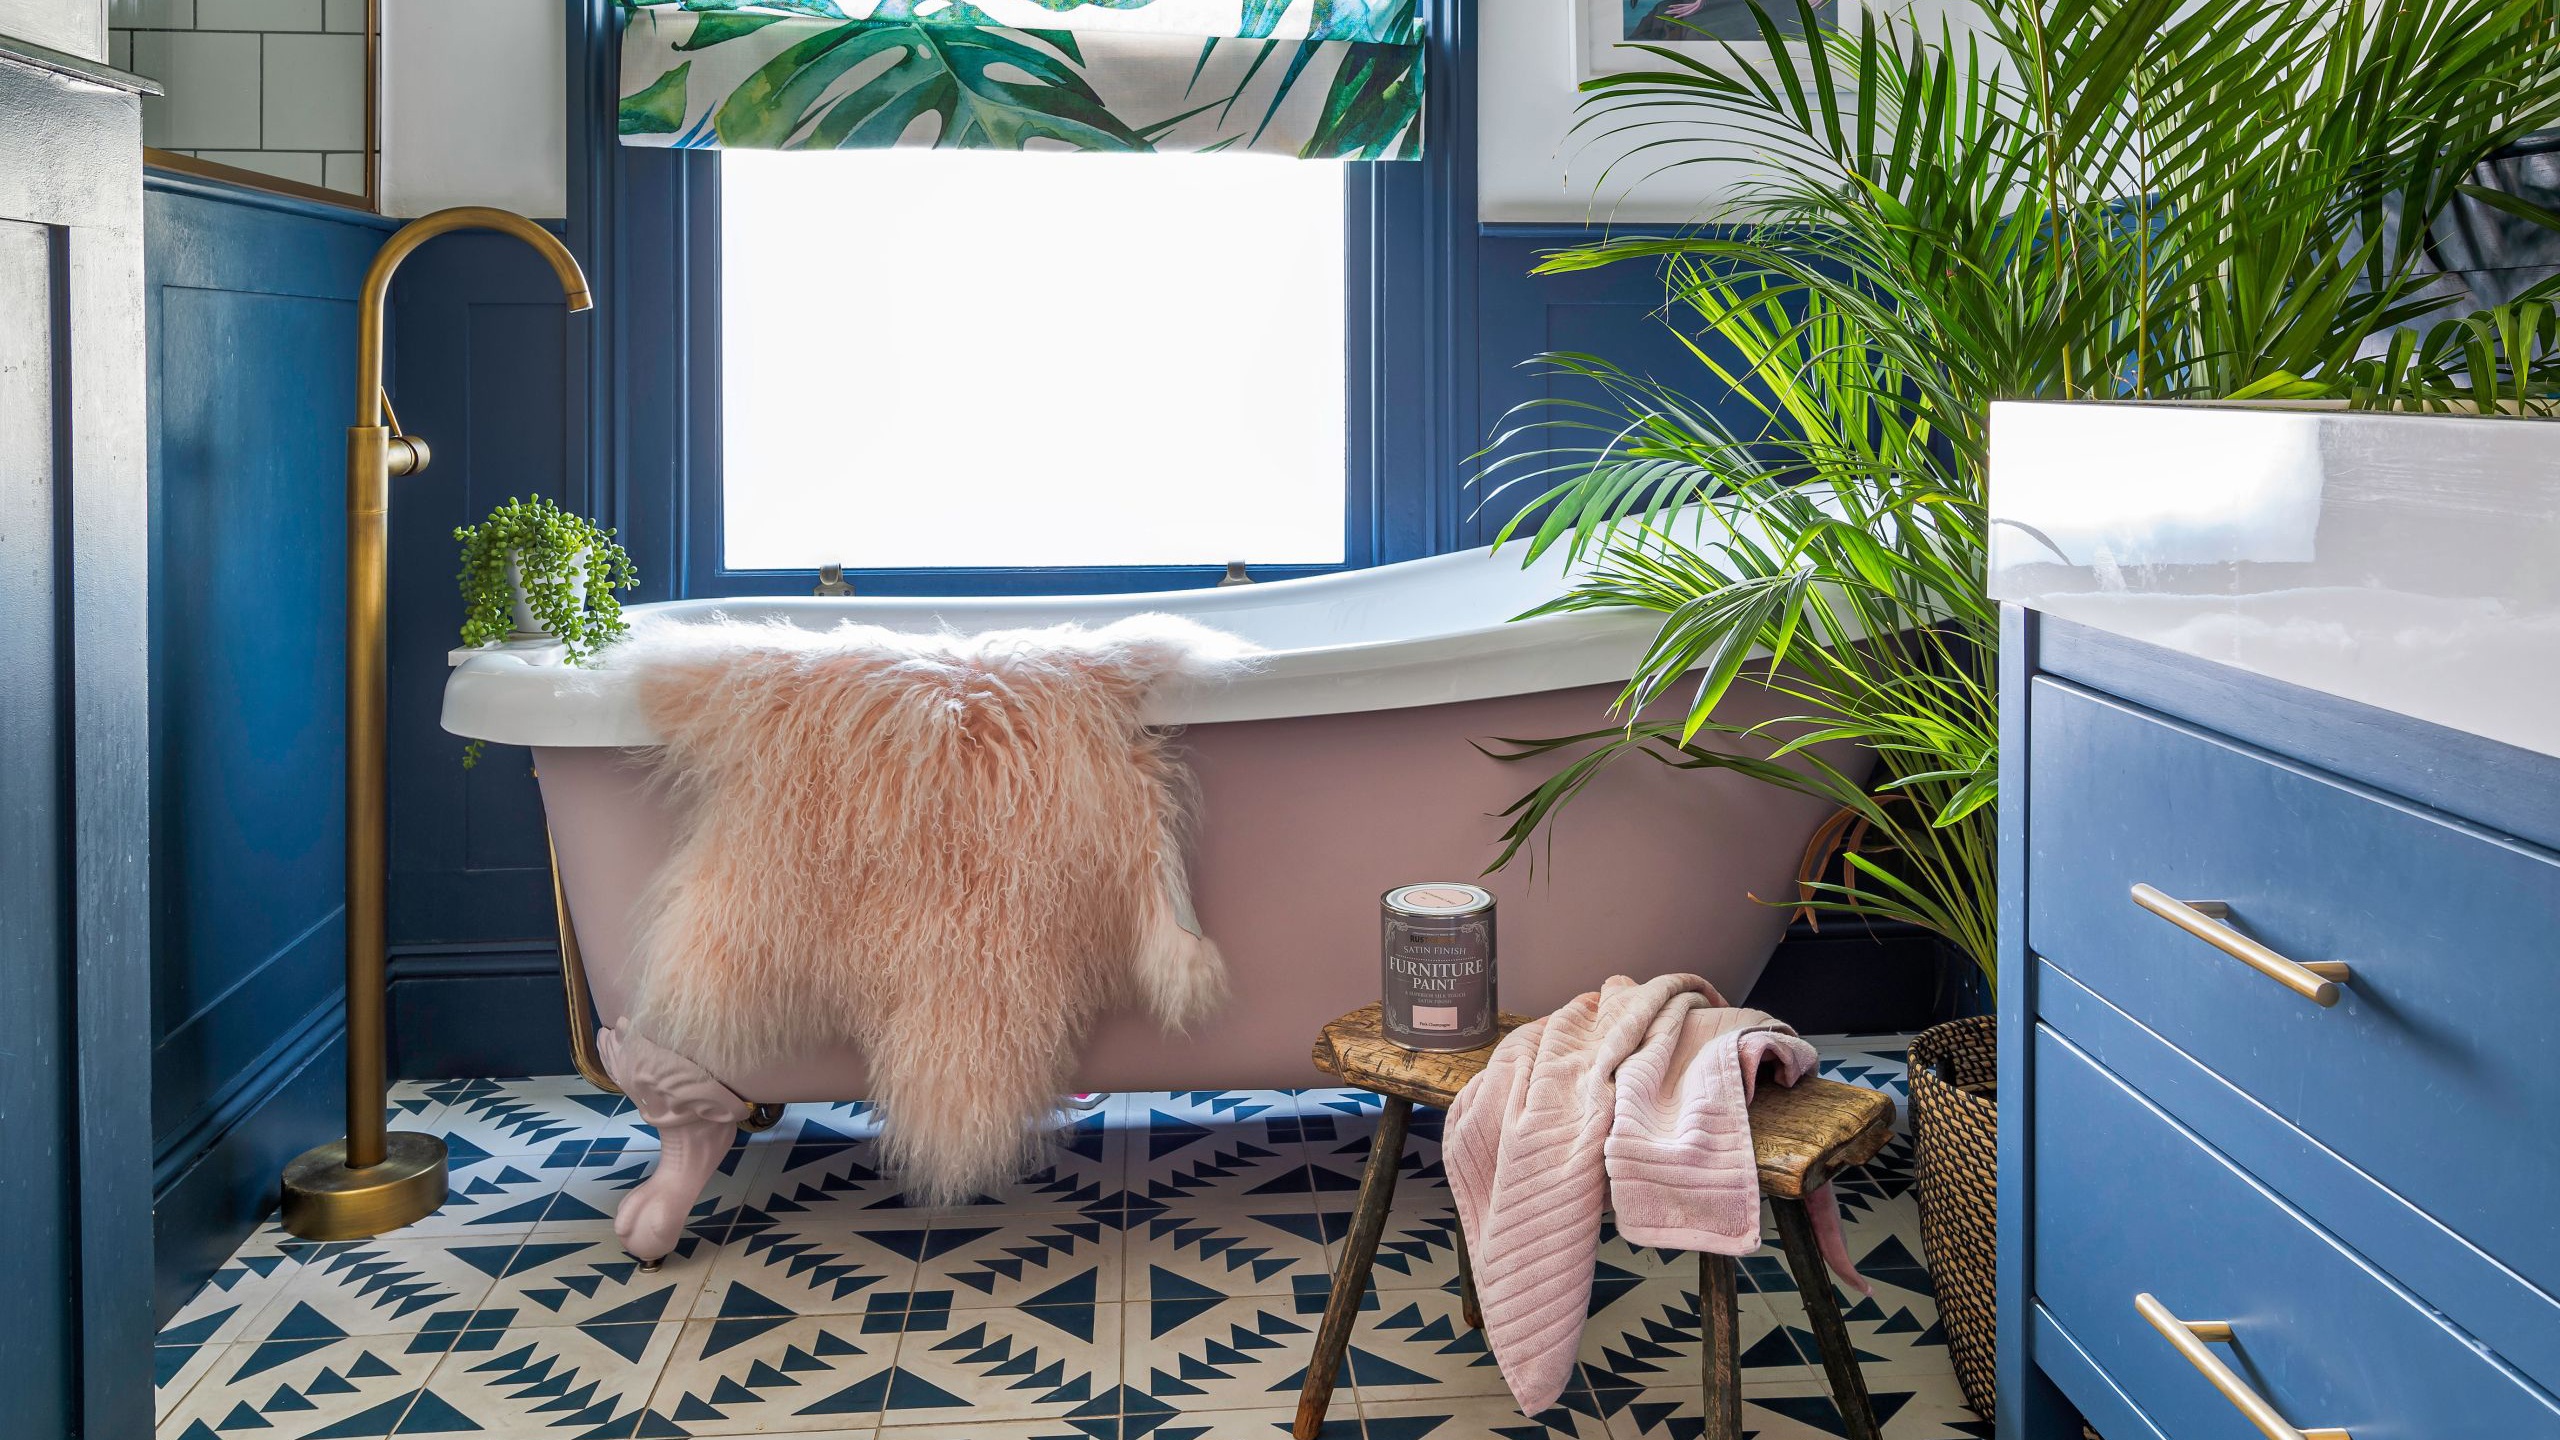
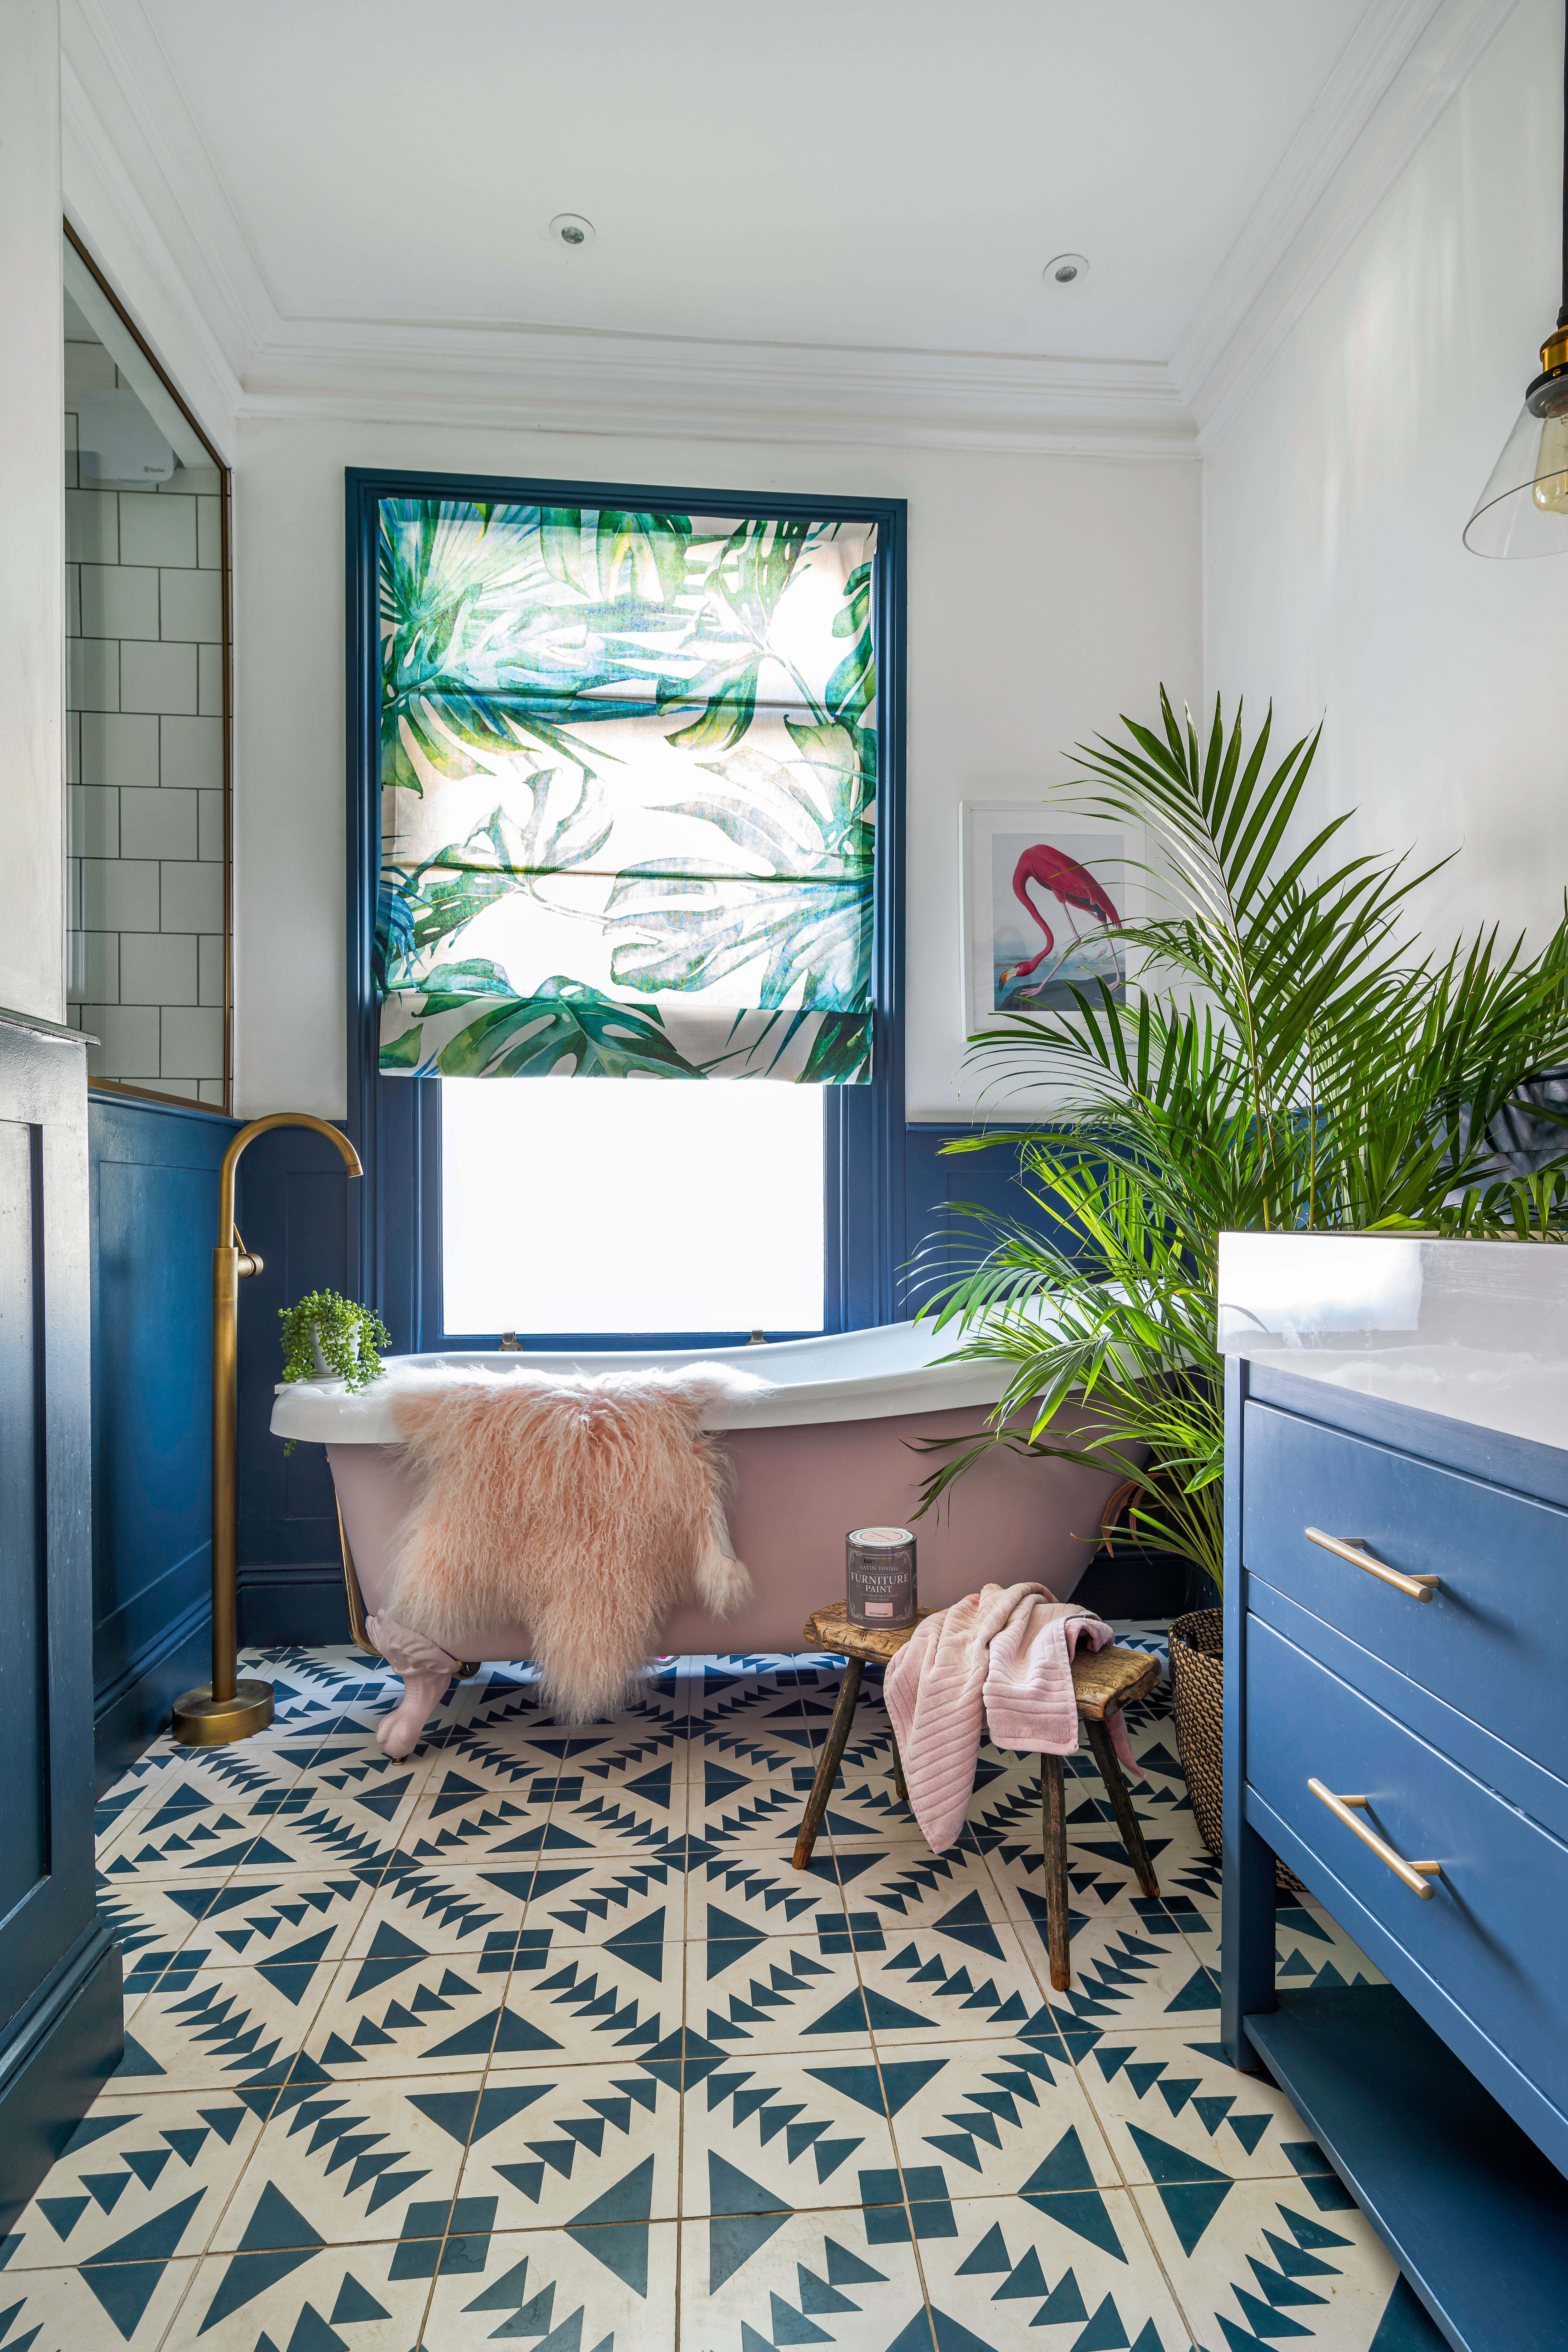
Ah furniture paint. Is there any end to your room changing abilities? That old peeling chair that has a lovely shape but an awful colour? Whack some furniture paint on. Those chest of drawers that were attacked by a marker pen? Whack some furniture paint on. The yellowing bath that has definitely seen better days? Whack some furniture paint on?! Yes, really. Game changing, we know.
Keeping scrolling to see how you can totally change the look of you seen better days bath (and, by extension, your seen better days bathroom) using just furniture paint, and for more bathroom ideas, head over to our hub page.

You will need:
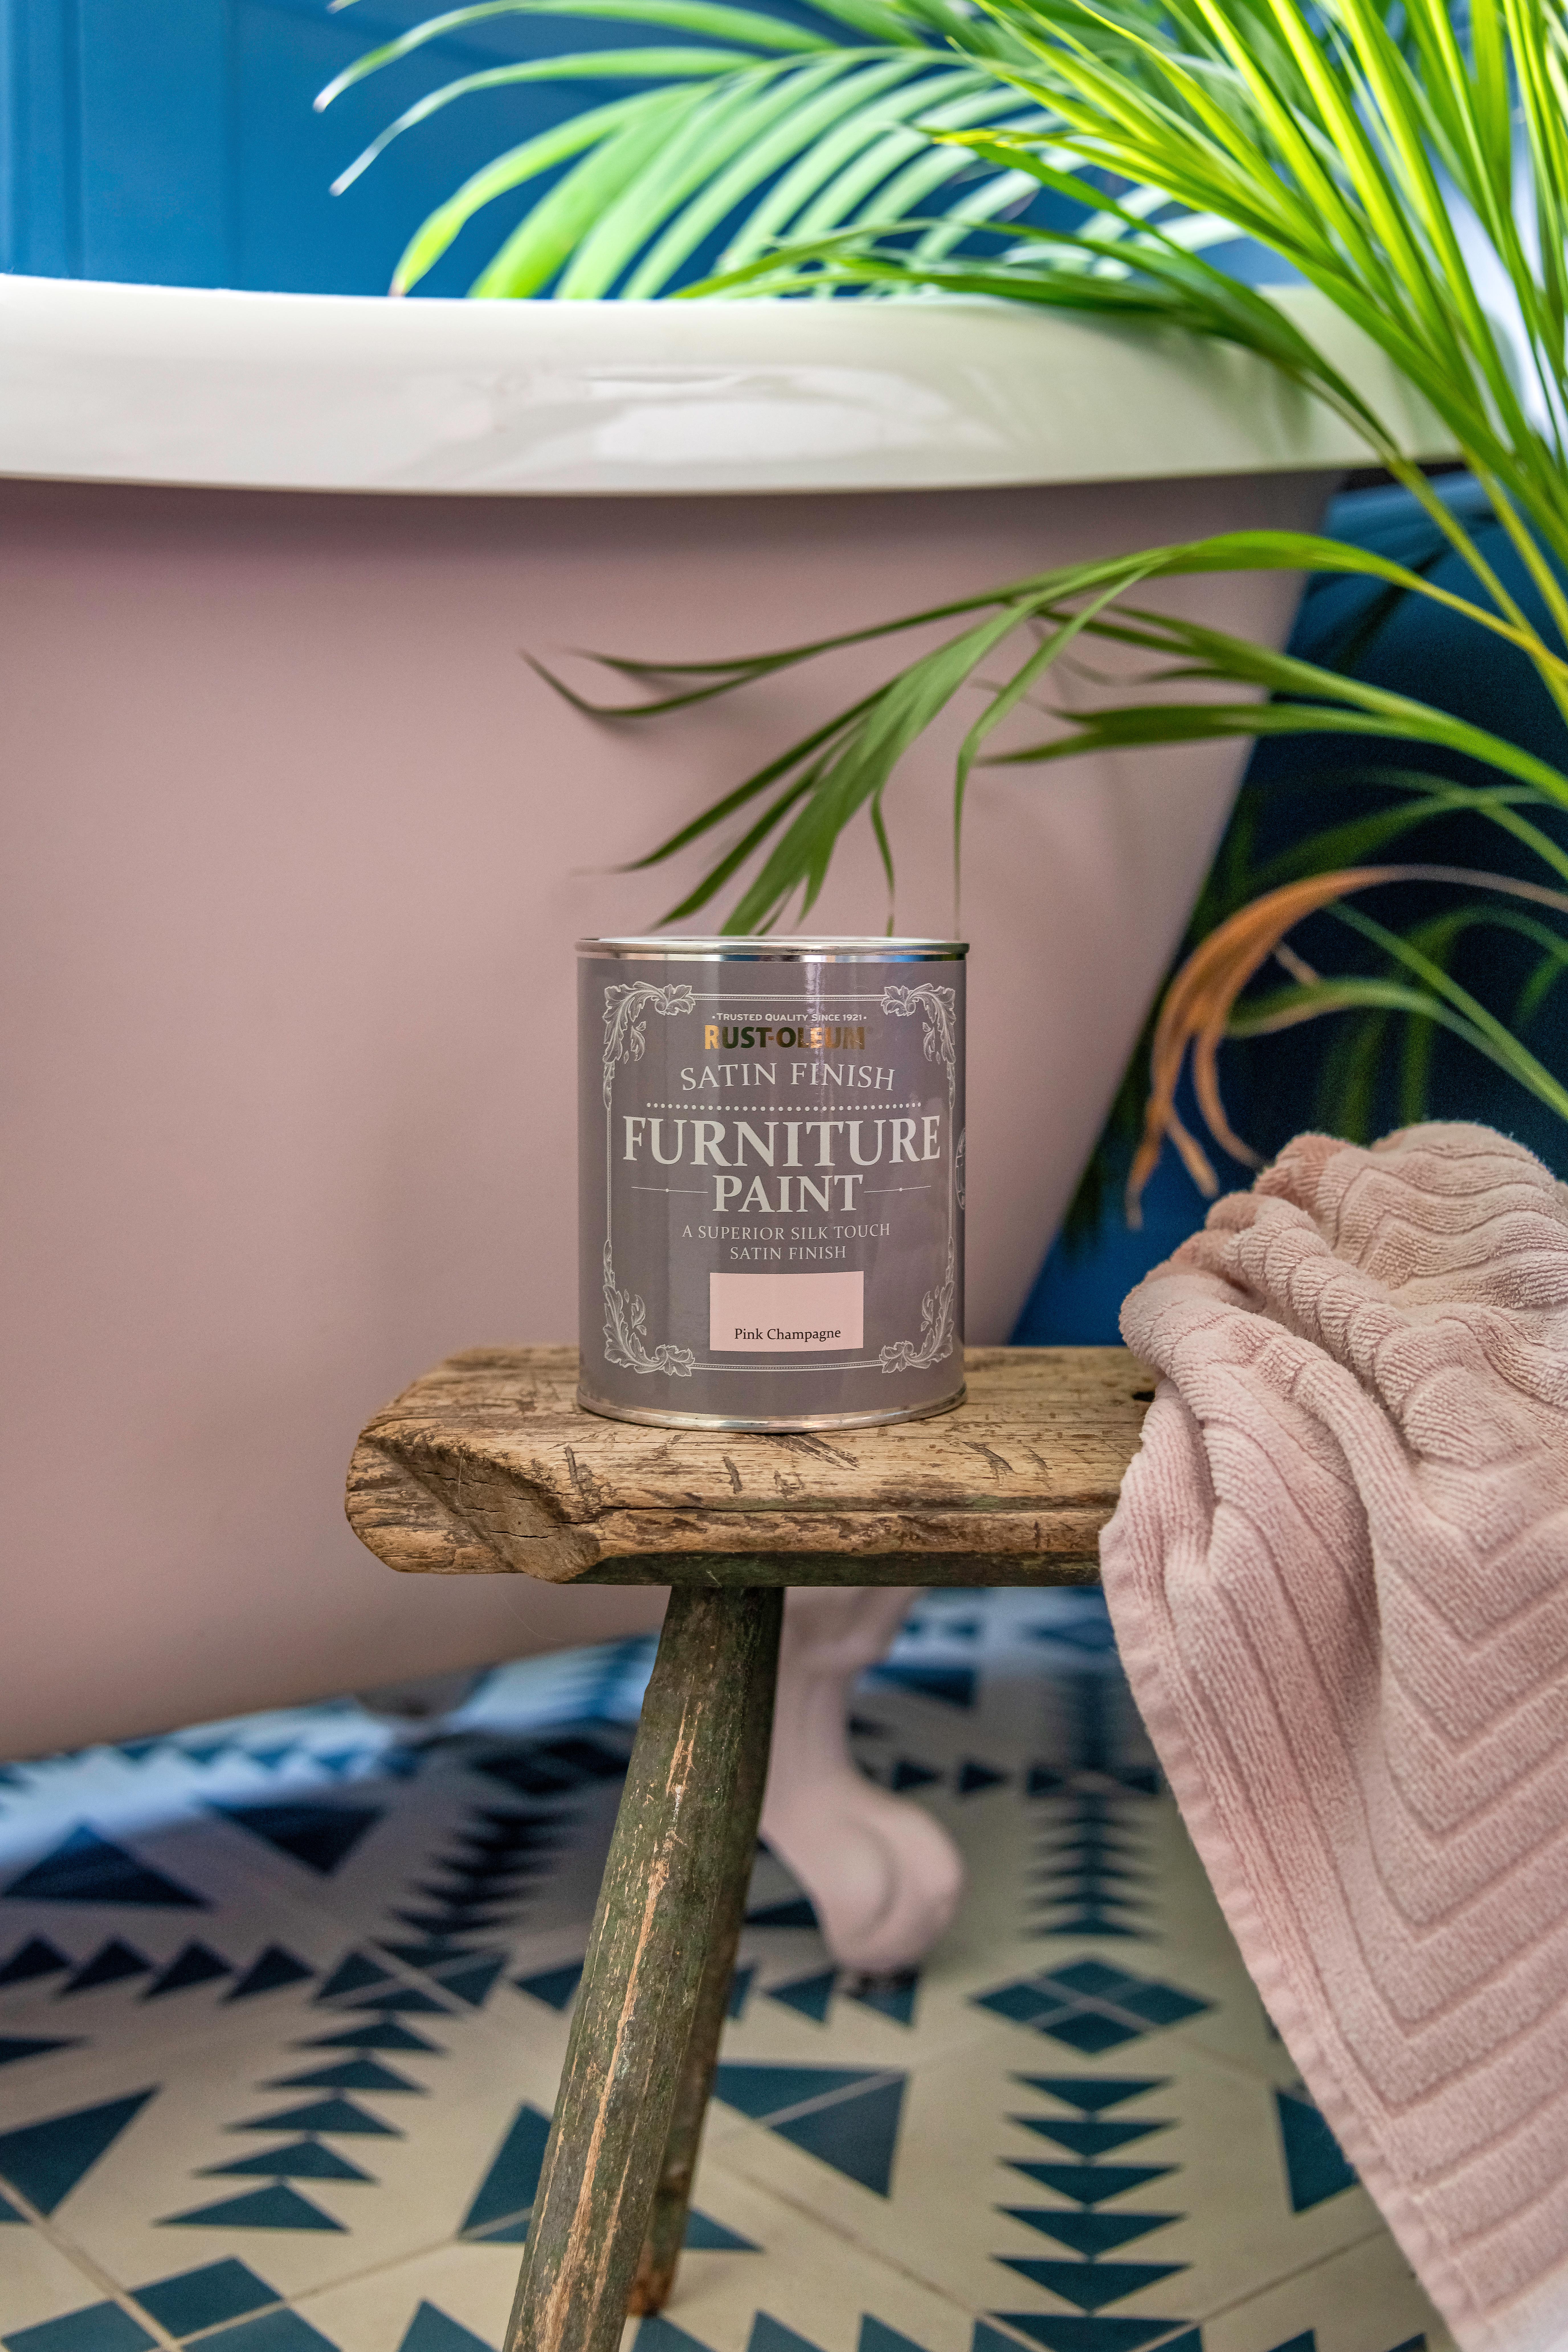
- Rust-Oleum Satin Finish Furniture Paint (@threeboysandapinkbath used Pink Champagne)
- Dust sheets
- Masking tape
- Paintbrush or small roller
- Microfibre cloth
- Sandpaper
Step one: cover any section you don't want painting
Use masking tape to cover any bit of the bath you don't want painting – taps, legs, plug holes etc. Obviously, you only want to be painting the outside of your bath, so throw a dust sheet over the top, leaving the side free for painting to keep the inside clean.
Step two: clean your bath
Use a microfibre cloth and some warm water to wipe down your bath, making sure the surface is free of any dust or dirt before you get started. Then wait for the bath to dry before moving onto the next step.
Step three: lightly sand the bath
Use sandpaper to lightly sand down the whole bath, this will just create a better surface for the paint to stick too and will make it last longer.

Step four: get painting
Pour some paint into a smaller pot, or a tray if you are using a roller, and then get painting. Start with one coat and let that dry for the recommended time; this might be enough depending on the colour you are using. If it needs it, go in with a second coat. If you are using Rust-Oleum, you won't need to paint over with a sealant.
Read more:
- How to paint furniture
- How to choose tiles for a small bathroom
- How to DIY a bath panel for a statement bath
Get small space home decor ideas, celeb inspiration, DIY tips and more, straight to your inbox!

Hebe joined the Real Homes team in early 2018 as Staff Writer before moving to the Livingetc team in 2021 where she took on a role as Digital Editor. She loves boho and 70's style and is a big fan of Instagram as a source of interiors inspiration. When she isn't writing about interiors, she is renovating her own spaces – be it wallpapering a hallway, painting kitchen cupboards or converting a van.