How to remove carpet
Any DIYer can manage the satisfying job of removing carpet. Here is what you need to know

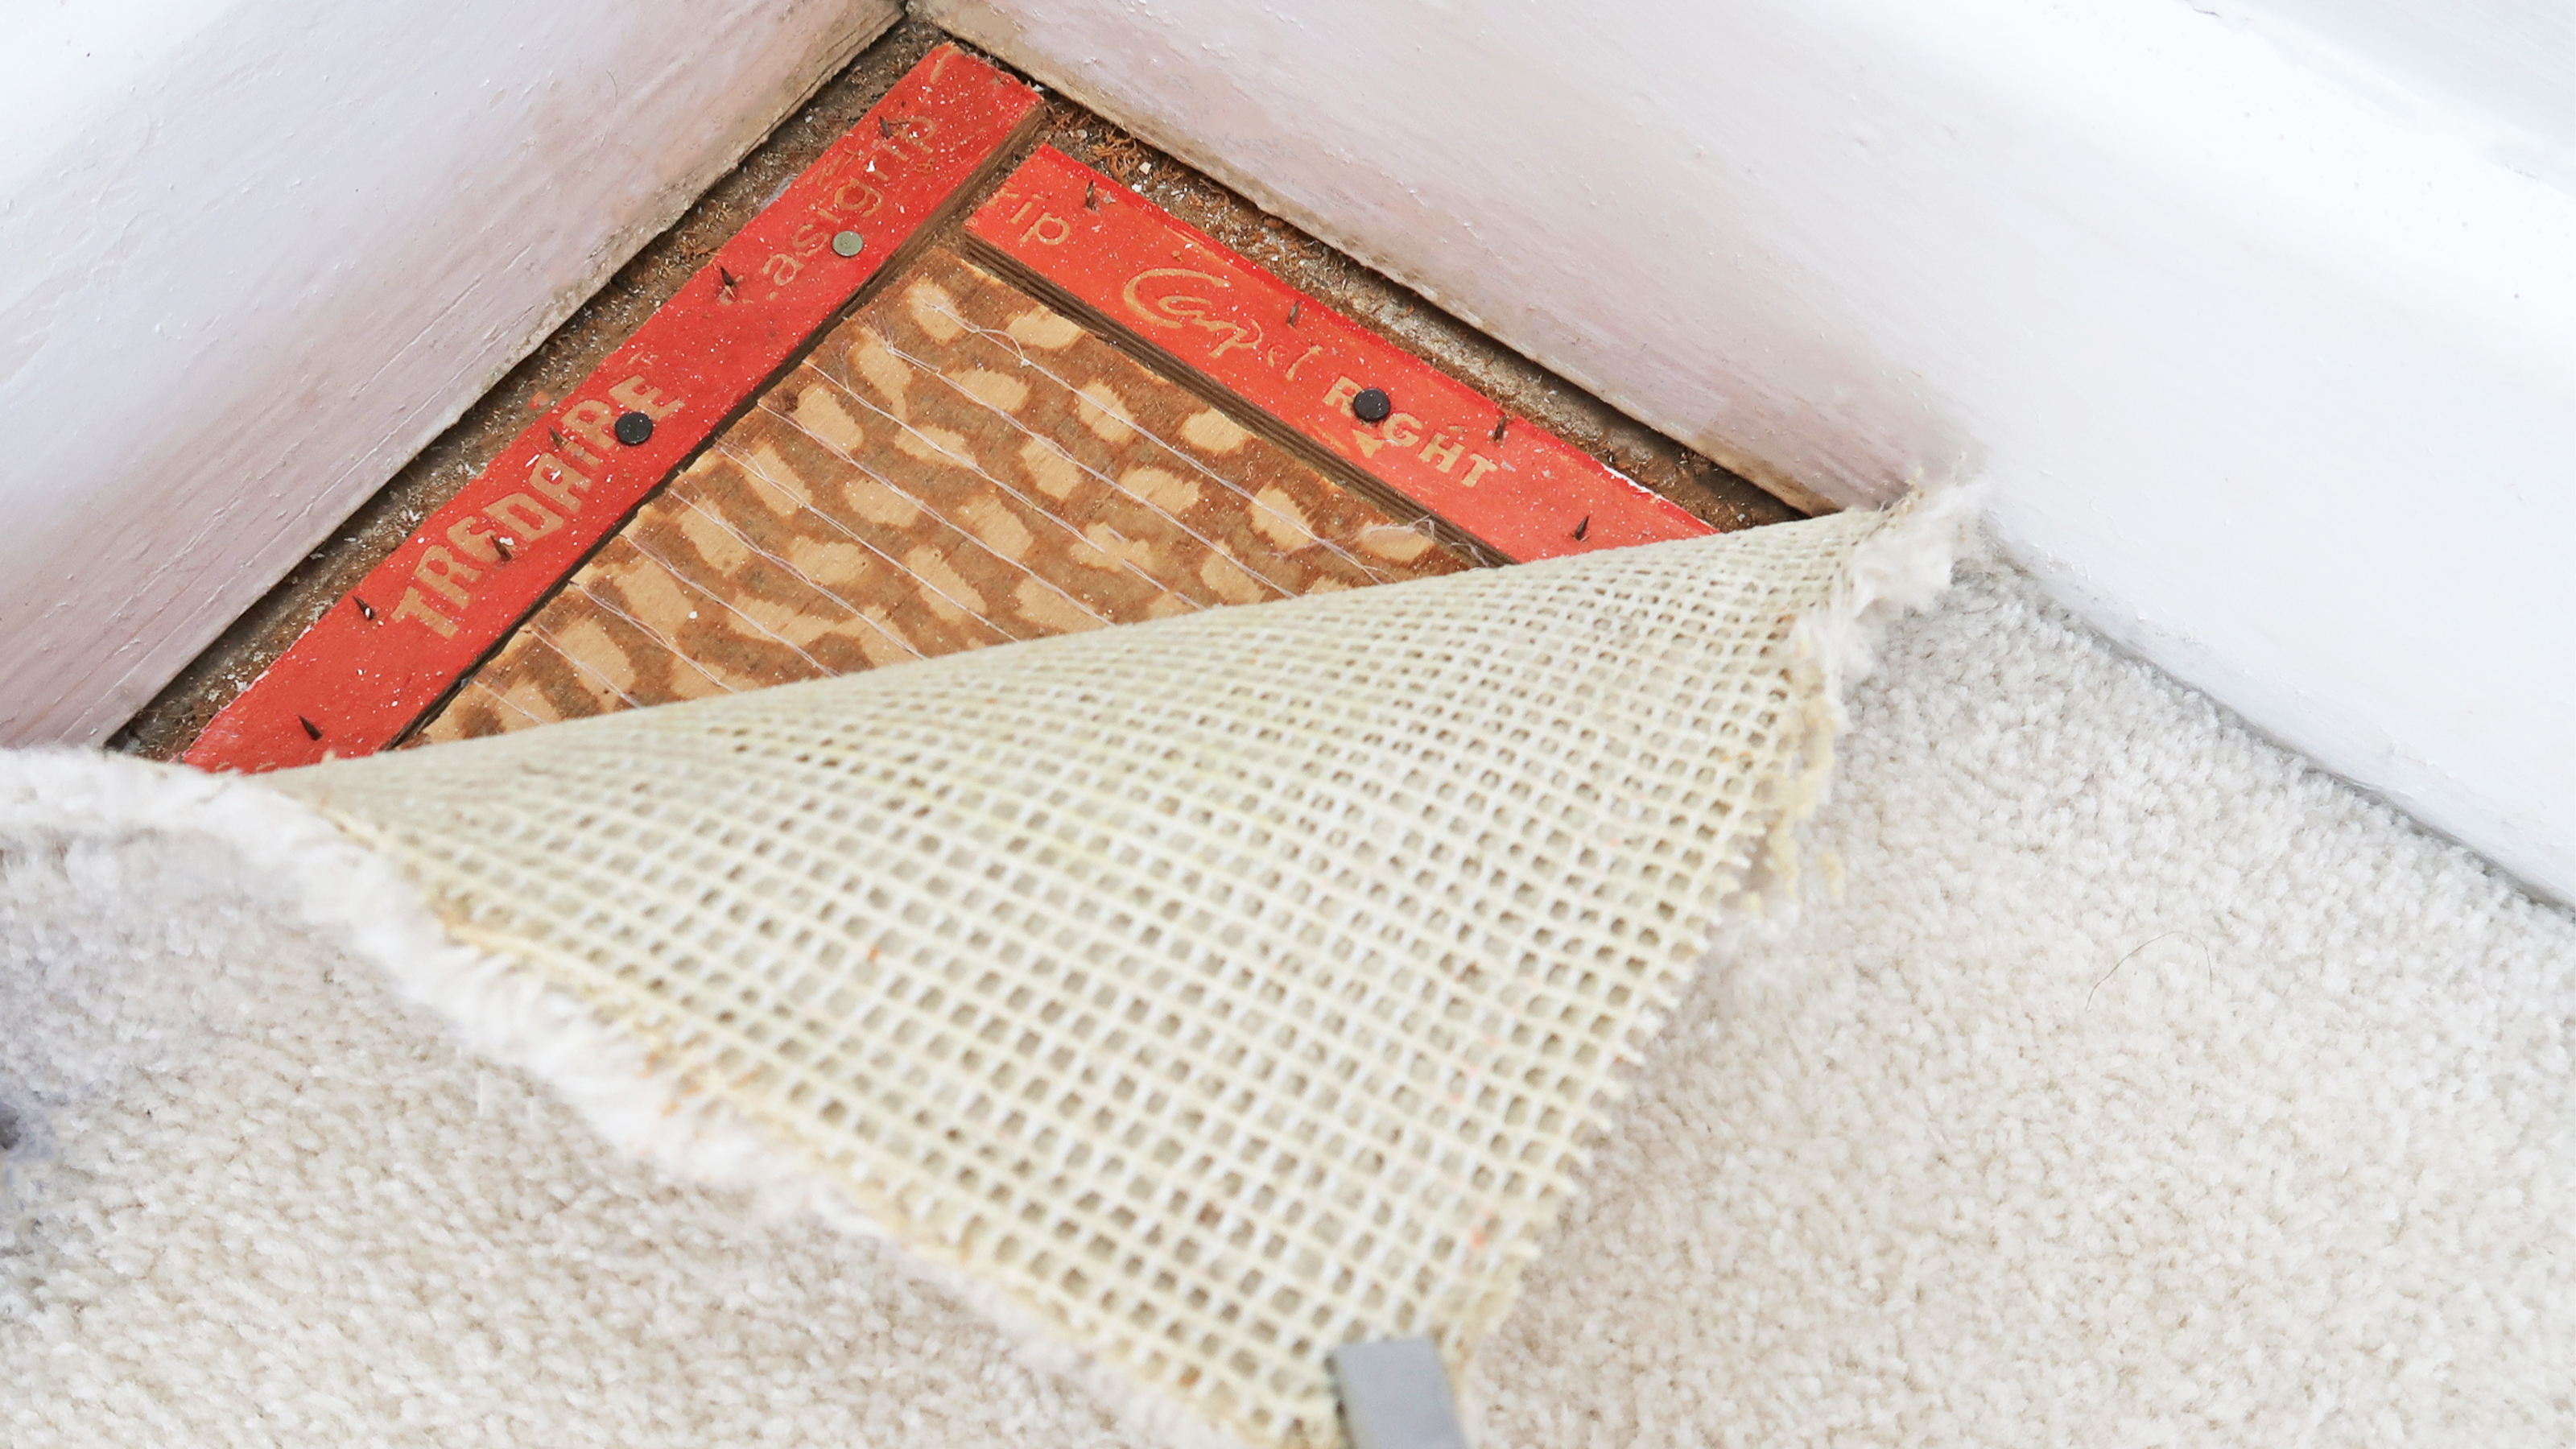
If you have new carpets fitted, you can save money by removing the old ones before the fitter arrives, making the installation quicker and more straightforward as the floors will be ready and waiting.
Keen DIYers might consider swatting up on how to lay carpet, as fitting them yourself can save a packet too.
You may also want to know how to remove carpet if you have discovered the wood flooring below is in good condition. It could be restored and stained, or if the wood look is not to your liking, you could always paint the floorboards for an affordable new look.
Taking up carpet is a skill that came in very useful for me a few years back when we had just received the keys to a new house. We opened the front door full of excitement, stepped into the front room, and stepped out again pretty quick as the carpet was revolting. The purchase process had taken months and in all the stress I’d forgotten exactly how bad a state the carpets were in (the property had spent many years as a rental without replacing the carpets and at one point it was a student house too). A deep pile mess, harboring goodness knows what. It was no good – we are talking beyond the help of even the best carpet cleaner – they had to go… right away.
Hopefully, you don’t have quite such an extreme case on your hands, but if you have a carpet that you want to remove then stick with me and I’ll show you how.
Shopping list
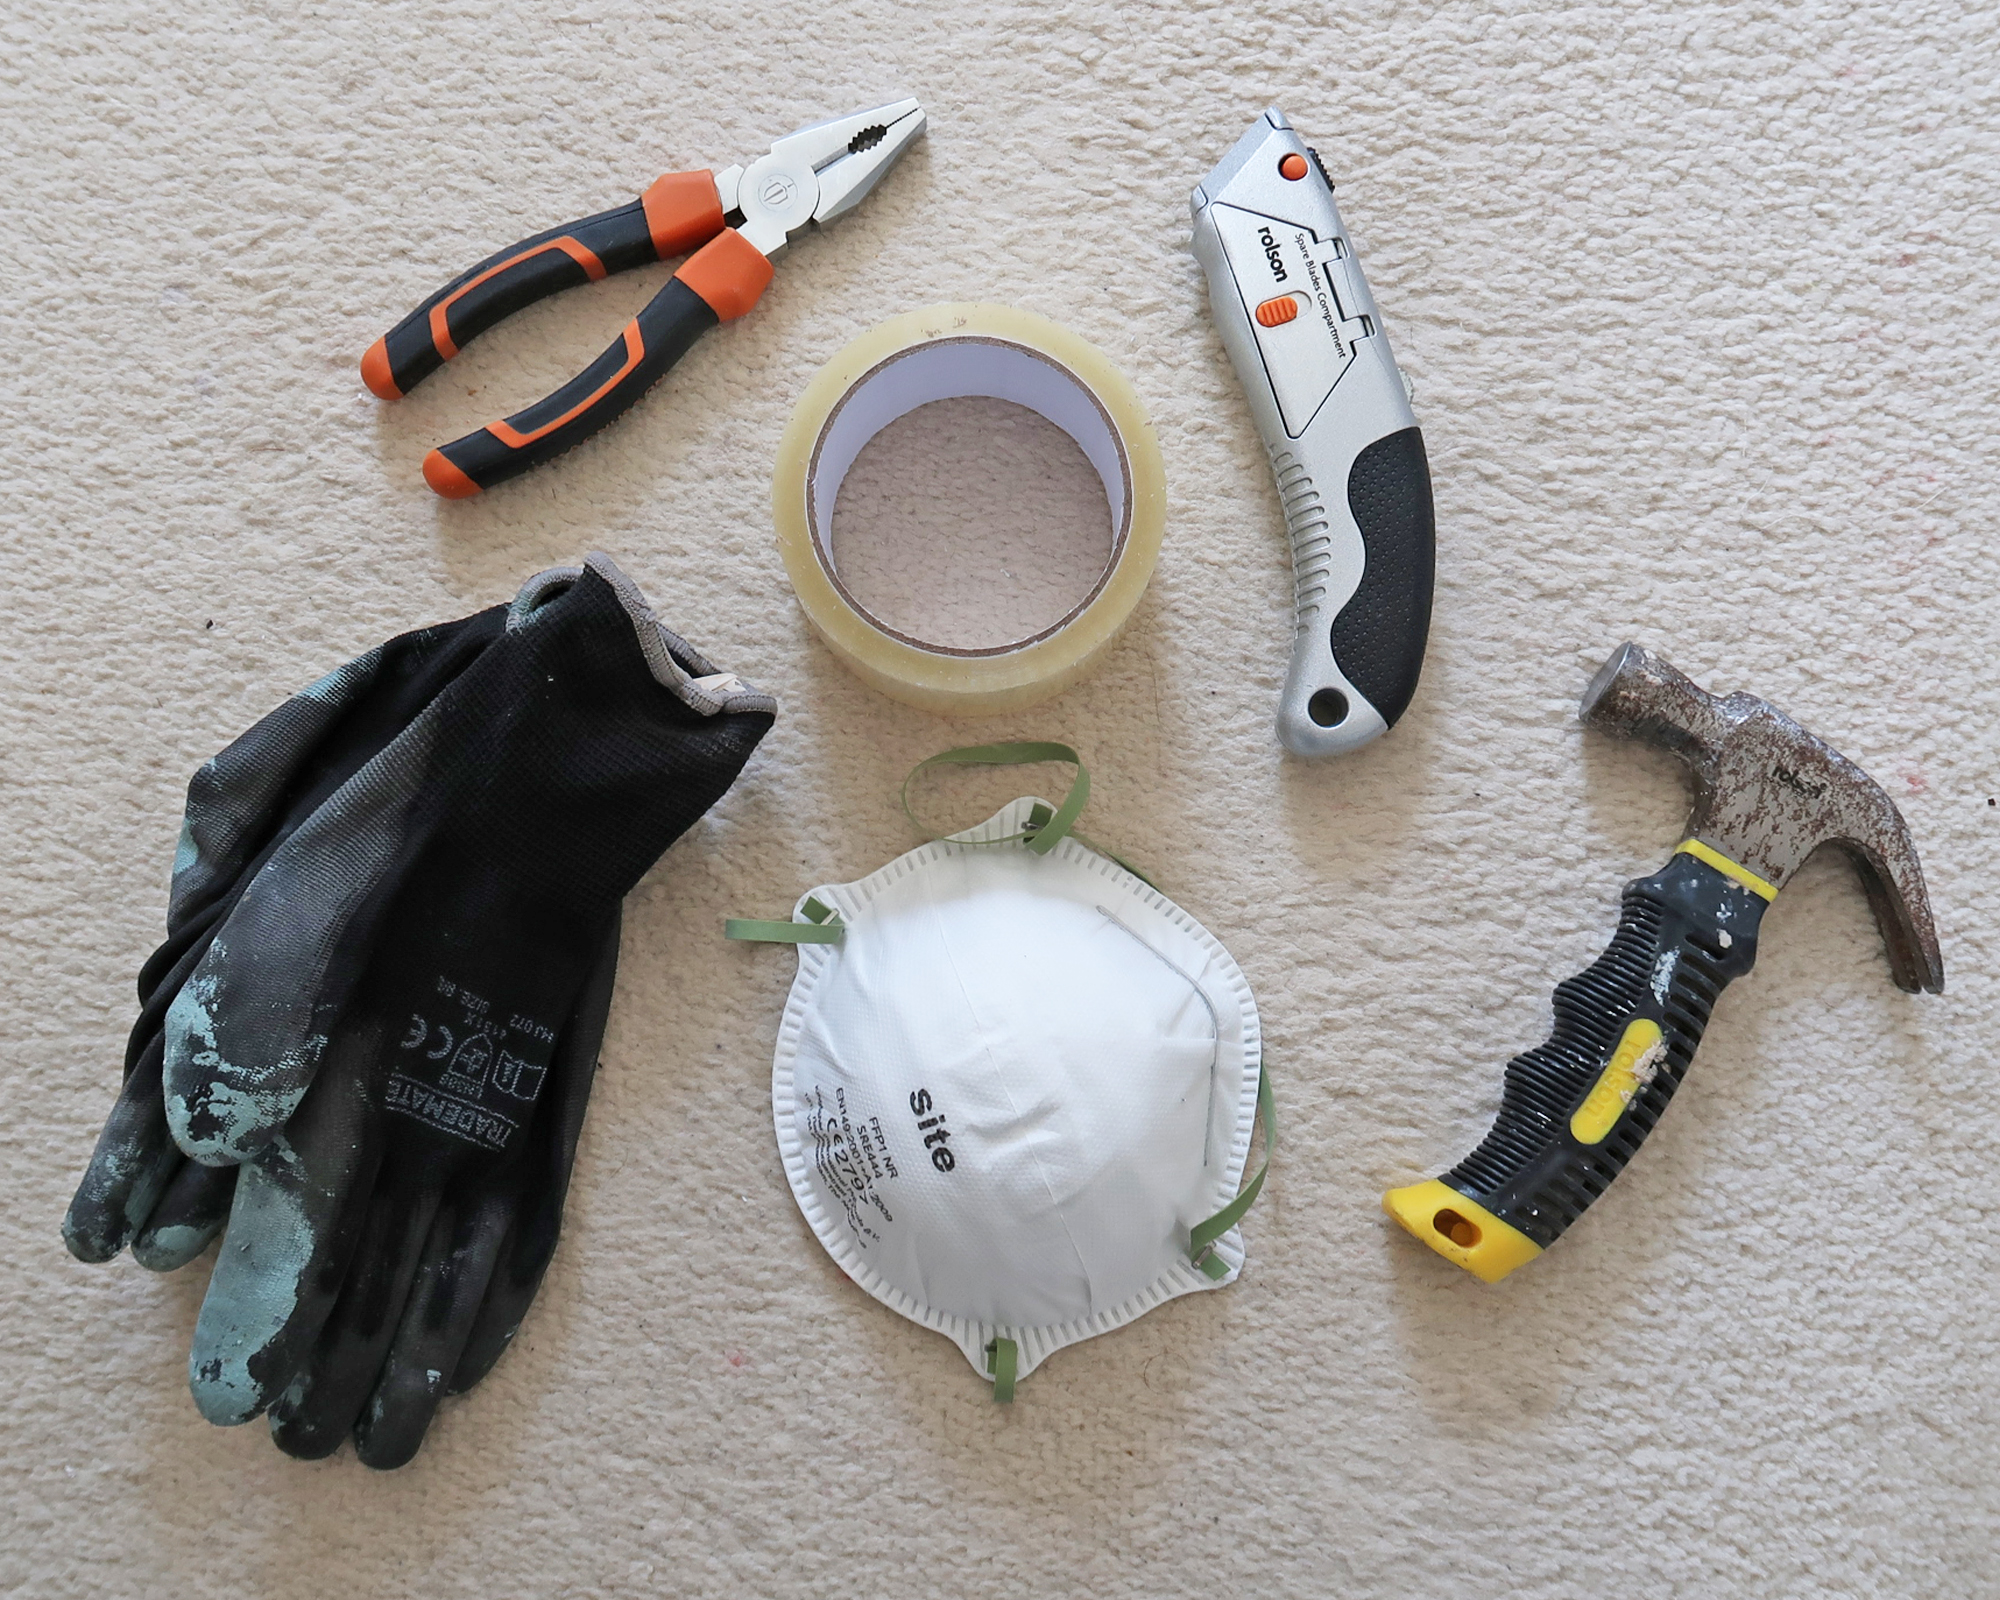
1. Pliers
2. Utility knife like this sturdy model from Amazon
3. Hardwearing gloves
4. Strong tape
5. Hammer
6. Chisel/crowbar like this handy one from Amazon
7. Kneeling pads
8. A dust mask is a good idea
The following guide is applicable to all floor types, but once you have removed the carpet the appropriate next steps will depend on whether you are replacing it or not. Similarly, the cleanup approach will depend on the method used to secure the carpet ie glue, tacks, or gripper rods.
1. Clear the area
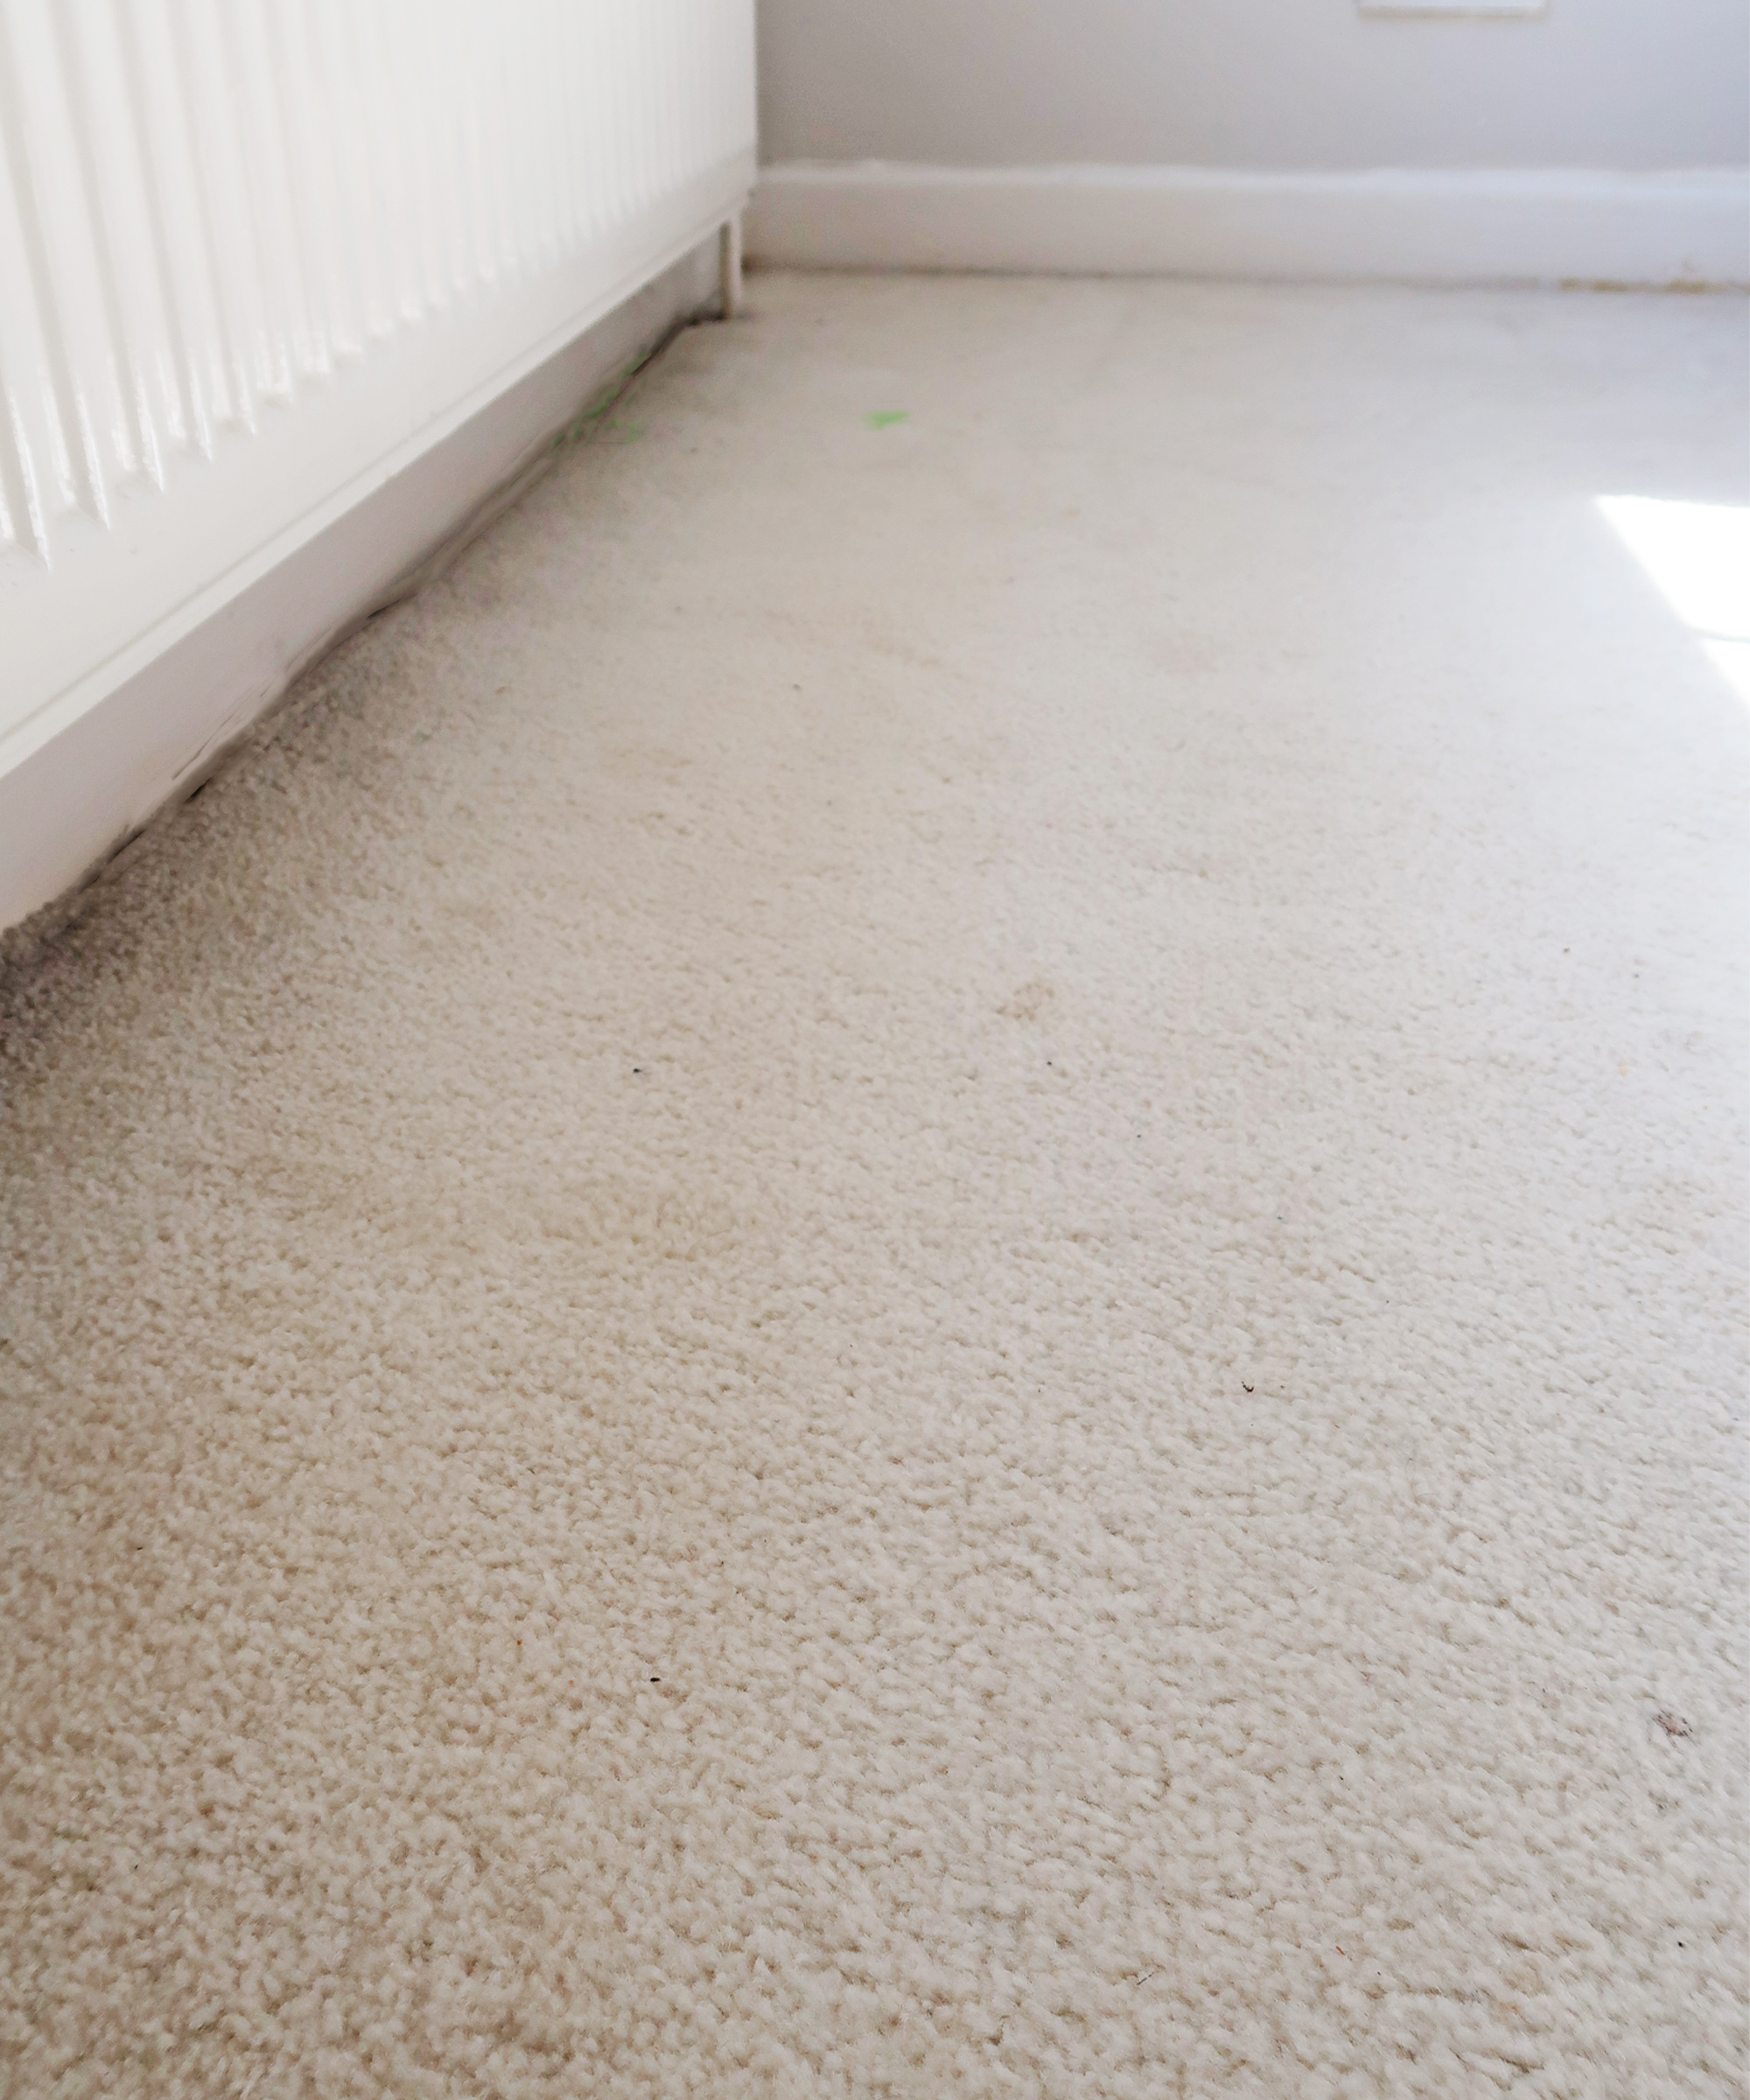
This job will be much easier if you can clear the room before you start. It’ll make your life much easier if you don’t have to move items and furniture around as you remove the carpet. It’s not always possible in which case you just have to make the best use of the space available and relocate furniture from the area you are about to work on over to where you have already been.
Get small space home decor ideas, celeb inspiration, DIY tips and more, straight to your inbox!
2. Start in the corner
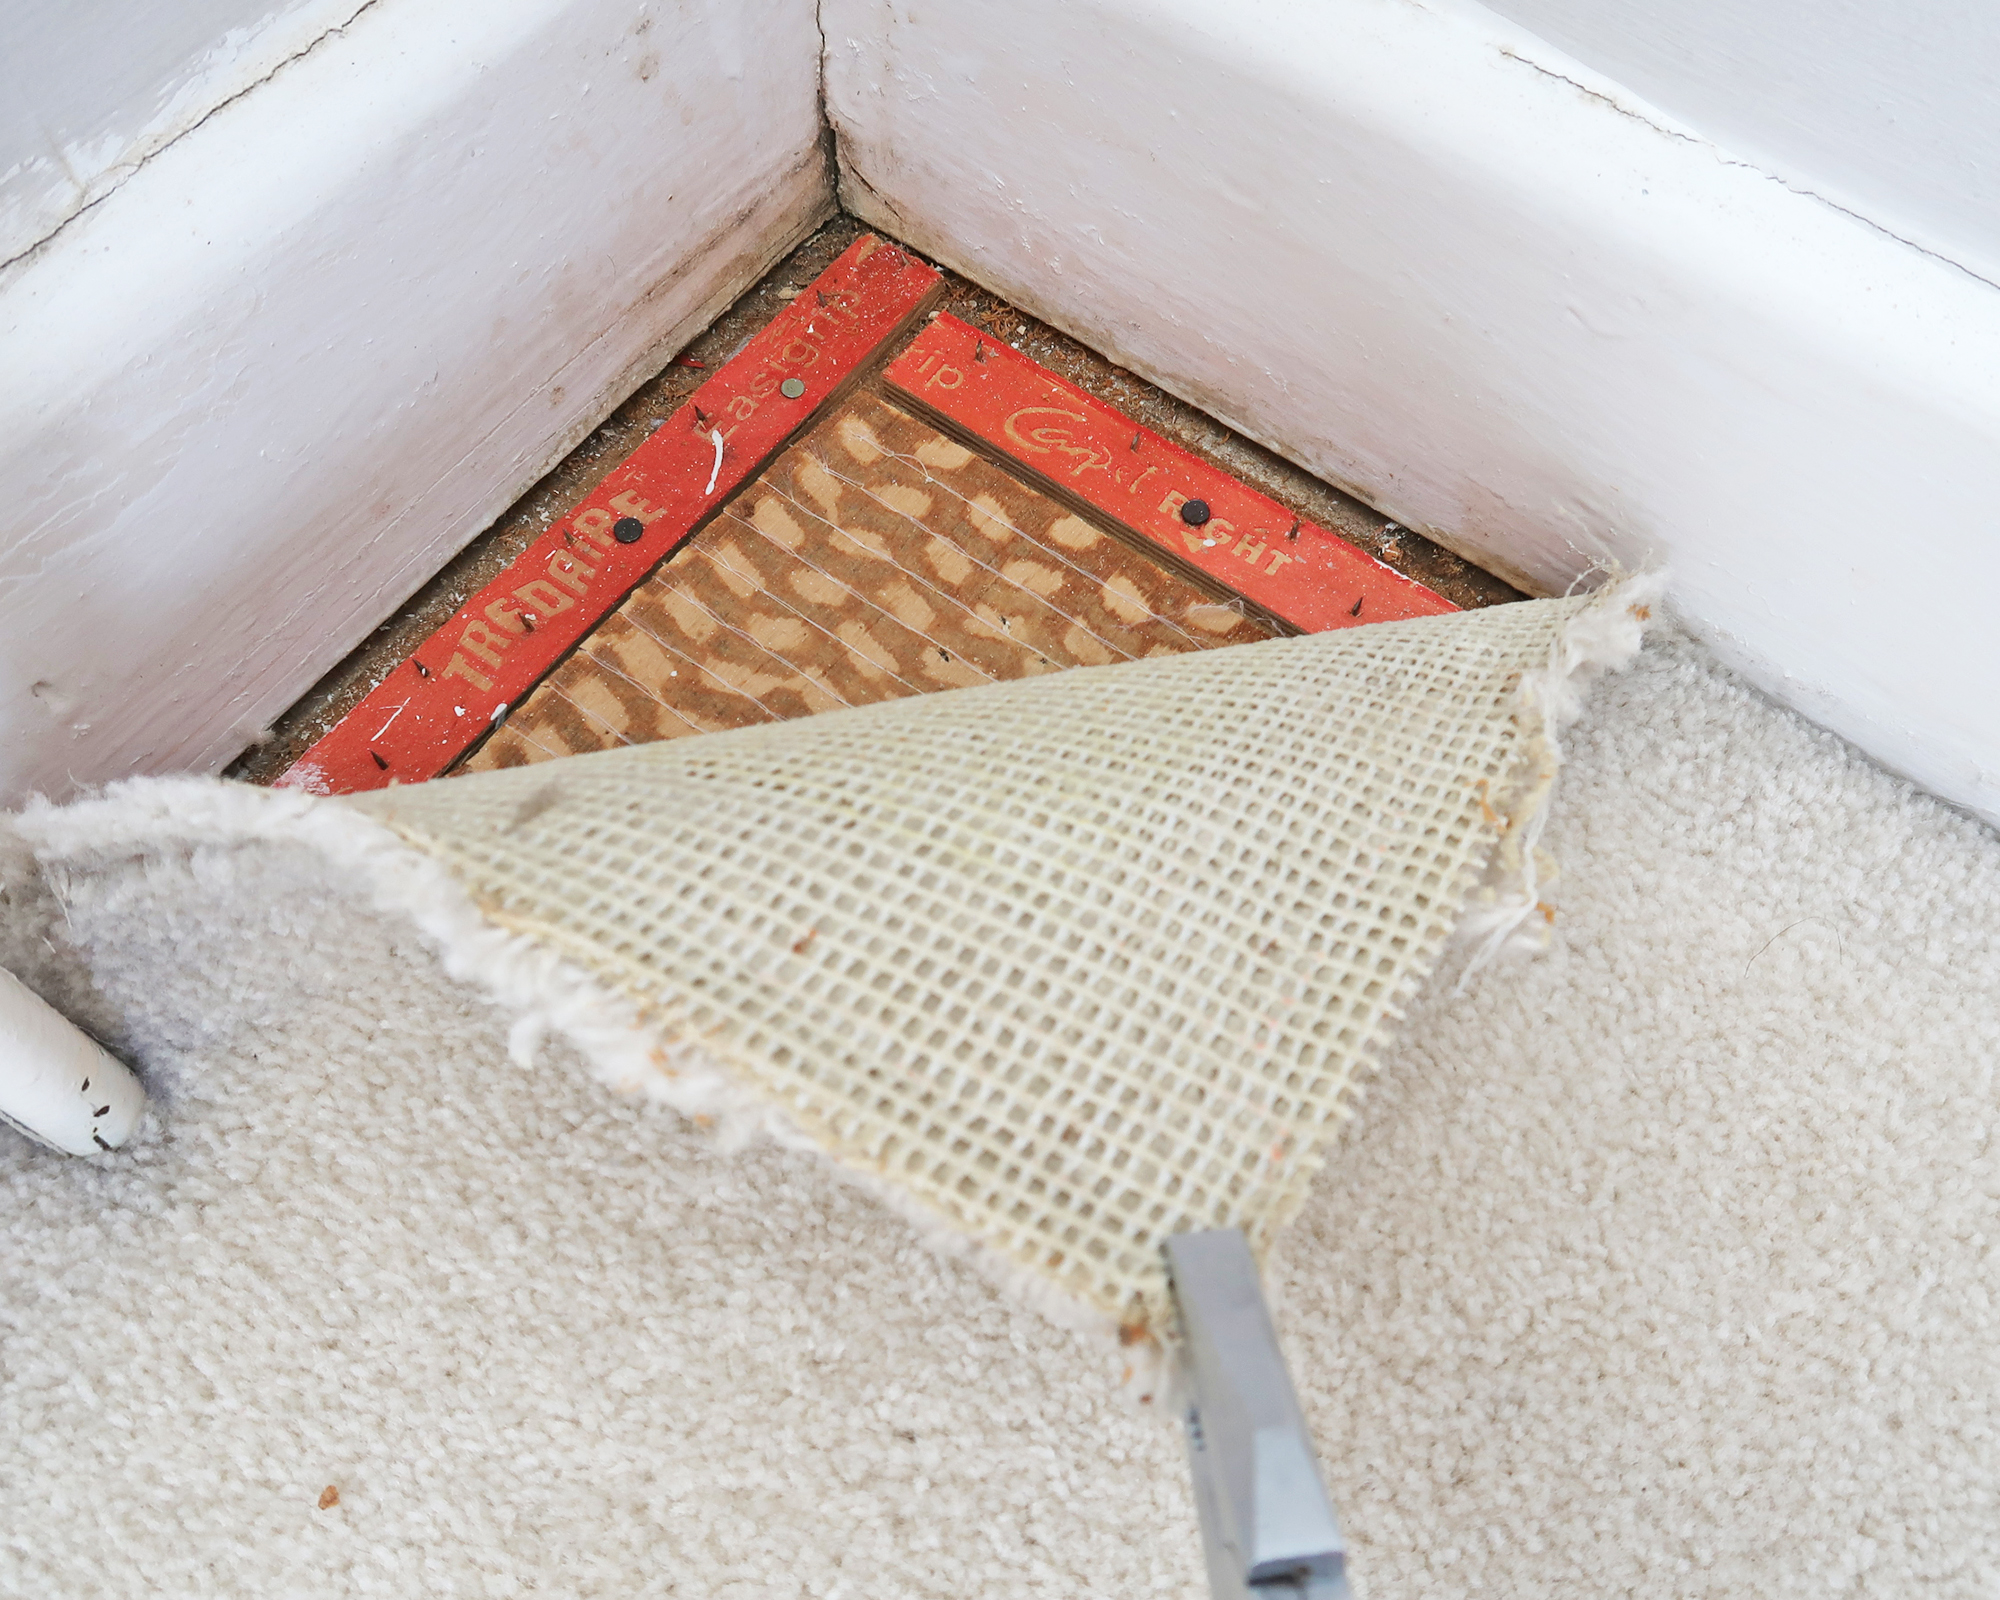
Grab the corner of the carpet with your pliers and pull it upwards. You’ll need to use a bit of force because there will likely be a gripper rod holding it in place. Don’t be tempted to grab it with your fingers because the teeth on those grippers are sharp... like really sharp!
Pull the corner towards the middle of the room and then work your way down one wall of the room pulling the carpet back in the same way.
3. Cut into strips
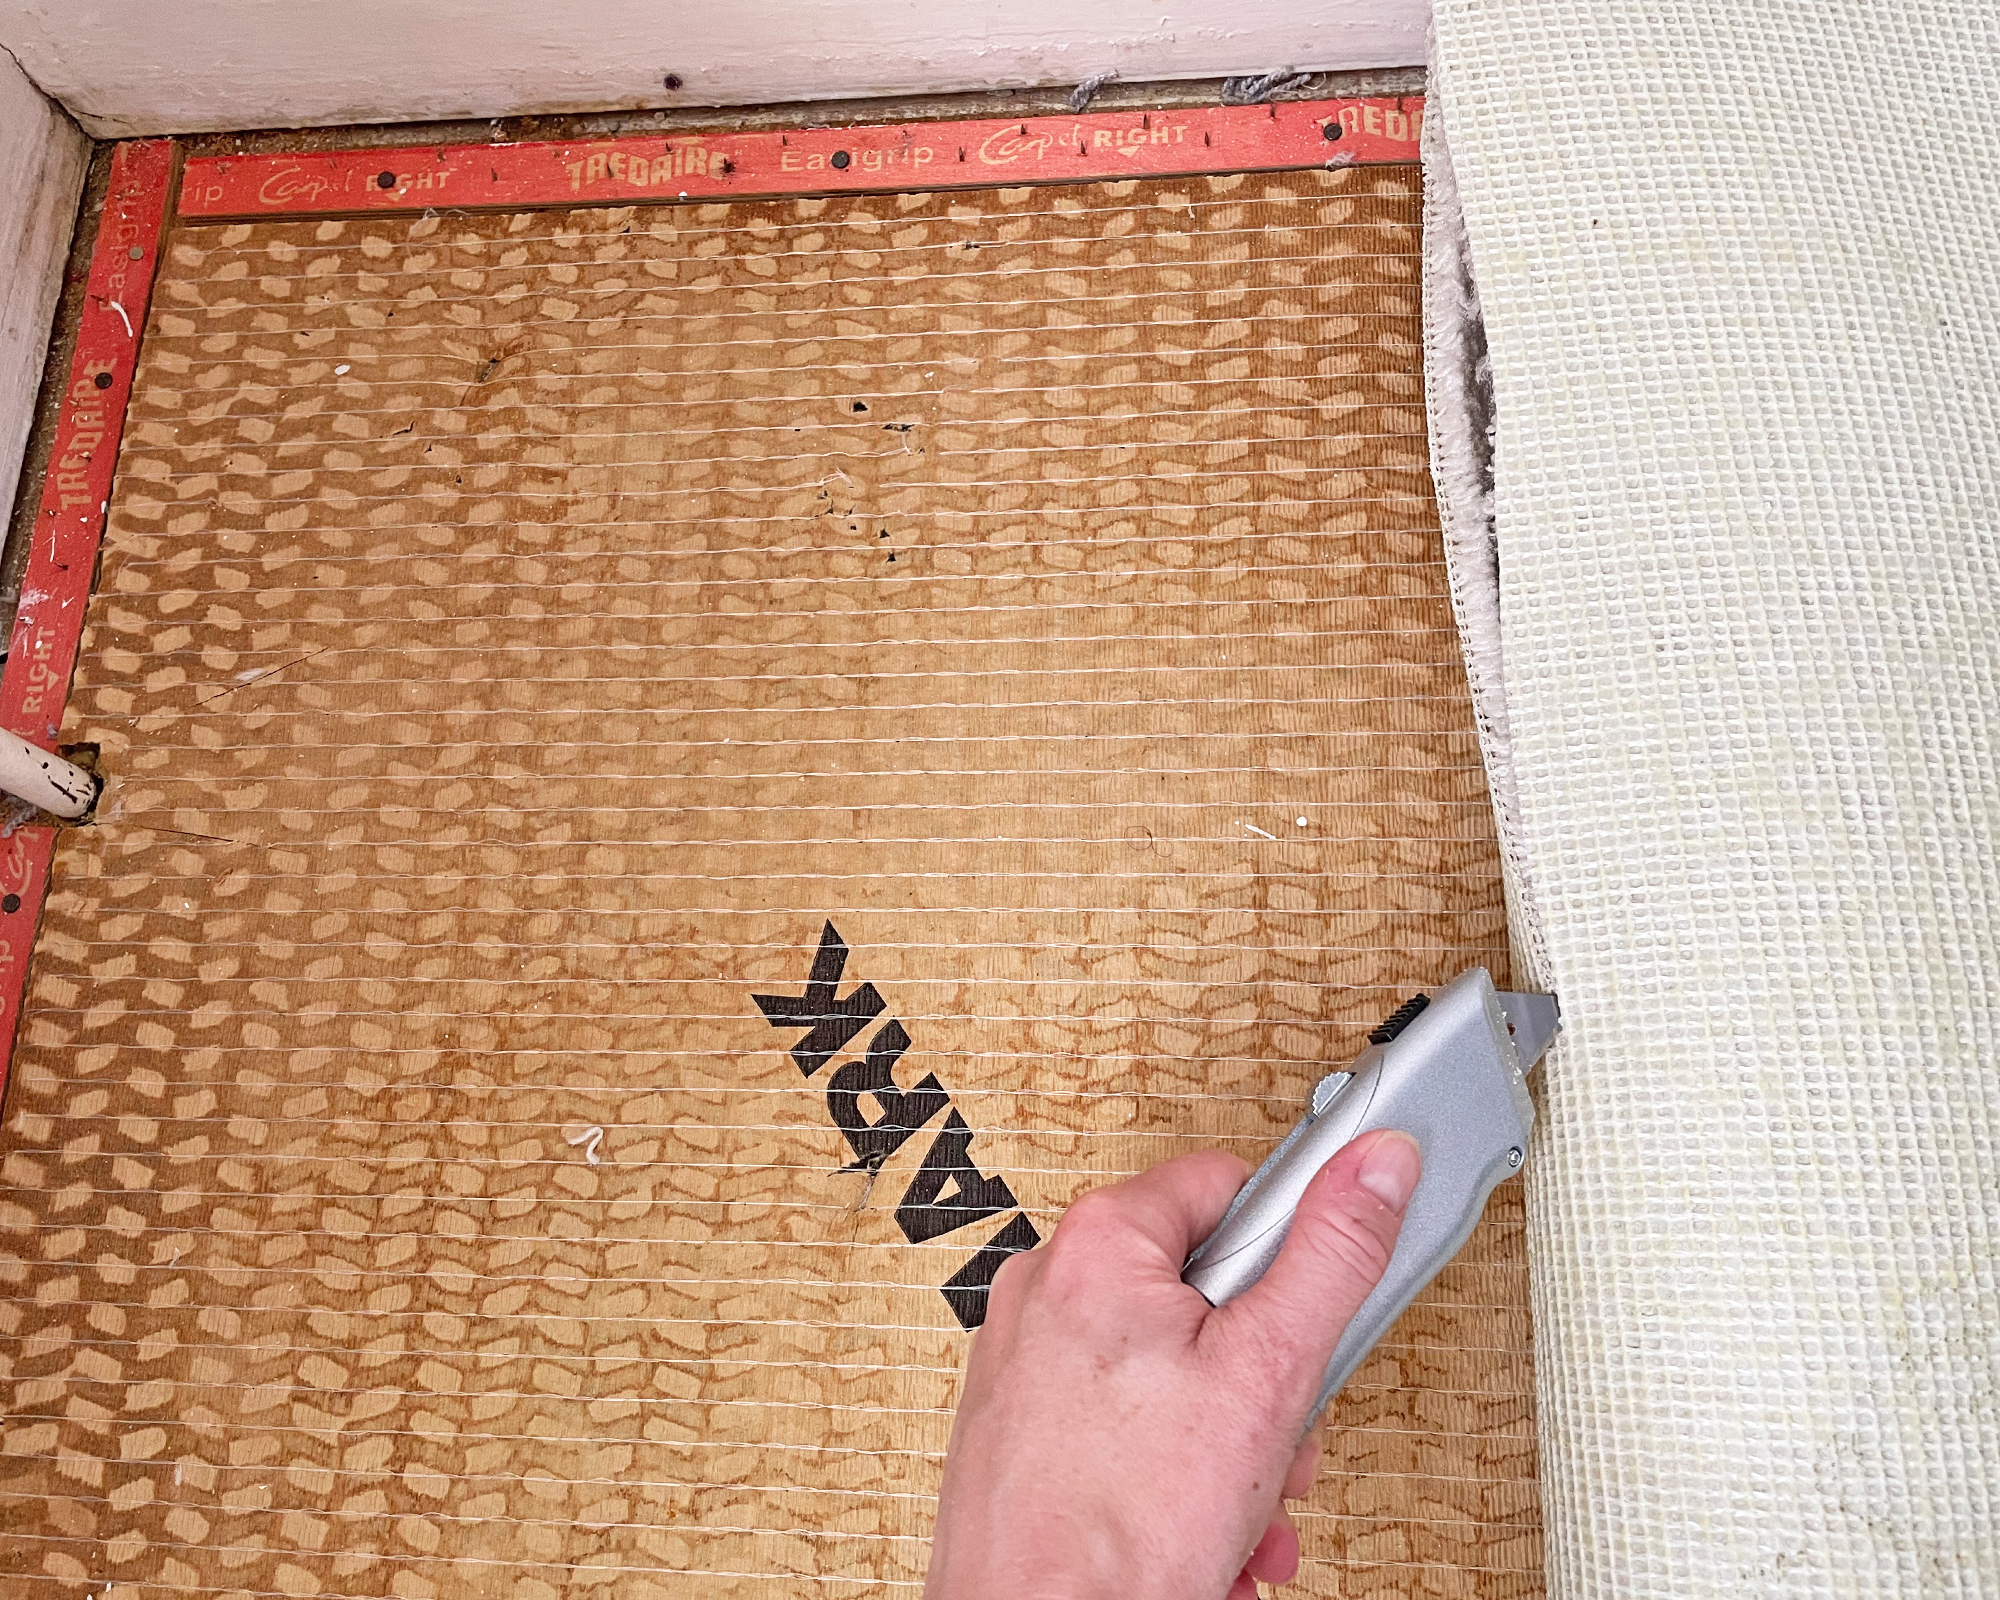
Once you’ve lifted the carpet edge down the entire side of one wall, fold the carpet back on itself and carefully cut down the line of the fold using the utility knife. While cutting, position yourself adjacent to the fold line to ensure that the utility knife is going away from your body.
4. Roll it up
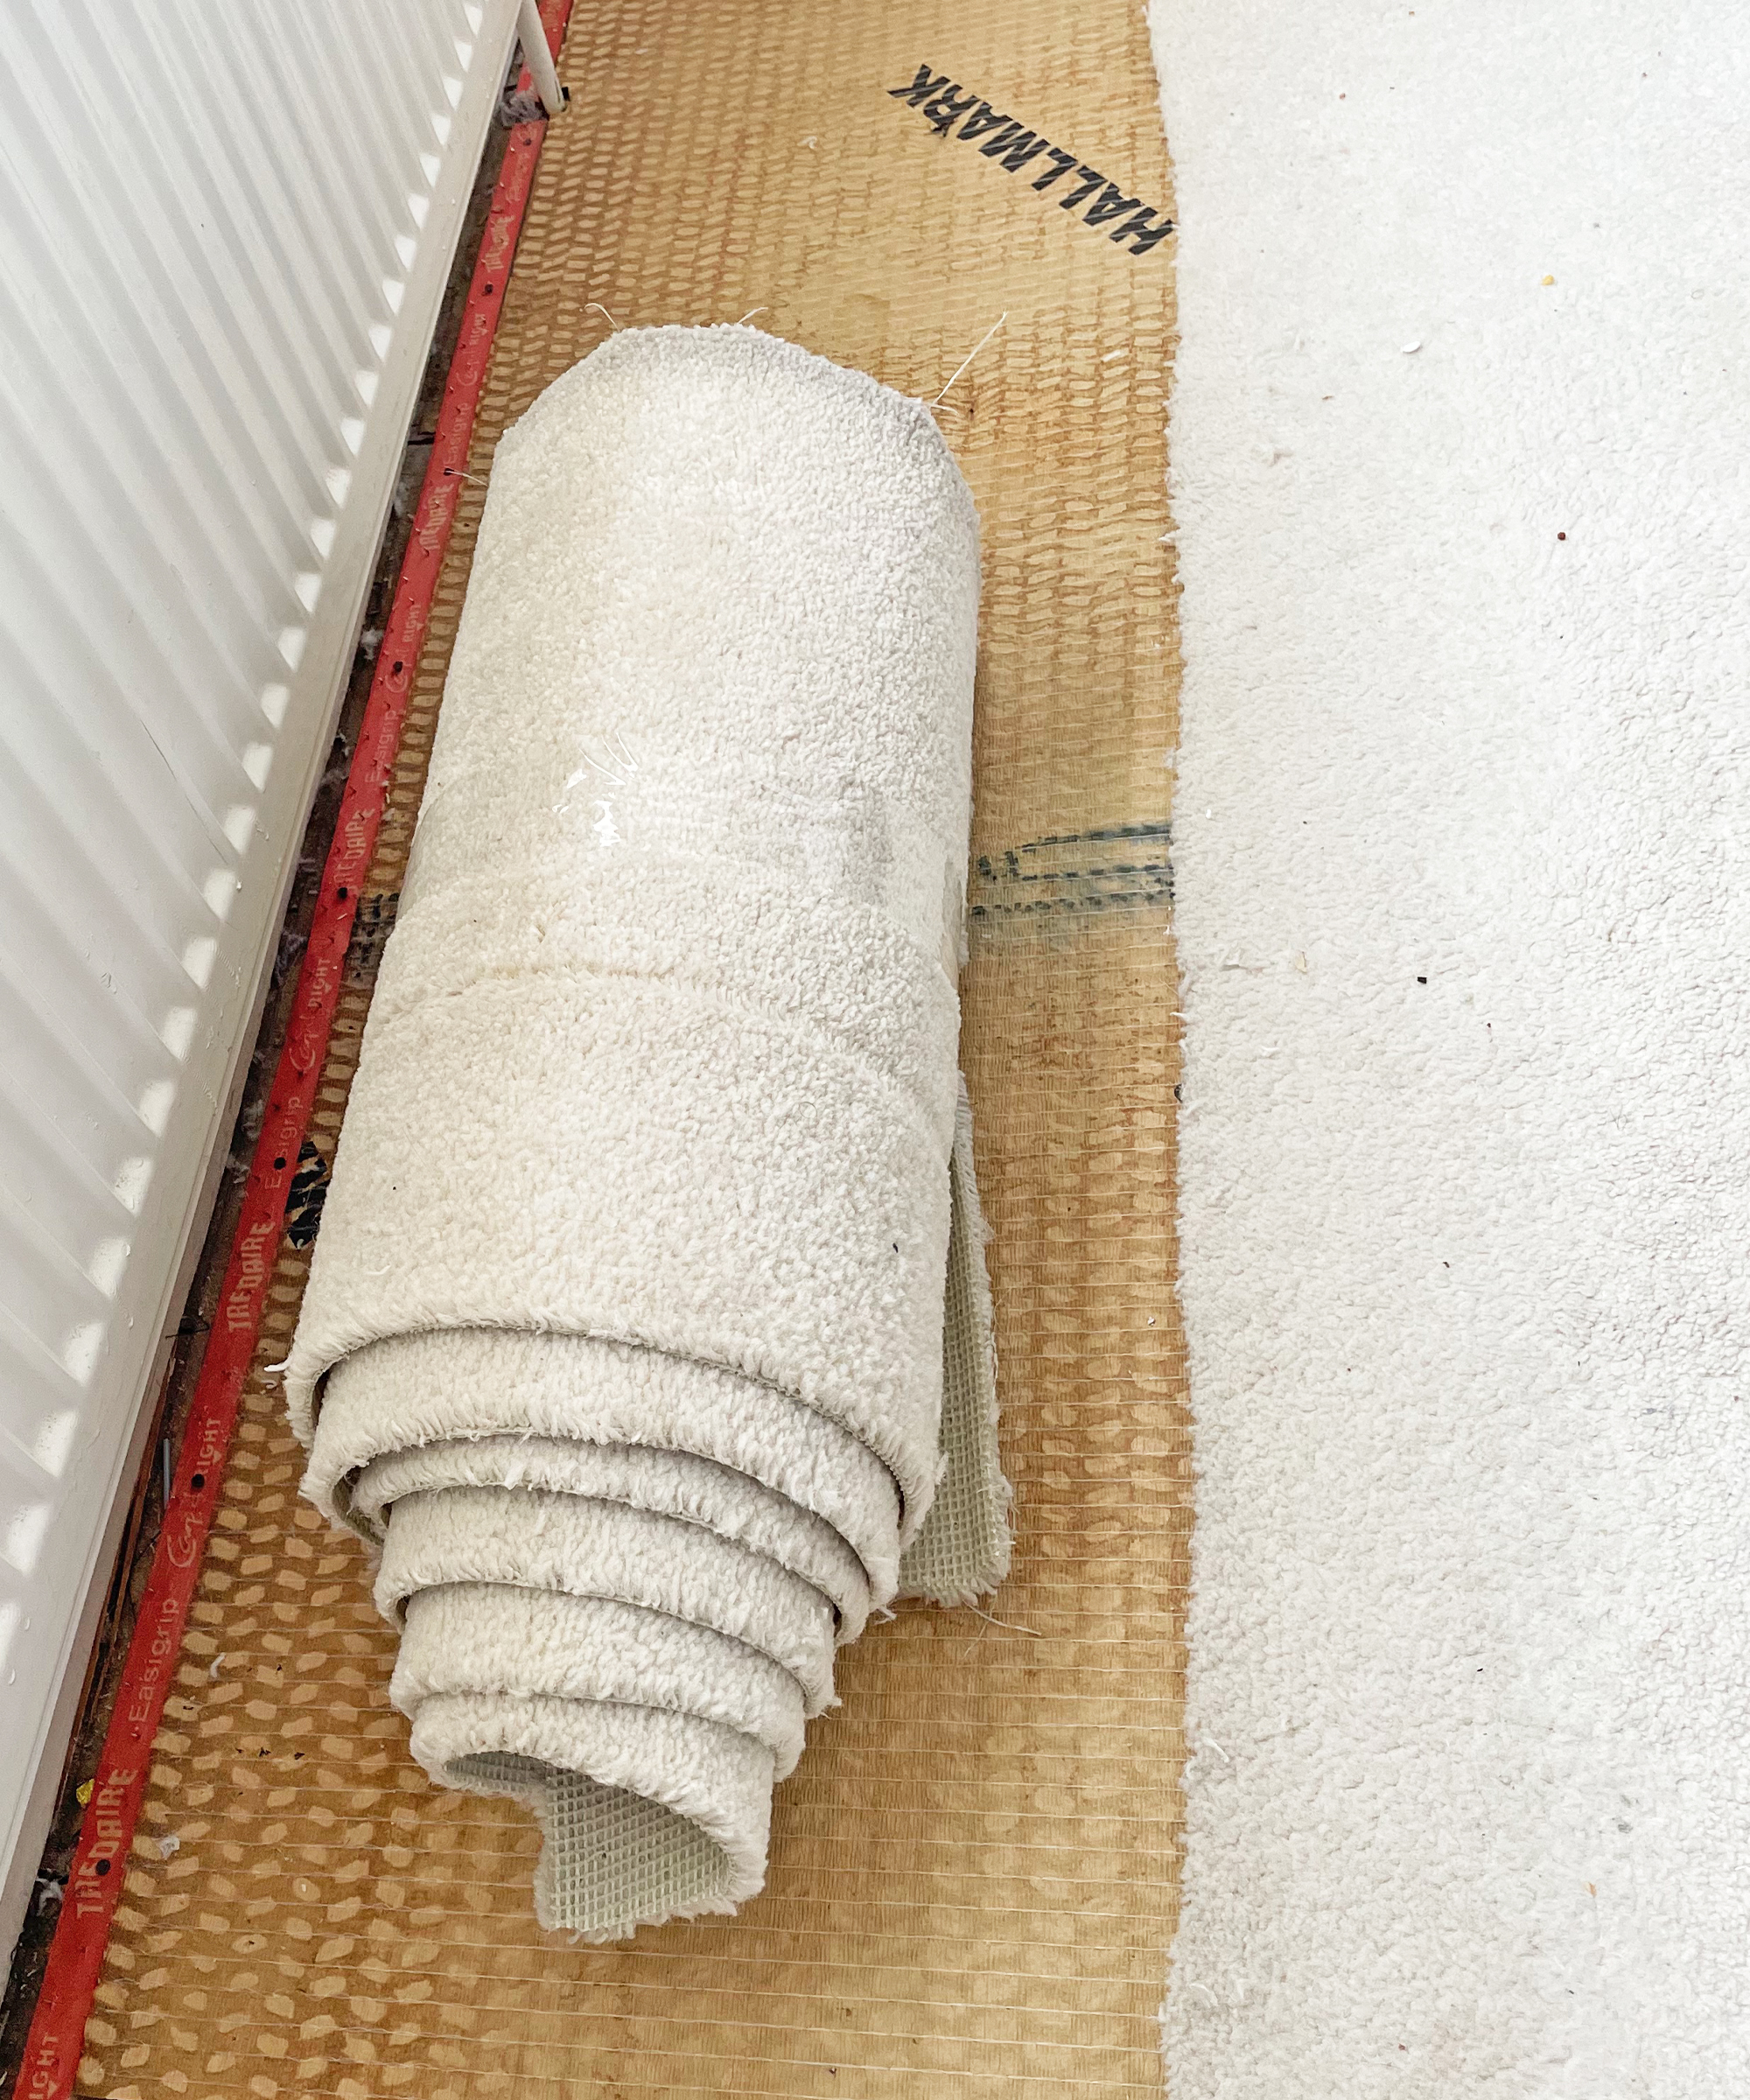
Once you have cut off the side strip, roll it up from the short end and secure it with a piece of strong tape such as duct tape.
The shape and size of the room will dictate how many strips you should cut the carpet into. You want the strips to be easily manageable once rolled up, so three to five is a good guide, but go with how many you are happy working with.
Continue the above steps until all the carpet has been removed, rolled, and taped into bundles.
What next?
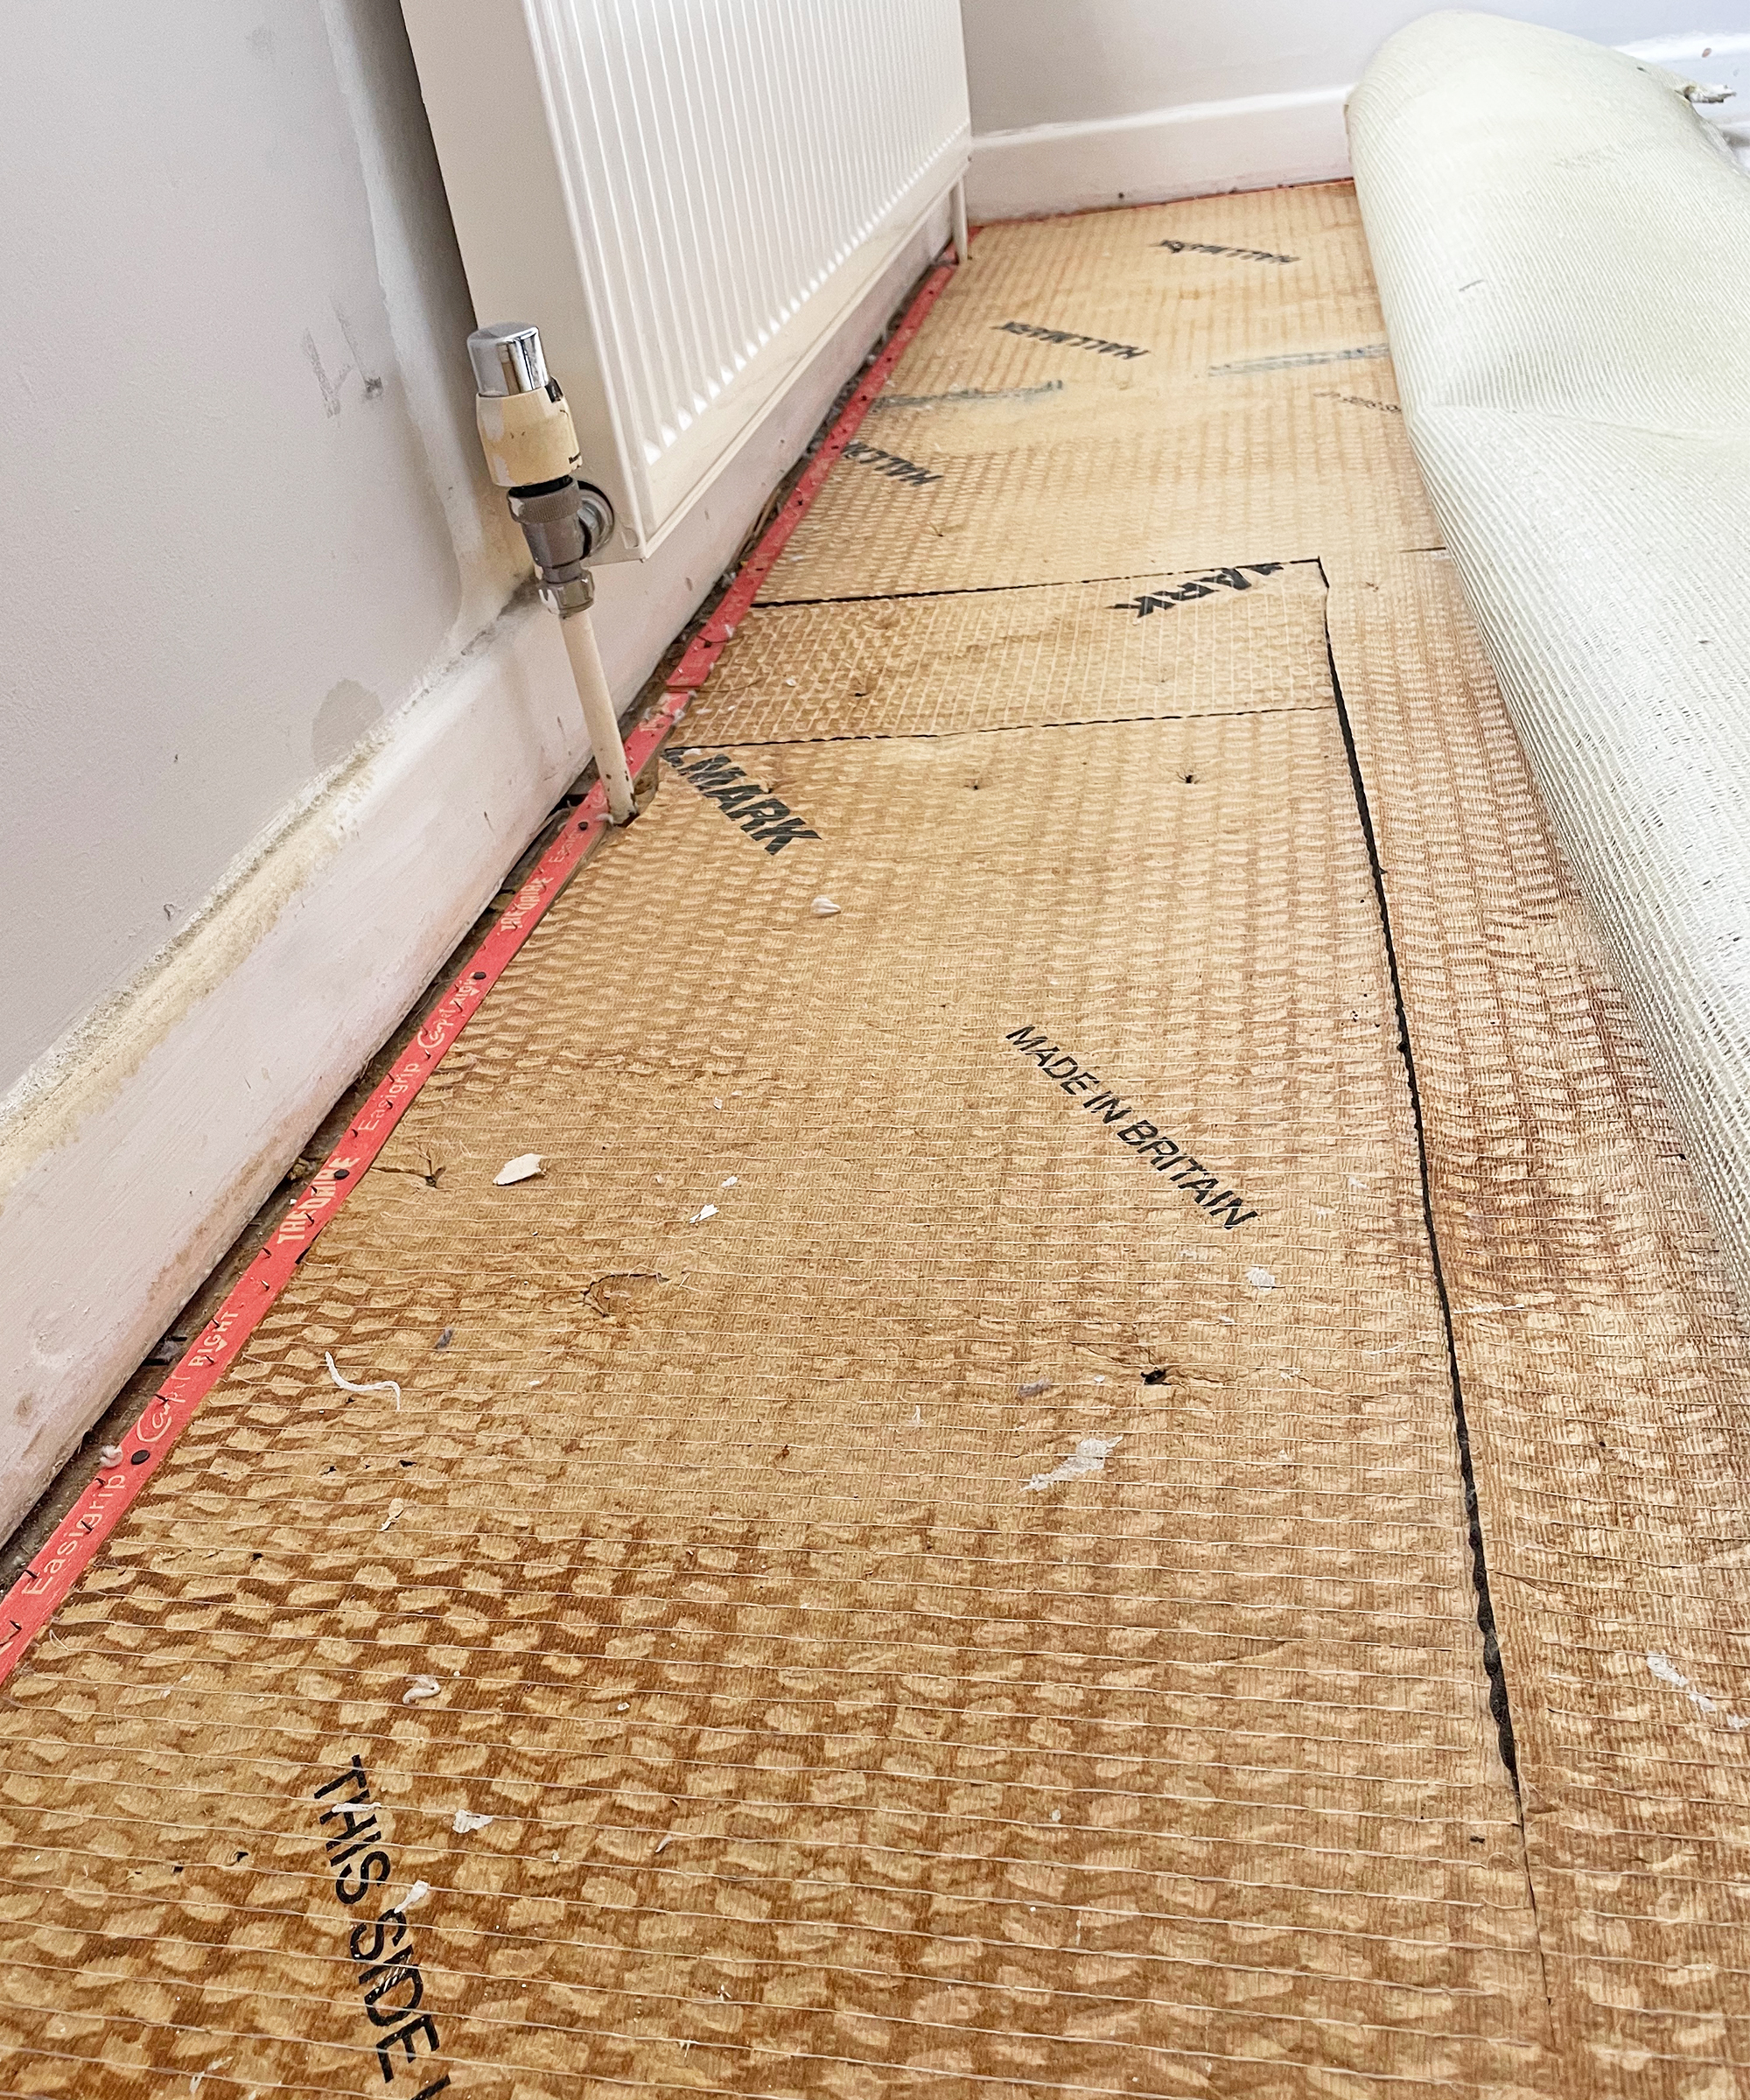
If you are replacing the carpet, you should leave the underlay (if in good condition) and any gripper rods in place. The cost of installing carpet isn't super expensive, but reusing existing materials can save money and installation time.
If you have other plans – perhaps because you know there to be some gorgeous floor boards underneath which are prime for displaying, or maybe because you are planning to lay some floor tiles or vinyl instead – you will need to remove them both, here’s how…
How to remove carpet underlay
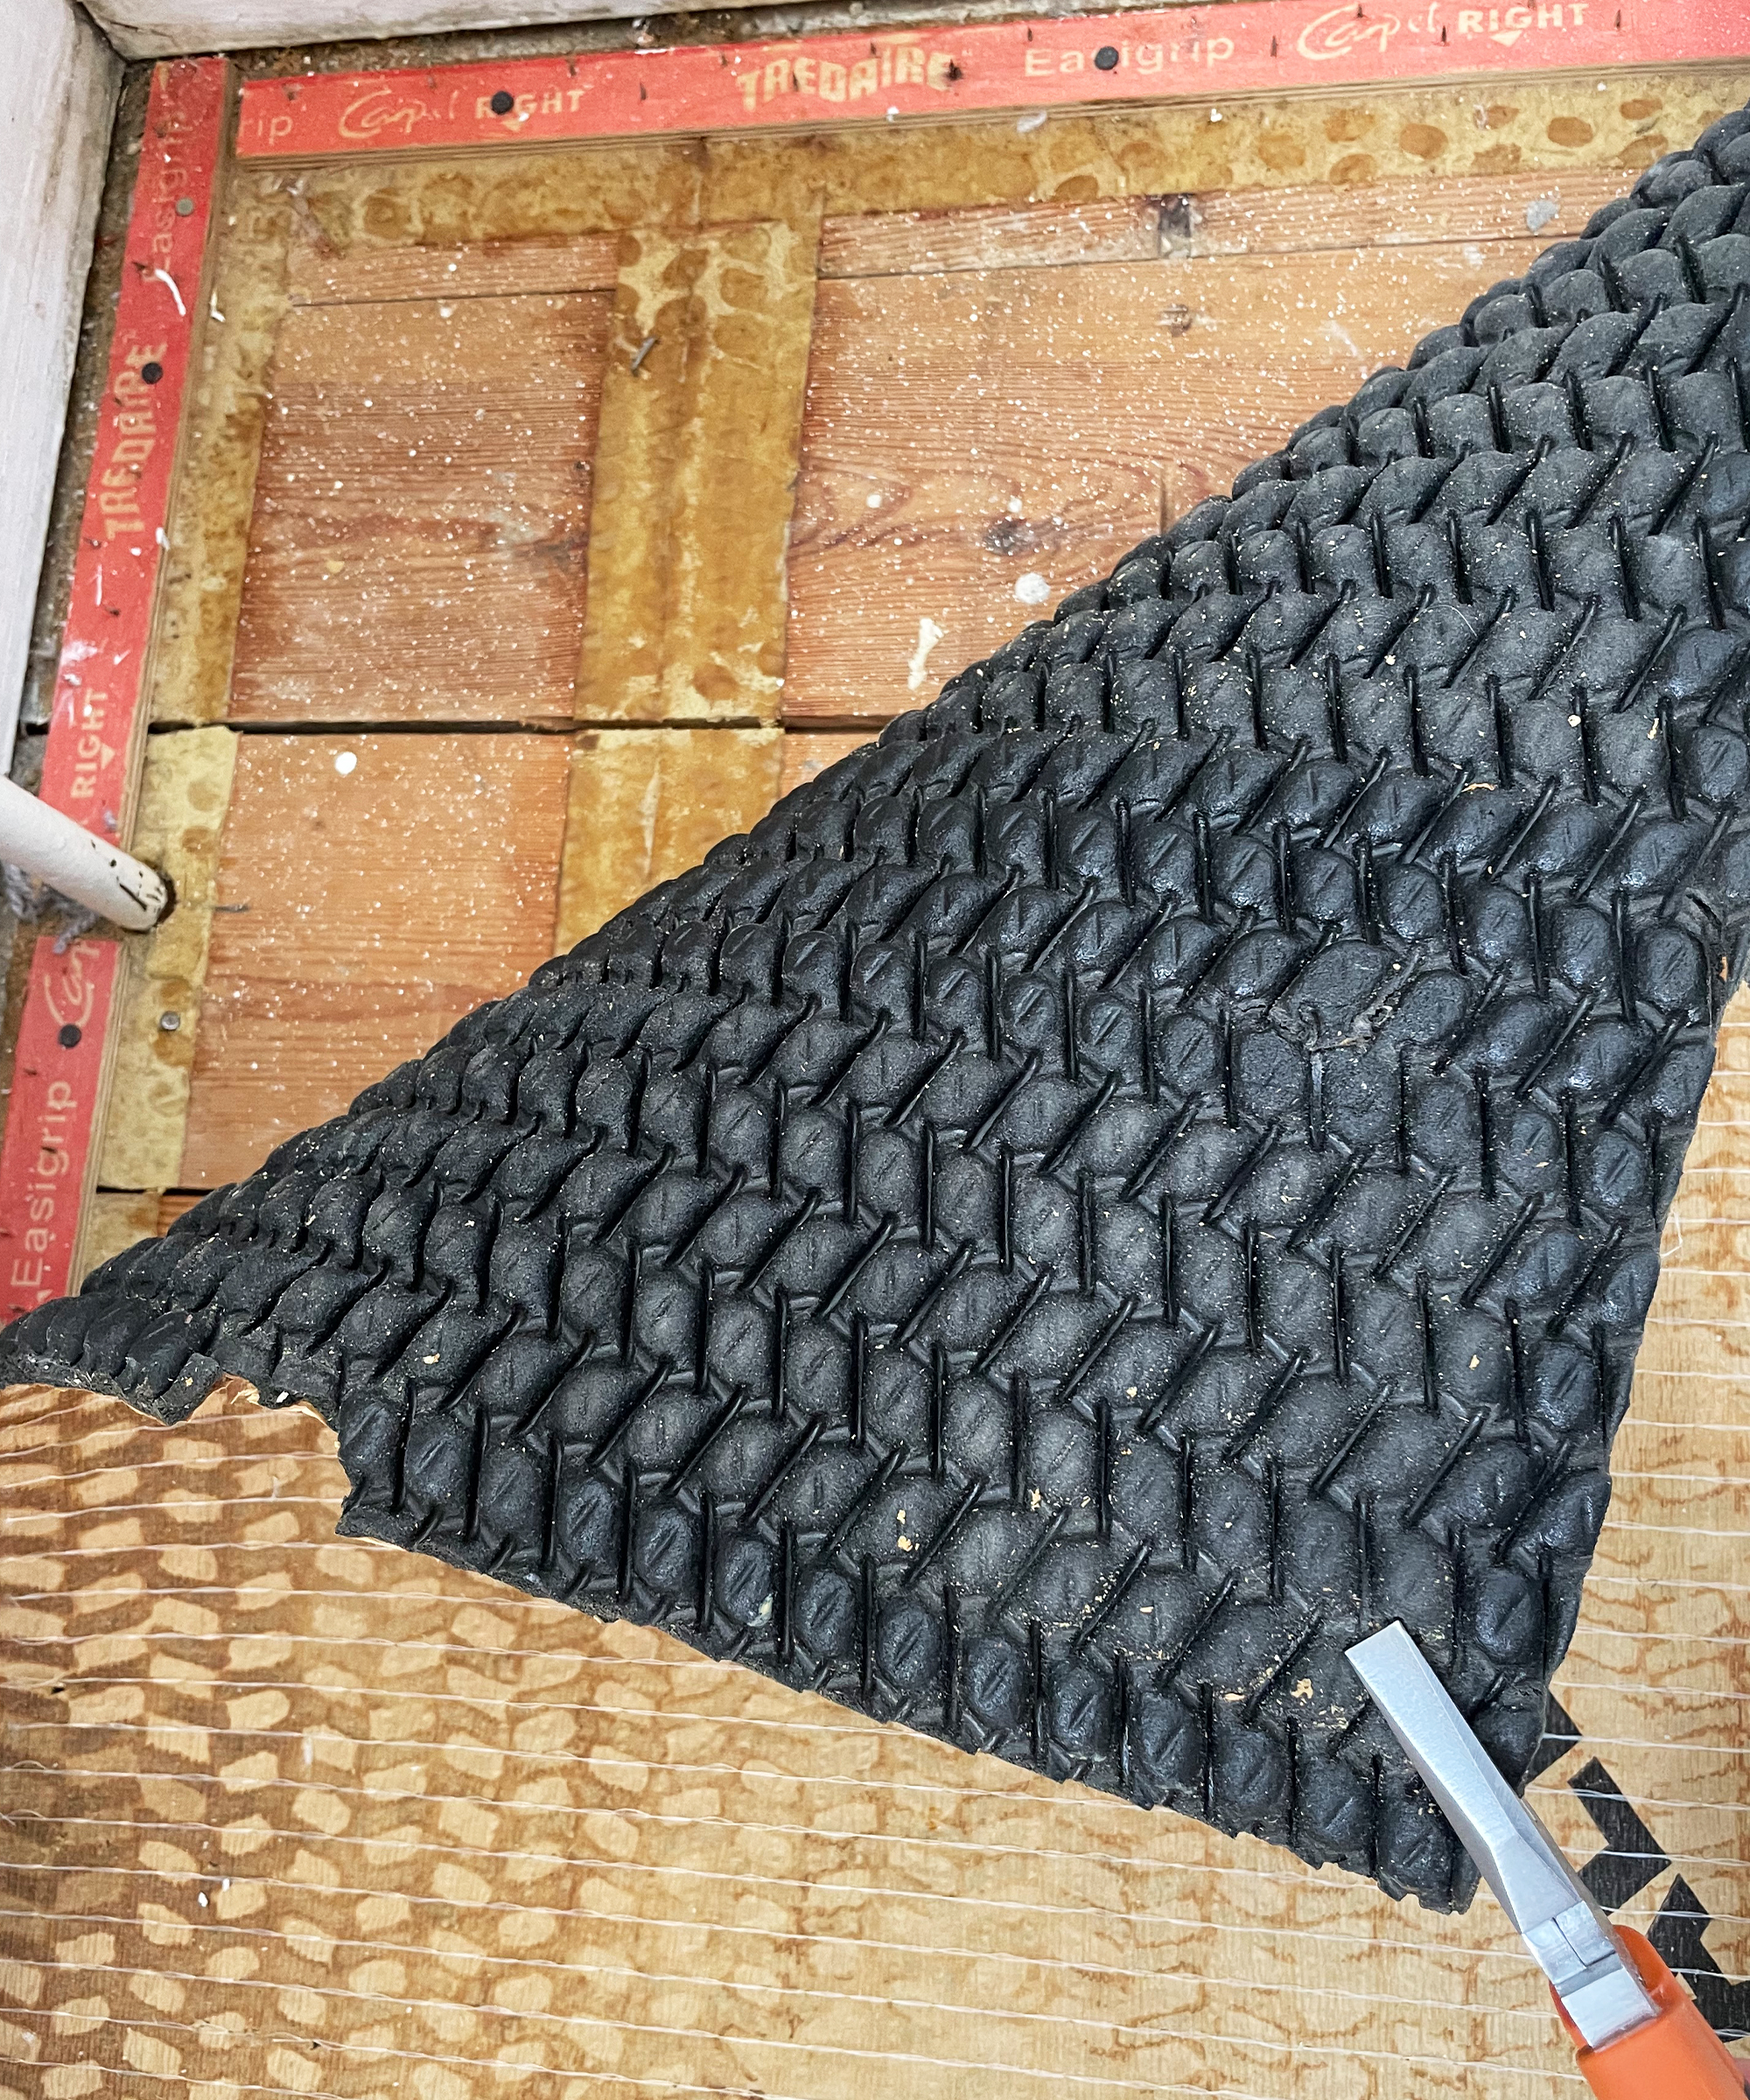
Carpet underlay or padding is usually soft and flimsy which makes it much easier to remove than carpet. If the underlay has been stapled down, the staples are likely to be around the edges and the pieces should be easily removed by pulling from the corner in the same way as before. Take care to wear gloves as the staples can get stuck in your hands.
As the underlay is thinner and more flexible than carpet it is easier to handle larger rolls, or you can opt to fold the rolls in half and tape them up. Once all the underlay has been taken up you will need to remove any staples which are stuck in the floor. This might seem like a lot of work, but if you are leaving the boards exposed the staples will be unsightly and could cause foot injuries if they aren’t completely flat to the floor. If you are installing a thin new flooring like vinyl, you really need to remove all the staples as they will show through as the floor is used and could even cause holes to form.
If the underlay has been taped or glued down then you will need to remove it the same way (by lifting a corner and pulling along the edge) but you will also need to remove any adhesive or patches of underlay which remain glued to the subfloor. This can usually be scraped off, but you might need to use cleaning fluid to remove any stubborn bits.
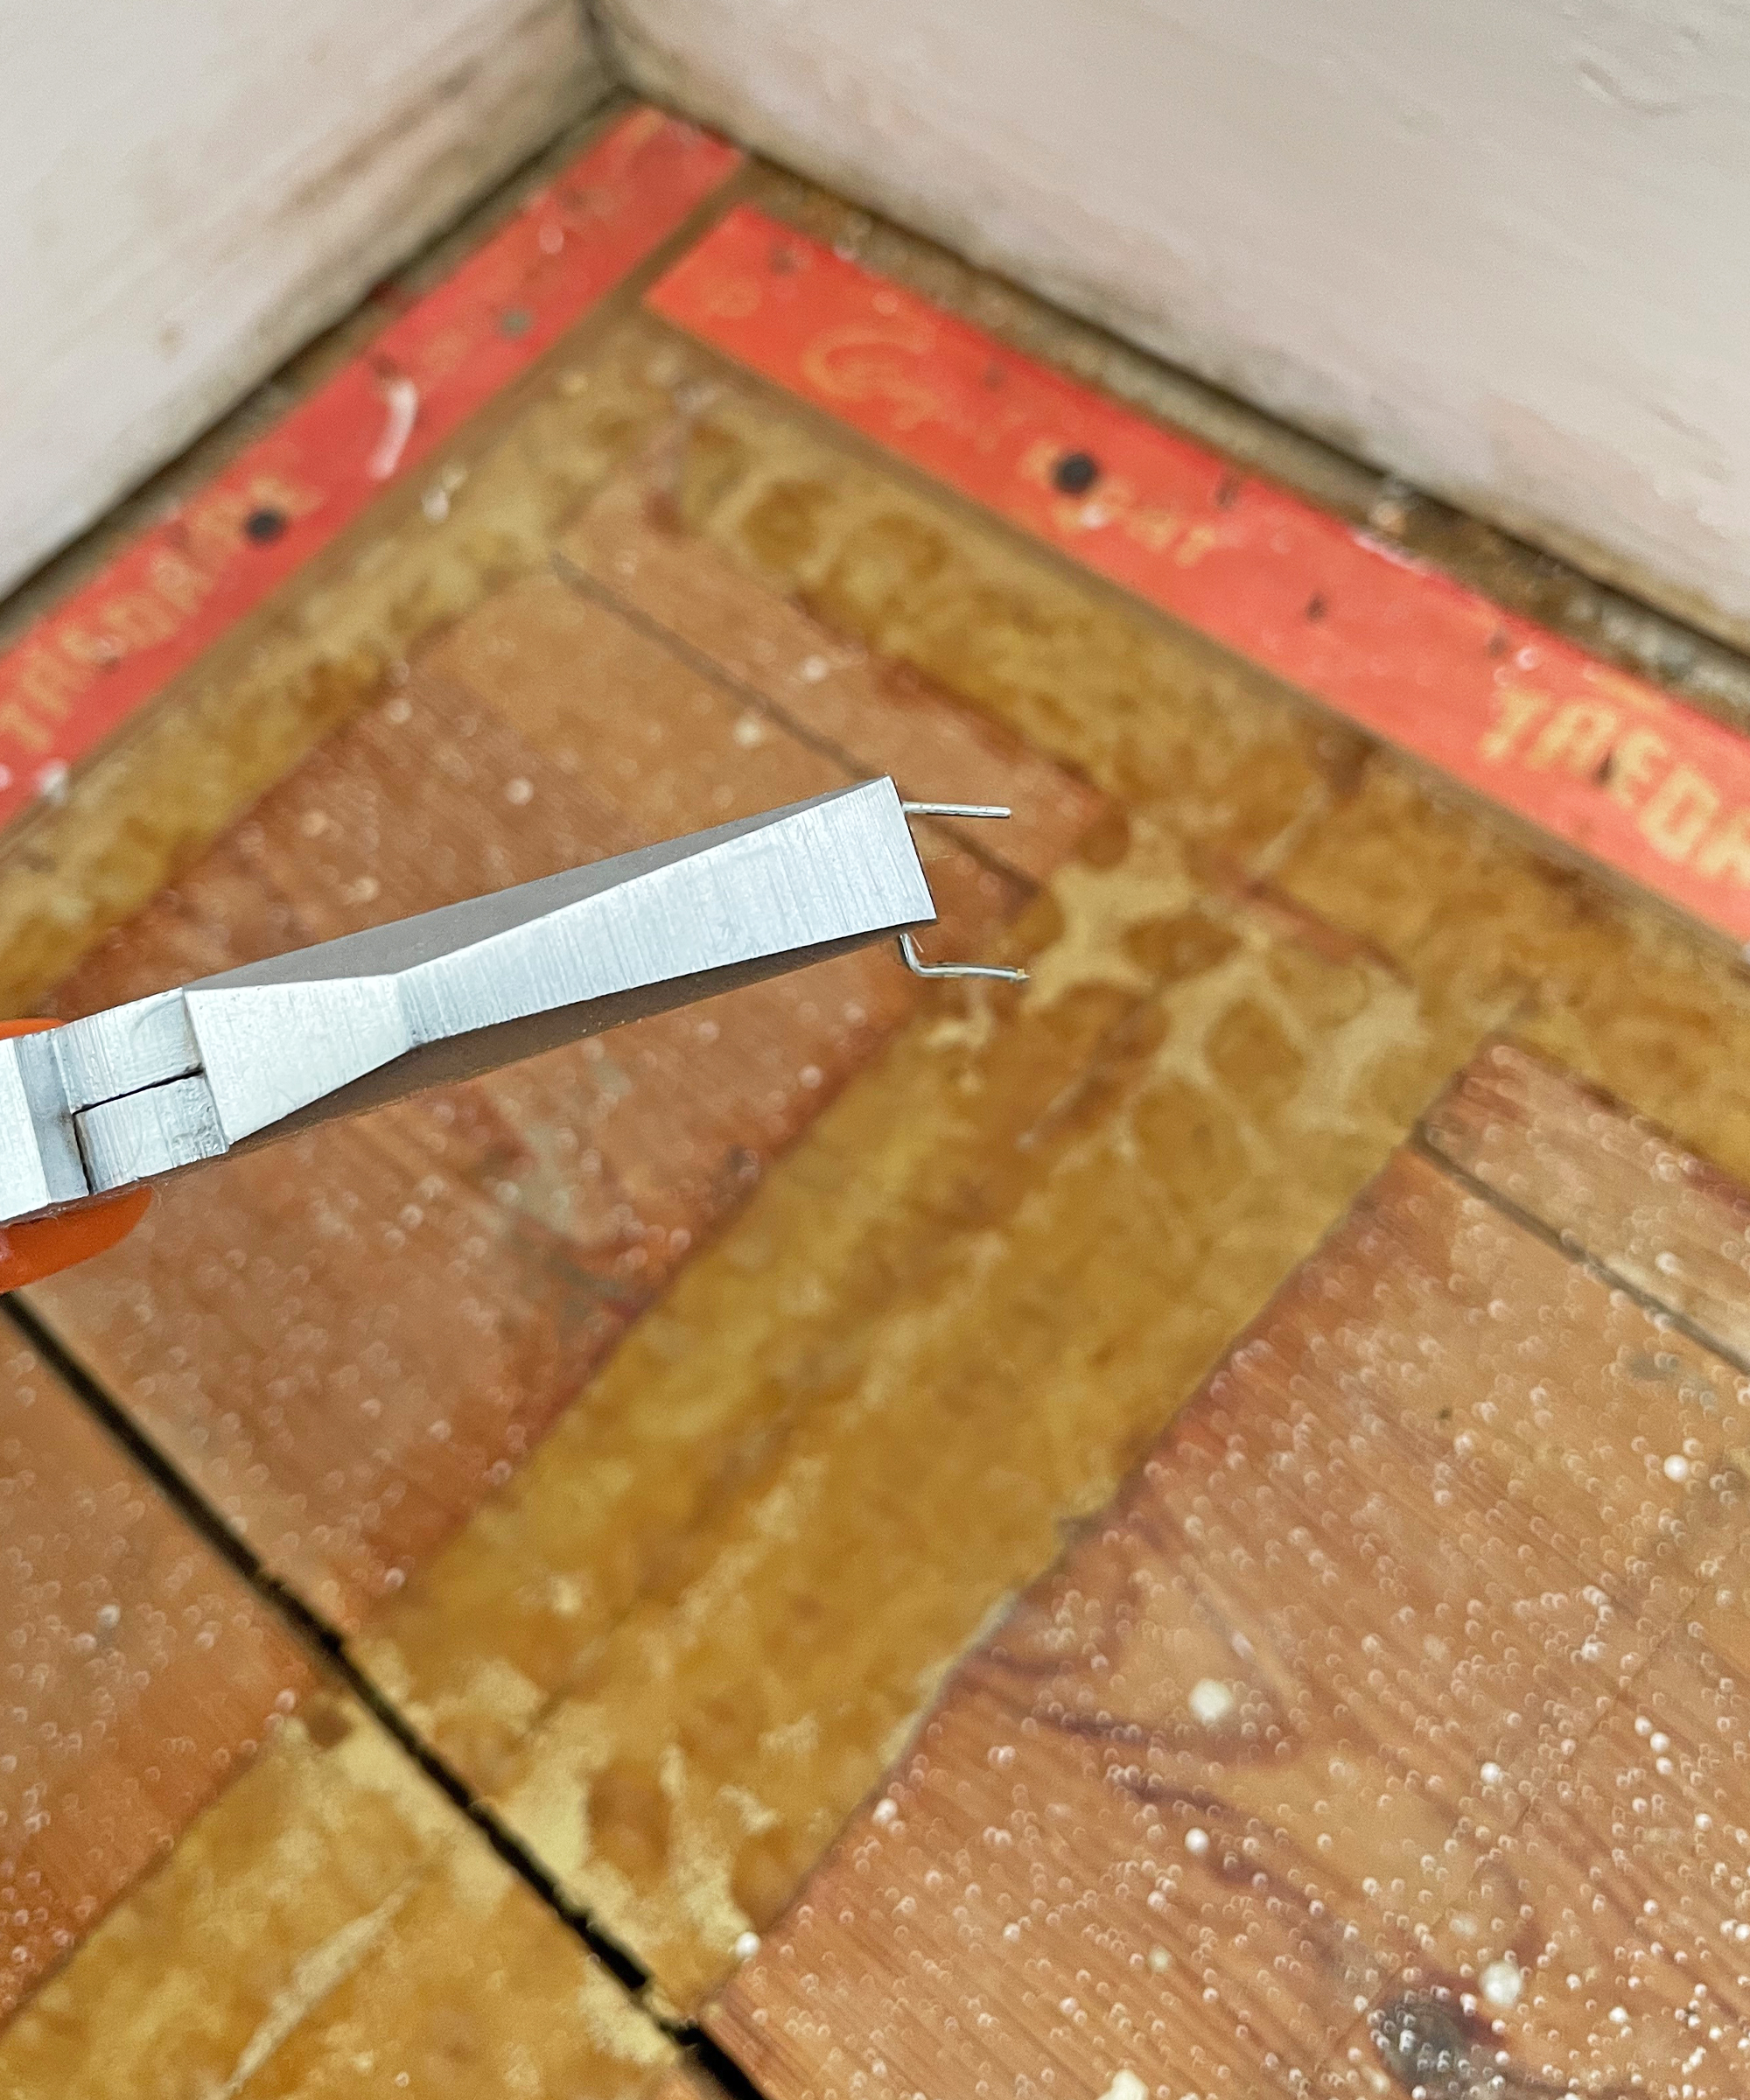
How to remove carpet gripper rods
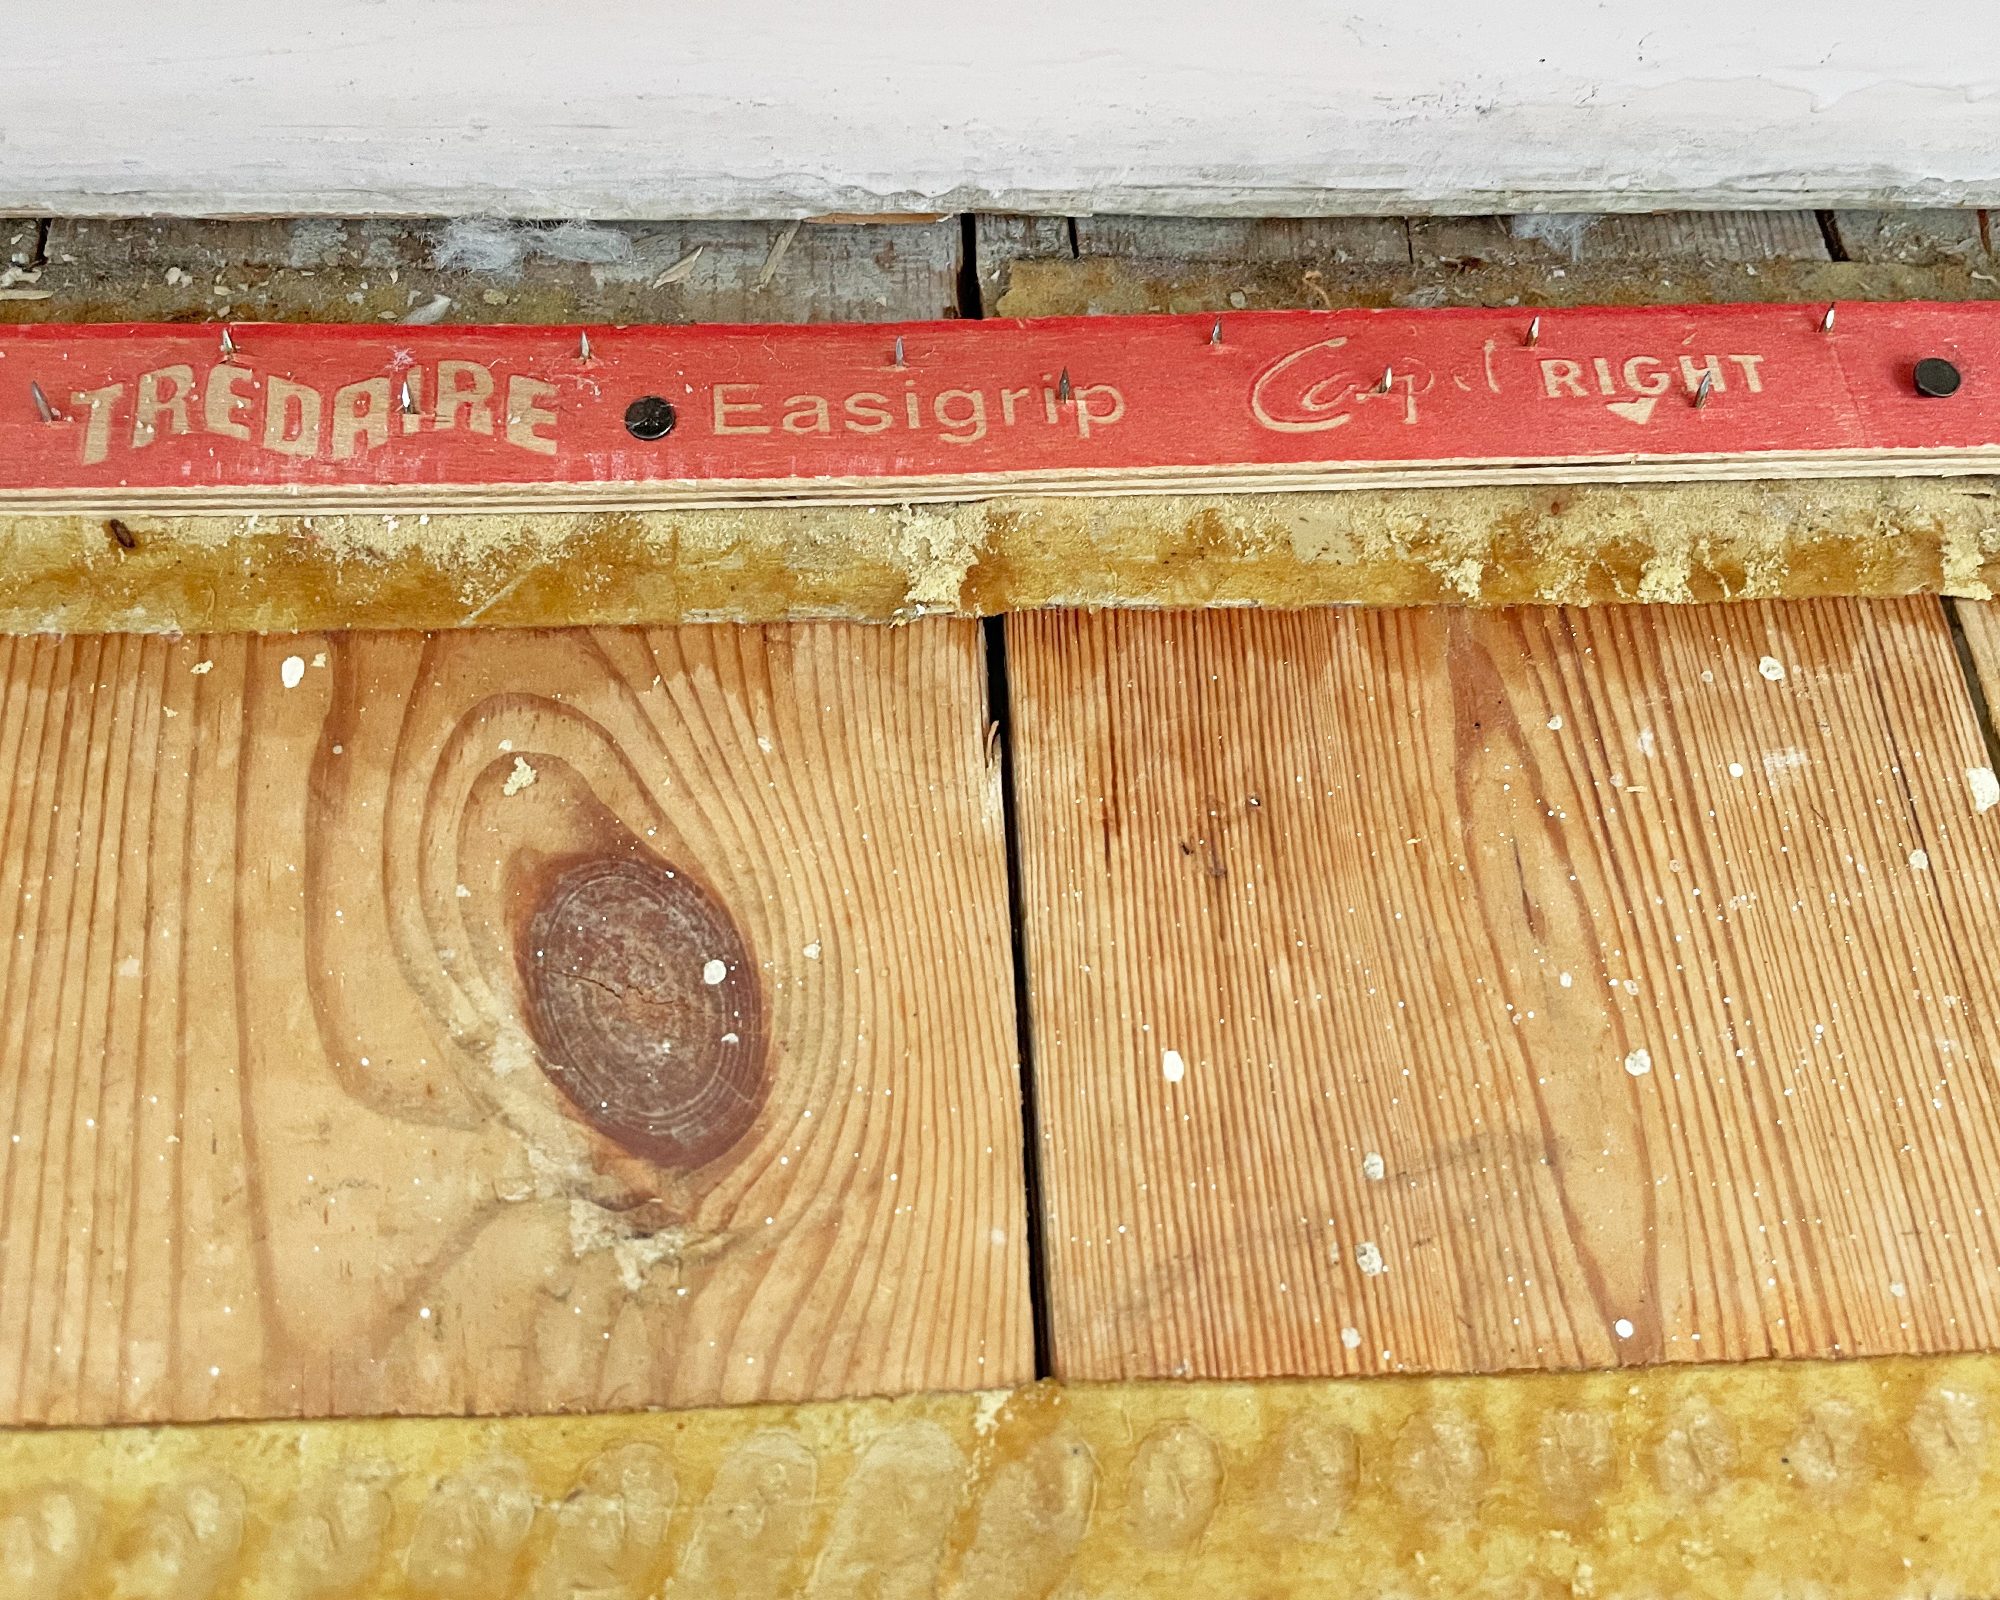
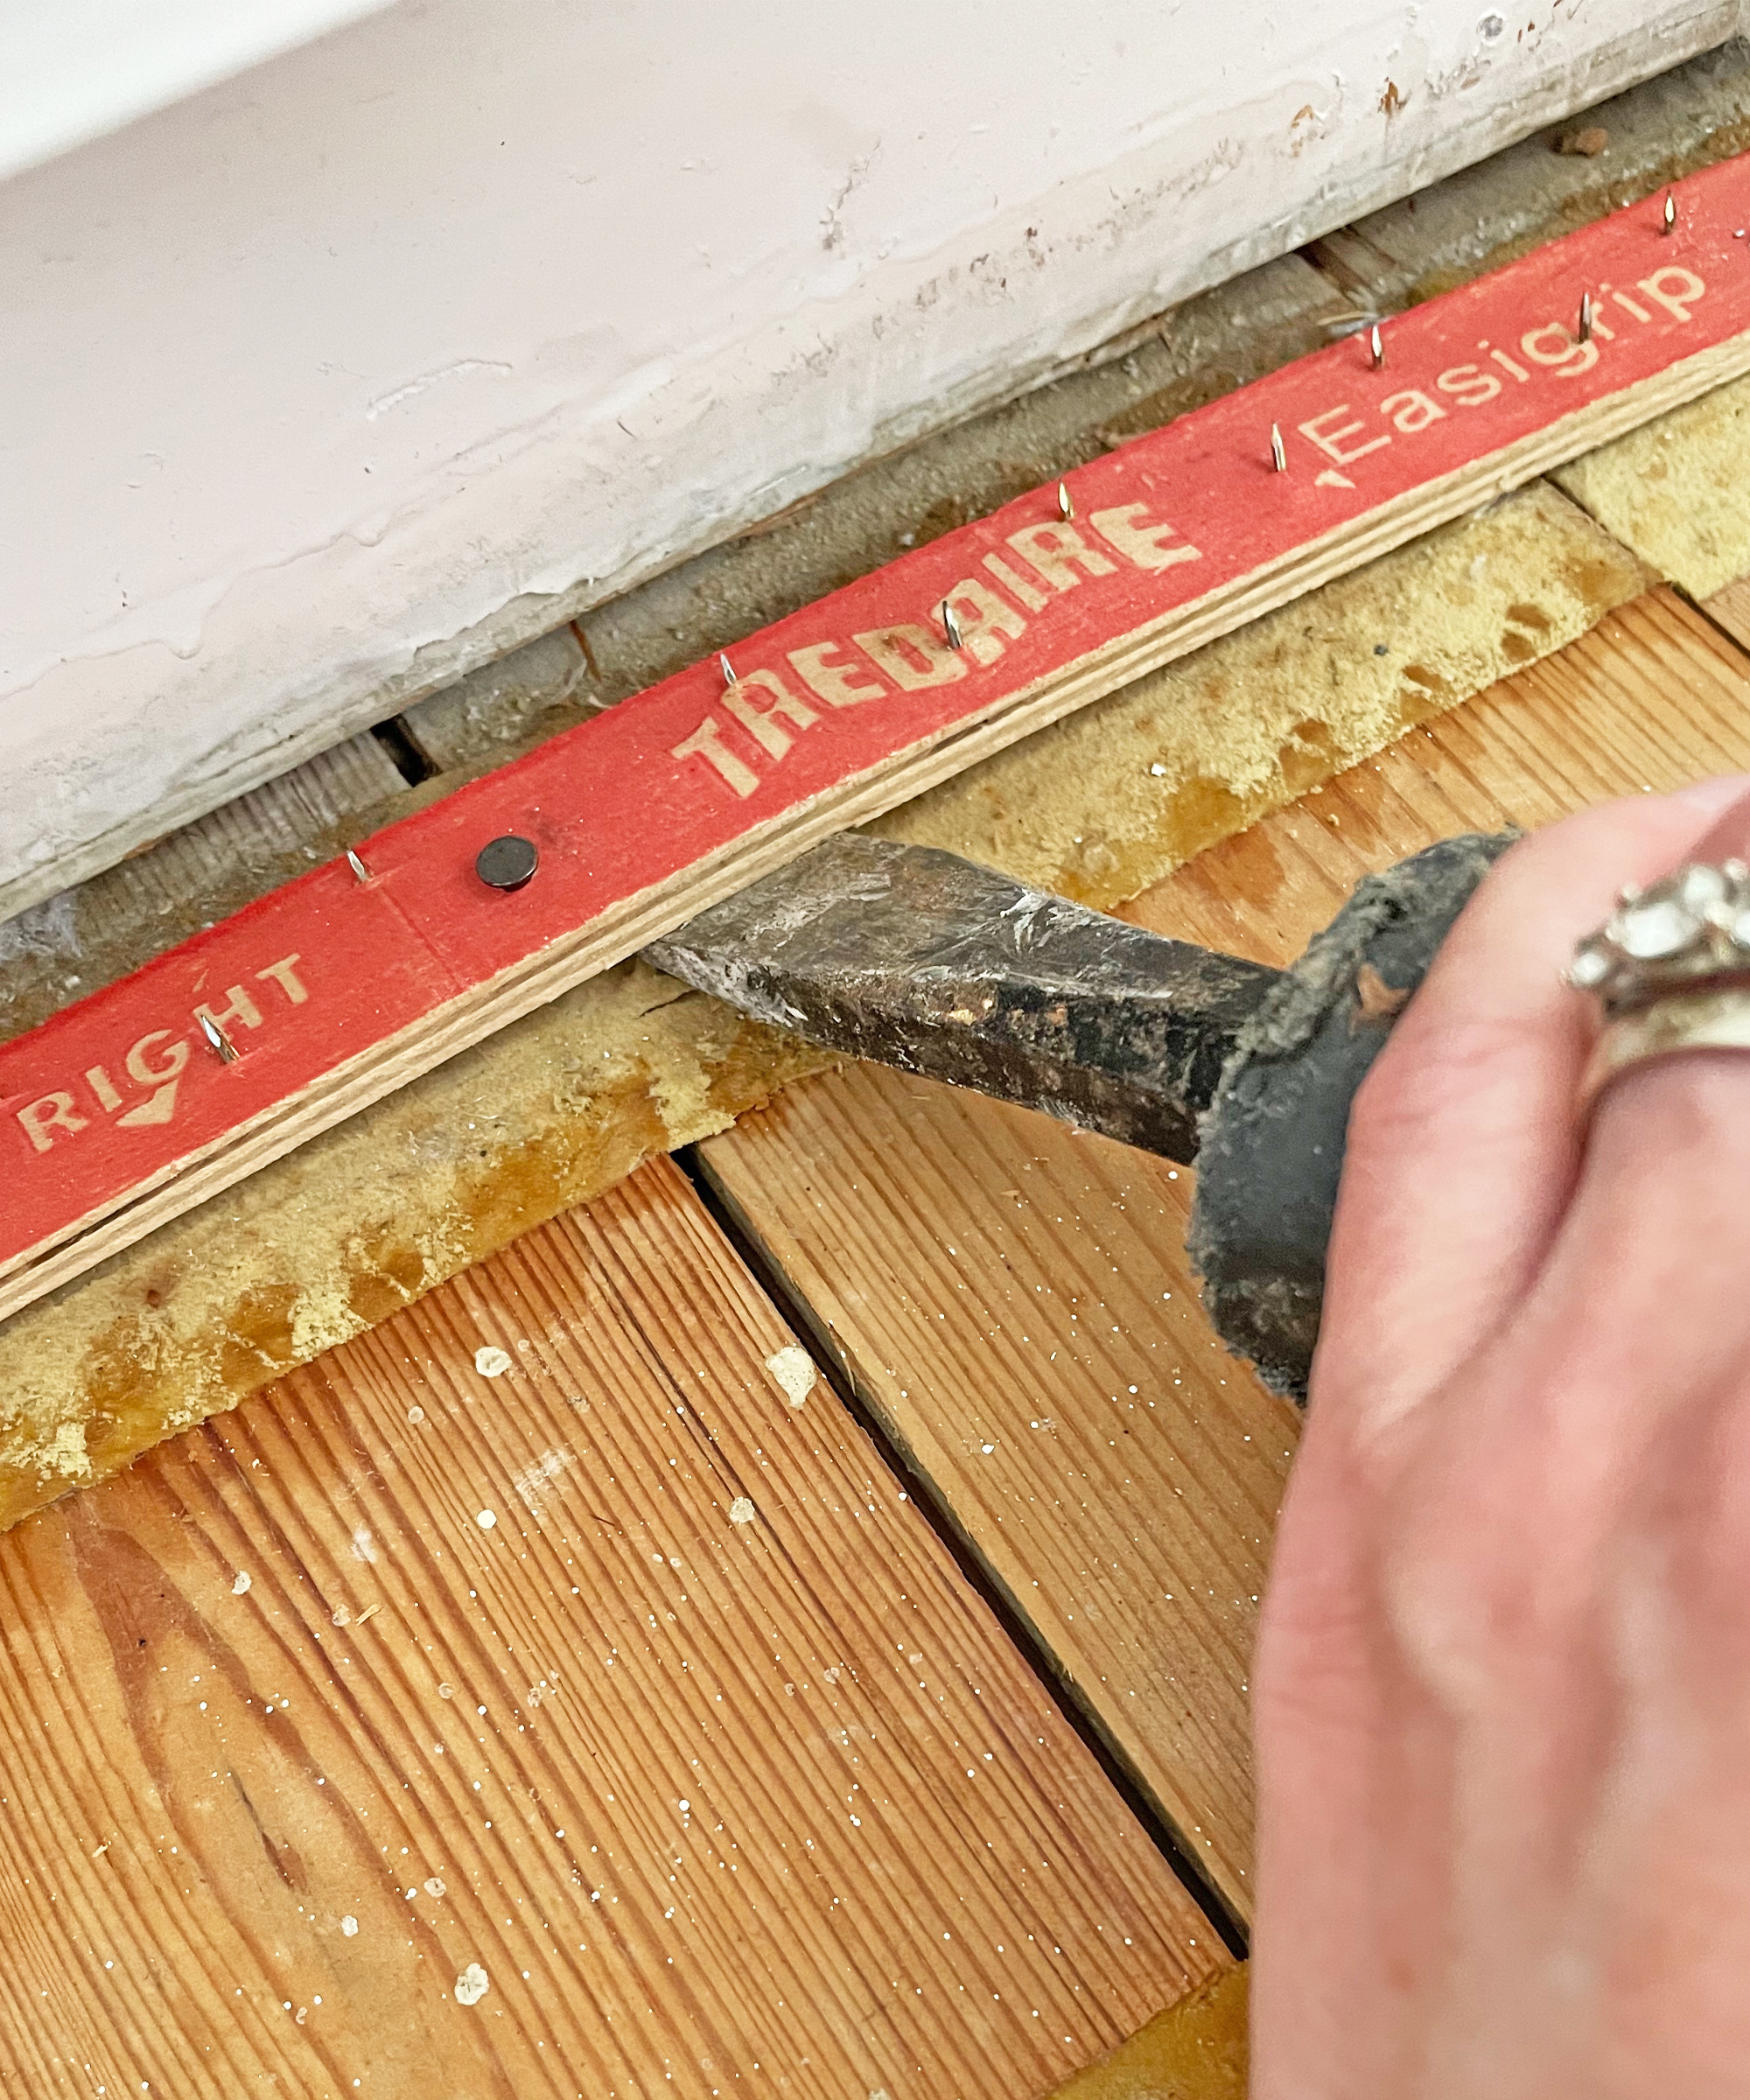
These can be lethal, so take care not to touch the sharp bits during the removal process. Use any tool you have that can hook under the gripper rods, a crow bar is ideal, but the claw part of a clawhammer, a chisel, or even a tack remover will work fine. Position your tool of choice close to the nails that secure the gripper rod into the floor as this will be most effective and will be less likely to cause the strip to split.
Note that if you are removing carpet from a concrete floor, adhesive may have been used to fix the gripper rods. Prise away with a hammer, but you may need a chisel to remove the globs of adhesive.
Uses for old carpet
Before you chuck your old carpet away, check if you can repurpose some or all of it with one of the following creative and waste-reducing ideas.
- Wrap around something to make a cat scratching post
- Lay in the garden for areas that need heavy weed control or use it to cover your compost heap
- Repurpose as a pond liner
- Cut into door mats
- Donate to an animal shelter, check if your local charities accept donations

I'm happiest when I have either a drill or paintbrush in my hand! I specialise in room transformations on a budget and love experimenting with different styles and techniques which I share on my Instagram. I believe that your imagination, not your budget, should be the limiting factor when transforming a room and I love thinking of creative ways to build custom and bespoke-looking furniture using flatpacks or upcycle finds.
I also love writing and my home improvement blog (ClaireDouglasStyling.co.uk) is my passion project where I share creative ideas for interior styling and DIY tips and tutorials.