How to make compost — 8 easy steps gardening pros always use
Trust us: learning how to make compost at home is so simple

Get small space home decor ideas, celeb inspiration, DIY tips and more, straight to your inbox!
You are now subscribed
Your newsletter sign-up was successful
Knowing how to make compost is a must for every keen gardener. Not only is it a brilliant fertilizer, but you can use it to protect your favorite plants.
We've asked gardening experts how you can make you own, with all the ingredients and equipment you'll need to make nutritious compost. It's so easy to do and your plants will be so much healthier for it.
If you're looking for backyard ideas and want to make your blooms look as beautiful as possible, learning how to create compost is a great place to start.
Pro tips on how to make compost
Whether you're looking for gardening ideas for indoors or outdoors, creating your own compost will help your plants thrive and is a budget-friendly backyard idea, too.
Our experts have recommended buys throughout to help you do this, which we have rounded up wherever possible.
The prices below were correct at the time of publishing this article.
1. Gather organic materials
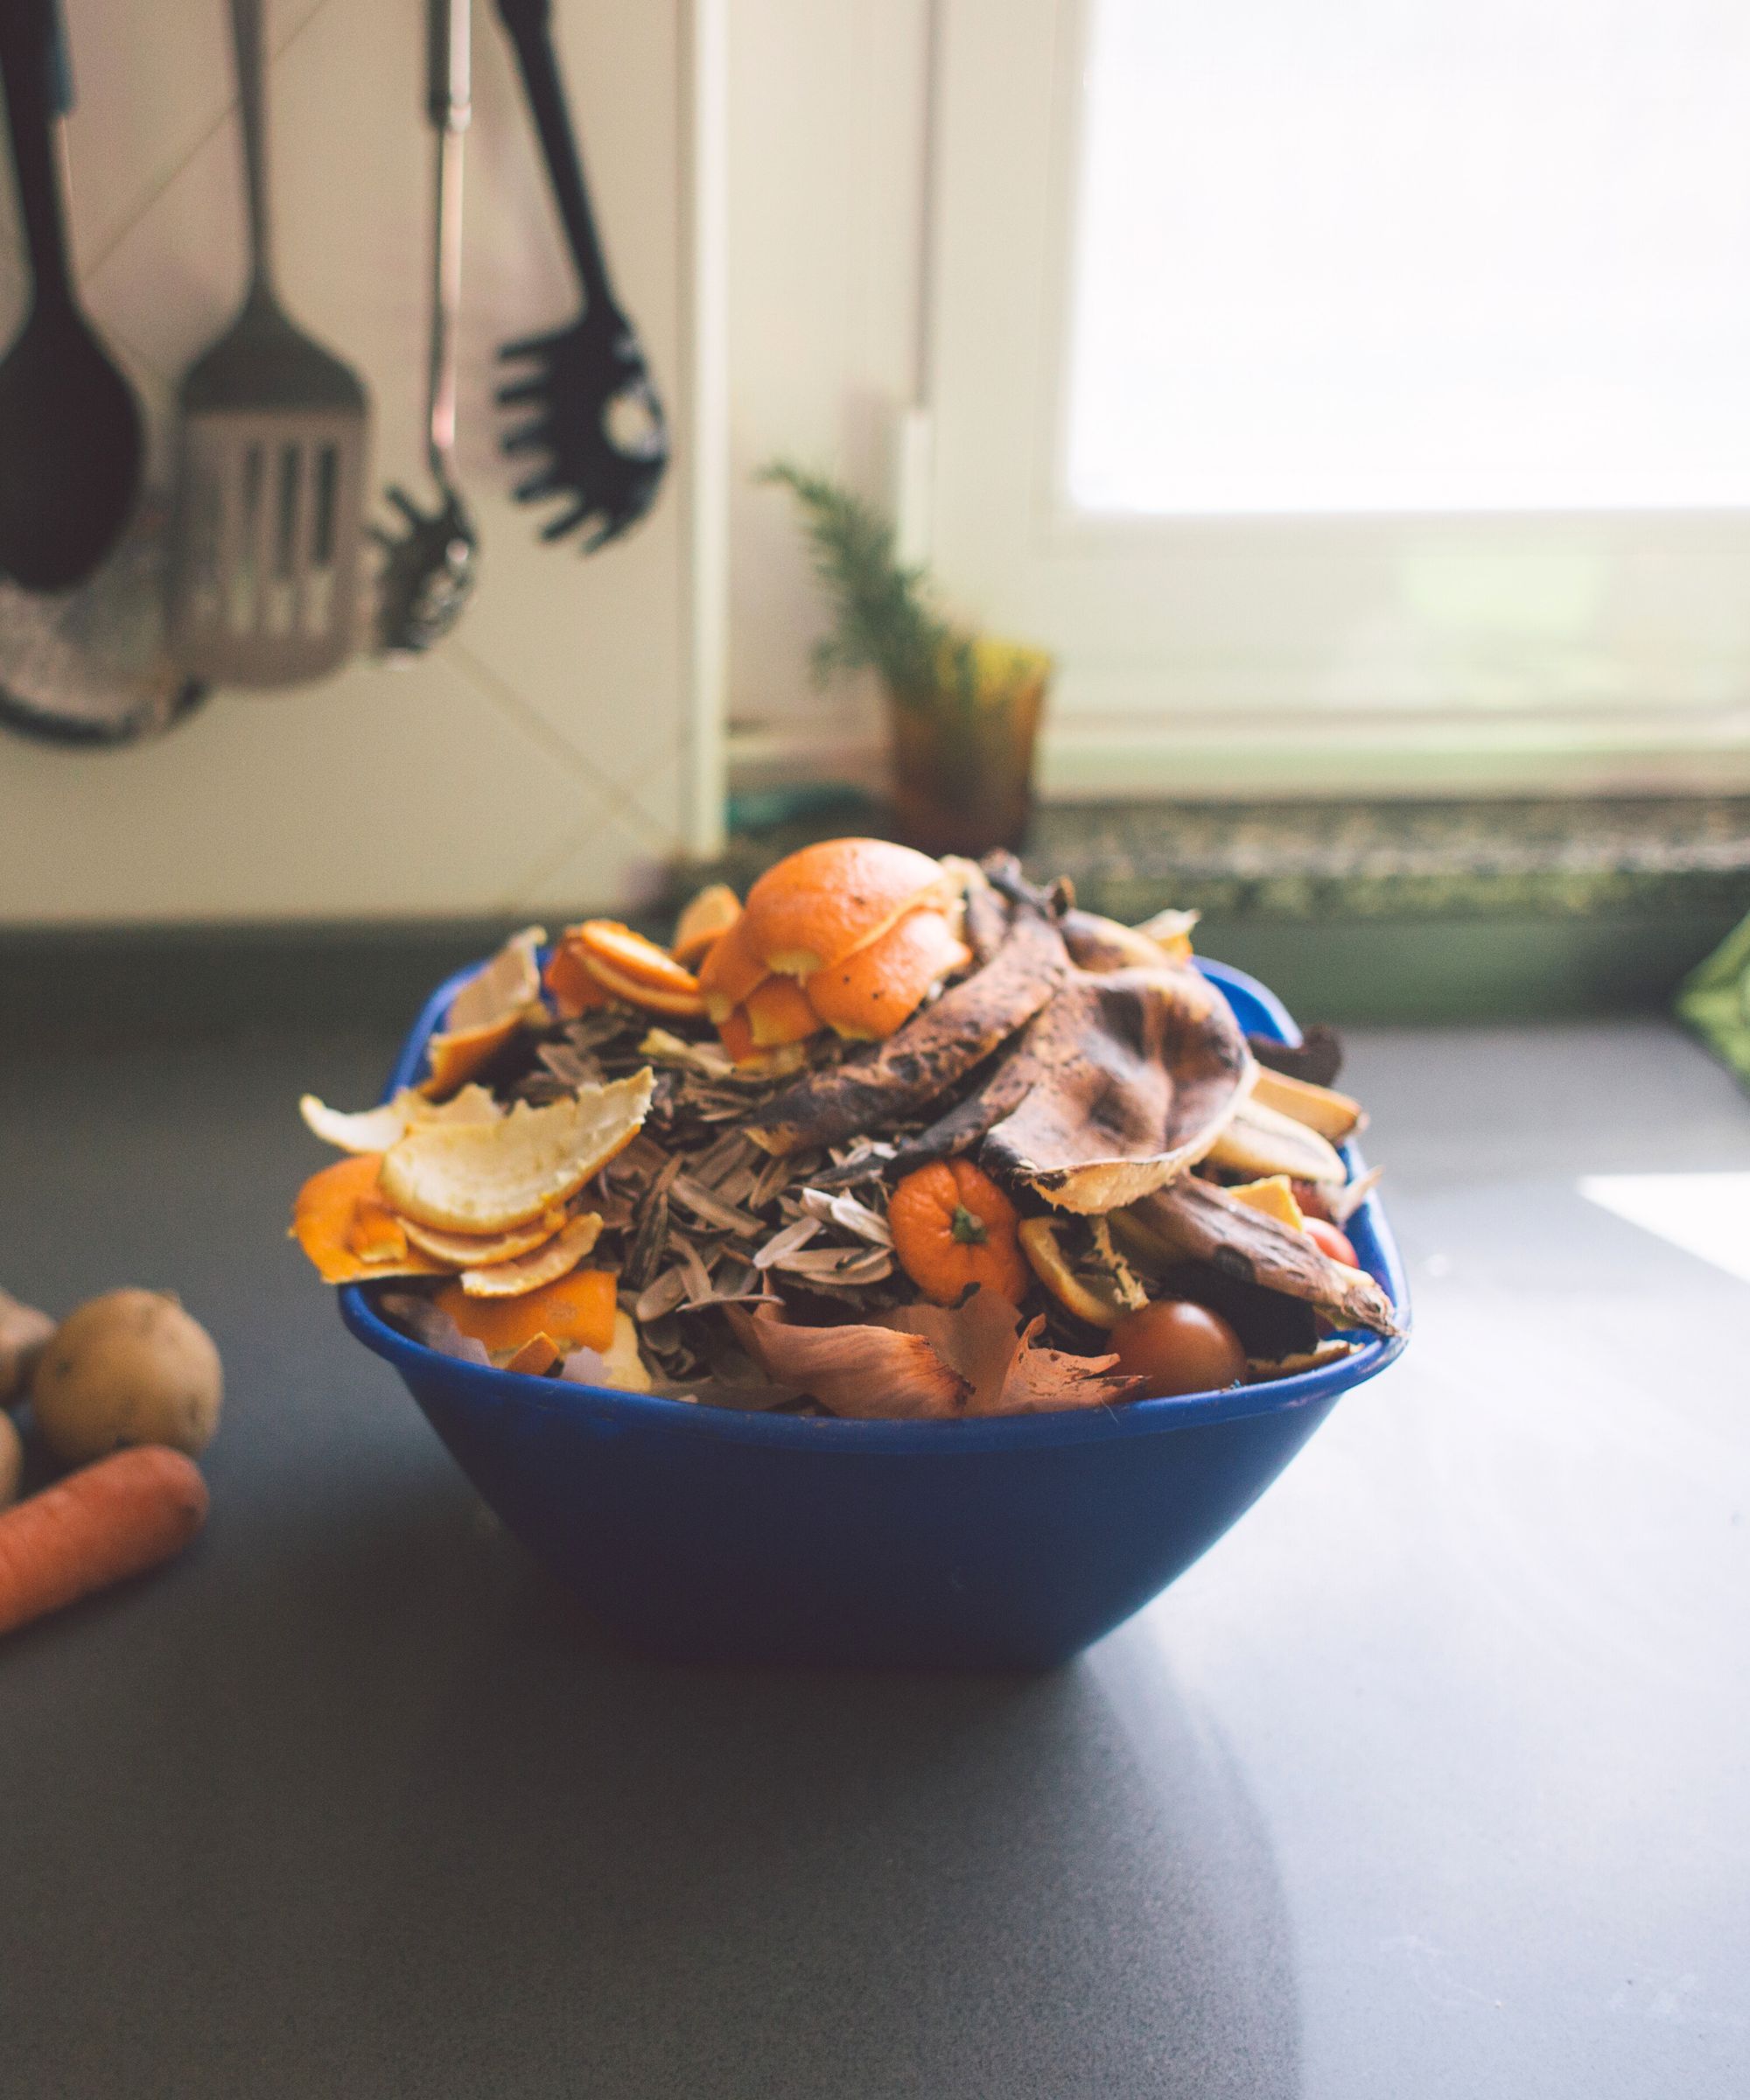
Instead of throwing your scraps in your best kitchen bins, keep them aside for making compost.
Get small space home decor ideas, celeb inspiration, DIY tips and more, straight to your inbox!
“Collect a variety of organic materials like food scraps, grass clippings, and leaves,” says Dan Bailey, president of WikiLawn Austin Lawn Care.
He adds, “You need nitrogen-rich materials, which are found in coffee grounds, fruit cores, peelings, and egg shells.”
Think of these the same as collecting vegetable peels for stock — they’re things you might not consume, but are still full of vitamins and minerals.
2. Be mindful of acidity

If you're trying to make compost for specific plants, you may need to control the acidity of the final product.
“For plants that like acidic soil, like berries and tomatoes, you should go heavy on coffee grounds and orange peels, or even put these things directly into the soil around these plants,” says Ryan Farley, CEO of LawnStarter.
For alkaline composts, he suggests adding lime. Flowers like lily of the valley and lavender (you can grow these from scratch with these Ferry-Morse Lavender Seeds from Walmart) both thrive from these.
3. Add carbon-rich materials
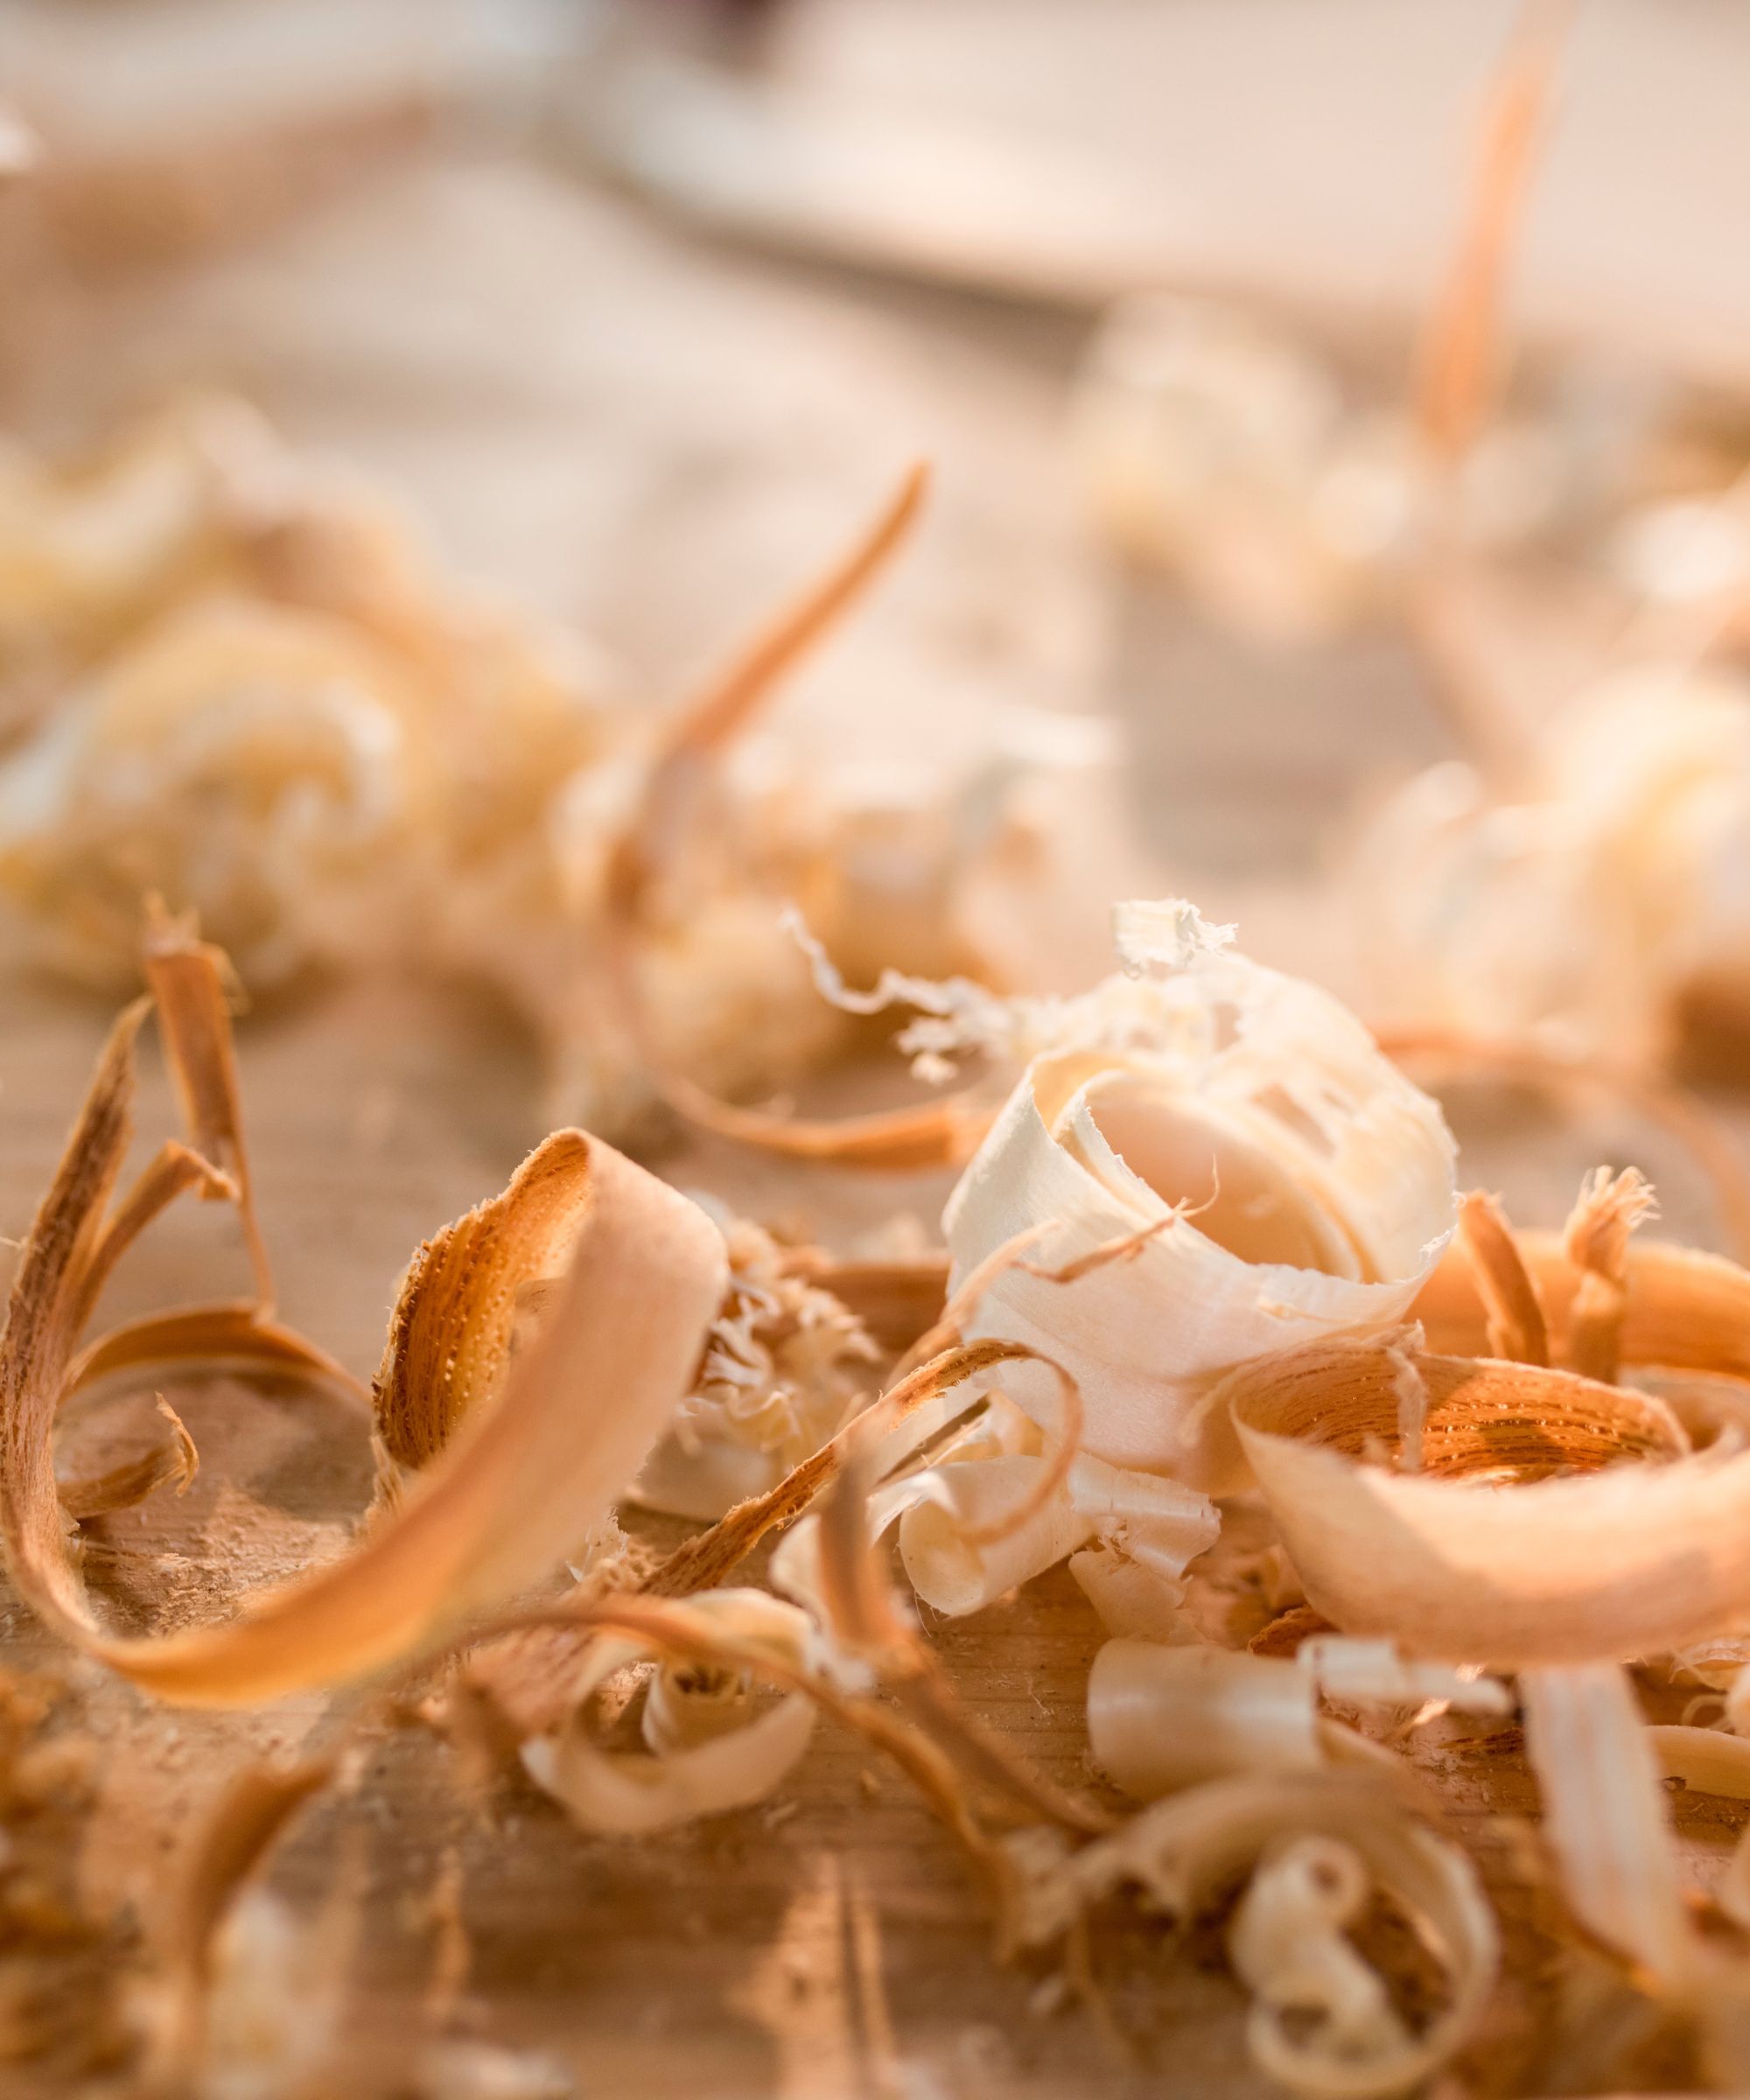
There are other natural materials you need to bring in, if you want to create the most nutrient-rich compost possible.
Dan continues, “Add carbon-rich material to your pile, with pieces such as cornstalks, paper, sawdust, small branches, and straw.”
You can gather these from outside or even buy your own if you’d like, such as these Soil Sunrise Store Natural Cedar Shavings from Amazon.
4. Add to a compost bin
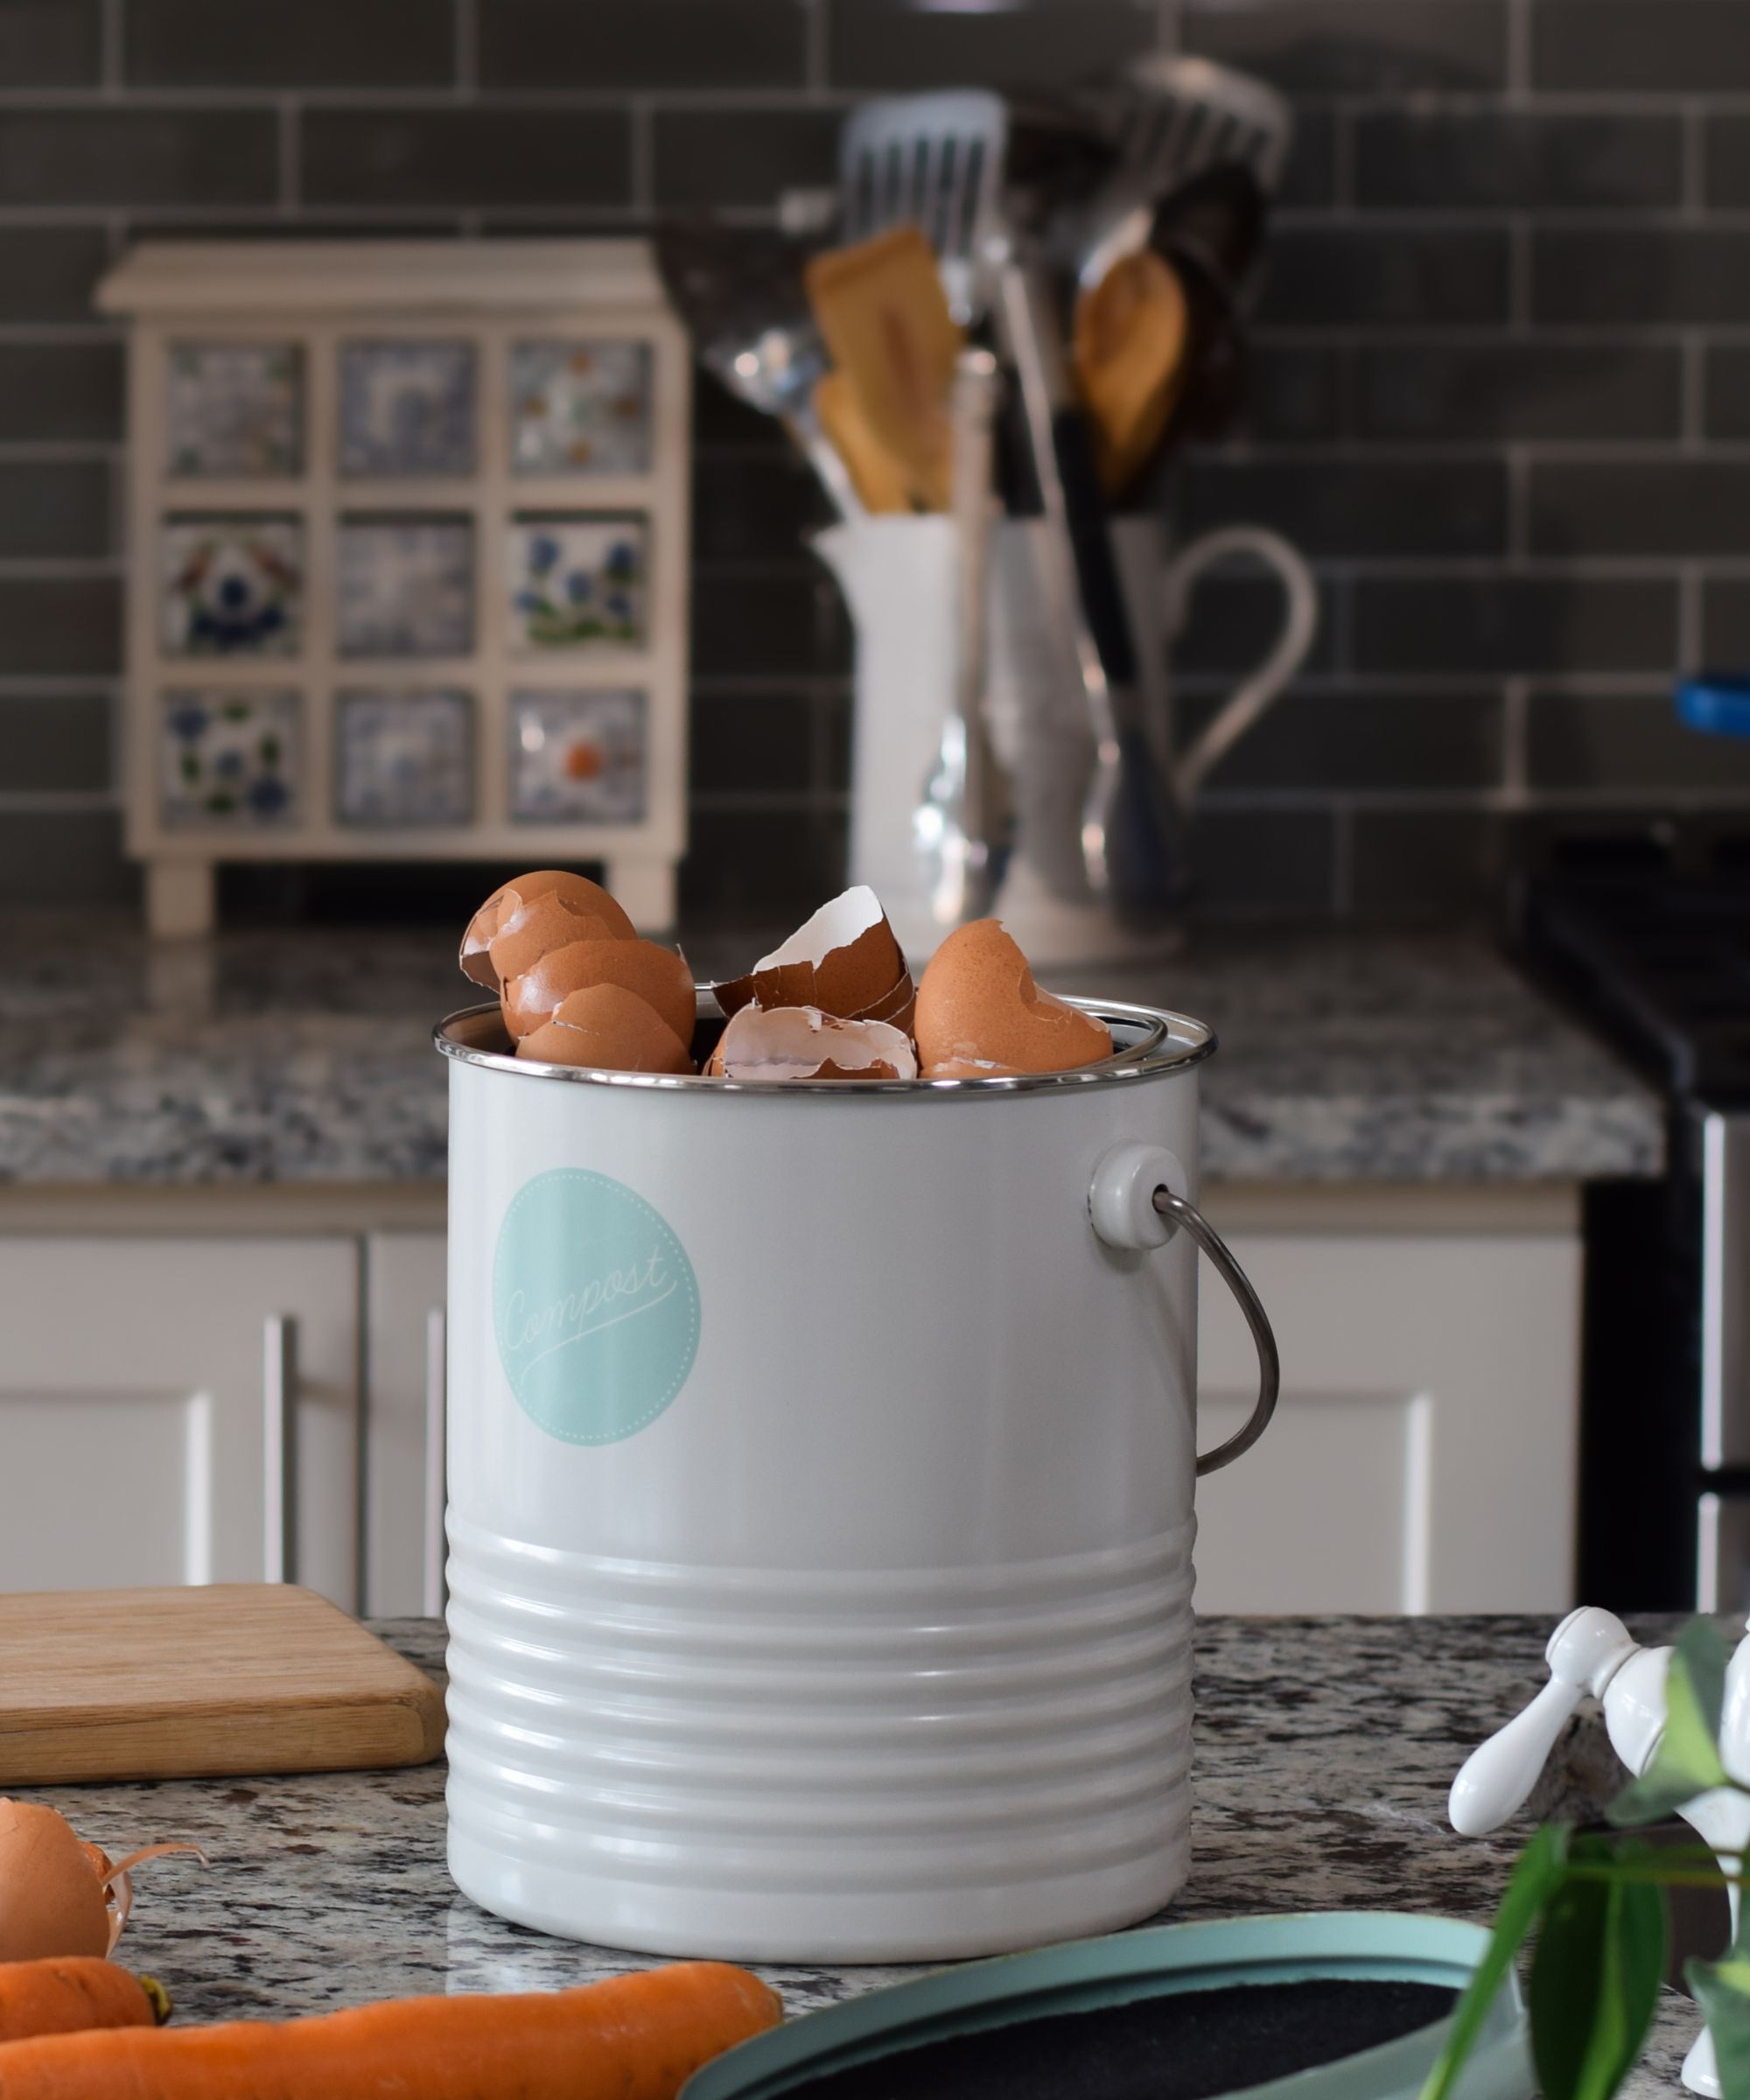
The smell of decomposing scraps obviously won’t smell great (you might want some of the best air fresheners if they’re really not nice), but you can at least minimize them by putting your scraps in one of the best kitchen bins for compost.
“I recommend buying a compost bin, as you can get a small one you can keep in your kitchen,” explains Jeremy Yamaguchi, CEO of Lawn Love.
If you want an industrial-sized compost bin you can keep outside, this Vivosun Outdoor Composter from Amazon is a bestseller.
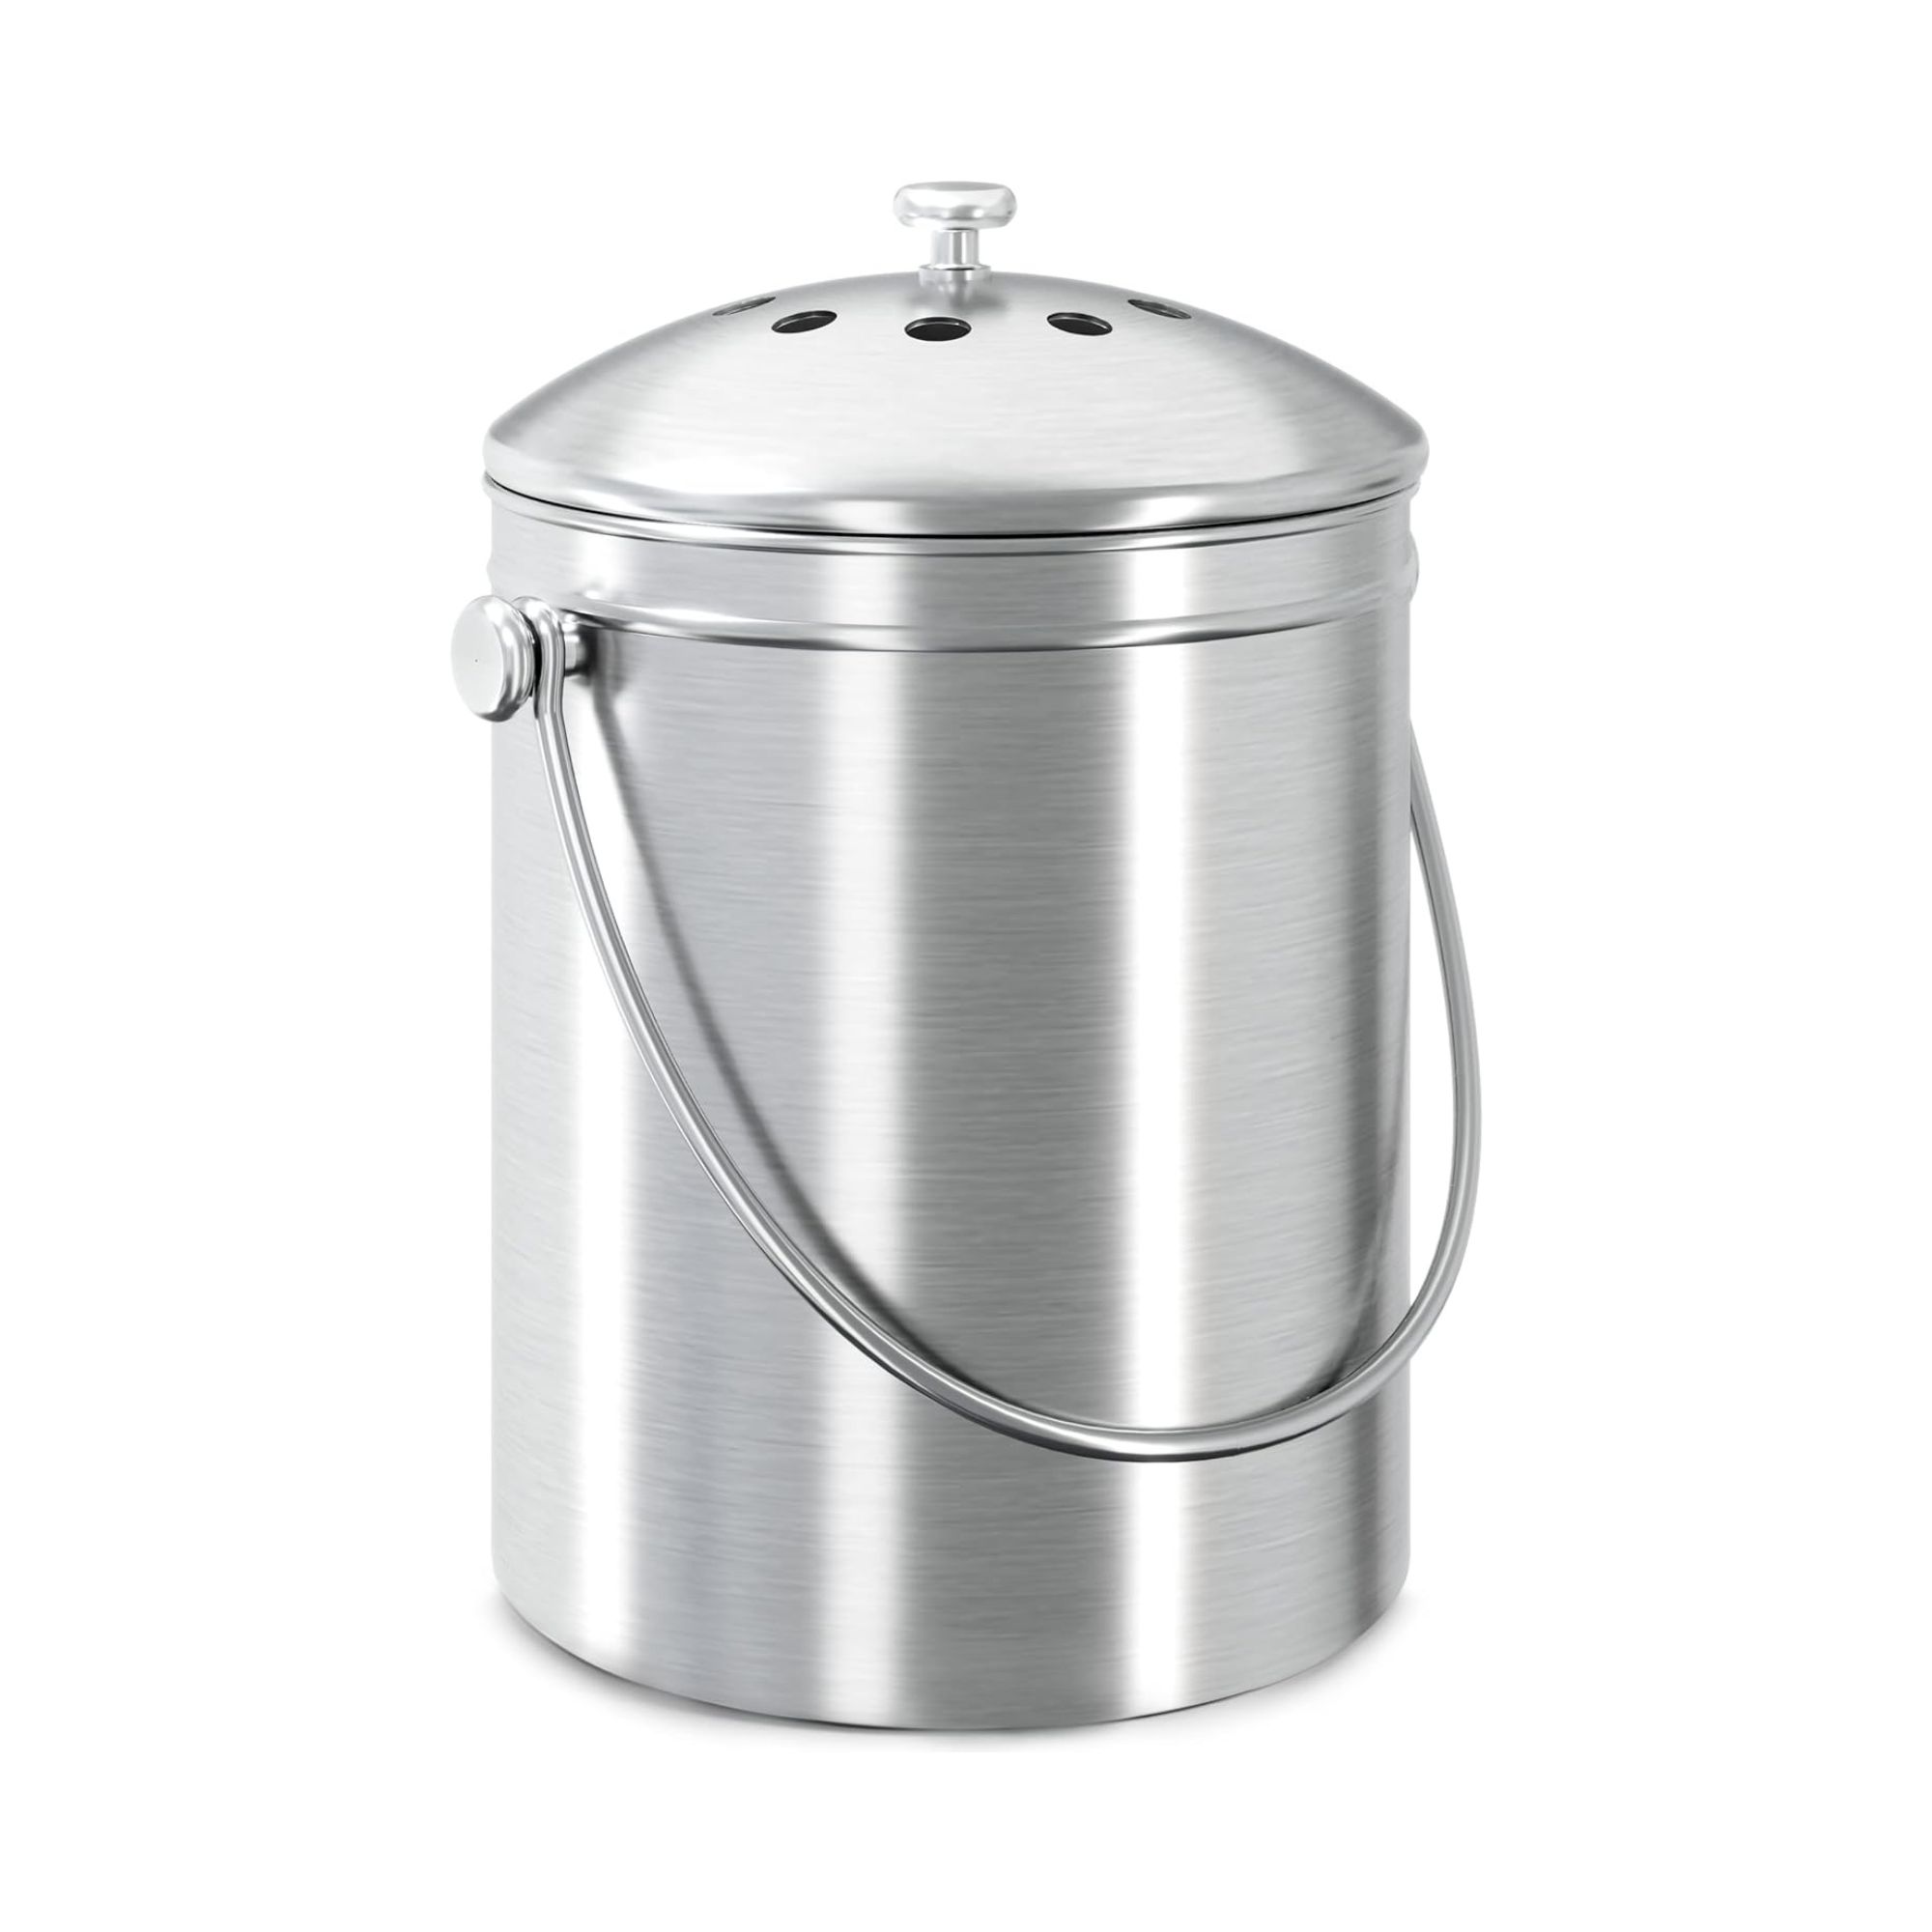
Size (in.): H11 x W7 x L8.4
Made from: Steel
Price: $21.99
Amazon shoppers love this compost bin, saying it's sleek, efficient, and great quality.
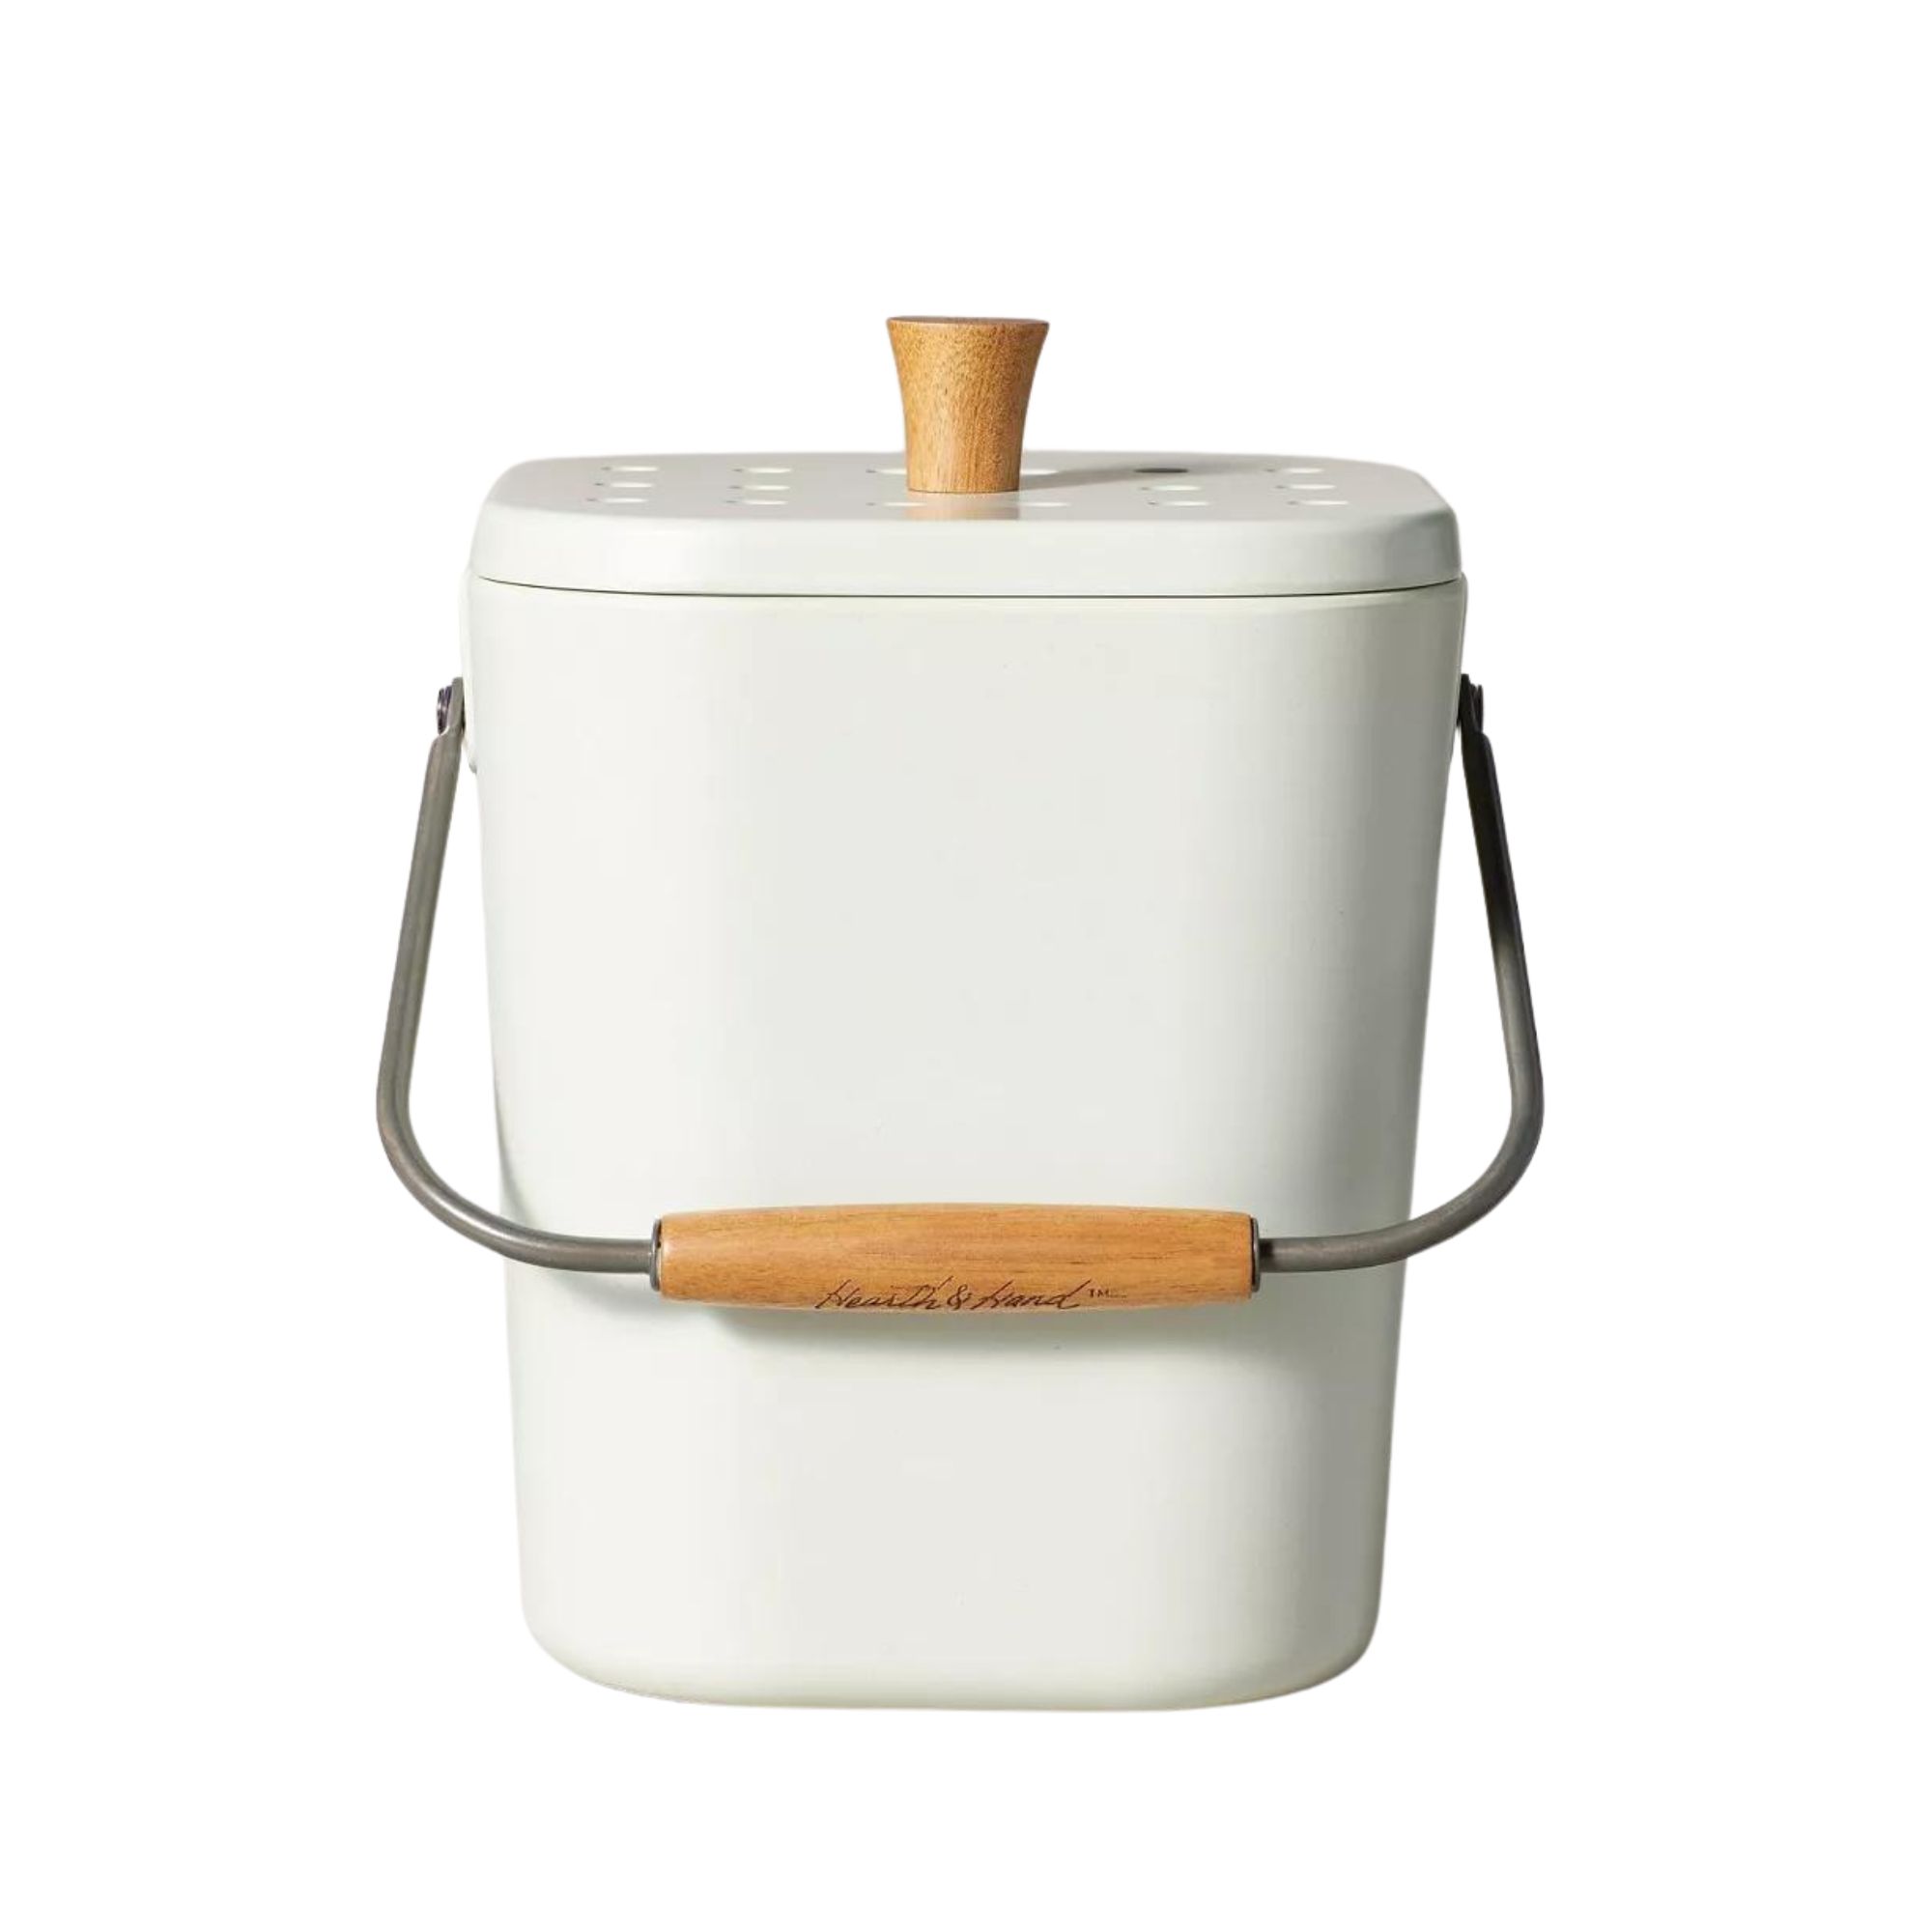
Size (in.): H9.5 Inches x W7.5 x D7
Made from: Acacia, iron
Price: $24.99
This would look wonderful in any Scandi-style kitchen. We also love the vented design that prevents odors but allows airflow.
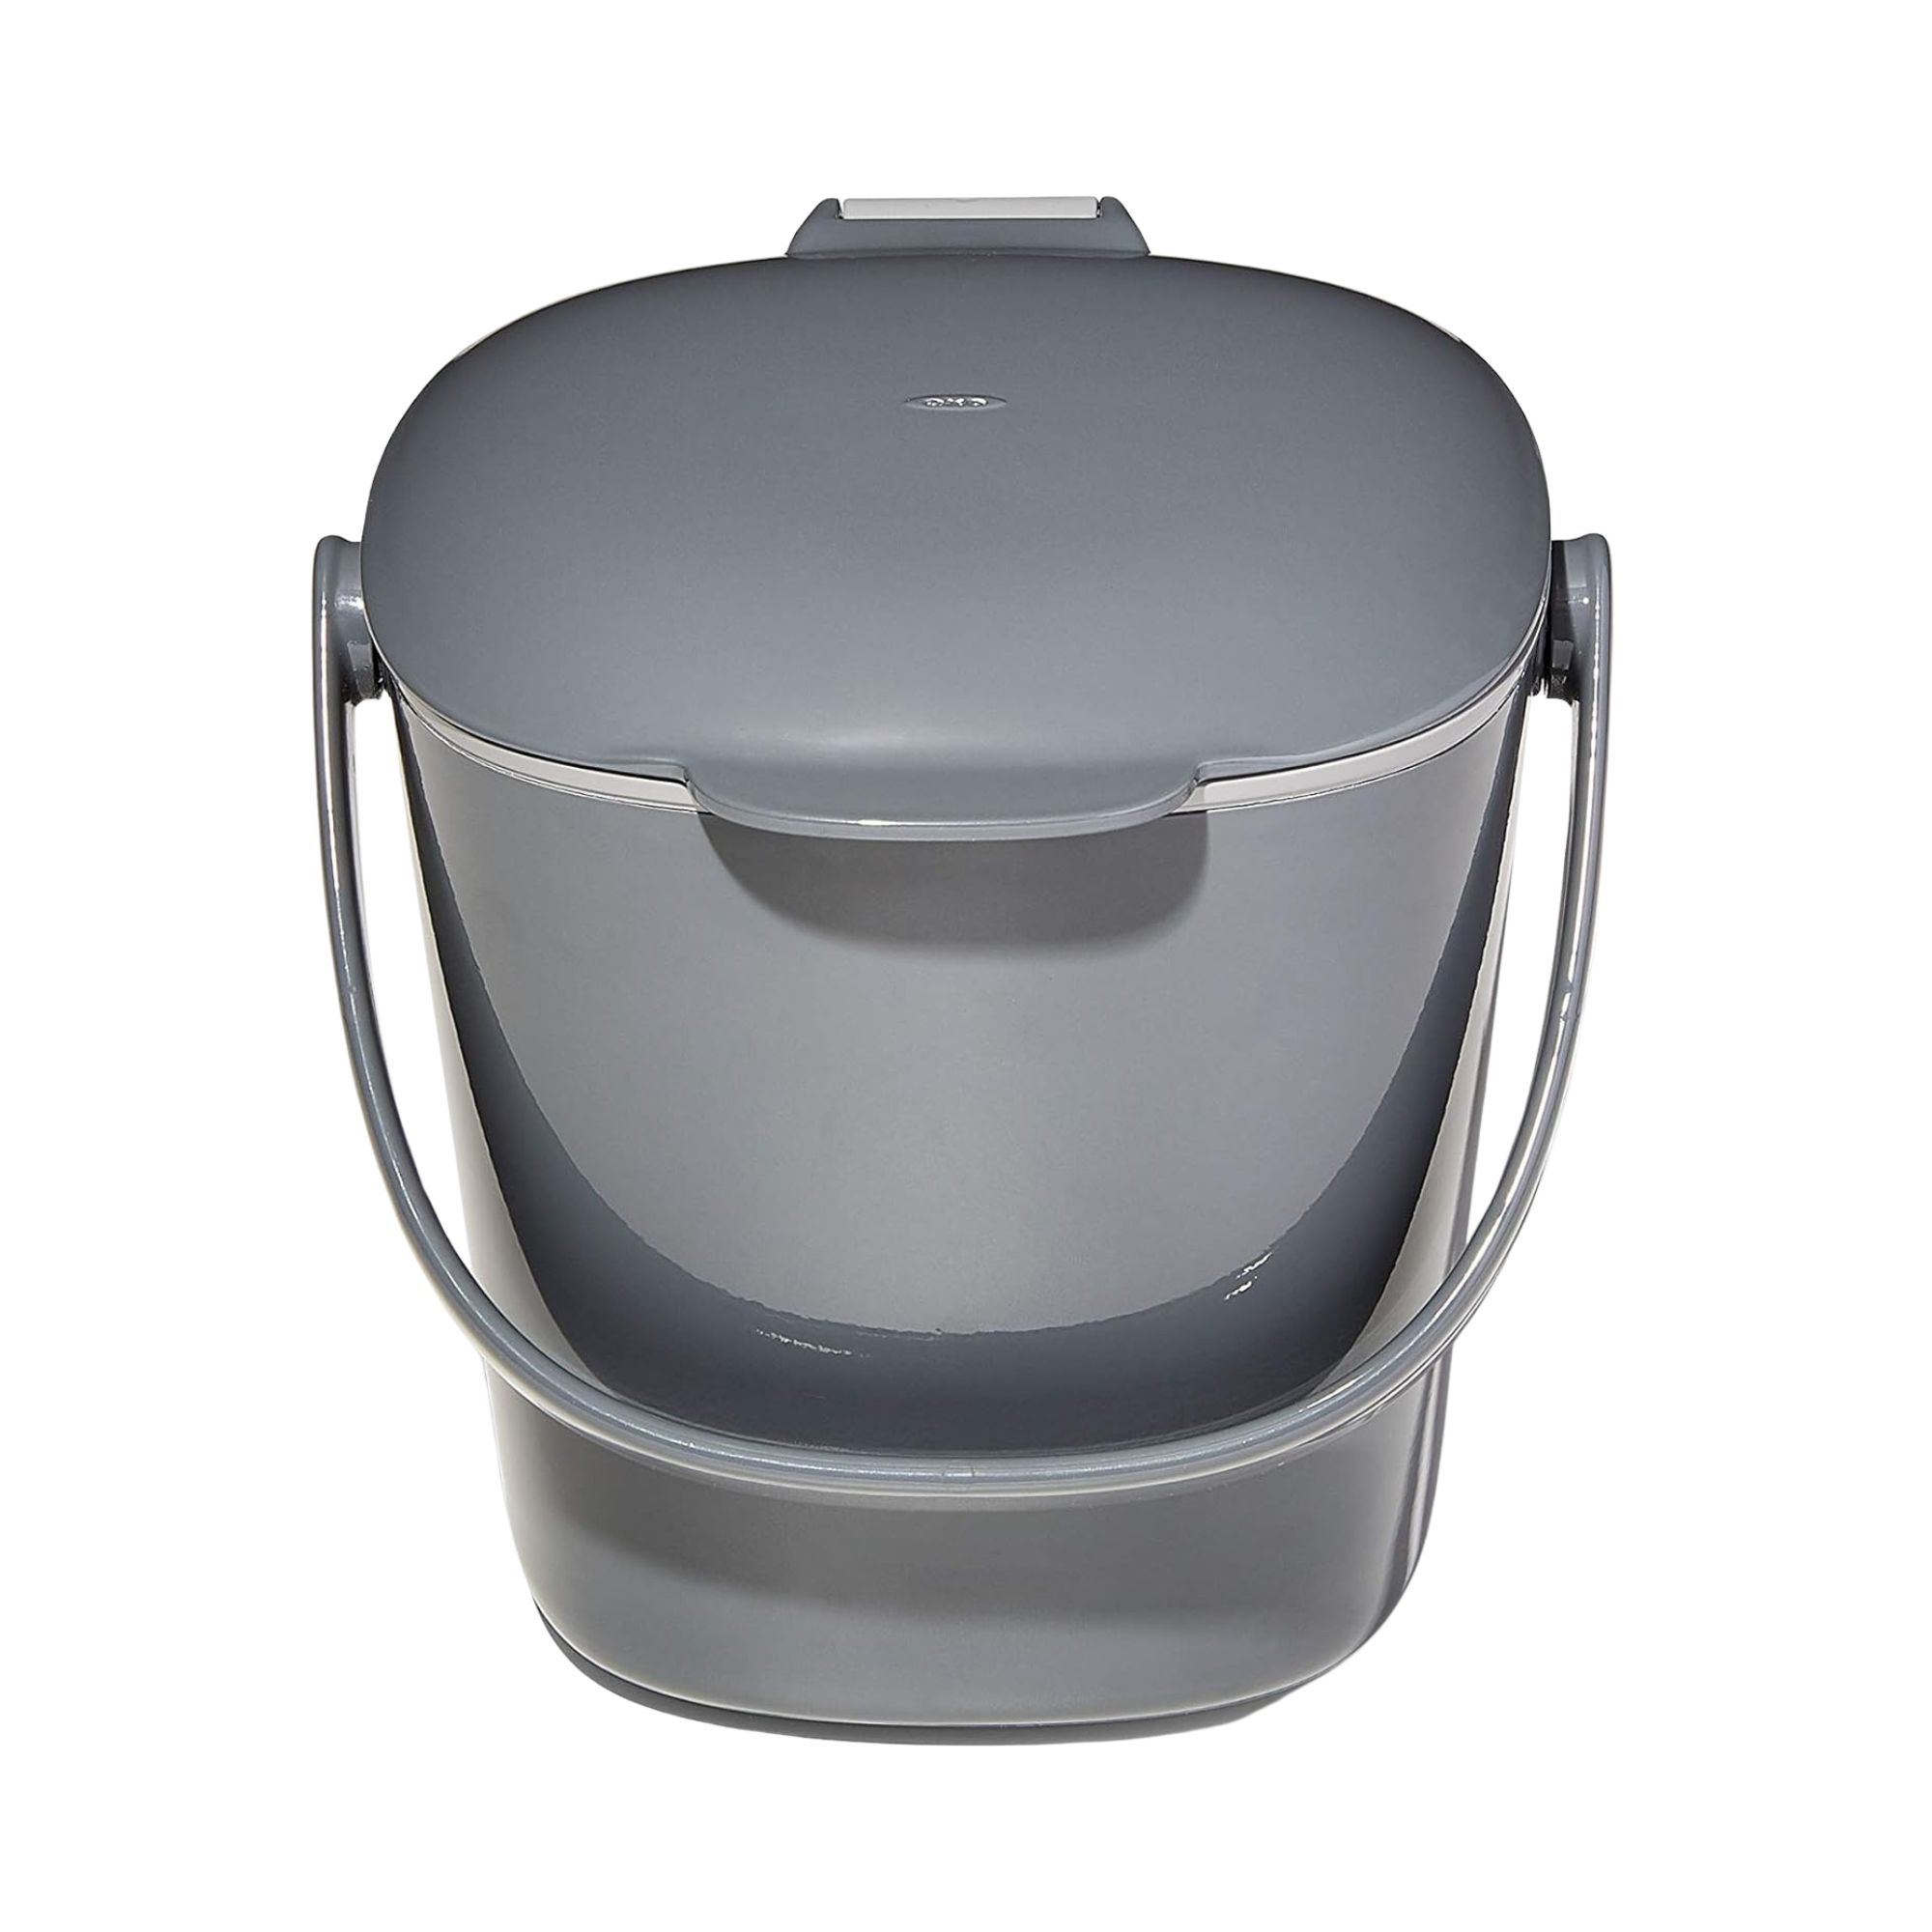
Size (in.): H7.5 x W6.4 x L6.6
Made from: Plastic
Price: $22.99
The lid on this easily flips up and locks down, making throwing in your scraps a total breeze.
5. Or create a compost pile
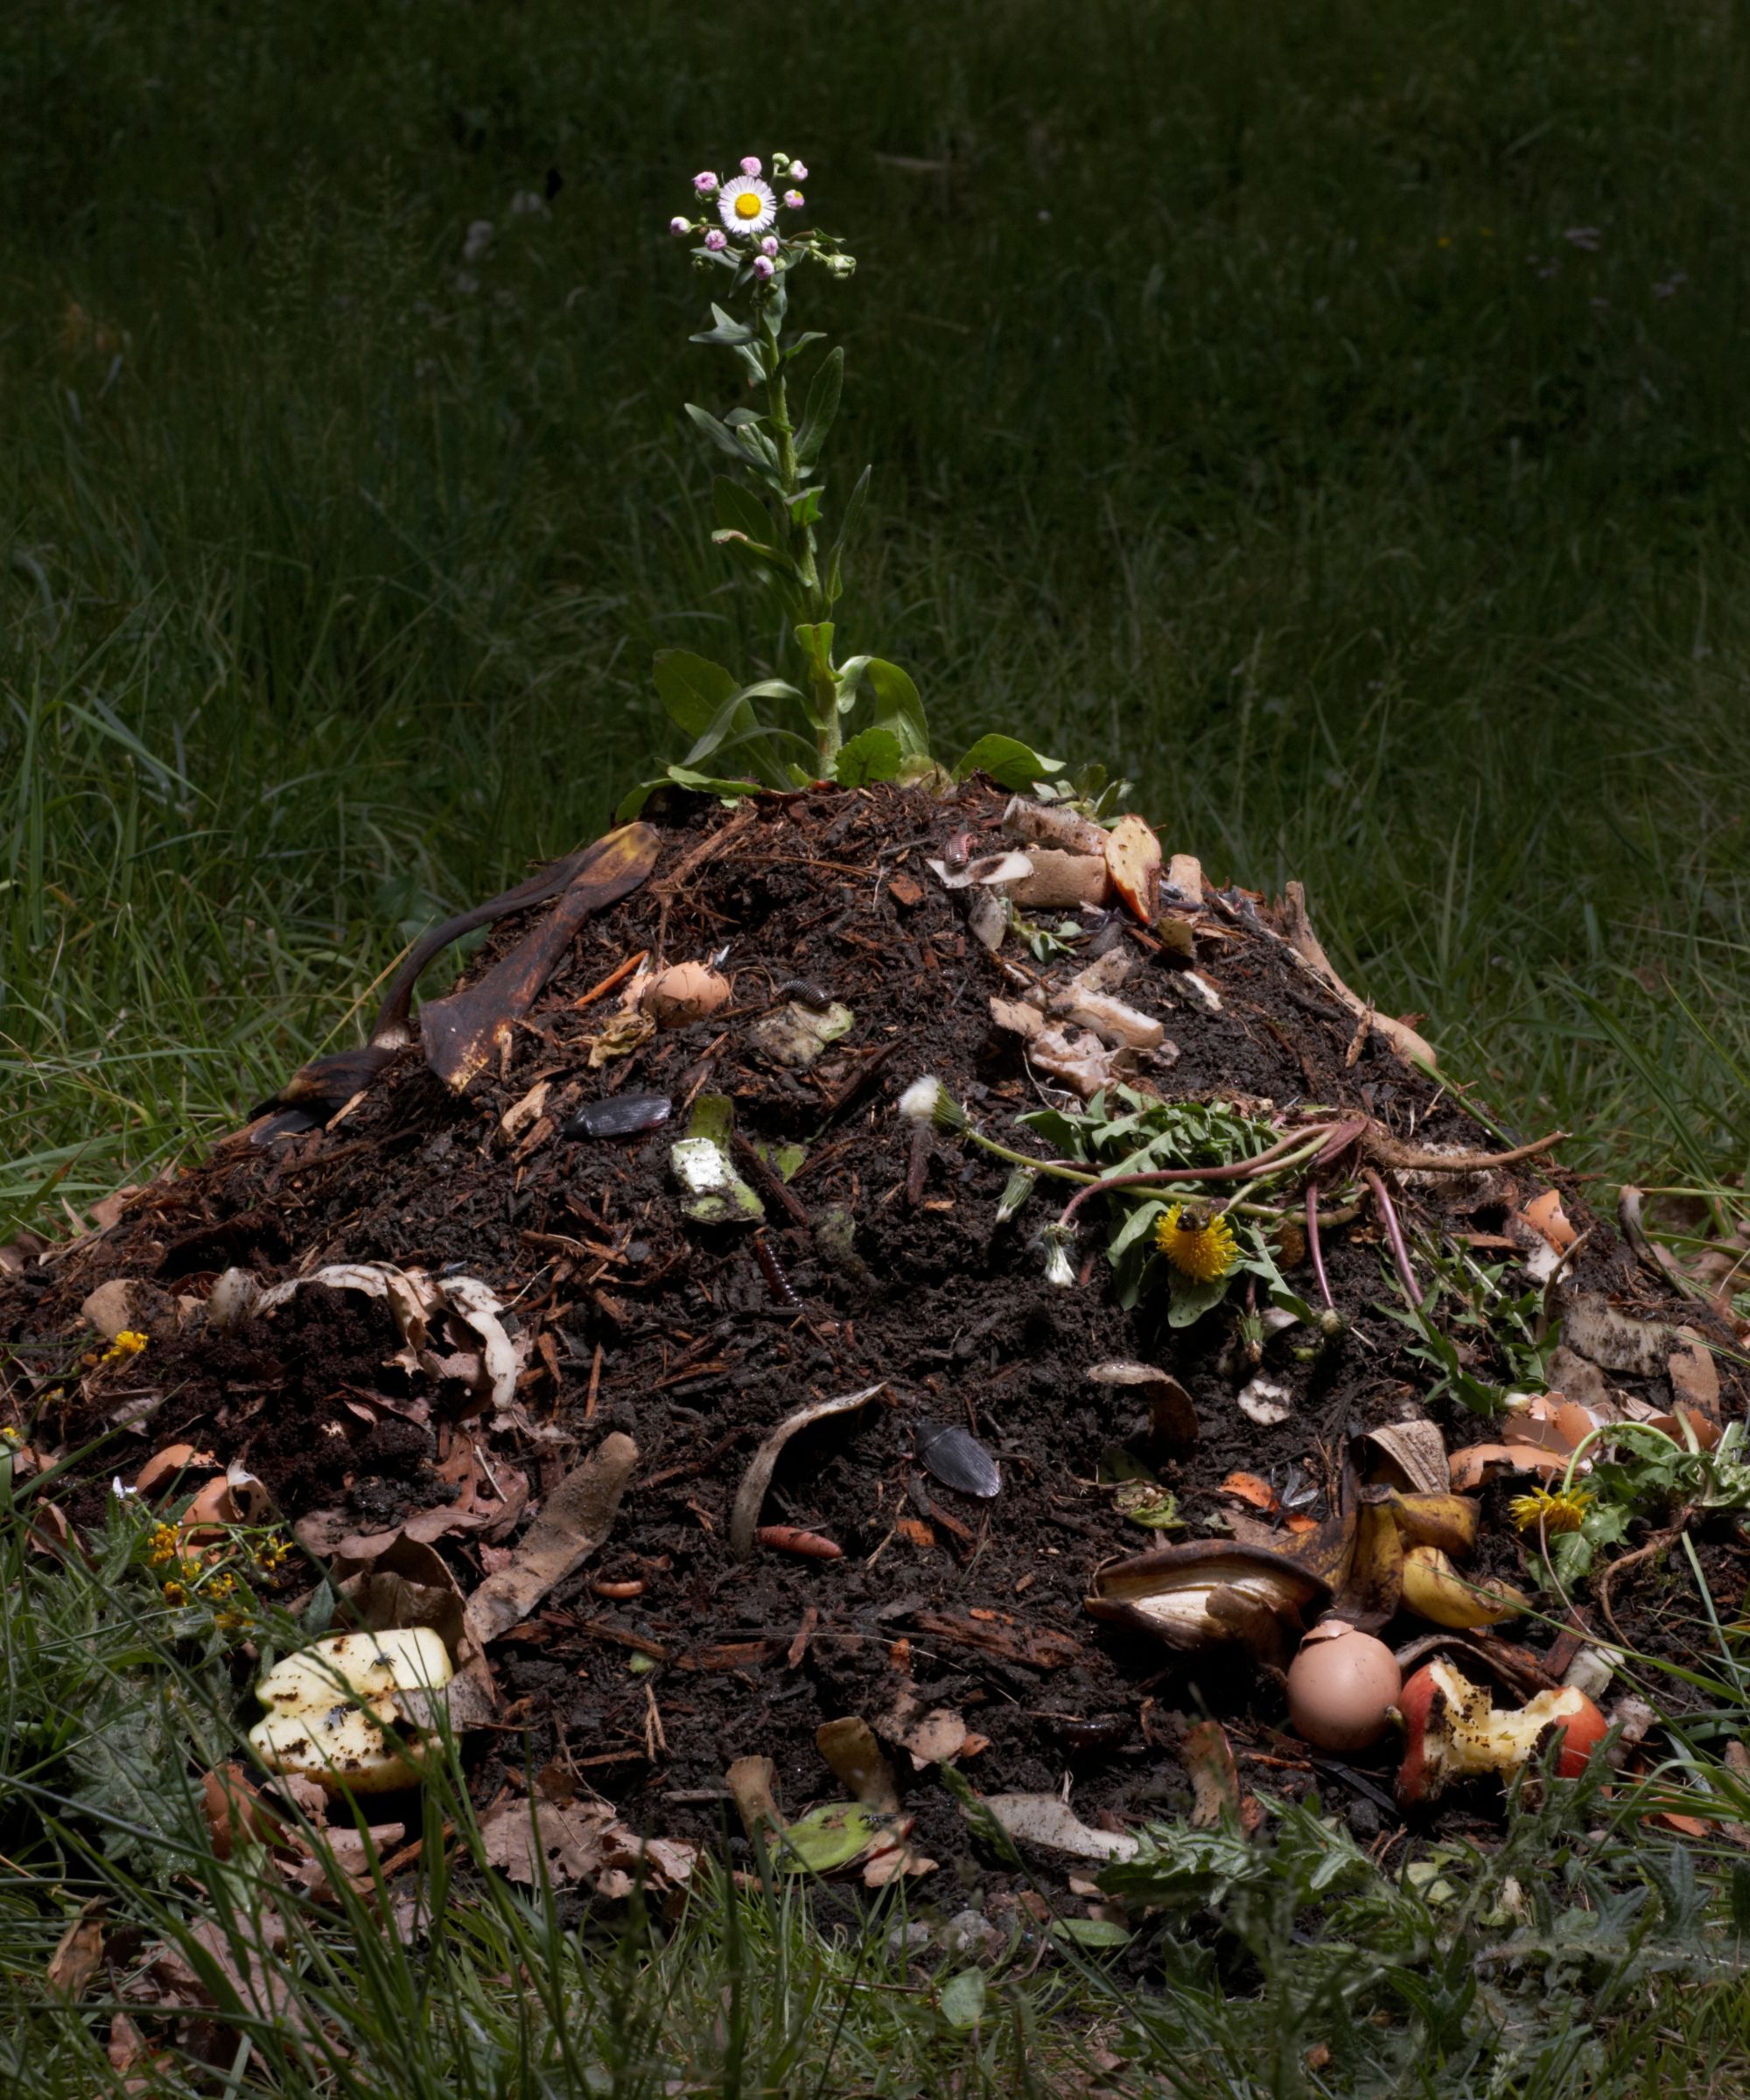
You can also gradually add your materials to your pile of compost if you have space in your backyard.
“Over time, add these scraps to your pile/container of compost and mix and chop around. I have my compost in the ground which allows for the easy access of worms and other organisms that help break down the scraps,” explains Quinten O'Dea, professional landscaper at QA Landscaping.
From here, your pile will accumulate into fertile, rich organic dirt.
6. Pour on water
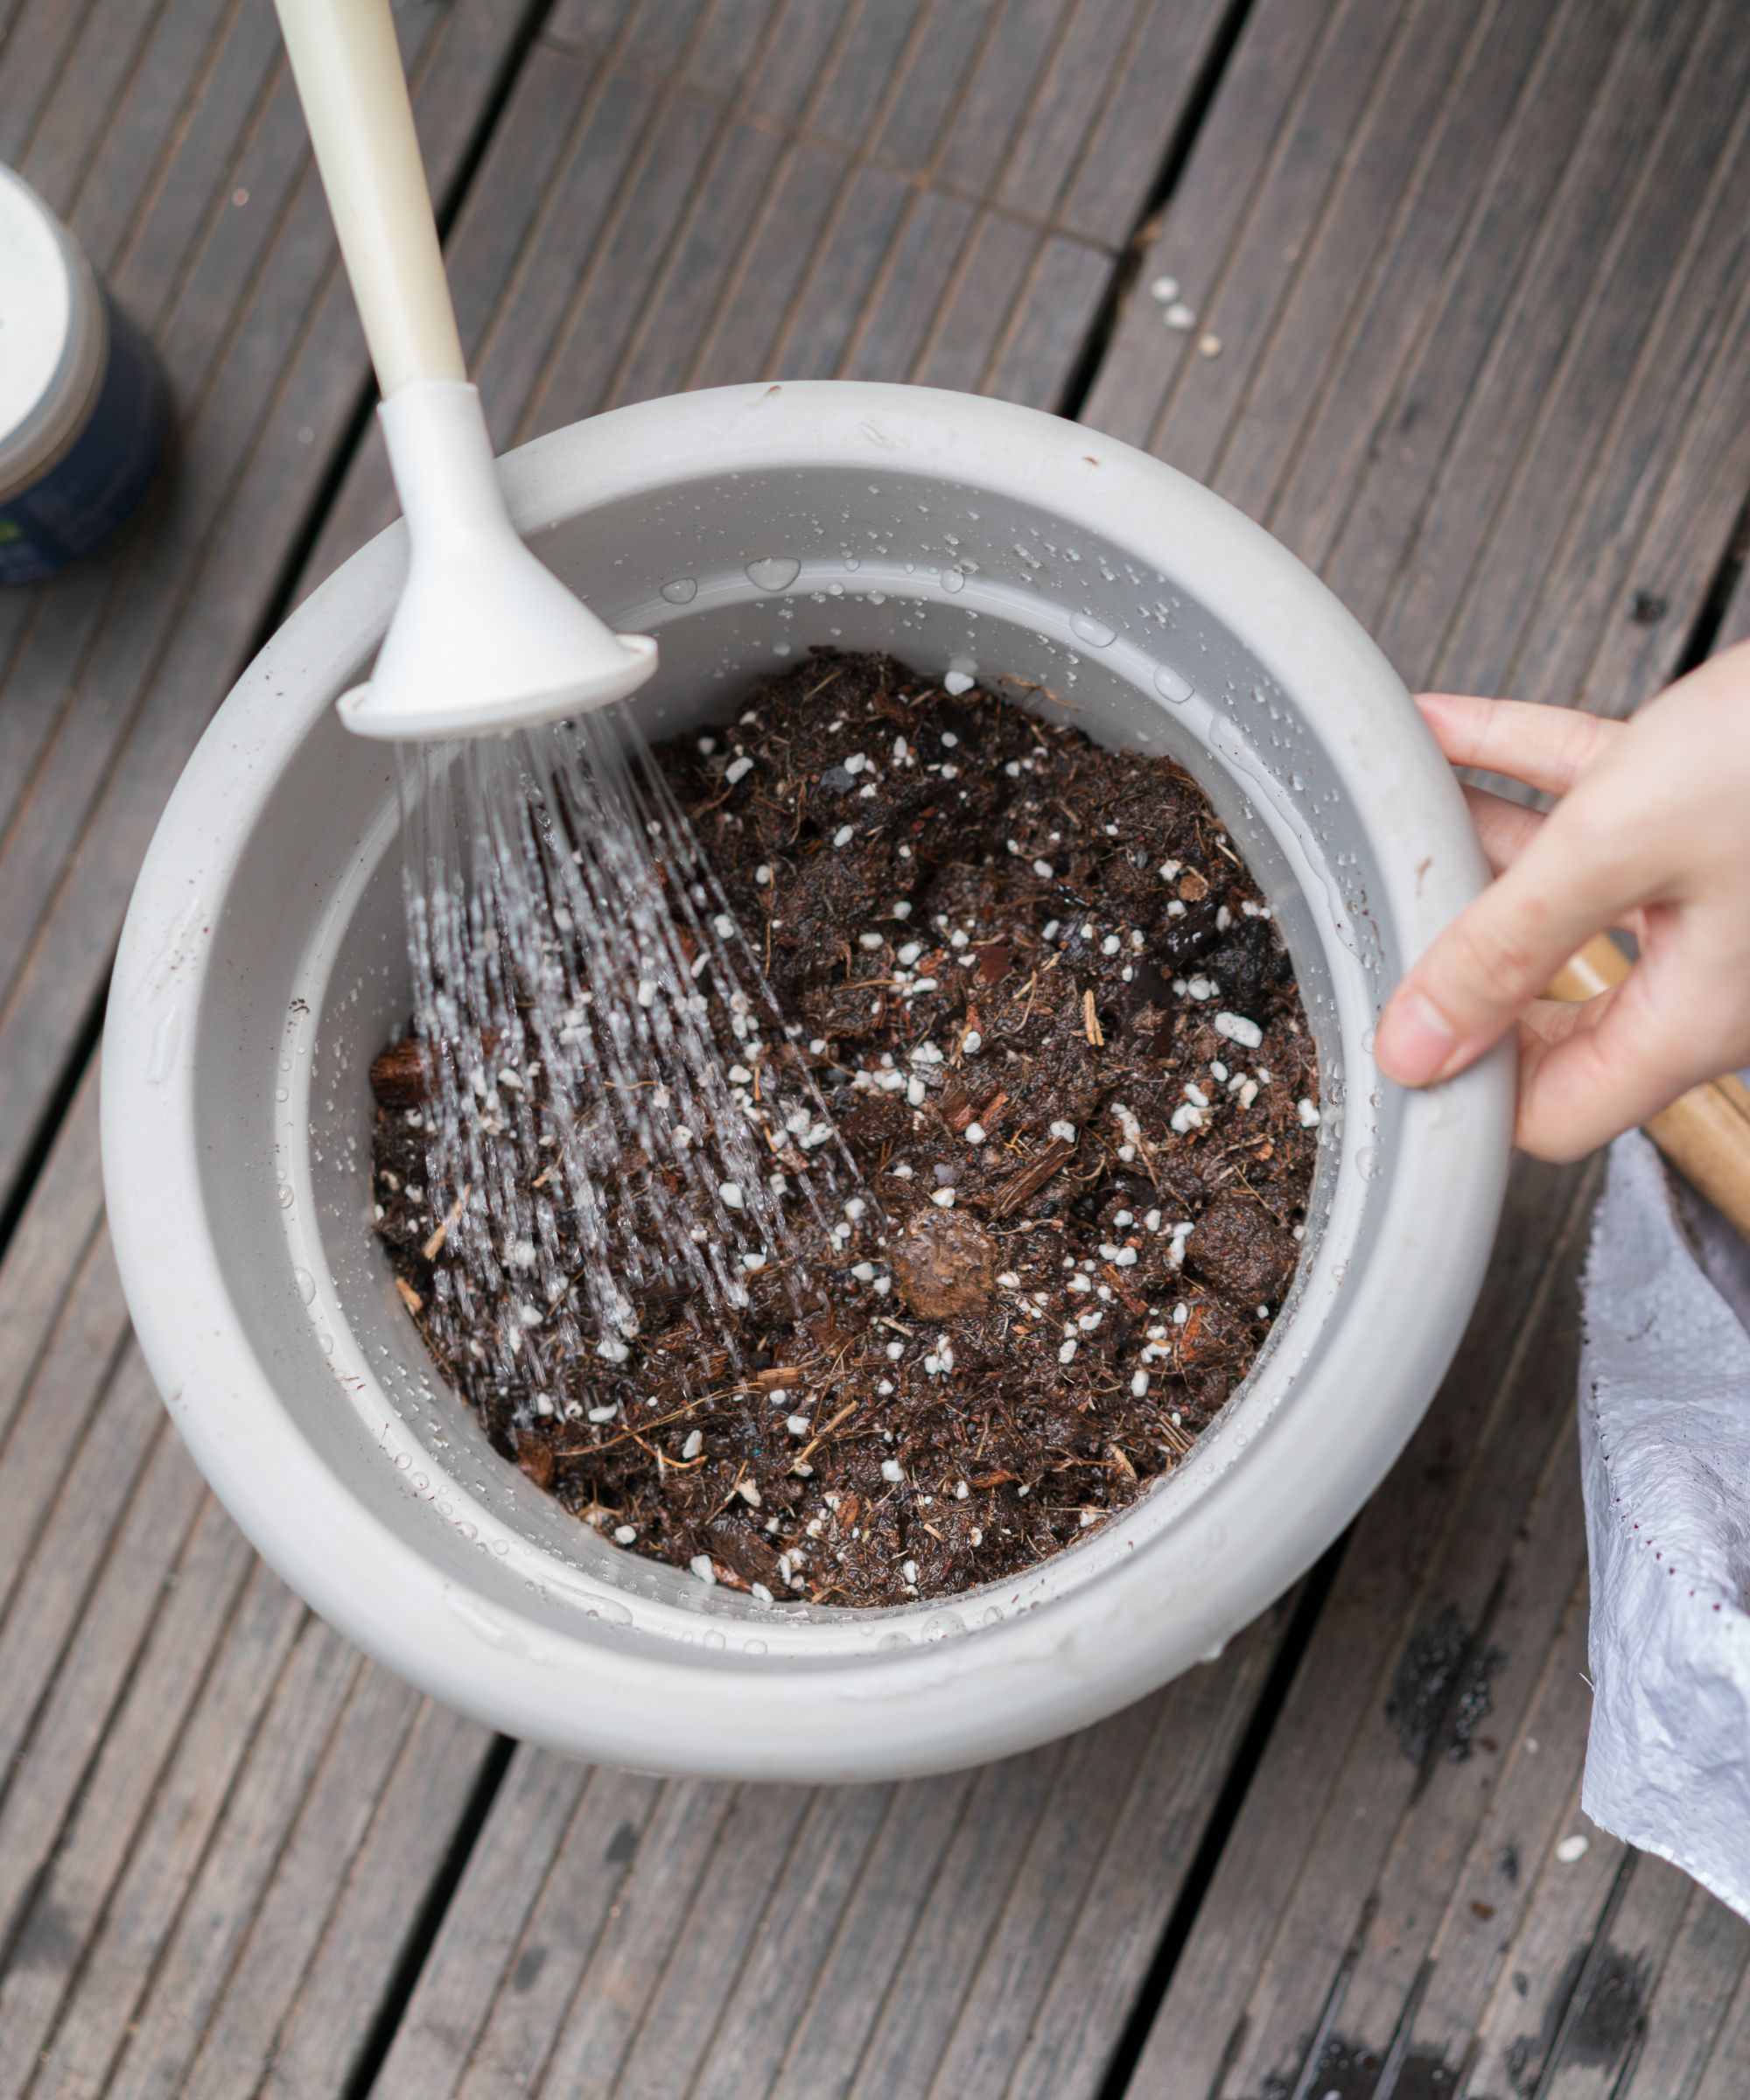
Once you’ve got all your compost pieces in one place, it’s important to pour a little water on it to help bring it together.
“Add enough water to your pile to make it damp, but not drenched,” explains Dan.
He adds, “Too much water isn't going to give you the desired effect and it will smell, too.”
Covered your compost with too much water? Blot it out with a kitchen towel sheet (these Bounty Paper Towels on Amazon have over 249,000 five-star reviews).
7. Leave for a few weeks
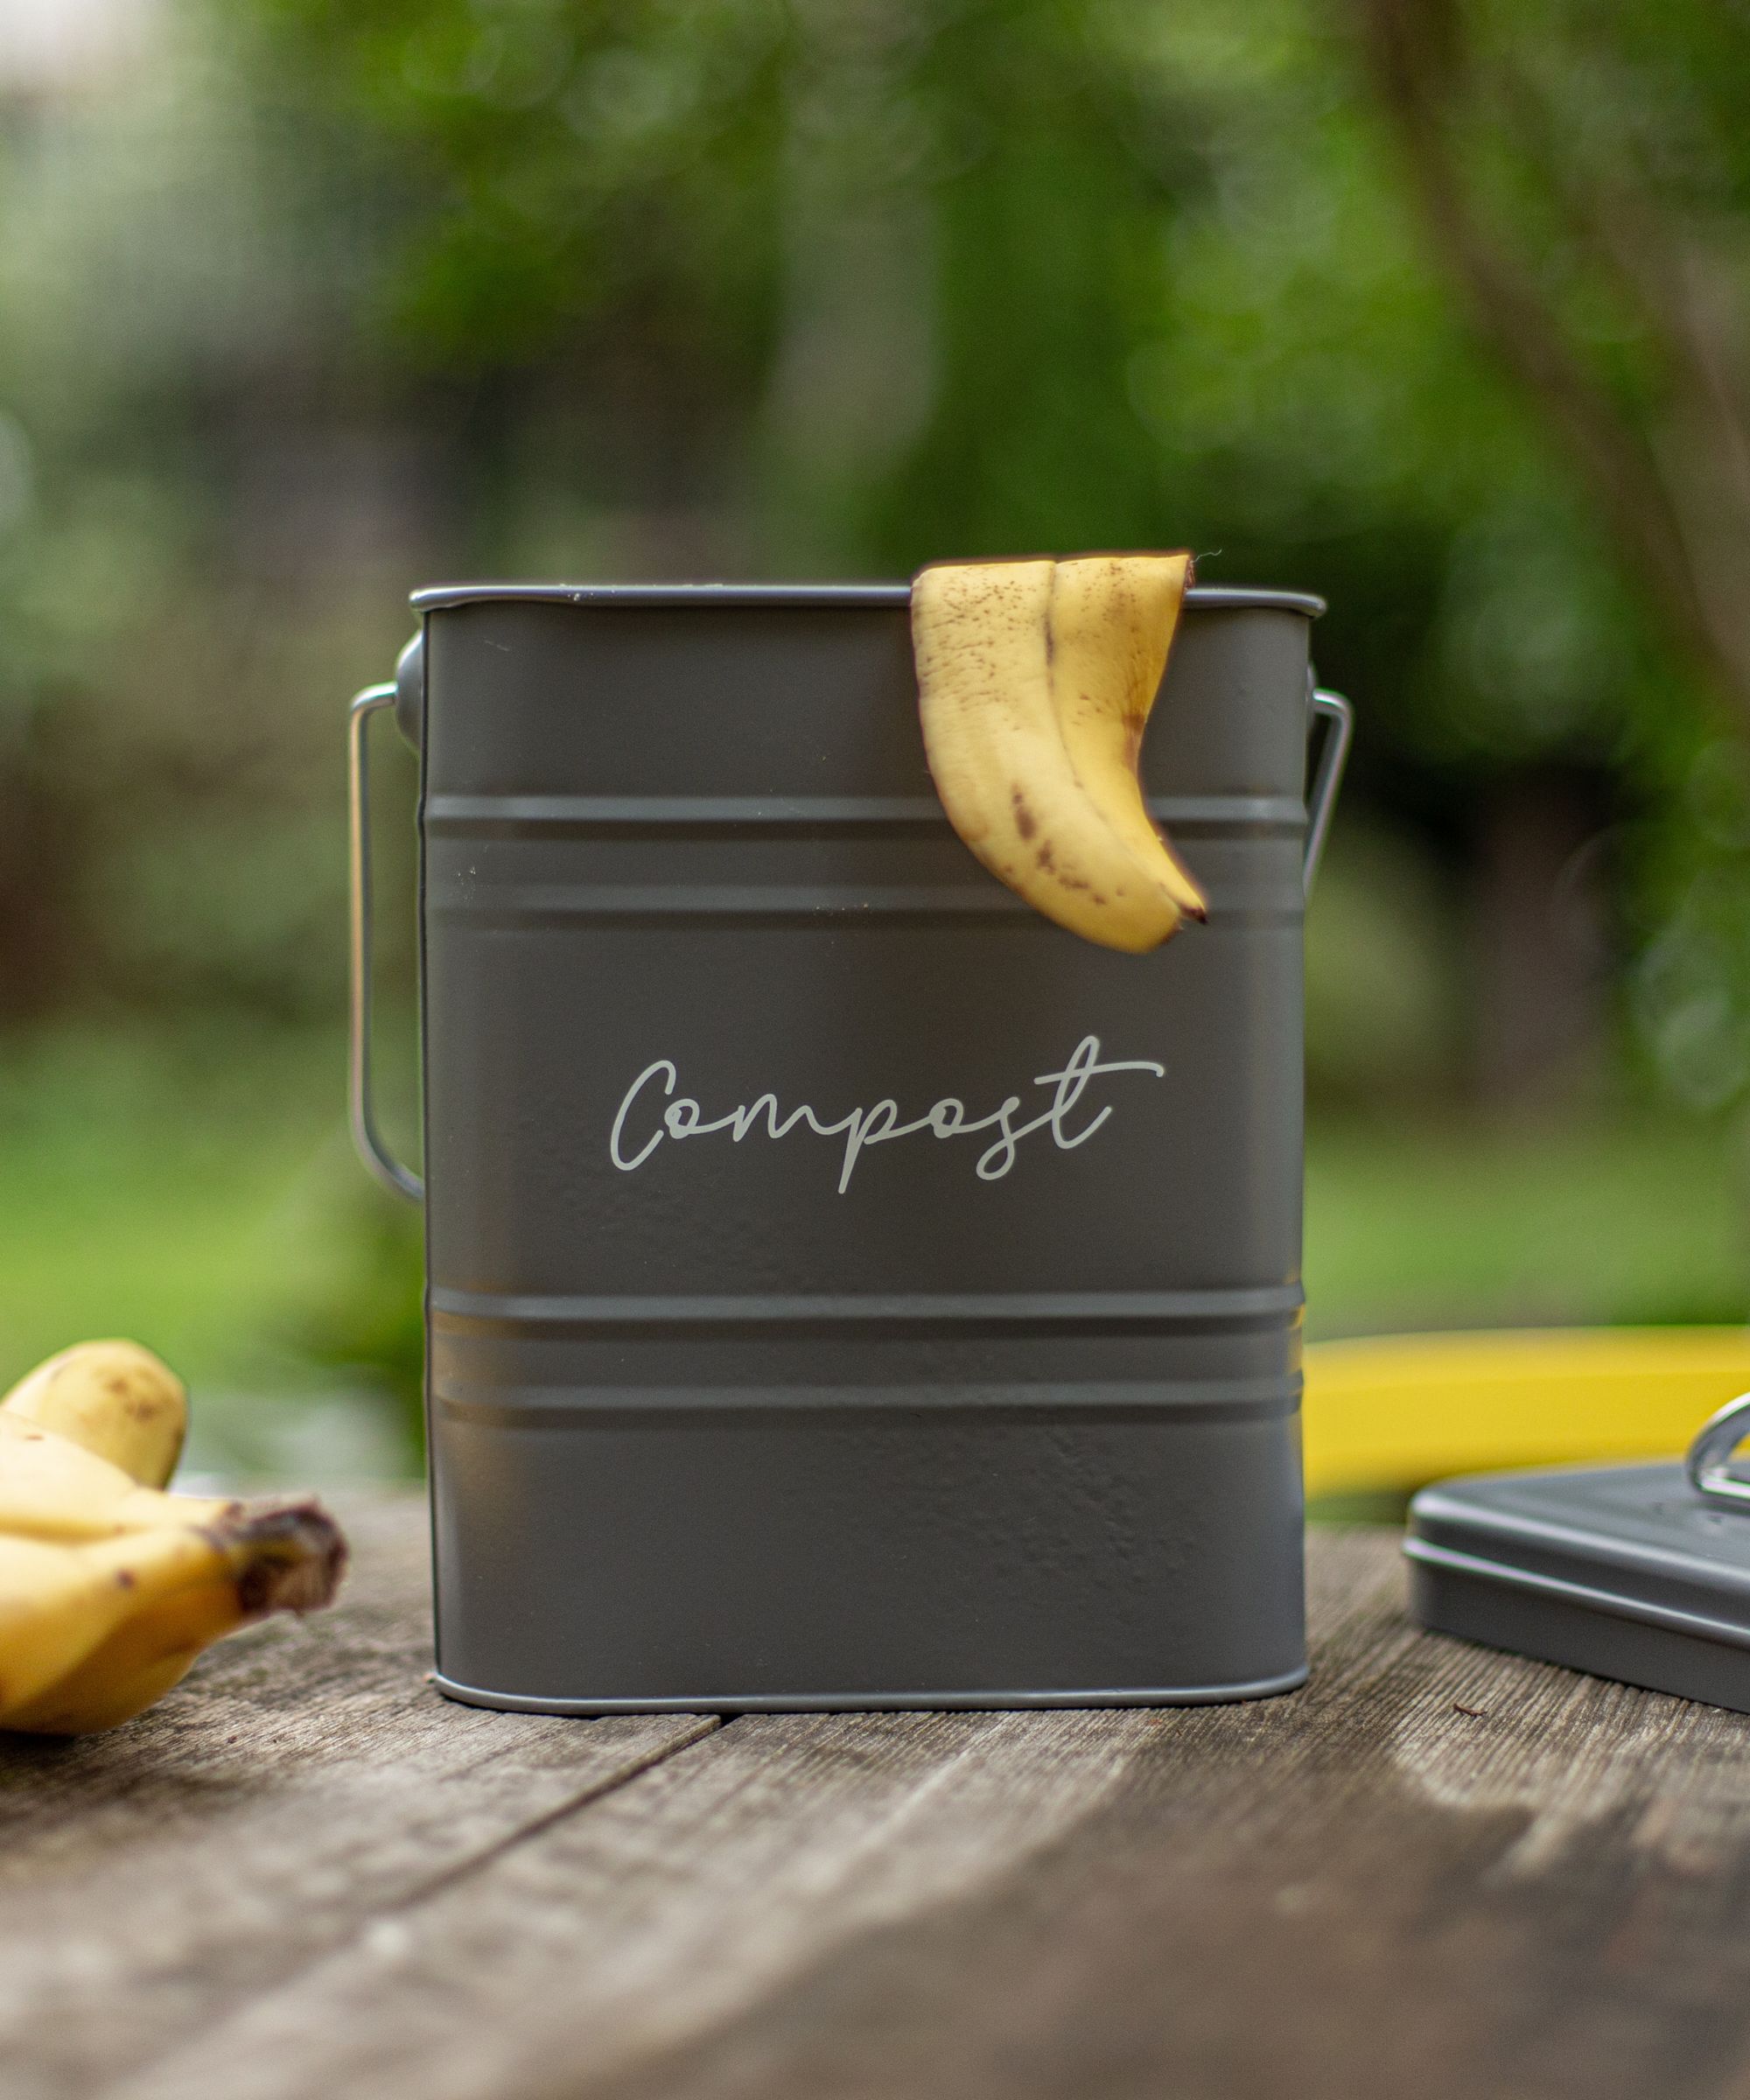
Patience is a virtue when it comes to making compost, but the results are seriously worth it.
“In about three weeks, your compost matter will have decomposed, turning it into compost you can then add onto your plants,” Jeremy says.
Be sure to give it a shake and a stir during this time, in order to make sure everything decomposes together properly.
7. Place on your plants
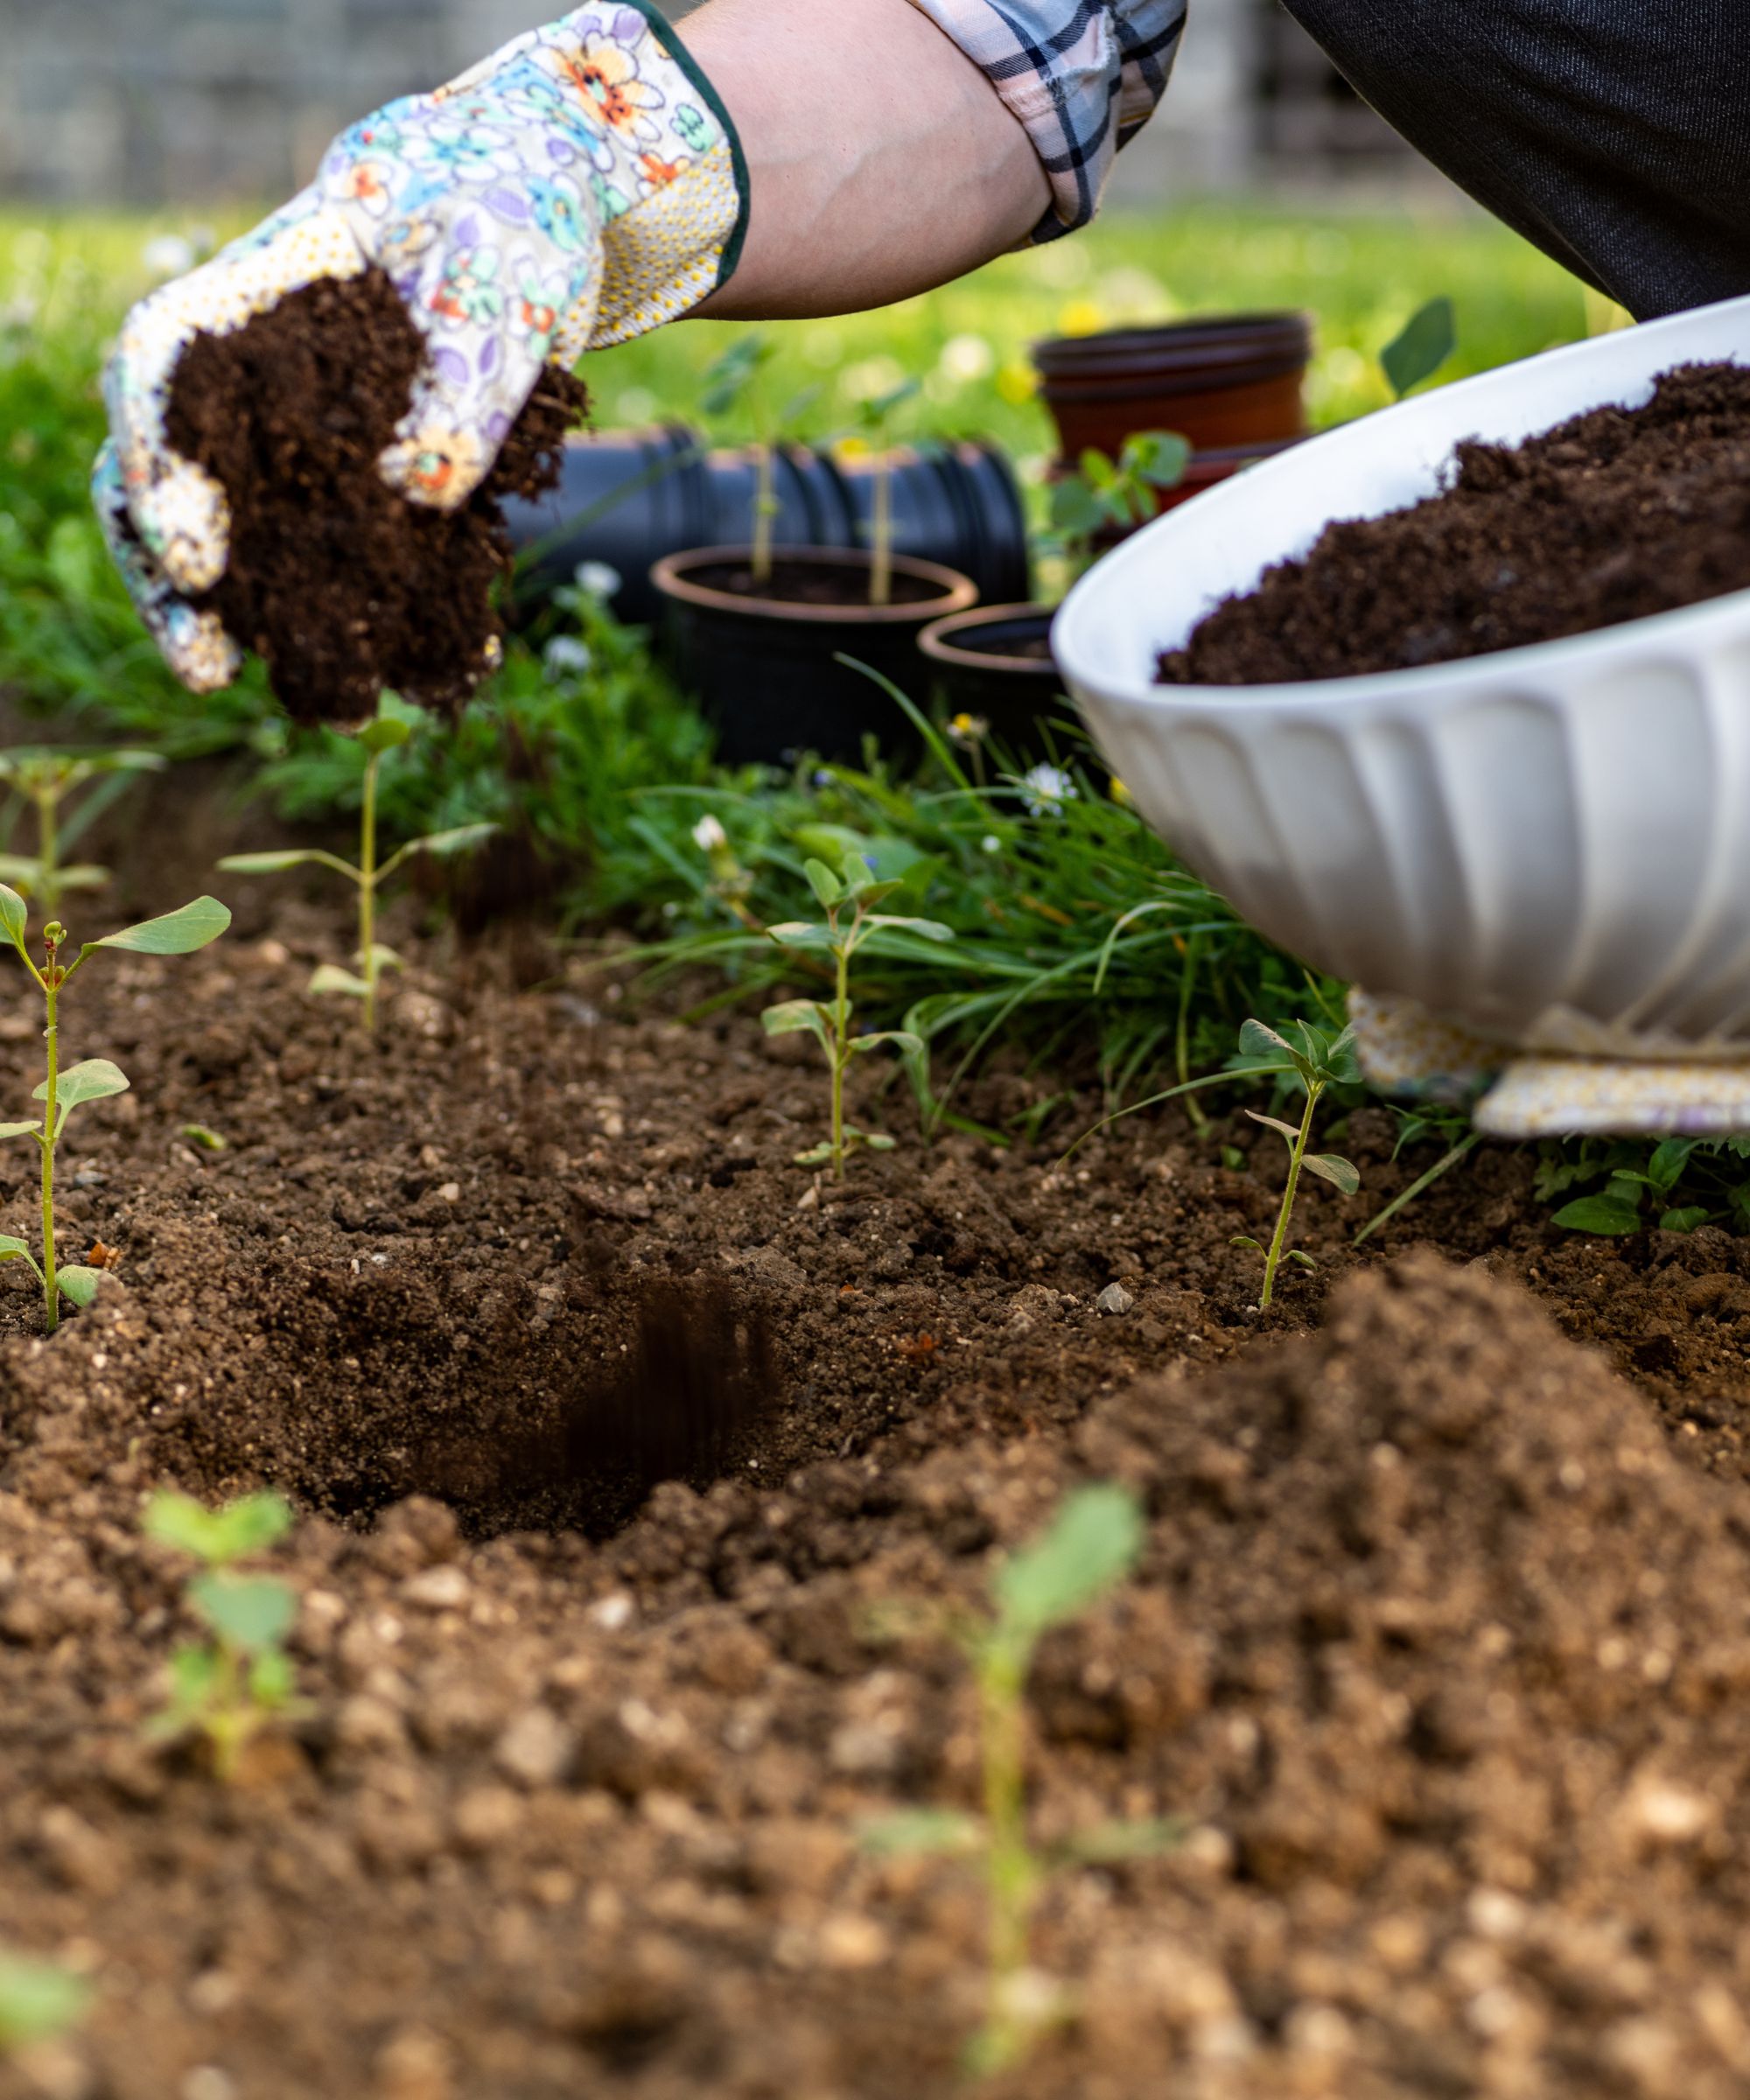
Once your scraps have turned into beautiful compost, you can then add this to your desired plants.
“Before the growing season or before the addition of a new plant into raised garden flower beds or kitchen gardens, add a few shovels full of your compost in the hole you've dug to plant,” Quinten explains.
This will fertilize and ensure a healthy start for your plant, helping it thrive for years to come.
By making your own compost, you can save yourself serious cash and will give your plants brilliant nutrients to help them thrive.
If you want to carry on flexing your green fingers, you may also want to find out the easiest flowers to grow both in pots and the backyard.

Hi there! I’m the former content editor at Real Homes and I'm now a freelance journalist.. I've been a lifestyle journalist for over five years, previously working as an editor across regional magazines. Before this, I graduated from Nottingham Trent University a degree in journalism, along with an NCTJ gold diploma. For Real Homes, I specialized in interior design, trends and finding the best viral buys.