How to pole wrap a cabinet for a modern furniture transformation
DIYer Leslie Jarrett shows us how to pole wrap a cabinet and paint it for a modern glow up on a thrifted TV console


If you're an avid DIY-er, you'll know how addictive it is to spend any free time you have at local thrift stores, on eBay or Facebook Marketplace, looking for your next DIY project.
Sure, some finds are gorgeous left as they are, but others (the more exciting ones) will want some sort of glow-up to either restore and finish them, or to completely transform their look and even purpose.
Jarrett who is a passionate DIYer with a thriving furniture flipping business knows how to spot potential in a piece. And when she found a pretty cool-looking, darkly stained TV console at her local thrift store, she knew it was deserving of a new modern look.
The project inspiration
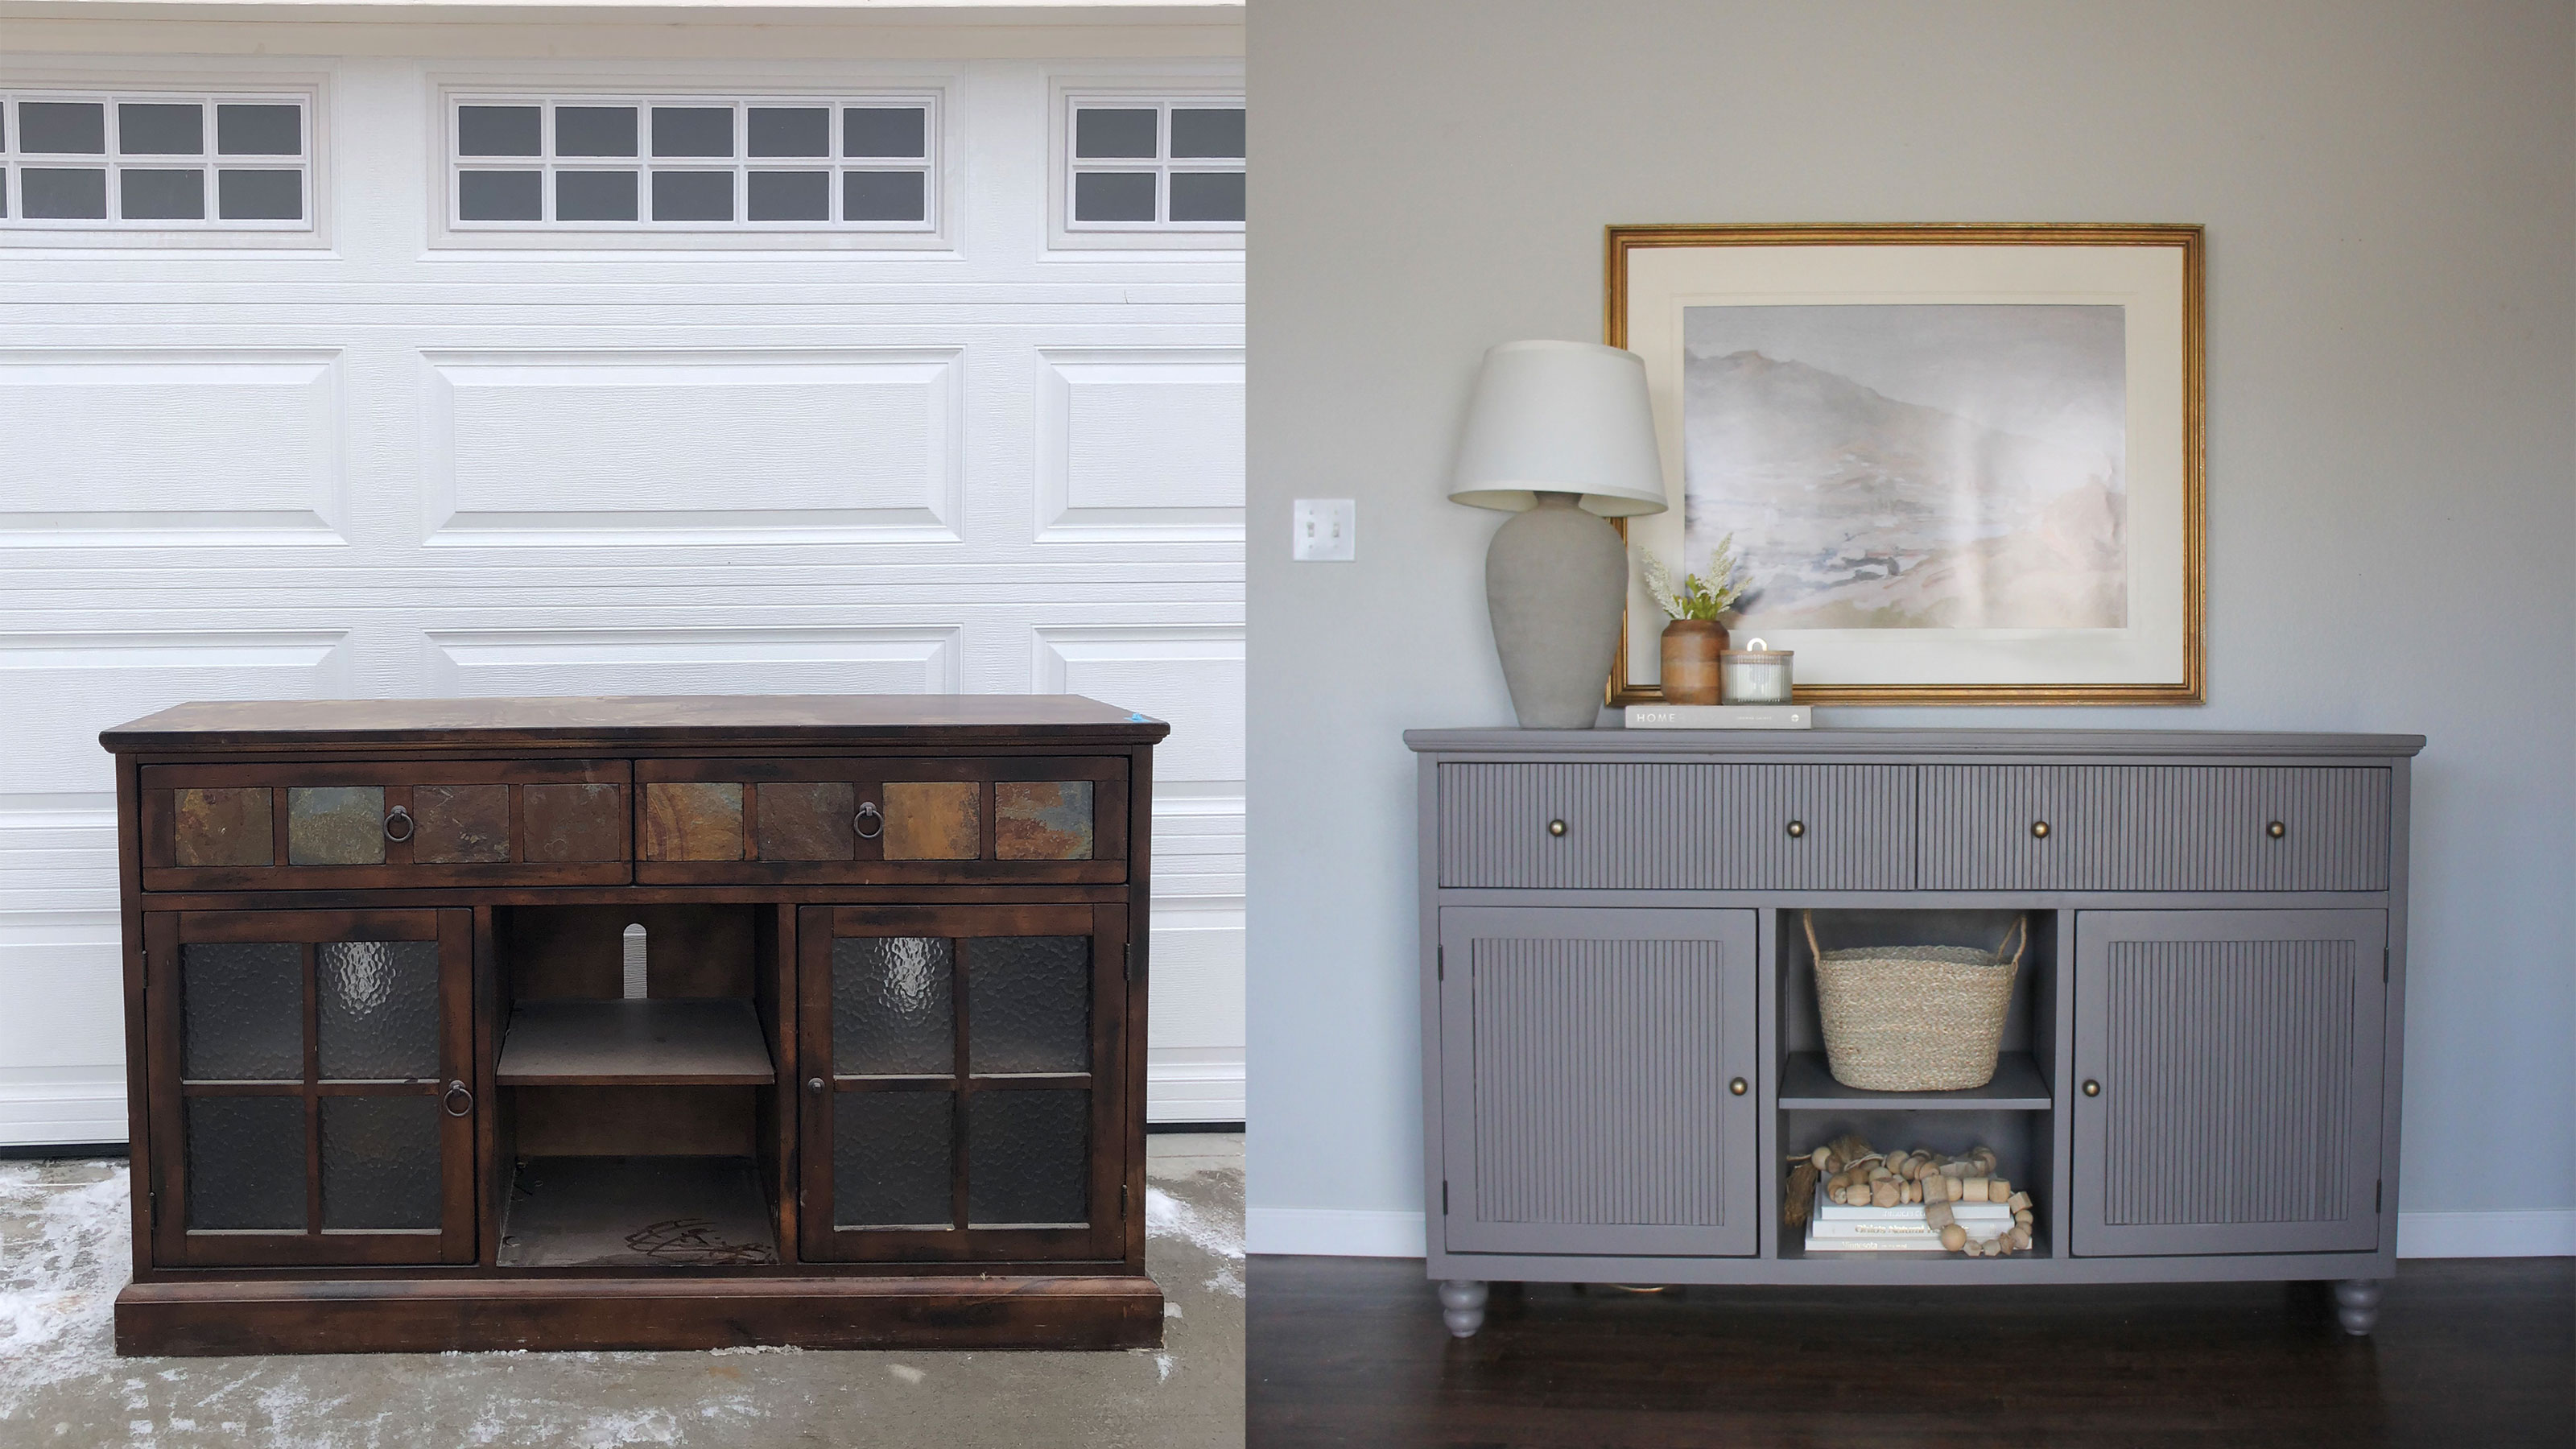
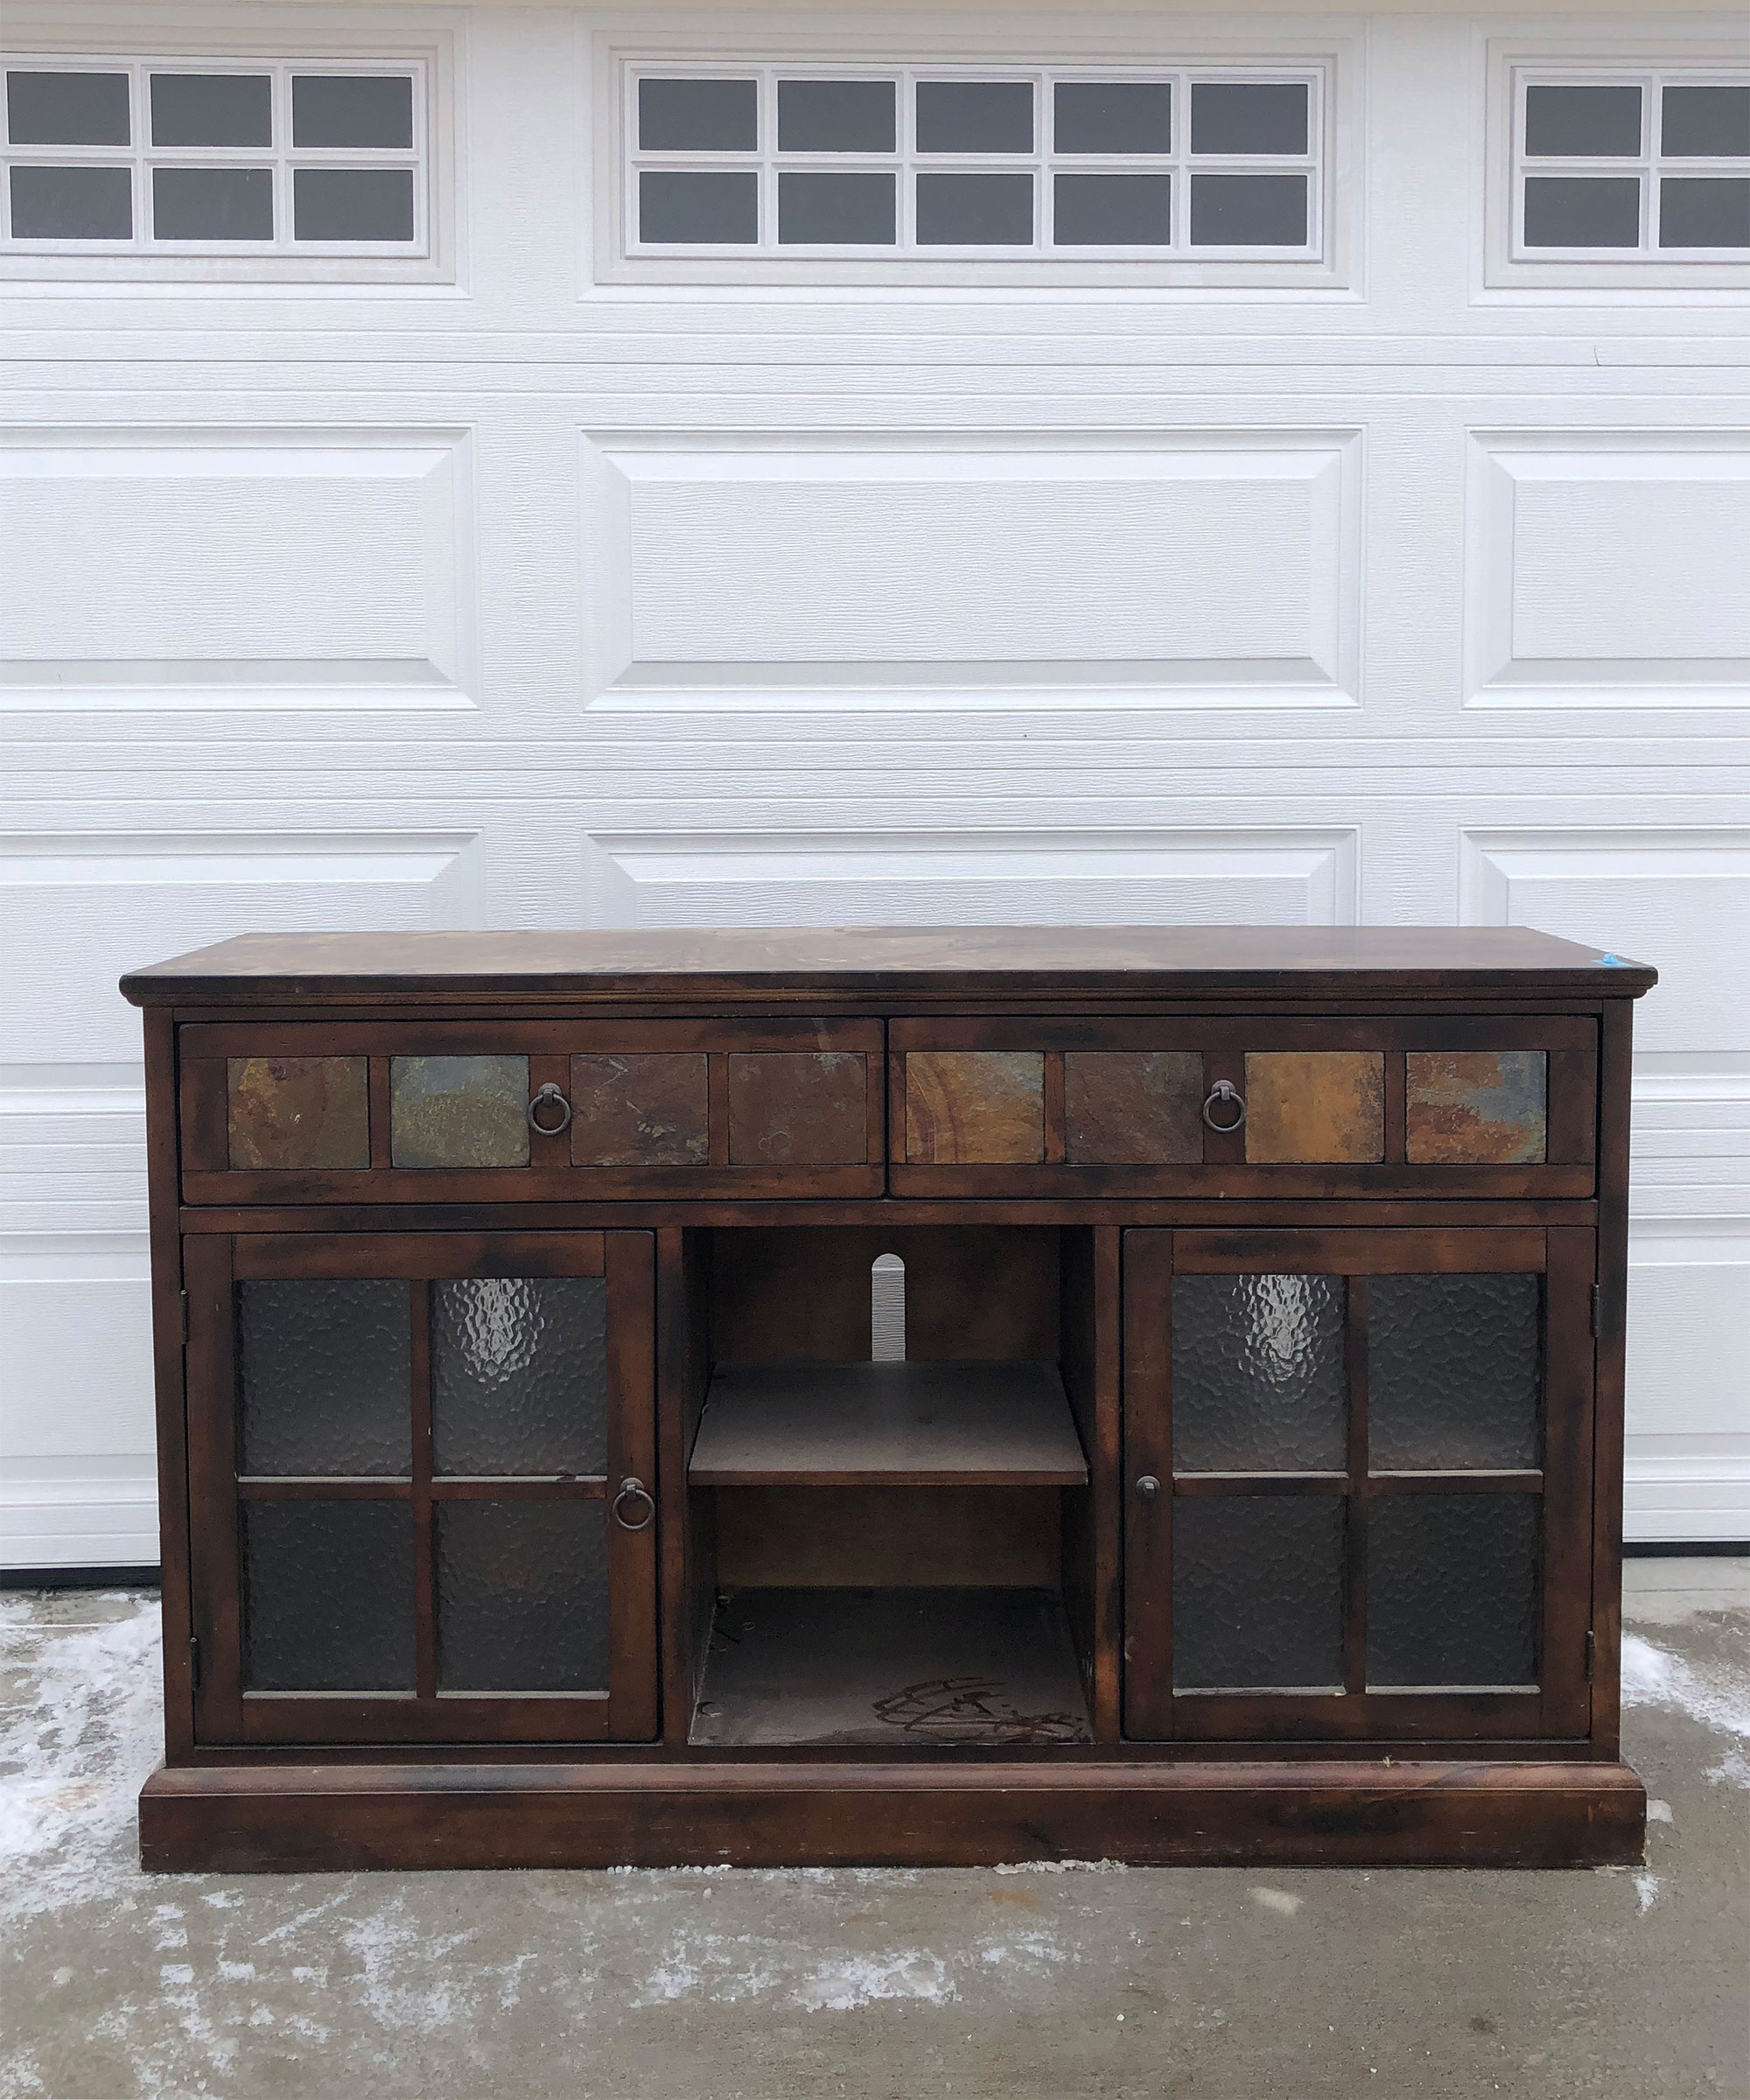
'The pole wrap cabinet started out as a dark stained TV console with tile drawer fronts and glass cabinet doors. I purchased this from my local thrift store for $40!' Says Jarrett of @wonderfullymadebyleslie.

Of course, stripping back and painting wood furniture is an easy route to a quick spruce, but Jarrett prides herself on creativity and that is after all, what gives the most unique results.
So instead, Jarrett decided to take a different approach...
'I knew right away that I wanted to change up the drawers and cabinet doors. I had been wanting to try adding pole wrap to a furniture piece, so it was perfect timing.'
Get small space home decor ideas, celeb inspiration, DIY tips and more, straight to your inbox!
How to pole wrap a cabinet
Pole wrap is pliable decorative wood, and although it's often used to cover walls and existing posts or columns, it can be a cool and cost-effective way to give dated furniture a modern refresh.
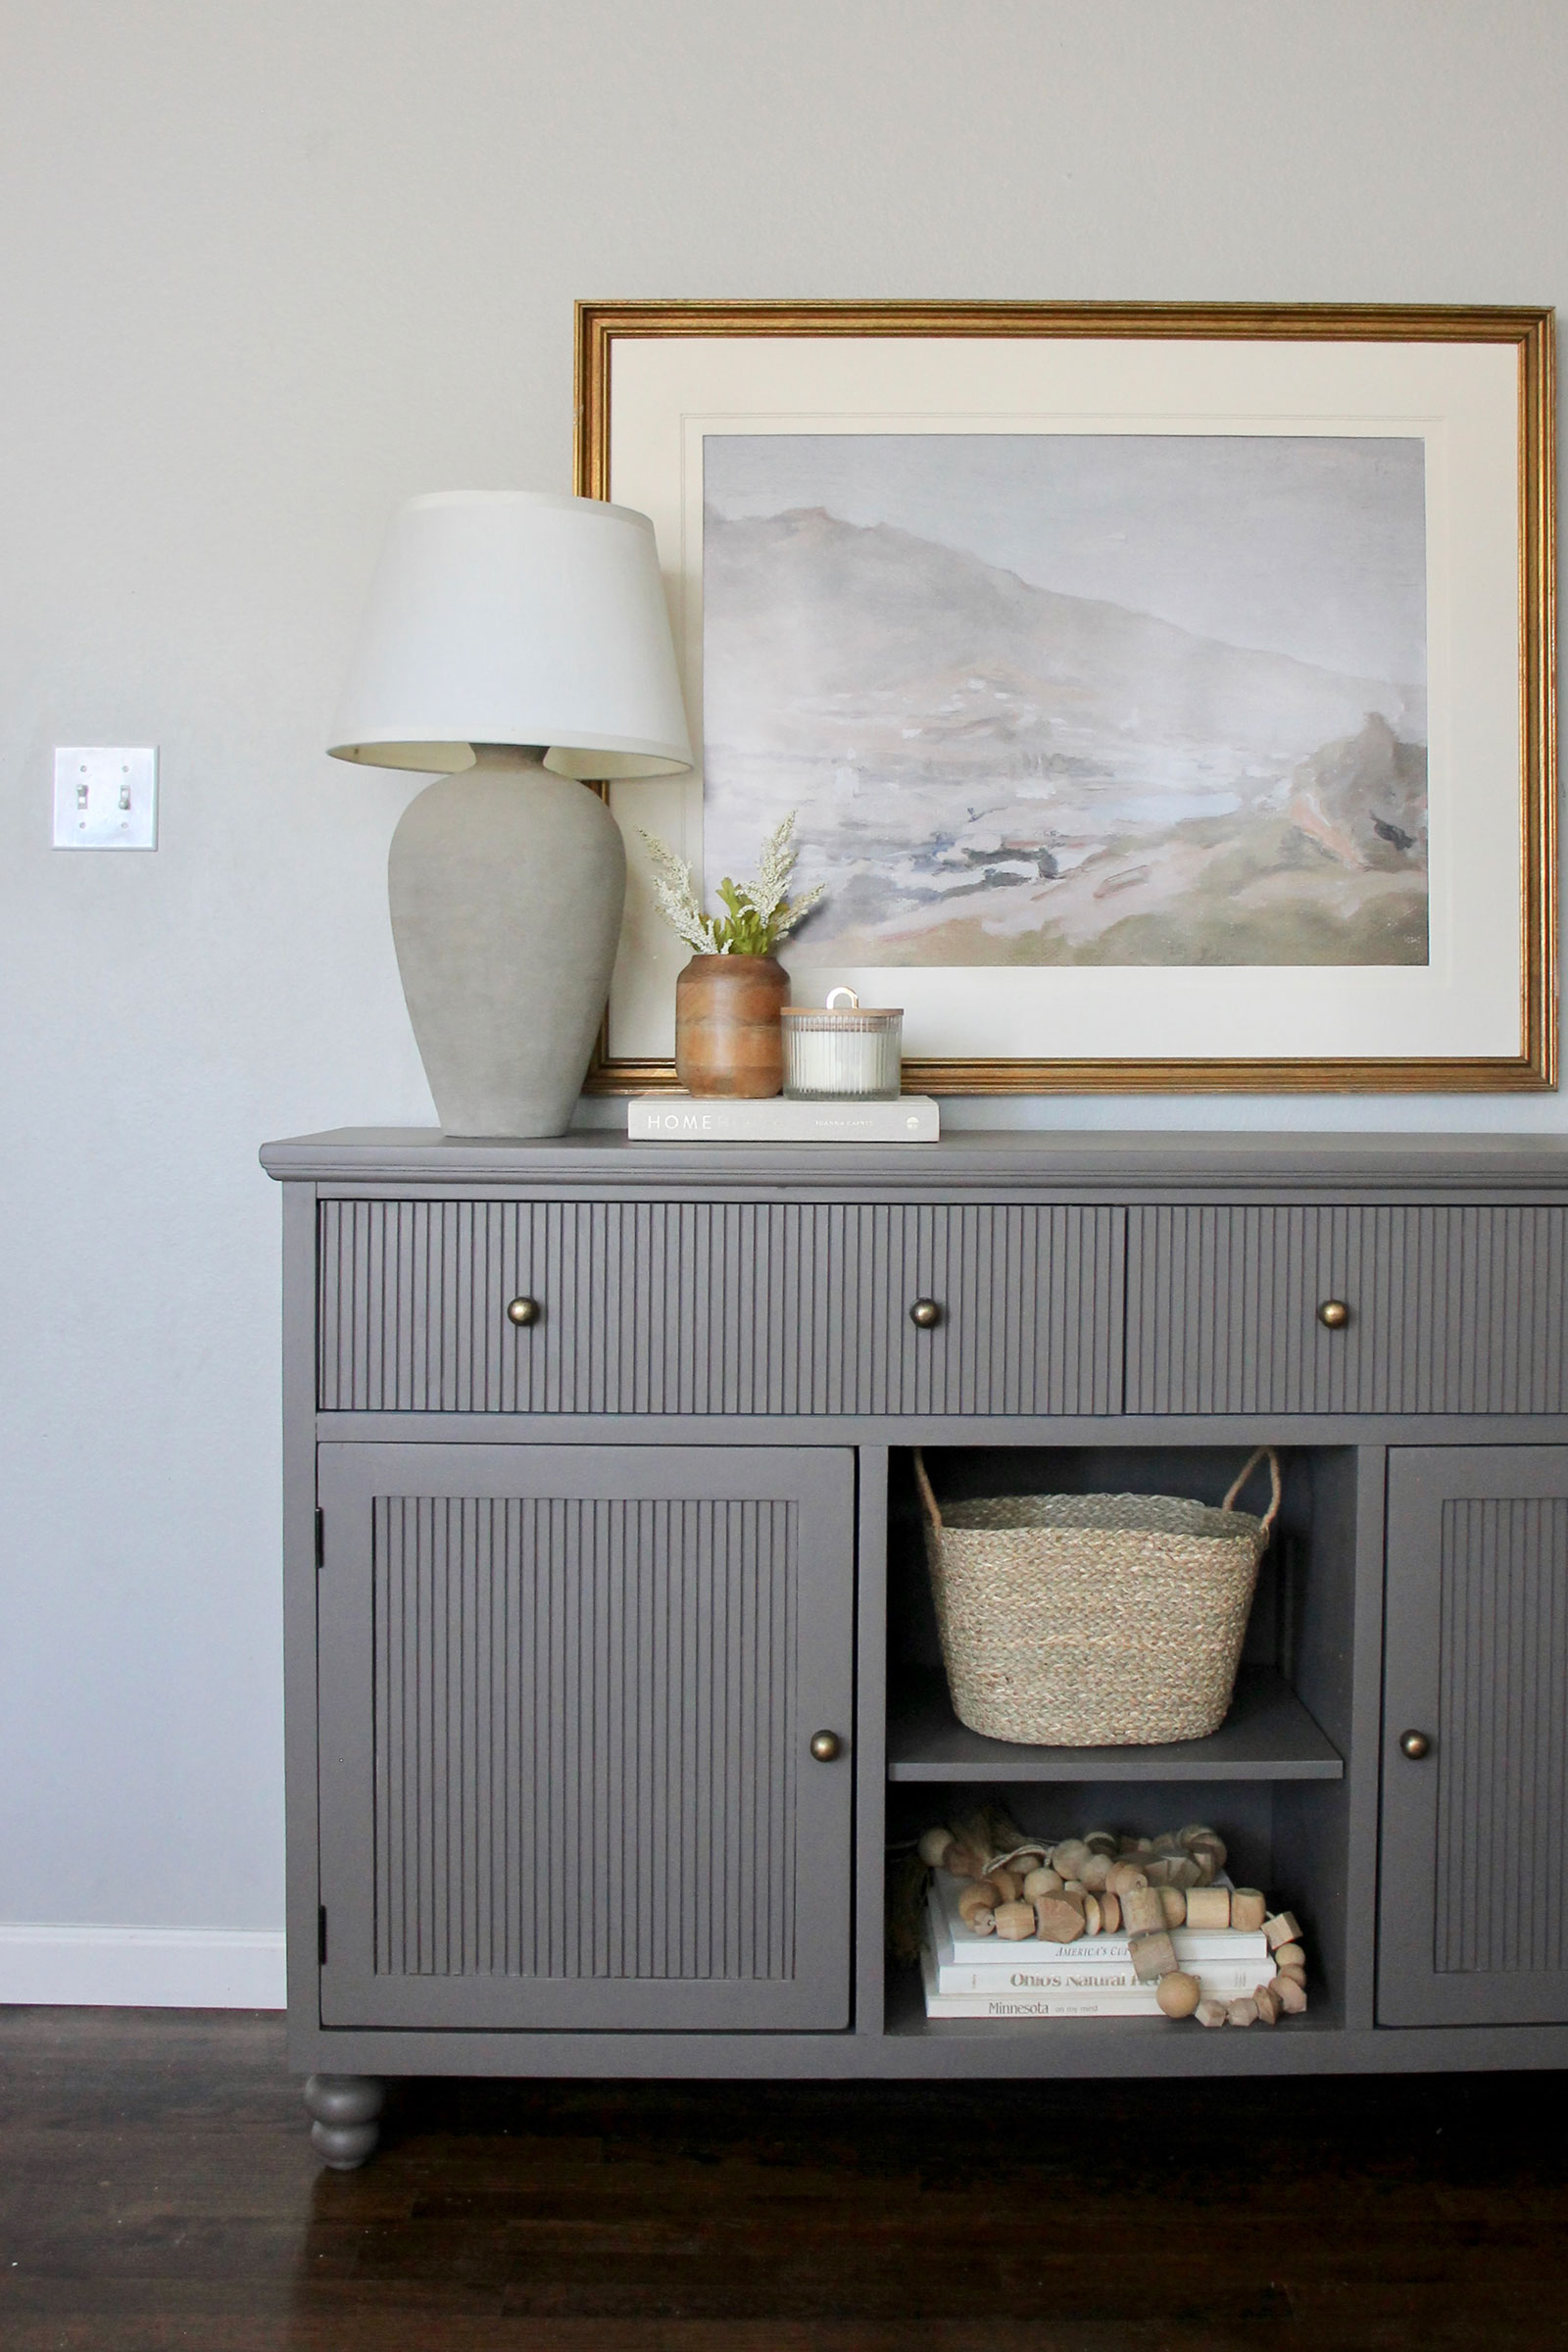
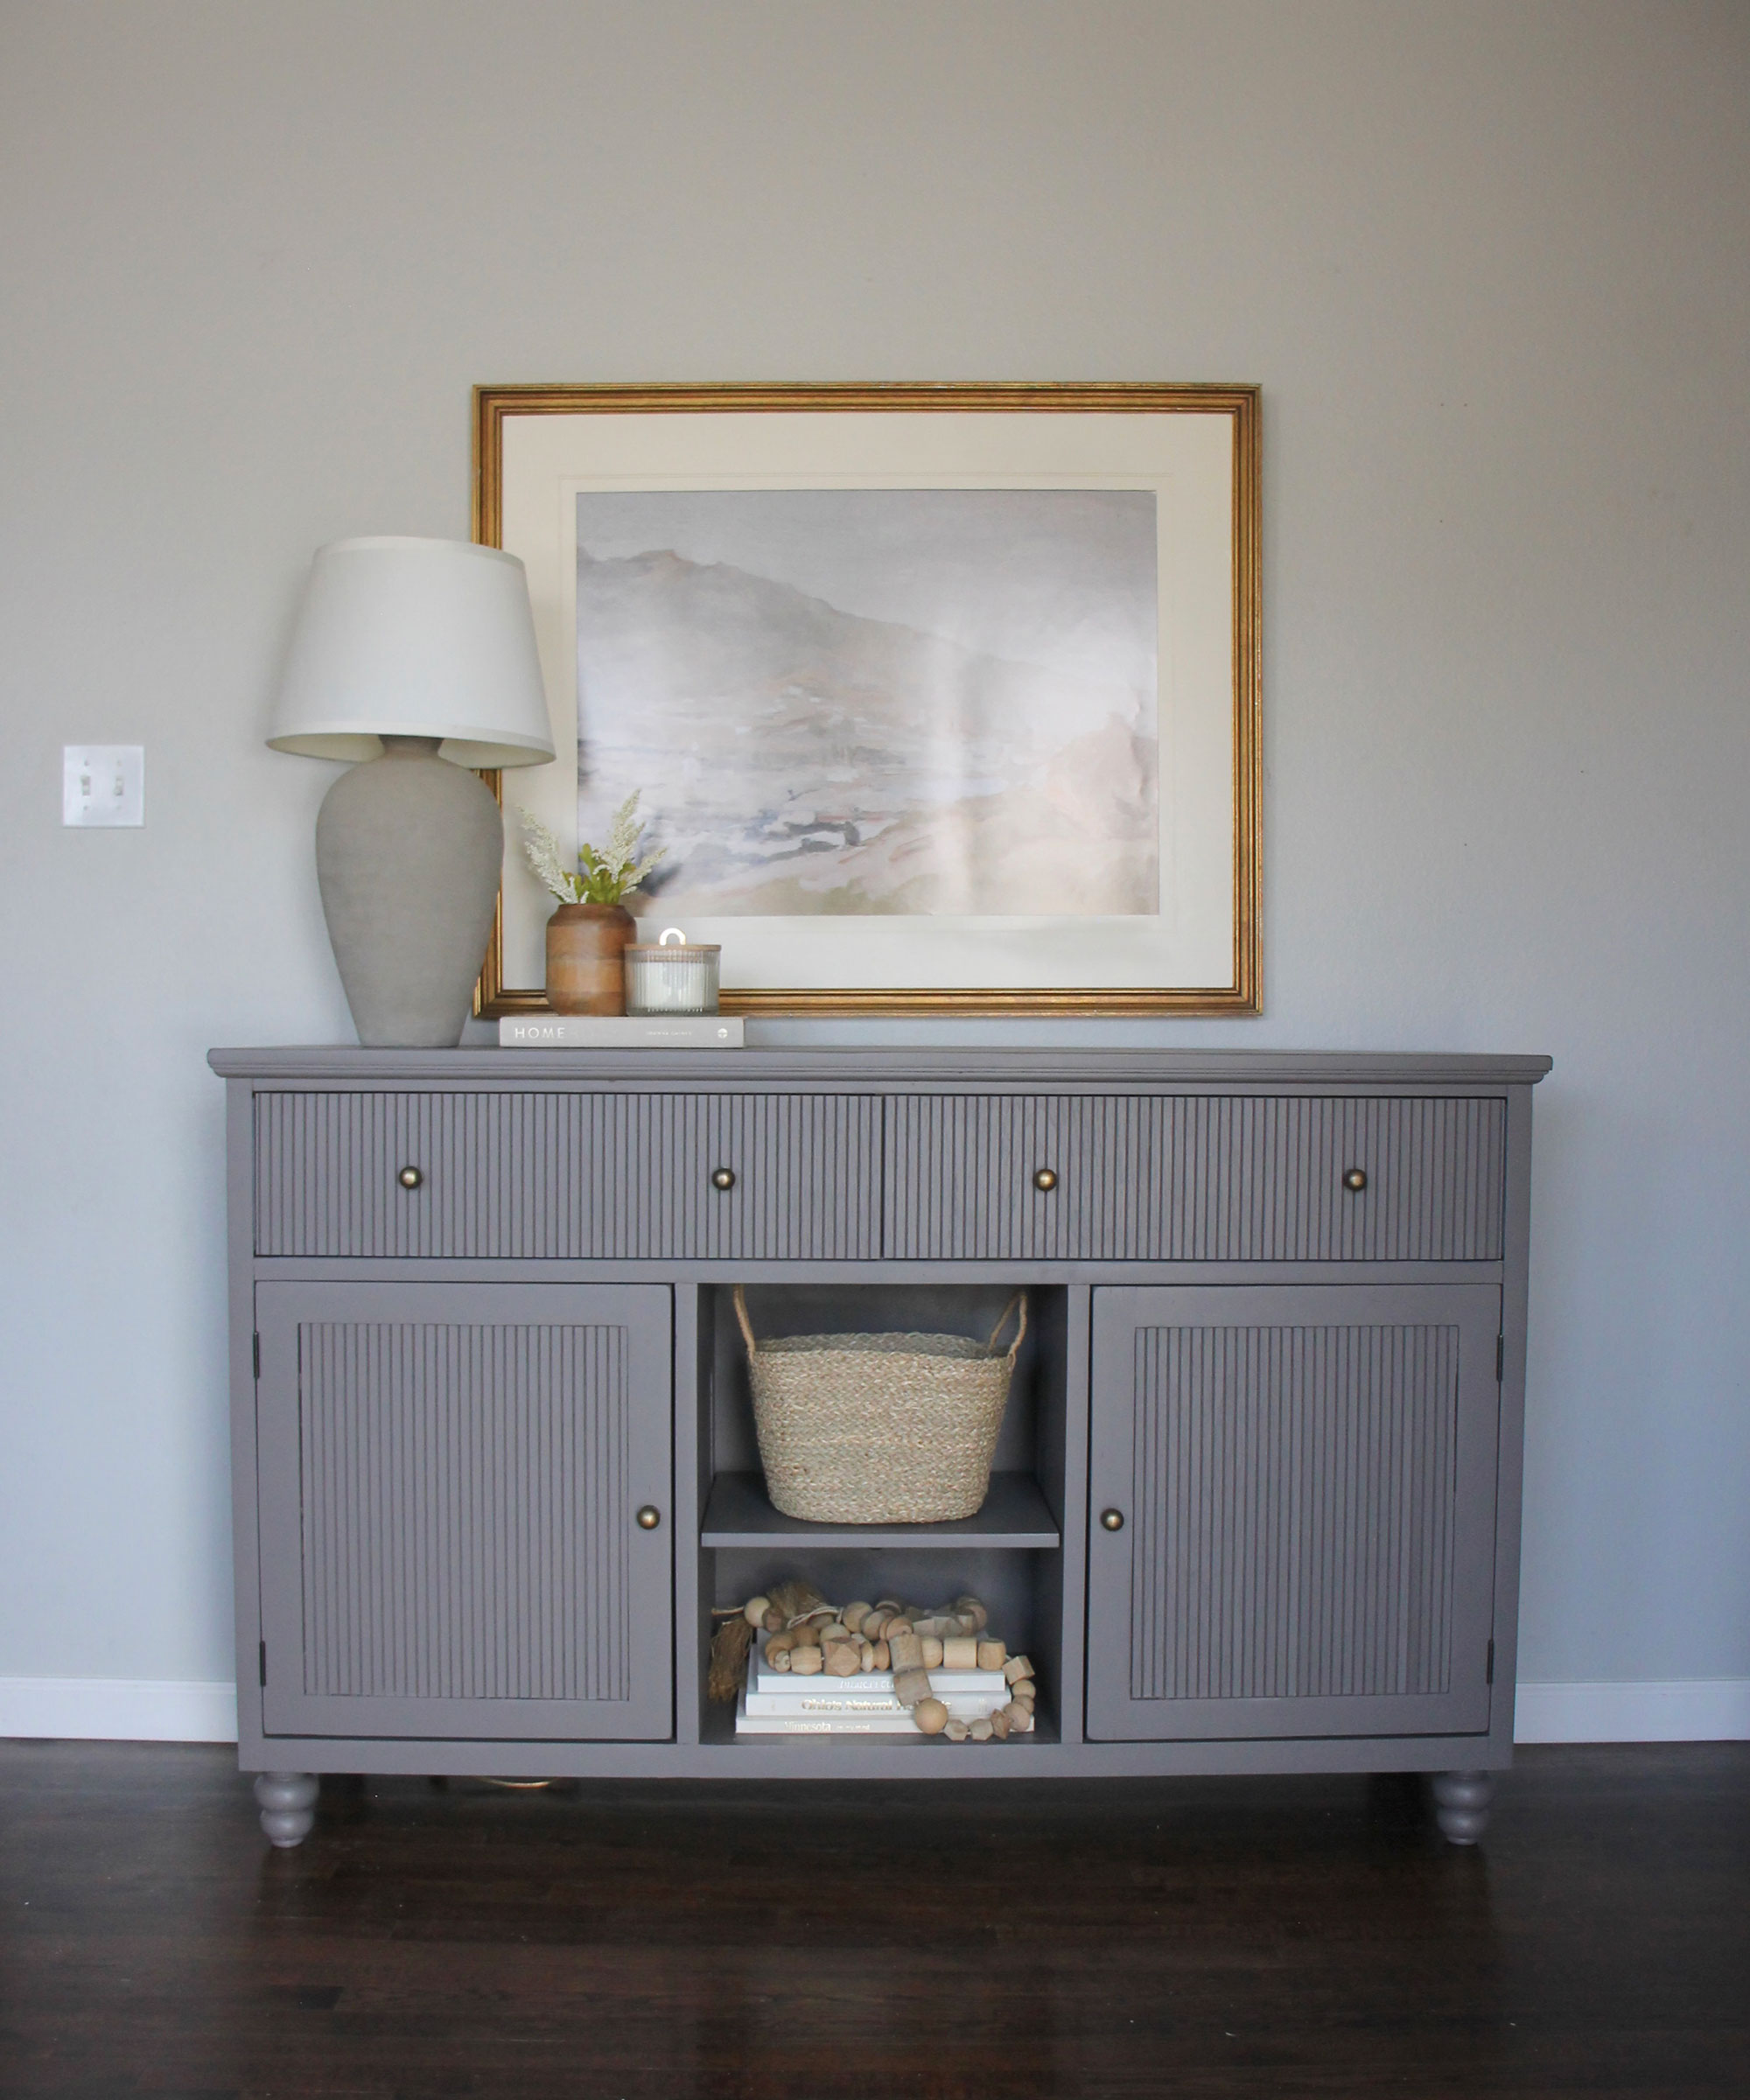
Note that Jarrett does still use paint to finish the piece which is perfect if you're after a super modern look. 'The cabinet is painted Zephyr by Melange Paints. Buyers are leaning more towards warm tones and less cool grays. Zephyr is a beautiful warm gray.' She says.
You will need:
3. Sander (or by hand) with 150 grit sandpaper
4. Wood glue: Gorilla is a good choice
5. Wooden bun feet off of Amazon
6. Paint: Jarrett uses Zephyr gray by Melange Paints
7. Paint rollers: Jarrett loves Purdy ultra finish paint rollers
Project costs: This came in at about $180.
Whereas a unique solid wood cabinet would sell for $1000+... On that note.
1. Prep your piece
'Prep is always the first (and hardest!) step. I started by cleaning with a degreaser' Jarrett uses Krud Kutter from the Home Depot, 'then sanding the piece with 150 grit sandpaper. The goal is to rough up the finish, not remove the finish. I also removed the original bottom trim, so I could add feet.'
2. Remove drawers and doors
'I removed the drawers and doors to get ready to add the pole wrap. I ordered the pole wrap from Home Depot.
3. Make your cuts and attach the pole wrap
'I used my table saw to make all my cuts. I attached the pole wrap with wood glue and sat books on top of it overnight to make sure it was secure.'
4. Add decorative extras
'I ordered wooden bun feet off of Amazon and they came with metal plates. Adding new feet to furniture is one of my favorite changes to make.'
Jarrett changed the feet and hardware on this console but of course, this is completely customizable and you can choose whichever handles or feet you'd like to suit your interior decor style.
5. Finish up with paint and hardware
'Up next I rolled the entire piece with my favorite Purdy ultra finish paint rollers. I added new hardware and then I was done.'

Grey isn't going out of style any time soon, whether it's the color of your furniture or on the walls. But, of course, if you're not into grey you can use another paint for furniture.
The results:
For what was a fairly dated cabinet, snagged for less than $50, it's hard to believe it's the same piece of furniture and for such a simple, budget-friendly DIY...

Leslie Jarrett is a wife and mother of three young boys in Denver, CO. Formerly a high school math teacher, she decided to follow her DIY passion and she now has a business furniture flipping. She uses Facebook Marketplace to find & sell furniture she upcycles.
Jarrett often sells her pieces but it's not surprising that she found this particular piece hard to let go of! 'It is so hard to sell pieces that I refinish, especially ones I love! I did not have the space to keep the cabinet, so I sold this piece on Facebook Marketplace.'

I'm Cam, the former deputy editor of Real Homes who worked on the site from 2020 to 2023. As a renter myself, sharing a home with two friends (and my cat) in London, I know all too well the challenges that this can pose when it comes to creating your perfect setup. As someone who has always loved everything interior design-related, I cannot rest until a home feels right and I am really passionate about helping others get there too, no matter what their living situation, style, or budget may be. It’s not always the easiest to figure out, but the journey is fun and the results are so worth it.
After interior design, travel, art, and photography are my next big passions. When I’m not writing or editing homes content, I’m usually tapping into other creative outlets, exploring galleries in London or further afield, taking photos, scribbling, or drawing!