How to paint Ikea outdoor SKARPÖ chairs: from white to Champagne pink
UK DIY blogger Jo Lemos shares how to paint the iconic IKEA SKARPÖ chairs for a budget yet bougie yard upgrade
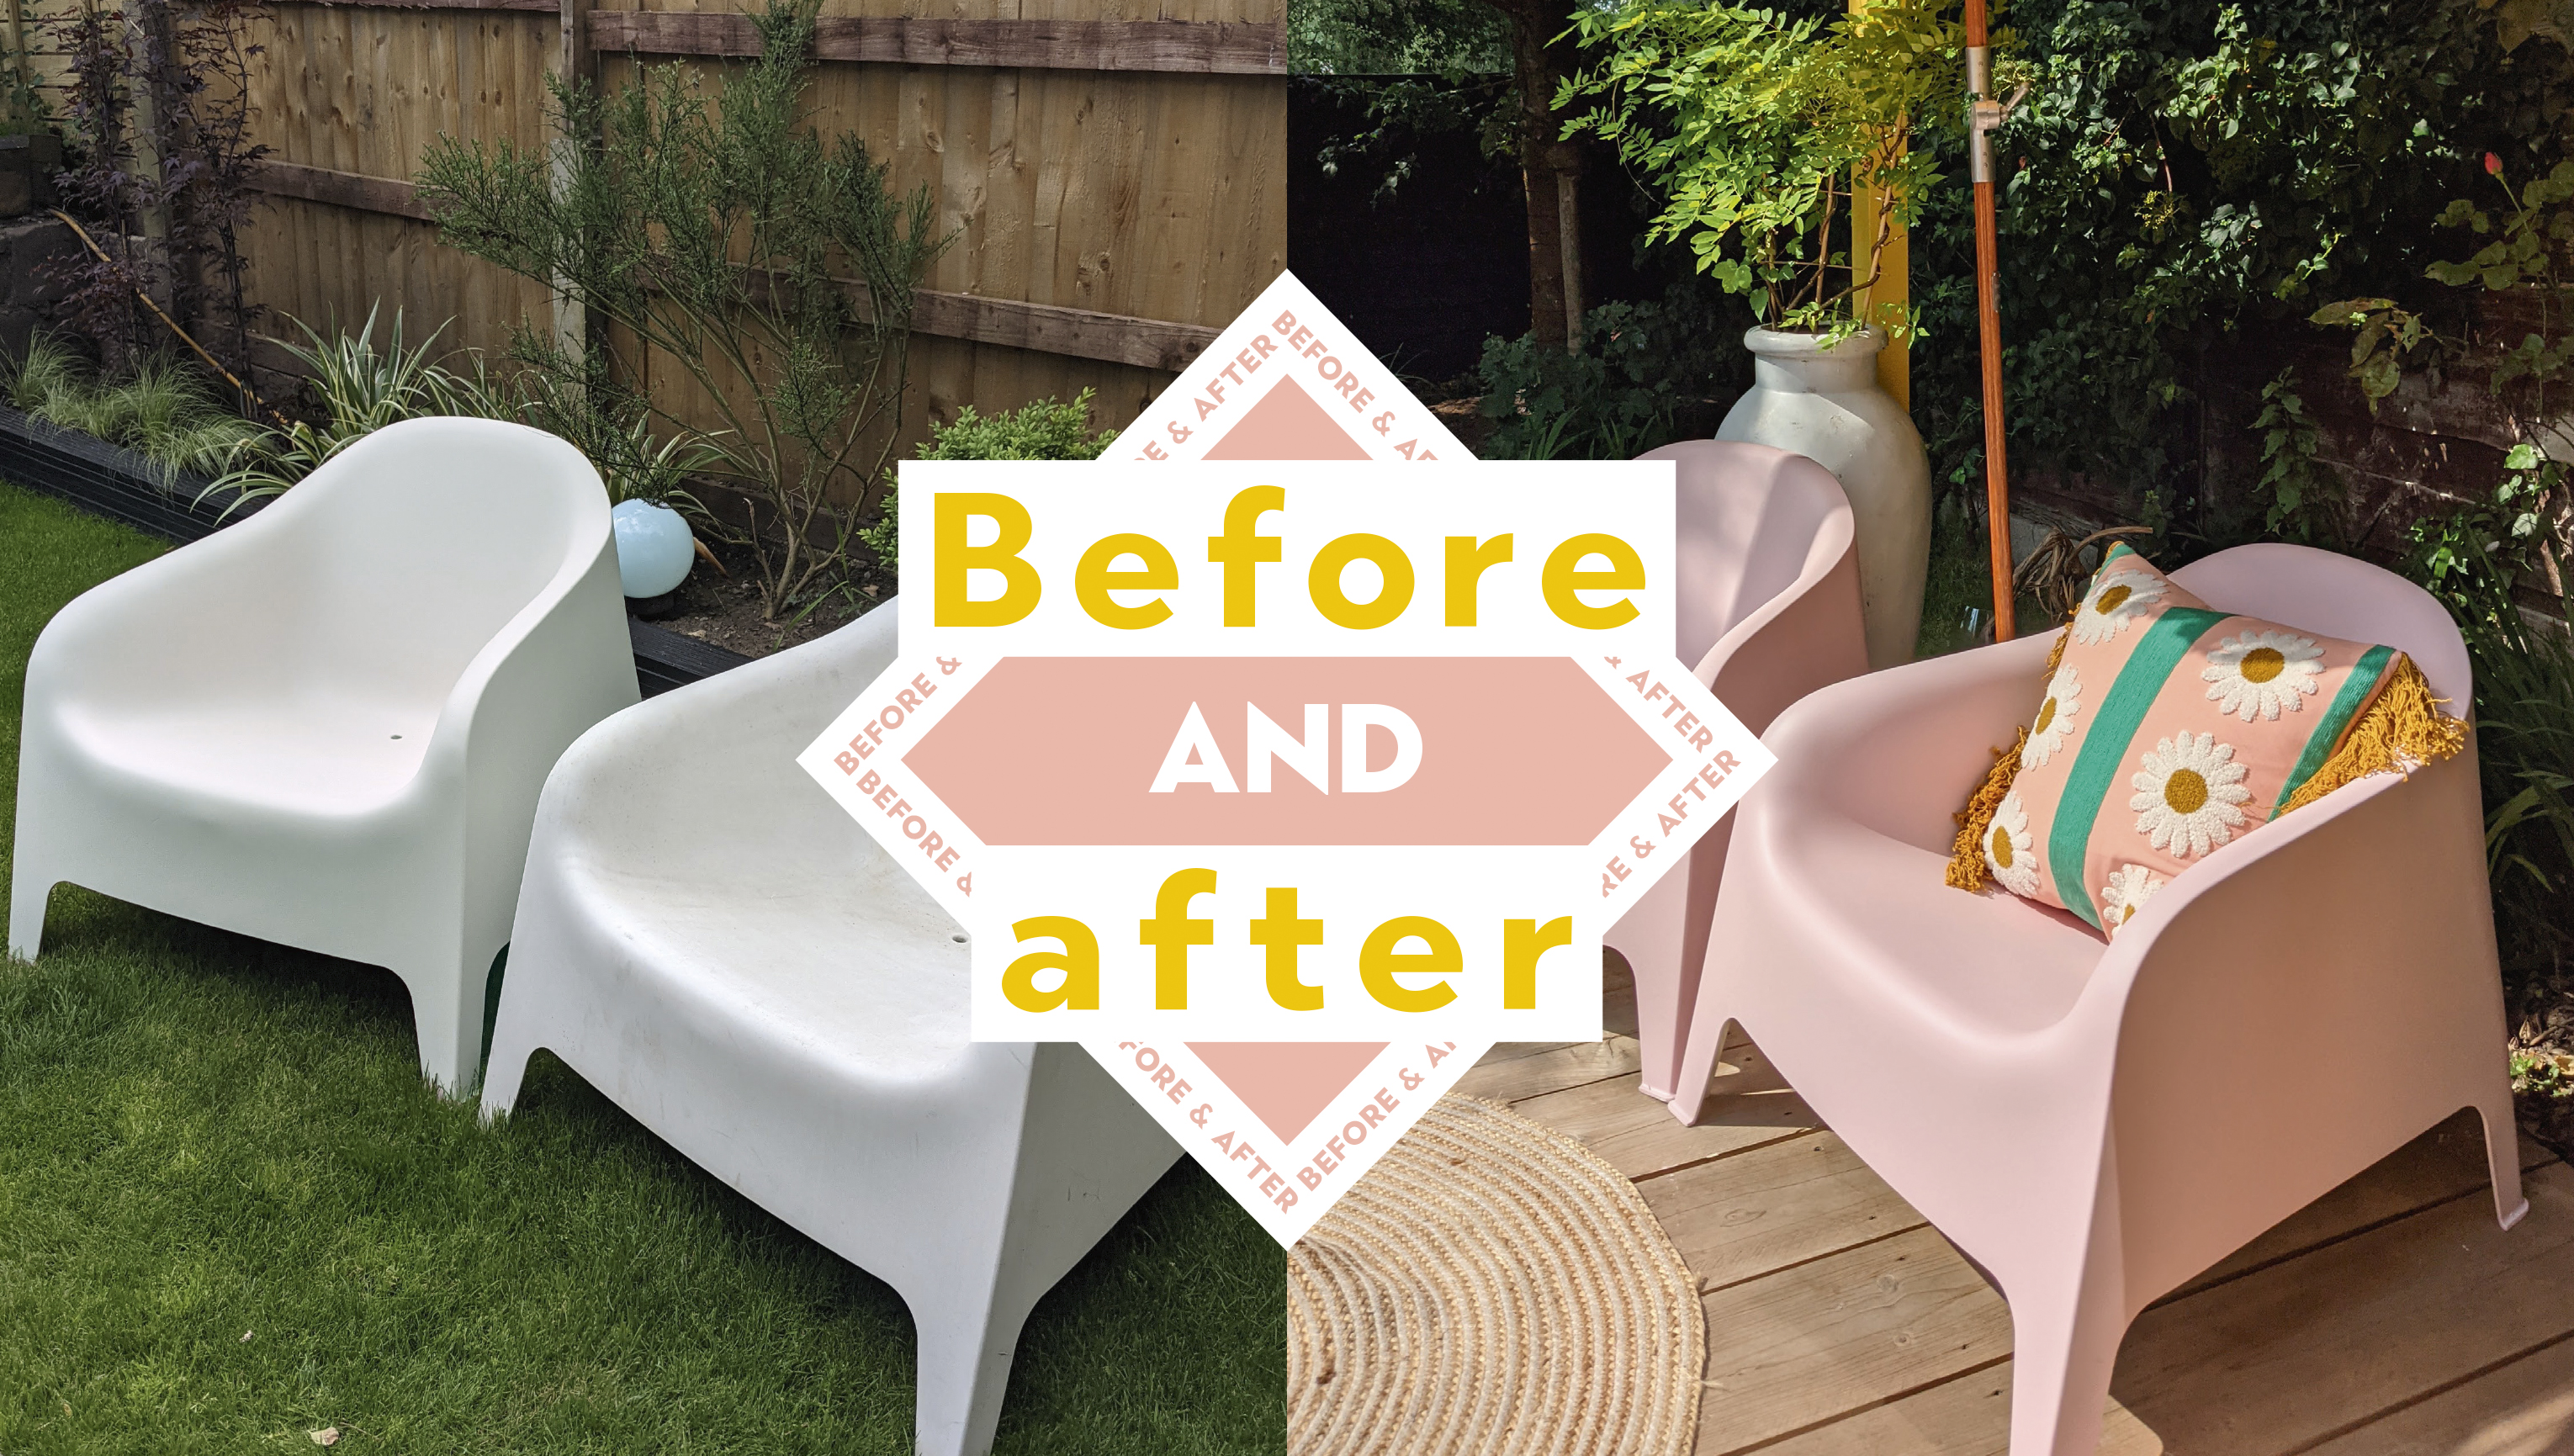
Like many of us, I am obsessed with achieving the perfect garden space to relax and unwind in. Outdoor furniture is an important part of creating that cosy place but like many, I find it hard to maintain it because they often take a battering from the external conditions they are subject to.
One of the first pieces of outdoor furniture I ever bought was a pair of SKARPÖ plastic tub chairs from Ikea. These are lightweight, affordable, and surprisingly comfortable to lounge around in. Plus, they were ideal for the terrace I had at the time.
Initiailly, I purchased the white version of the chairs as I thought they looked very chic. And, as they are plastic, I figured they would be pretty durable and wouldn't face the same issues with water as a lot of wooden furniture does...
Project inspiration
When I moved to a house with a large garden with mature trees I placed the chairs I had at the end, under the shade of said trees (one of my favourite places to sit).
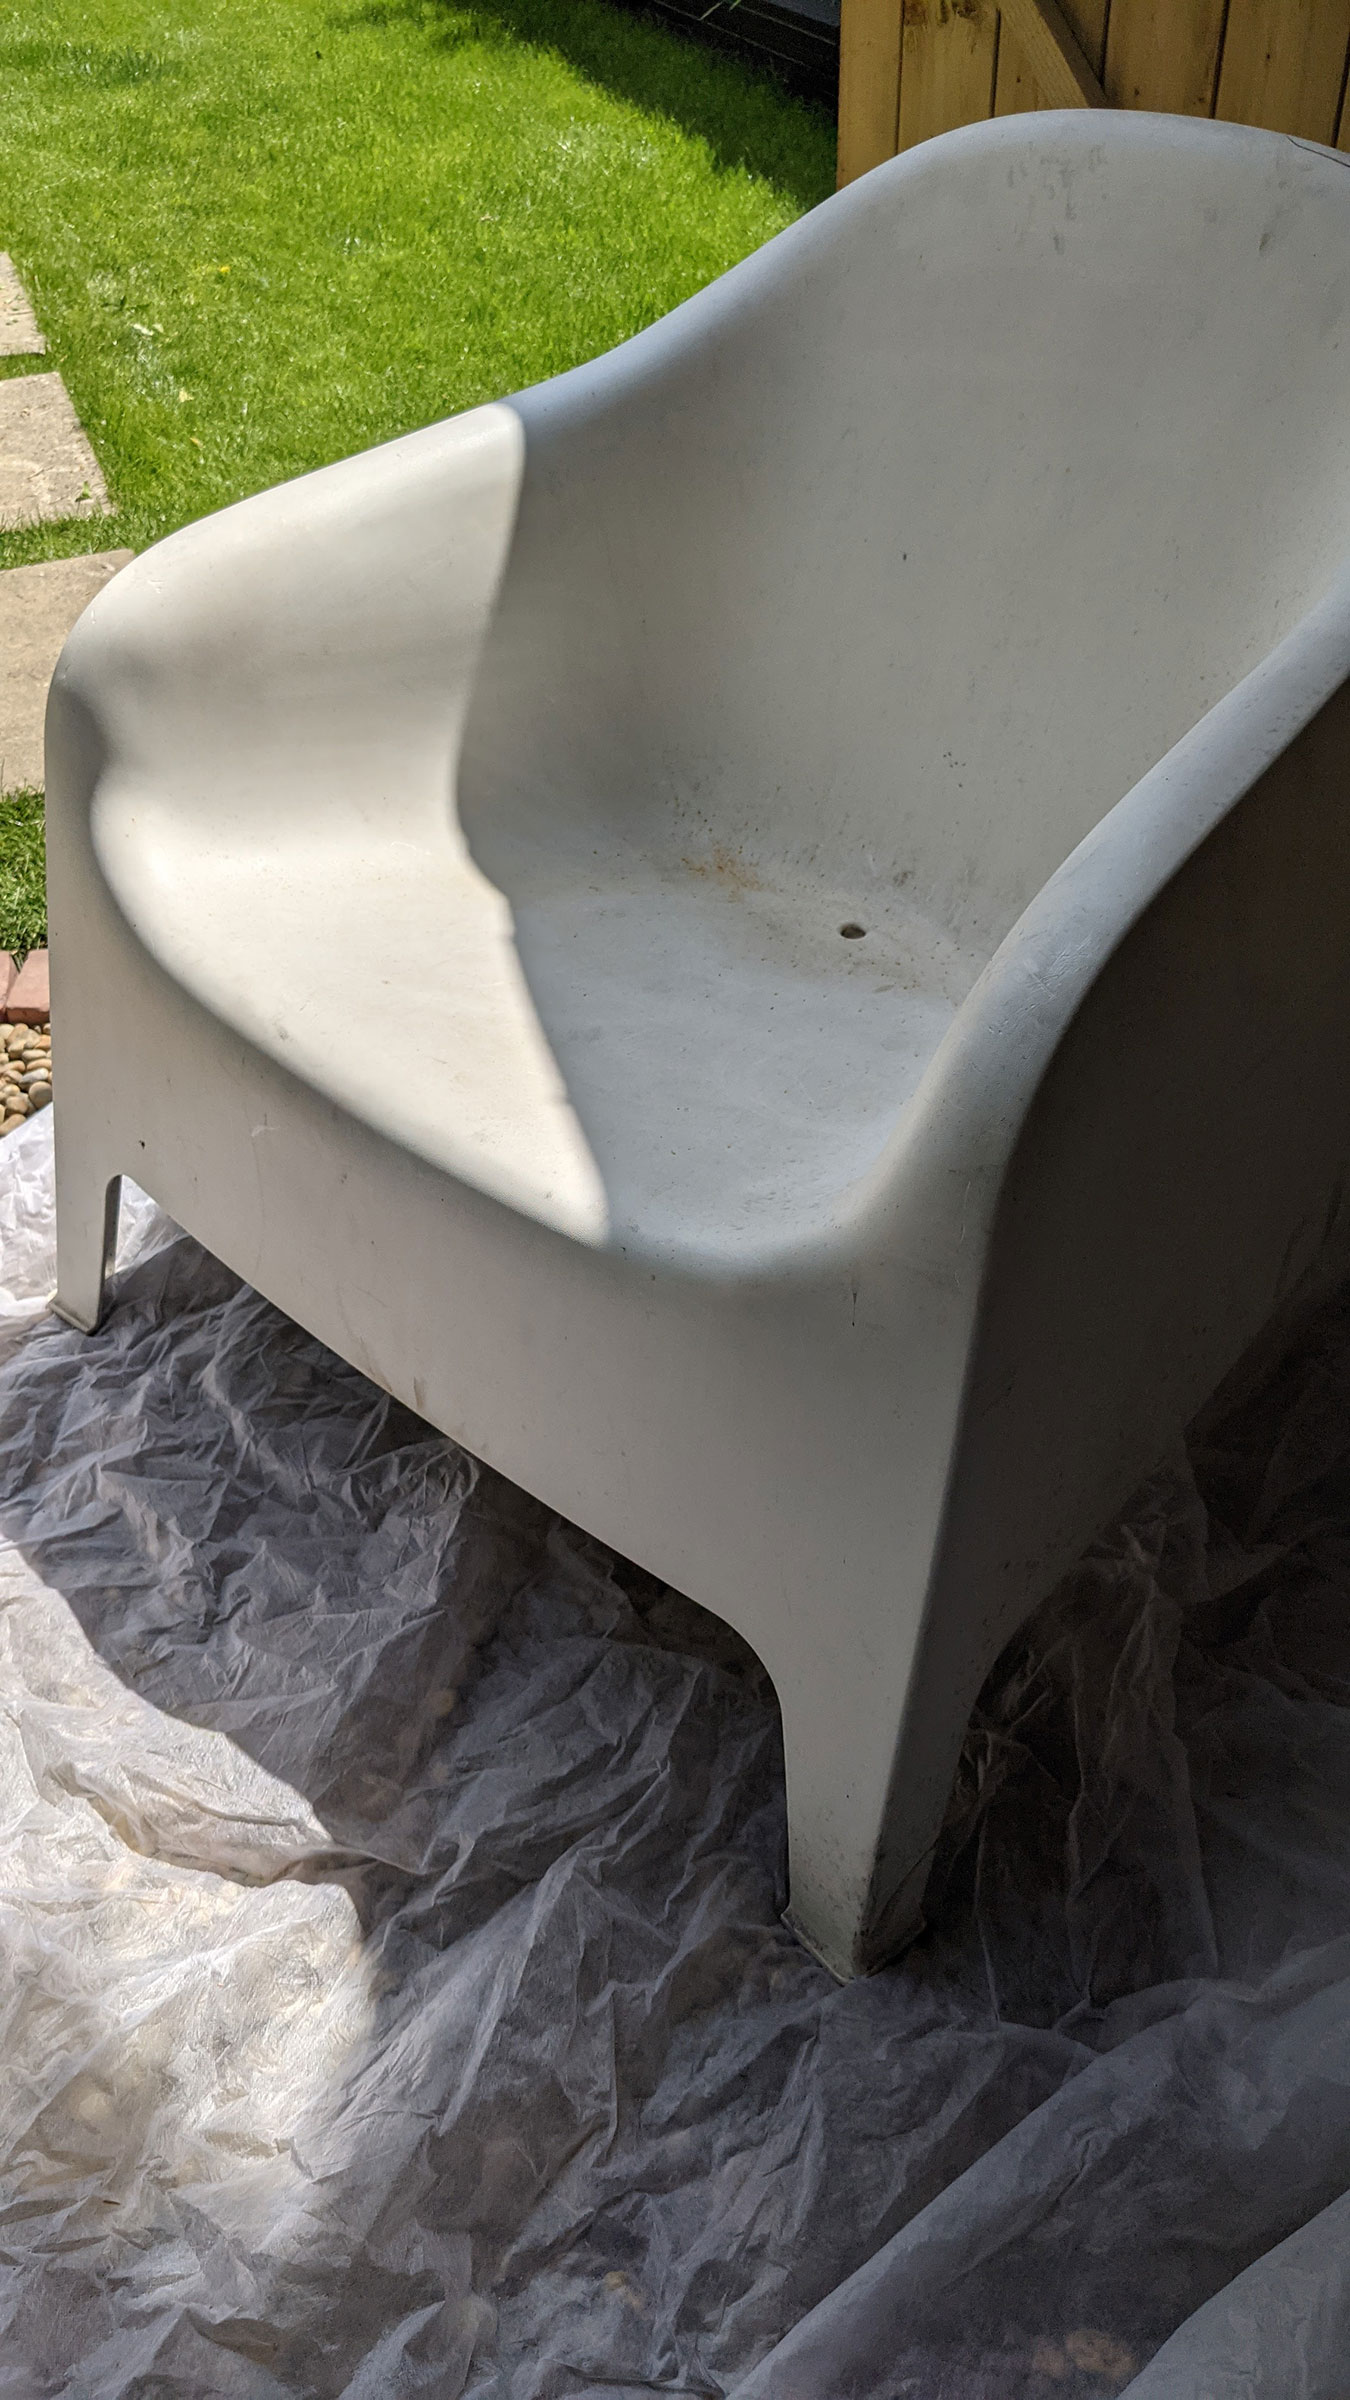
After my first winter there though it became apparent that my positioning of these chairs wasn’t the greatest idea. The debris from the pine tree above had left my stylish white chairs looking a bit grubby. Of course, I shouldn’t have left them out all winter but I did and it meant that no matter how hard I tried to bring them back to white – after previous successes when cleaning patio furniture – I couldn't get them back to the perfect white.
I decided my only remedy was to paint them. I was a little bit concerned because I wasn’t sure what type of paint to use to cope with the outdoor conditions whilst also being durable enough to cope with the friction of someone sitting in it. It did however create a fun DIY project opportunity to completely change the colour of the chairs.
I used:
1. A pair of SKARPÖ plastic tub chairs from Ikea
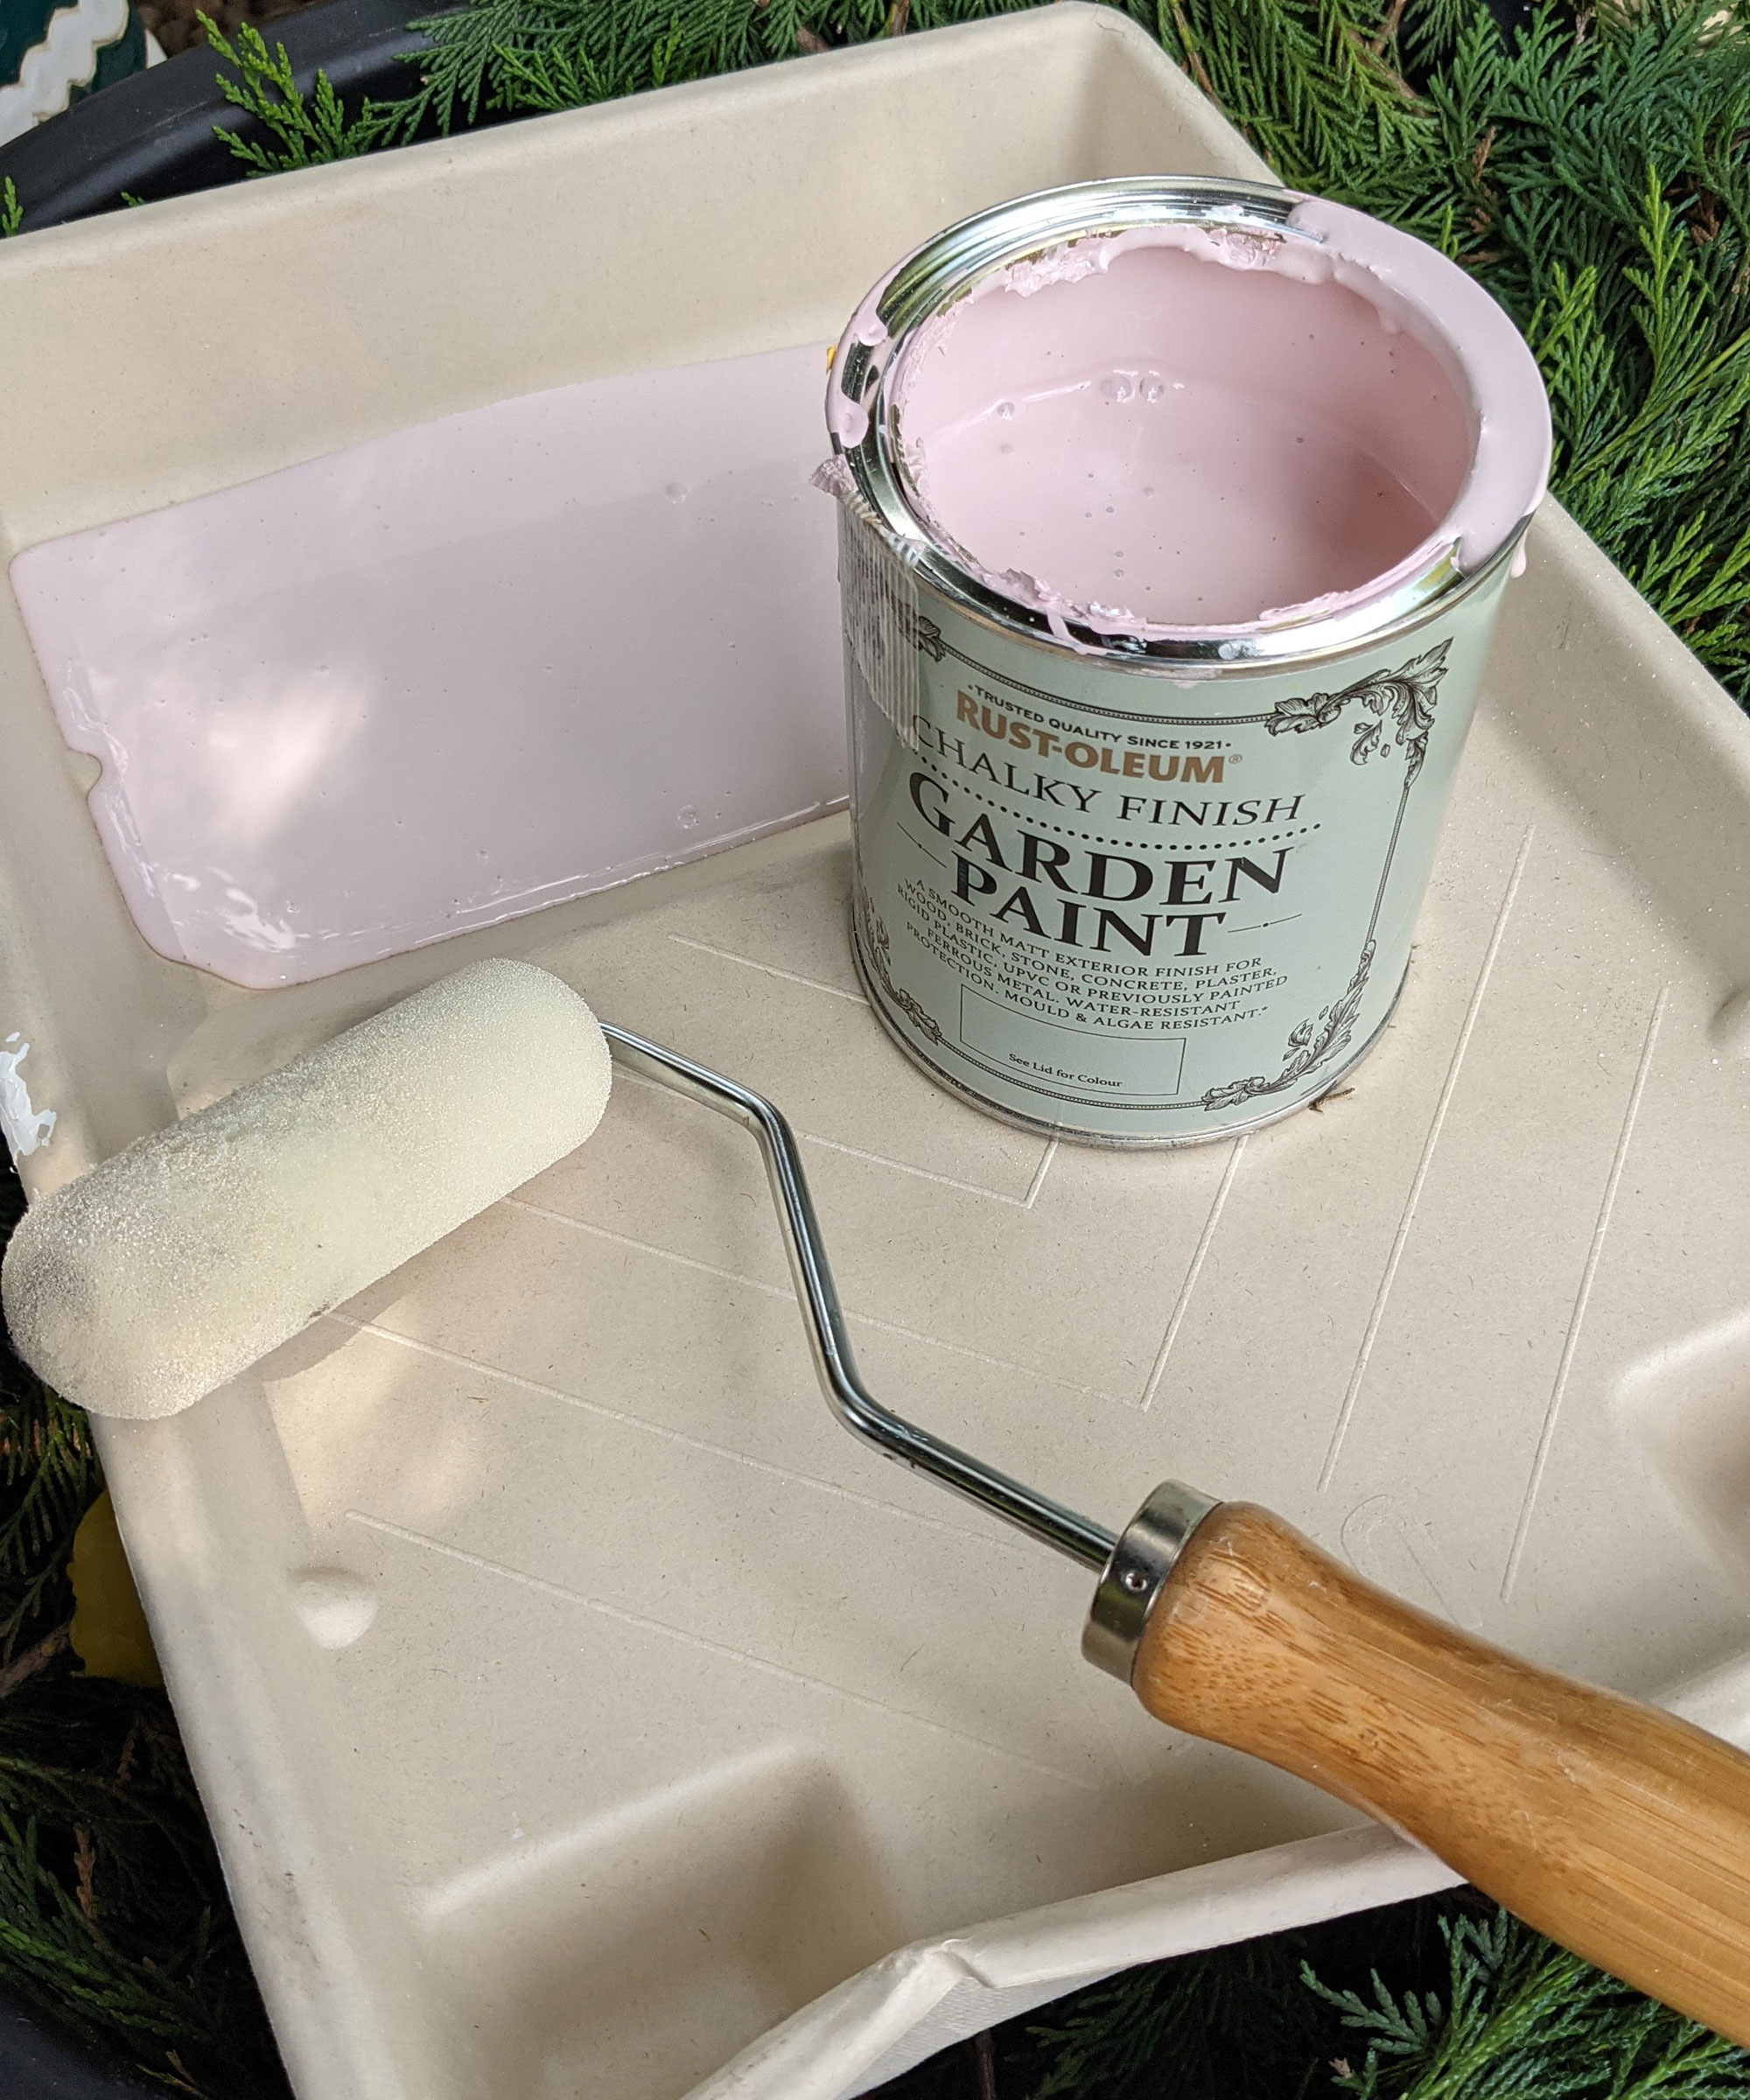
2. Paint: I used Rust-Oleum Pink Mould Resistant Garden Paint in Matt Finish - Pink Champagne 750ml from Amazon
3. Foam paint rollers
4. Dust sheets
6. Clean microfiber cloth
How to paint IKEA SKARPÖ chairs step-by-step
I had recently painted a fence and shed using Rustoleum’s Garden paint and noticed that the label said it was for “Rigid Plastic”. As I had some leftover, I thought I would give it a go. The thing I love about their garden paint is that it comes in 110 shades in a chalky finish. Most outdoor paints have a limited colour range in my experience and this has the benefits of a matt finish and no priming necessary.
Get small space home decor ideas, celeb inspiration, DIY tips and more, straight to your inbox!
I had a leftover tin of a colour called “Pink Champagne” which is a lovely pale tone and I thought was perfect for the chairs.
1. Hose the chairs down
First of all, make sure your chairs are clean from debris and dirt. I did this by hosing off the chairs to get rid of any excess then used a household multi-surface cleanser to wipe off any remaining residue. Before I added any paint I made sure the surface was dry by using a dish or microfiber cloth.
2. Apply the paint
To apply the paint I used a simple roller but a brush is fine also. The paint is quite thick in consistency which is common with many outdoor paints. Mix the paint inside the tin before applying and pour into a paint tray or container. Be careful of drips falling from the paint roller/brush, it’s a hard paint to remove if you get it somewhere unintended.
3. Give them a second coat
Lay down a dust sheet and place the chair on top of it to protect the ground. The chair is quite textured so use short strokes of the brush to make sure you get all of the surface. You want to apply the paint quite thinly so it doesn’t clump up in any places. Take your time covering the entire area, taking care to do the legs fully as well.
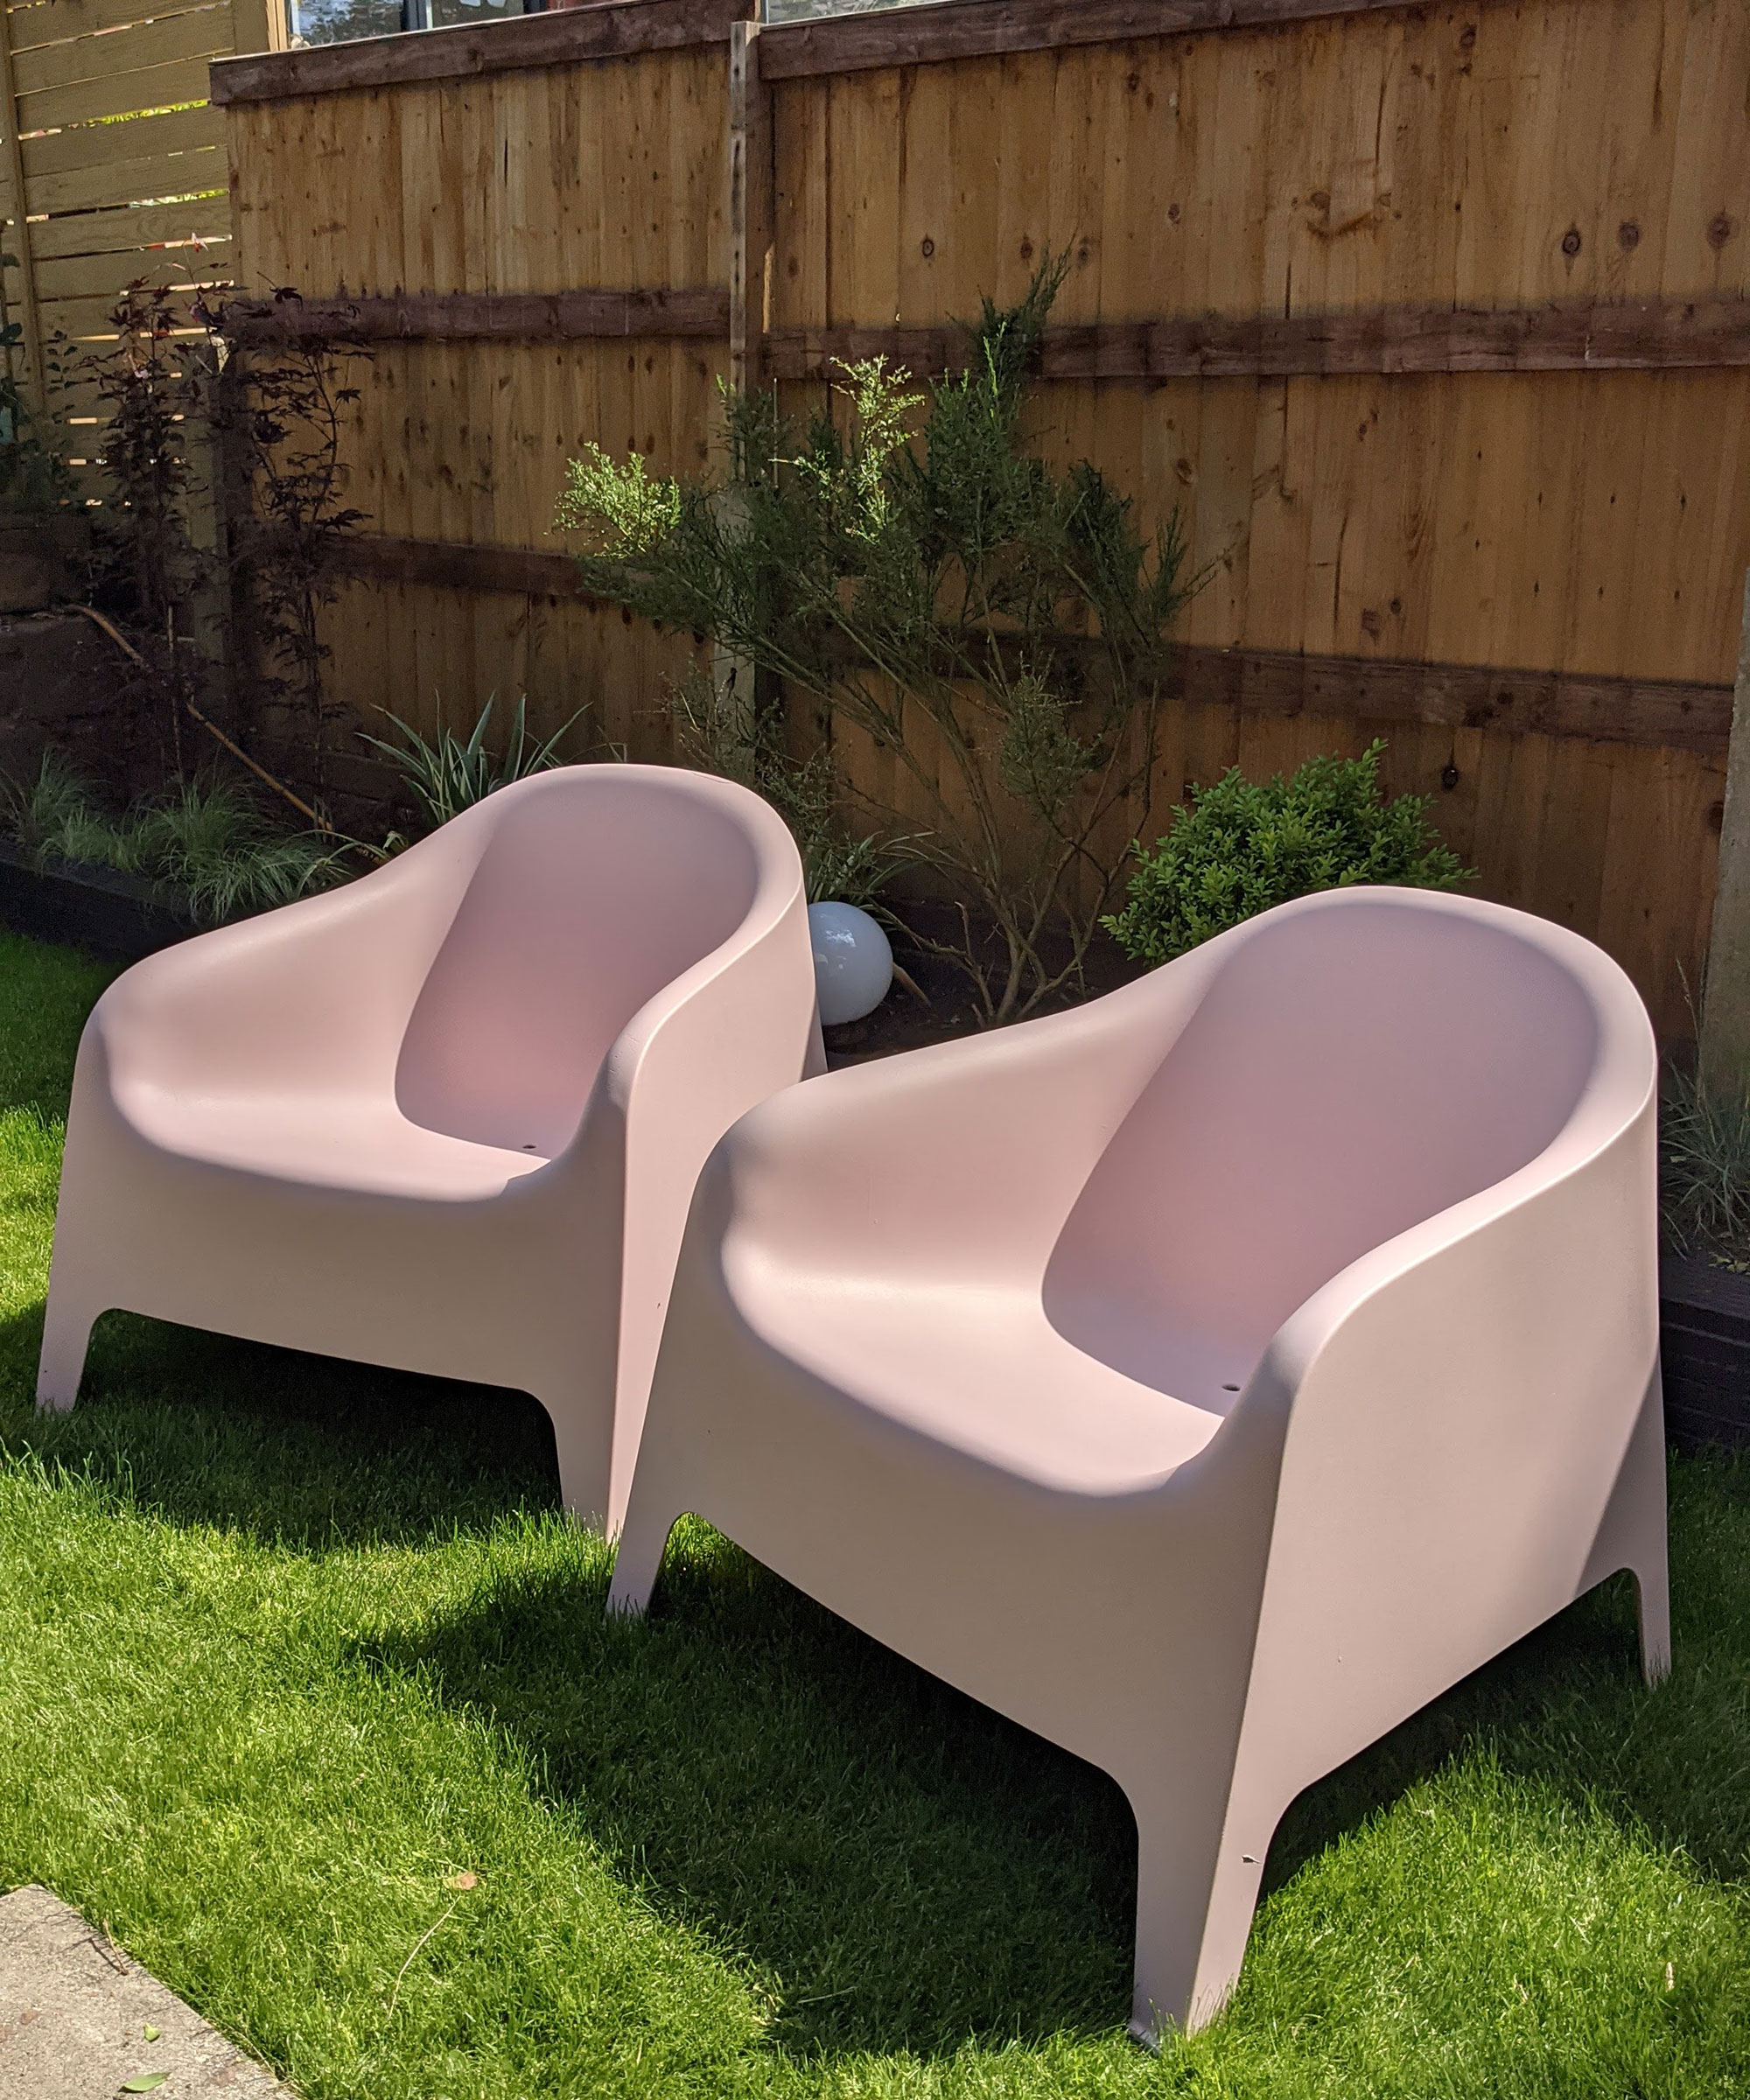
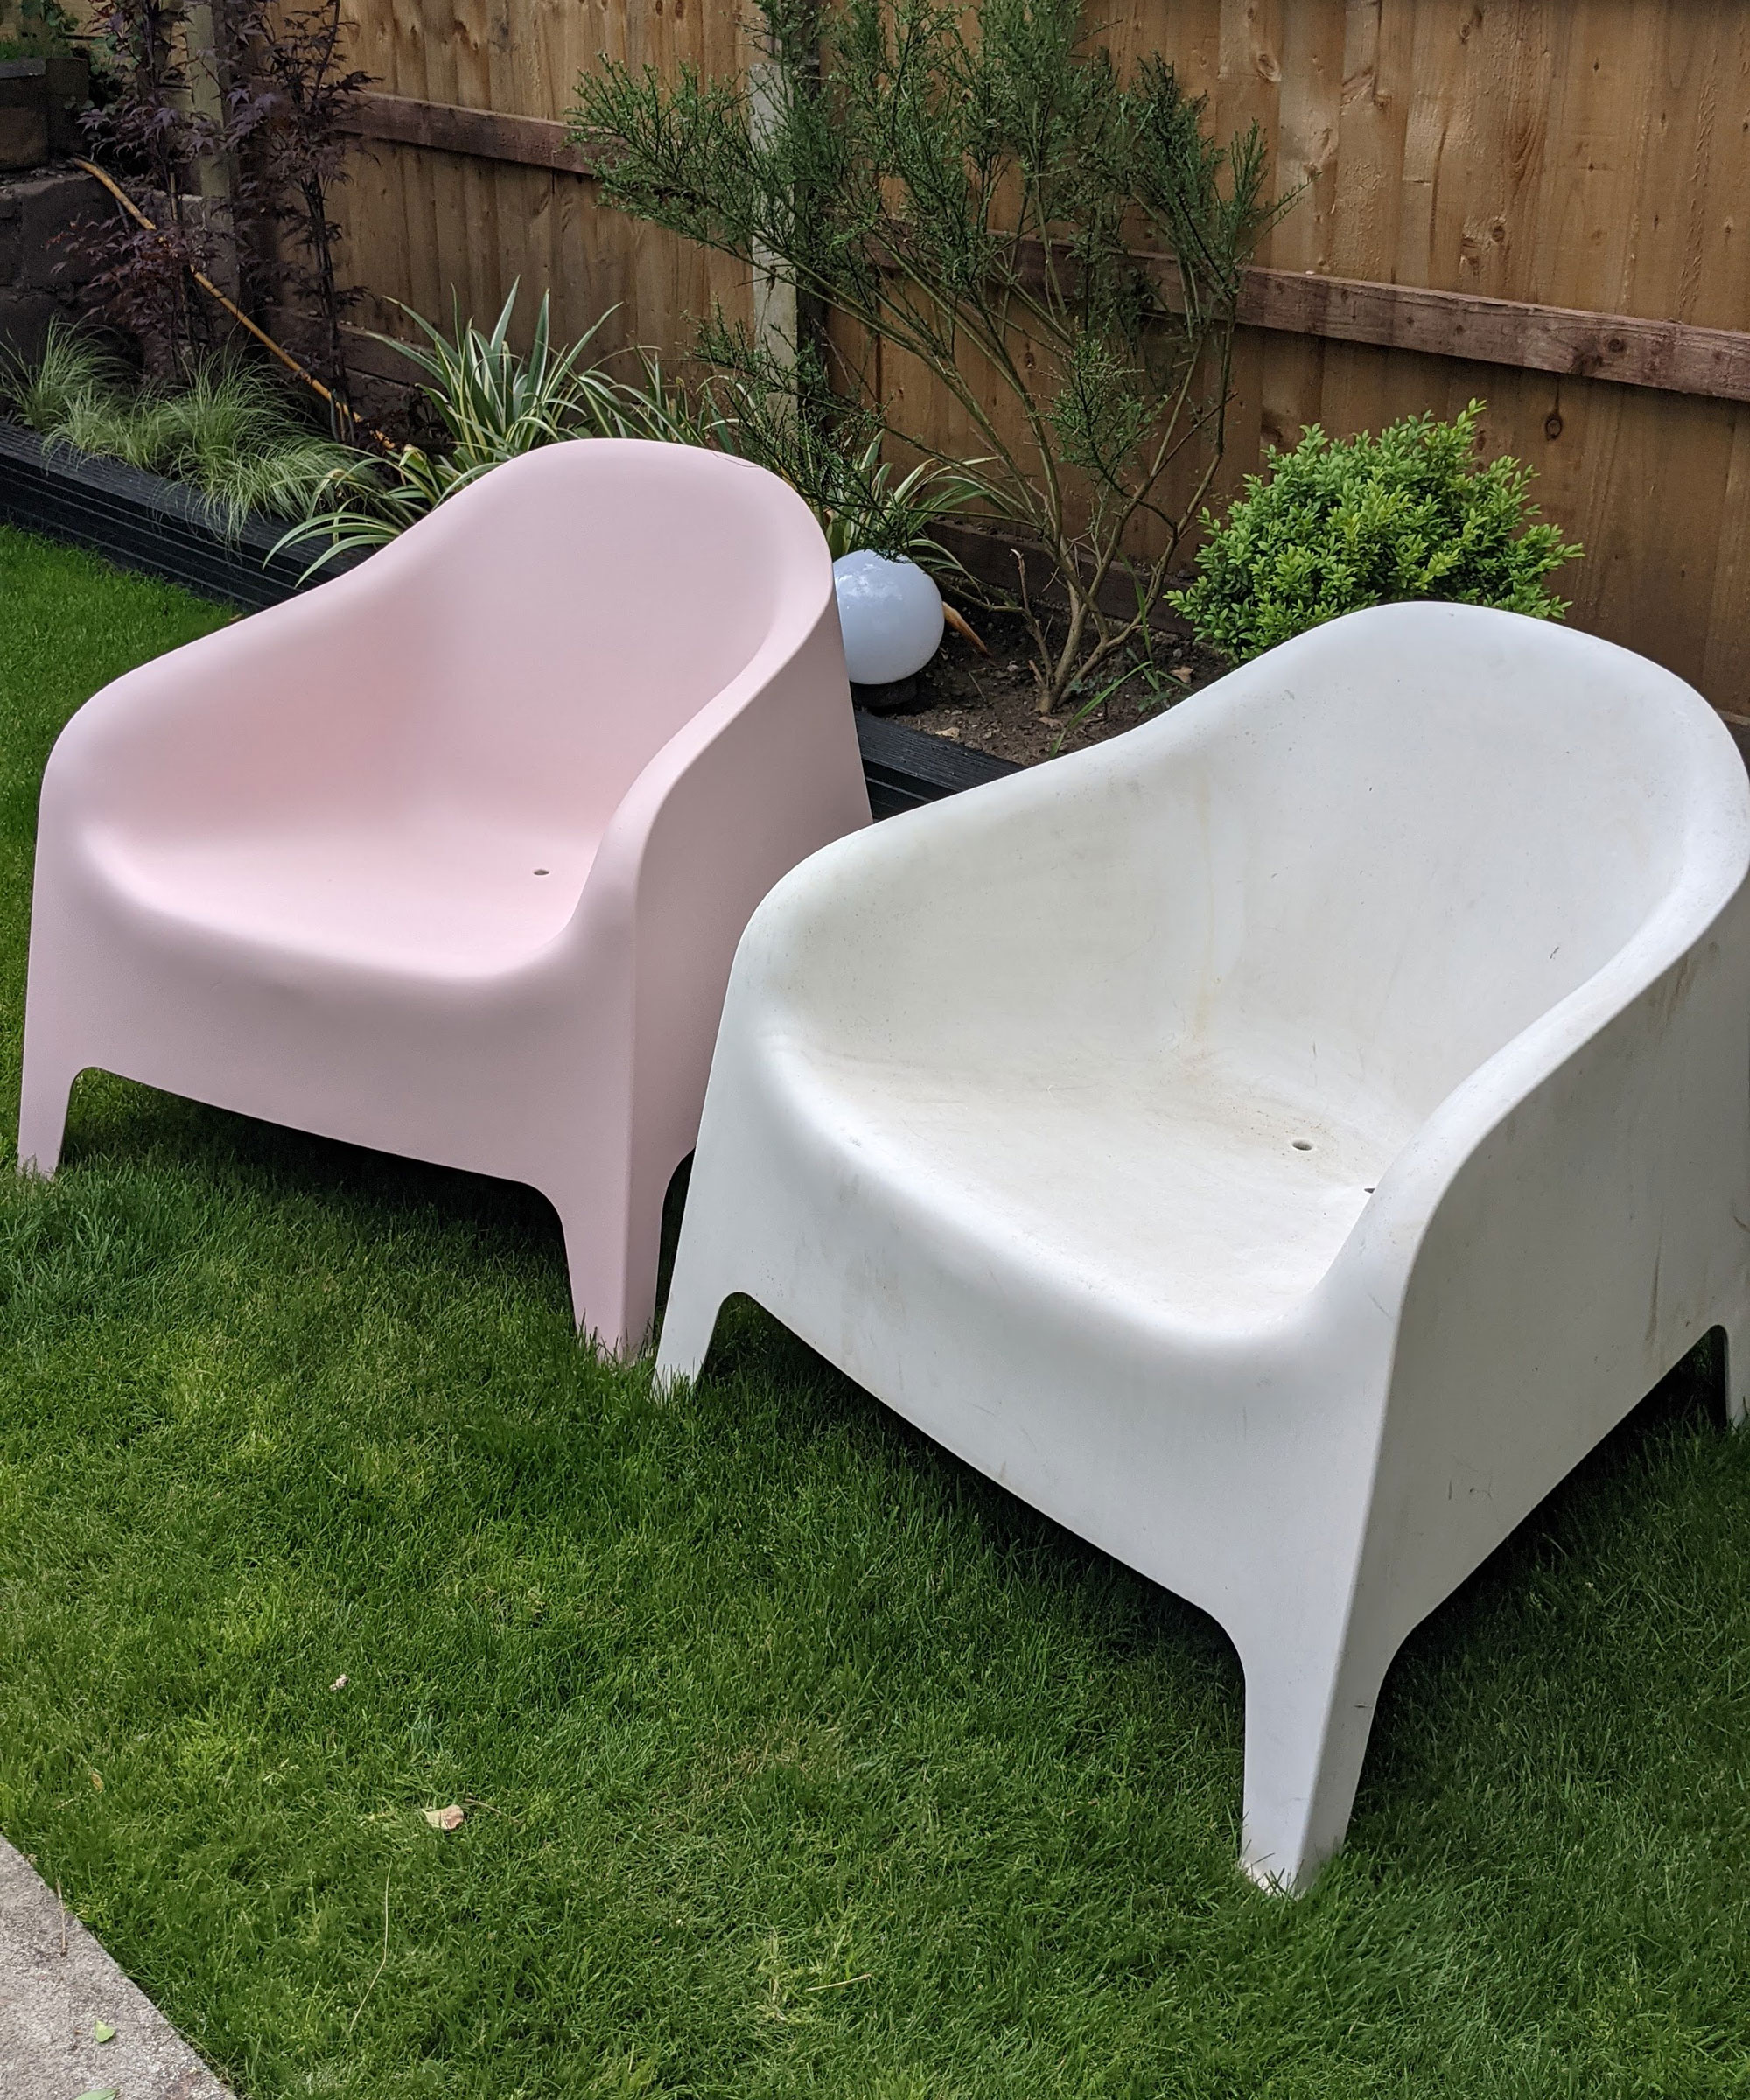
The coverage is really good, I have barely used any of my 750ml tin to paint 2 chairs with 2 coats each. The 2nd coat wasn’t completely necessary but because of the textured finish on the chair I had noticed some small white spots coming through that I missed the first time.
The results:
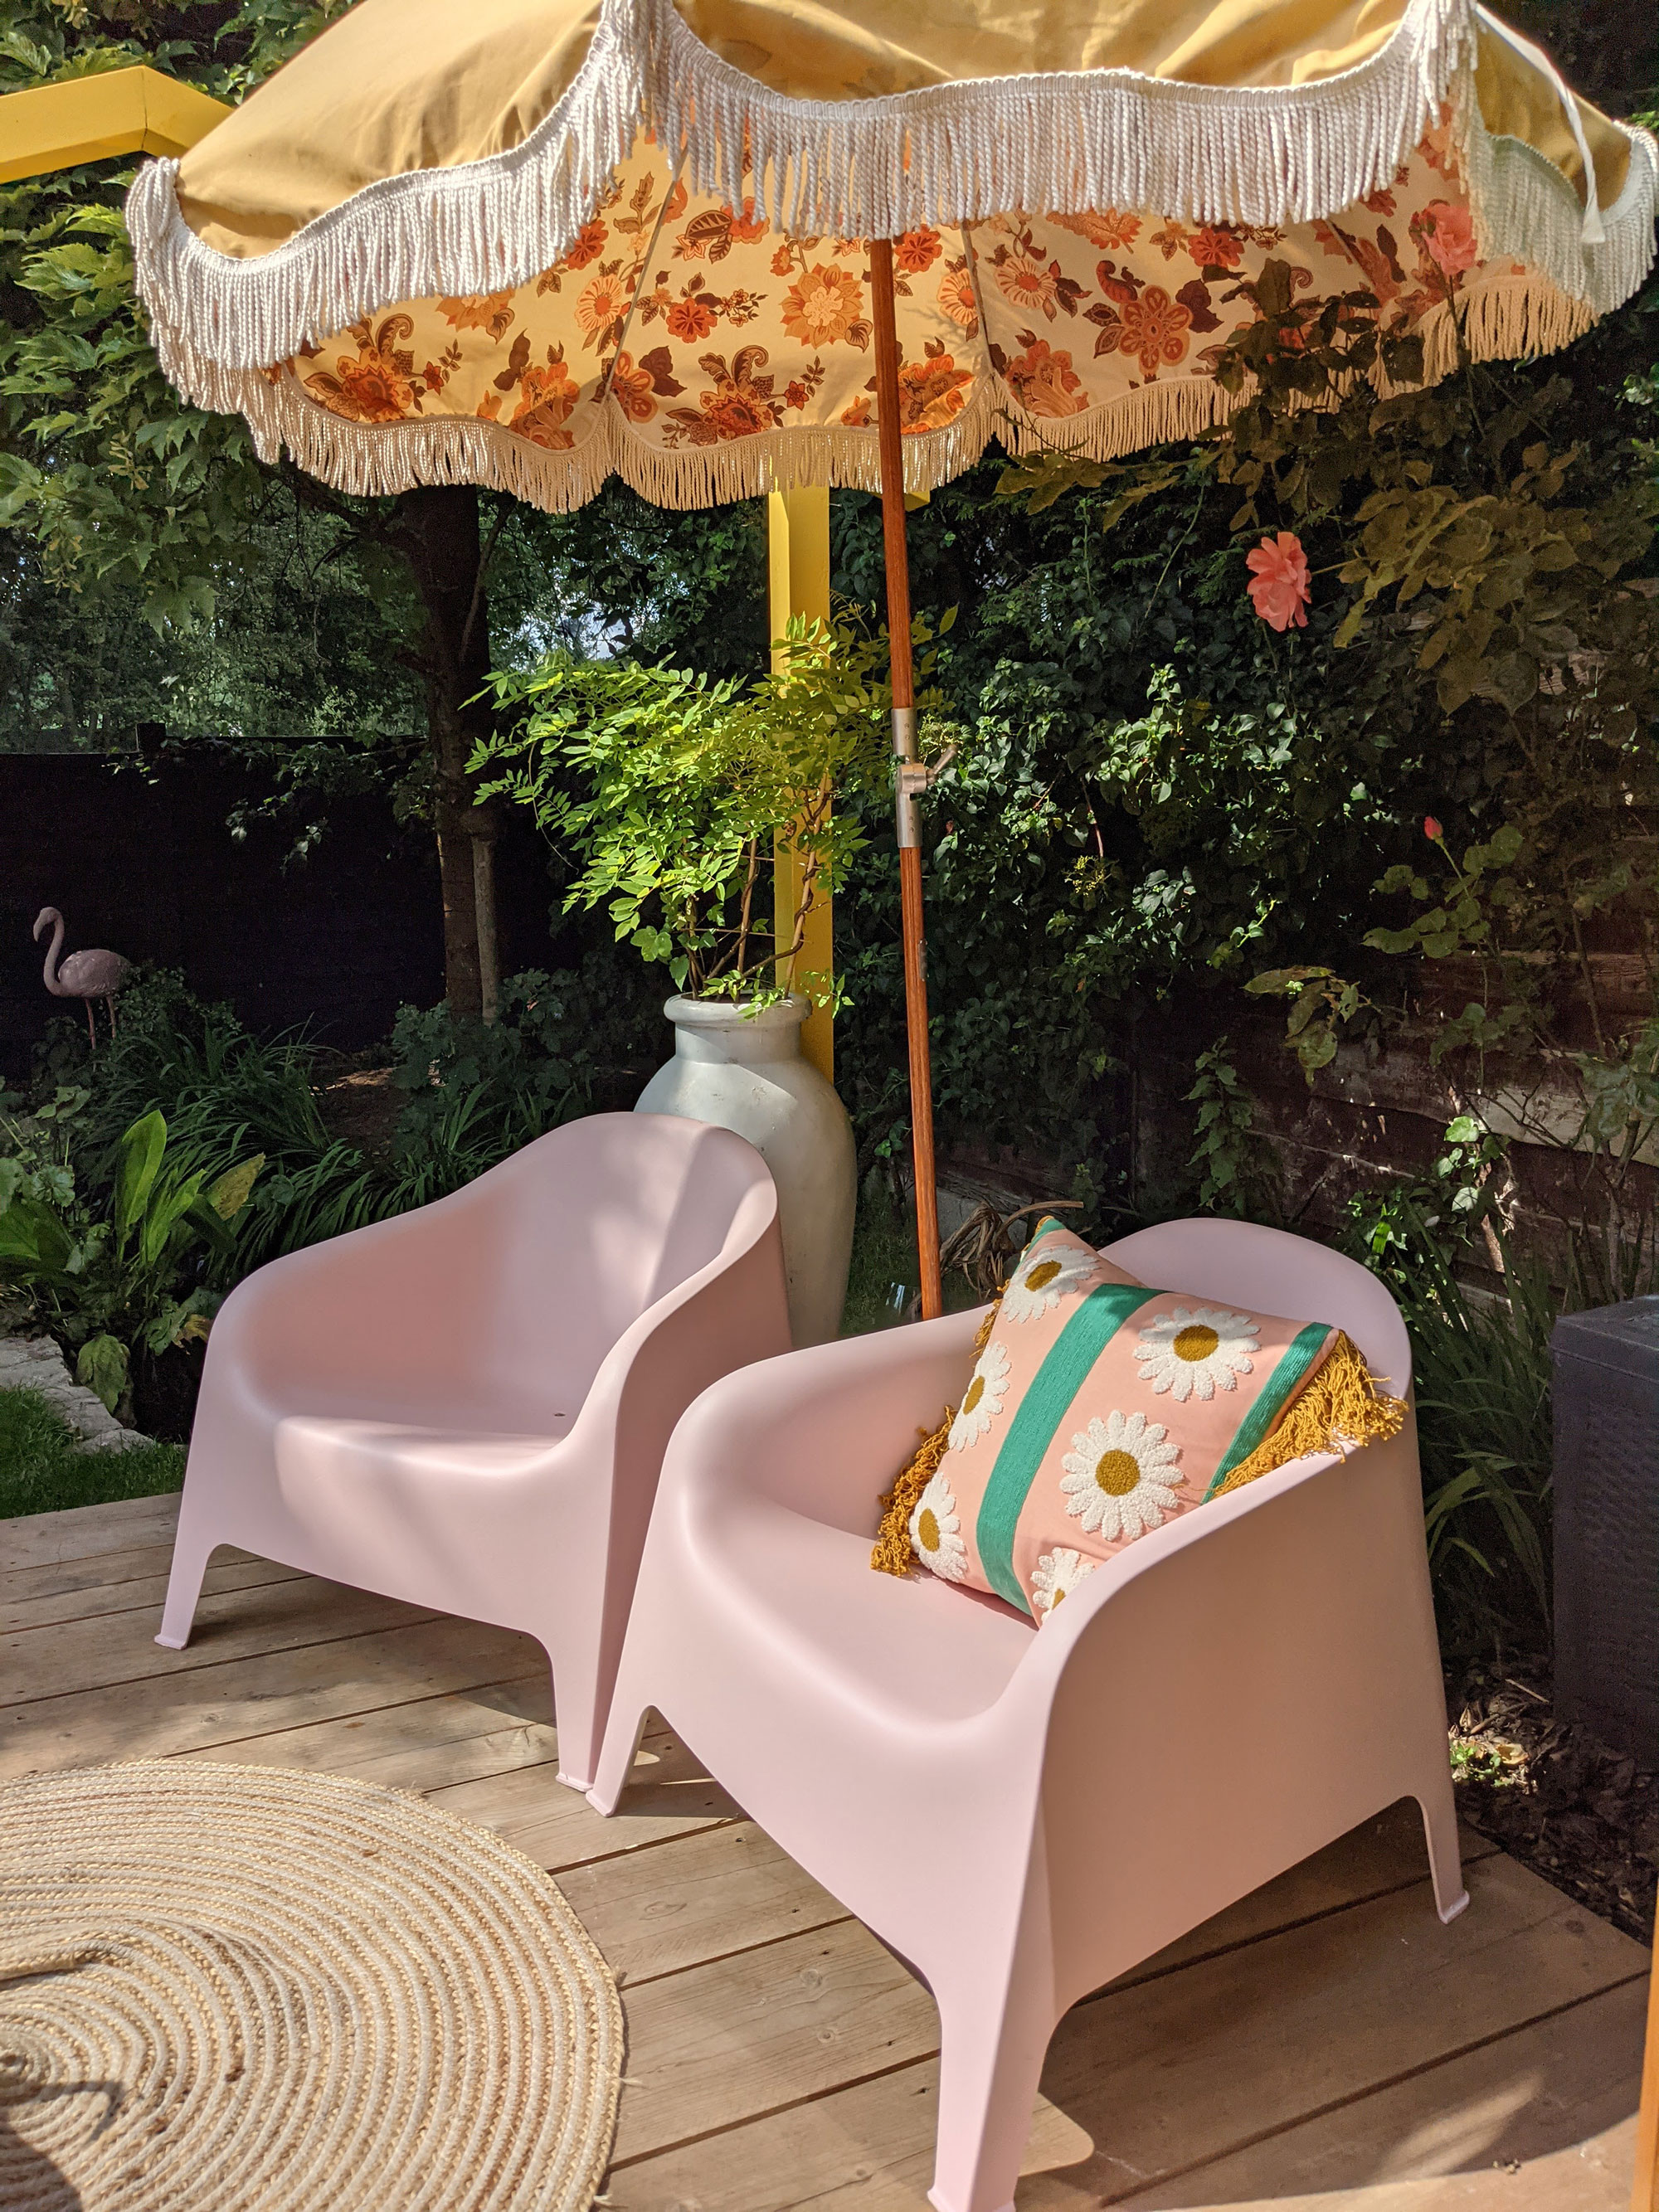
How have the chairs held up?
Short answer is, really well. I was expecting some flaking over time but didn’t get any and the chairs were well used. The refreshed IKEA SKARPÖ chairs have been outside for over a year and the paint did not disappoint. The only problem I had was I left them under a tree again for another year so they got very dirty... I have to stop doing that!
I did clean them and they came up pretty well but I decided to paint them again (using the same tin of paint from the previous year) and they came up good as new.
Jo Lemos is a DIYer and decorator who chronicles his projects on the popular Instagram account @two.men.and.a.semi. His DIY obsession began in childhood, when he used to help his parents redecorate the family house. Since then, he’s been developing his DIY skills for two decades, culminating in a full renovation of his current house alongside his partner, Chris. Currently the duo is restoring a 1930s semi-detached house in Manchester that had been badly renovated throughout the years. For Jo, sustainable and budget friendly design is the best way to renovate your house, and he considers his renovation motto to be: “Why pay someone when I can do it myself?!”

