How to paint closet doors in 4 steps
See how to paint closet doors DIY to freshen up an outdated space. These simple steps promise a lasting finish!

Get small space home decor ideas, celeb inspiration, DIY tips and more, straight to your inbox!
You are now subscribed
Your newsletter sign-up was successful
Whether your home has outdated closet doors or if they no longer match the color scheme you want, learning how to paint closet doors yourself will be the simplest, and most cost-effective solution, to refresh your room asap!
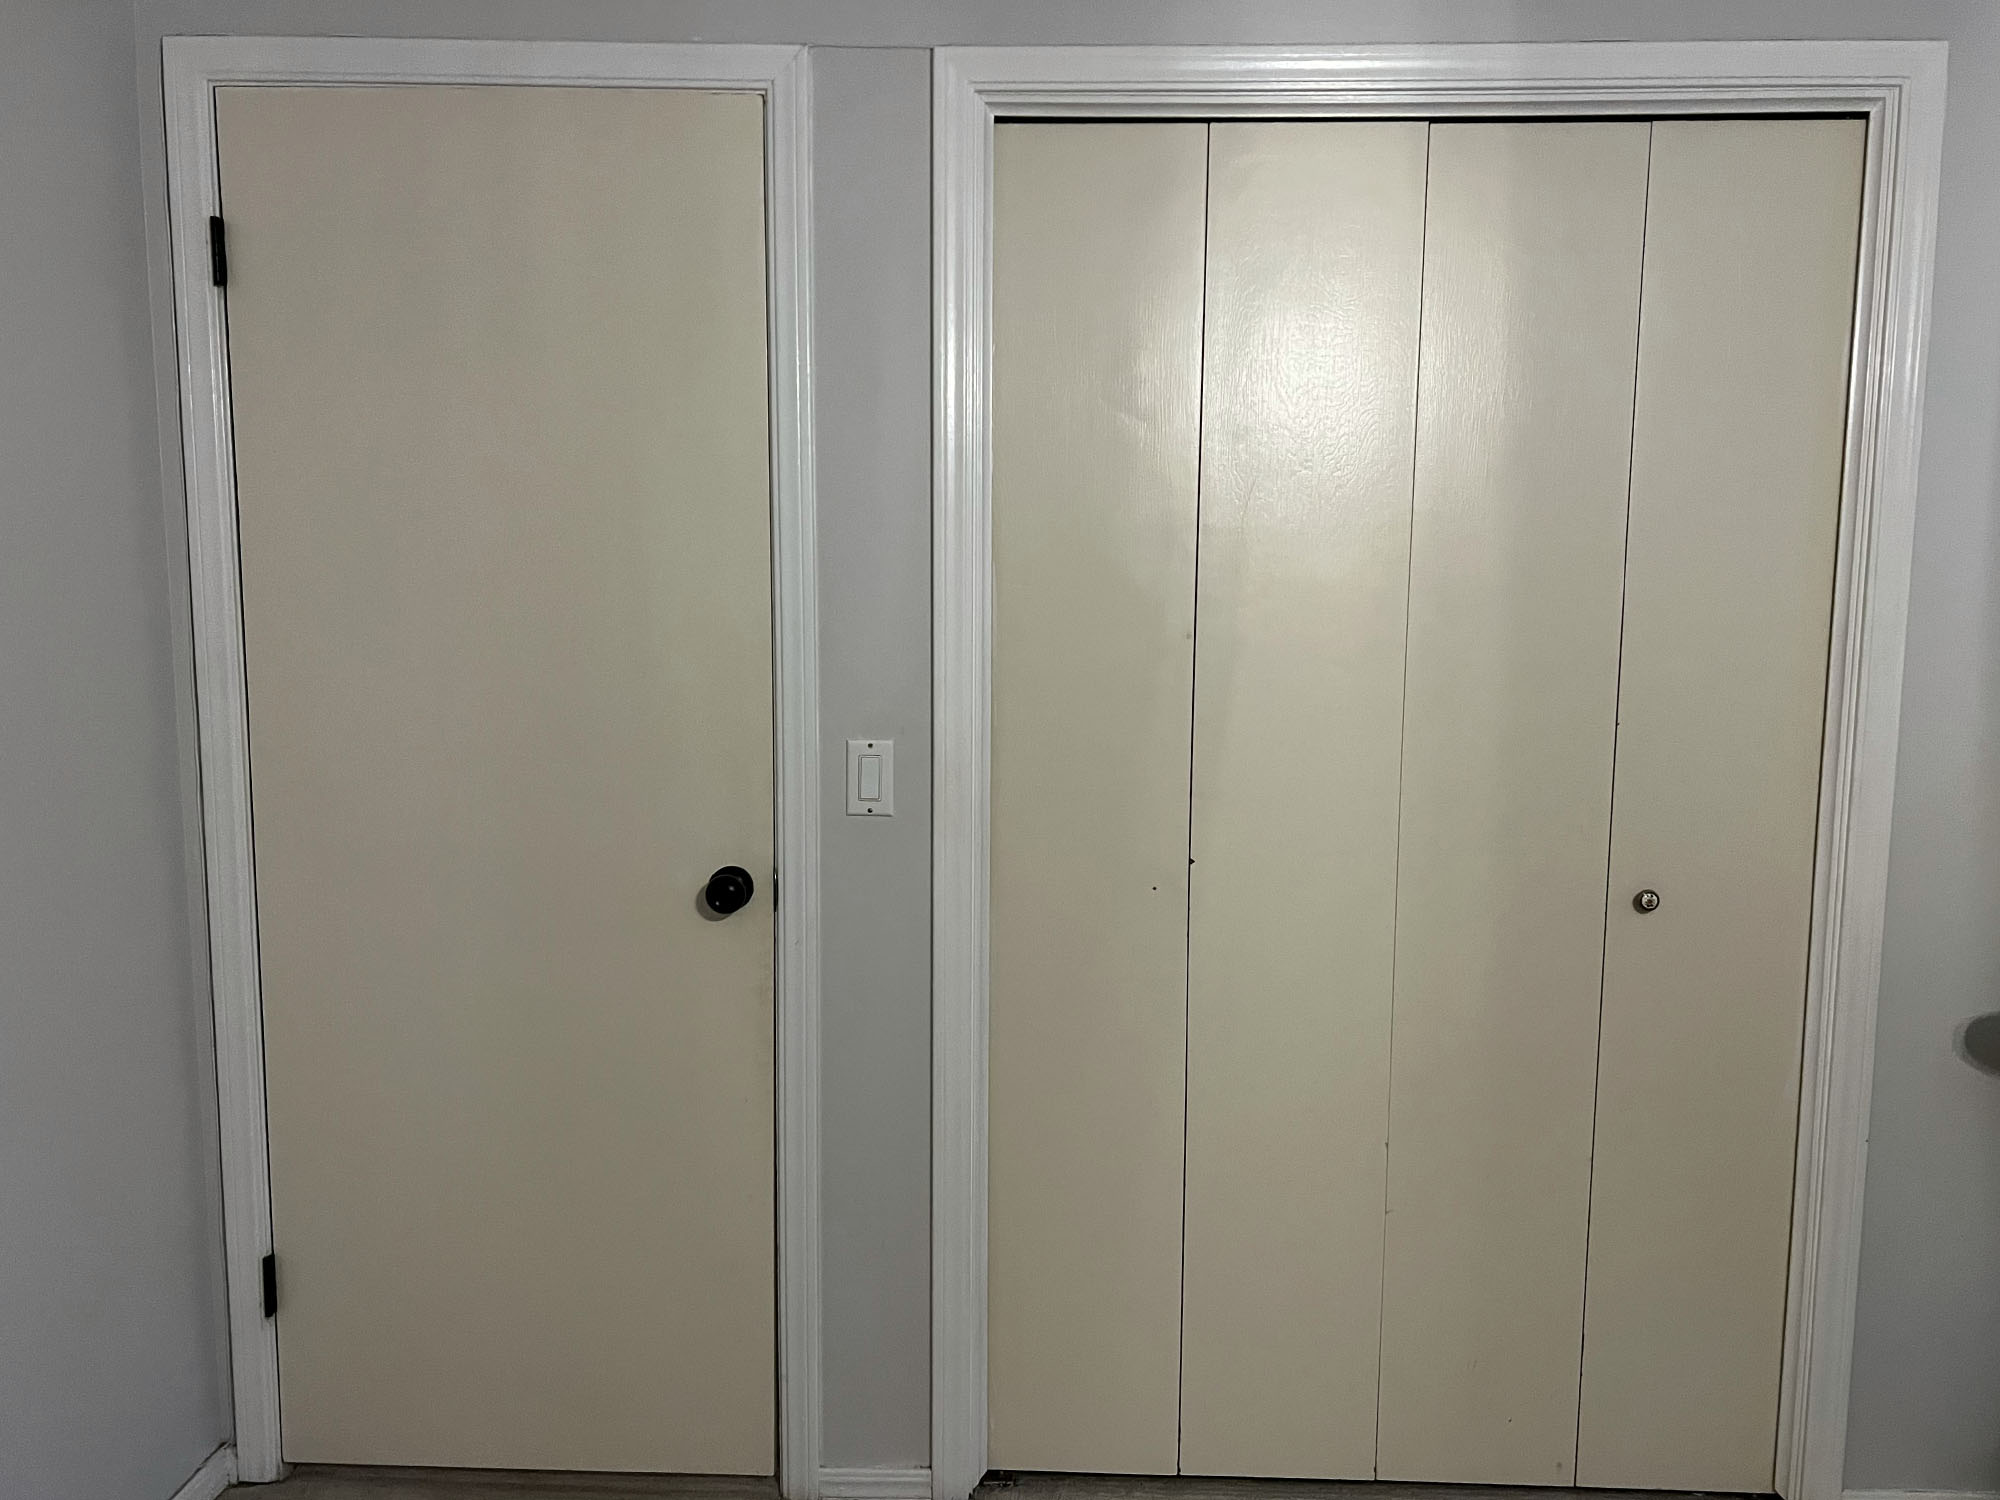
When we purchased our 1970s fixer-upper, most of the interior closet doors had been painted a cream color. They were dingy and felt dirty – not what you need from your walk-in closet – so they were in desperate need of some freshening up. The rest of the closet doors were still the original brown stain and had faded over the years of use...
It may come as a surprise how painting a door inside or out can have such a dramatic effect on a space, but it's a key design element of your home.
The closet door before painting
This easy DIY project is also affordable and painting your closet doors can be accomplished in just one to two days.
Supplies:
1. Primer – I use Valspar’s High-Hiding primer which is available at Lowe's
2. Paint – I use Valspar's door and Trim Enamel
3. Trim brush
4. I used a 4” roller and pad
5. Paint tray
6. Drop cloth or sheet
7. Painter’s tape (optional)
8. Hardware (optional)
1. Remove hardware
Start by removing the hardware. If you’re wanting to update it, now would be a great time to choose some new pulls – Wayfair has lots of nice closet door pull options. Lay down your sheet or drop cloth so you don’t accidentally get paint on your flooring. If you’re worried about getting paint on the door hinges, use painter’s tape to tape them off. I used a trim brush and carefully painted around mine without taping them off, but either option is great!
2. Prime
Once you’ve finished the prep work, you’re ready for primer. Whether your door was previously painted or still the original wood, you’ll want to prime. This will give the fresh coat of paint something to stick to. If they were painted and the paint job wasn’t done well, you may need to sand down the door first before applying a new coat of paint. I recommend a high-quality primer like Valspar’s High-Hiding primer.
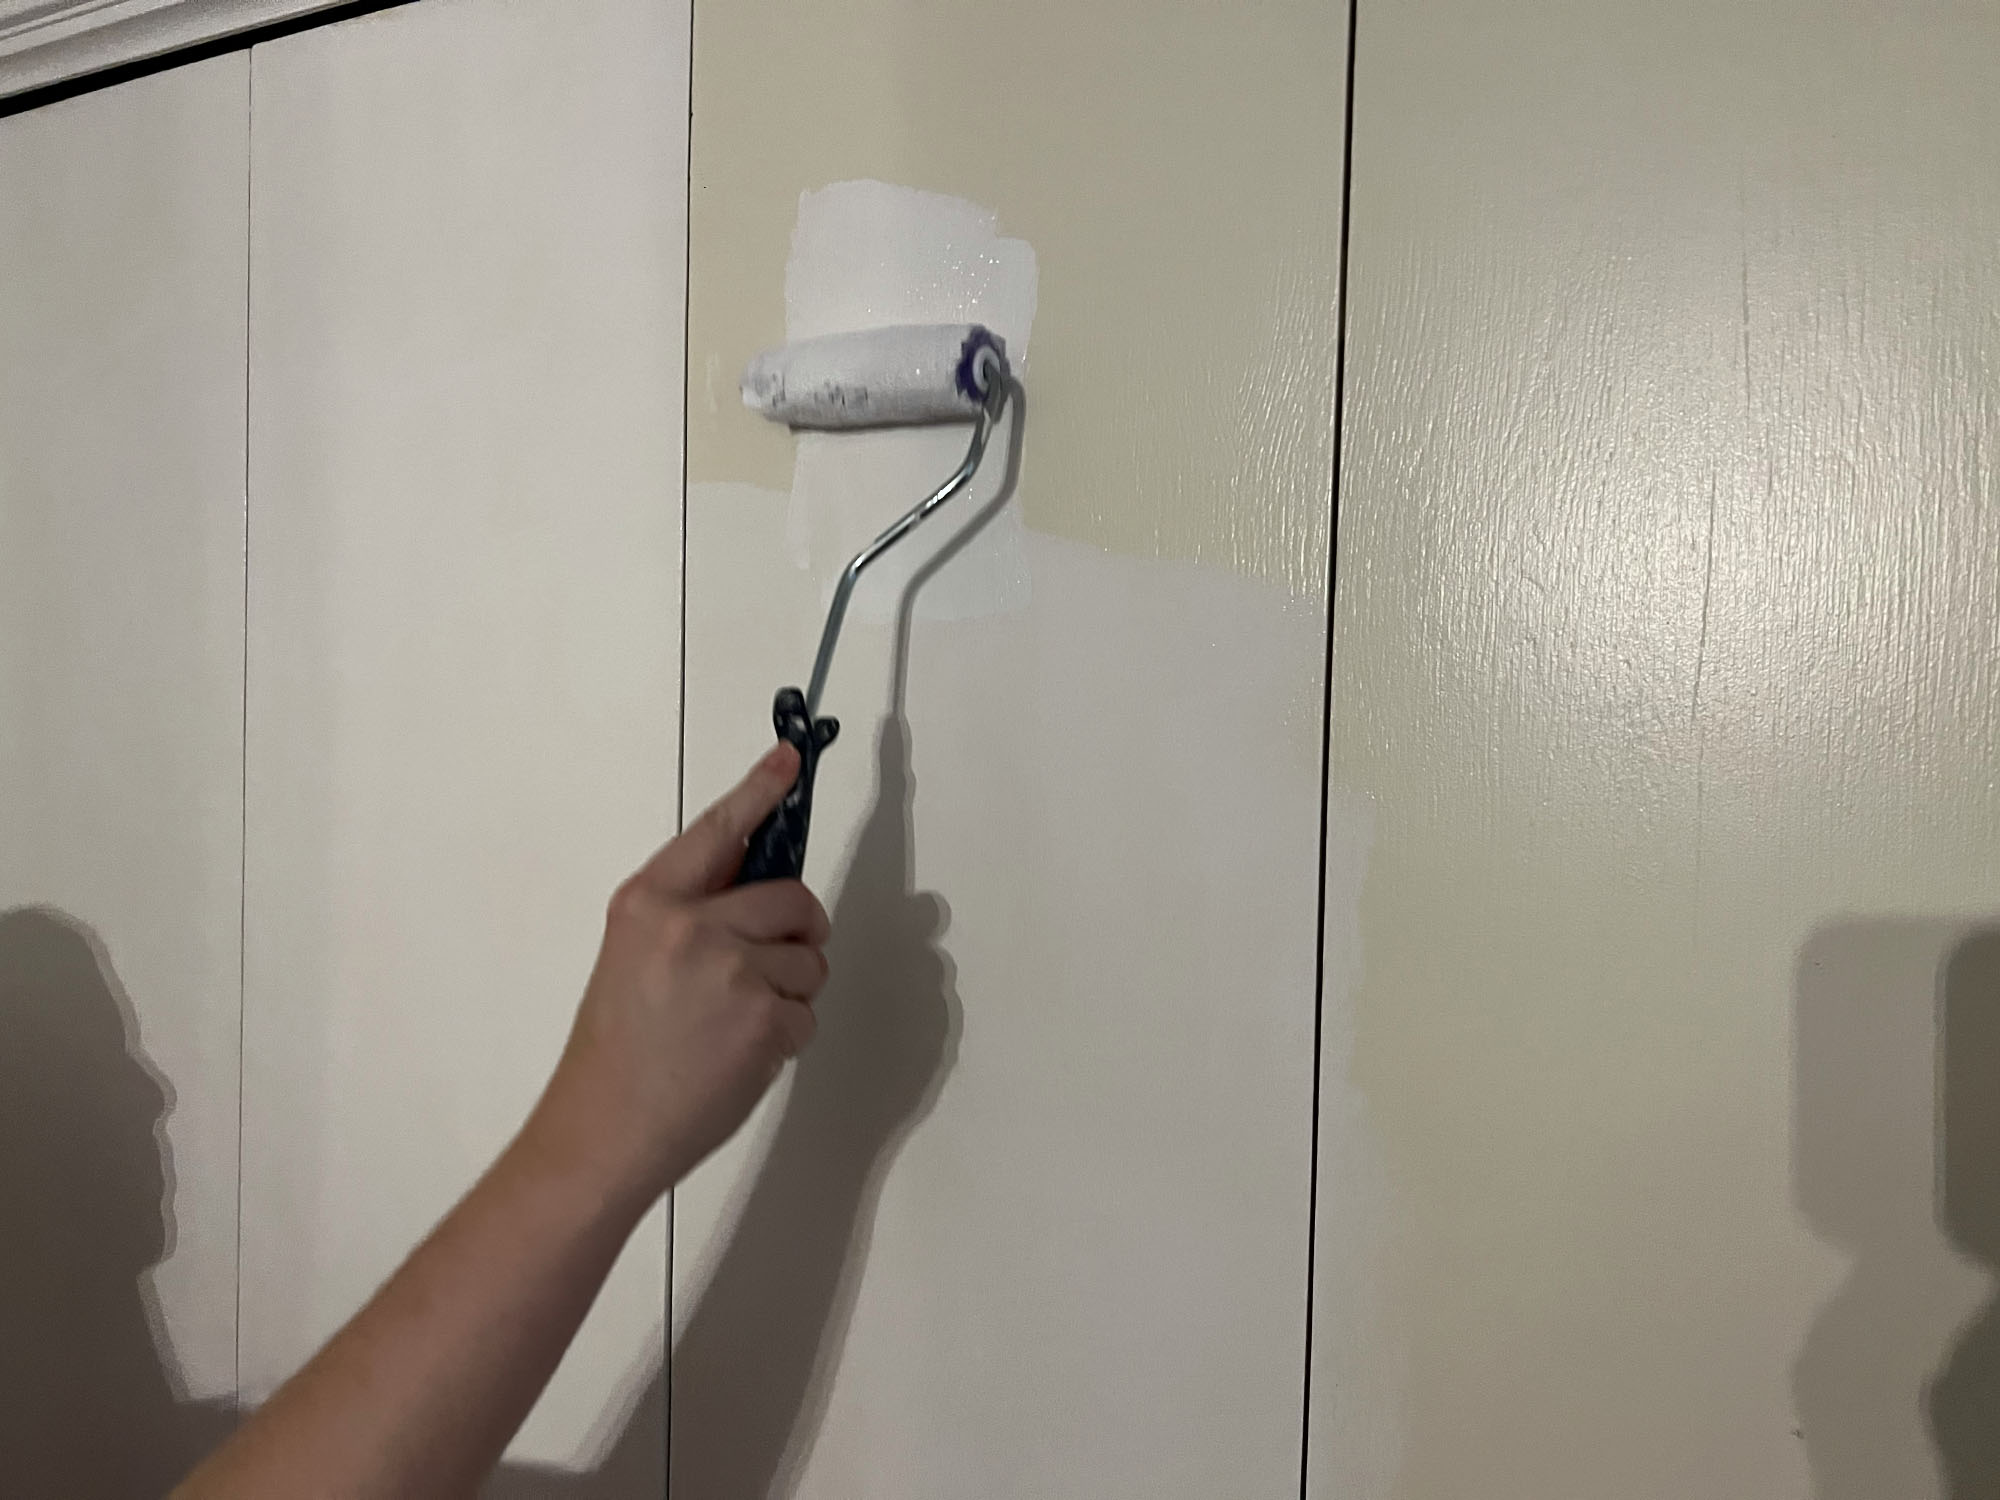
Using a 4” roller, roll on the first coat of primer evenly over each section. For the door edges and around the hinges, an angled trim brush works best. Allow the first coat of primer to completely dry. You’ll need to refer to your can of primer to see what the recommended drying times are.
Get small space home decor ideas, celeb inspiration, DIY tips and more, straight to your inbox!
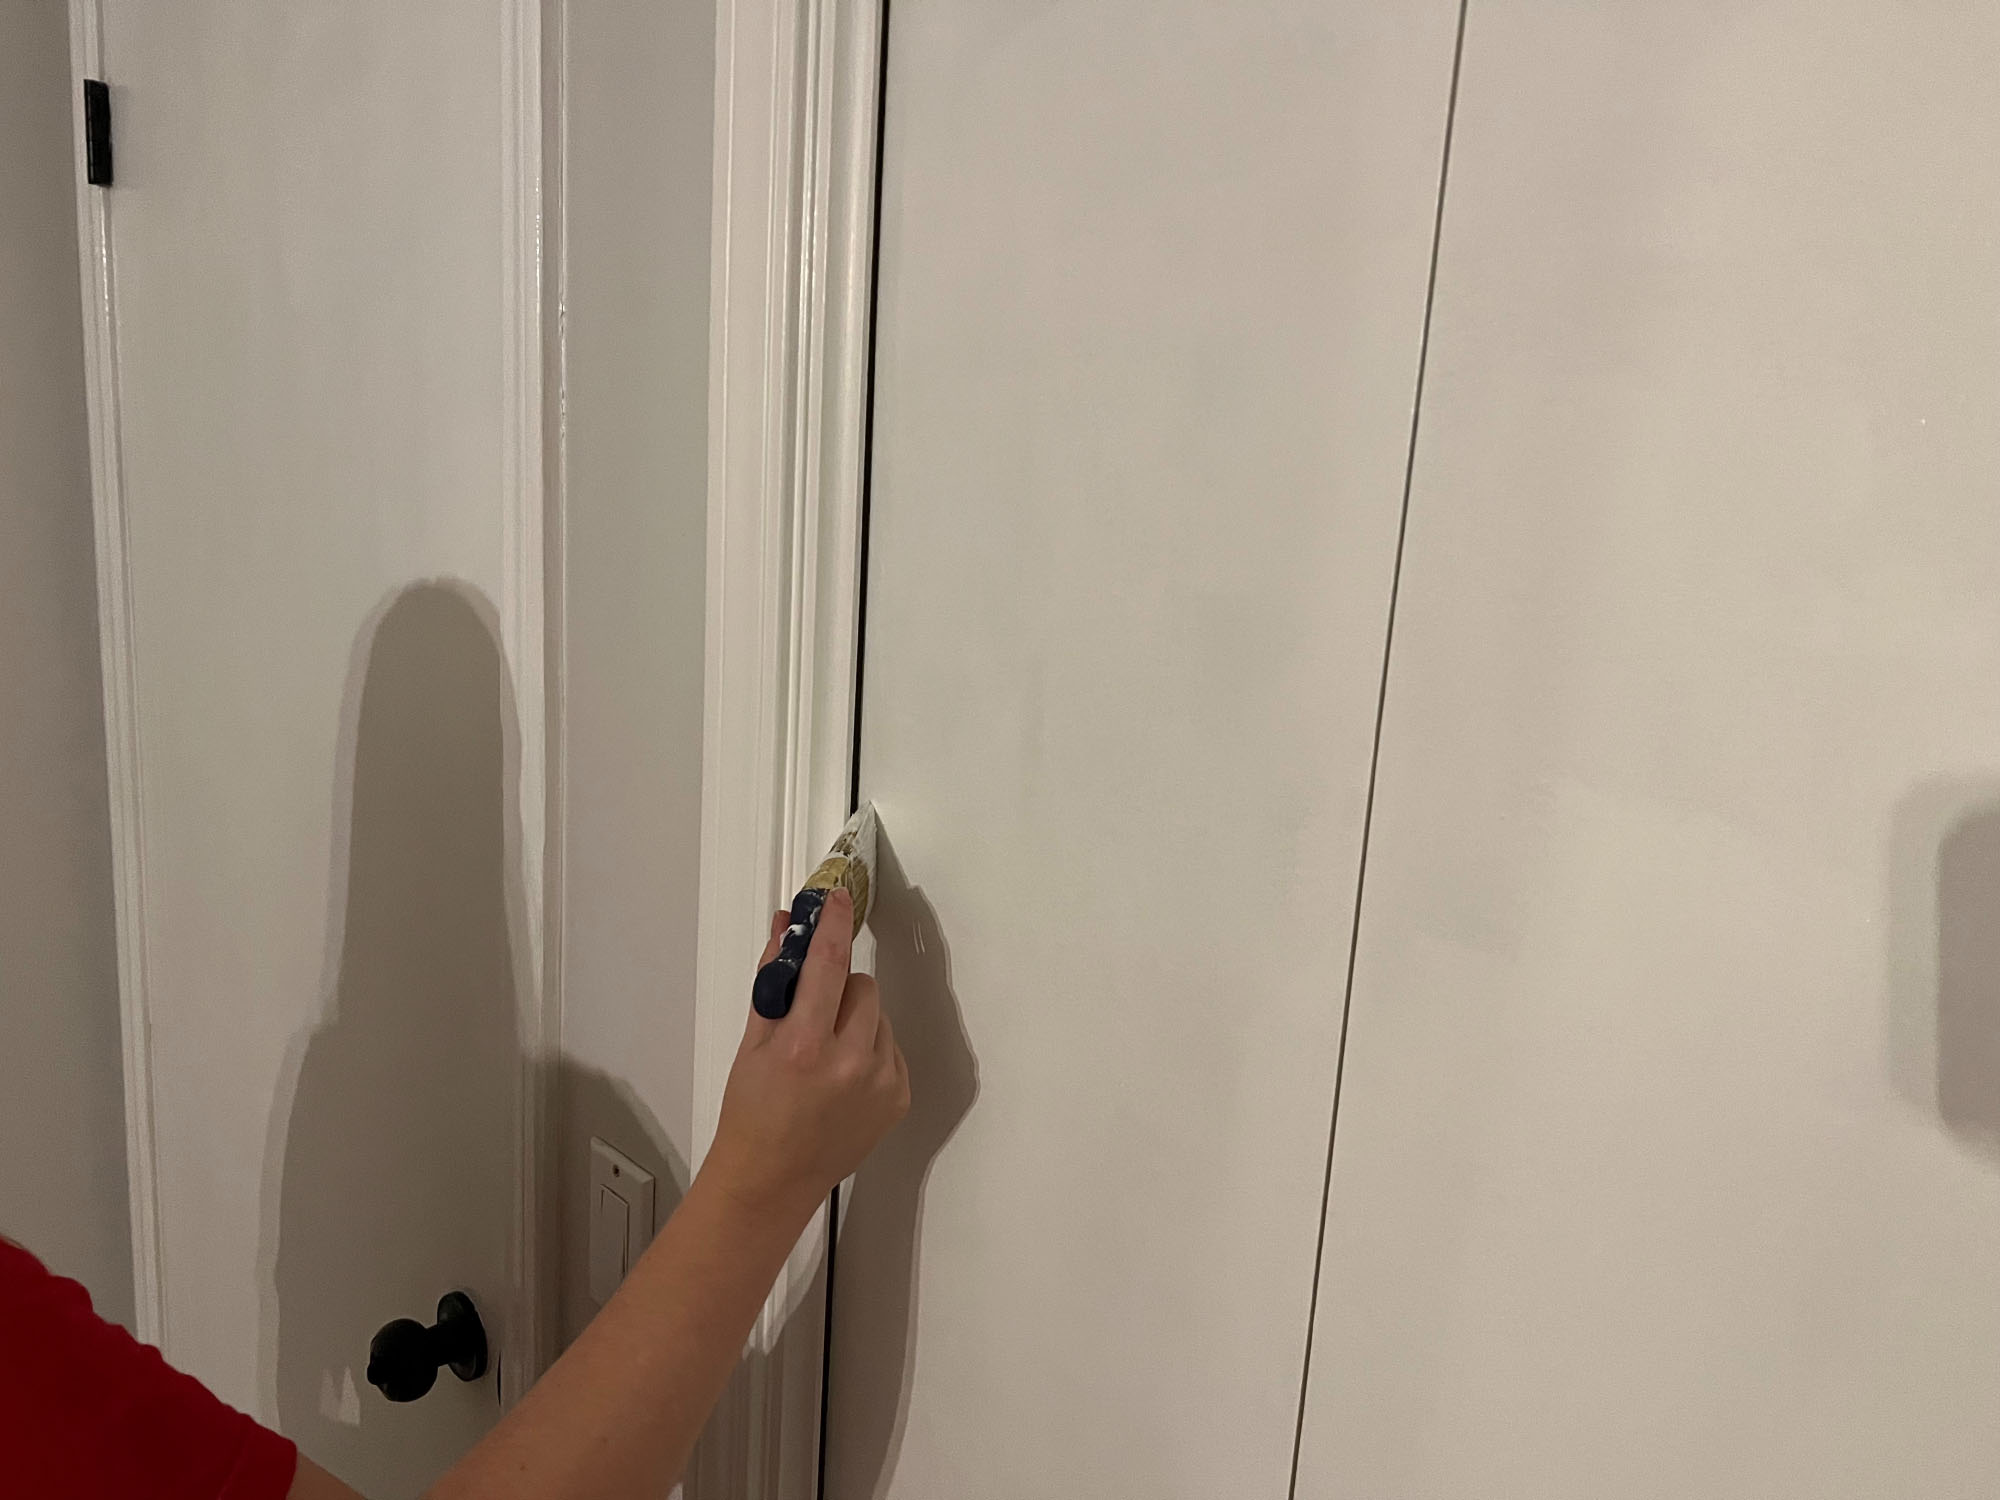
If you’re painting your closet doors a light color like white, I’ve found it works best to apply two coats of primer. This creates a beautifully even finish when you go to apply the top coat of paint. So after rolling on a second coat (if needed) of primer and using the brush for the edges and hinges, allow it to fully dry again.
3. Begin painting
Now you’re ready for the paint. For closet doors, I recommend a semi-gloss enamel made for trim and doors. Enamels harden to create a tough exterior with a lasting finish. My favorite is Valspar’s Door and Trim Enamel. I’ve used it on both my doors and trim with great results! Using your roller, apply a coat of enamel over the doors. You will probably only need one coat of paint. Use your trim brush again to go around the edges and hinges. Allow the enamel to dry overnight.
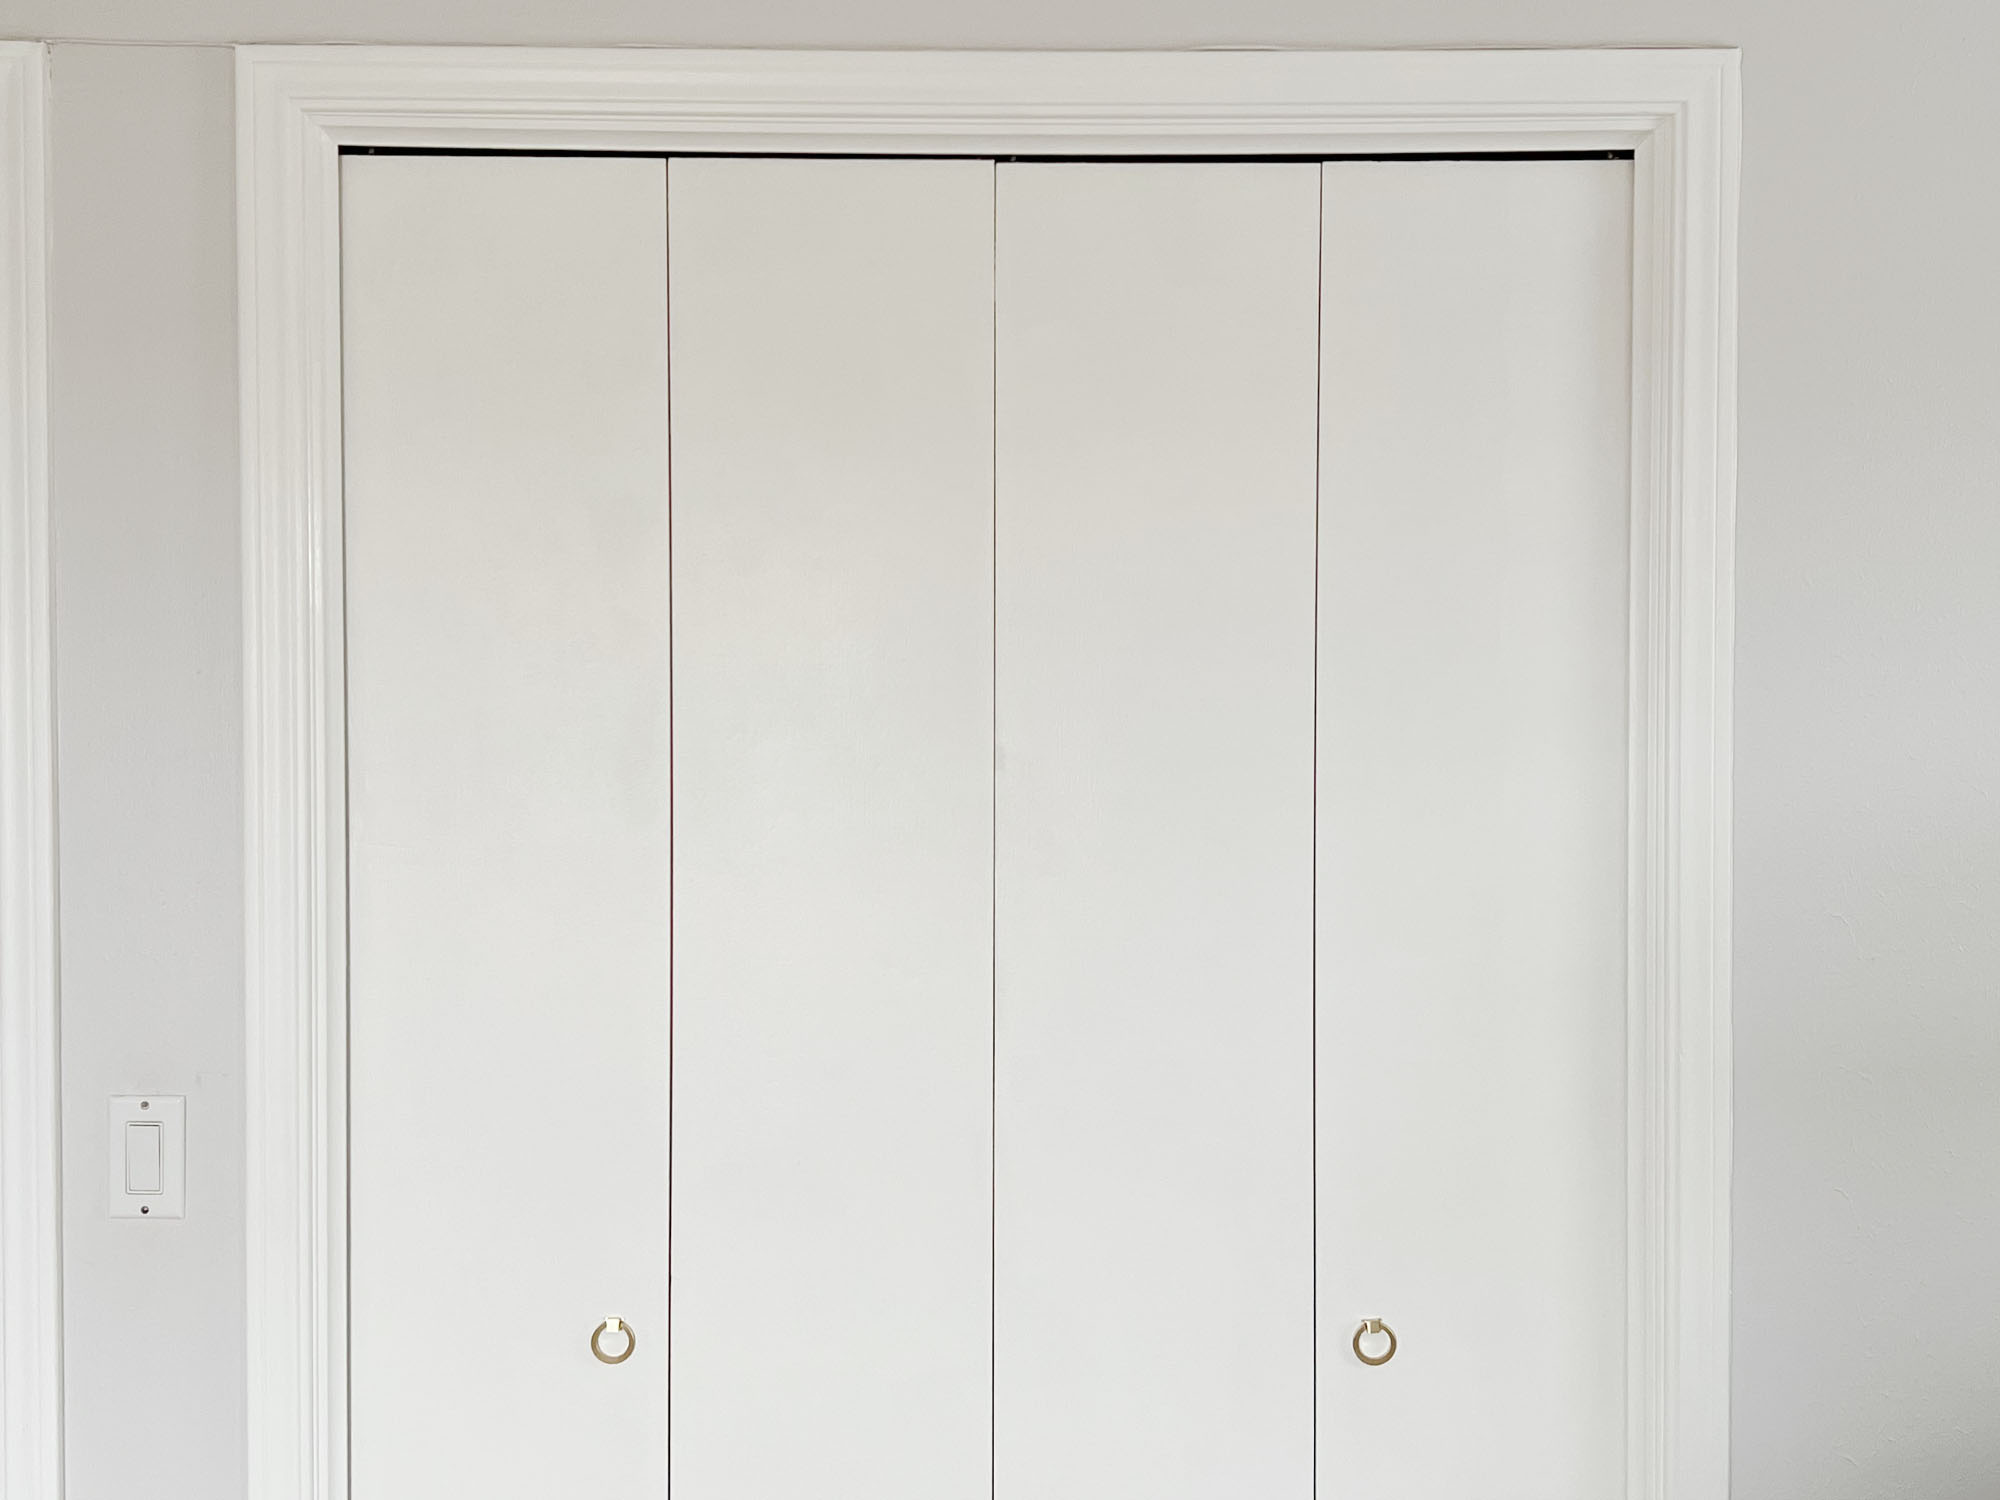
4. Reinstall hardware
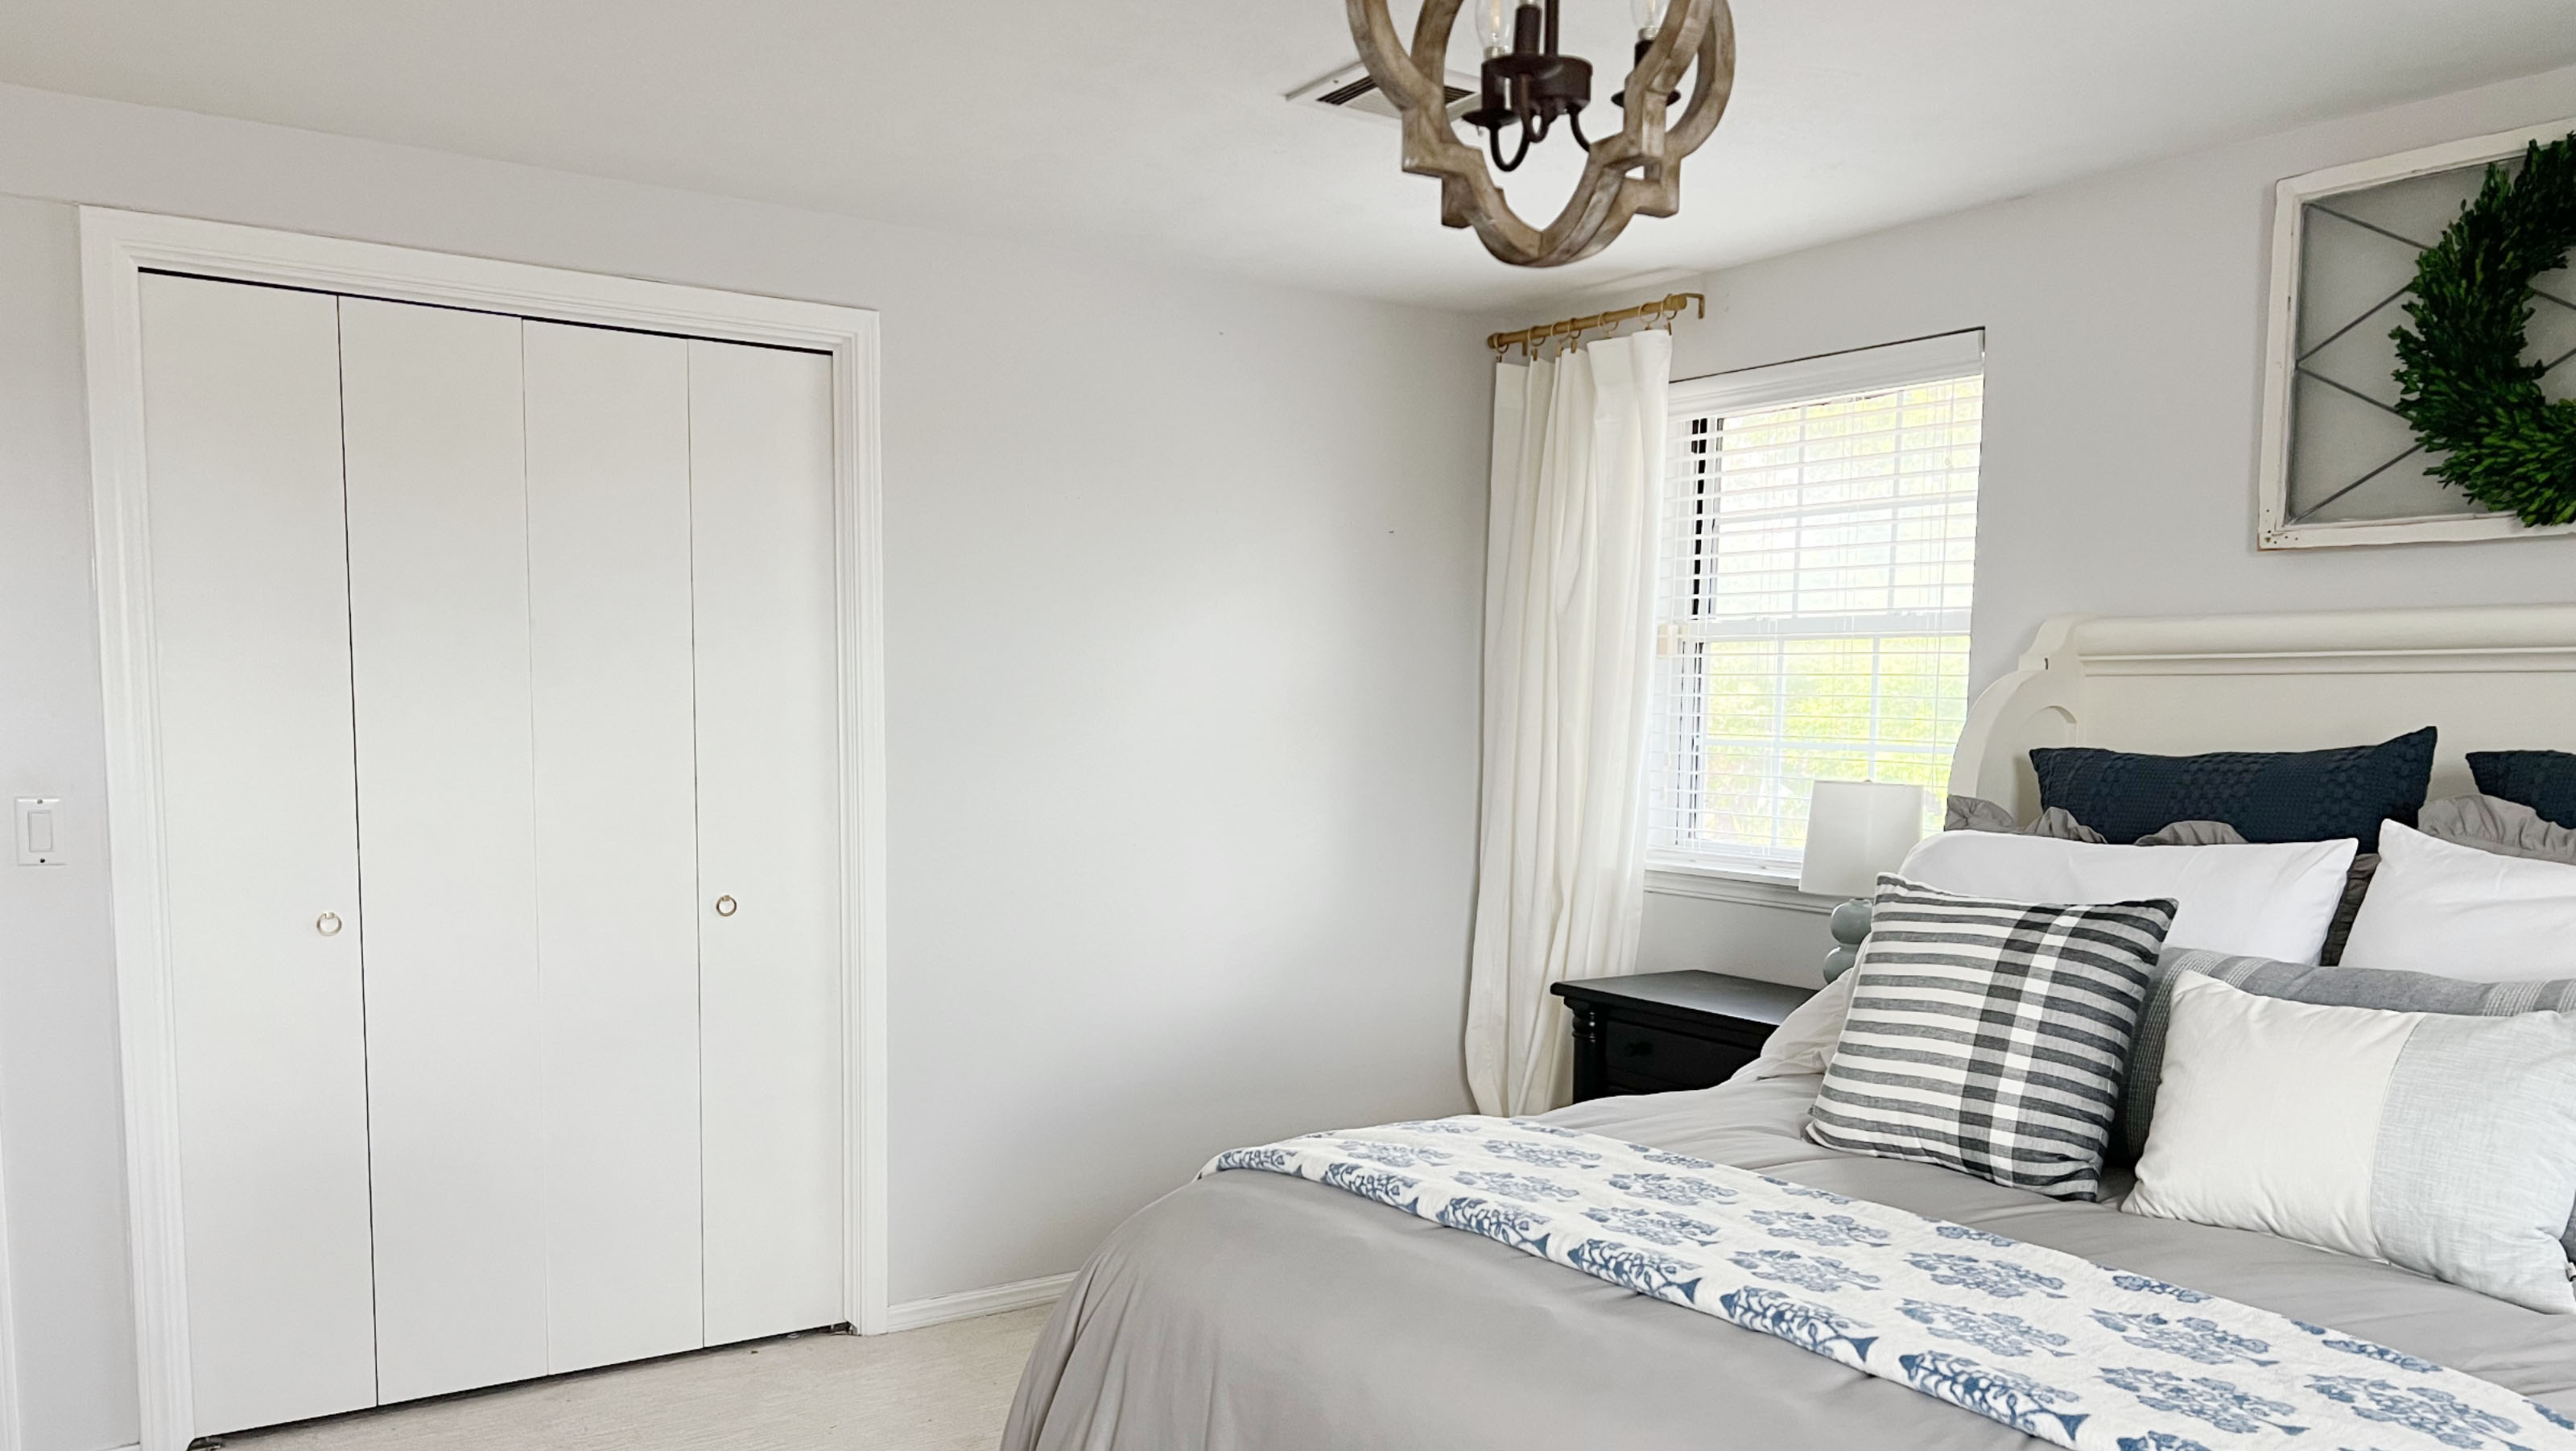
Once your doors are completely dry, you can reinstall your hardware. Our knobs were needing an update so we went back with some pretty gold pulls that tied in with the gold curtain rods on our windows.
The results:
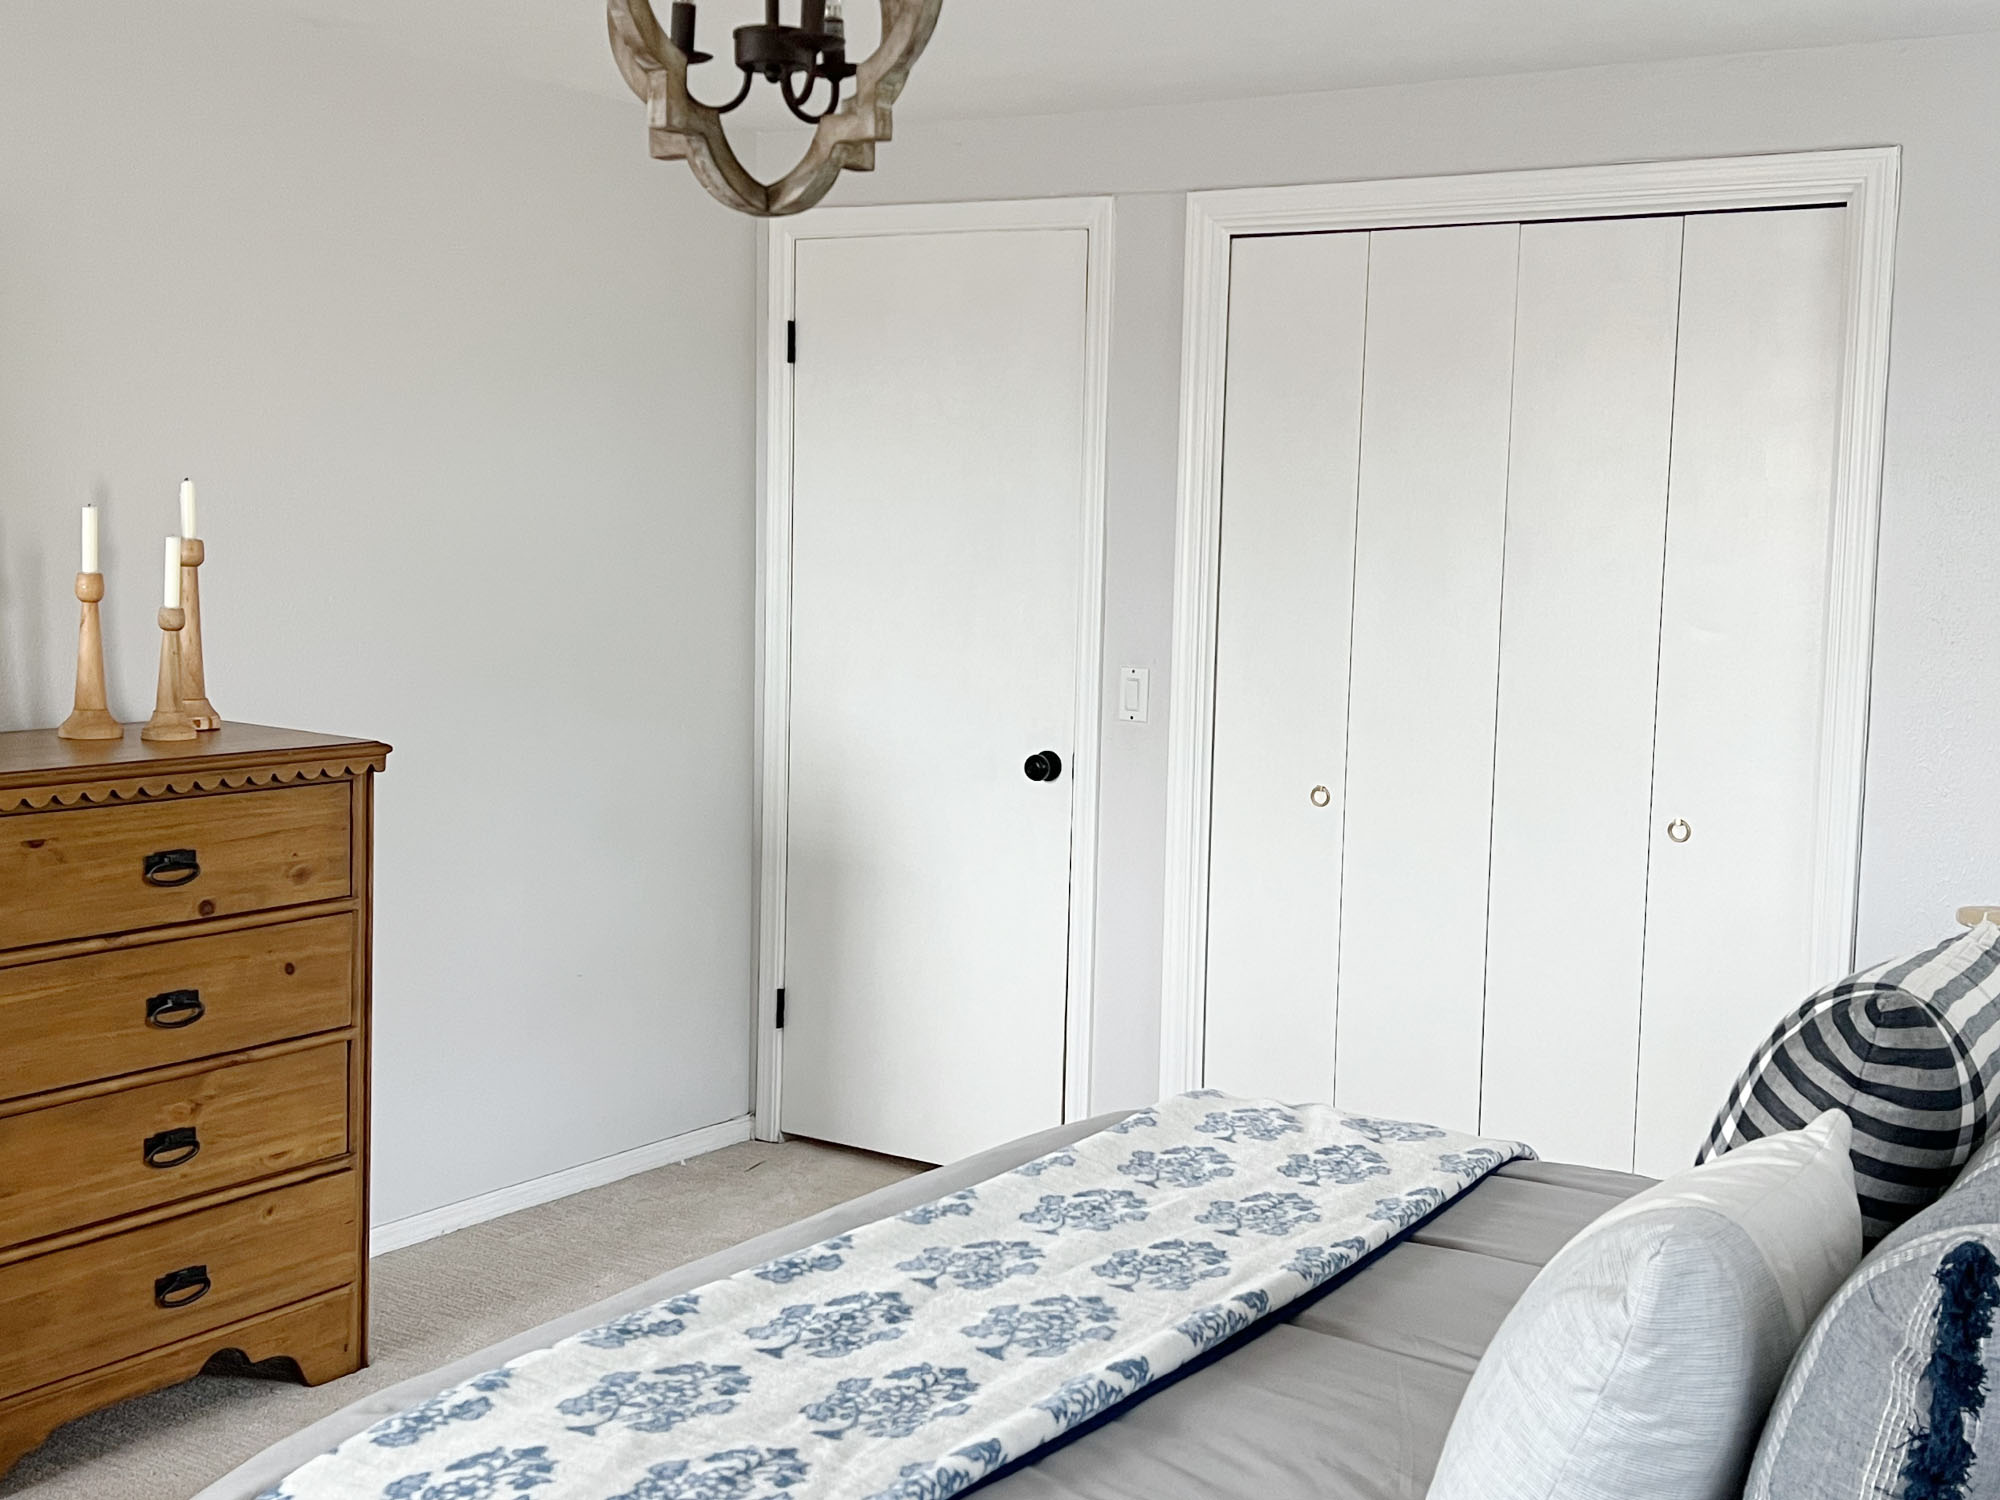
Our closet doors look amazing after just a few coats of paint. It was easy and really affordable, costing less than $50 for primer, paint, and hardware. With just a few supplies and a little bit of time, you can have your closet doors looking new and updated!

Dori Turner writes blog posts and feature articles on affordable design and DIY from her home in the heart of Oklahoma. She has a passion for teaching others how they can transform their home on a budget.