How to install under kitchen cabinet lighting
If your kitchen feels a little dark and gloomy, installing LED lighting under cabinets is a great way to illuminate your counter space in no time at all.

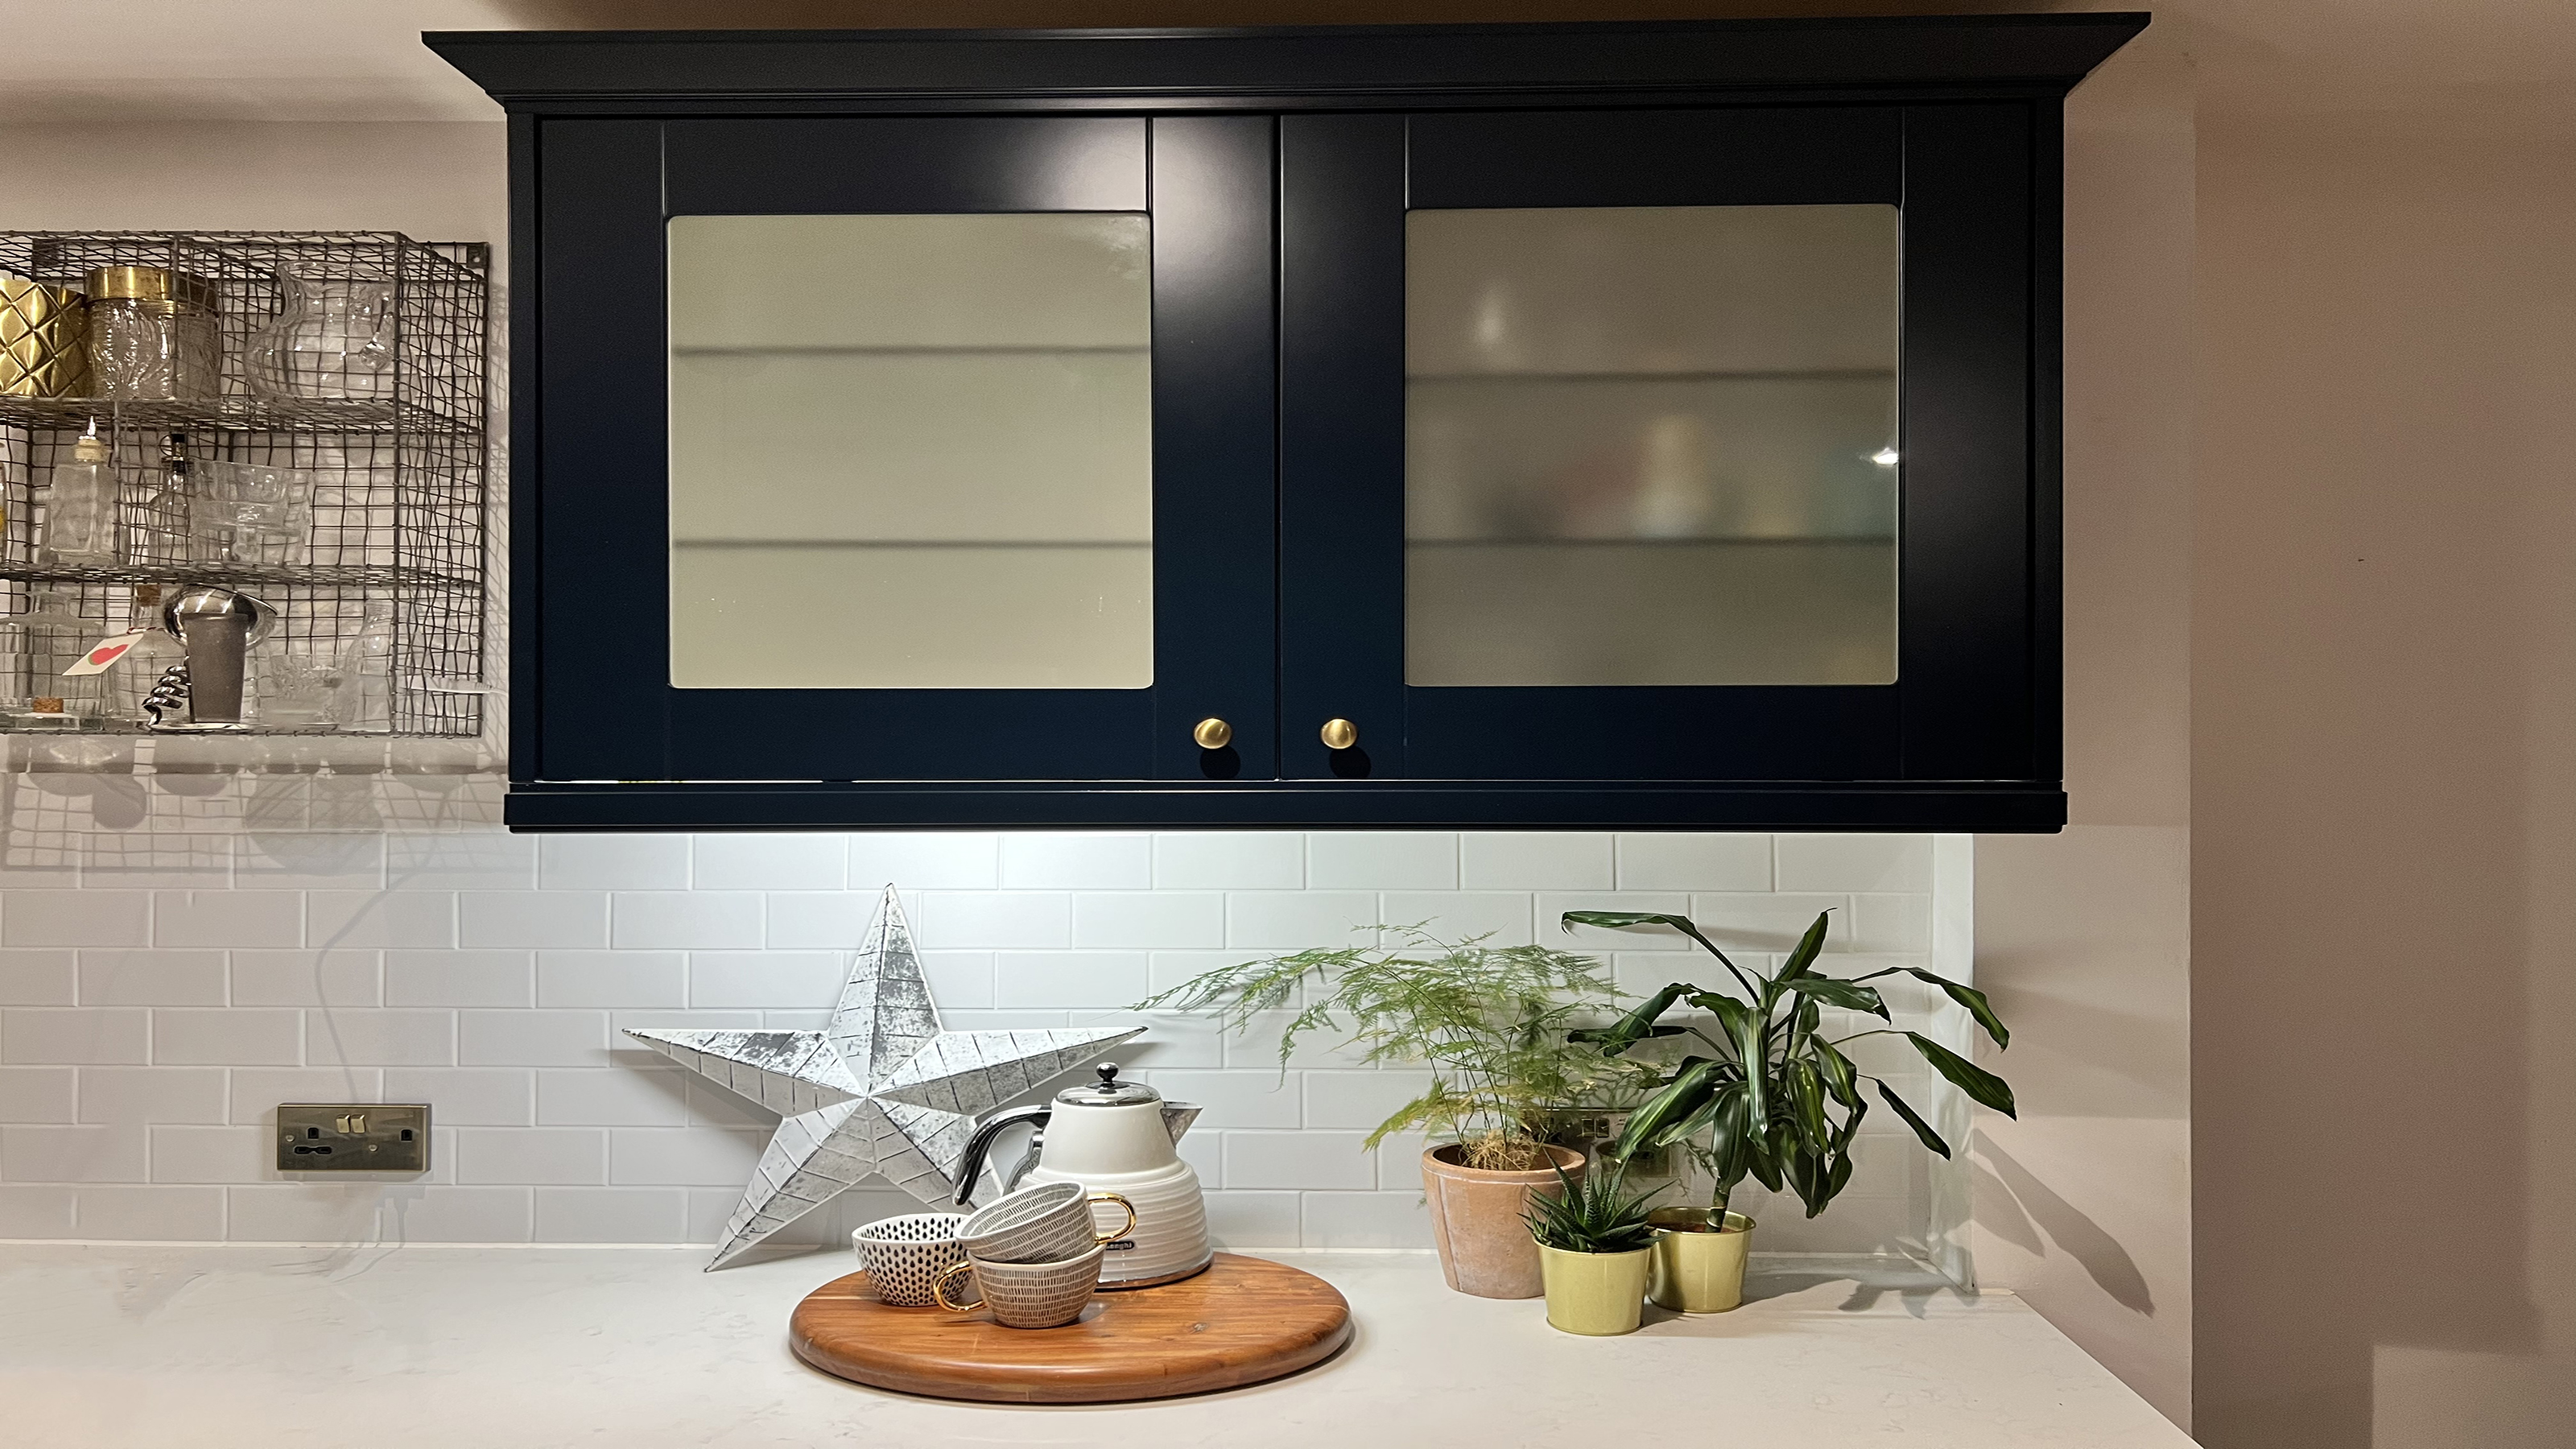
Installing under cabinet lighting is a no-brainer to illuminate countertops and create a cool, modern look in your kitchen.
Whether you're about to install new kitchen cabinets yourself or are looking for a quick way to brighten up your cooking space, adding LED or another type of lighting under cabinets is a great option to complement overhead kitchen ceiling lights.
Although installing under cabinet lighting sounds super complicated and a little overwhelming, it’s actually pretty simple when you're using LEDs, and more specifically, bar lighting like I did.
Choosing your under cabinet lighting
When you're installing under cabinet lighting yourself, there are a number of different types of light that you can go with, here I wanted to use plug-in bar lights, so I picked this ASD LED Linear Under Cabinet Lighting 24 inch from Amazon.
These kind of lights won't break the bank, and you won't need to do any wiring or drilling, ideal if you rent. You can get this job done with just a few tools and depending on how adept you are at DIY, you could do it in thirty minutes flat.
The process for installation is for the other types of under cabinet LED lighting is pretty similar but some may require drilling, so that's up to you and the look you want to achieve for your kitchen cabinets and entire space!
Here’s a rundown of the other options:
Get small space home decor ideas, celeb inspiration, DIY tips and more, straight to your inbox!
Tape or strip lighting
Tape or strip lights like these by Wobane are essentially a thin, tape-like strip of LED lights. They can usually just plug in and then stick to the cabinet via clips or double-sided tape. The positives are that they are cheap, malleable, easy to install, energy efficient. Plus, they don’t really give off heat and they are super discreet.
However, they aren’t very bright or impactful so if you’re looking for statement under cabinet lighting, keep looking my friend. Plus, once one diode goes, then the whole thing needs replacing.
Round, disc or puck lights
They are circular frames with an LED light in the center, they are often available as battery-operated or remote control and with the ability to stick to a surface. These from BLS Wireless Dimmable LED Puck Lights from Amazon are a good example and they come with a remote.
They are a great option if you want something durable and easy to install or uninstall (ideal for renters), they’re low cost with a ton of style and light variations available, plus the light is brighter than strip lights. They do produce a circular light, like a spotlight and so they’re trickier to get right in terms of placement and can look uneven if you don't install them with the correct spacing.
If you’re using the type that is fixed in, then they require more ‘fixing’ to get an even run of lights and if you’re using battery-powered round lights, then they can eat up batteries pretty quickly.
Bar lights
Bar lights are essentially linear bars of light that are available in battery-operated or wired form. These are my favorite style as they are easy to hide, allow for an even distribution of light, are linkable, come in a bunch of sizes making them super versatile, and they can be nice and bright, making it easier to create sections of light in desired areas. The only thing I’d say is that some bar lights can be a little fluorescent and harsh, so go for a warmer white color.
I'd recommend ASD LED Linear Under Cabinet Lighting 24 inch that I found on Amazon, they are easy to fit, give a warm light, are dimmable and easily adjustable too.
Note too that when you’re installing them, be sure to fit them near to the front of the cabinets and aim the light so that it is shining down and inwards to reduce any glare.
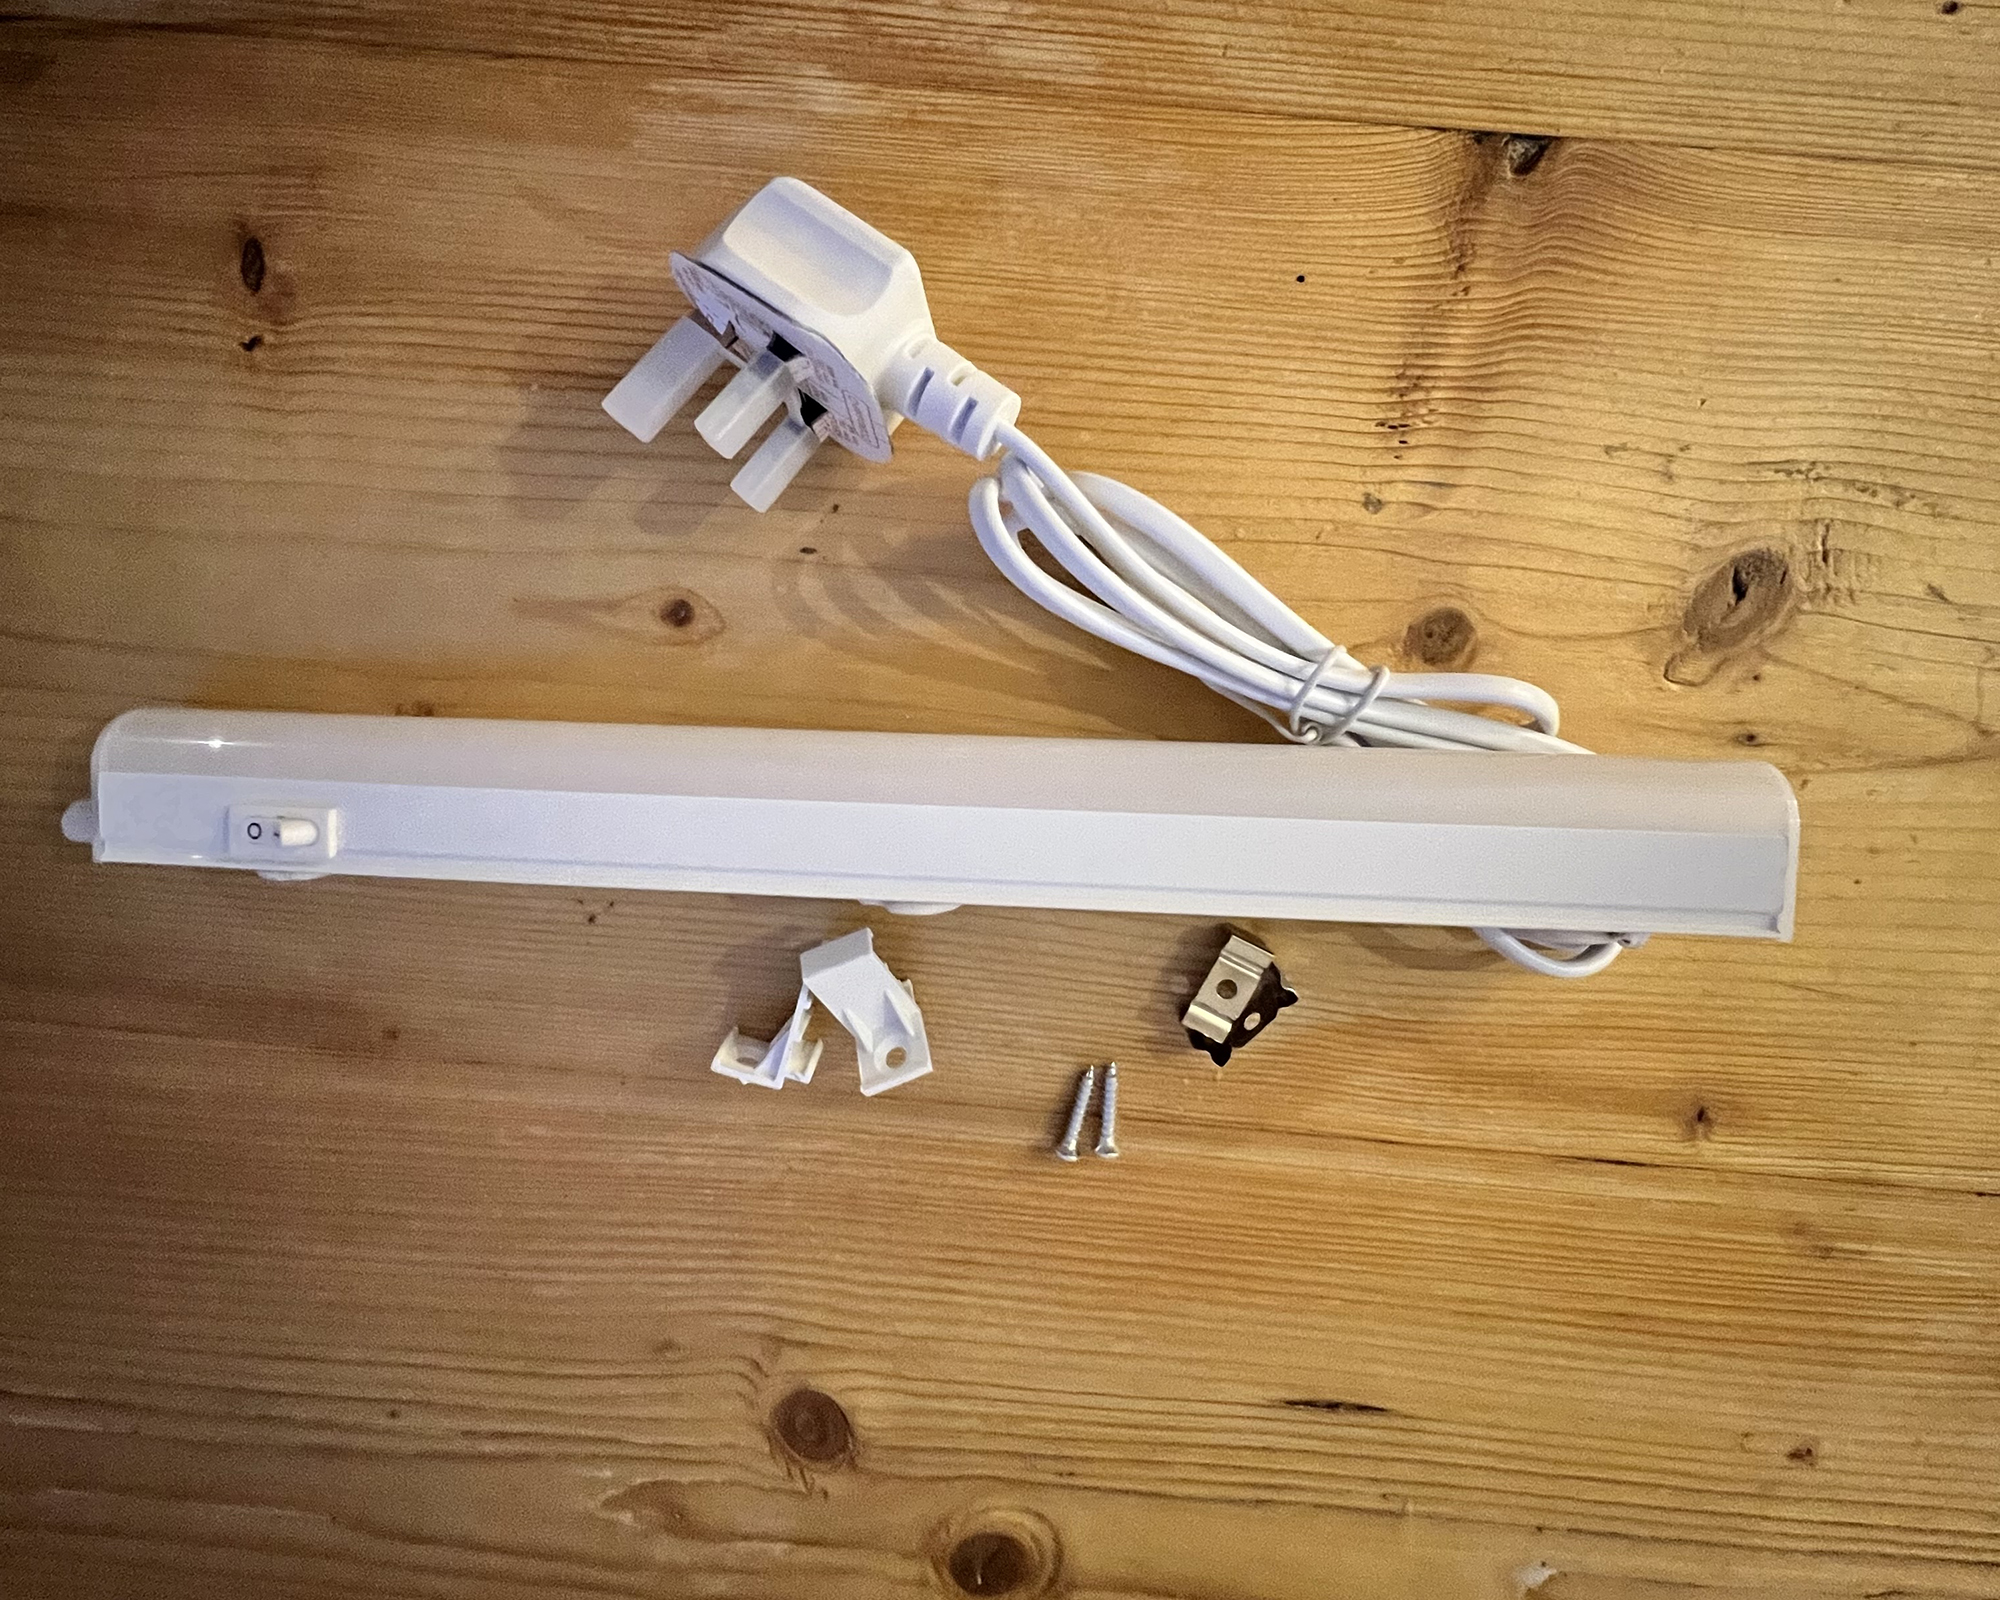
How to install Led lighting under kitchen cabinets
Although this is a pretty straightforward install, it can be a little fiddly and you could likely do with a spare pair of hands to help out with any awkward steps such as tacking the wire.
Before you get started you need to plan out where you want to install the lights. Consider the bigger picture first such as:
- Where you have outlets that you can use for the lights (or a concealed space to add an extension lead) - if you haven’t got the power you can’t have the lights unless you opt for battery-powered.
- Which are the darker areas that you want to add brightness to.
- Whether you want to do any drilling or not.
Then think about the specific areas and map out:
- How many lights you want to use (considering cost, time and space available)
- Where each individual light will be placed
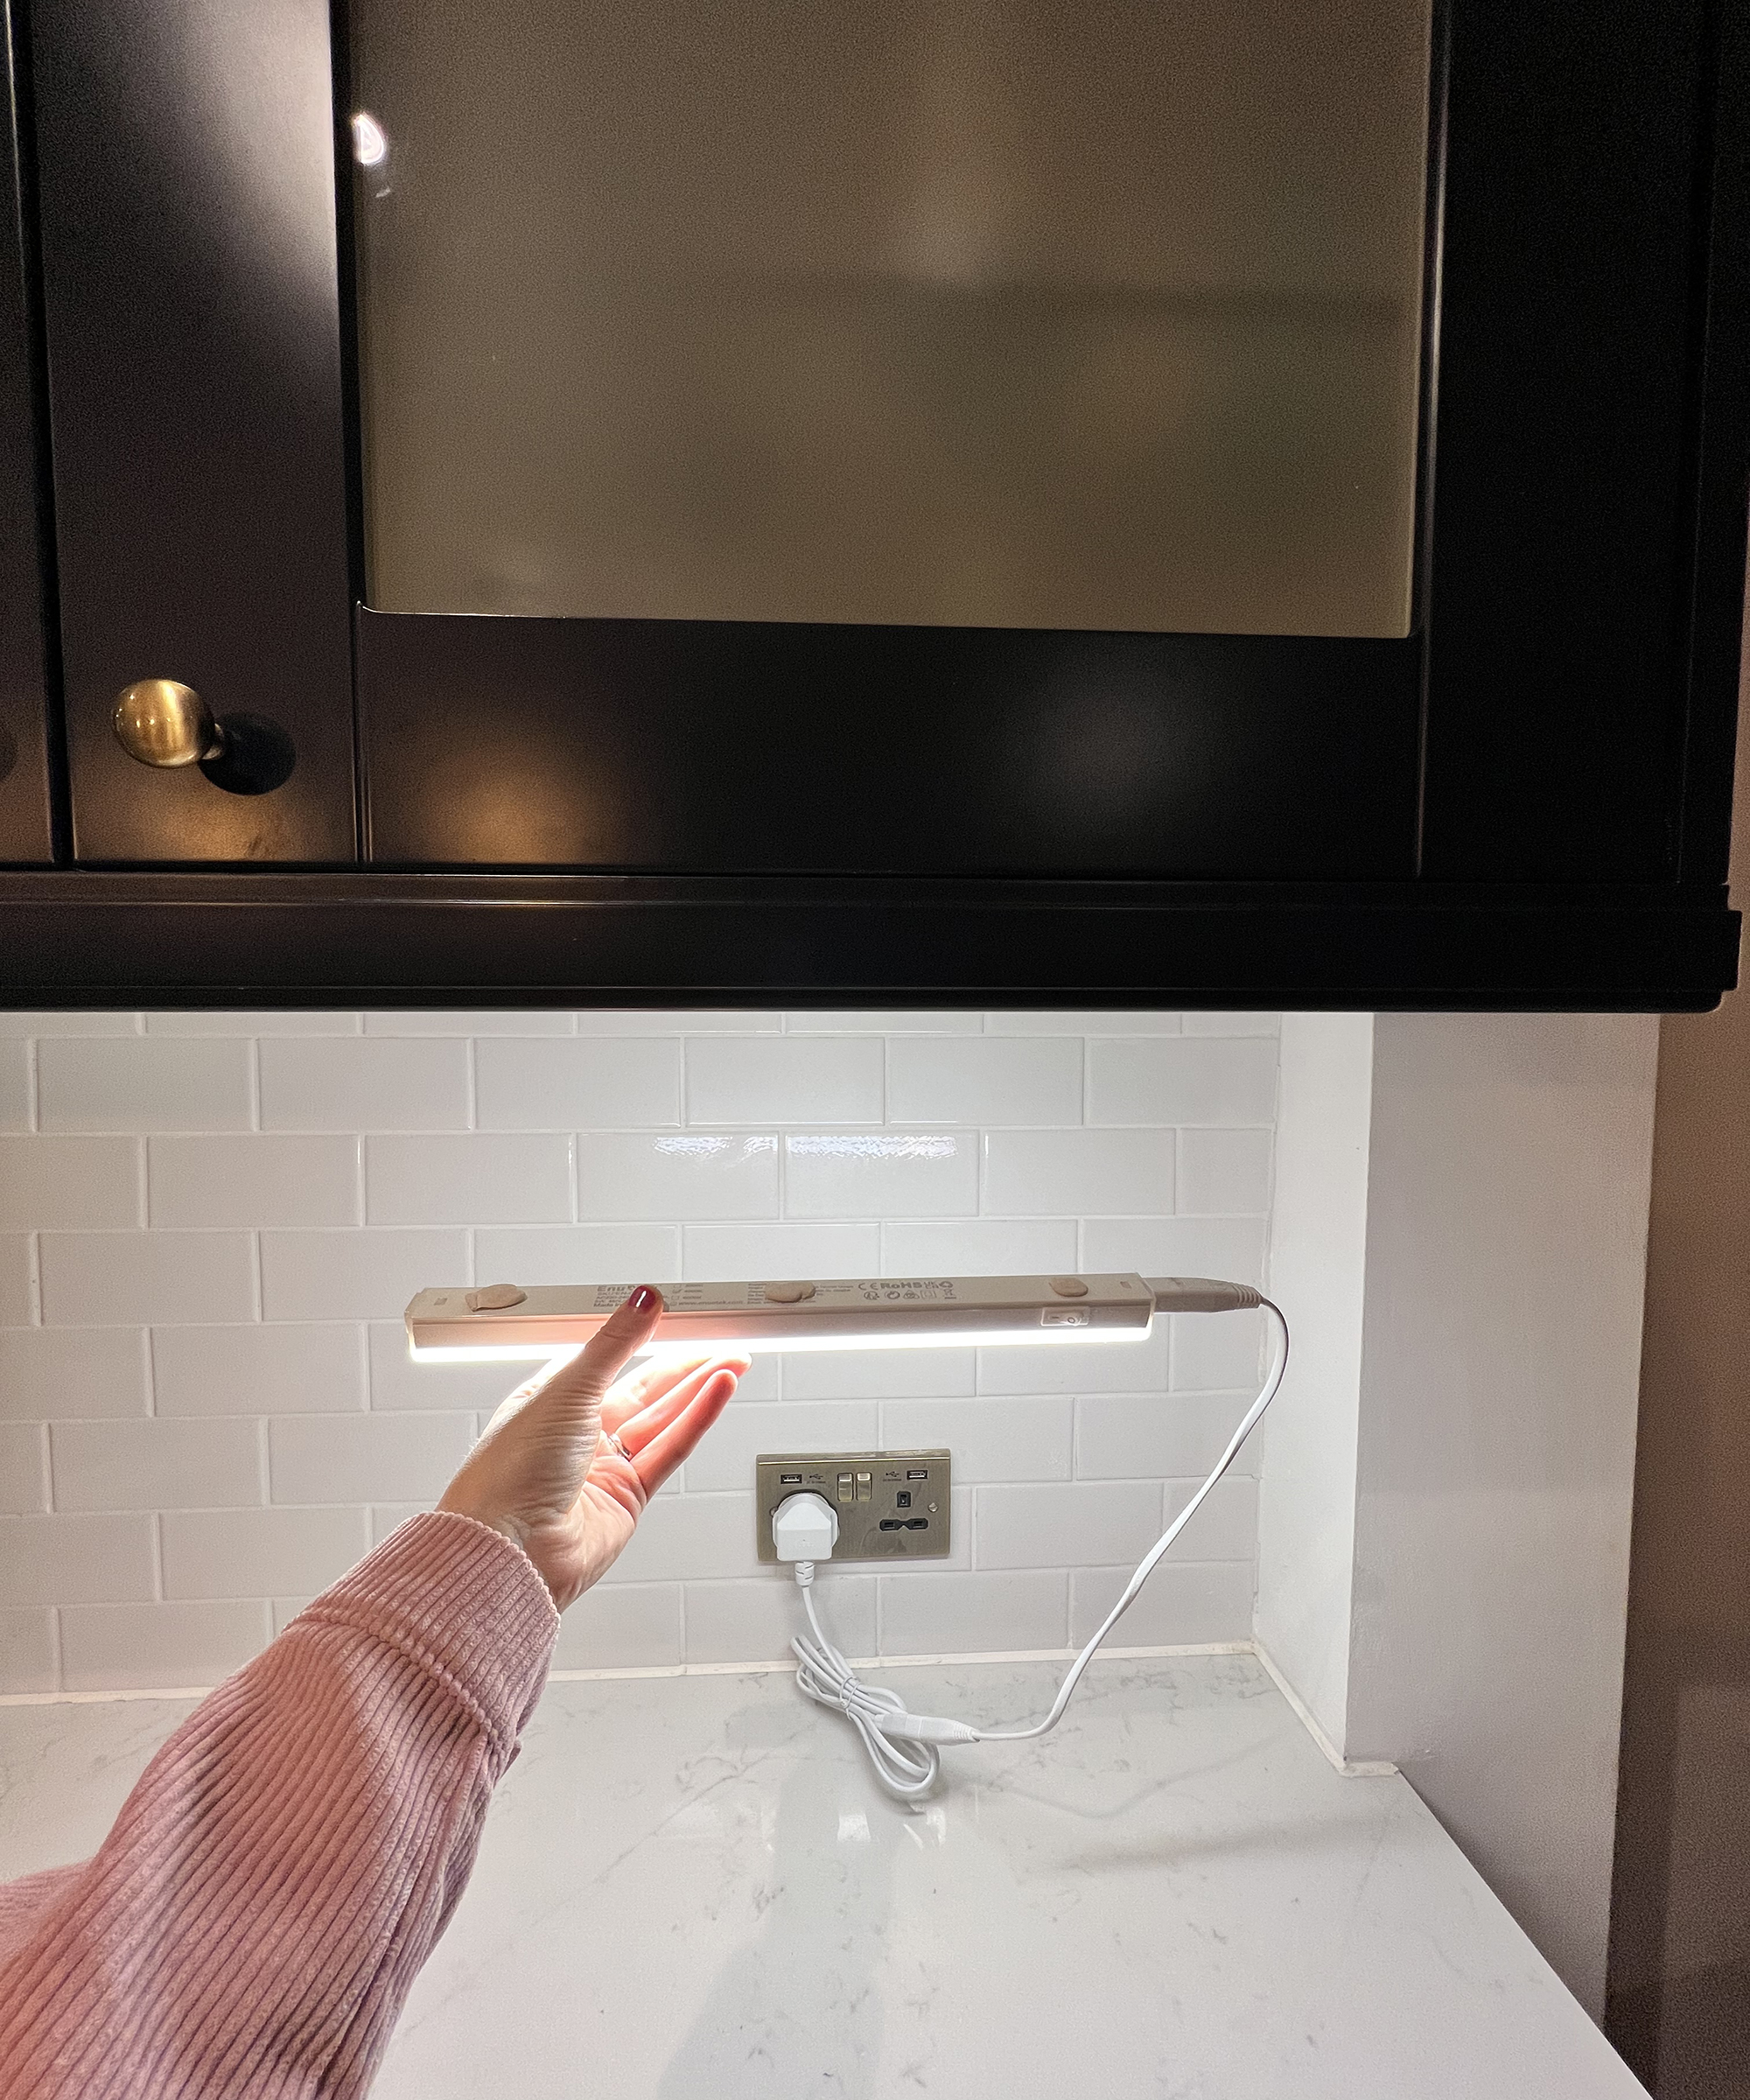
When planning your lights, remember to space them evenly. Even though you are installing the lights underneath the cabinets, the light output will be really prominent when you have no natural light (especially for darker areas) so you want this to be equal. This is even more important if you have chosen certain lights (such as puck or disc lights).
In terms of layout, if you are only using one light per cabinet door then ensure you install it centrally. For most kitchens, one per door area should work fine; if you are installing more, then just check the layout and positioning, you can do this using putty-like this one from Gorilla. Simply, plug in the lights then secure them with putty to check whether the positioning works.
You will need:
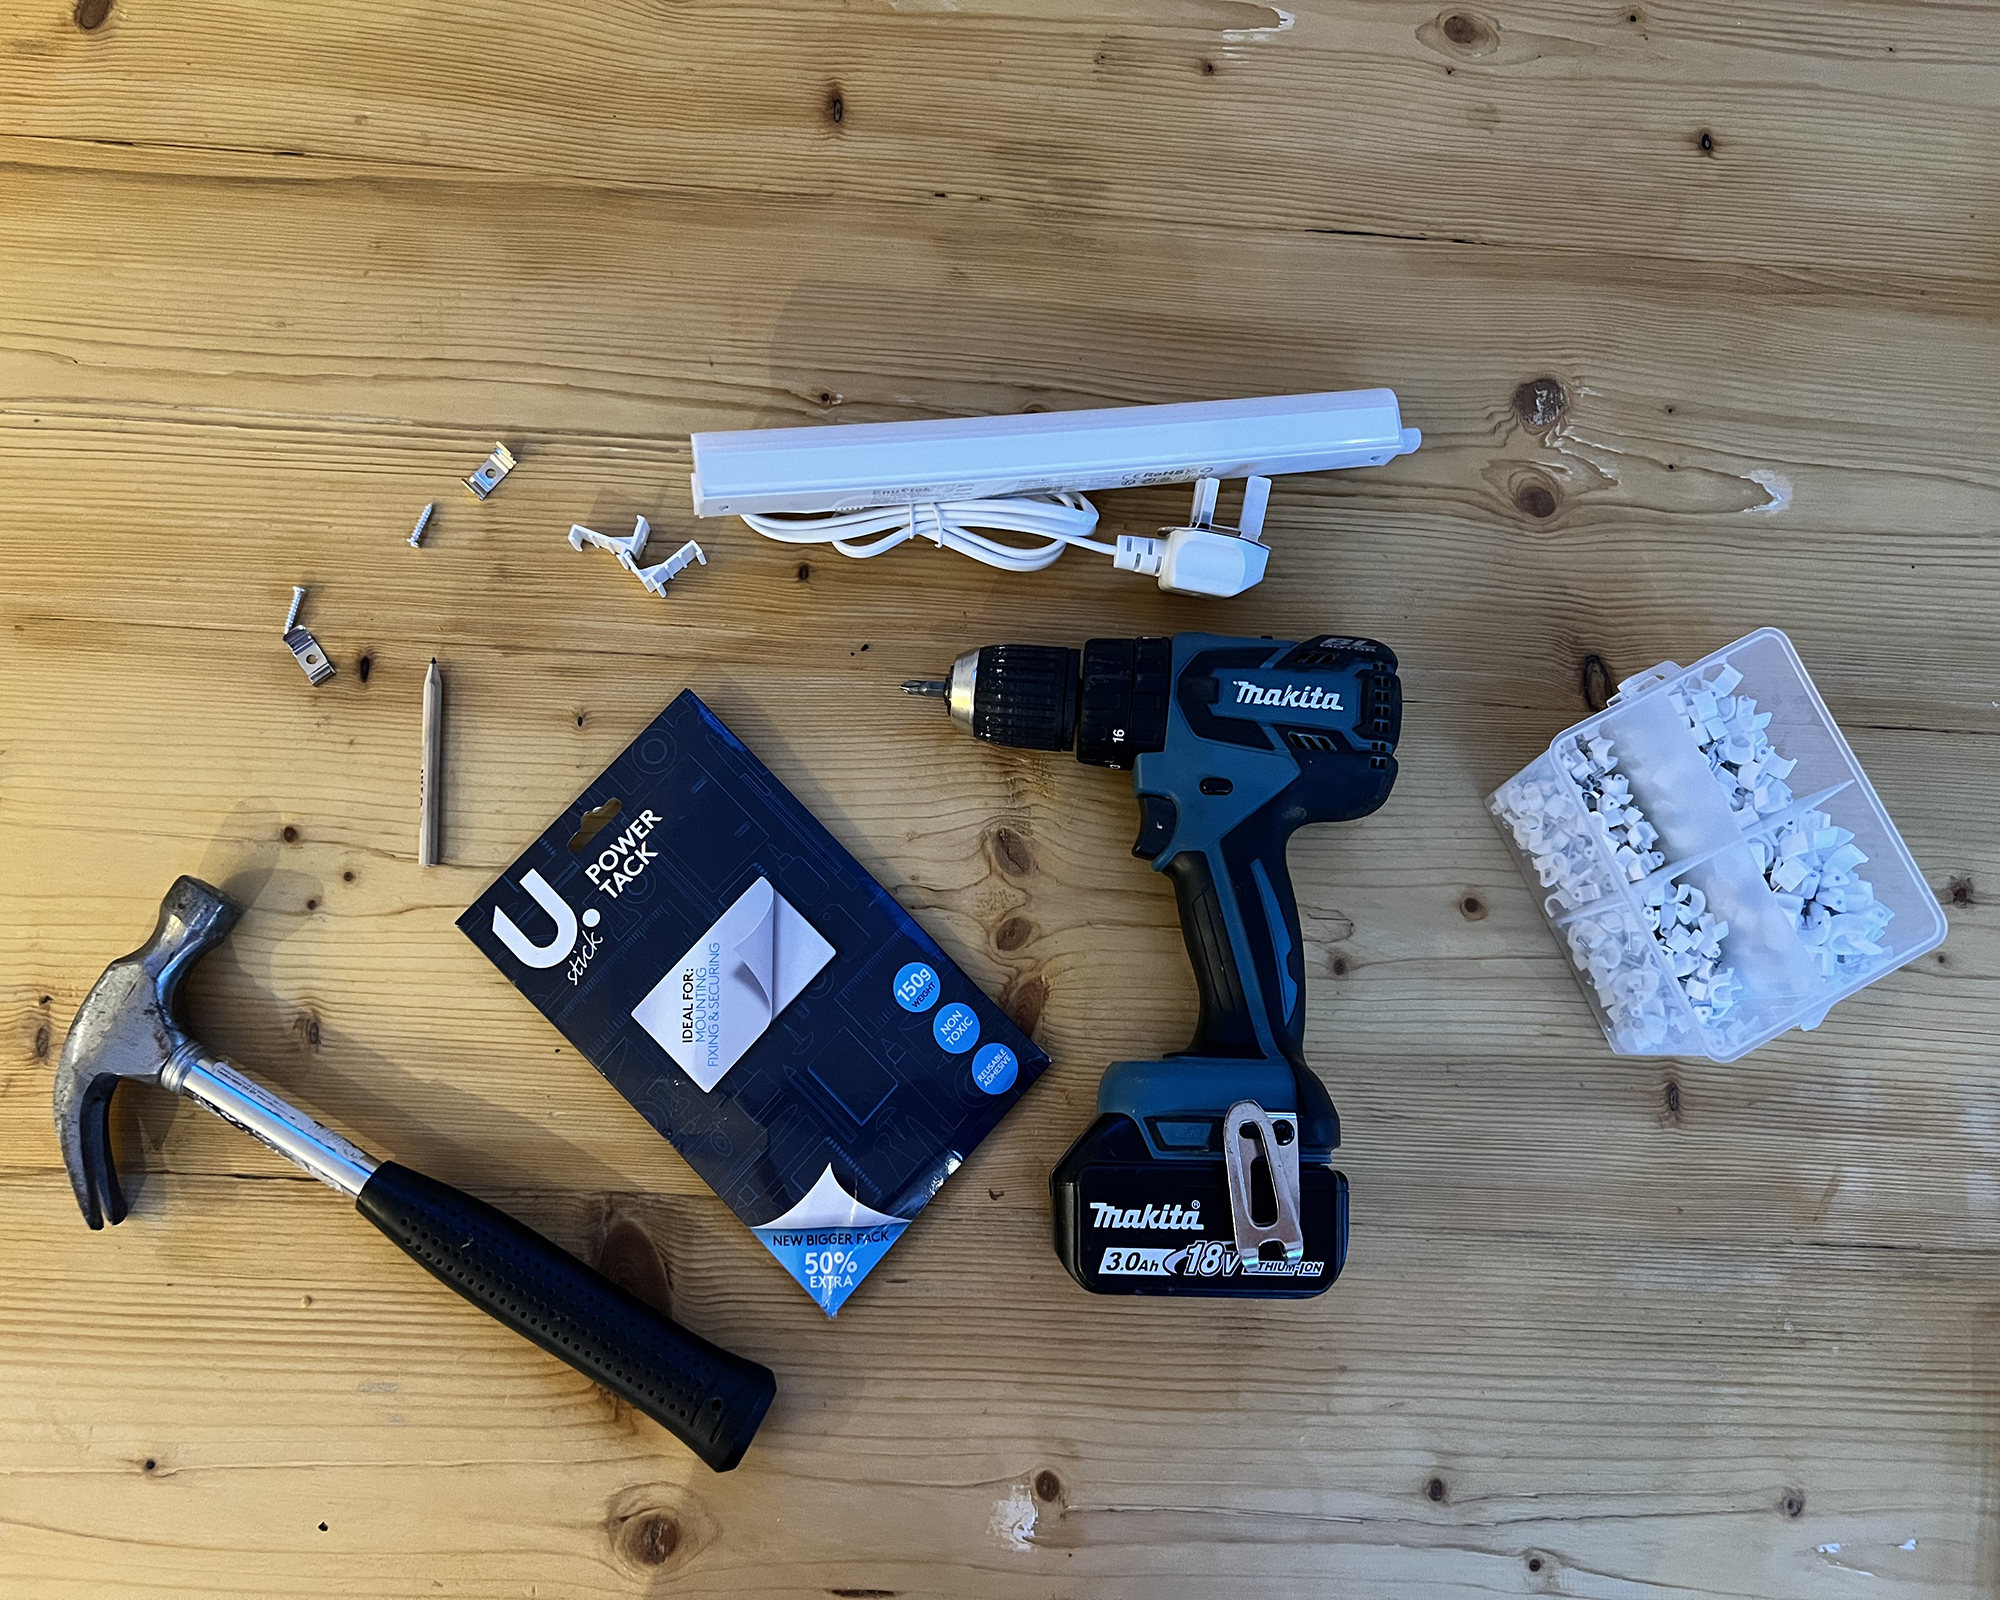
1. A cordless drill: This Bielmeier 20V MAX Cordless Drill is a good option
2. Pencil
3. LED lights of your chosen style
4. Hammer
5. Putty
6. Wire tacks
7. Awl (optional)
1. Plan and mark out your lighting
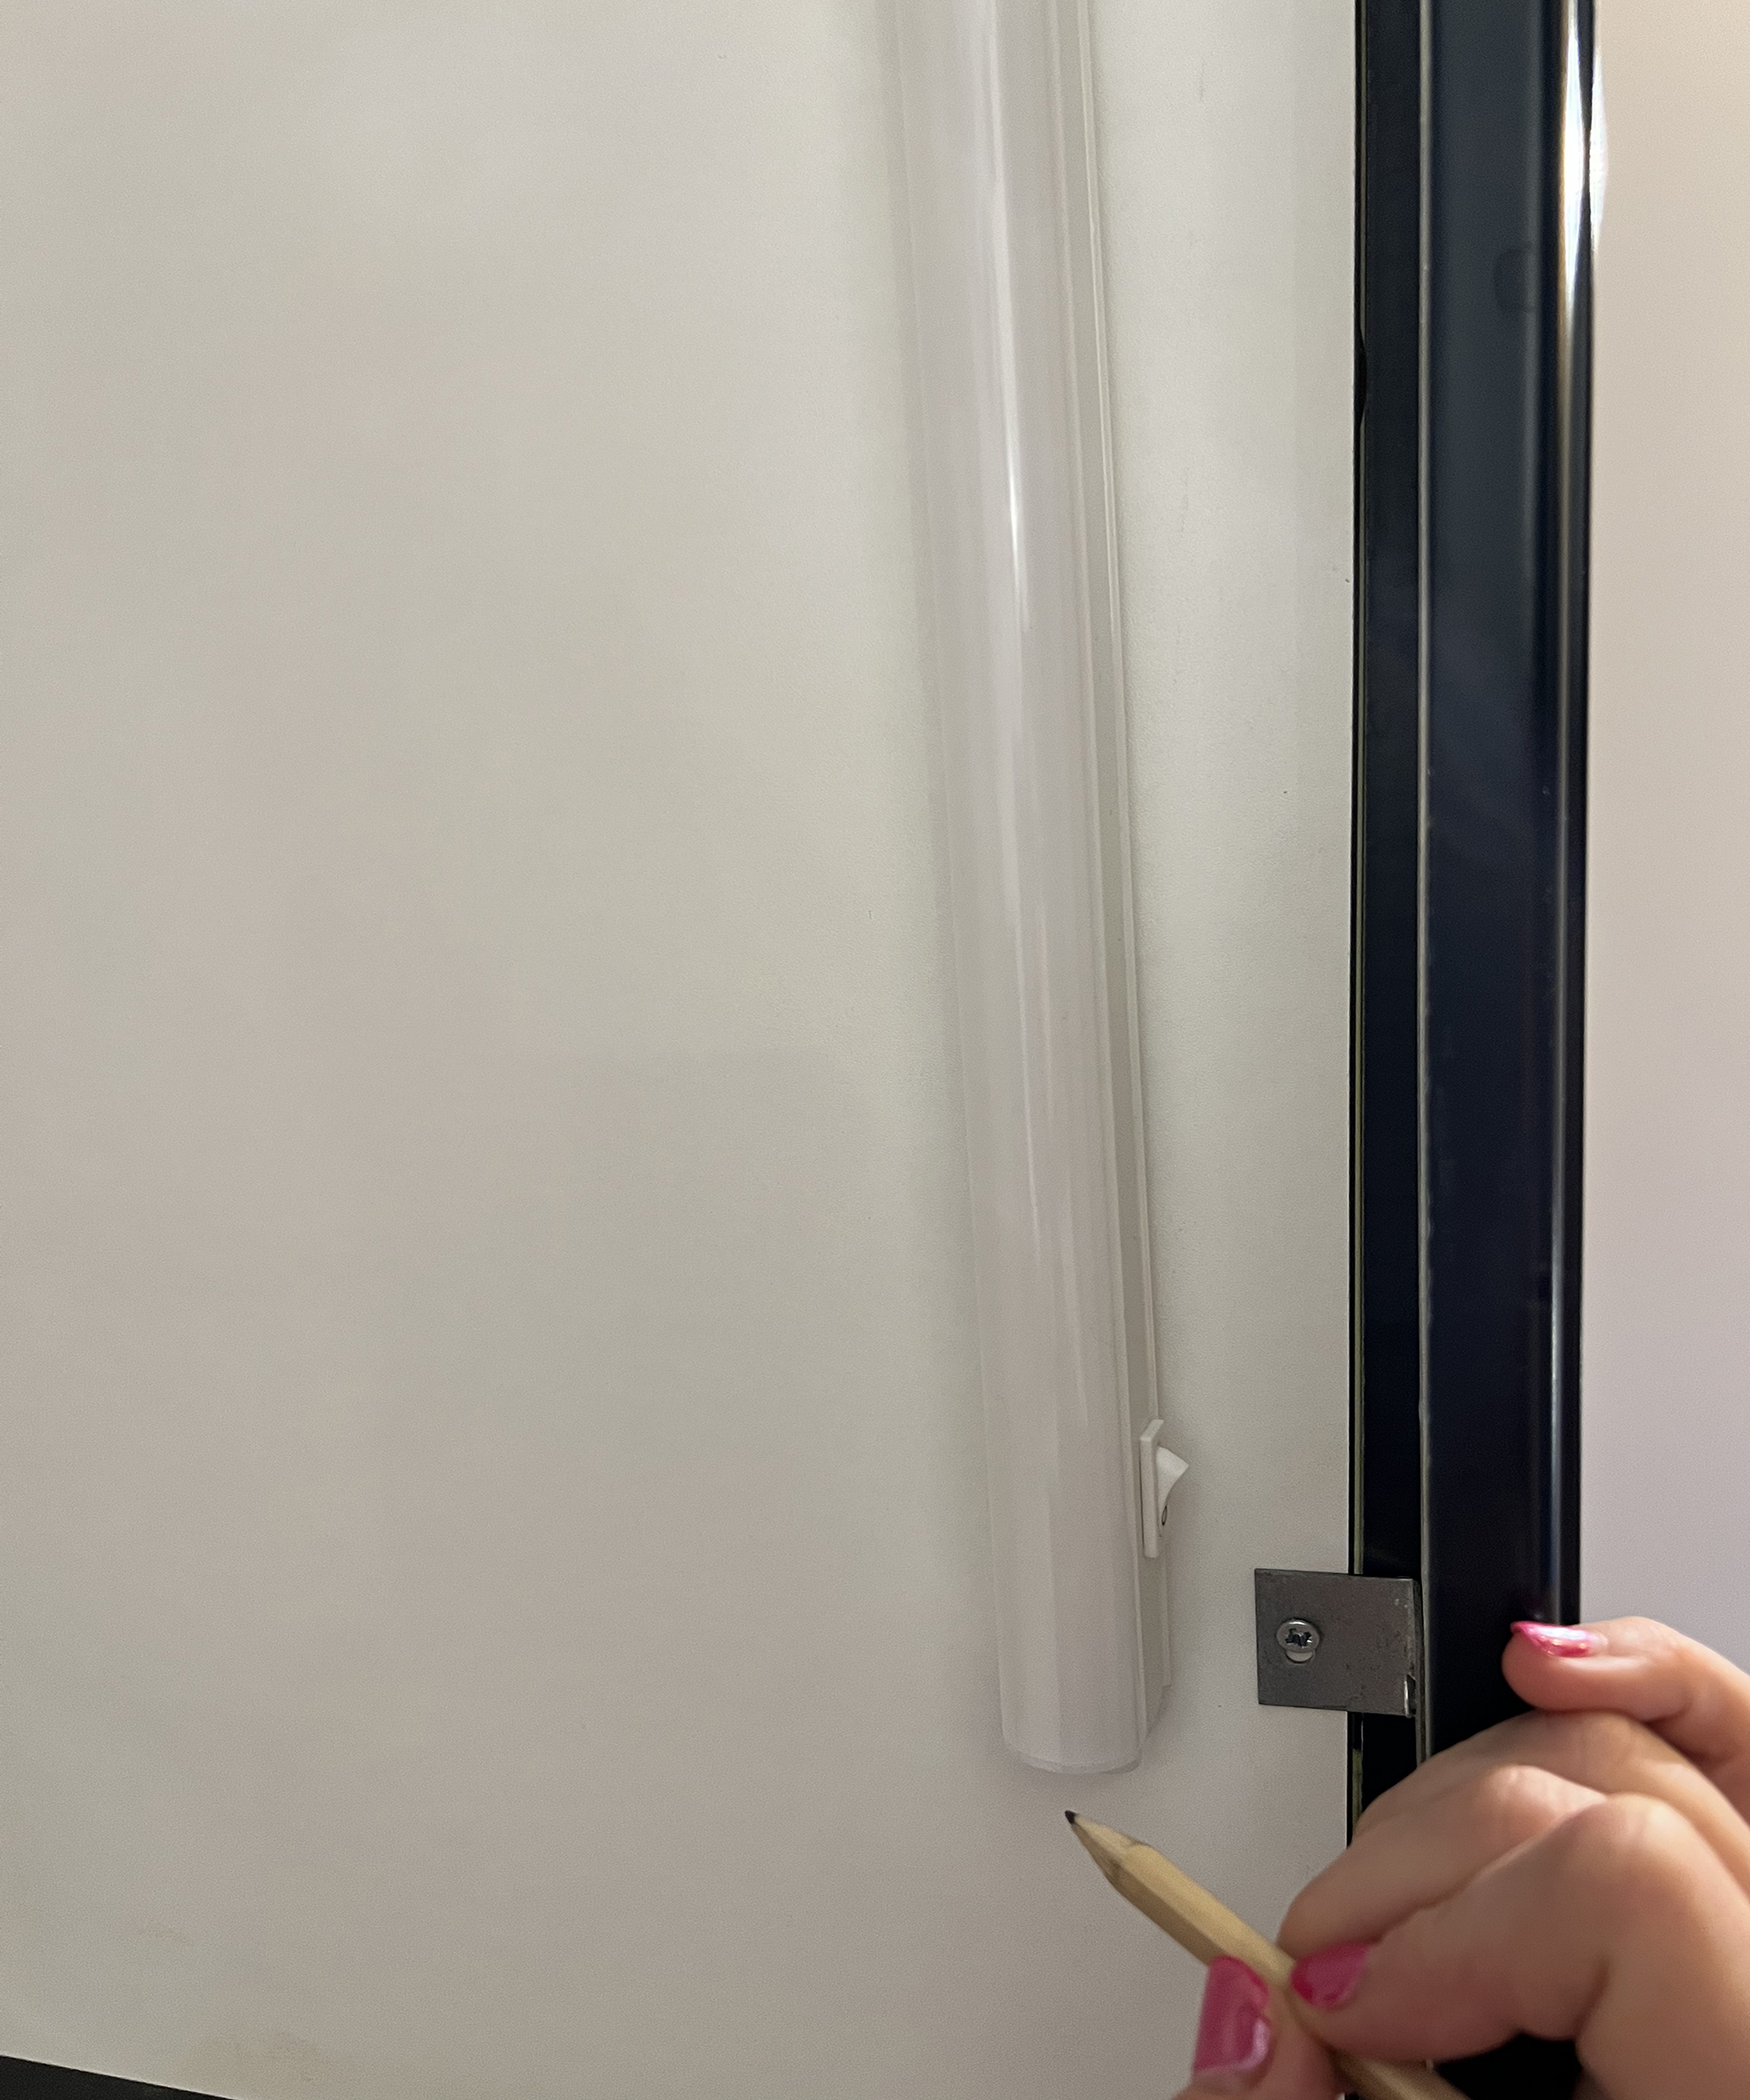
It goes without saying that you need to clear down all surfaces and make sure they’re ready for installation so you can see what you’re doing and have a clutter-free kitchen counter space.
You can power the lights using any socket, hidden or out in the open. If you use a visible one then remember that you will want to be able to tack away the wires so they aren’t really visible. In addition, you probably don’t have a bunch of spare outlets, so you may need to use an extension lead which you probably don’t want sitting on your side. You may have hidden outlets behind appliances such as the microwave, so scope this out first and decide where you want your lights to sit.
Once you have decided on the location, mark each end of the light out with a pencil so you have a guide.
2. Drill any wire holes as needed
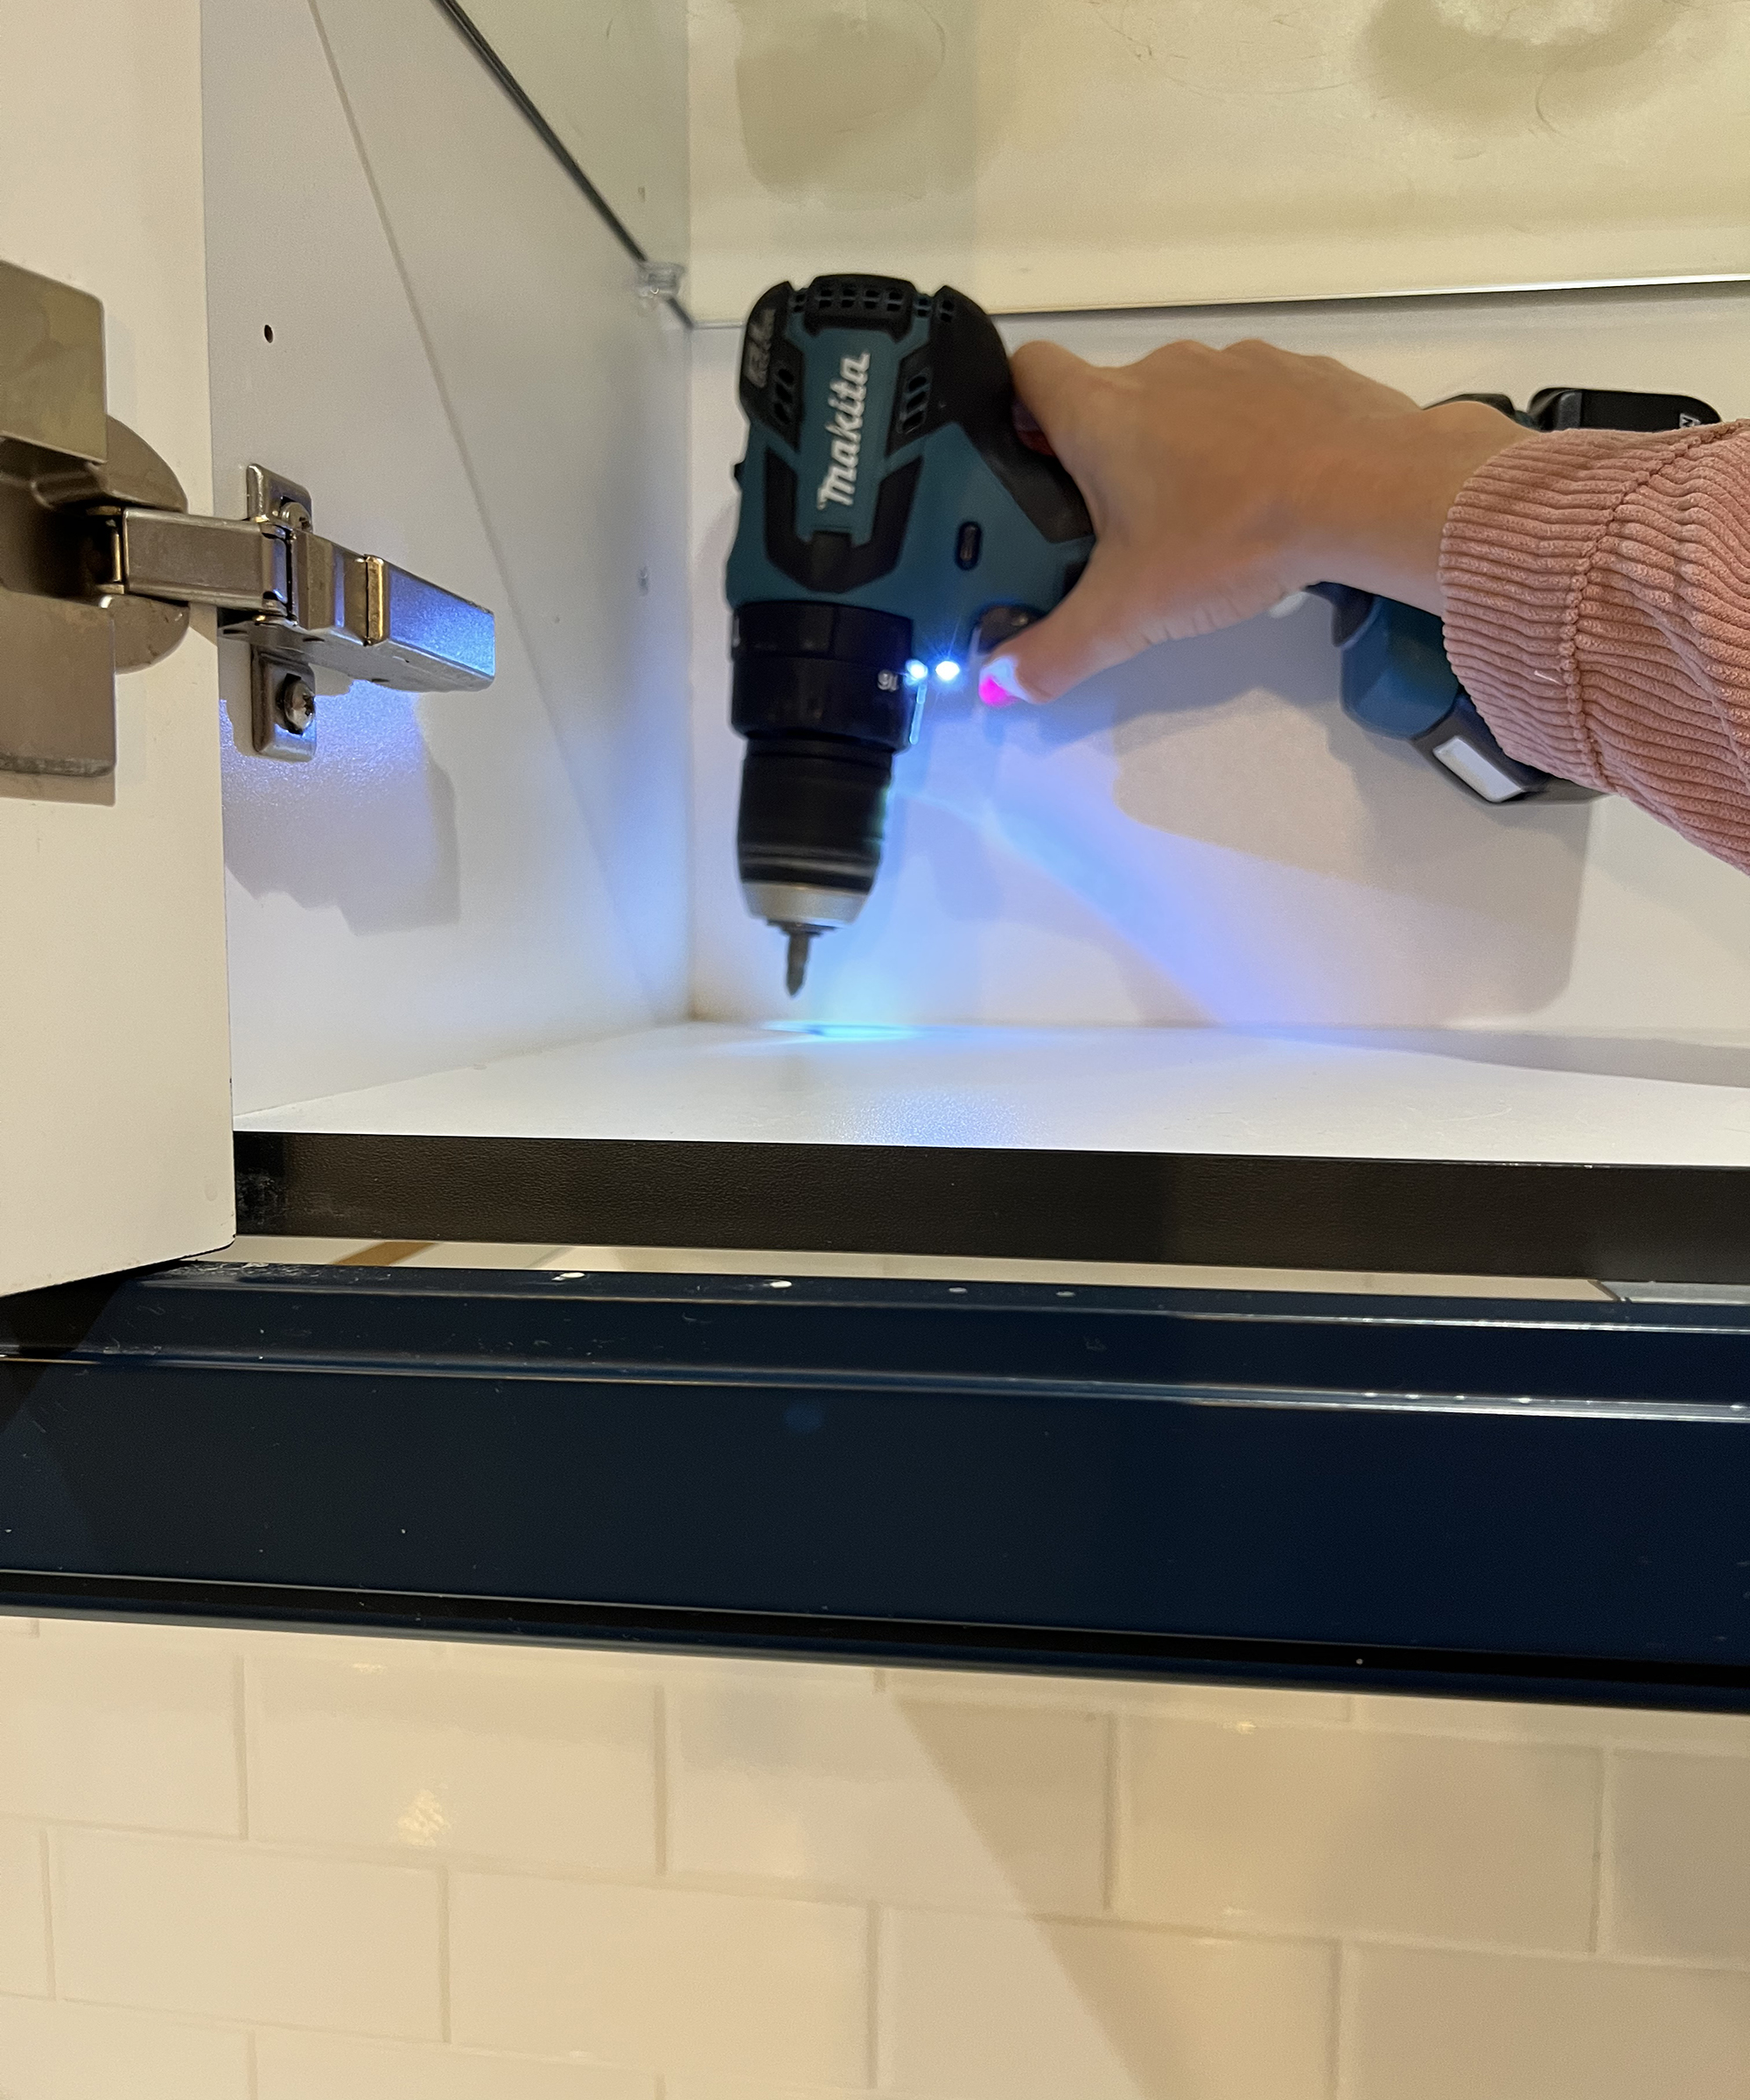
So, now you have options. If you have gone for a wired lighting option then you can choose which route to take. You can drill into your cabinets and use concealed power outlets, hiding the wires (I love this drill from Black & Decker). Alternatively, if you only have one or two lights or want a less permanent solution then you can use a visible socket and simply tack the wire to hide the lights as much as possible, using wire tacks or cable clips.
Before we talk about drilling, it's important to understand the formation of the light. Usually, there is a light on one end with a plug on the other and in between the two, some sort of small attachment that allows you to attach the plug to the light. The purpose of this is to help with installation and minimize the size of holes that you need to drill if you want to hide wires.
So, if you choose to use sockets behind your cabinets then you will need to drill holes that are big enough to feed through the wire from the lights through the cabinet to the hidden socket. We will cover the other option below.
To make the holes, choose the appropriate sized drill bit based on the size of wire you need to feed through (going for the smallest drill bit possible for the size of the hole needed, you can always go bigger). Start slowly, holding the drill and drilling steadily to create a path for the wire to reach the power outlet, make sure the hole allows for easy access to the outlet.
3. Route the wires
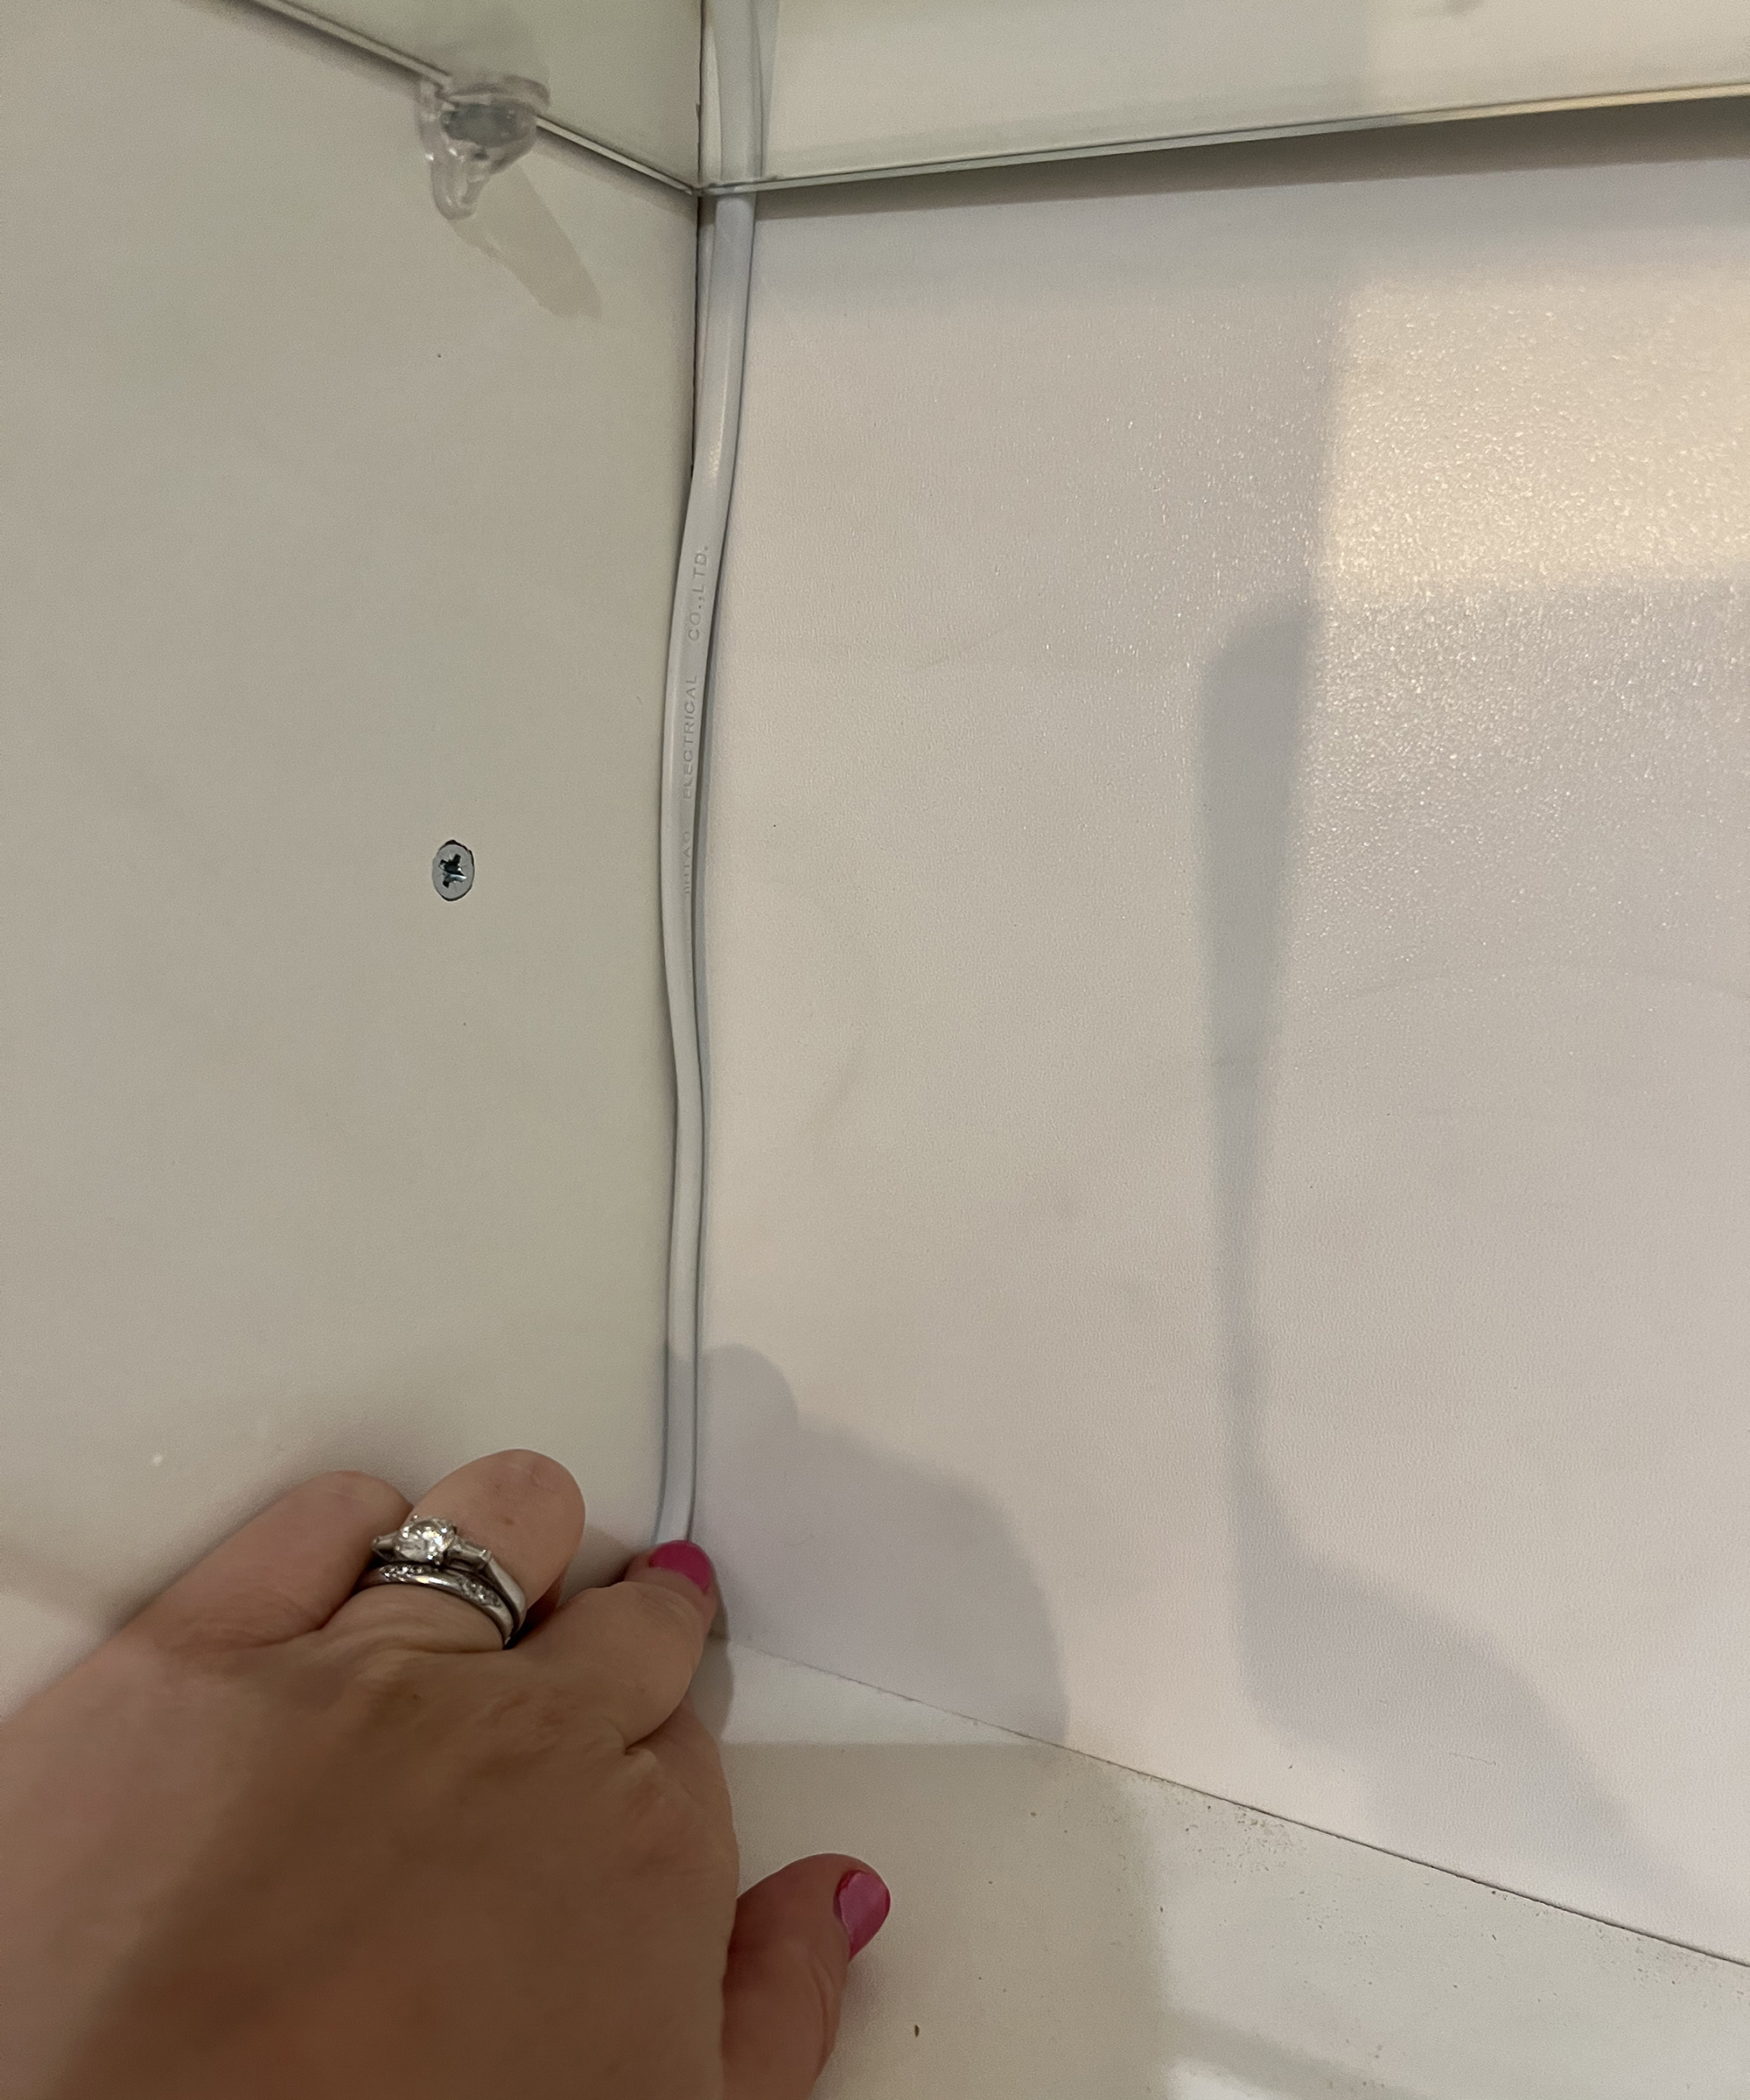
Next, use the holes that you have drilled to route the wires through so that they can pass from the underneath of the cabinet to the inside and reach the socket. Make sure that when you’re doing this you feed the wire through from the inside, leaving the unplugged plug (which won’t fit through the hole) on the inside and feeding the wire through to the outside.
4. Mounting the lights
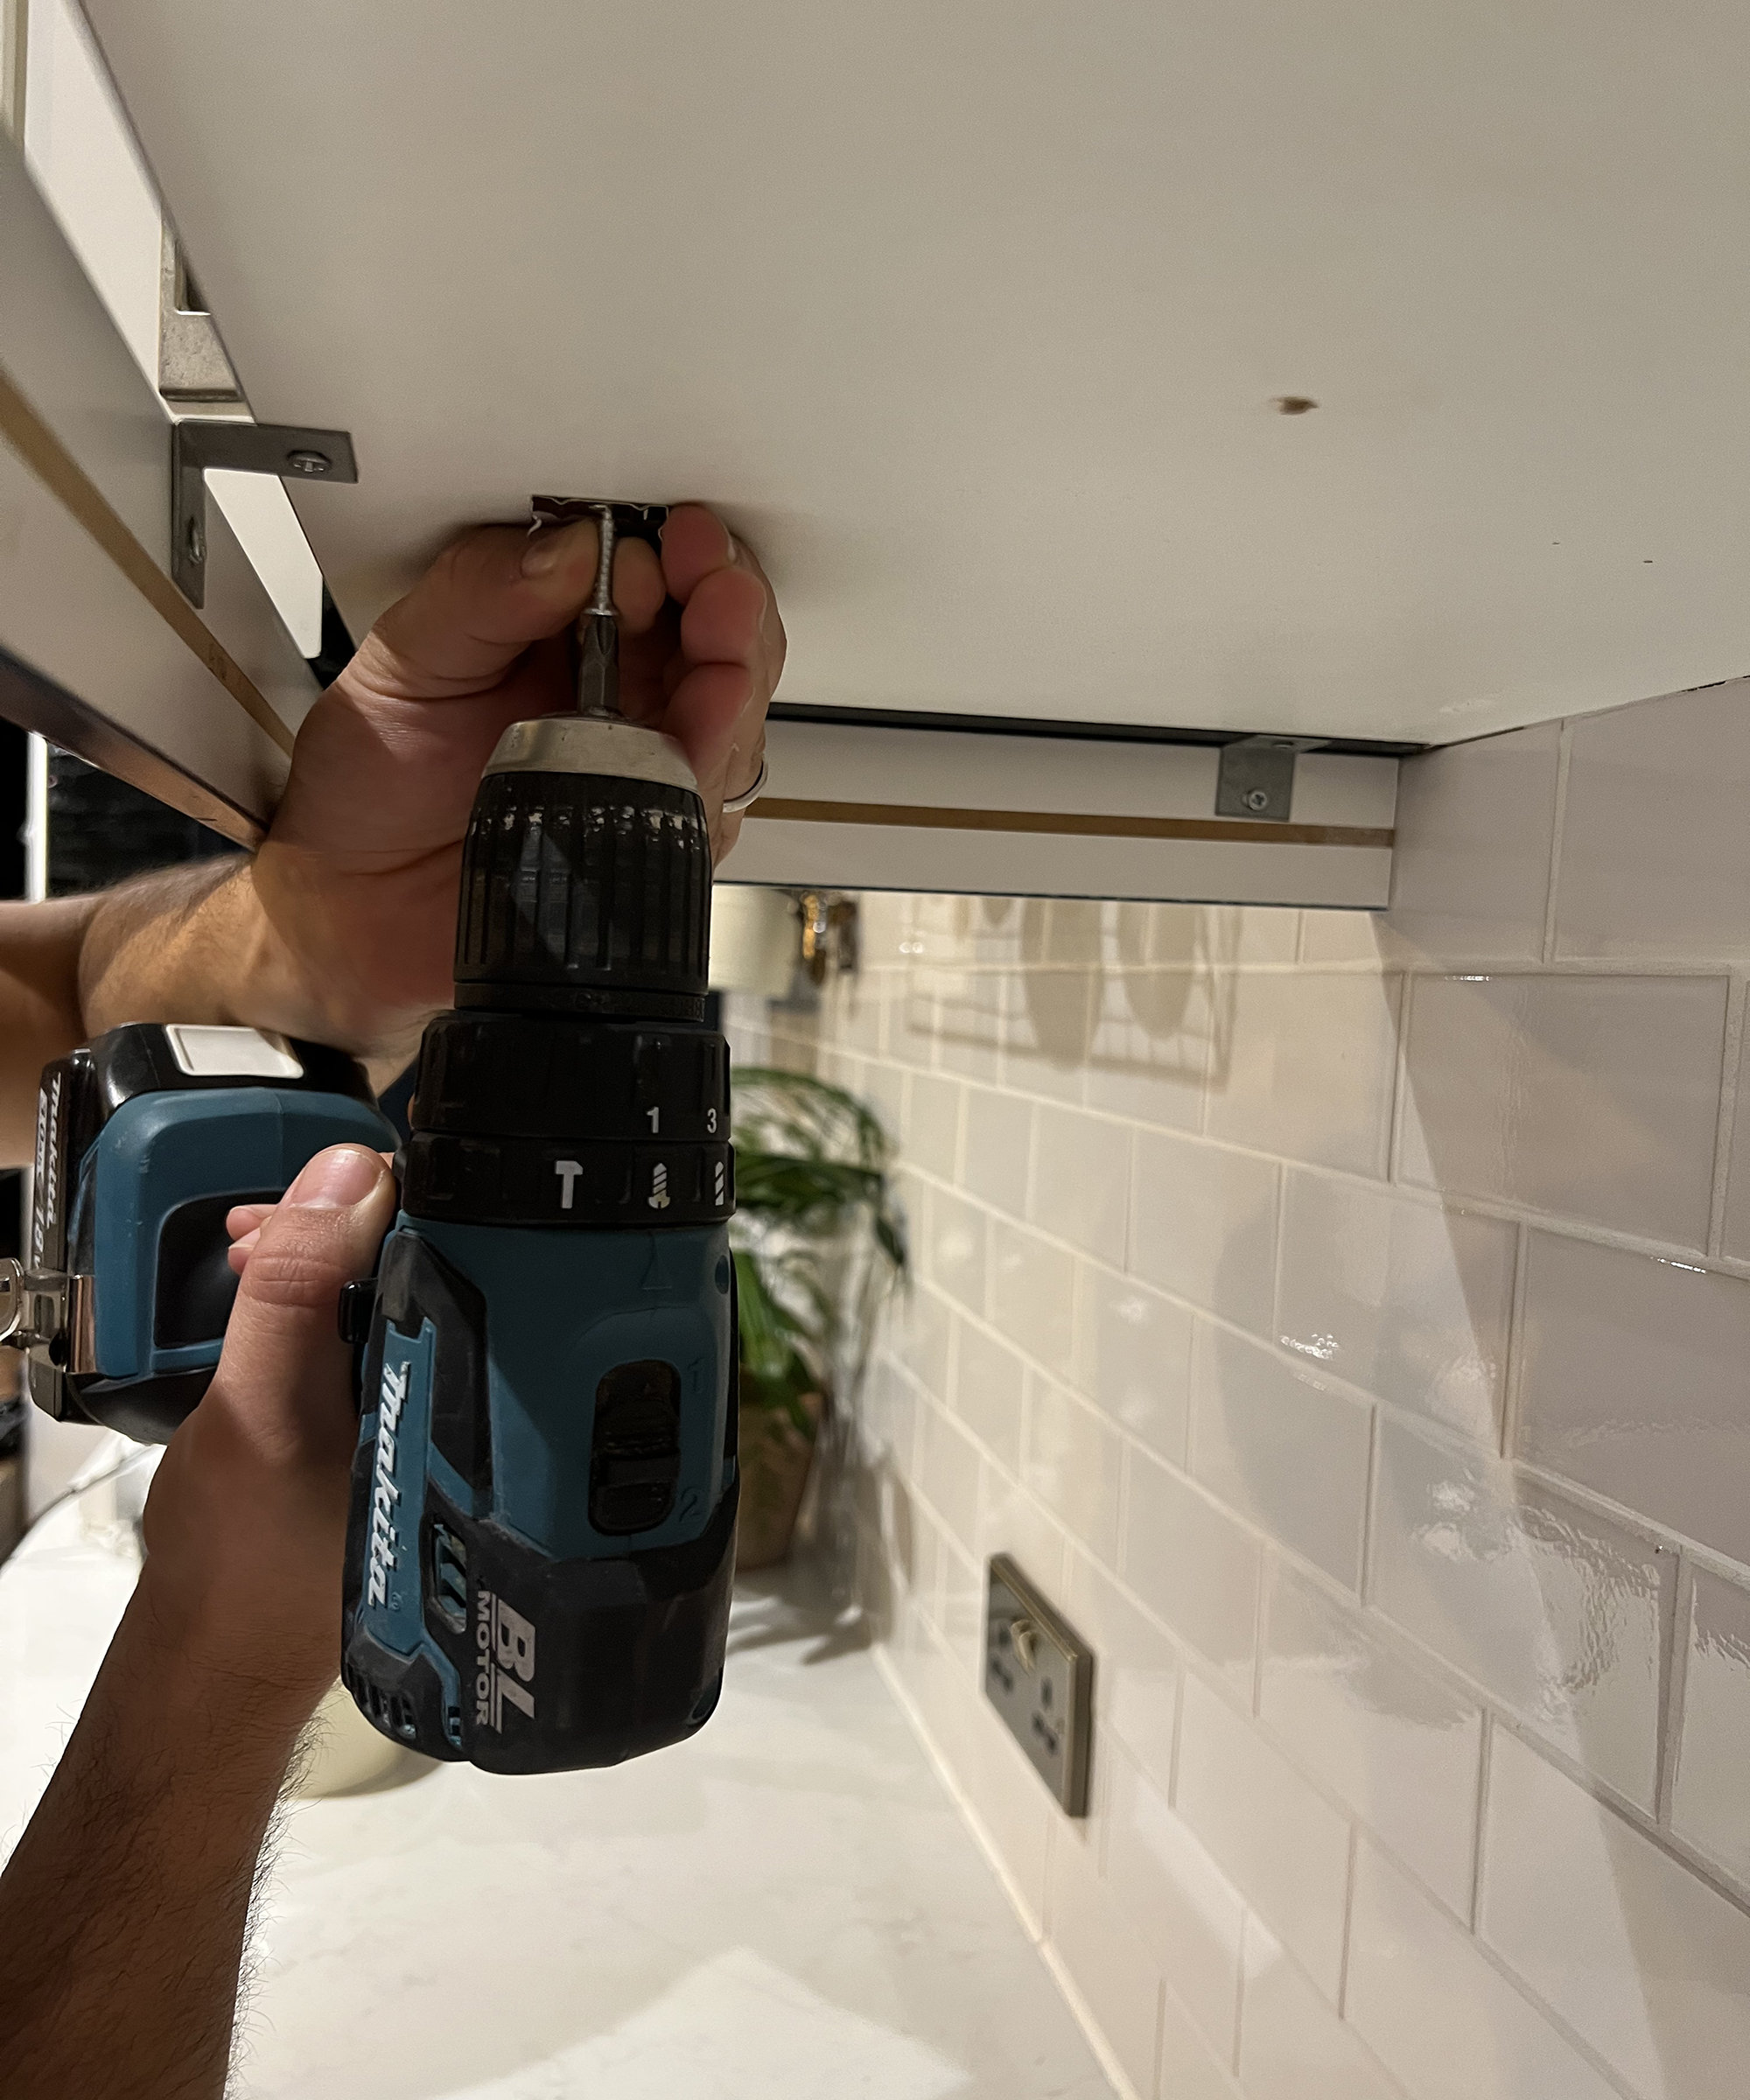
Now that you have routed the wires, you’re going to mount the lights. Usually, they come with either double-sided adhesive or clips. Sometimes they come with screws (which I prefer as it’s more secure). Take a look at your pencil marks from earlier, which marked out each end of the light and then decide how far in you want your clips, I’d say at least a centimeter from each end as you want to make sure they sit securely and evenly.
To drill the clips in:
- Make a small starter hole with an awl or a smaller drill bit to avoid the drill slipping.
- Next, secure the bracket or clip at the desired location.
- Once the clips or brackets are drilled in, slot in the light.
If you have adhesive strips or clips simply choose the desired location and stick them on.
5. Hiding the wires
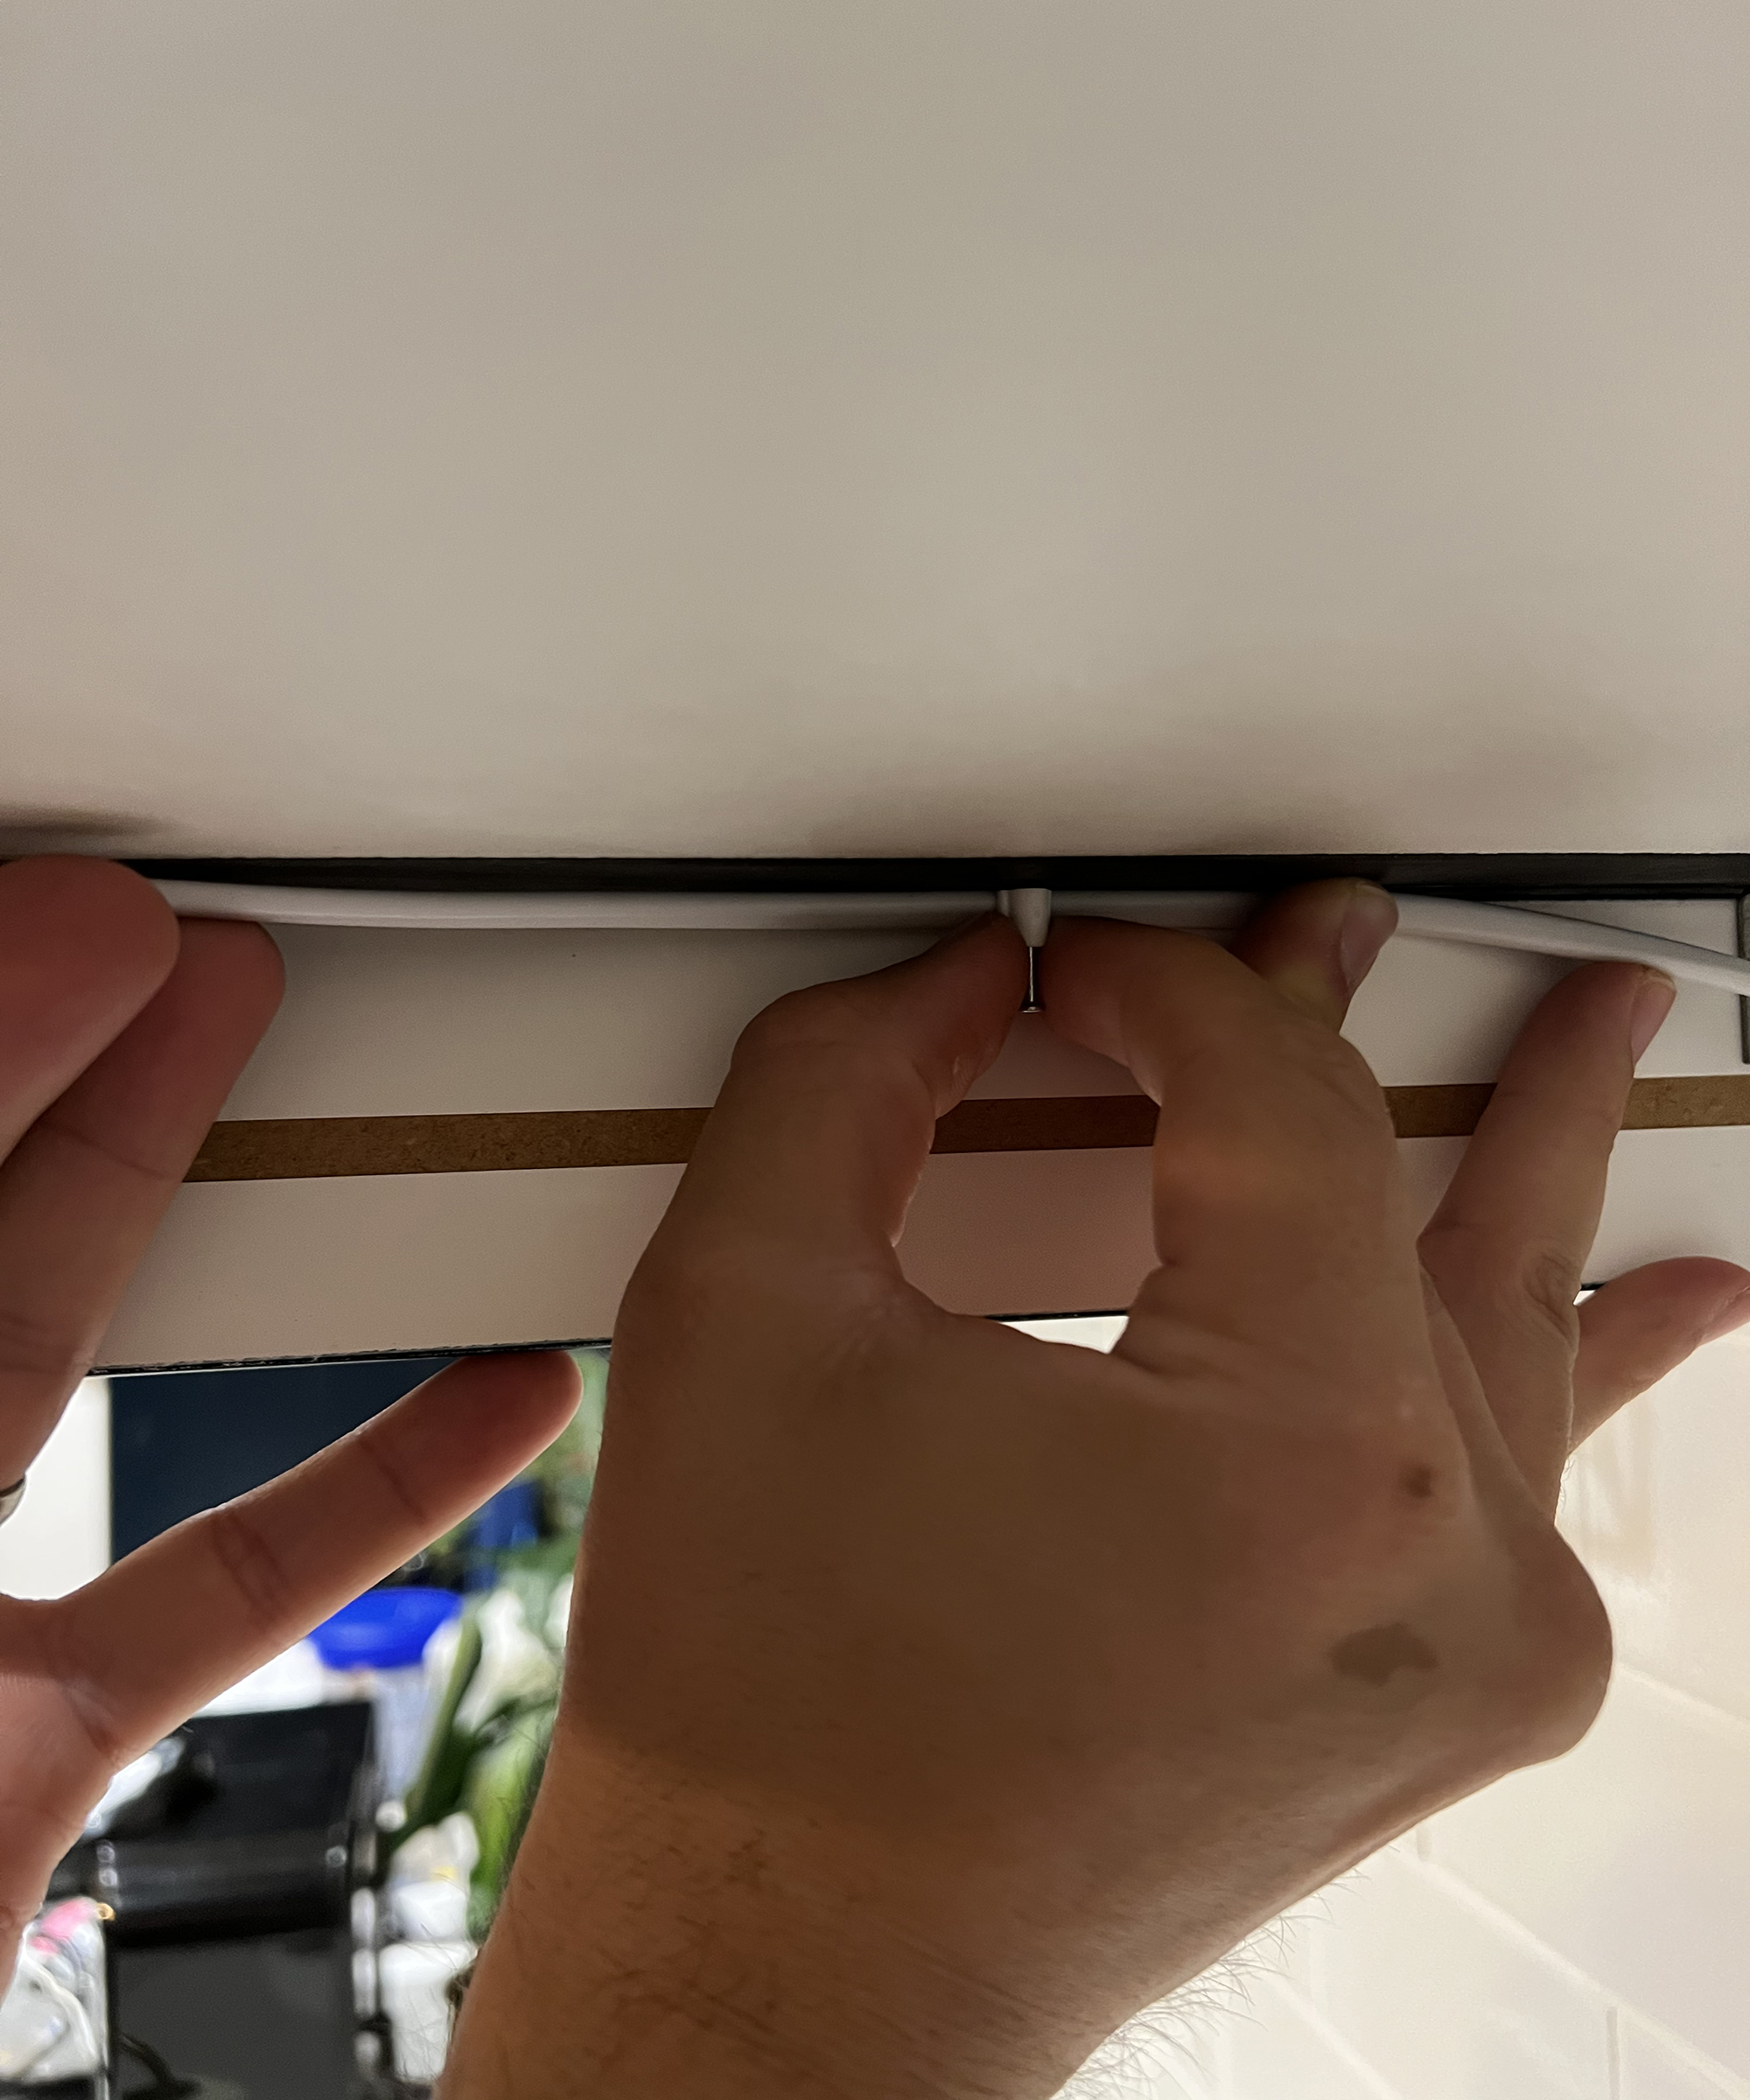
Once you have clipped your lights in you can tack the wires using wire clips like these from Attmu to the side of the unit to hide them away and ensure they don’t hang loose and look messy.
This should be pretty simple, tack the wire evenly, screwing or nailing the tack out of sight into the side of the cabinet. If you have a lot of extra electrical wire between two lights, coil a section into a loop and strap both sides of the loop.
6. Turn on and enjoy!
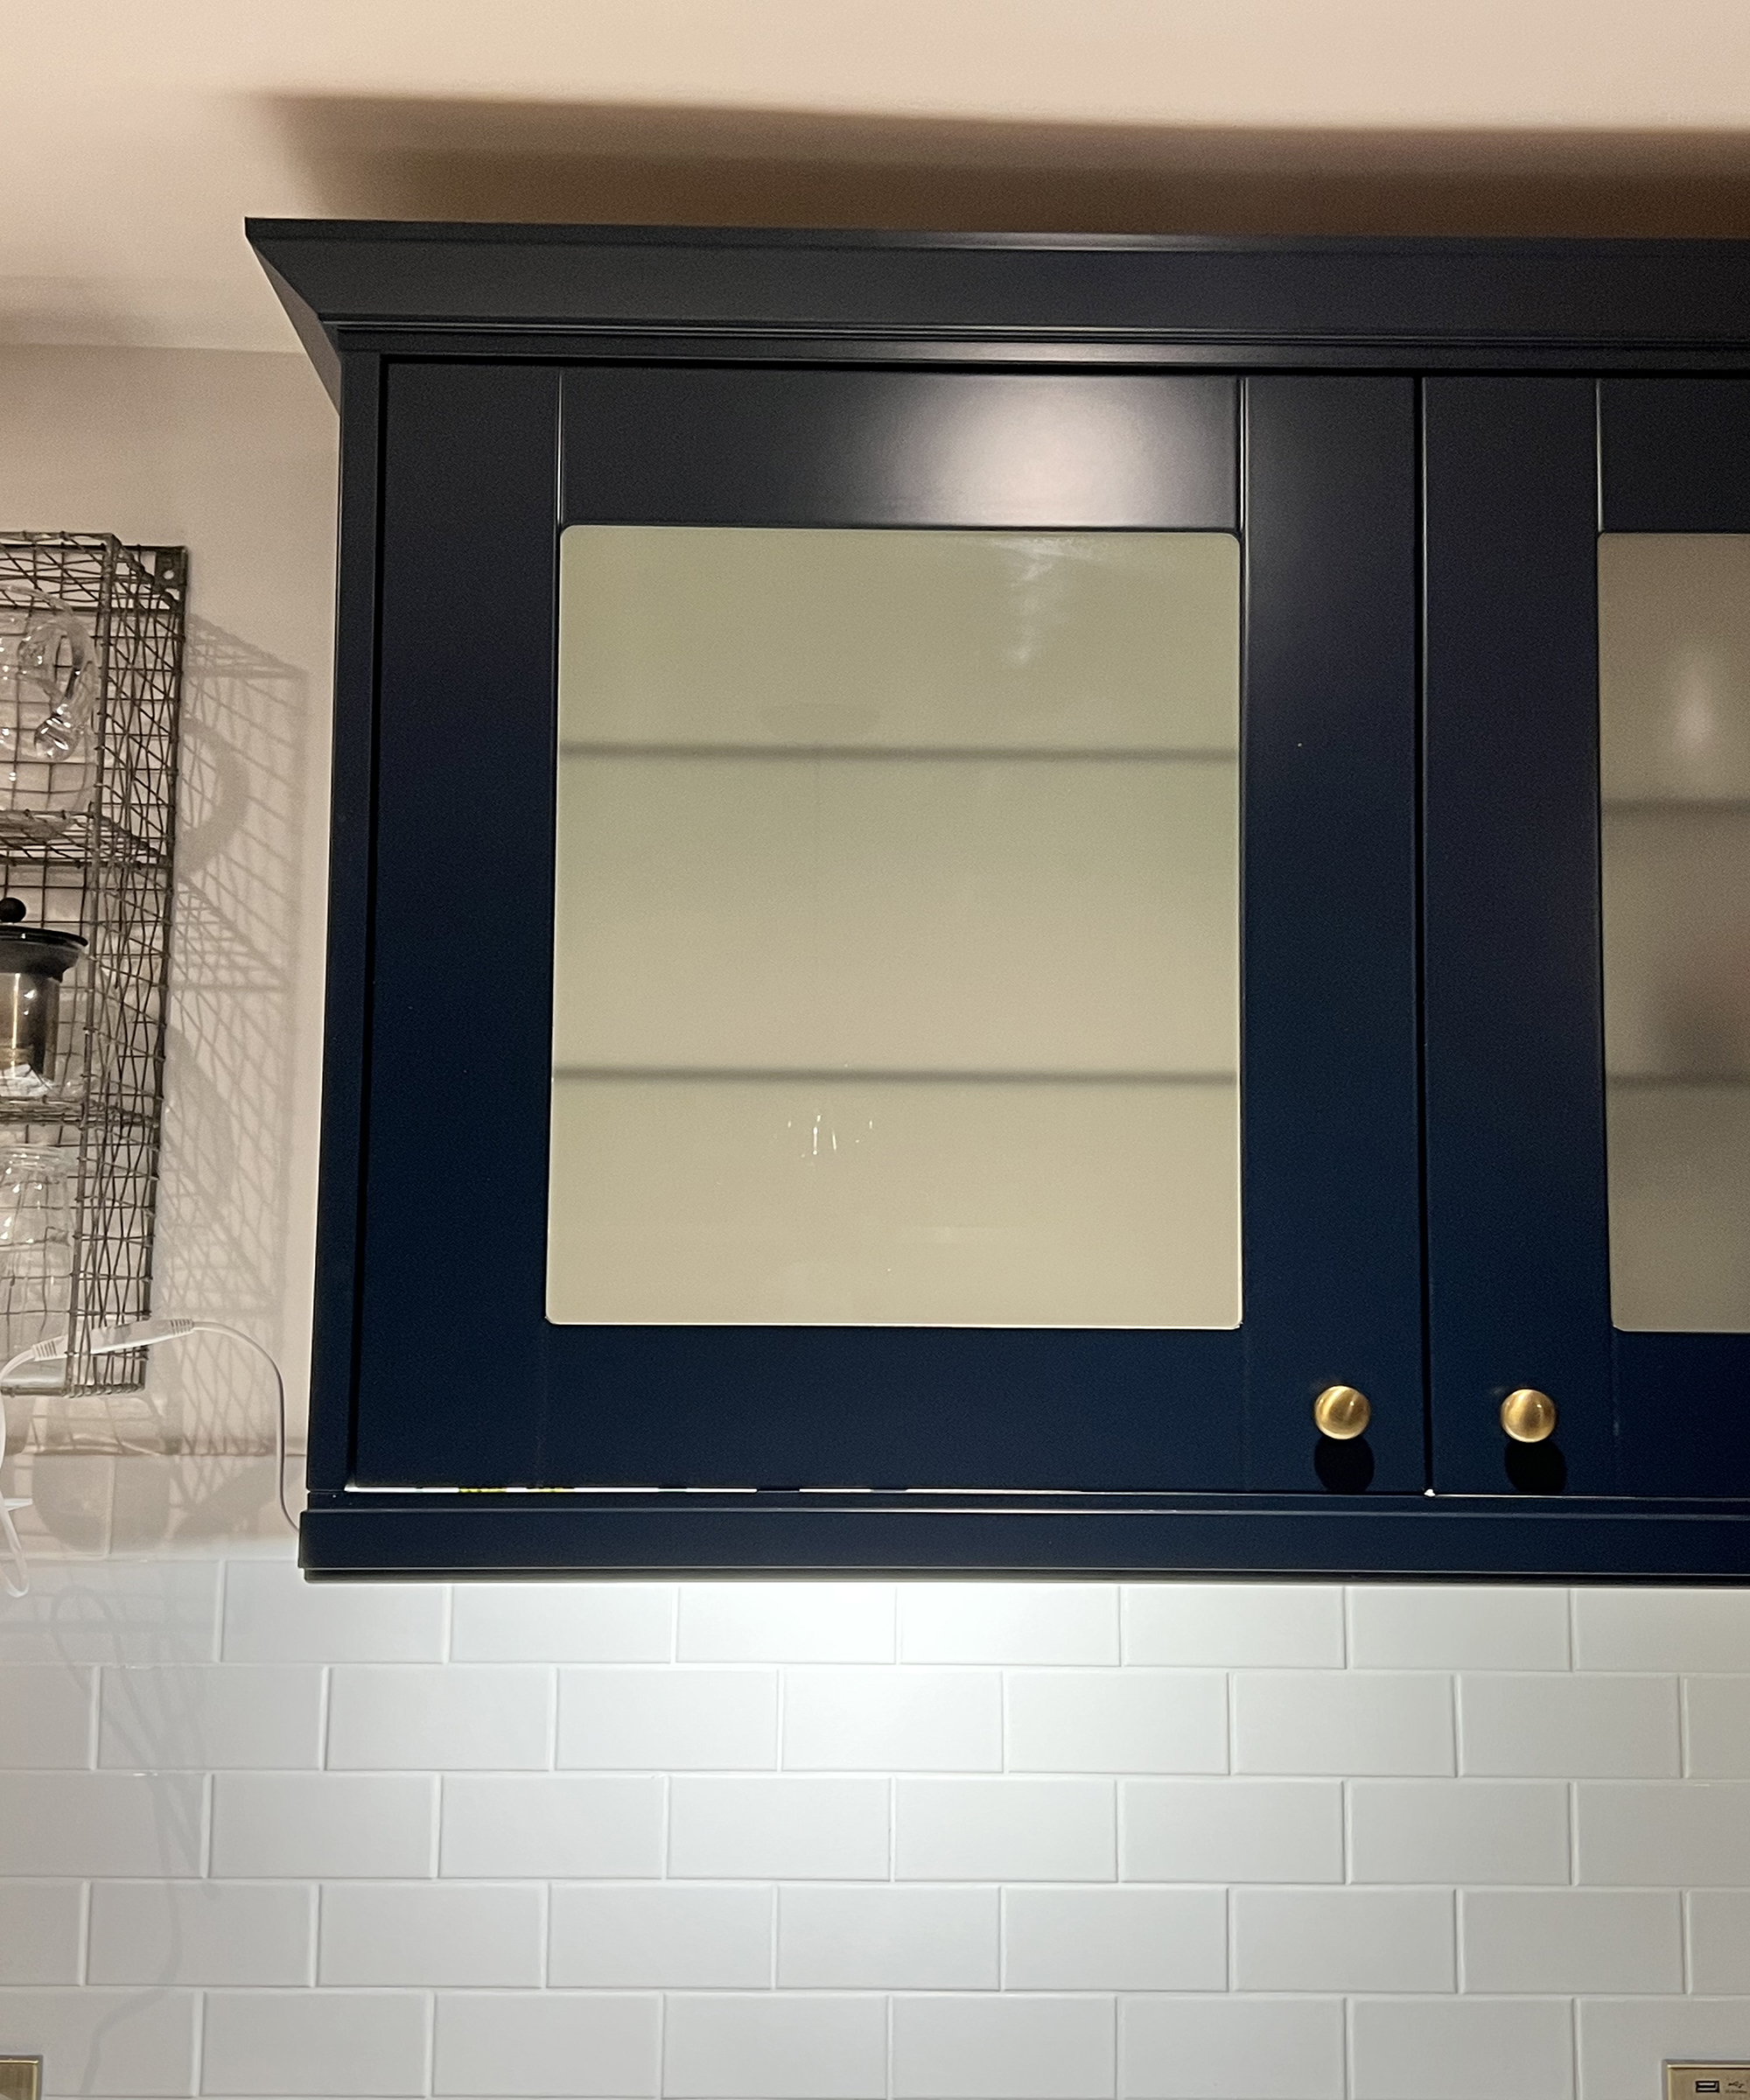
Now you’re all installed, so simply plug in the plug at the outlet, connect the light and admire. You should have a switch on the light itself (it’s always worth checking this before you purchase) so that you can switch yours on and off as desired, without having to access the plug.
Just in case you aren’t hiding lights then simply skip steps two and three and go from planning to installing your lights, being sure to hide the wires well, tacking them securely against the wall. You may want to choose a similar color wire to that of your backsplash or wall to make it as discreet as possible.
Whether you're looking to light up kitchen countertop or simply illuminate your space for a more airy finish, it's worth giving this DIY a go to feel all the benefits in your cooking zone.

I’m a DIY and renovation expert from a family of renovators; it's in my blood! Renovation is my passion and I love sharing my knowledge, either through my Instagram renovation tips or my renovation course. I love seeing how it helps others build the confidence to create their dream home without it costing the earth!