Hey! This is how to curate your dorm photo wall
Picture perfect 📸

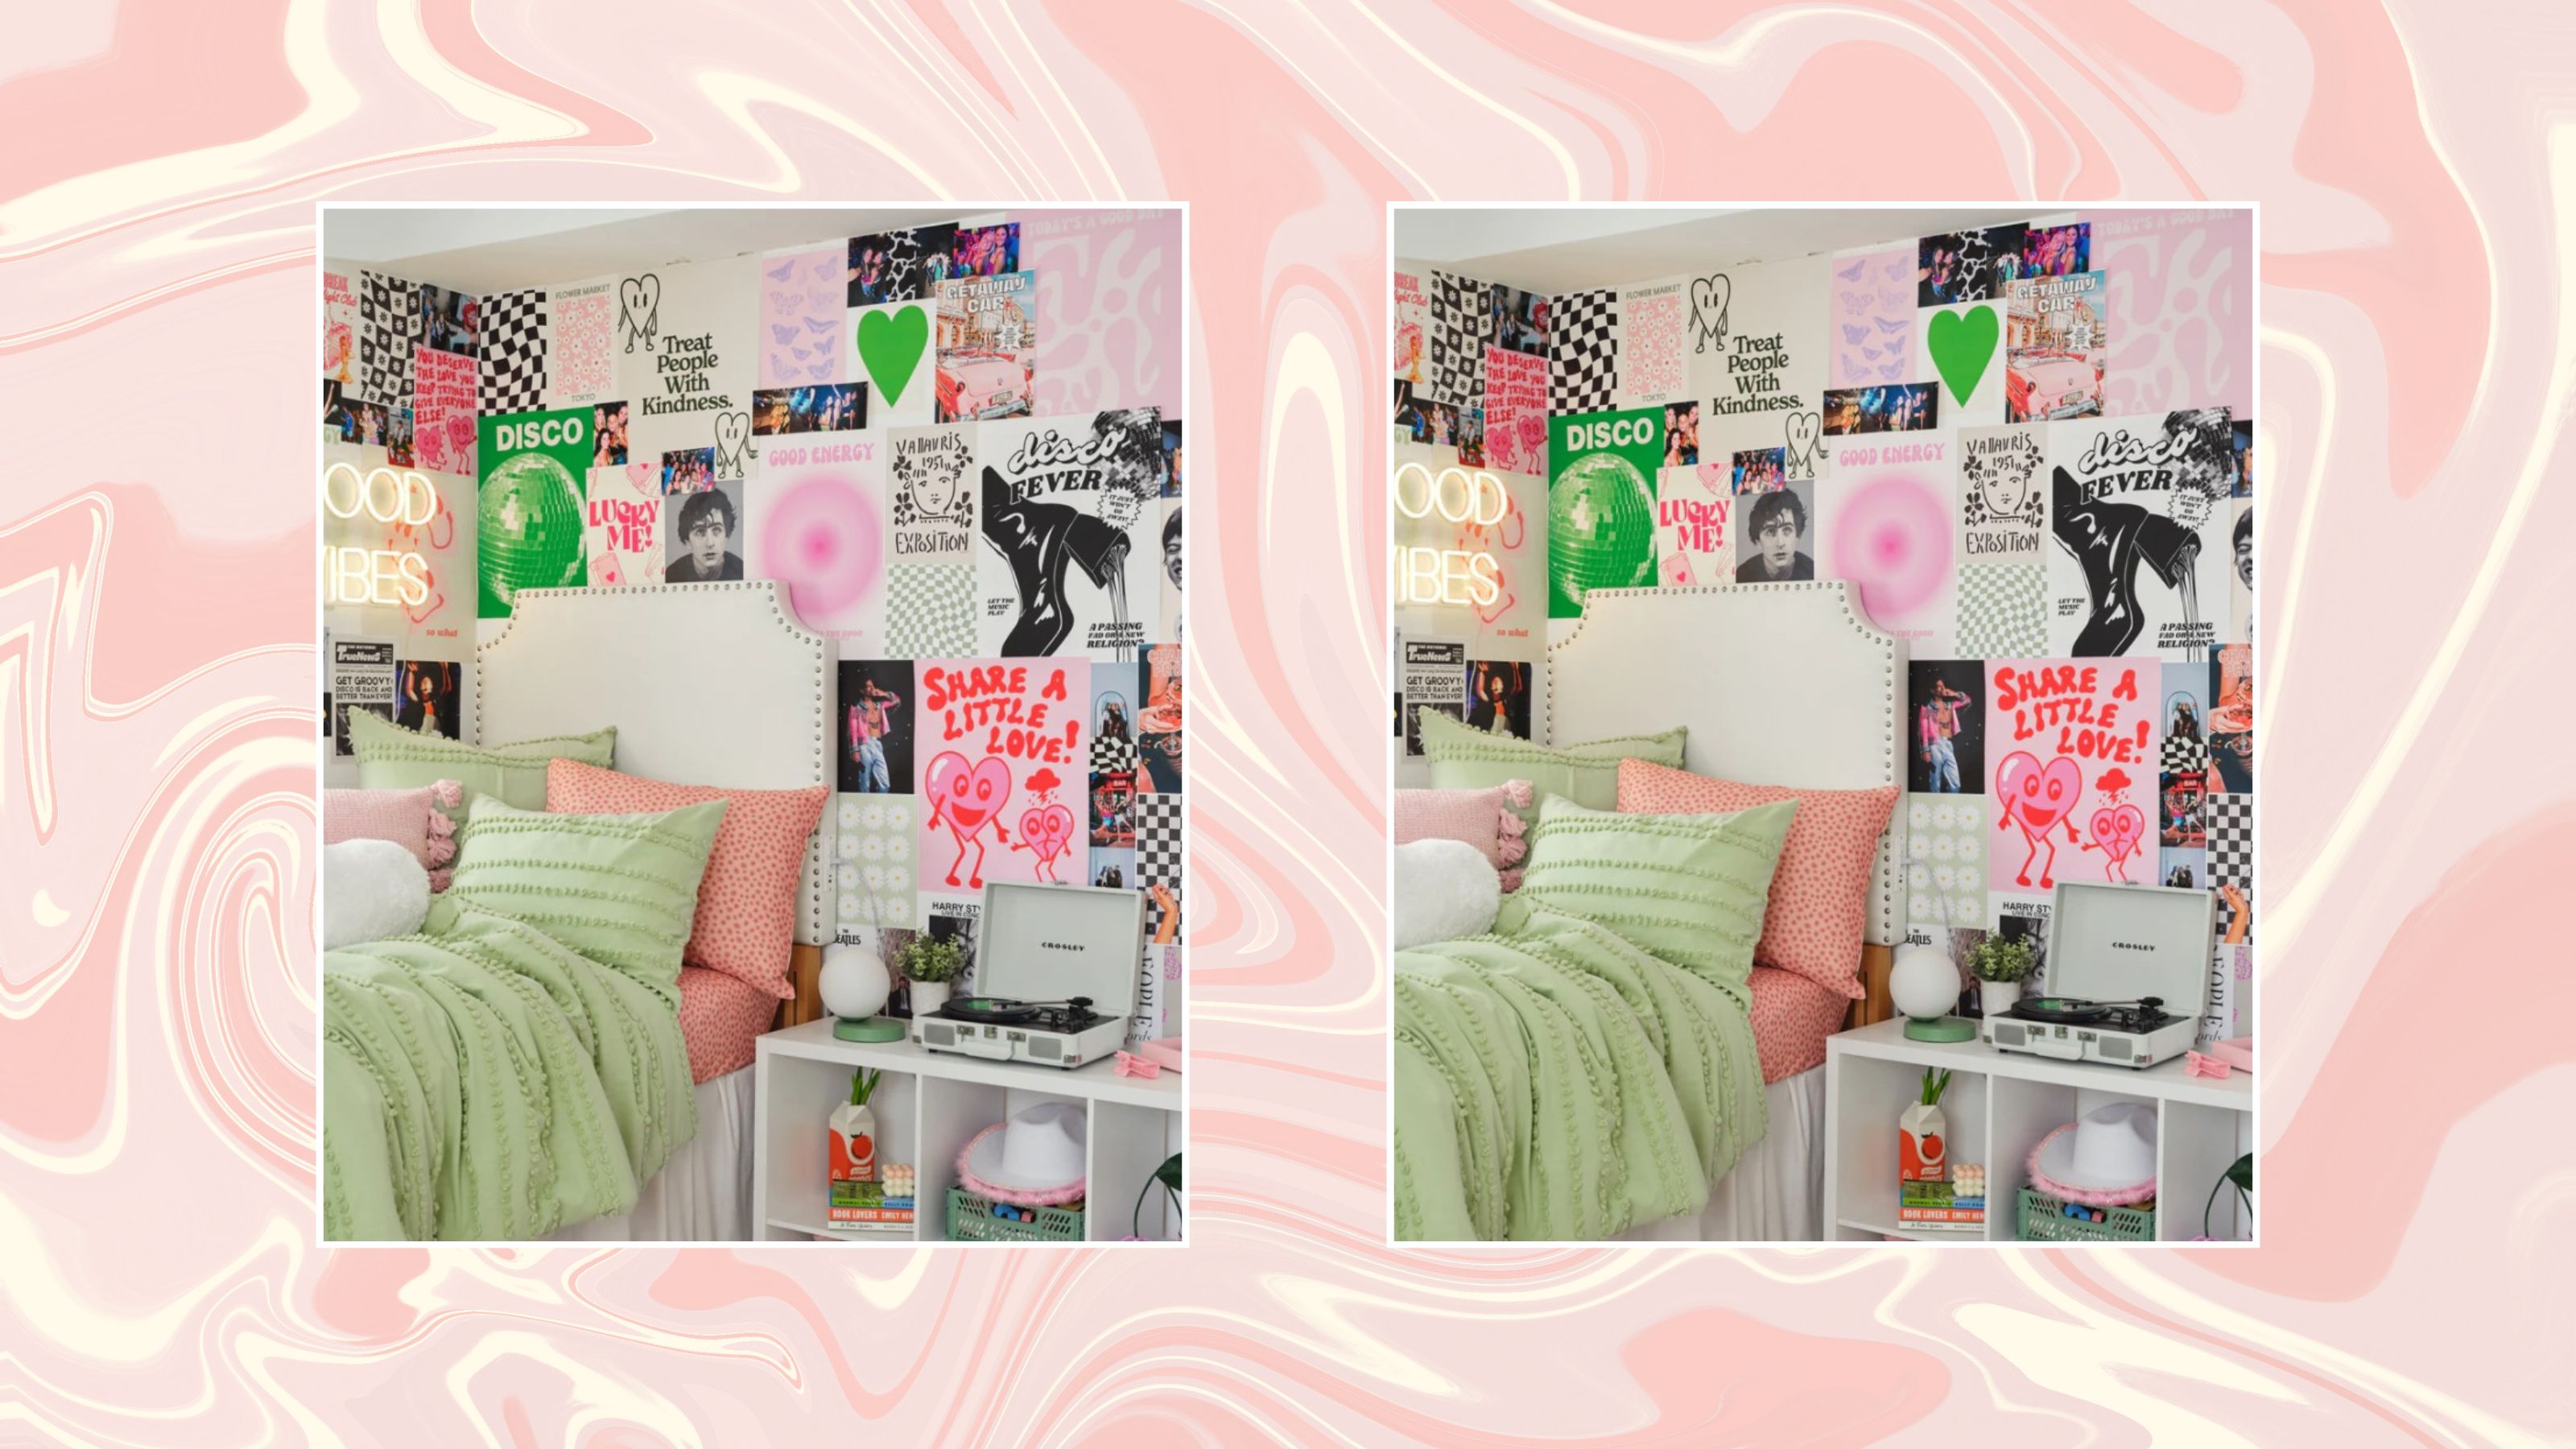
When you first enter your new dorm room, I can guarantee one of the first things you’ll notice is the blank walls. Obvi there’s a place for minimalism, but dorm rooms are def not it. You’ve only got a li’l bit of space to make it your own, so you’ve gotta make the most of what you have. IMO, the easiest way to transform your dorm wall is to turn it into a photo wall.
Literally, I can’t express how much photos and wall art can flip a room. You can choose ones that show off your personality and style, which you can then decorate around for a cohesive AF look. As well as this, you can even use them to help remind you of home, or even motivate you to live your best college life. Art is power, bb!
That being said, it can be tricky to know where to start in terms of actually making it look good. Y’know, so it’s less messy teenage bedroom vibes and more Instagram-worthy aesthetic vibes. I’ve thought up some top tips on how to put yours together, so it looks good and works for you.
Ready to get started? Keep on scrolling for my step-by-step guide…
Follow this 7-step guide to curate the perfect dorm photo wall
By the time you’re done with this guide, you’ll be able to say bye to your blank wall and say hey to the cutest wall ever. BTW, for a few of the steps, I’ve listed some buys that will help you out.
The prices below were correct at the time of publishing this article.
1. Think about where you’re putting it
First of all, we’ve gotta strategize. If you’re putting your photo wall next to your bed, think about what you want to see when you wake up. Do you want to see your pup from back home? Do you want positive affirmations to start the day? Or, if you’re putting your photo wall by your desk, think about what you want to see when you’re studying. Do you want motivational quotes? Something that matches your dream career, such as an Elle Woods poster? Decide what’s going to work best for your space before choosing matching pics, posters, and prints.
Get small space home decor ideas, celeb inspiration, DIY tips and more, straight to your inbox!
2. Pick out your pictures
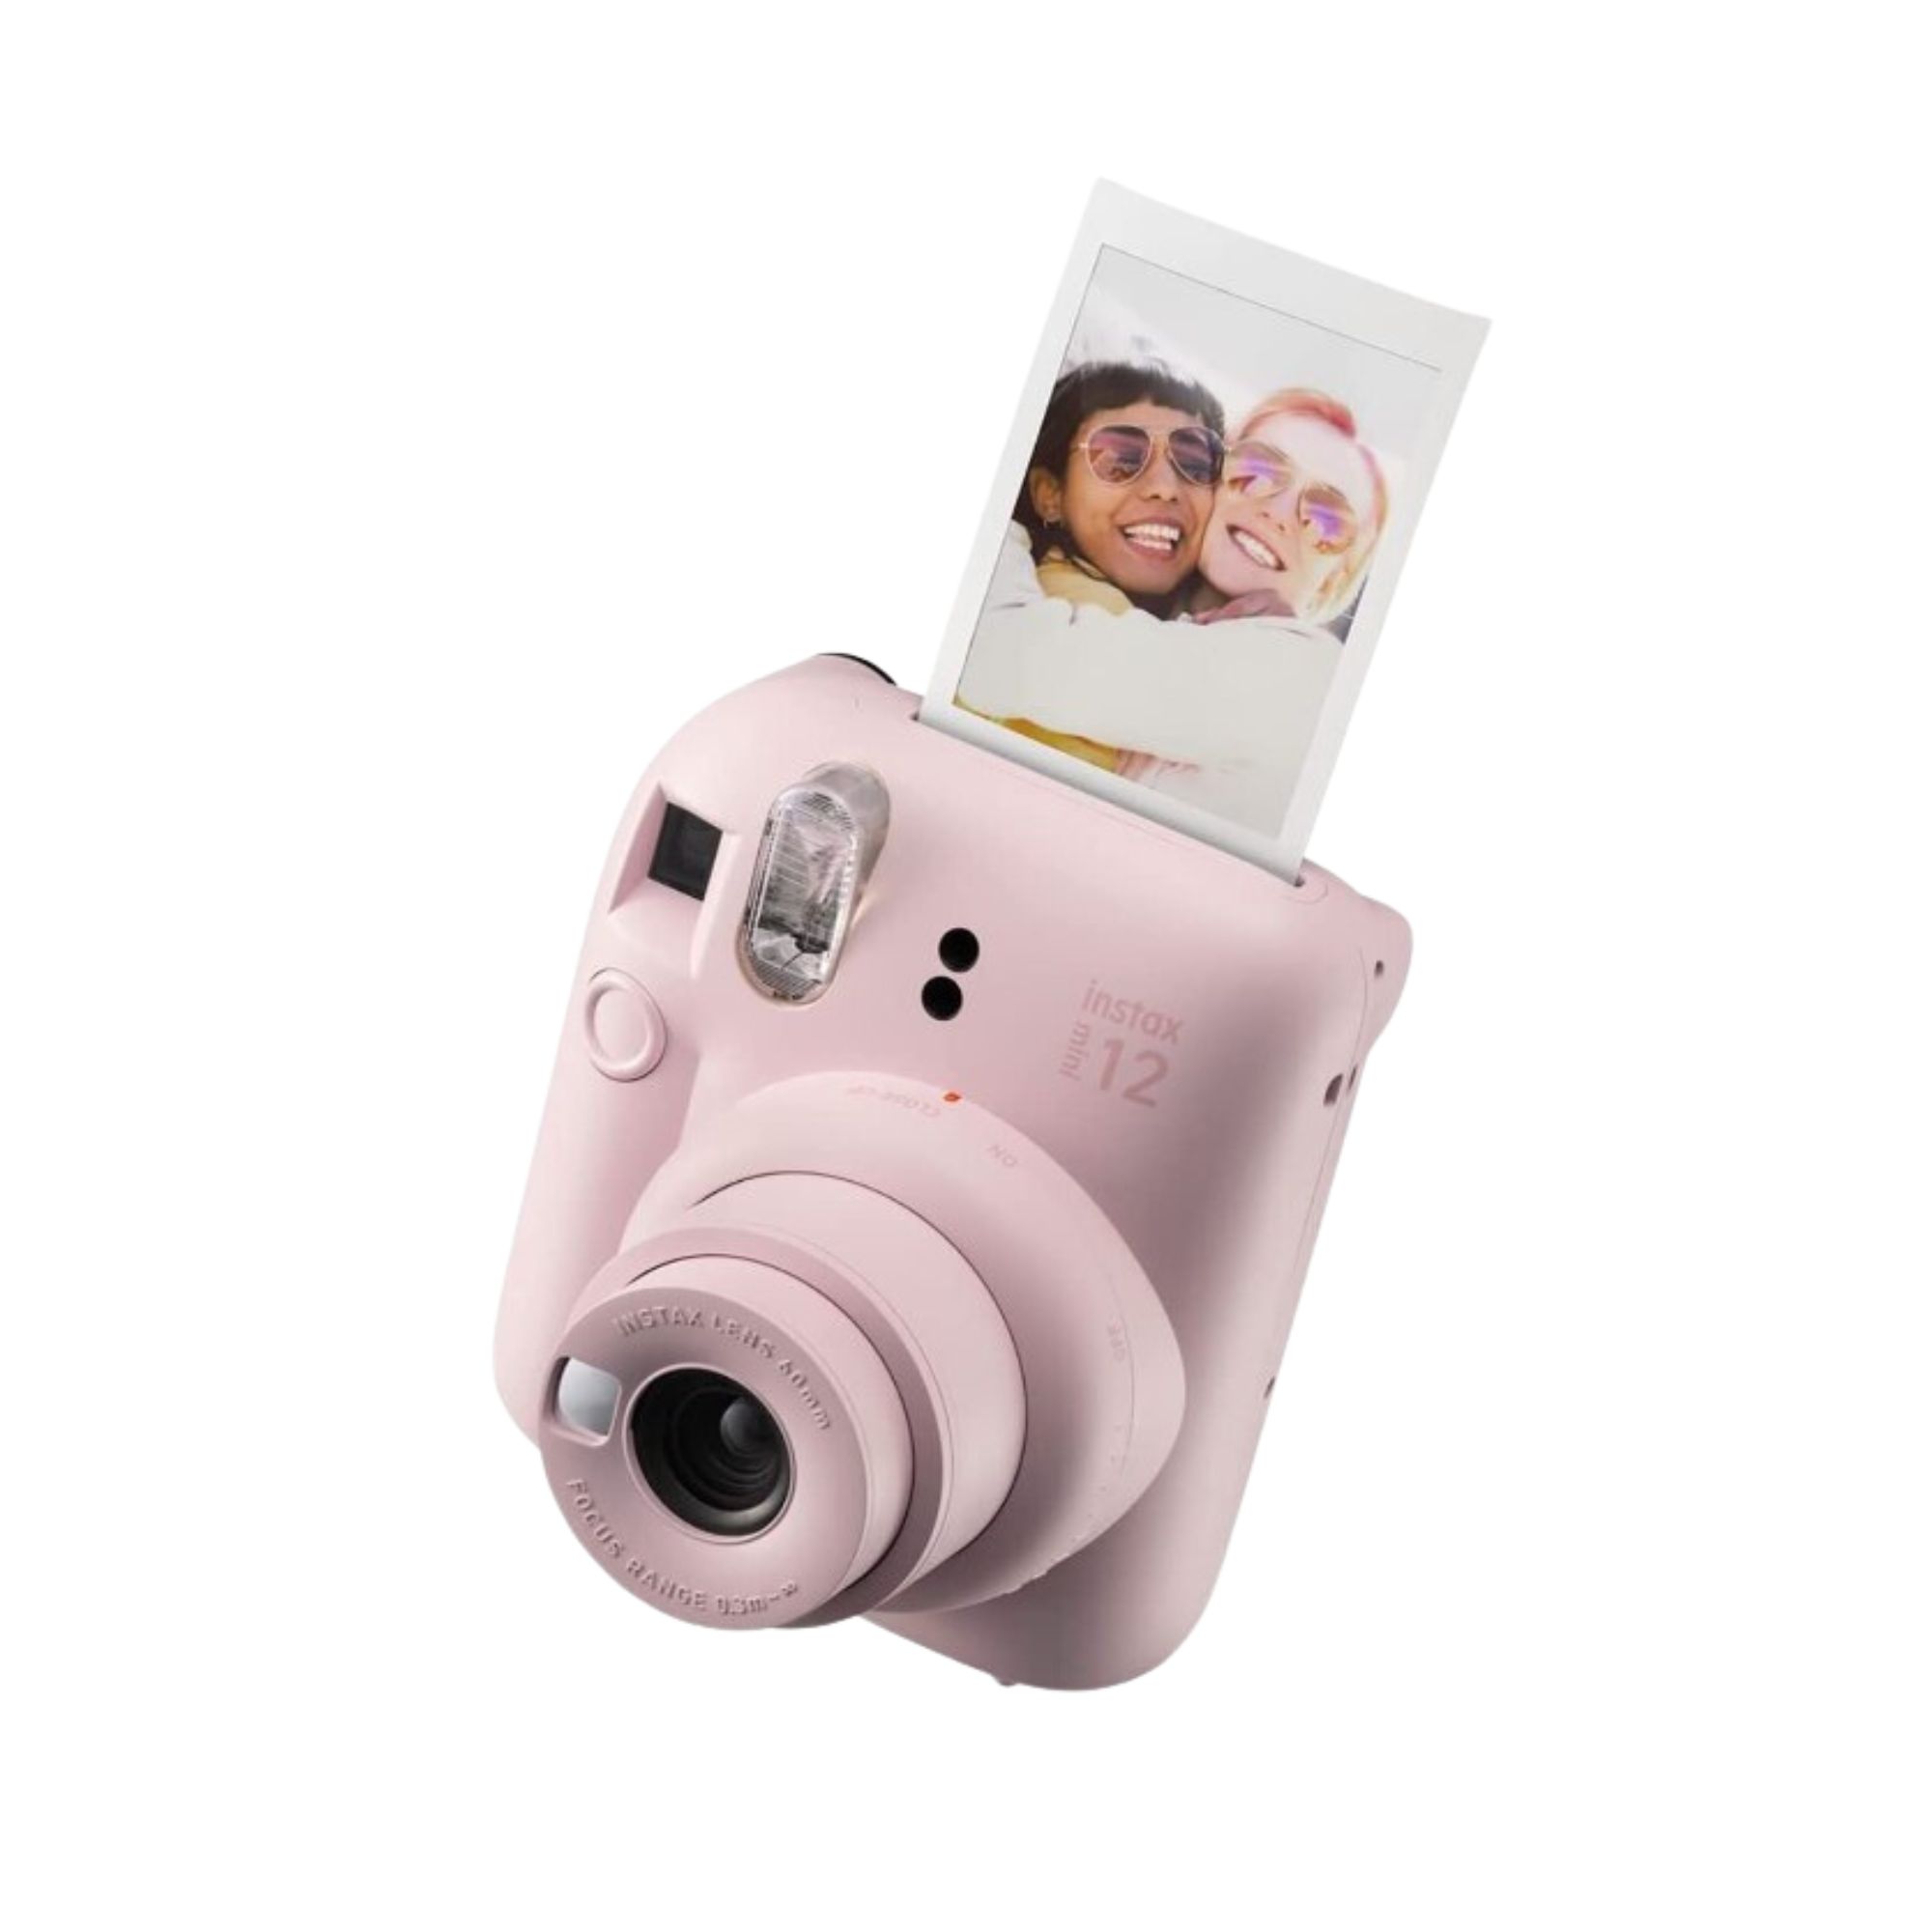
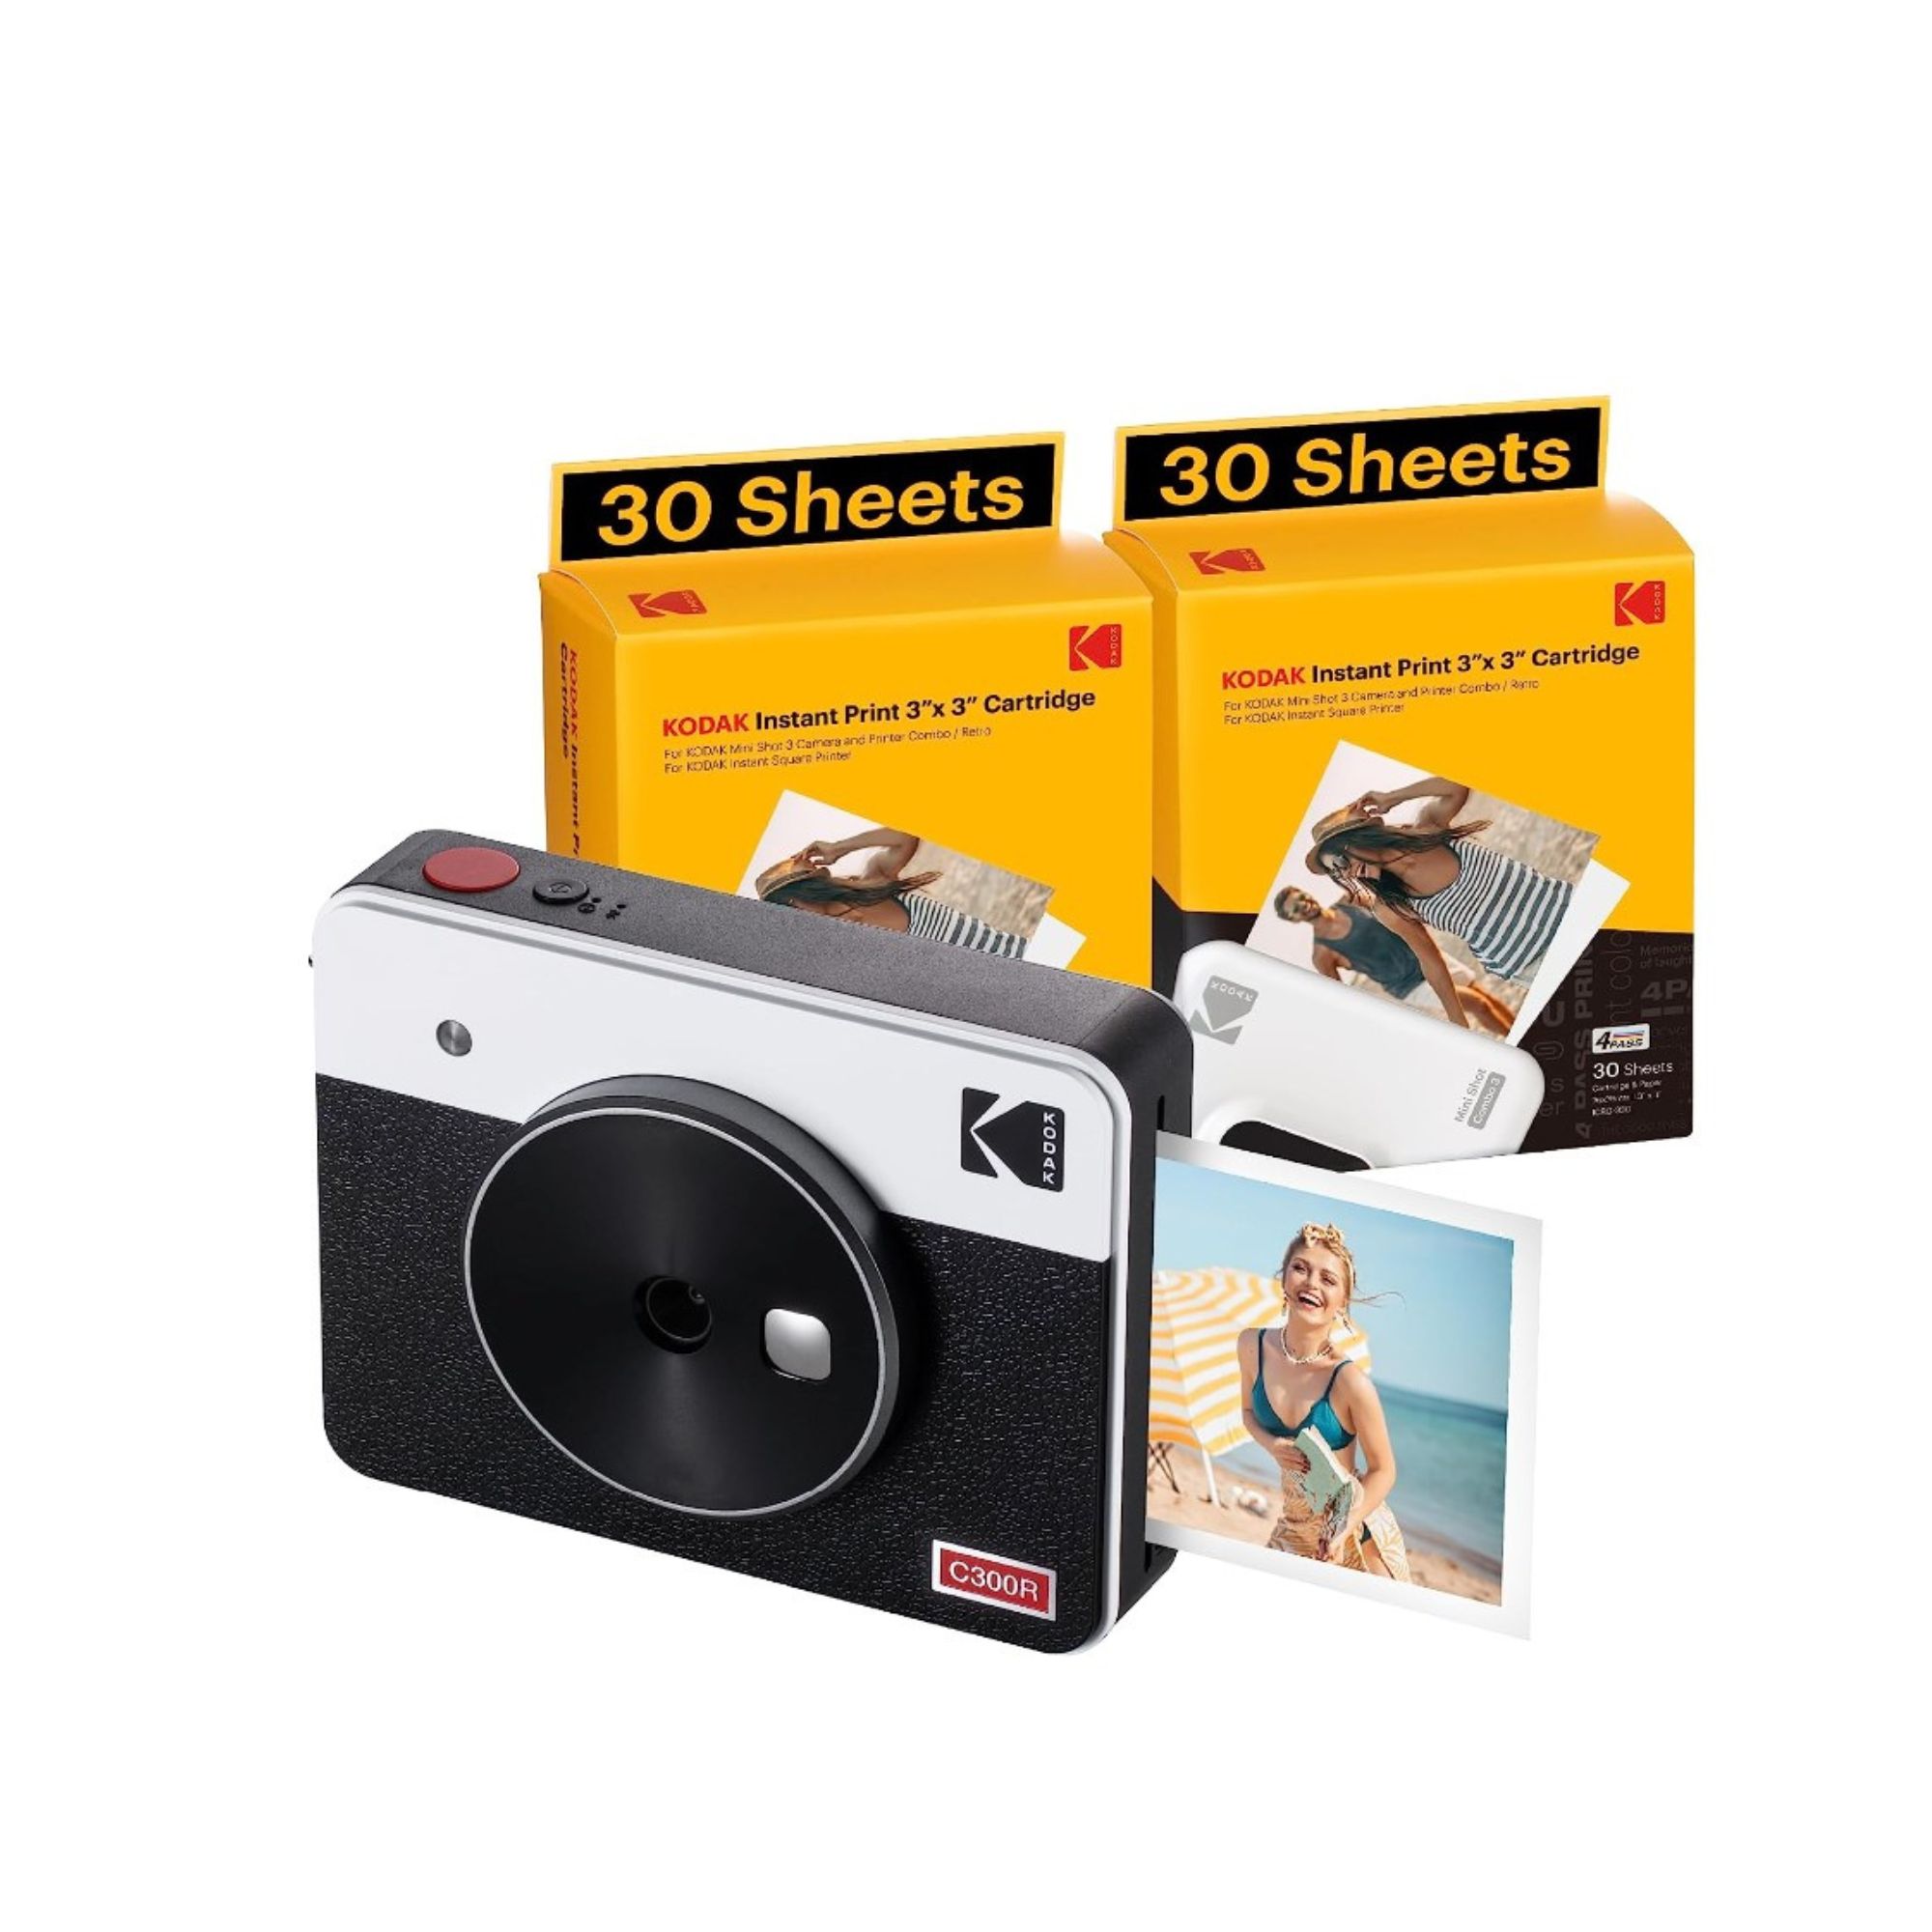
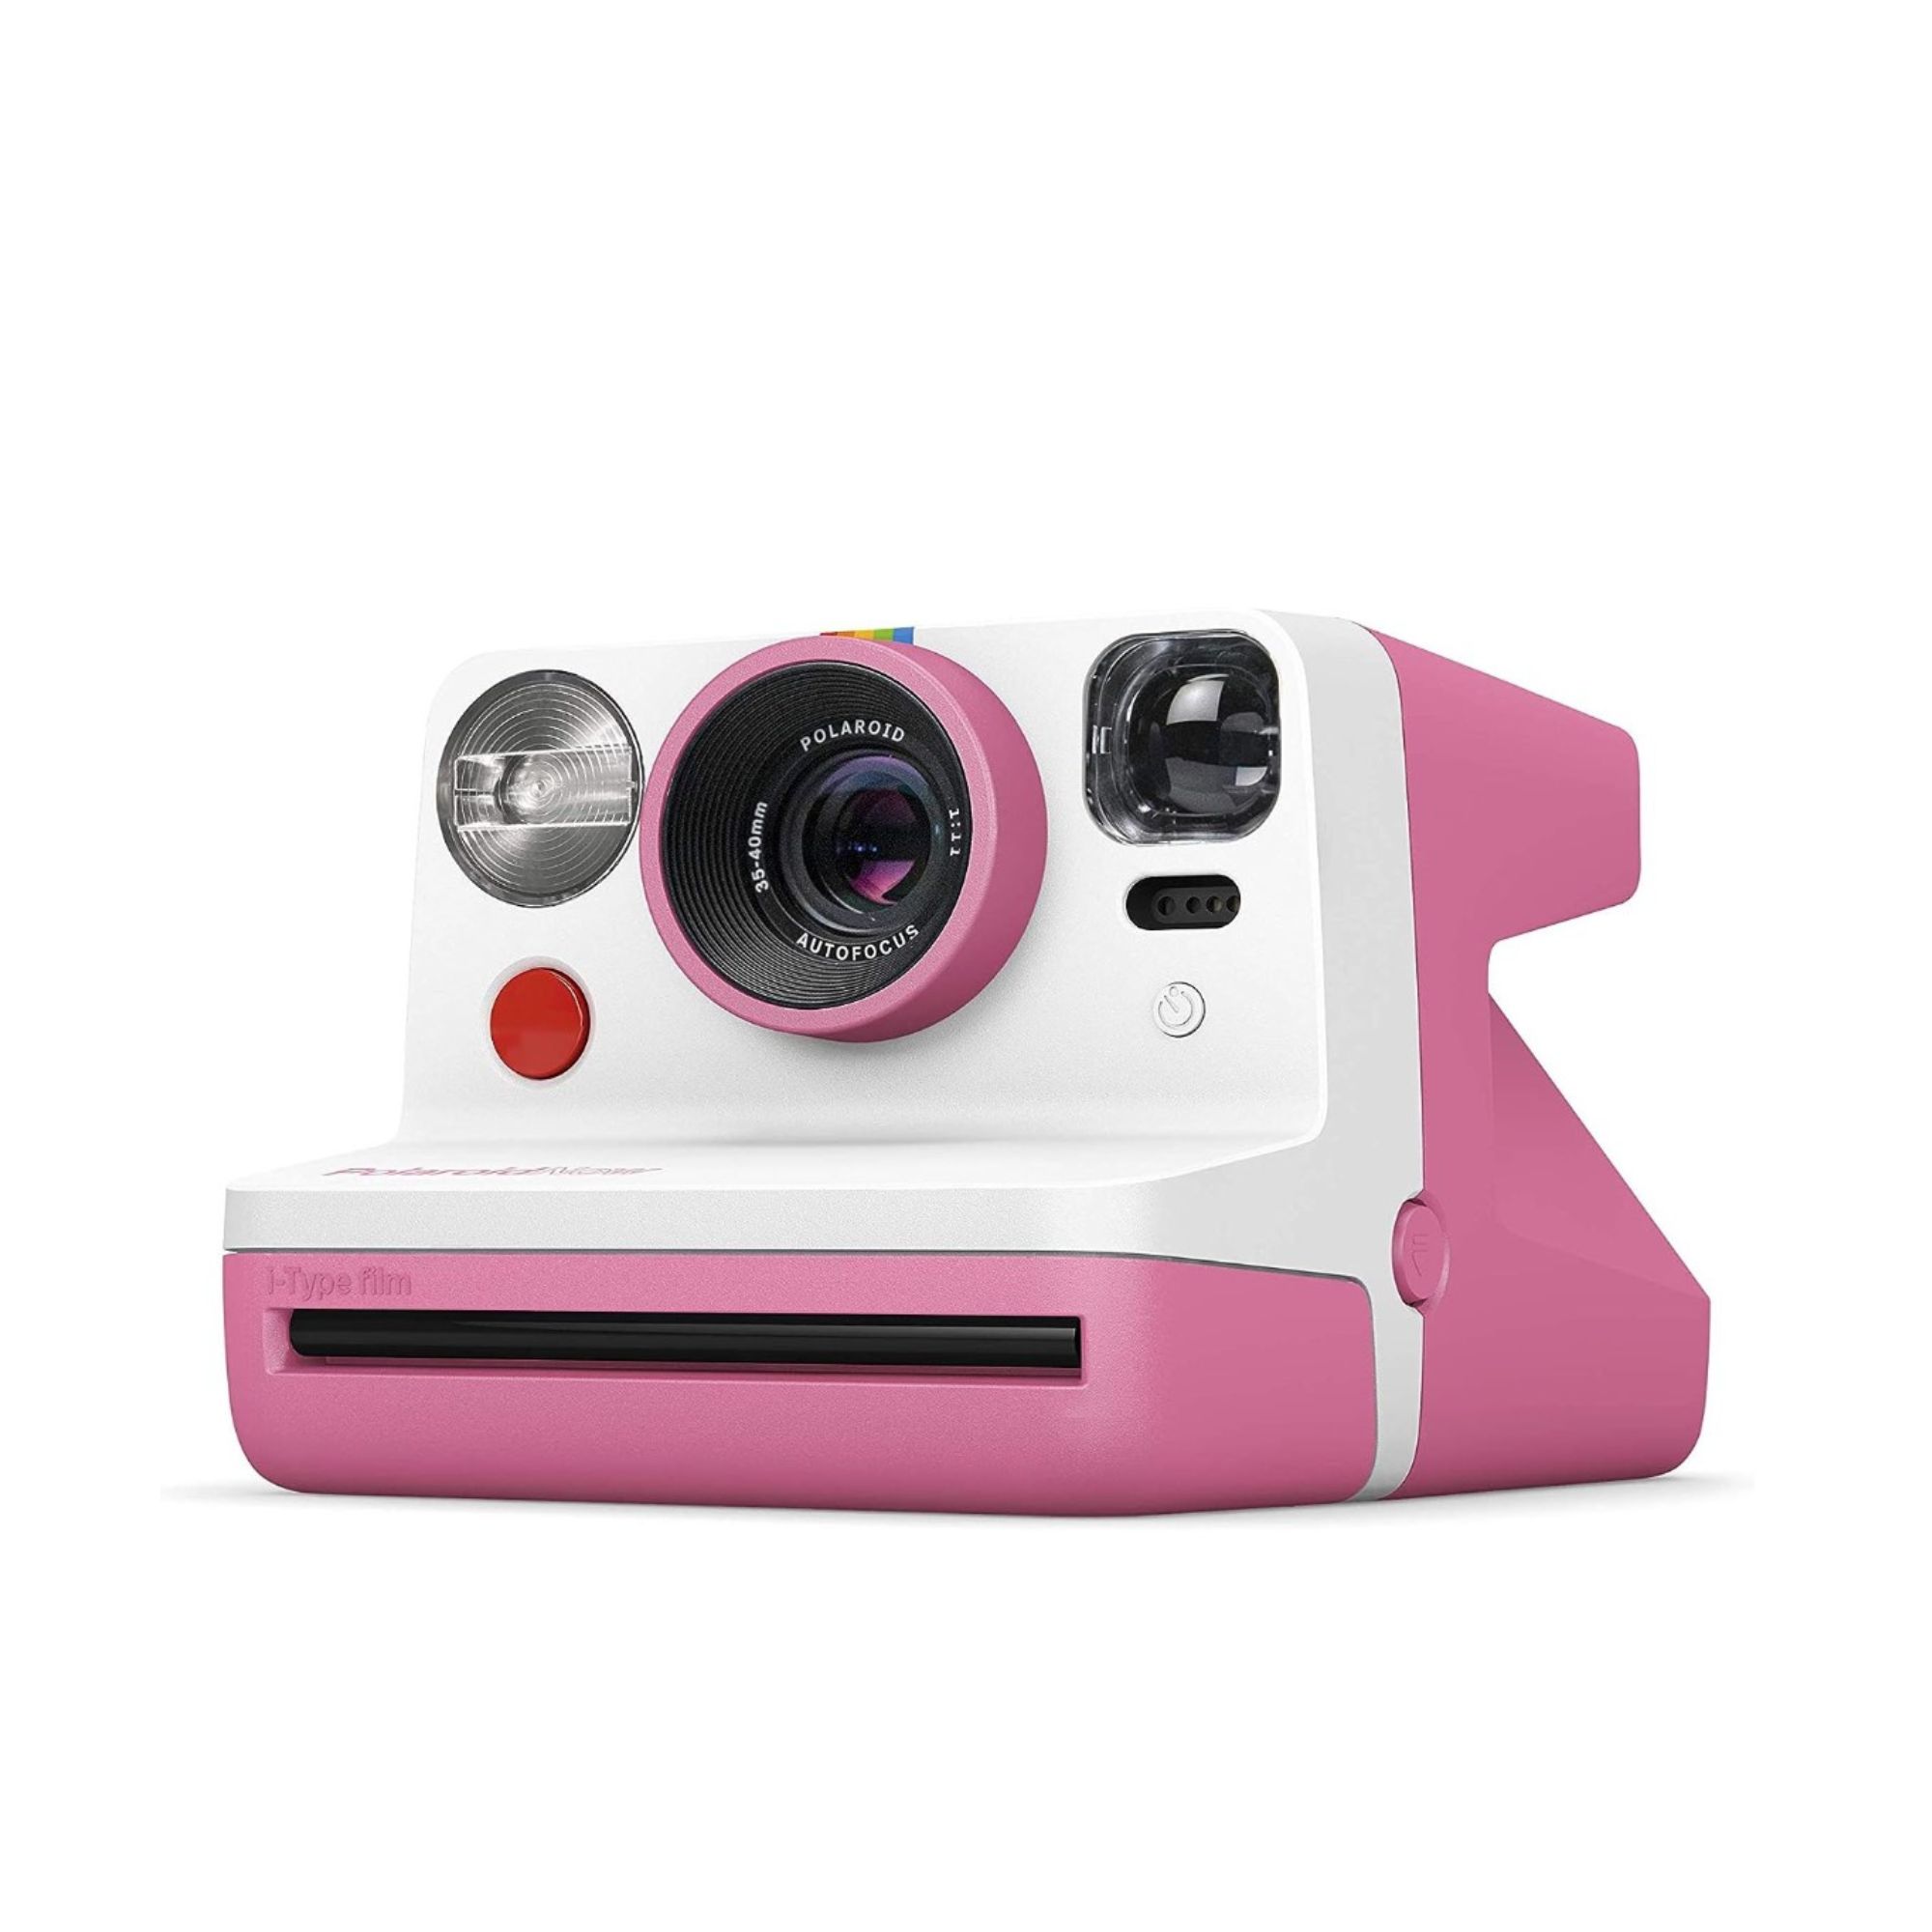
While you can buy generic photos, having your own memories printed it will make your dorm feel much more like home. If you have pictures on your phone, you could get them printed and sent to you on an app like Freeprints, where you can choose the size and style you want. Or, if you want to take some pics, especially for the wall, you could pick up a retro-style camera or Polaroid camera, and carry it around with you to snap those special moments.
3. Throw in some matching wall art
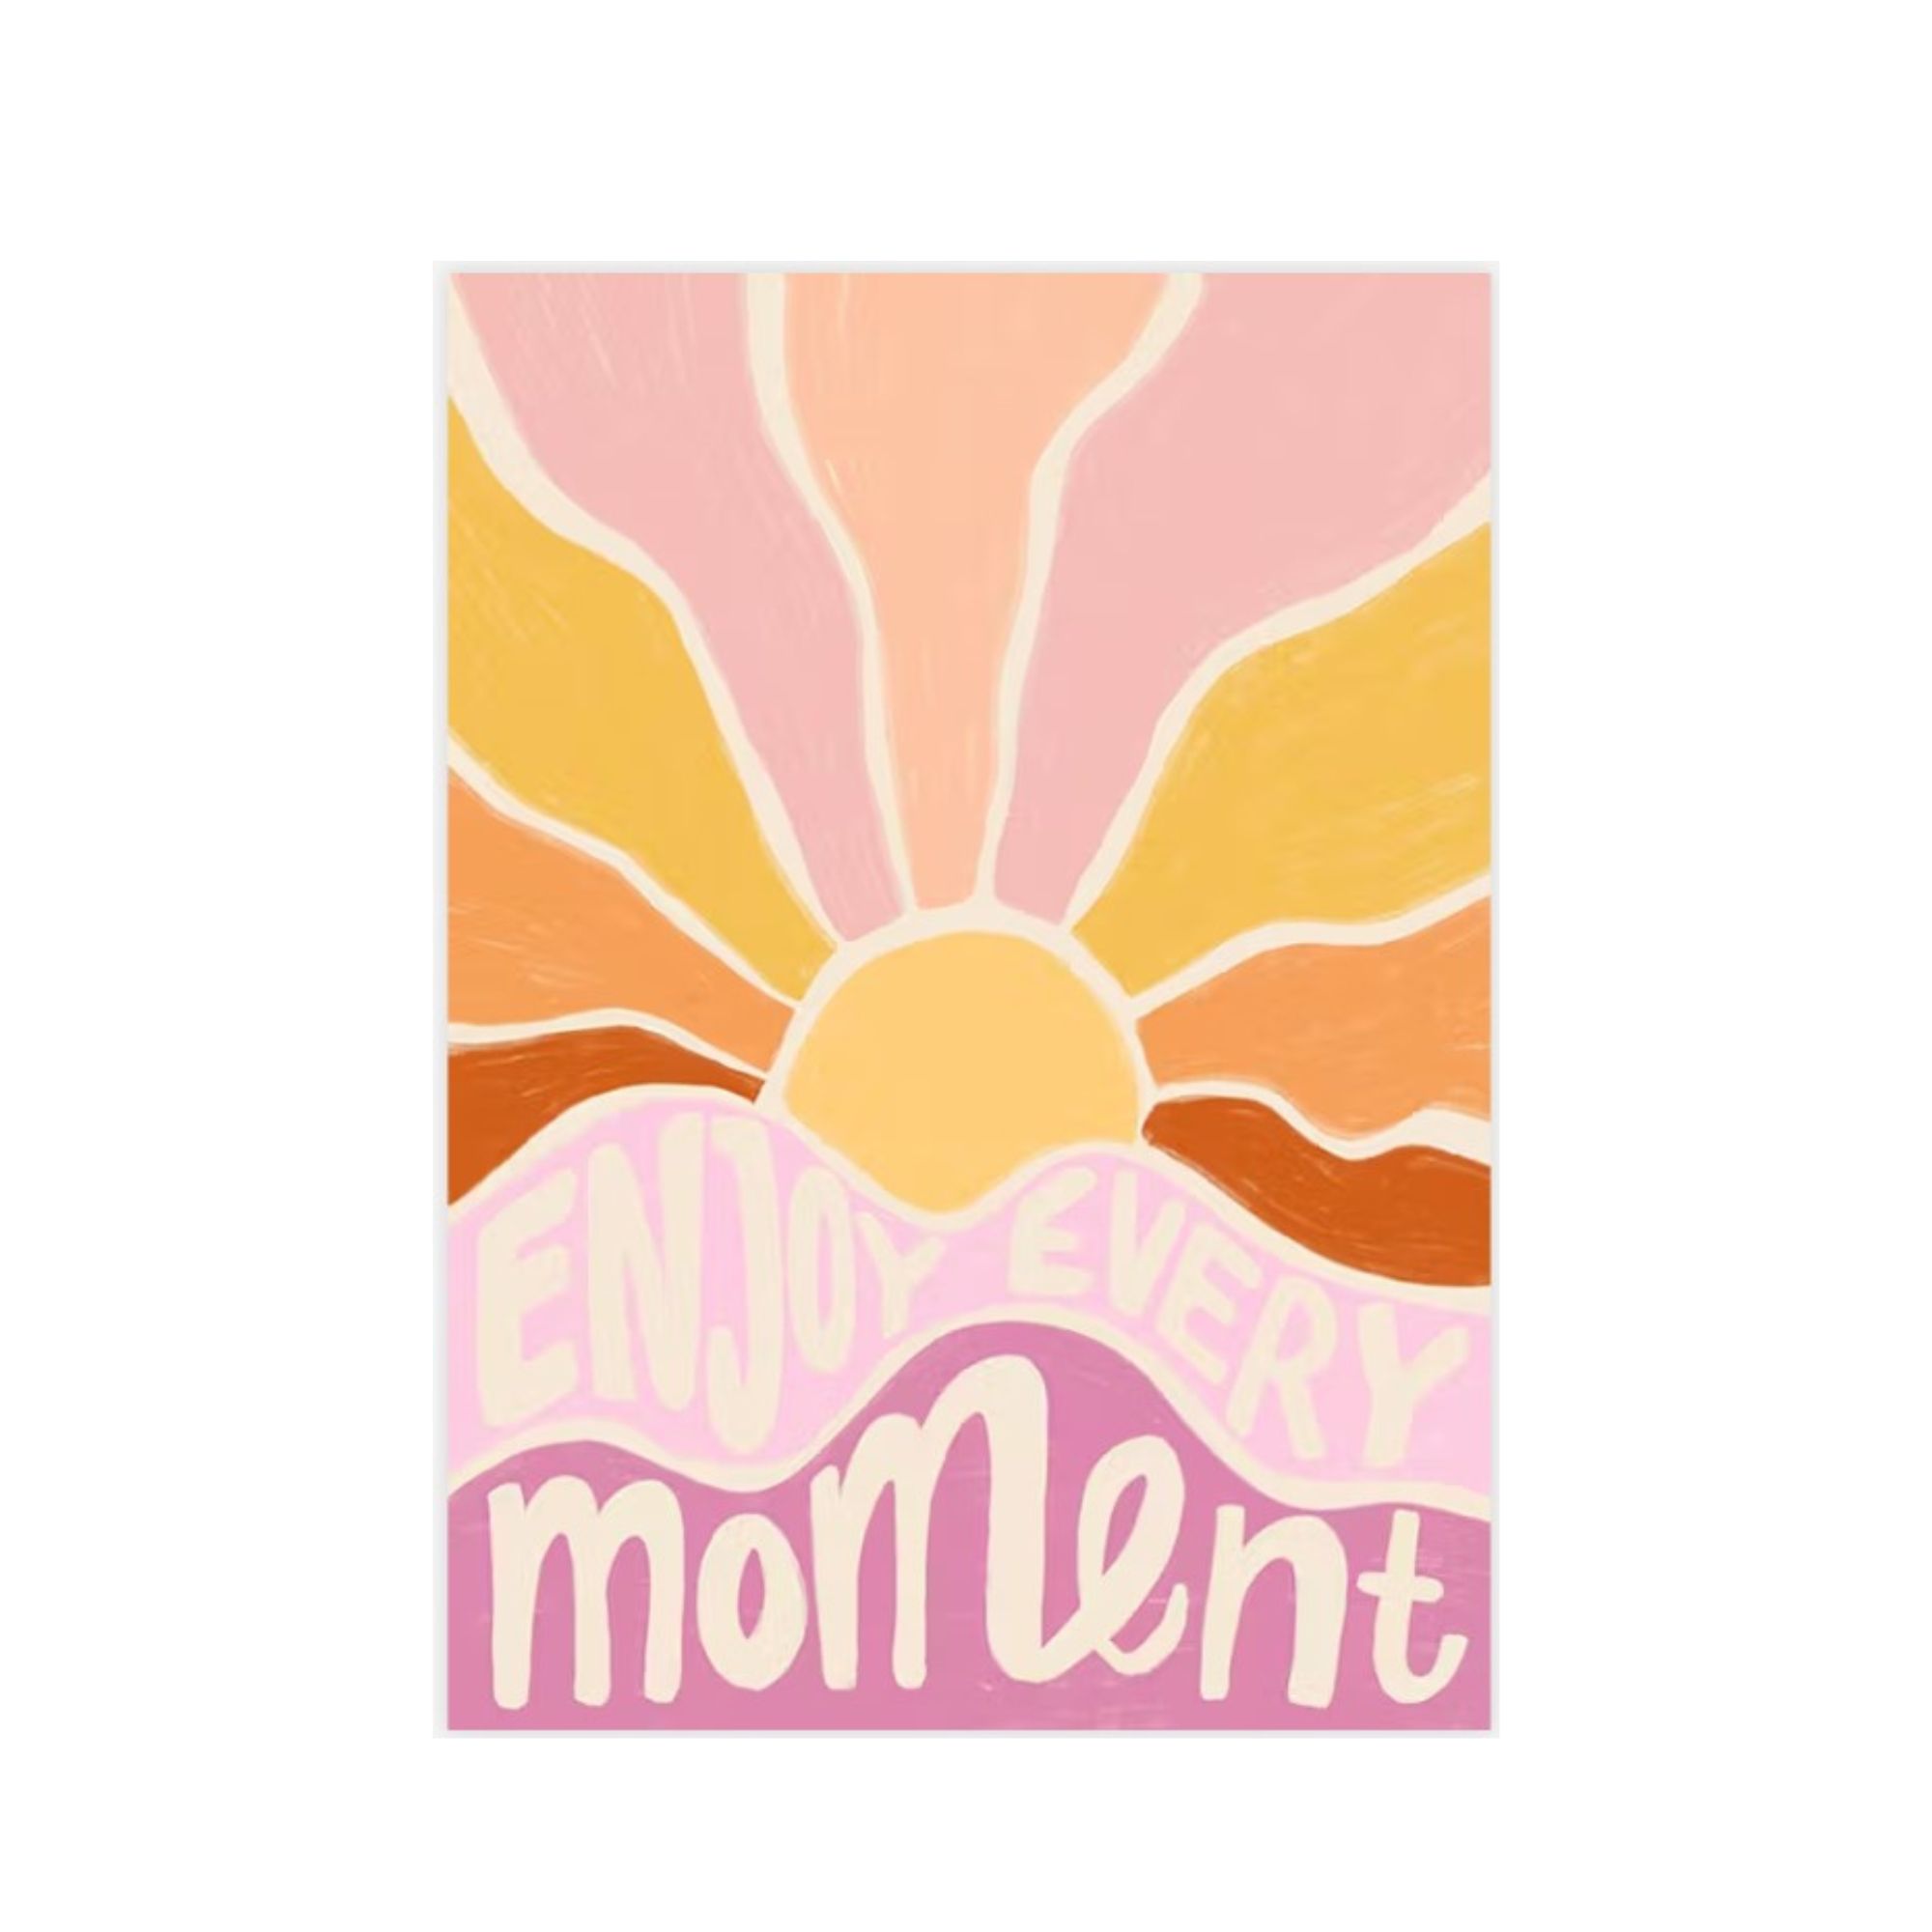
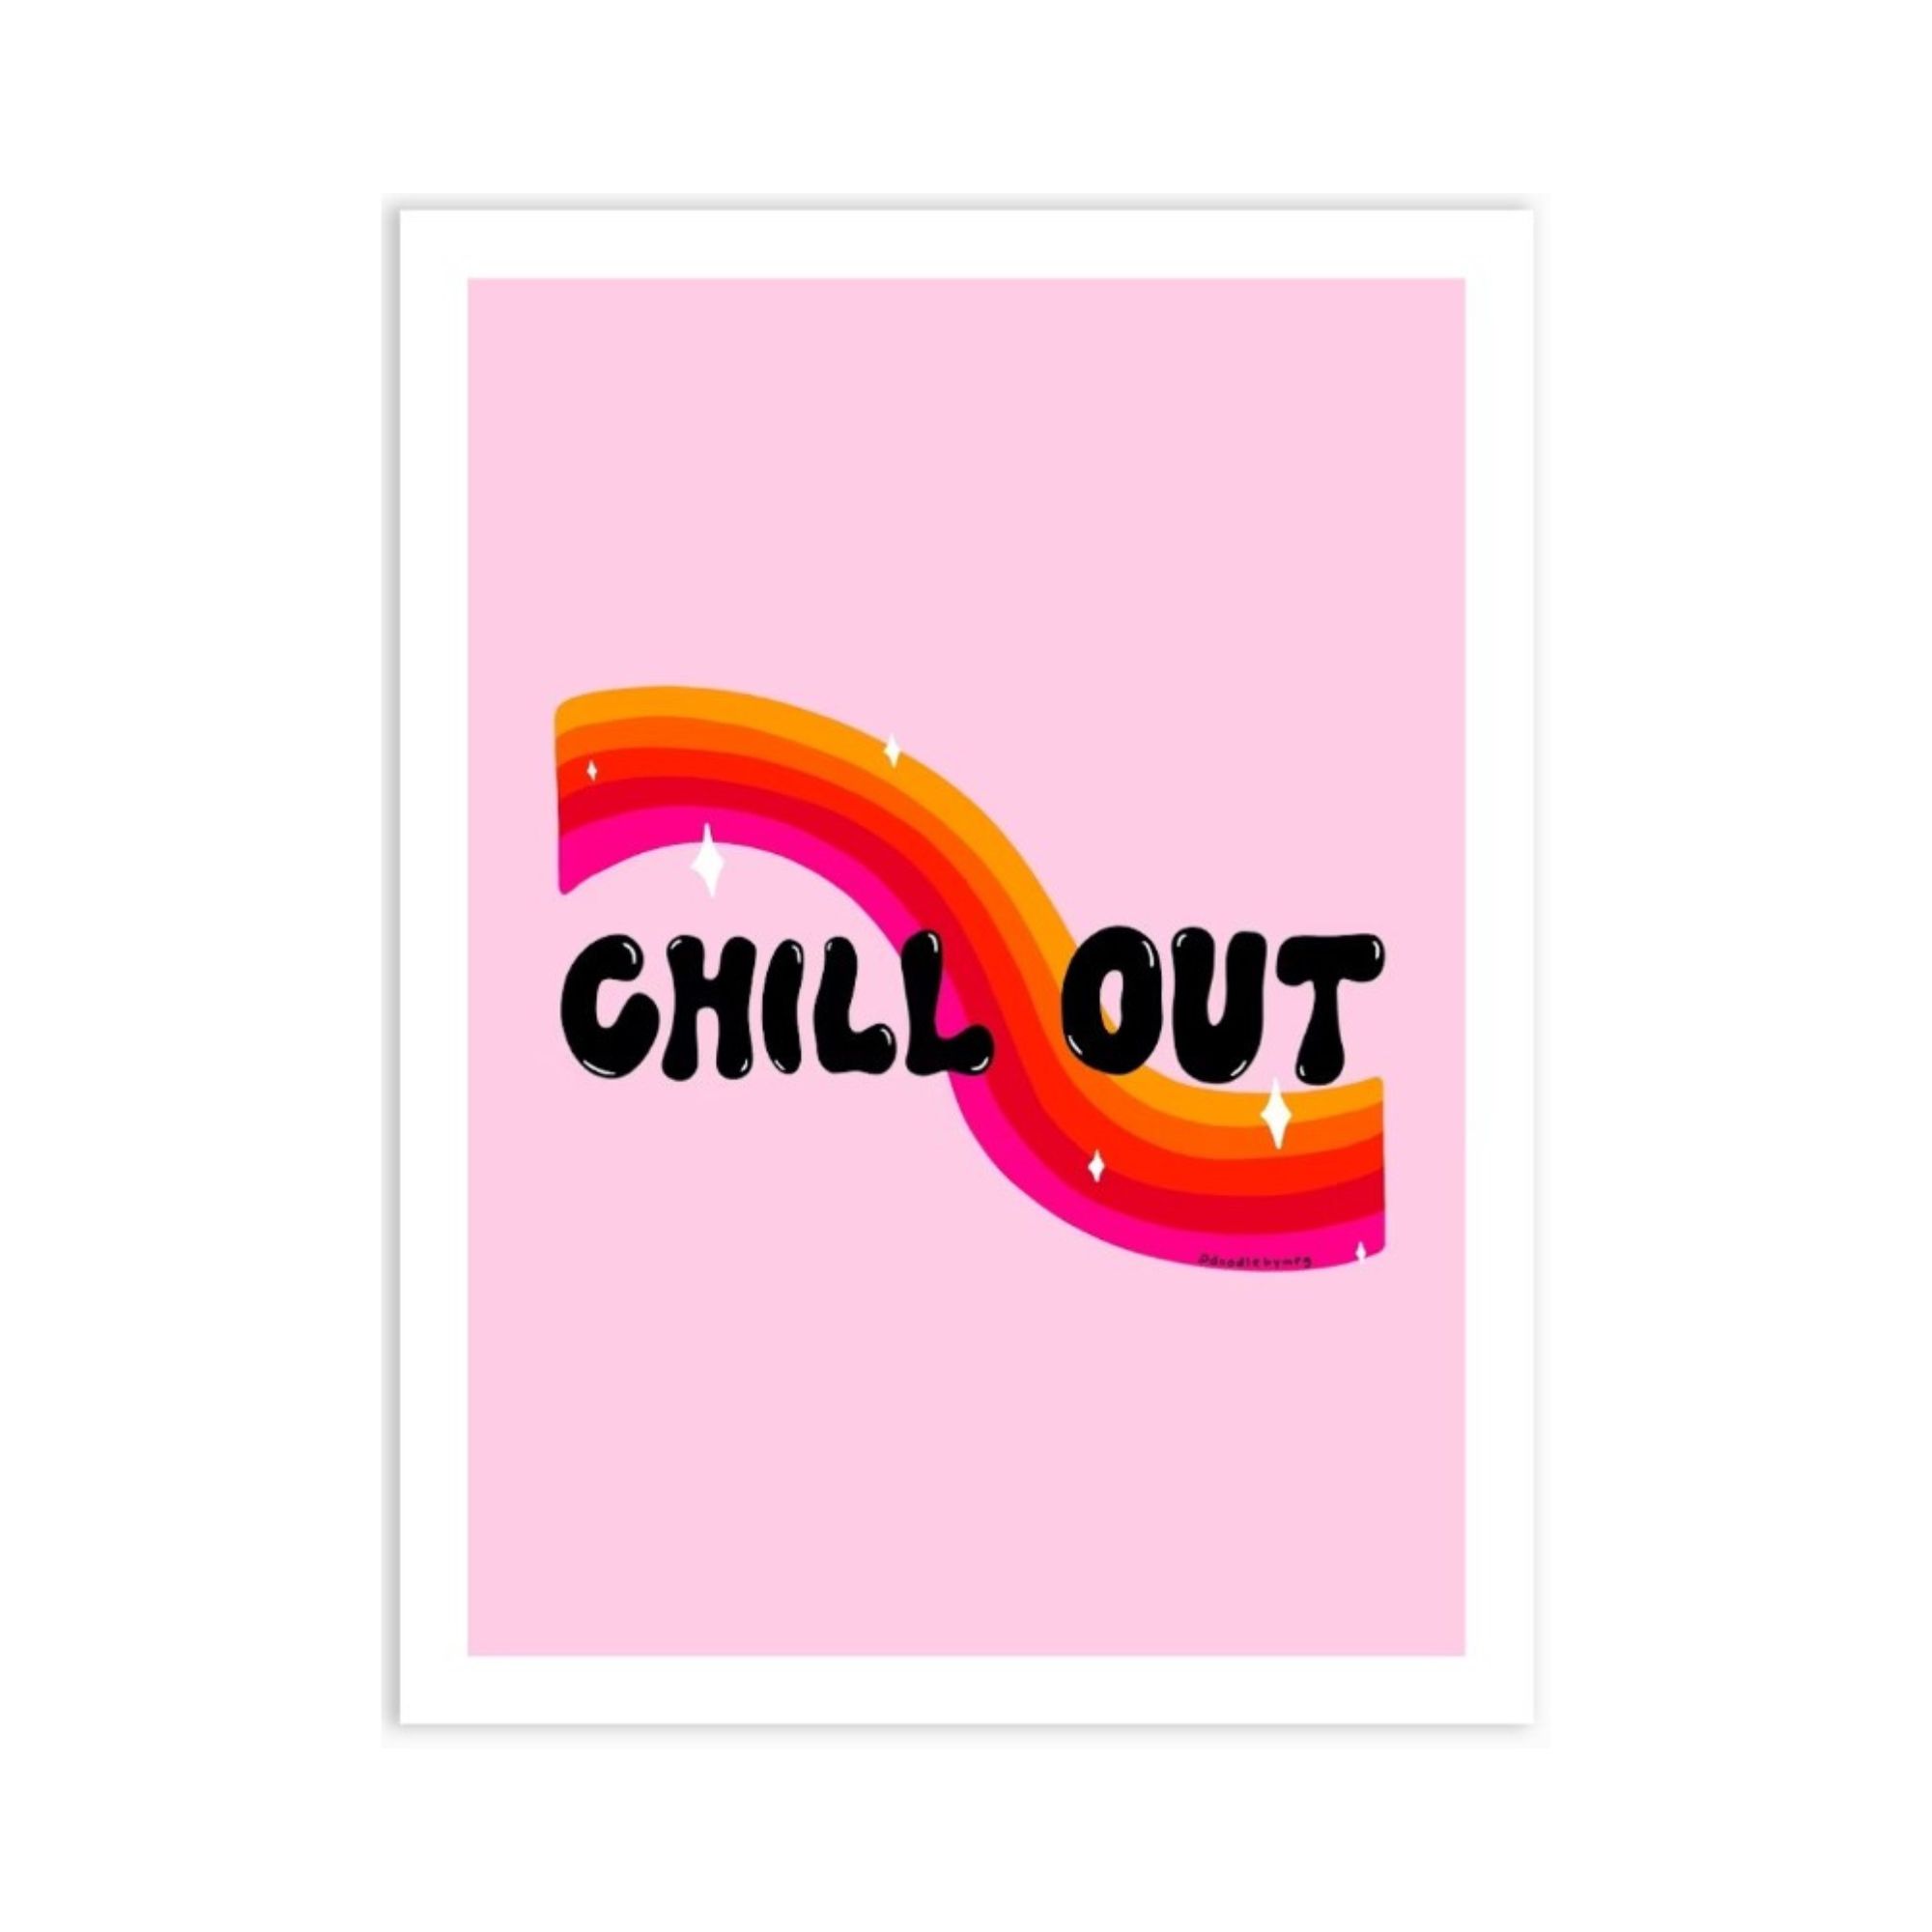
I totally love photos, but having a whole wall of just photos might look a li’l messy. That’s why I recommend breaking it up with some cute wall art. Try to stick to a single color palette (such as pinks, greens, and blues) or a single aesthetic (such as coastal cowgirl or Barbiecore), so the pictures all tie together when they’re hung up. My fave places to look for these are Fy! and Desenio, as they both have a great variety of stylish prints.
4. Lay out all the pictures
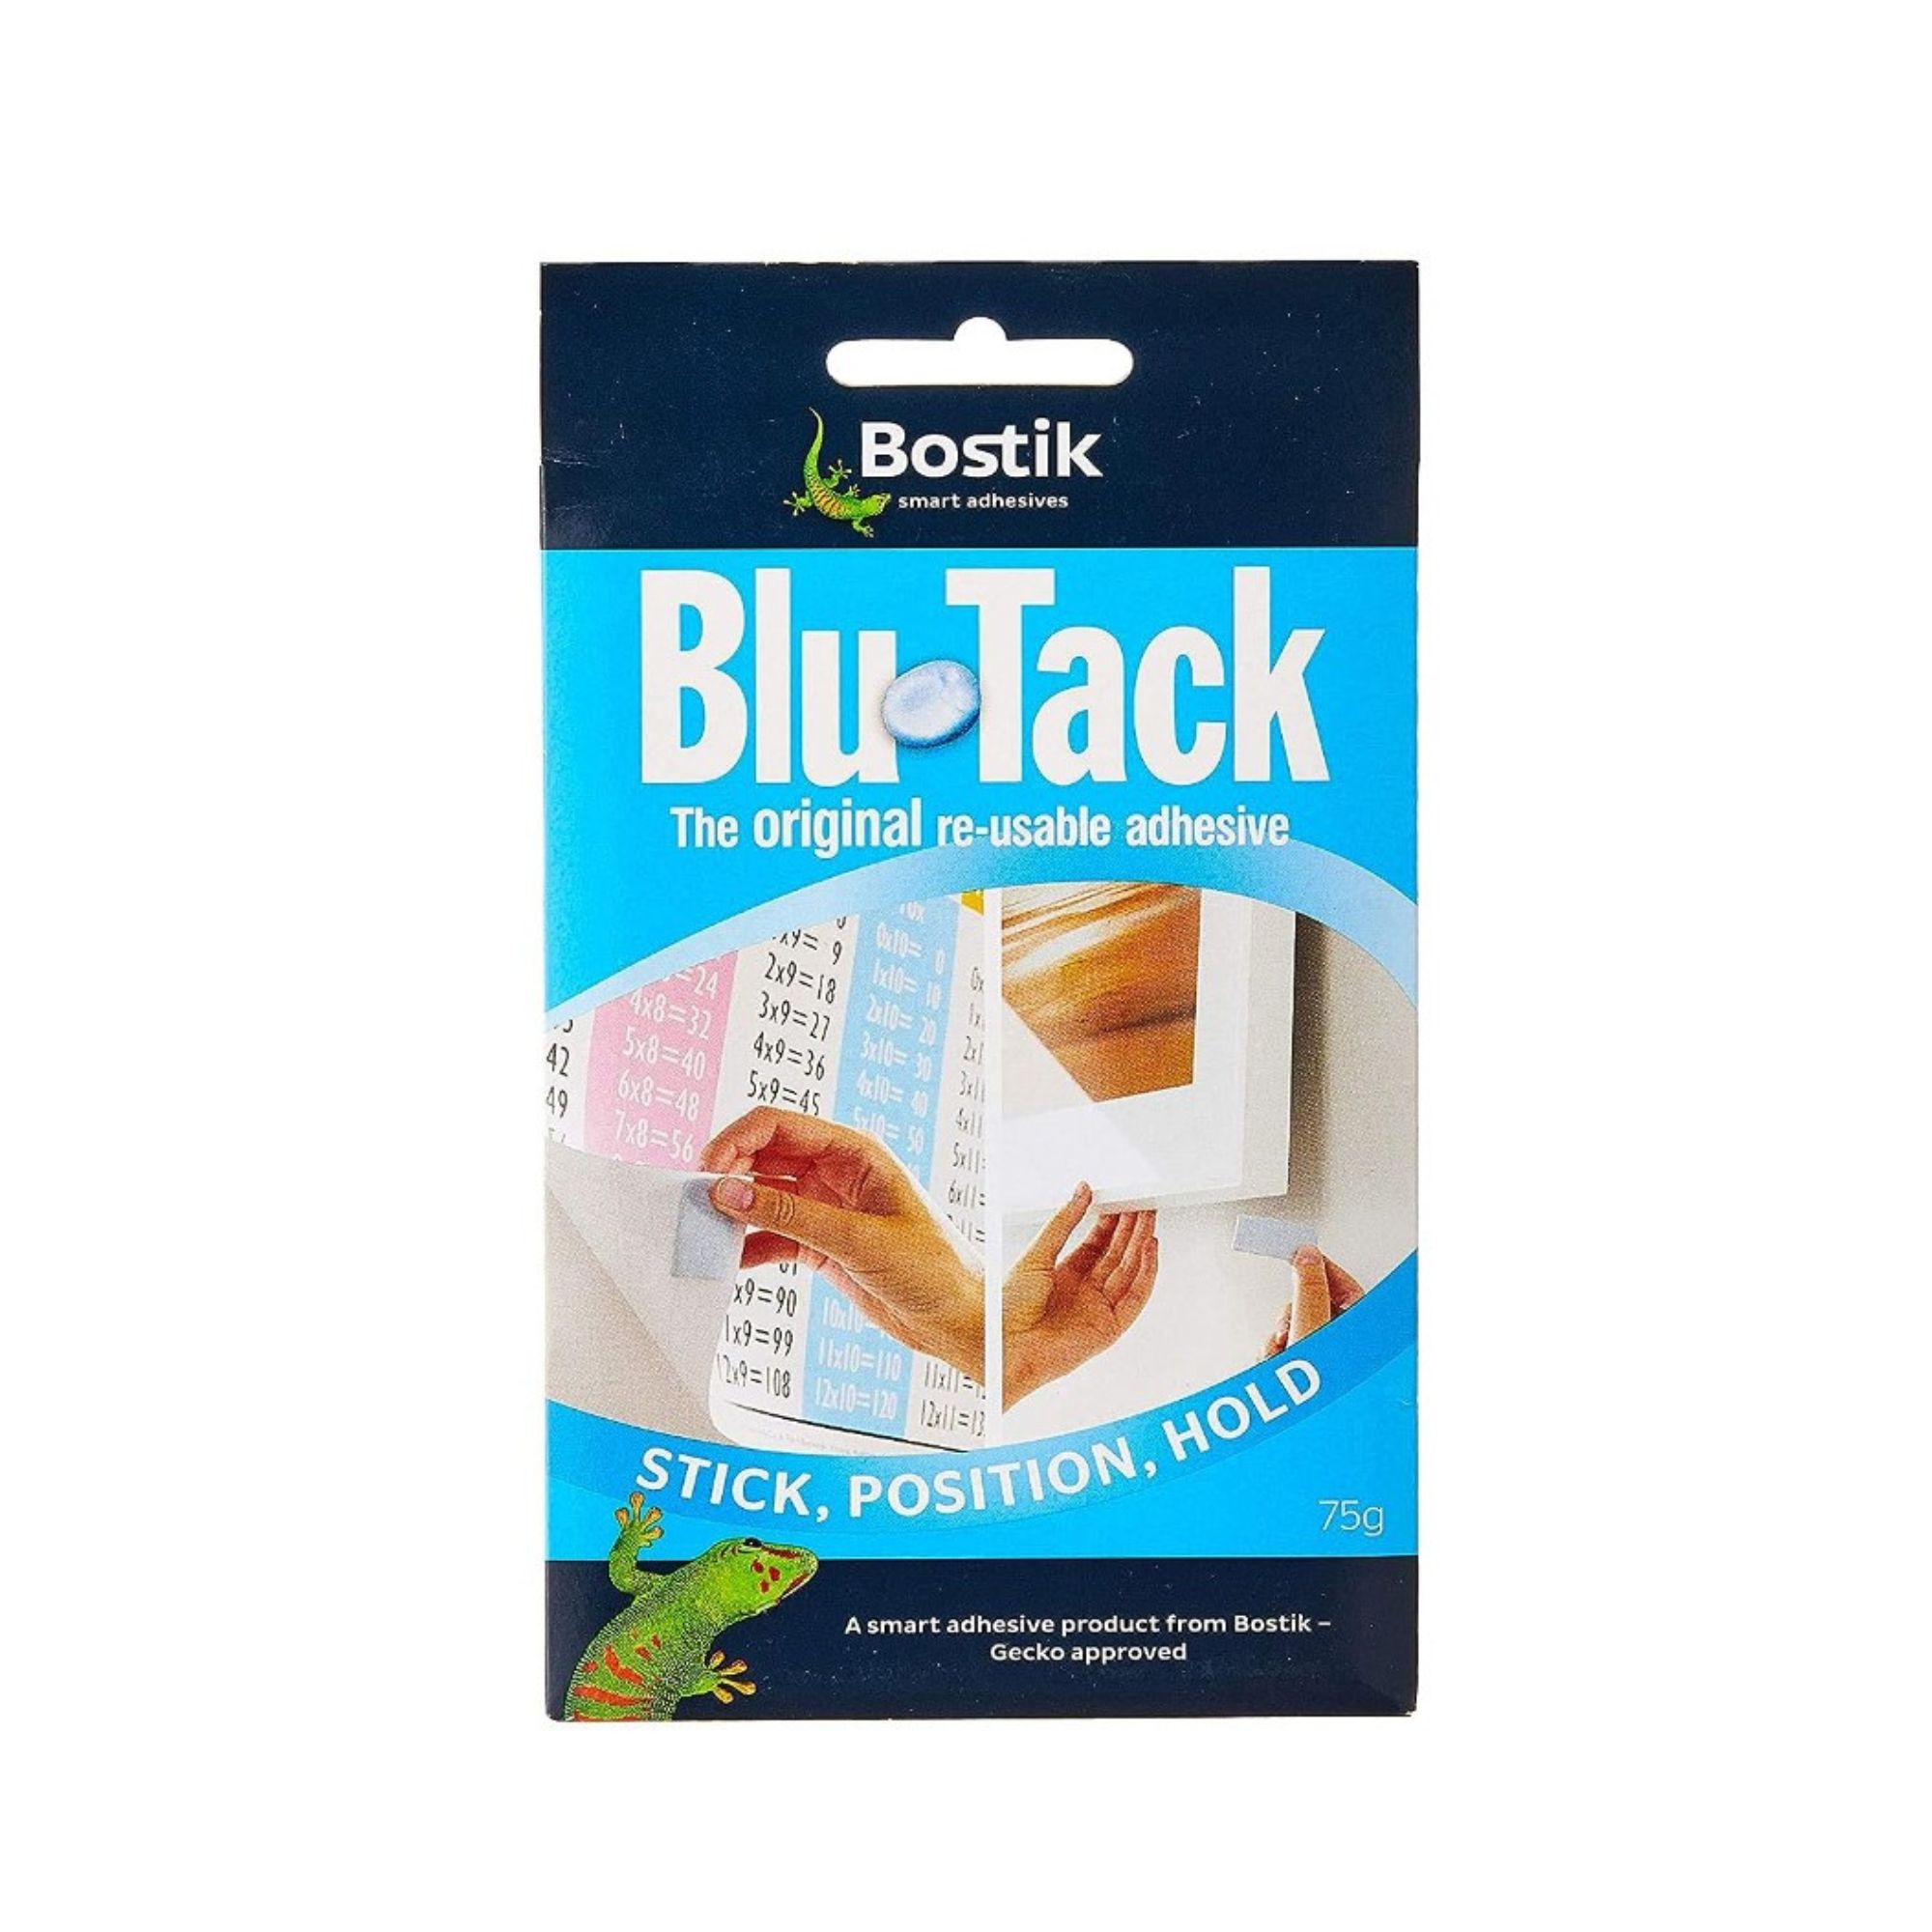
Rather than sticking everything onto your wall without any real planning, take some time to lay the pictures out, and move them around. Look at how they work together aesthetically, both in terms of style and size. If you’re doing this before moving into your dorm, you can make it easier to move by adding the pictures to a large piece of paper backed with cardboard. Just use a little Blu-Tack to hold the pictures down, and then you can take them with you.
5. Stick the pictures on your wall
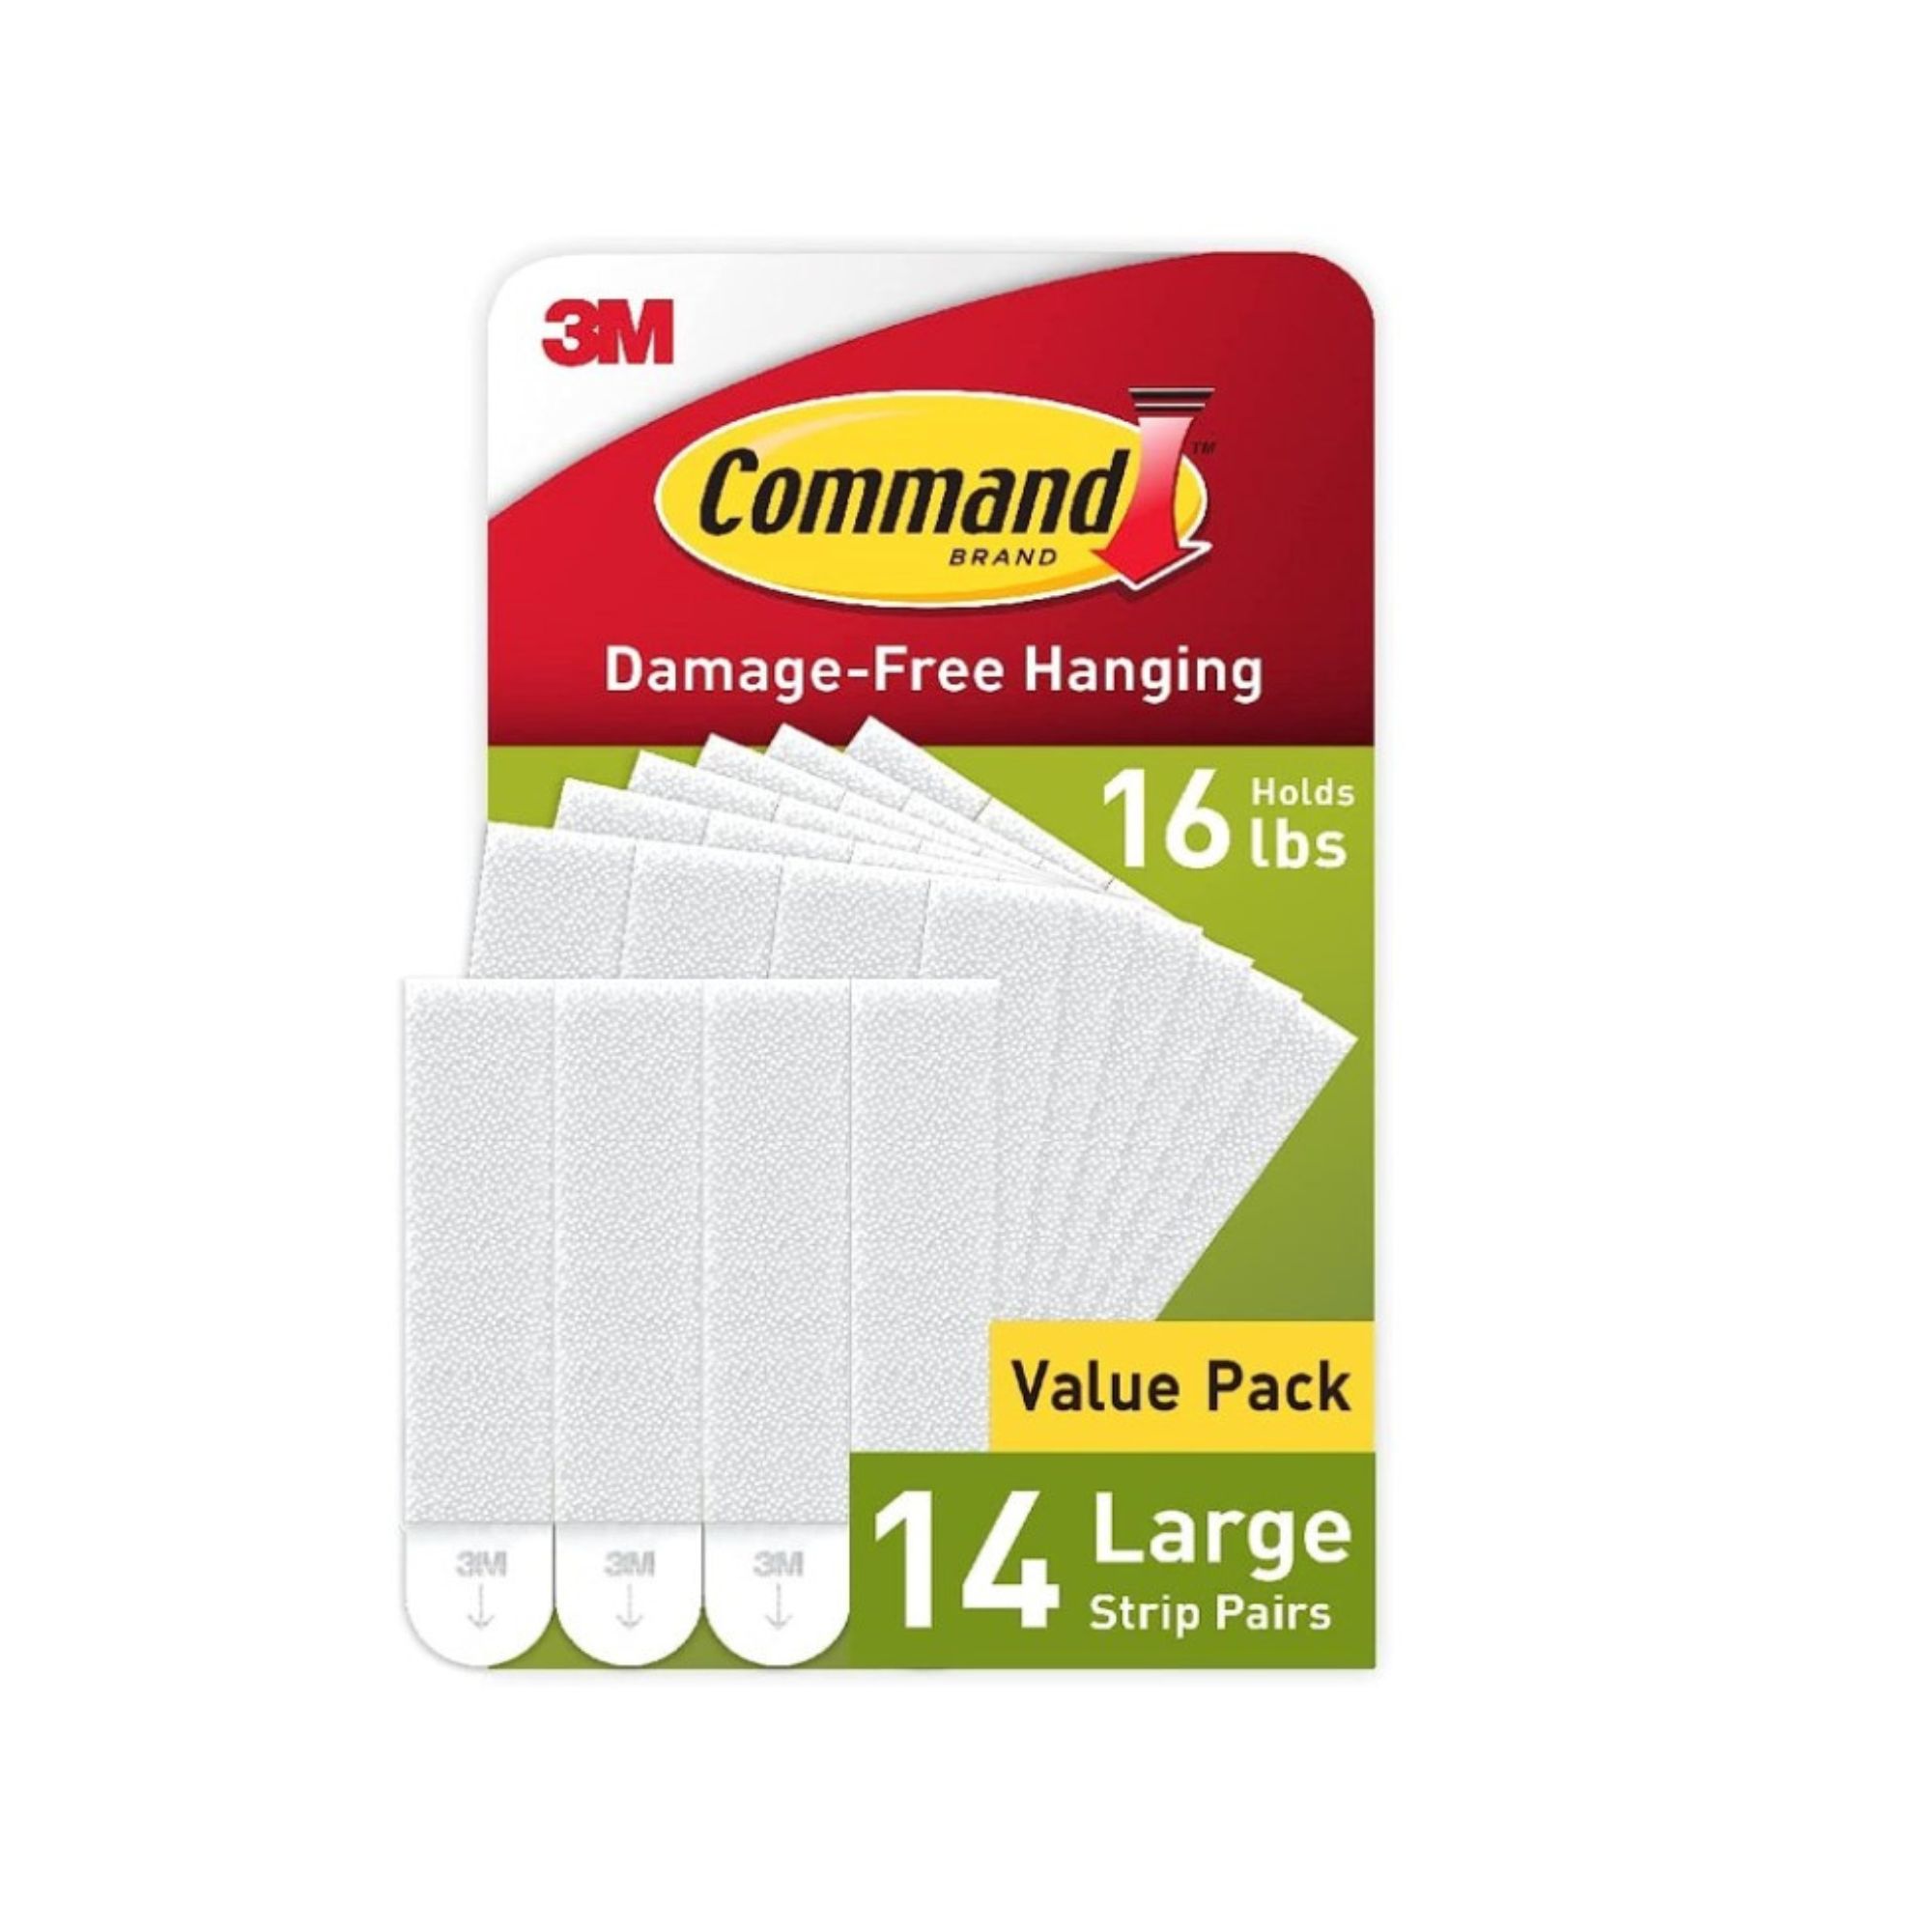
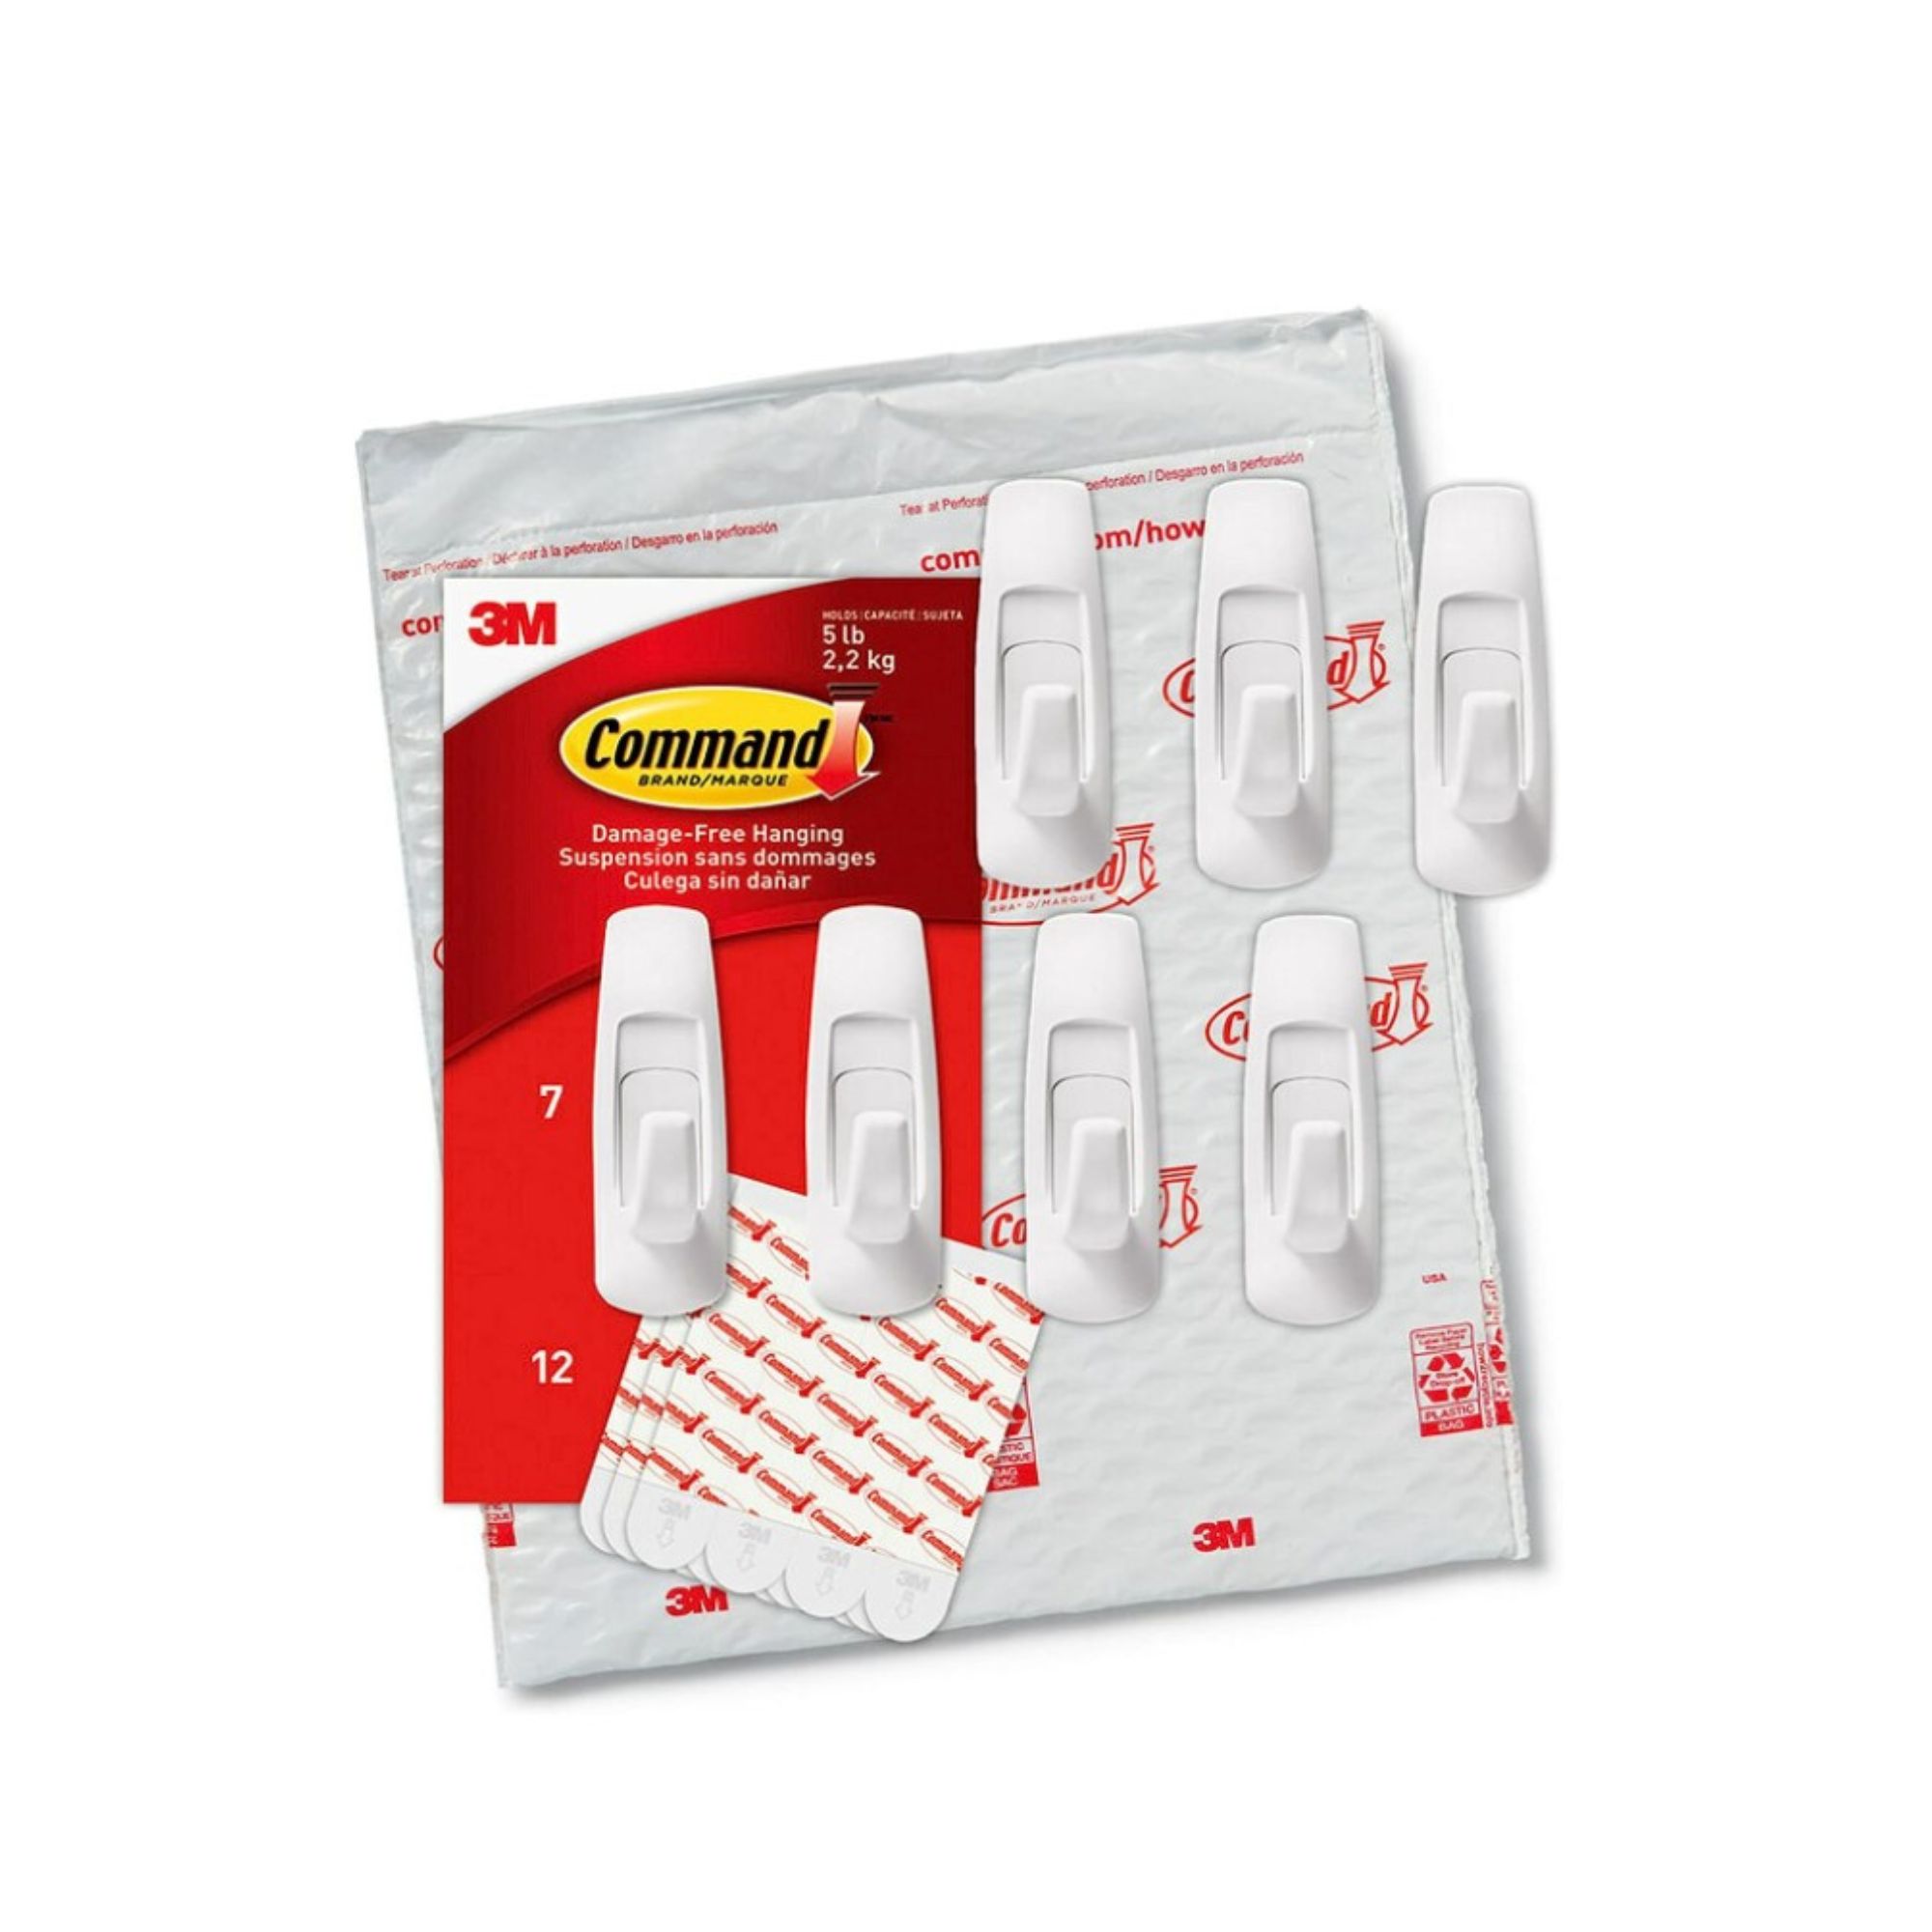
Now it’s time for the magic (insert sparkle emoji here) to happen! Be sure not to use anything that could mark the wall, such as pins or sticky tape, and instead opt for Blu-Tack or removable putty. If you are hanging up heavier or framed pictures, go for adhesive strips or hooks, as these won’t leave marks either. Start from the top and work from left to right per row, until you’ve made it all the way down. This way, if you do end up needing a break, you’ll know where to pick up and your wall won’t look messy either.
6. Take a step back and admire your work
Once everything is stuck on, take a good few steps back, so you can see the whole wall in your line of vision. If anything looks a li’l crooked or if some of the pics don’t look totally right together on the wall, you can go back and sort it out. FYI: It doesn’t need to be perfectly straight or coordinated — as long as you’re happy with how it looks, that’s the most important thing, IMO.
7. One more thing — don’t be afraid to mix things up
OK — you might be thinking that your photo wall looks stunning and fab, so why would you want to change it? At some point, you might have new pics of your college besties to hang up, or you might eventually have a change in aesthetic (let me tell you, I went from emo girlie to cottagecore queen real fast in college!). You don’t have to take it all down — just swapping in a few new pics and wall art will still change the vibe up.
Woo, you did it! You’ve got a whole dorm photo wall that’s ready for its close-up. Oh, and if you’re really loving yours, tag us on TikTok and Insta and show us your gorgeous, gorgeous masterpiece.
Up next: 5 ways to decorate and use dorm walls without damage or (getting in trouble)

Hi there! I’m the former content editor at Real Homes and I'm now a freelance journalist.. I've been a lifestyle journalist for over five years, previously working as an editor across regional magazines. Before this, I graduated from Nottingham Trent University a degree in journalism, along with an NCTJ gold diploma. For Real Homes, I specialized in interior design, trends and finding the best viral buys.
