How to clean your vacuum in just 8 easy steps
Suck it up

Get small space home decor ideas, celeb inspiration, DIY tips and more, straight to your inbox!
You are now subscribed
Your newsletter sign-up was successful
I just can’t imagine my cleaning routine without my vacuum. Instead of crouching on the ground, tryna get all those gross bits of dirt with a dustpan and brush, you can just hold the handle, flick it on, and scooch it all around your floor.
Even though the vacuum is an incredible cleaning tool, it still actually needs to be cleaned itself. A little extra maintenance goes a long way so your vacuum can give you its best. Not only this, but if you don’t clean your vacuum, the dirt could damage it long-term. And considering how spendy vacuums can be, we don’t want to be shortening their life spans.
I’ve put together this step-by-step guide for cleaning your vacuum, with instructions that are easy to follow. As well as this, I’ve listed all the cleaning supplies you’ll need, plus answered any questions you may have at the end.
Vroom vroom through this article to make your vacuum super clean…
Good to know
Time: 1 hour, plus 12 hours of drying time
Difficulty: Easy
Helpful hints: Make sure you follow the steps in order, so you aren’t pushing dirt around the vacuum and in your home unnecessarily. Also, that drying time is super important, so don’t try and take shortcuts.
Get small space home decor ideas, celeb inspiration, DIY tips and more, straight to your inbox!
Here's what you'll need
- Scissors
- A microfiber cloth: I always use the Spontex ones, which Amazon has in a pack of three
- All-purpose cleaner: Mrs. Meyer’s is my fave, which you can grab from Amazon
- Liquid dish soap: I just use a generic one from the store, but Palmolive’s is Amazon’s Choice if you’re running low
- A bucket: This 15-Quart Rubbermaid one is Amazon’s Choice
- A scrubber: The Amazon bestselling Scrub Daddy is tough on stains, but doesn’t scratch
- An old towel
How to clean your vacuum
Step 1: Unplug your vacuum
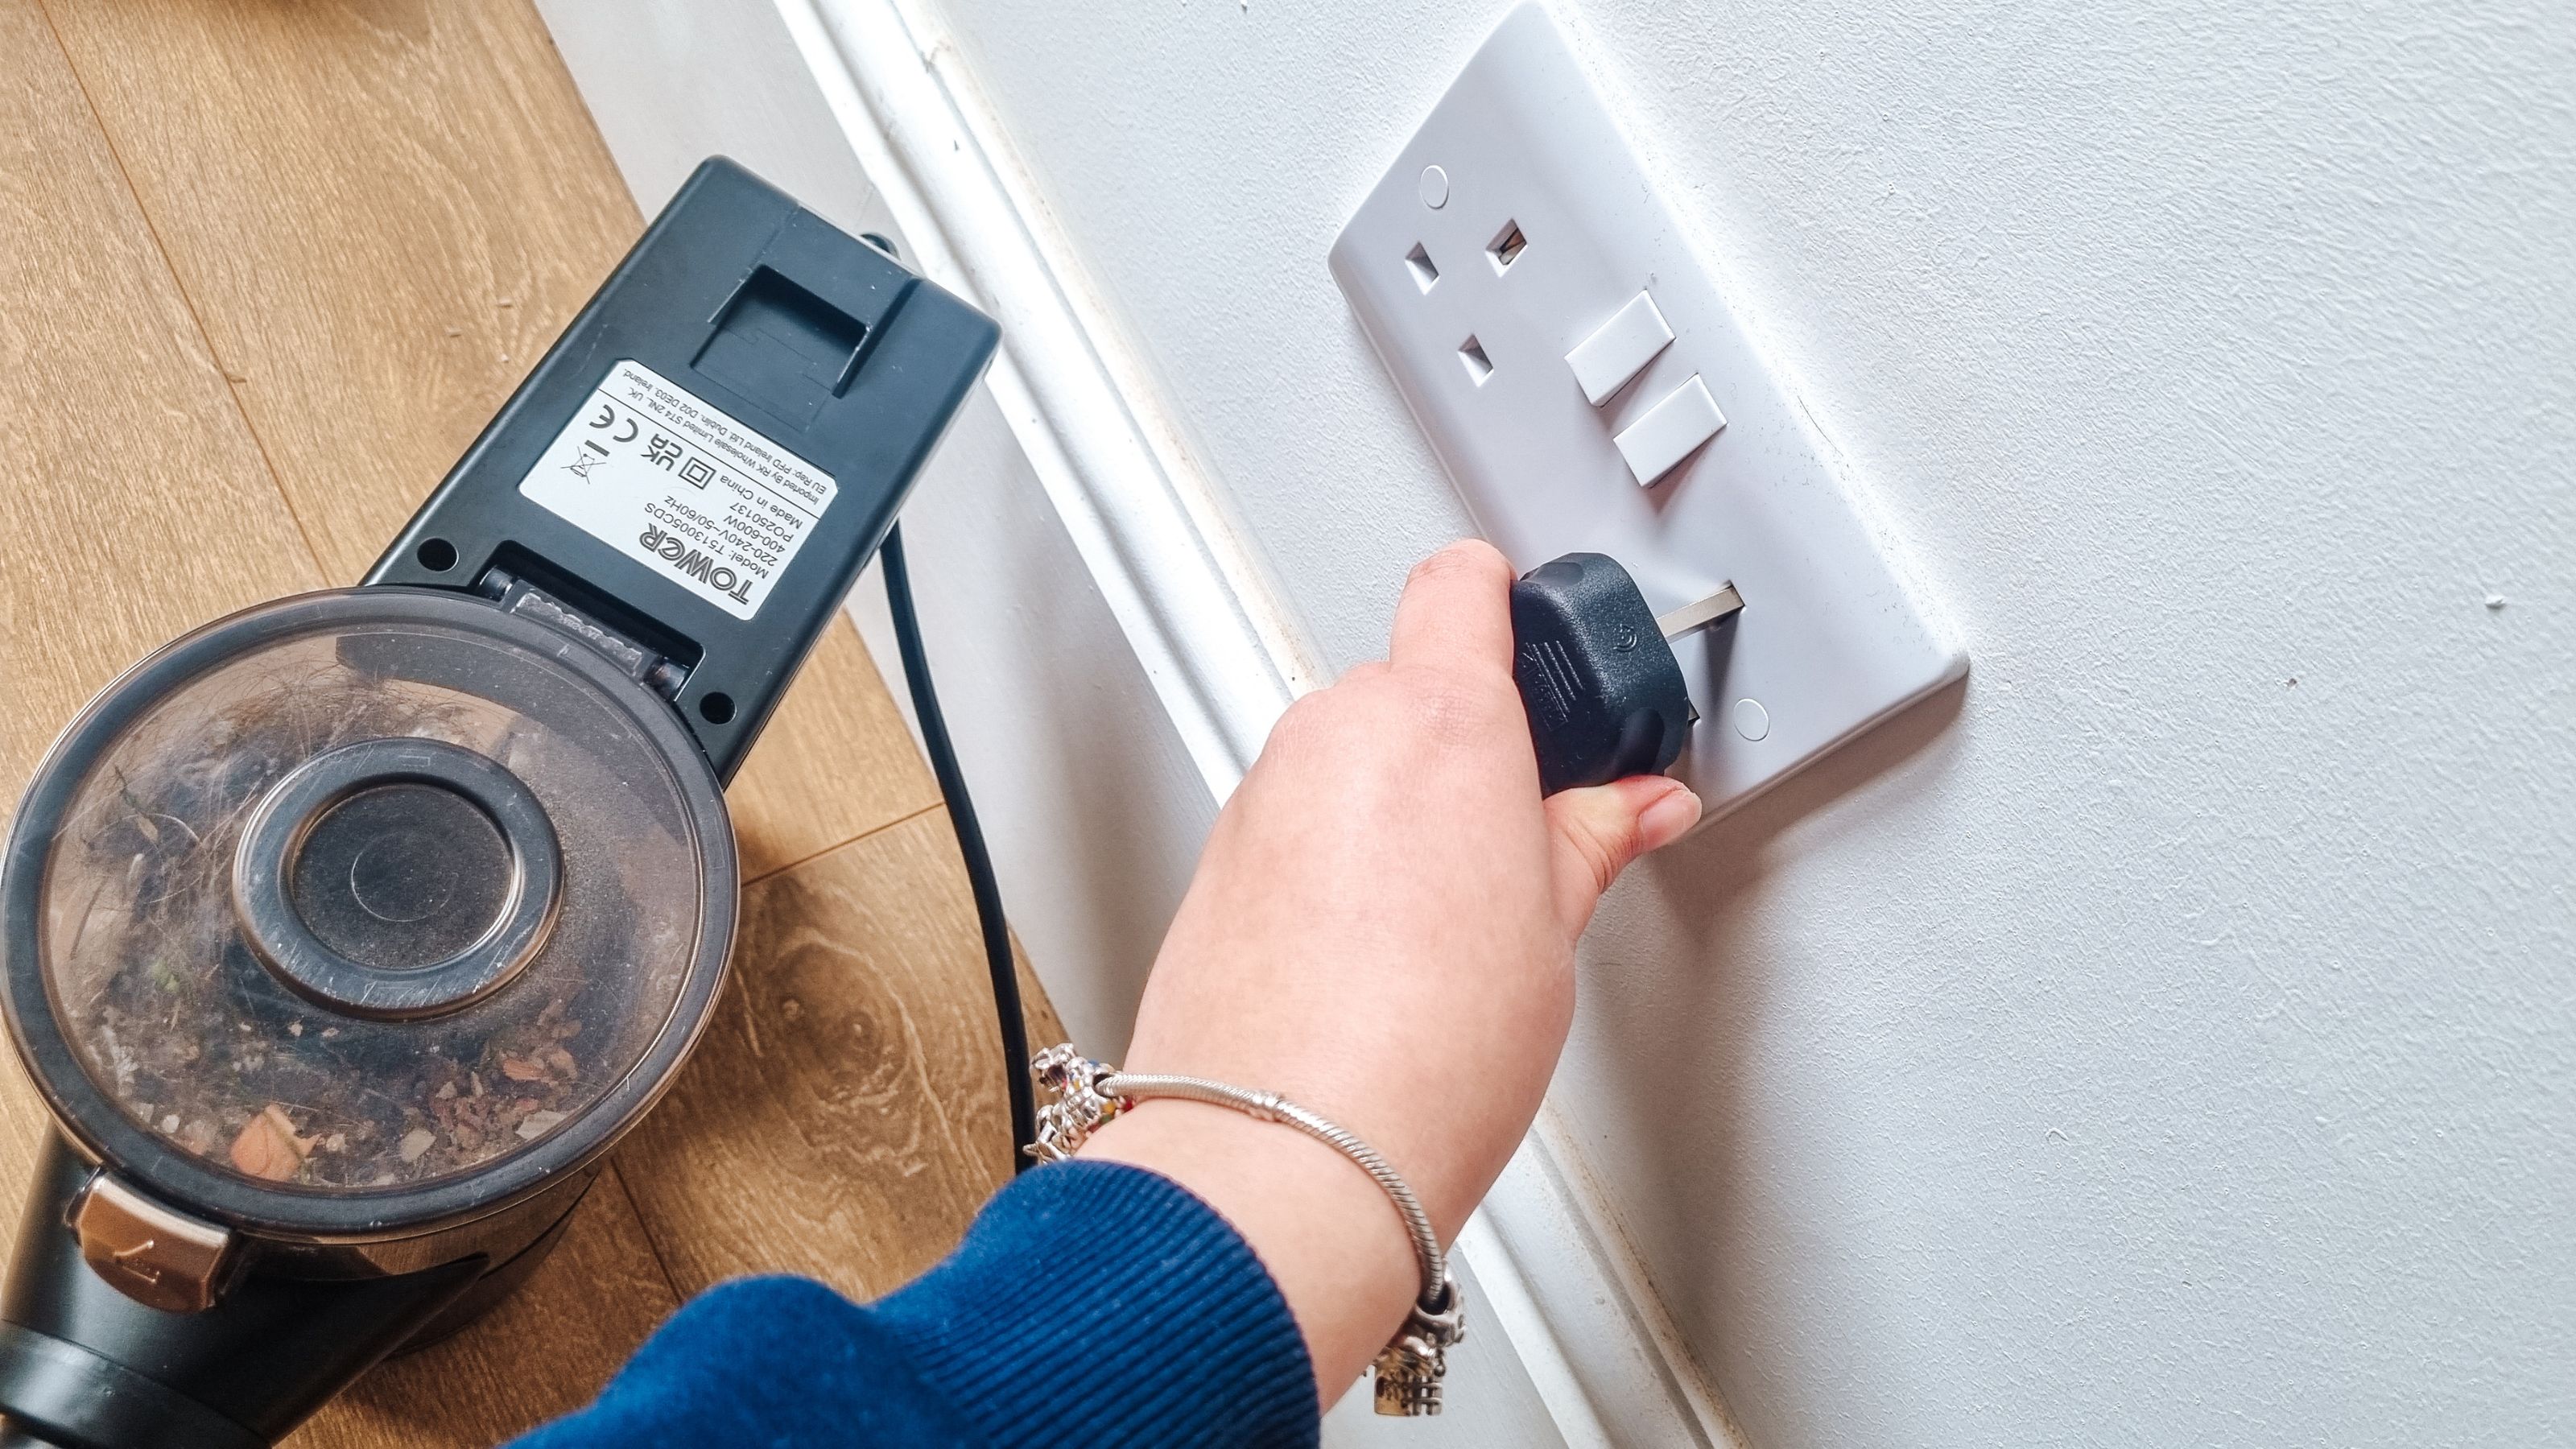
You’re gonna need to move around your vacuum in order to clean it, so you’re going to want to unplug it to make that easier. Plus, cleaning supplies and electricity just don’t go together.
Step 2: Remove the dirt from the brush
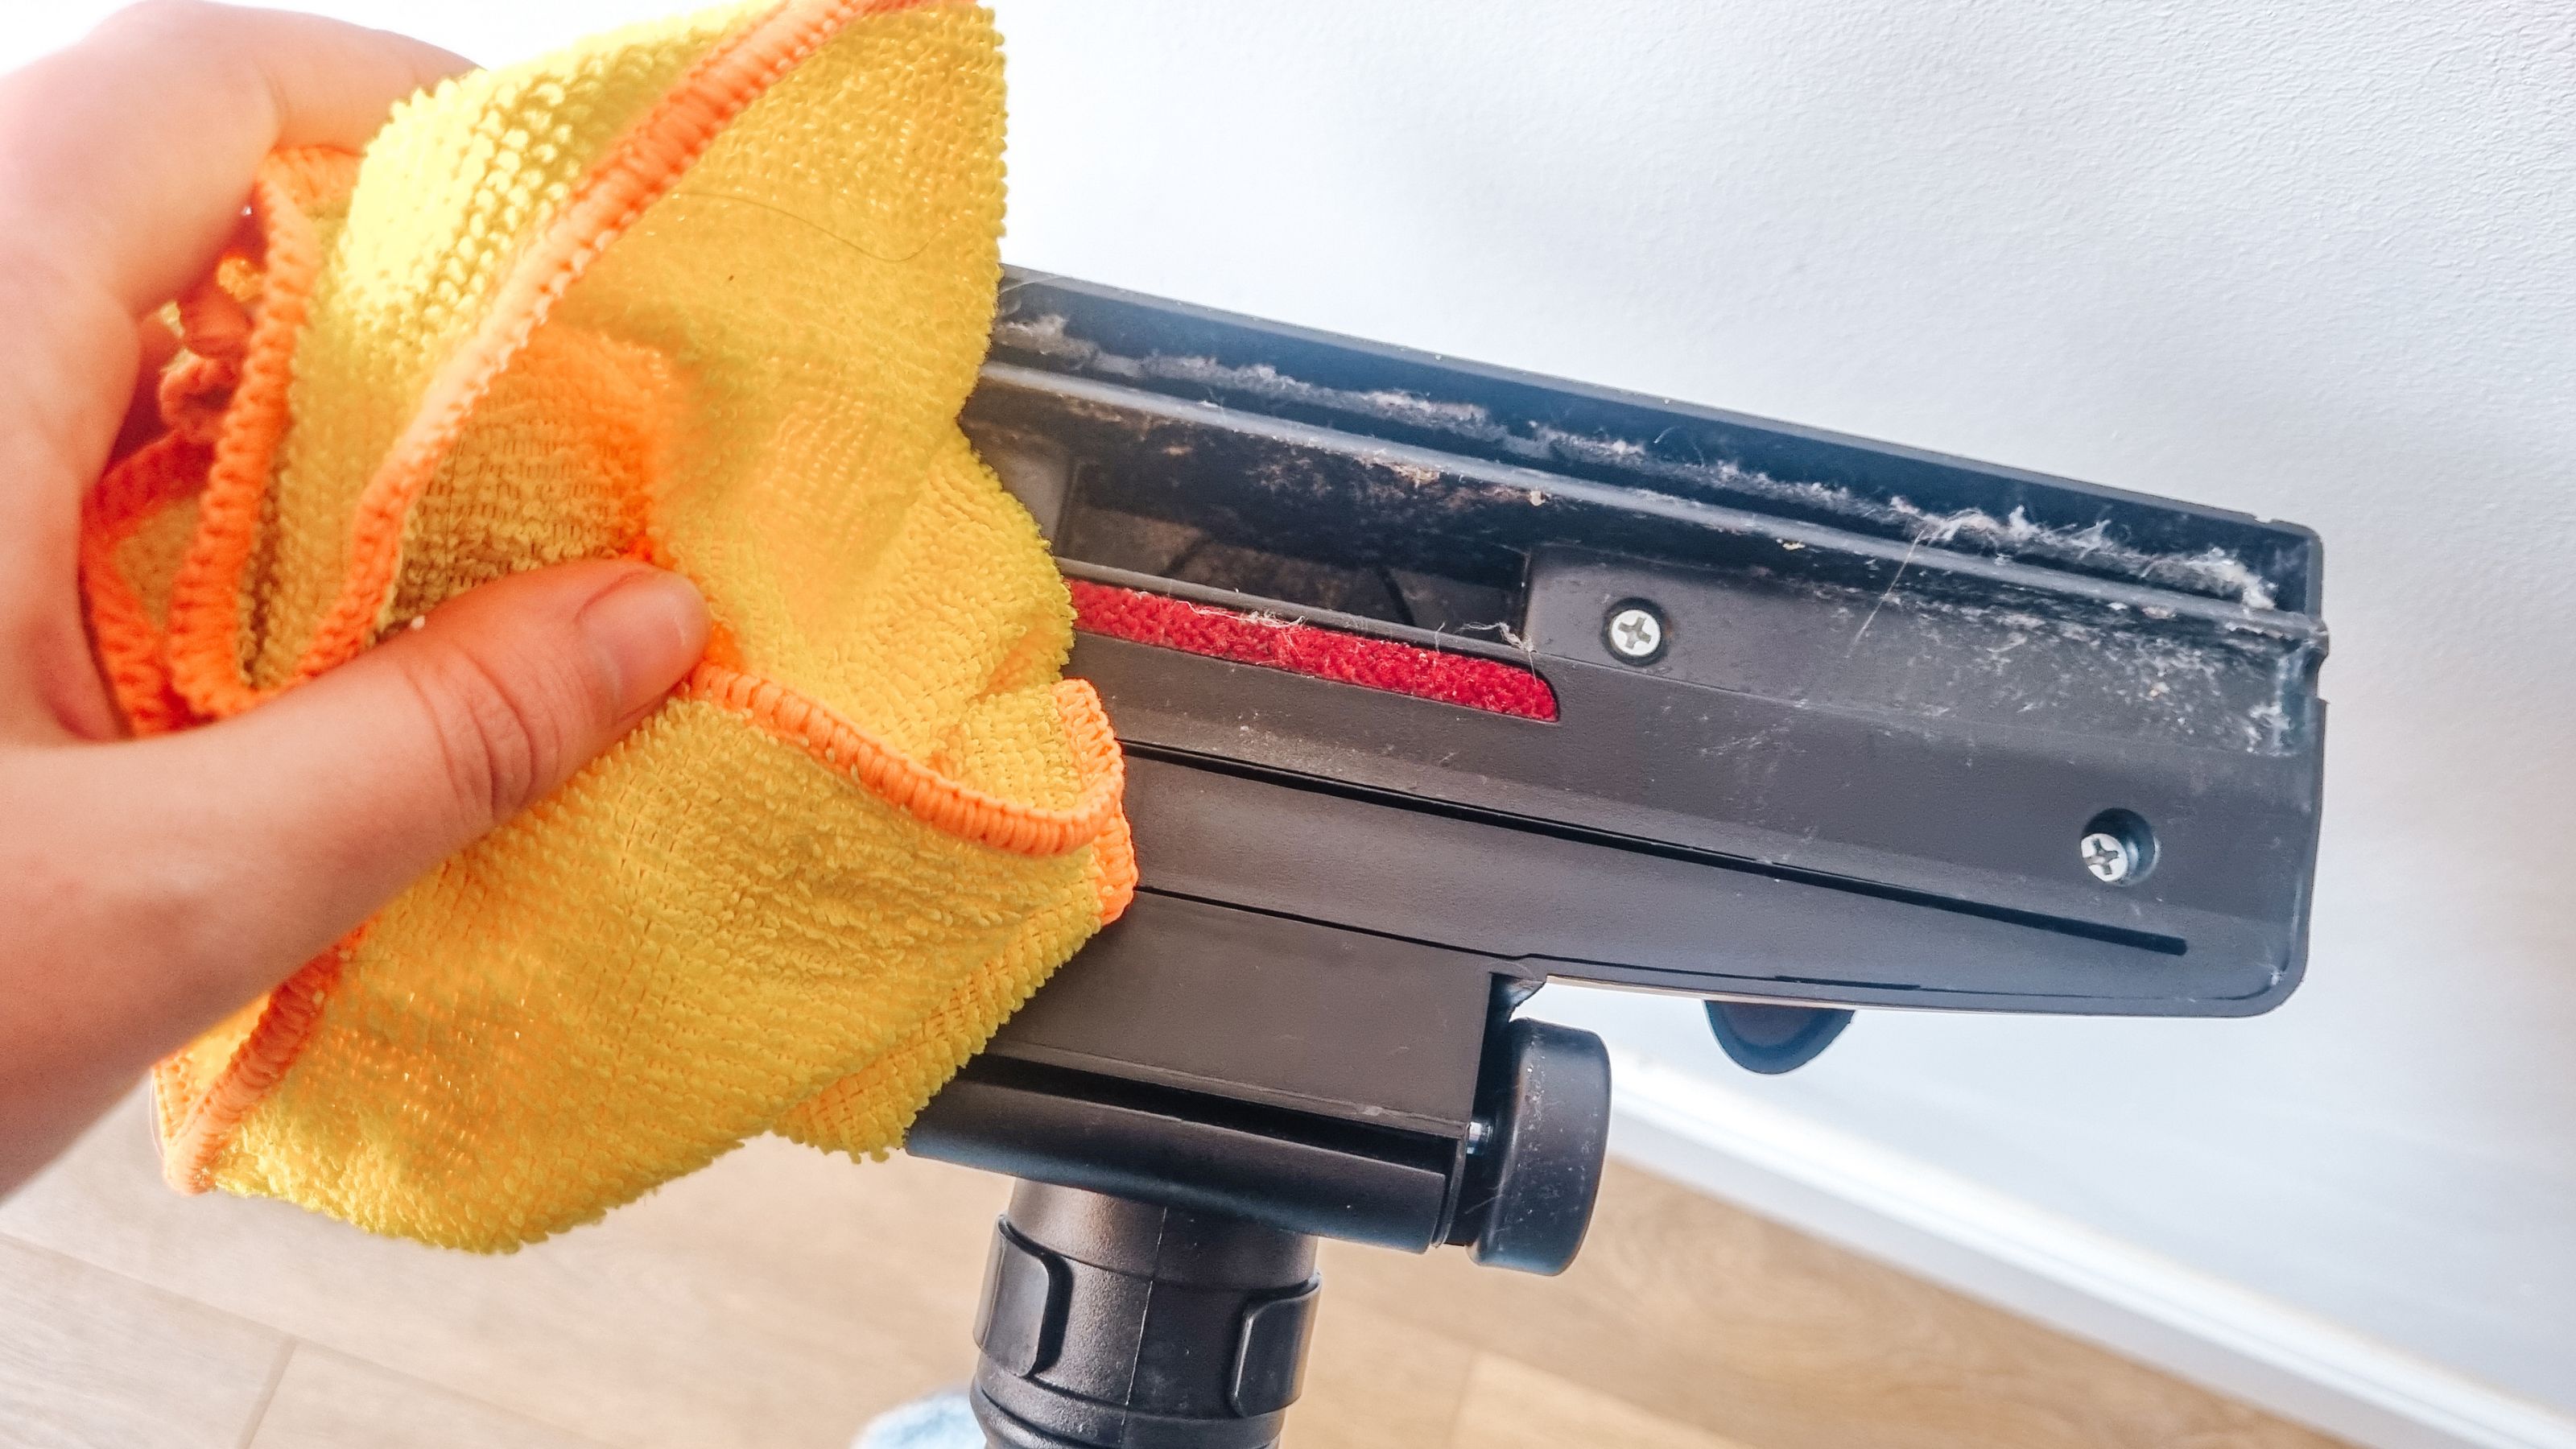
This is important to do before you clean anything else, because you don’t want to be shaking around dirt while you’re scrubbing and soaking the various parts of the vacuum. If there’s hair wrapped around the roller, snip it off carefully with scissors. Then, wipe the roller with a microfiber cloth, before brushing the dirt gathered from that into a trash can.
Step 3: Empty out the bag or dust cup
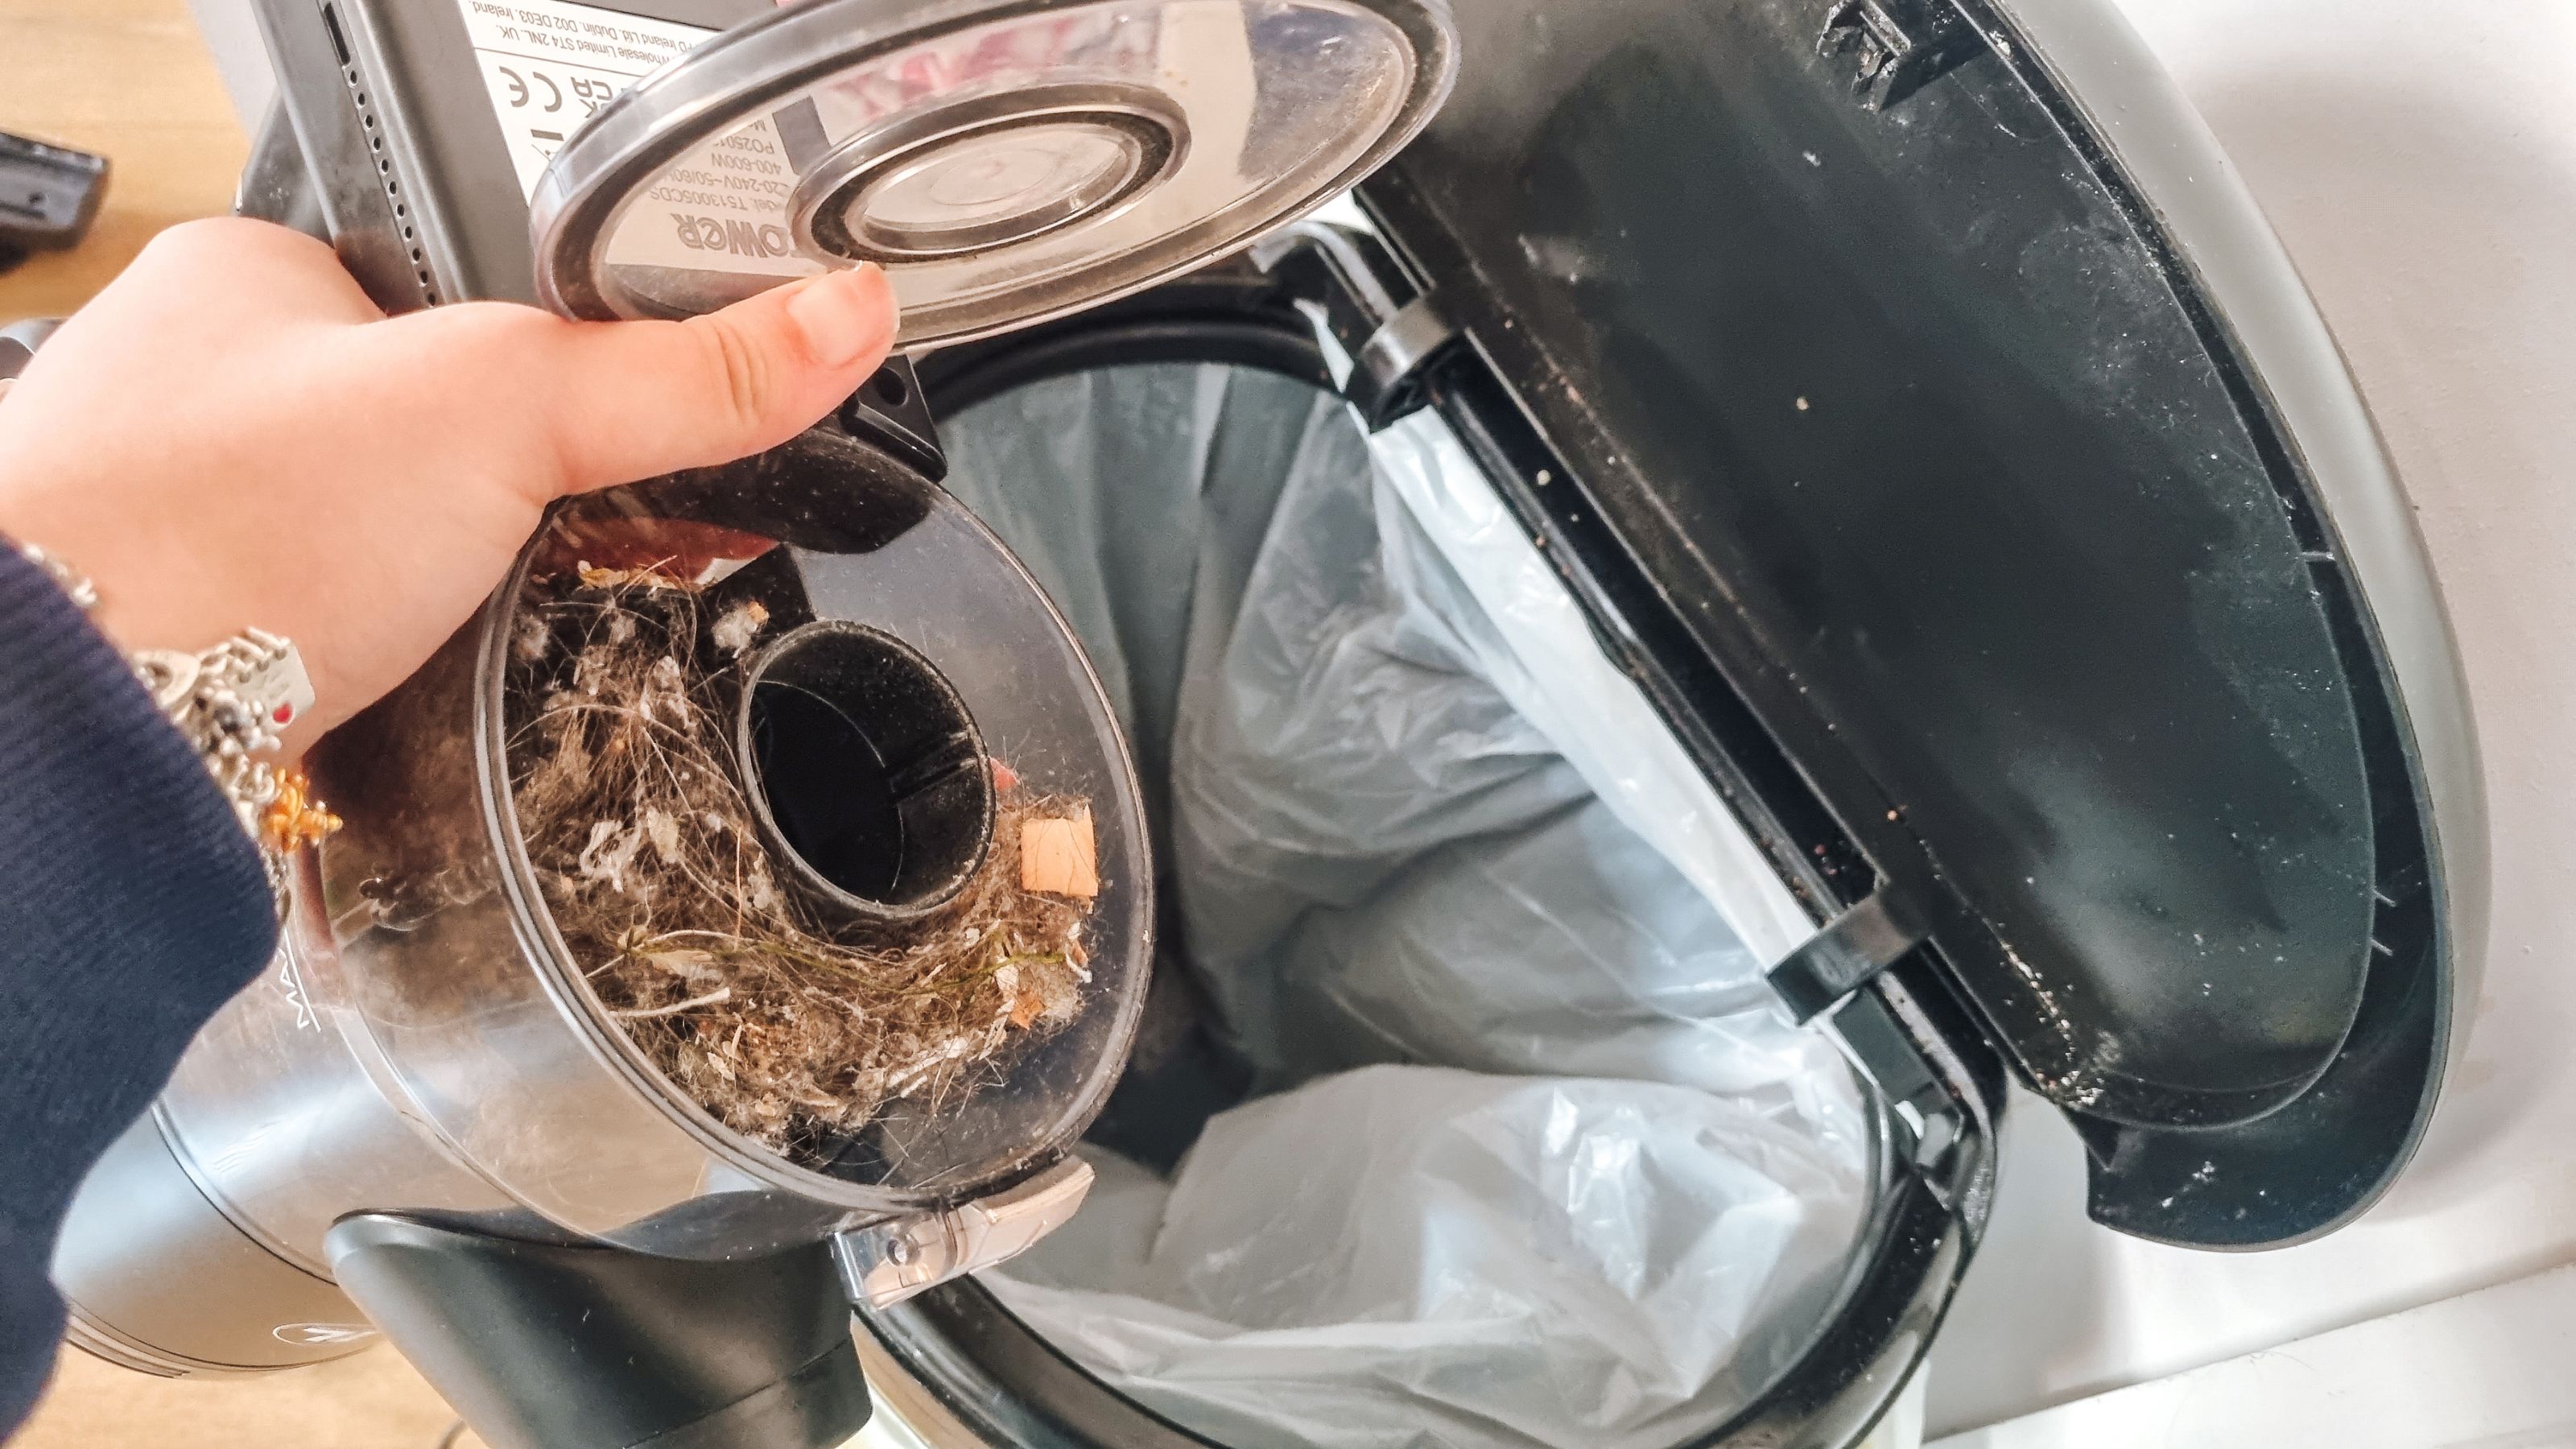
Depending on what kind of vacuum you have, you’ll next need to empty either the bag or the dust cup. This is where all the dirt that your vacuum has sucked up is kept — it doesn’t just magically disappear (although if you do find a vacuum that does that, holler at me). Empty the cup or dispose of the bag into your trash can. If you have a dust cup, you can then wipe this out with an all-purpose cleaner and a cloth.
Step 4: Remove the detachable parts for cleaning

These are the vacuum components that easily come off and aren't involved with the electrical part of the machine. This will vary depending on what kind of vacuum you have, but this should generally include the filter, hose, and brush head.
Step 5: Soak the detachable parts
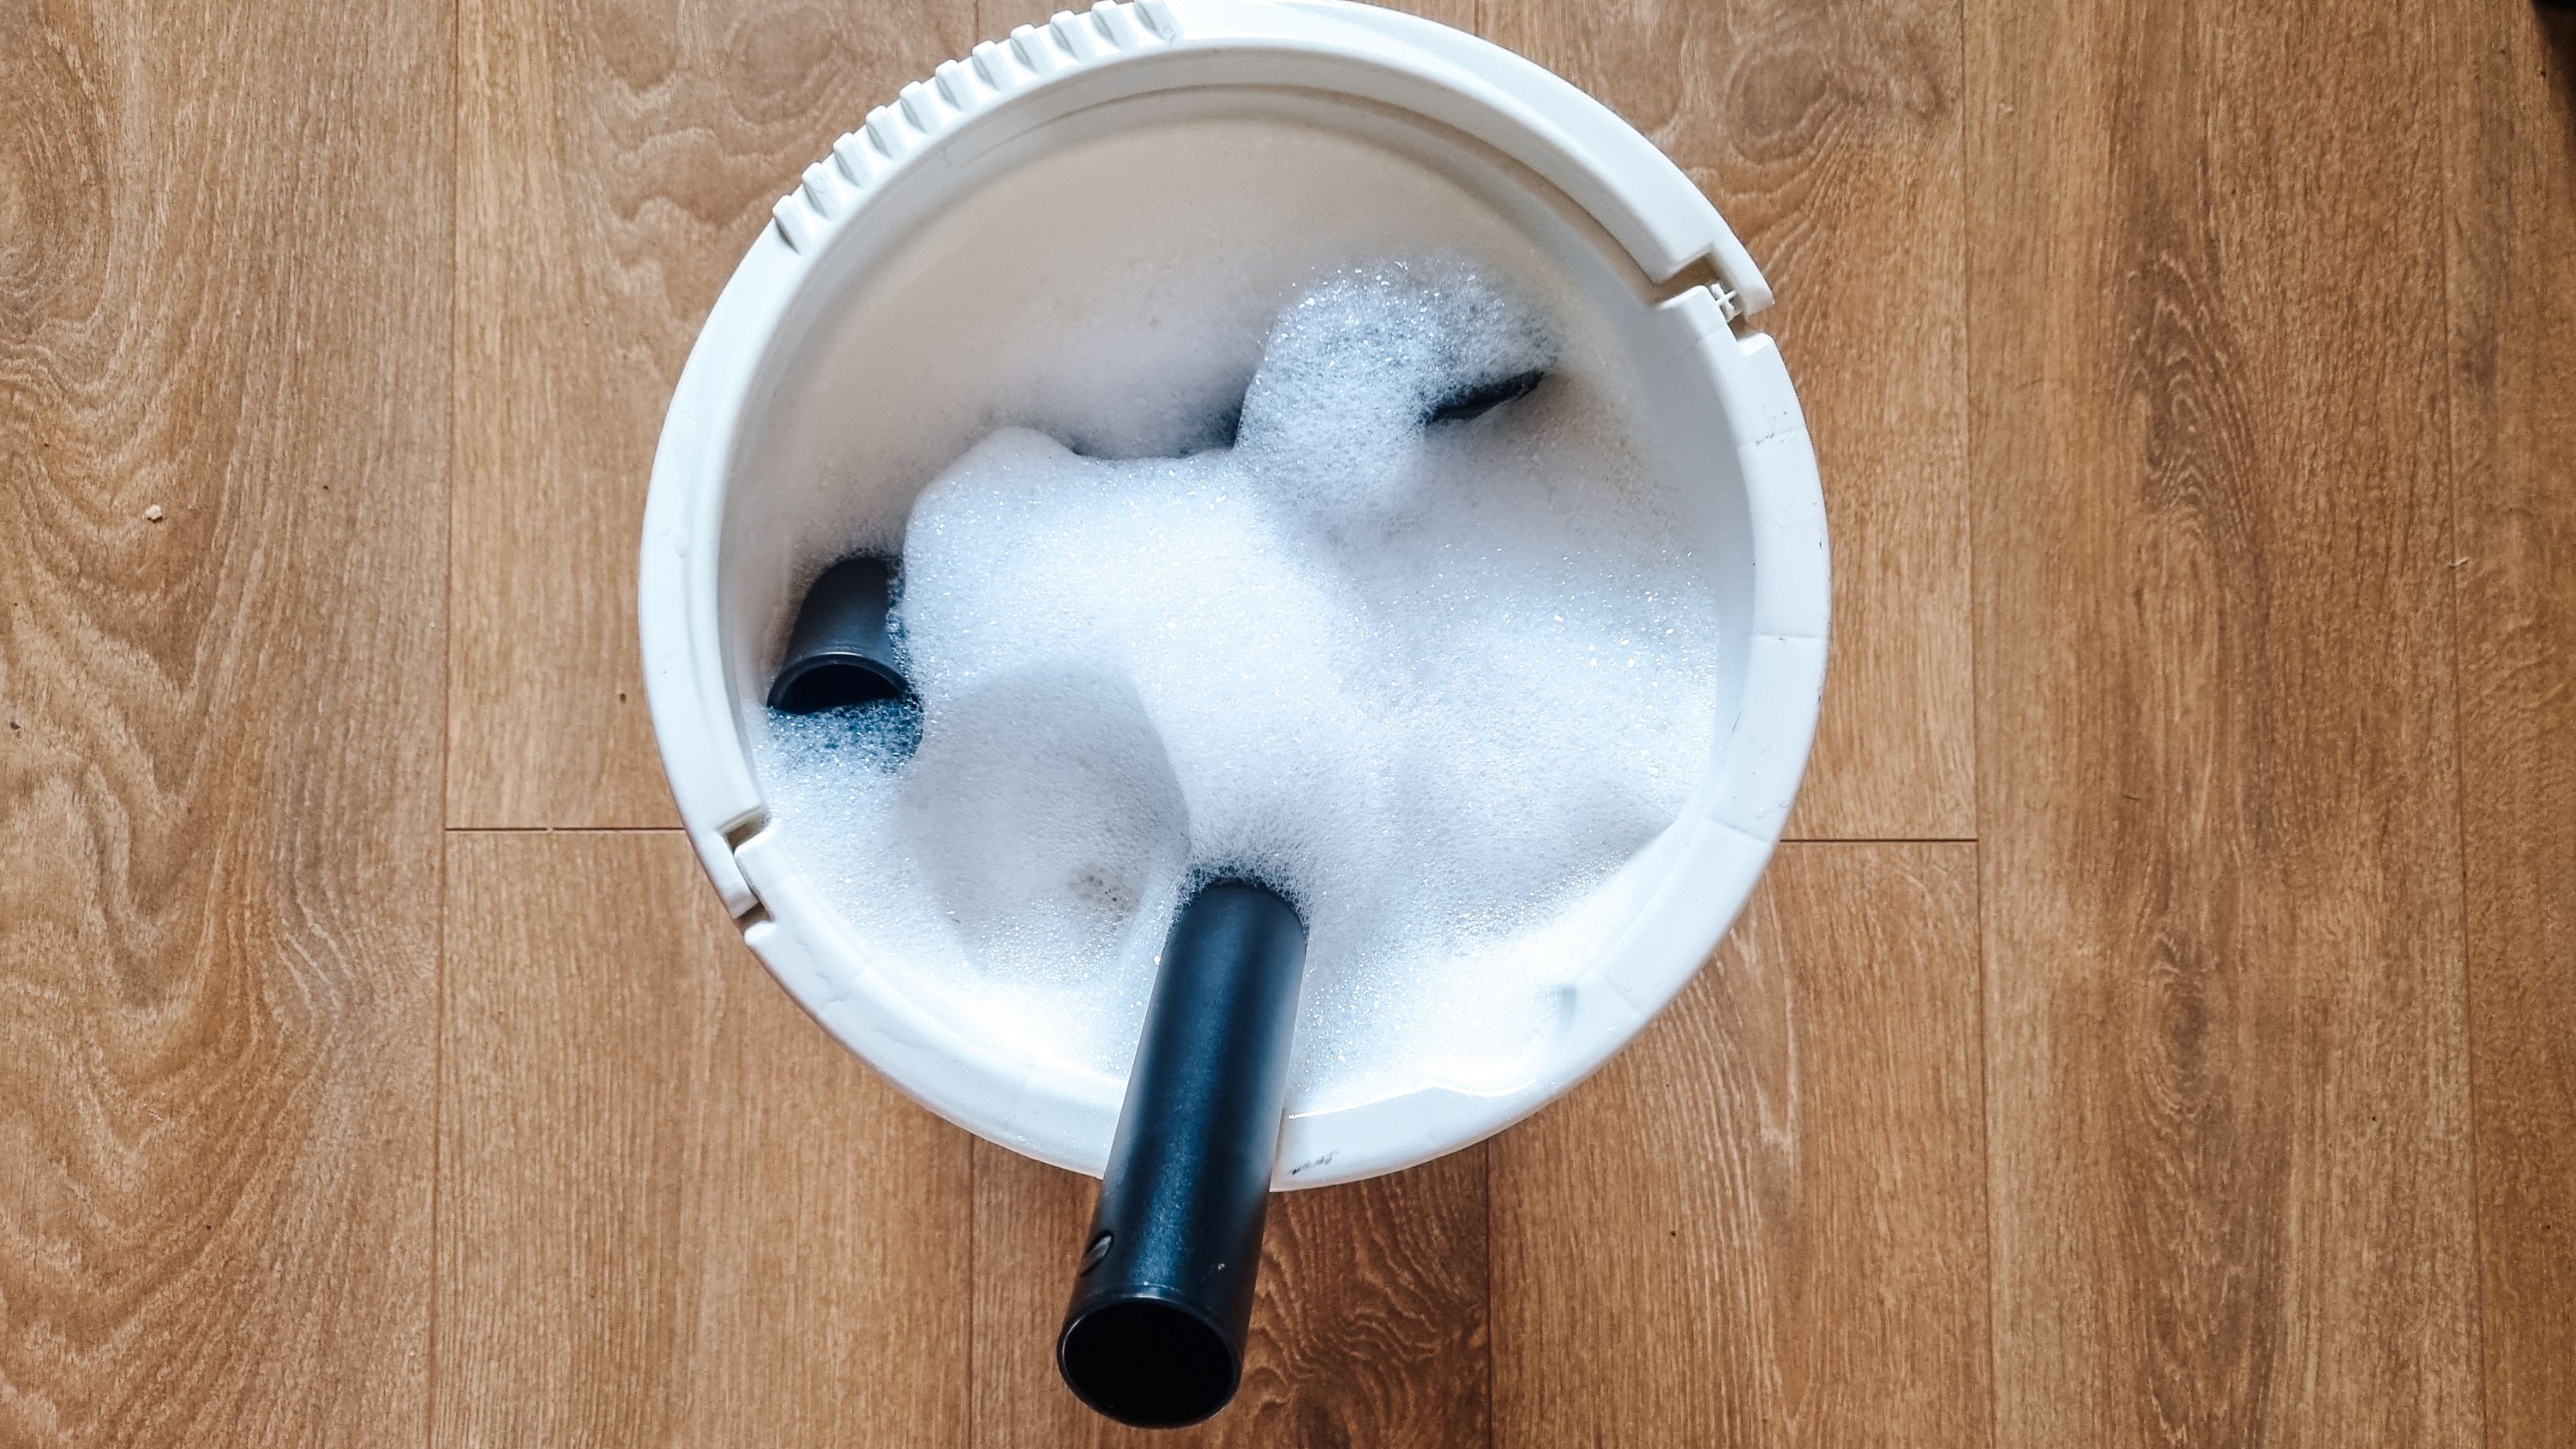
Place the parts in a large bucket filled with warm water and dish soap. I recommend mixing in about a tablespoon of soap in order to create a lovely bubble bath for your vacuum parts. Leave the parts to soak for at least half an hour, so all the debris can fall off. If there are any parts that are sticky or especially dirty, use a scrubber like the Amazon bestselling Scrub Daddy to get them off.
Step 6: Let the parts dry
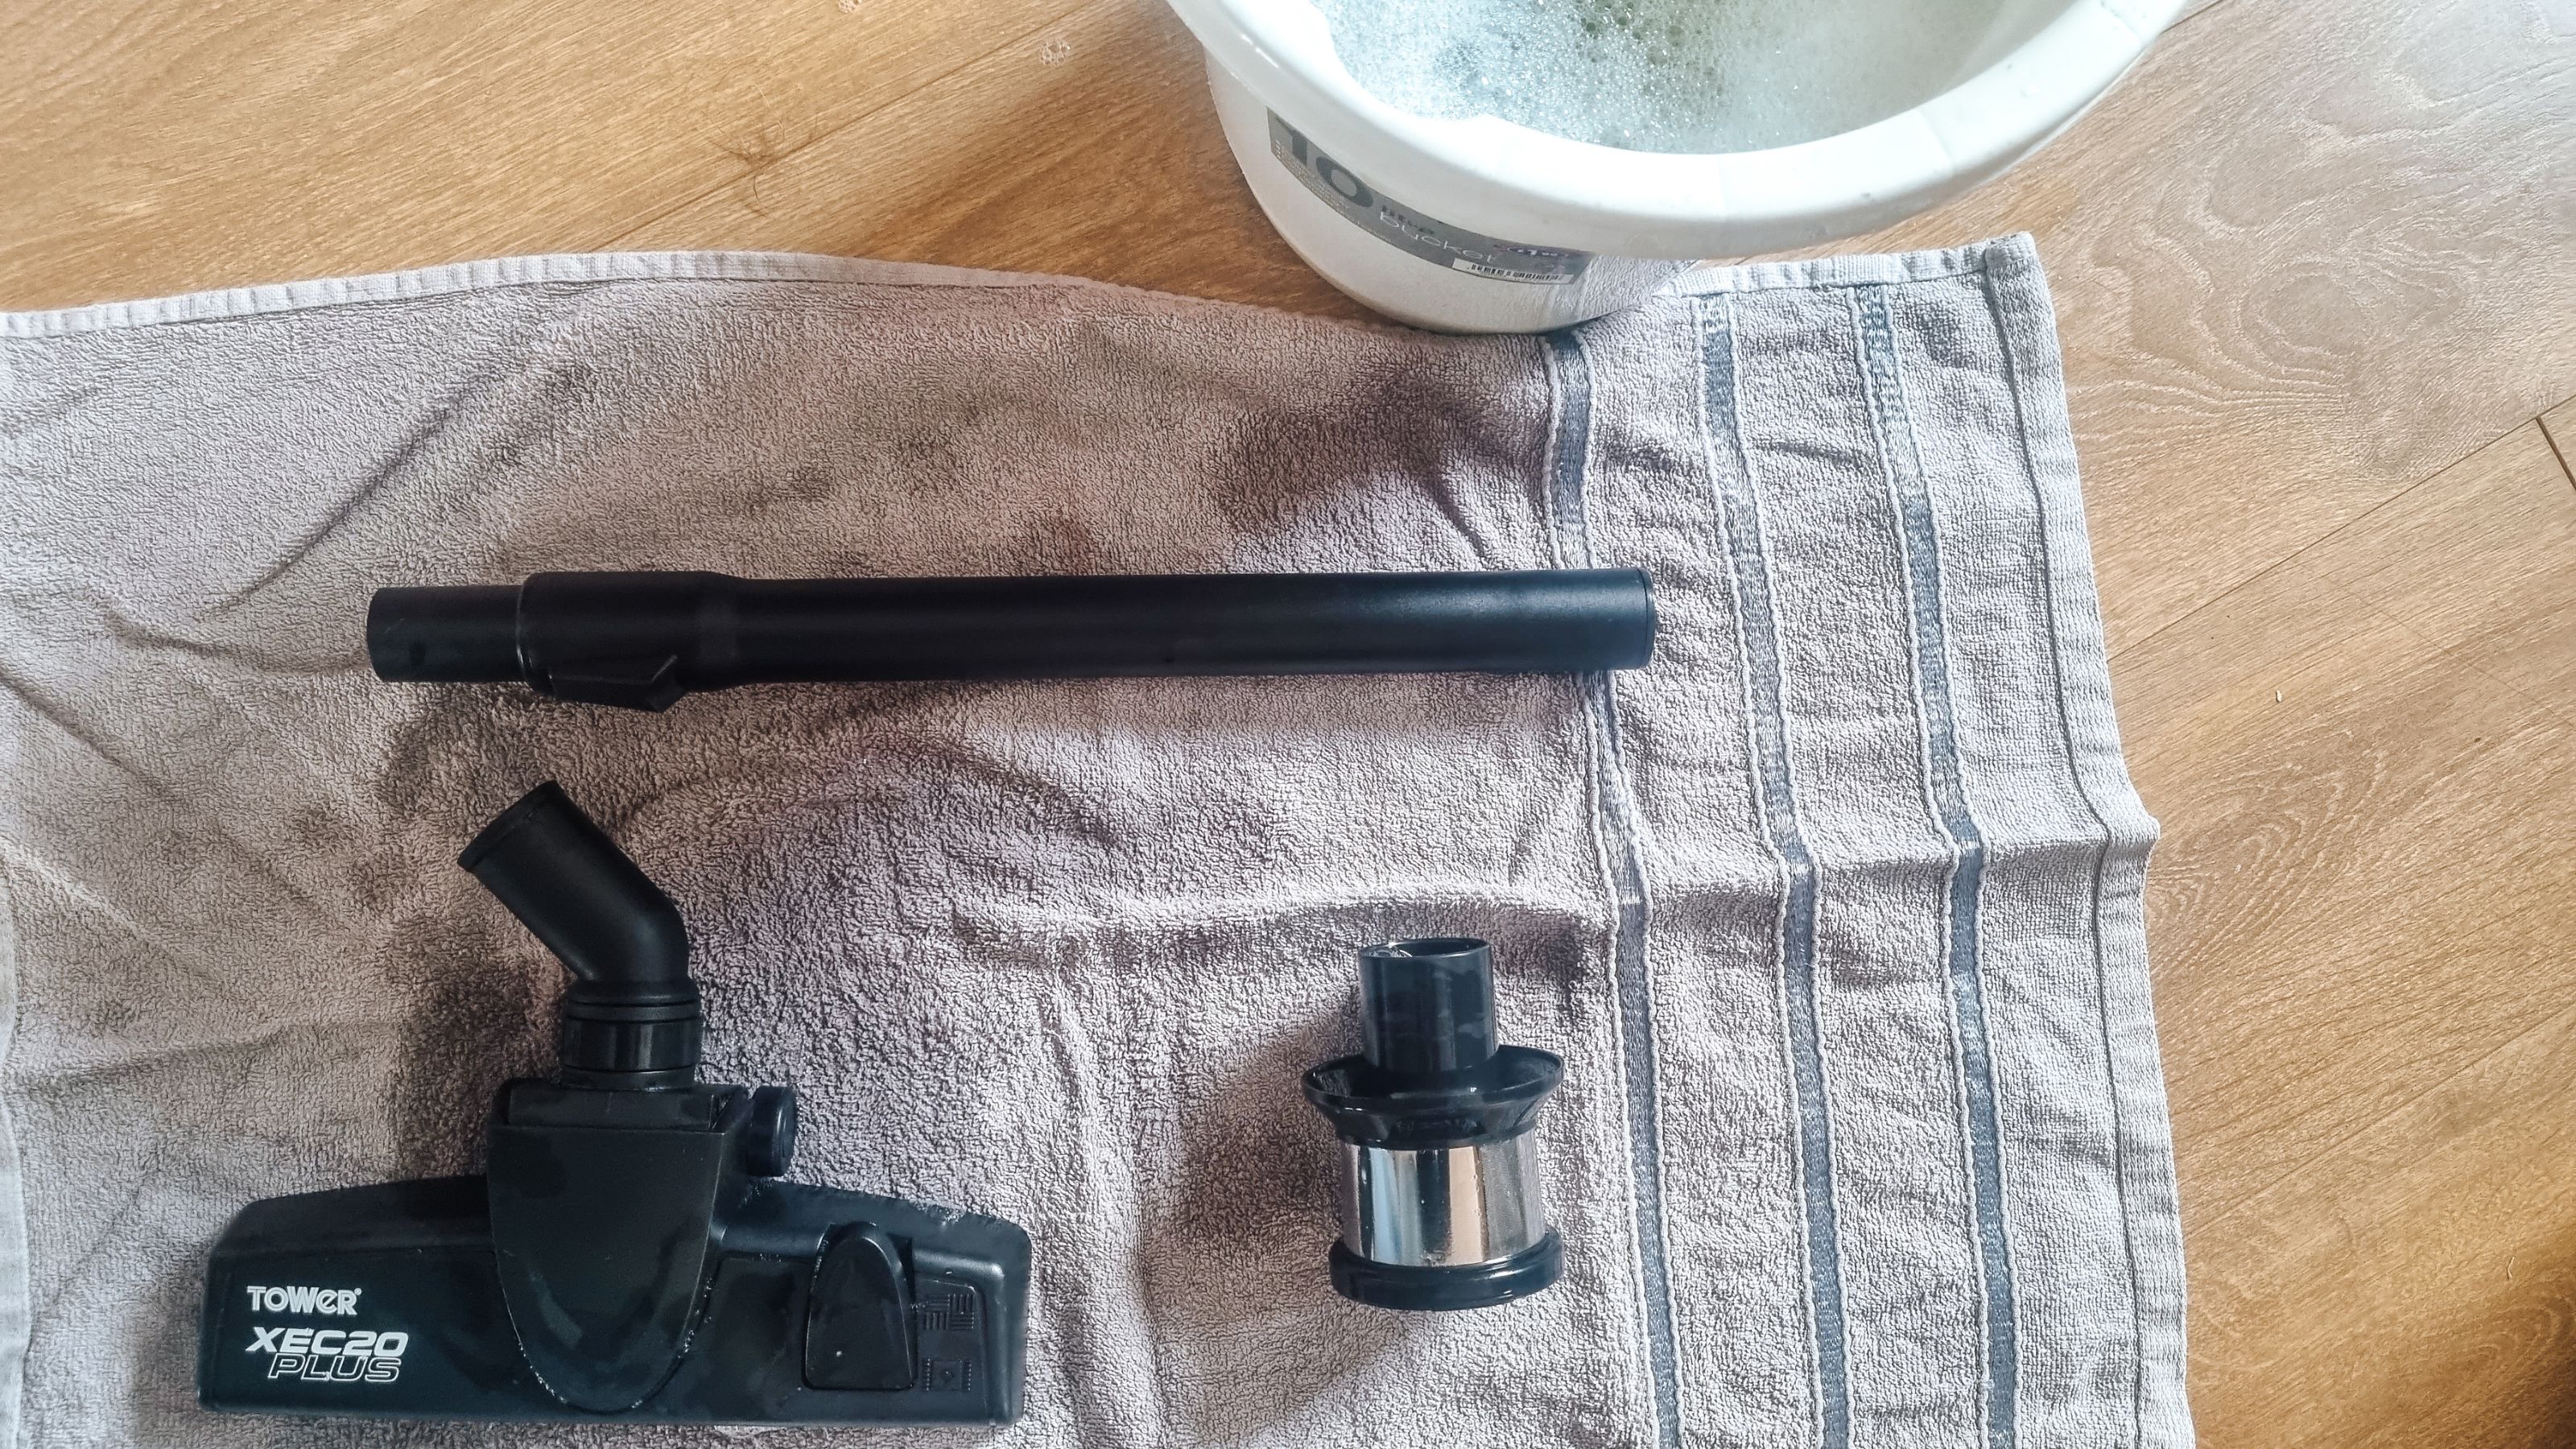
Take each part out one by one, and lay them out on a towel, so you aren’t getting water all over your floor. It’s important to let the parts dry out so you aren’t putting damp equipment back onto your vacuum. This is because dirt can stick easily to damp surfaces, plus damp equipment and electricity can be legit dangerous. I’d say 12 hours is a good amount of time, but you can leave it to dry for longer if you want. Dry off the parts with another towel to help the process and swap out the towel they're laid out on if it gets to be sopping wet.
Step 7: Wipe the vacuum exterior
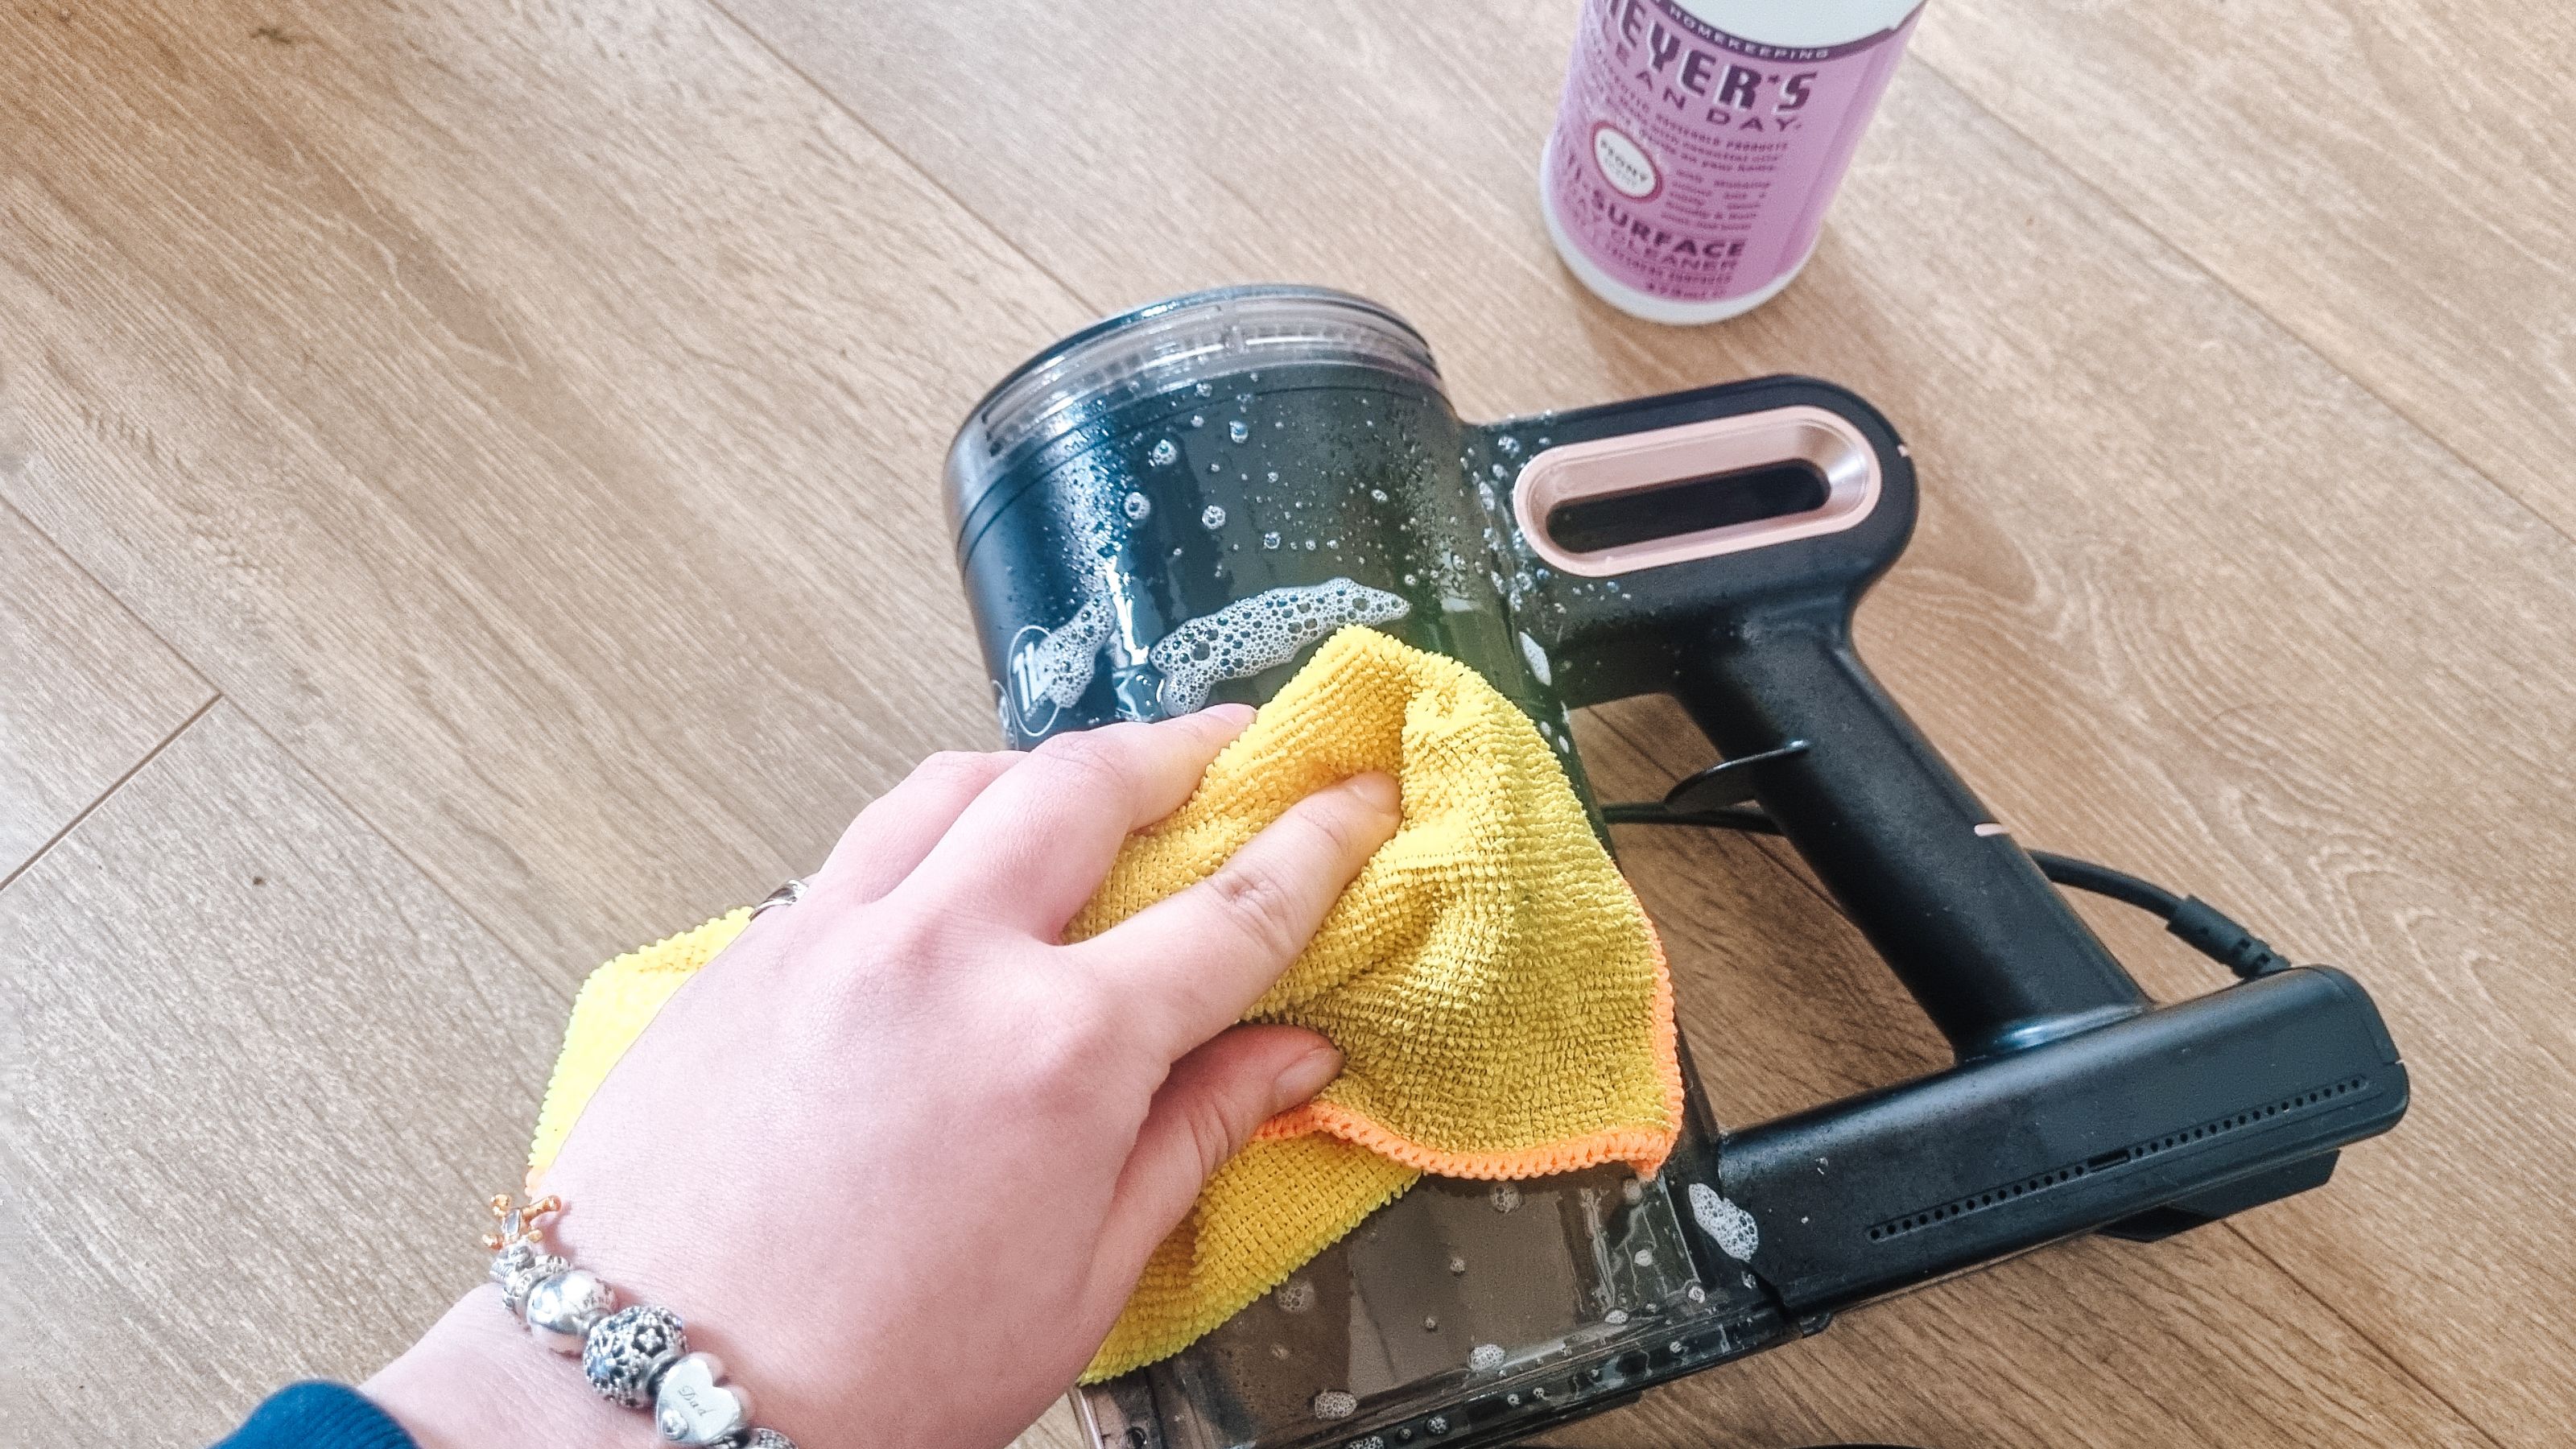
Think about how much you use your vacuum, and then think about how many germs may be living on it. Yes, although it's important to clean the interior parts, it's def important to clean the exterior of the vacuum, too. Using a scented all-purpose cleaner (I love Mrs. Meyer’s, which is just under $5 on Amazon), spritz the front, back, and sides of the vacuum, and wipe it down with a microfiber cloth.
Step 8: Put the vacuum cleaner back together
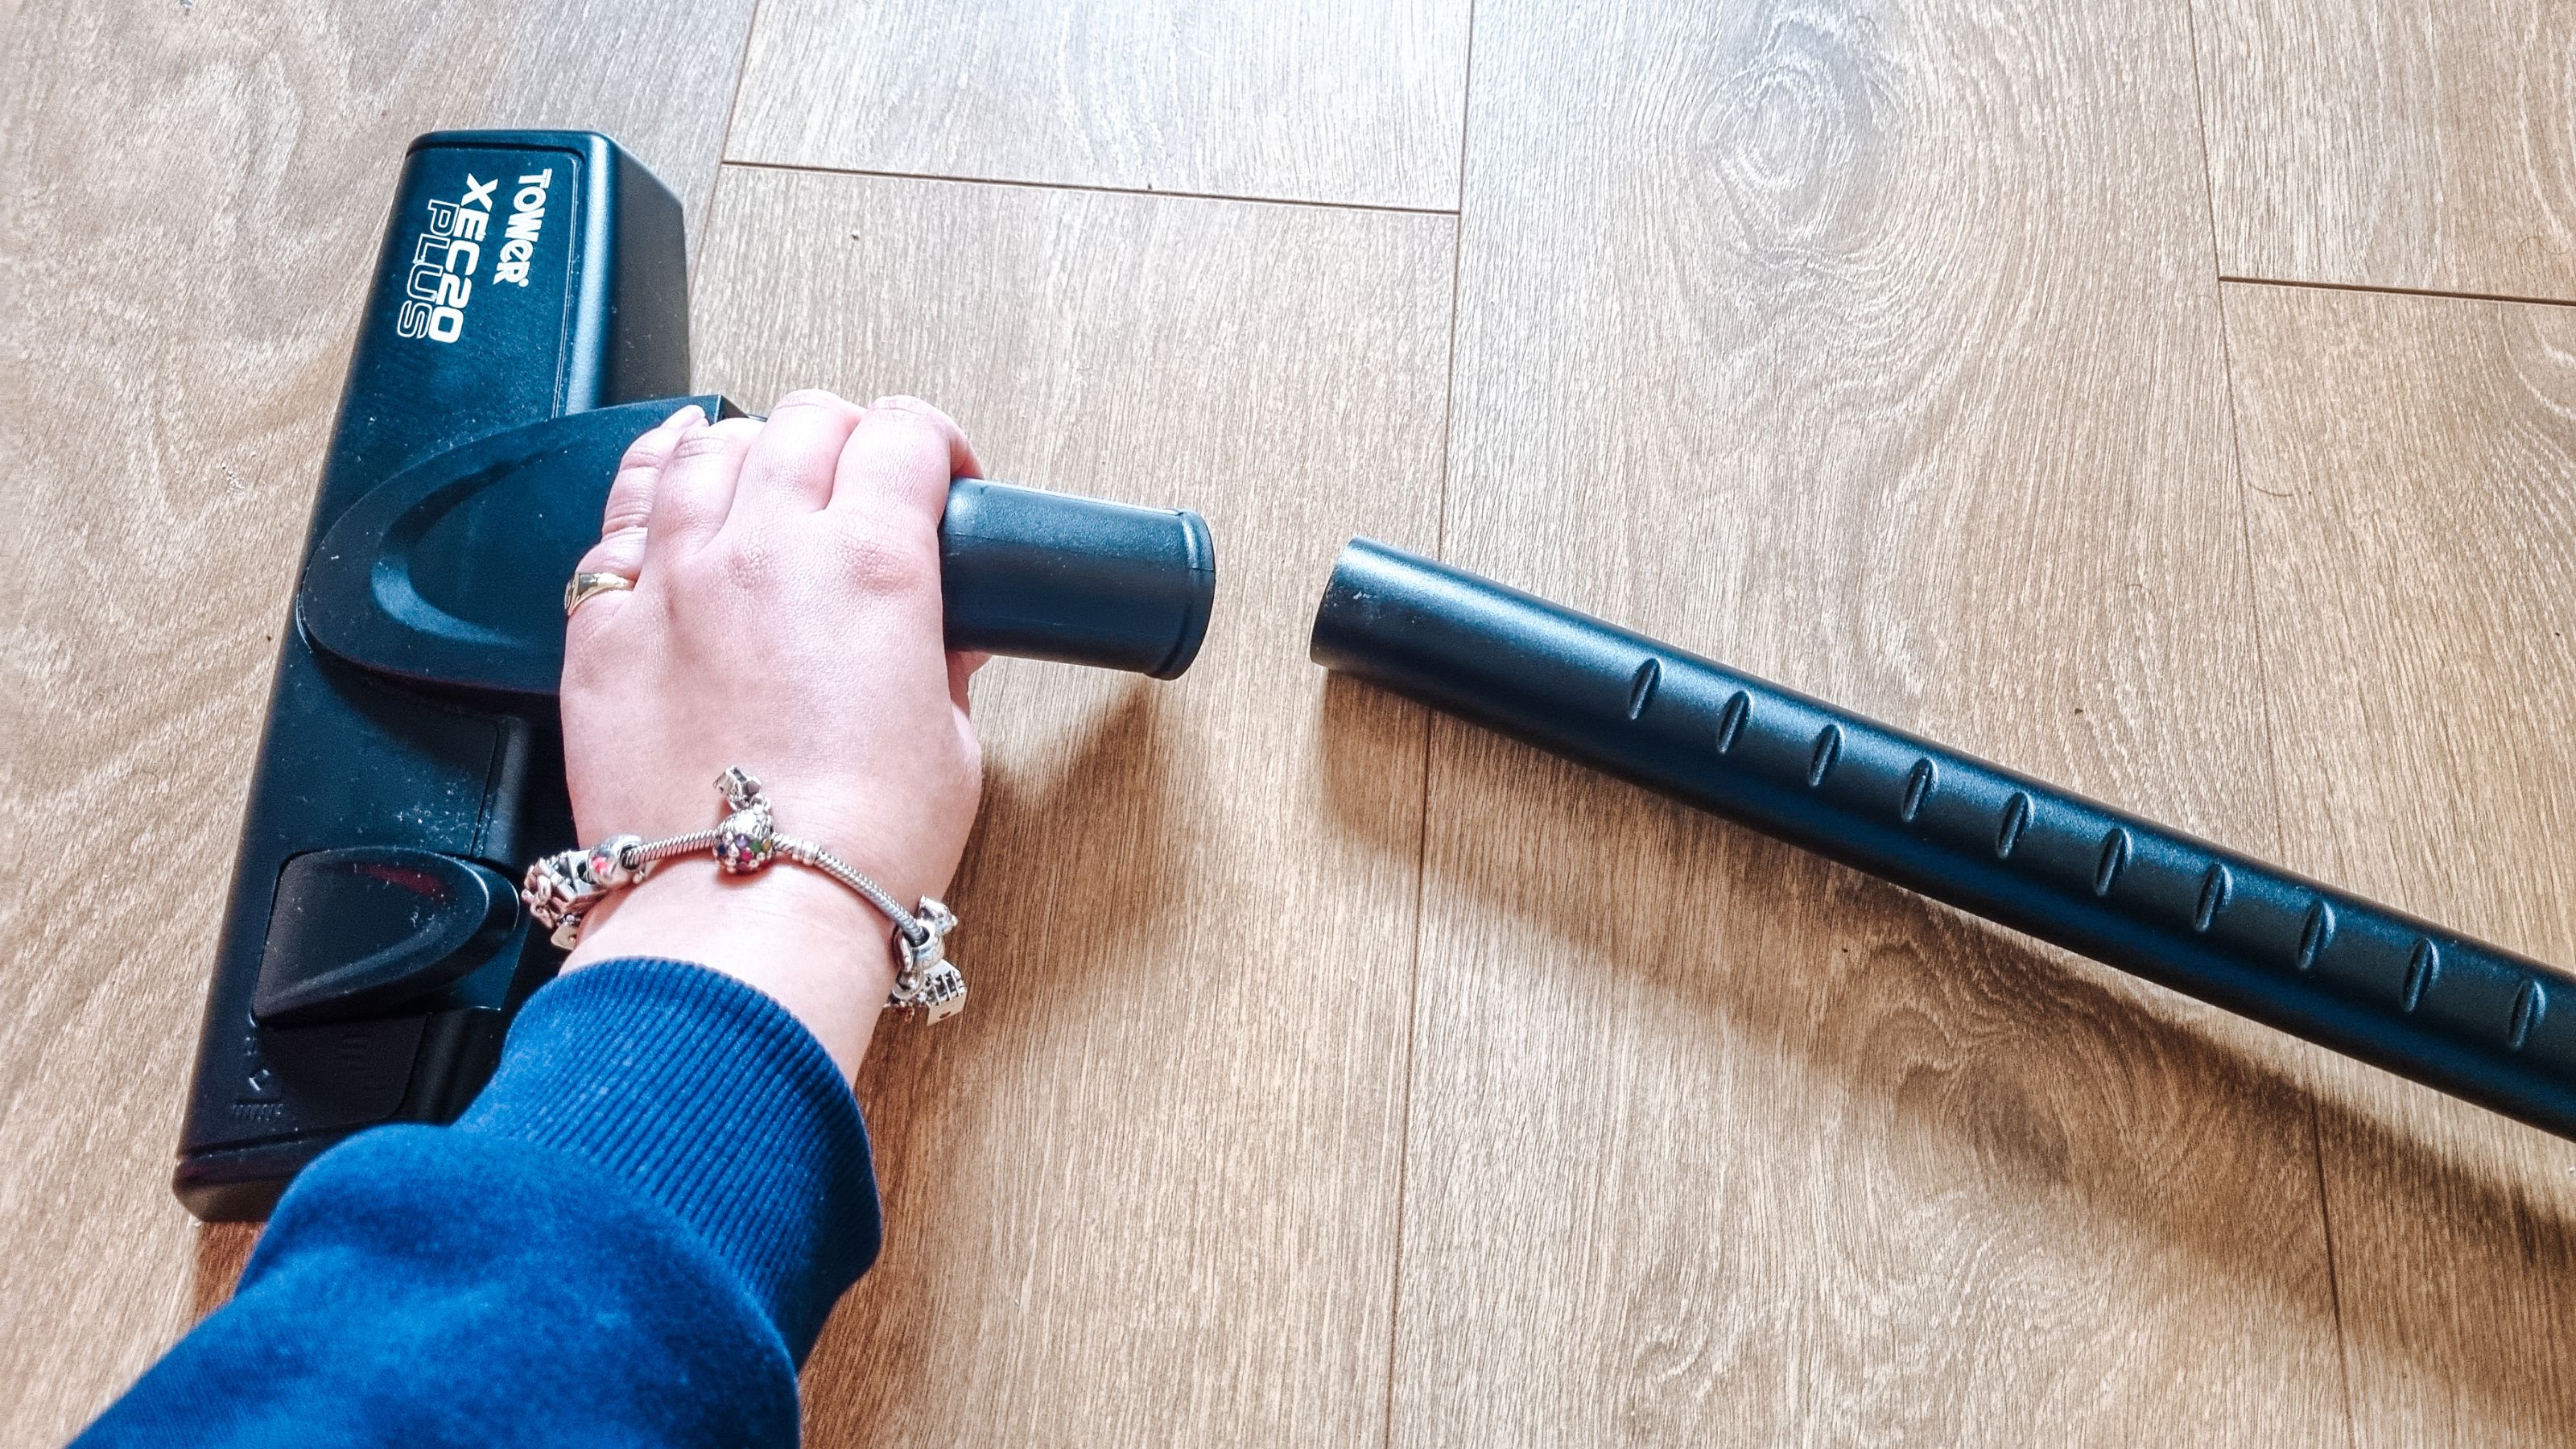
Once everything is dry, you can put everything back together. There, now your vac is ready for your next vacuuming sesh!
FAQs
How do you deep clean a vacuum?
Empty out all the dirt from the bag or dust cup, and clean off the brush. Then, soak all the removable parts of the vacuum in soapy water, including the hose and the brush. Once that's done, wipe down the exterior of the vacuum with a microfiber cloth and an all-purpose cleaning solution.
What can I use to clean my vacuum?
All you need to clean your vacuum are cleaning essentials you probably already have. These include an all-purpose cleaner, a microfiber cloth, dish soap, and a bucket.
How do you clean a smelly vacuum?
If your vacuum is particularly smelly, make sure to remove all the debris from the bag or dust cup, and then put a few drops of essential oil in the filter. This will eliminate any gross odors and will leave your home smelling lovely after you’ve vacuumed, too.

Hi there! I’m the former content editor at Real Homes and I'm now a freelance journalist.. I've been a lifestyle journalist for over five years, previously working as an editor across regional magazines. Before this, I graduated from Nottingham Trent University a degree in journalism, along with an NCTJ gold diploma. For Real Homes, I specialized in interior design, trends and finding the best viral buys.