How to clean your cleaning supplies — because, yes, they need it
#CleanTok approved ways

Get small space home decor ideas, celeb inspiration, DIY tips and more, straight to your inbox!
You are now subscribed
Your newsletter sign-up was successful
Even after spending a ton of $$$ on a new vacuum, the trending TikTok mop, or that must-have dustpan and brush everyone’s raving about, you'll notice that dust and dirt don't discriminate. No matter how bougie your cleaning items are, they get gross, too! But you can probably relate: cleaning your best cleaning supplies and tools probably isn't something you think about 24/7.
The concept of cleaning your cleaning items might seem a li’l pointless but it’s actually super important to keep them fresh and properly maintained. If you don't you’re risking how efficiently they will work and putting your own health at risk from. Yep, really!
With that in mind, you’re probably wondering what the best methods are to give your cleaning supplies a much-needed deep clean. Don’t panic, because we’ve got you covered with our mini step-by-step guides.
How to clean a vacuum head and brush roll
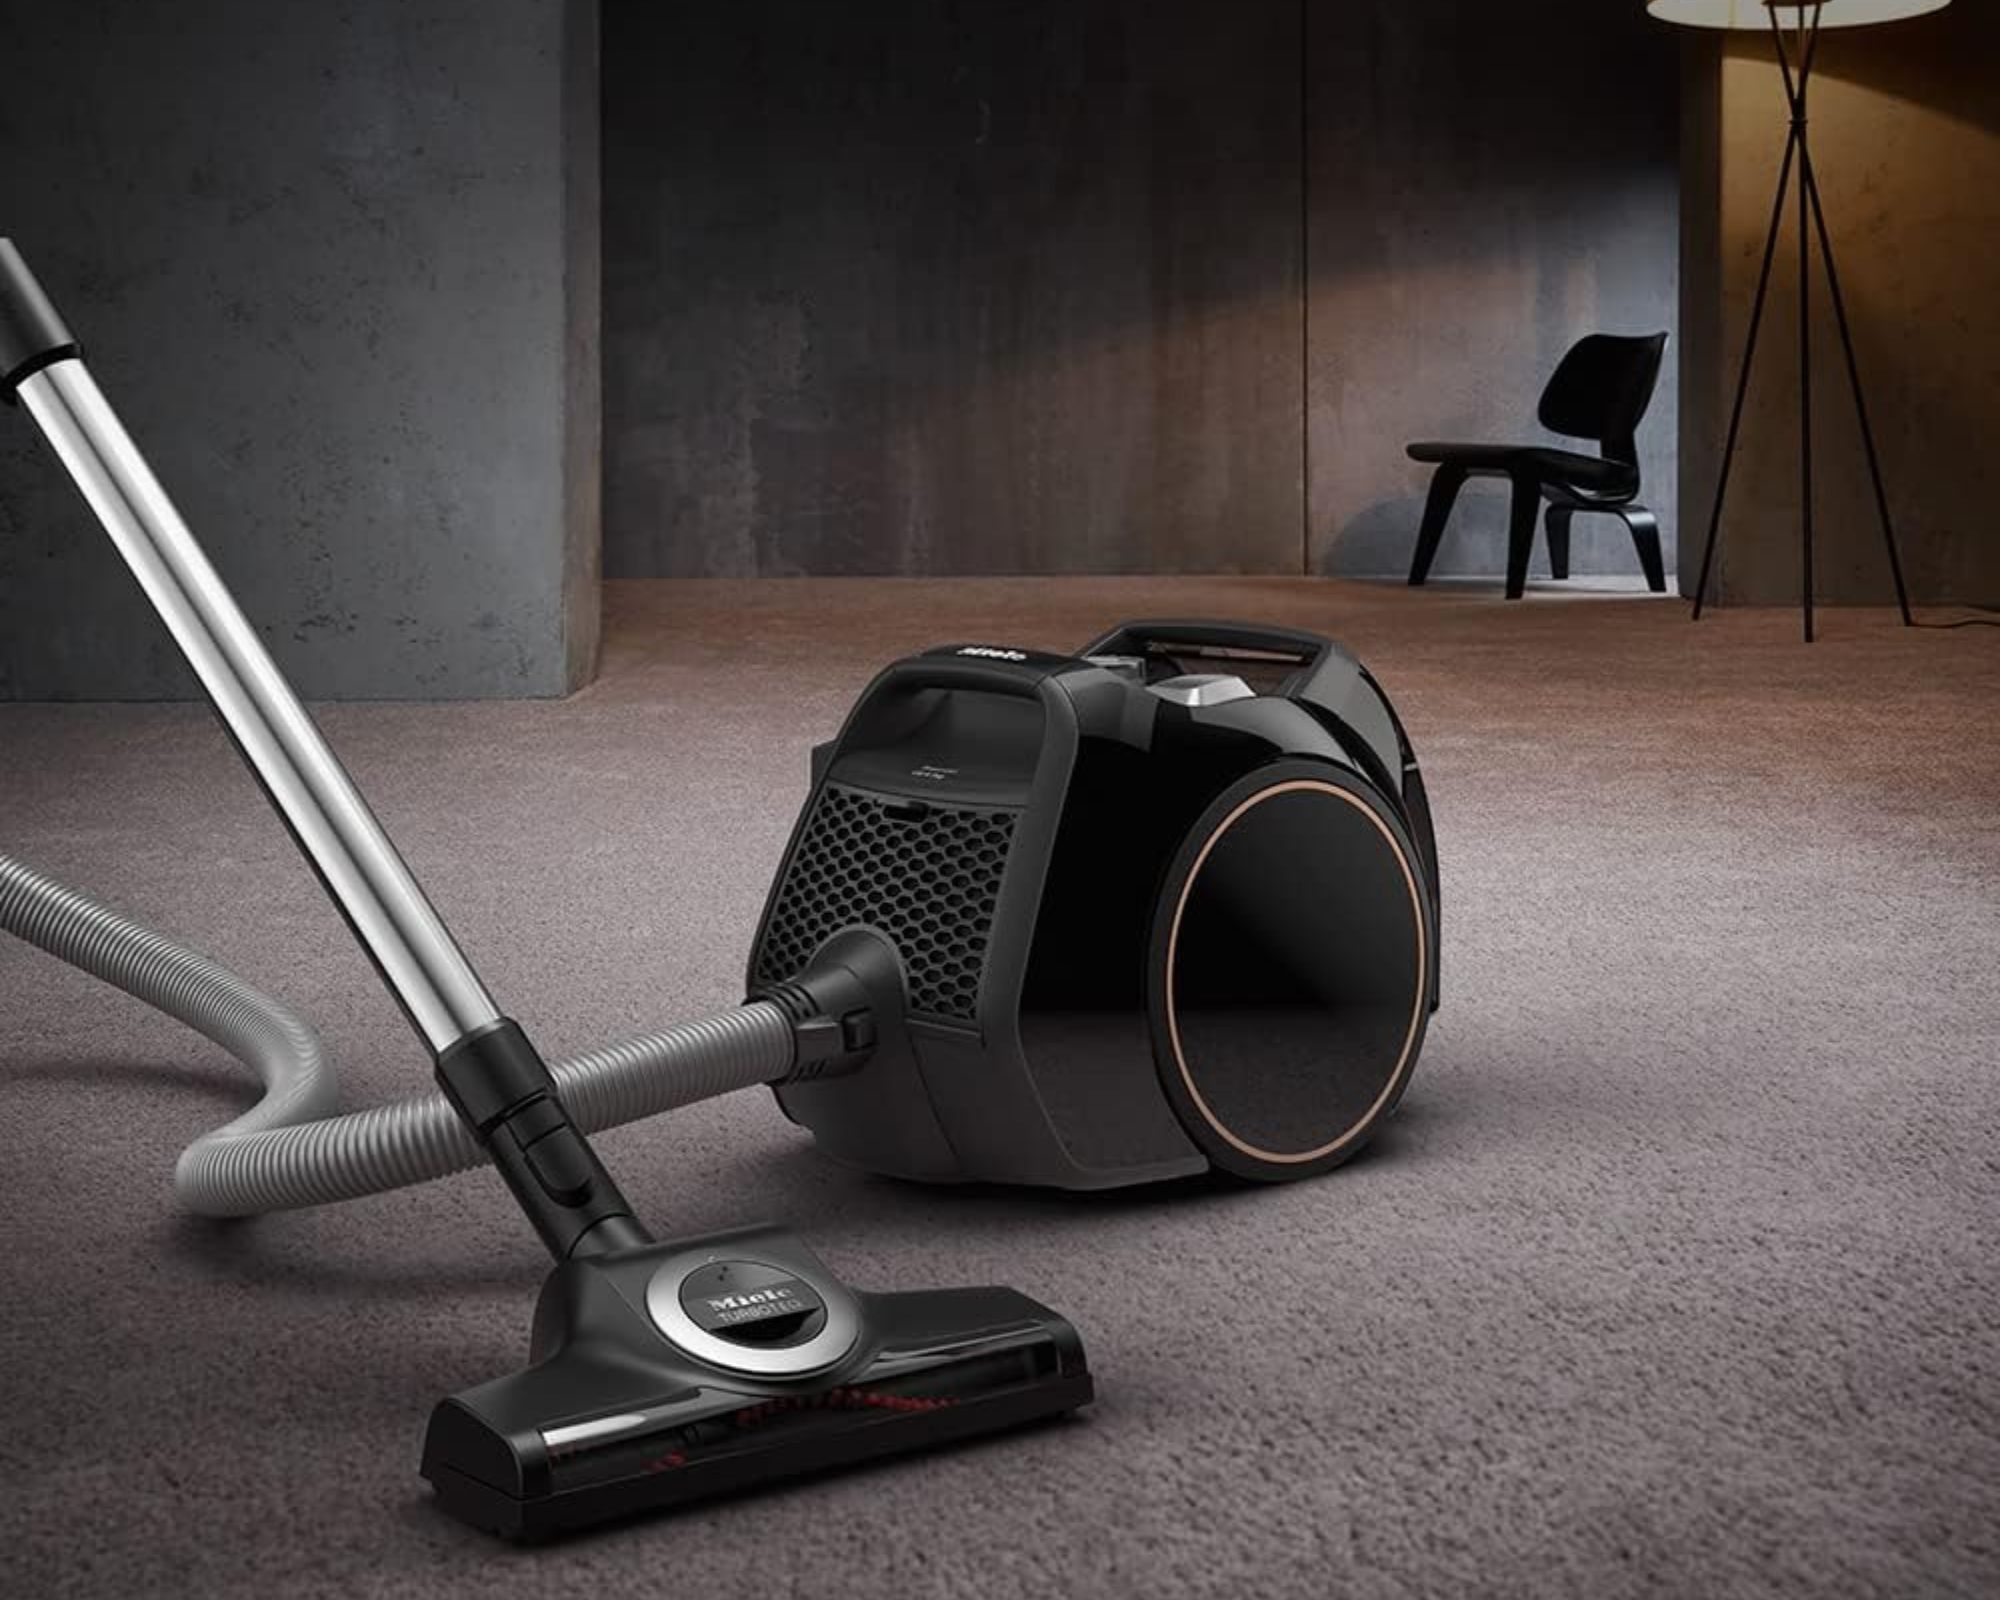
To ensure that your vacuum continues to perform at its highest level, vacuum heads should be cleaned regularly.
Good to know
Time: 15 minutes
Difficulty: Easy
Here’s what you’ll need
- Microfiber cloth (you can't go wrong with this best-selling set from Amazon)
- Scissors (these Amazon Basics scissors should work perfectly)
How to clean a vacuum head and brush roll
Step 1: Unclog the brush roll
The first step to cleaning a vacuum head is to unclog the brush roll inside the head if it’s wrapped in hair or other debris. An easy way to do this is to use a pair of scissors to cut away anything that’s wrapped around the roll, restricting it.
Get small space home decor ideas, celeb inspiration, DIY tips and more, straight to your inbox!
Step 2: Remove and wipe the beater bar
If your vacuum has a removable brush roll, remove it and carefully wipe it over with a damp cloth (making sure to remove any excess water beforehand) to get rid of any built-up dirt or debris. Then, allow it to air dry before replacing the roll.
Step 3: Wipe the exterior of the vacuum head
Using a damp microfiber cloth, carefully wipe over the exterior of the vacuum head, removing any dust, dirt, or other debris.
FAQs
Can you clean a vacuum head?
Yes, it is possible to clean a vacuum head using a few simple tools like a microfiber cloth and a pair of scisssors. Just make sure to follow the manufacturer's care instructions to avoid damaging your vacuum cleaner.
Is it safe to clean a vacuum brush roll?
Yes, you can safely clean a vacuum brush roll. Just make sure to check how the manufacturer recommends you clean the roll, to help prevent any accidental damage from occurring.
How to clean a broom
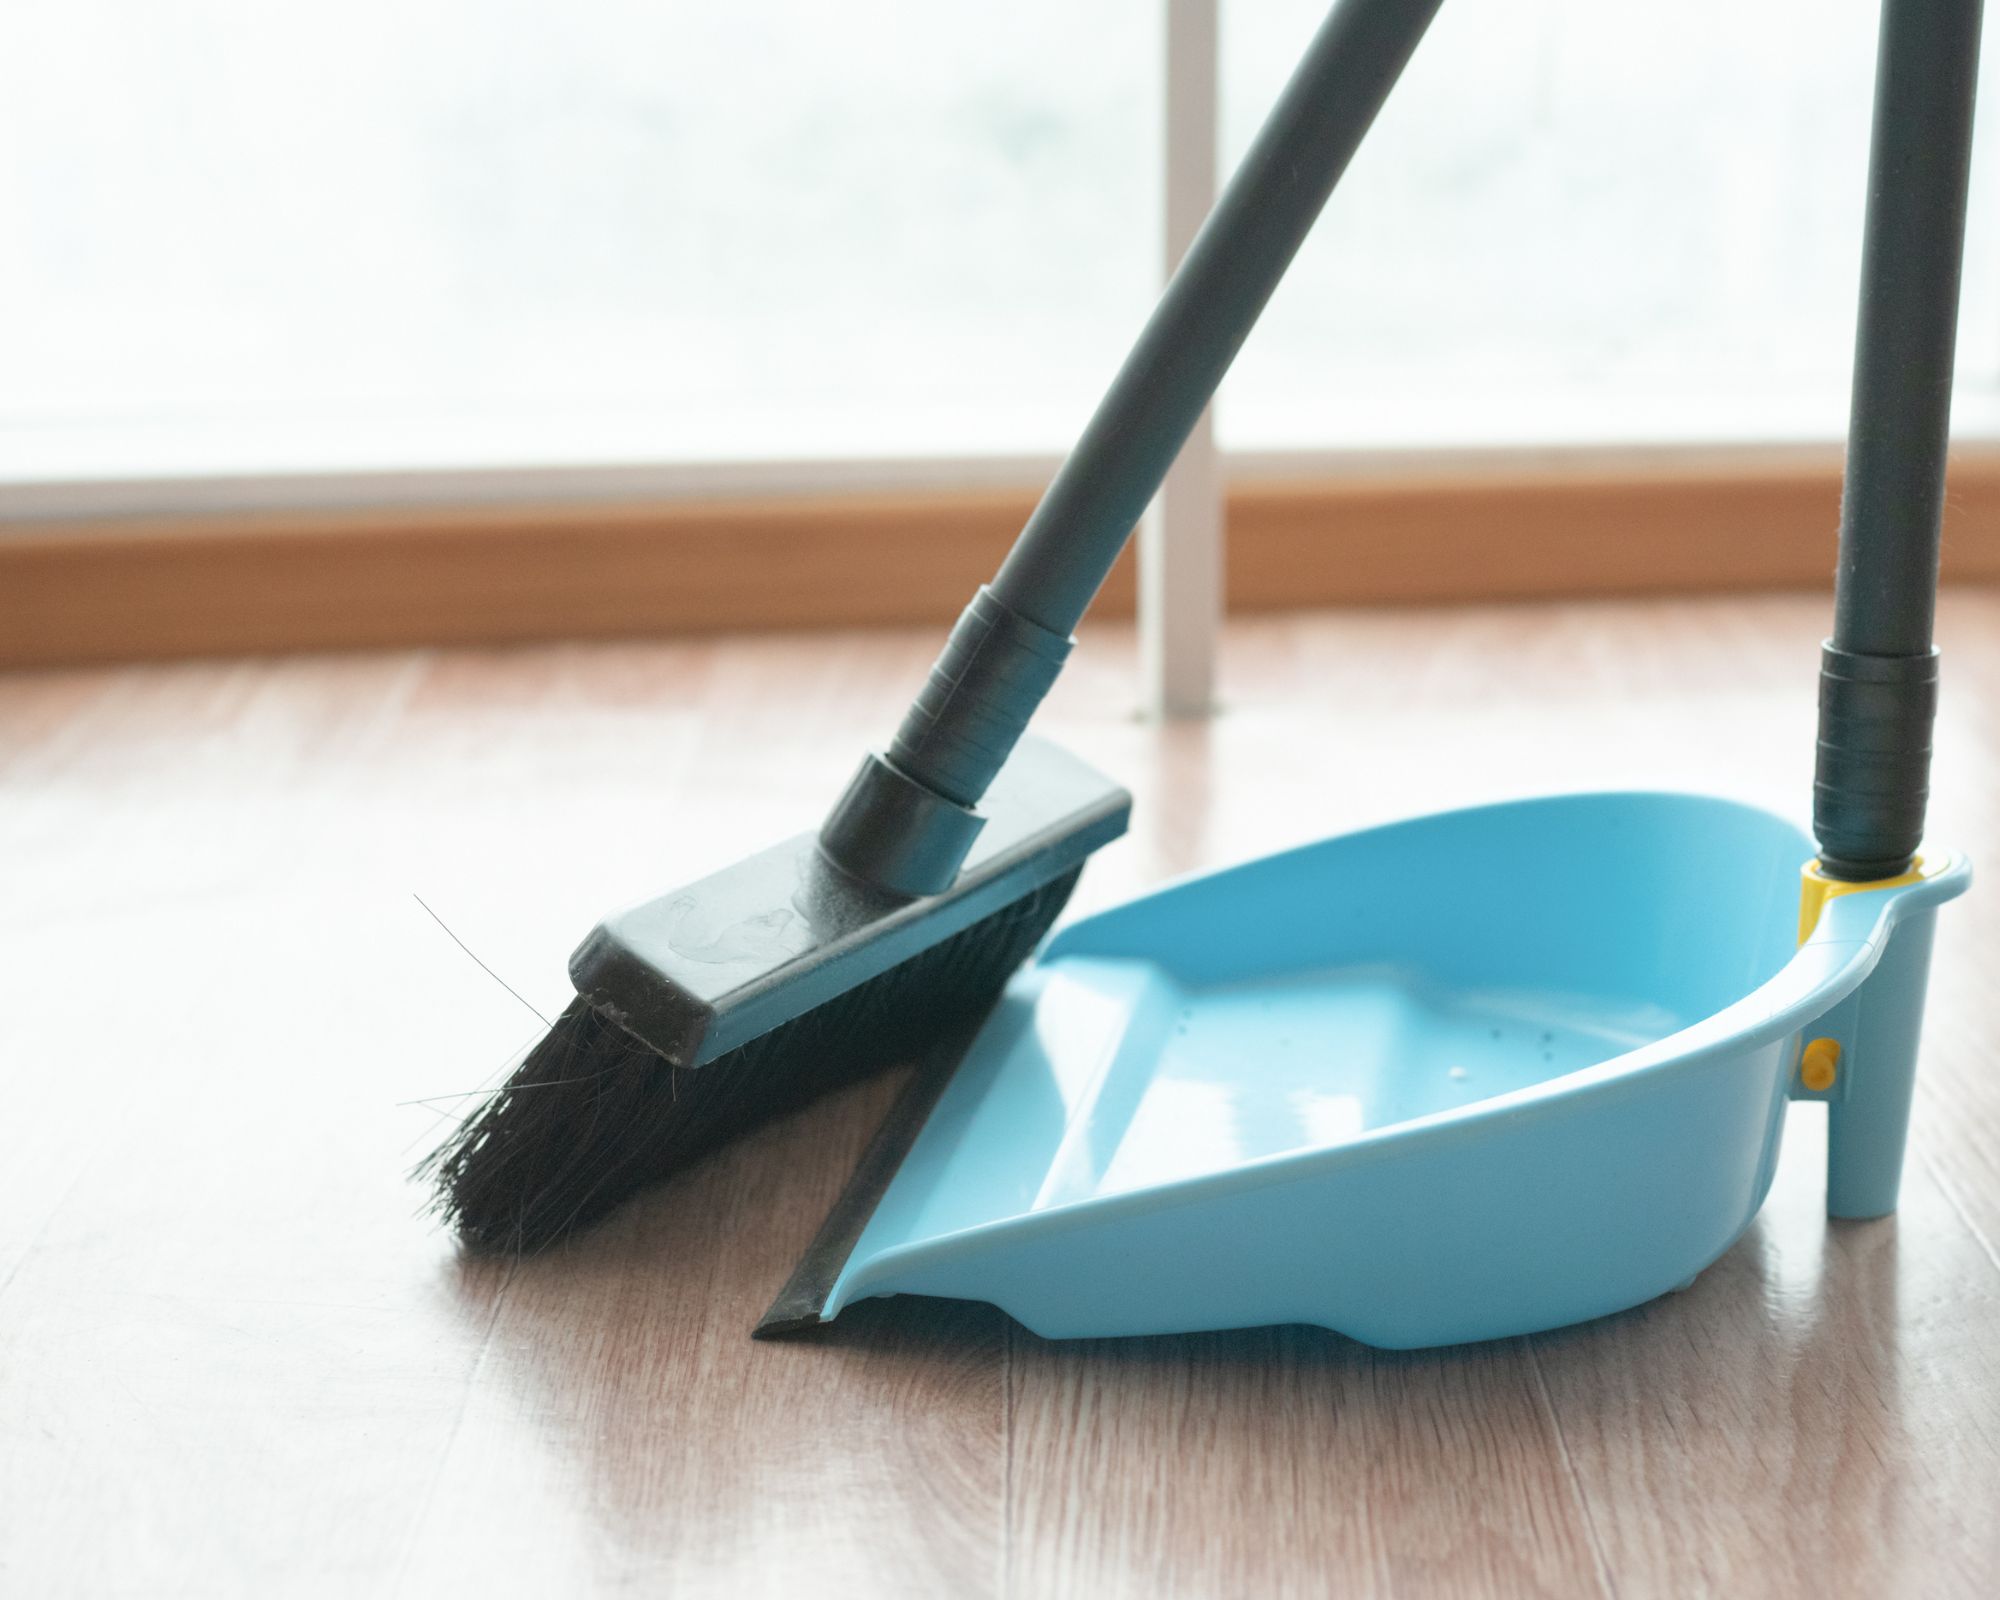
To ensure that your broom doesn't spread more dust and dirt than it collects, cleaning it regularly is vital.
Good to know
Time: 15 minutes
Difficulty: Easy
Helpful hints: Remember, each broom type (bristle, nylon and silicone) may require different care, so always do your research before cleaning.
Here’s what you’ll need
- Bucket (this collapsible bucket from Amazon is a great choice)
- Dish soap (this highly-rated Dawn dish soap from Amazon should work perfectly)
How to clean a broom
Step 1: Remove dust and debris
Take the broom outside and run the bristles along the edge of a step to help to remove any lodged dirt, dust, or debris.
Step 2: Wash the broom
Fill a bucket with warm water and two teaspoons of dish soap, then swish the broom through the water to release any trapped dirt and debris from the bristles. For bristle or nylon brooms, only leave the brush in the water for a few minutes before removing it. For silicone brooms, it’s safe to leave the broom head in the water to soak for 10 minutes — this will help it get a deeper clean.
Step 3: Air dry the broom
Once you’ve given the brush a deep clean, take it outside and shake any excess water off of the brush, before leaving it to air dry. For best results, stand the broom with the bristles pointing down, allowing any leftover water to easily drain off.
FAQs
Can I wash a bristle broom?
It's fine to wash a bristle broom, just make sure not to submerge the bristles for too long. Also make sure your broom has plenty of time to dry.
Are silicone brooms easier to clean?
Because silicone is more hard-wearing than natural bristles and nylon bristles and has non-stick properties, silicone brooms can be easier to clean.
How to clean a dust pan and brush
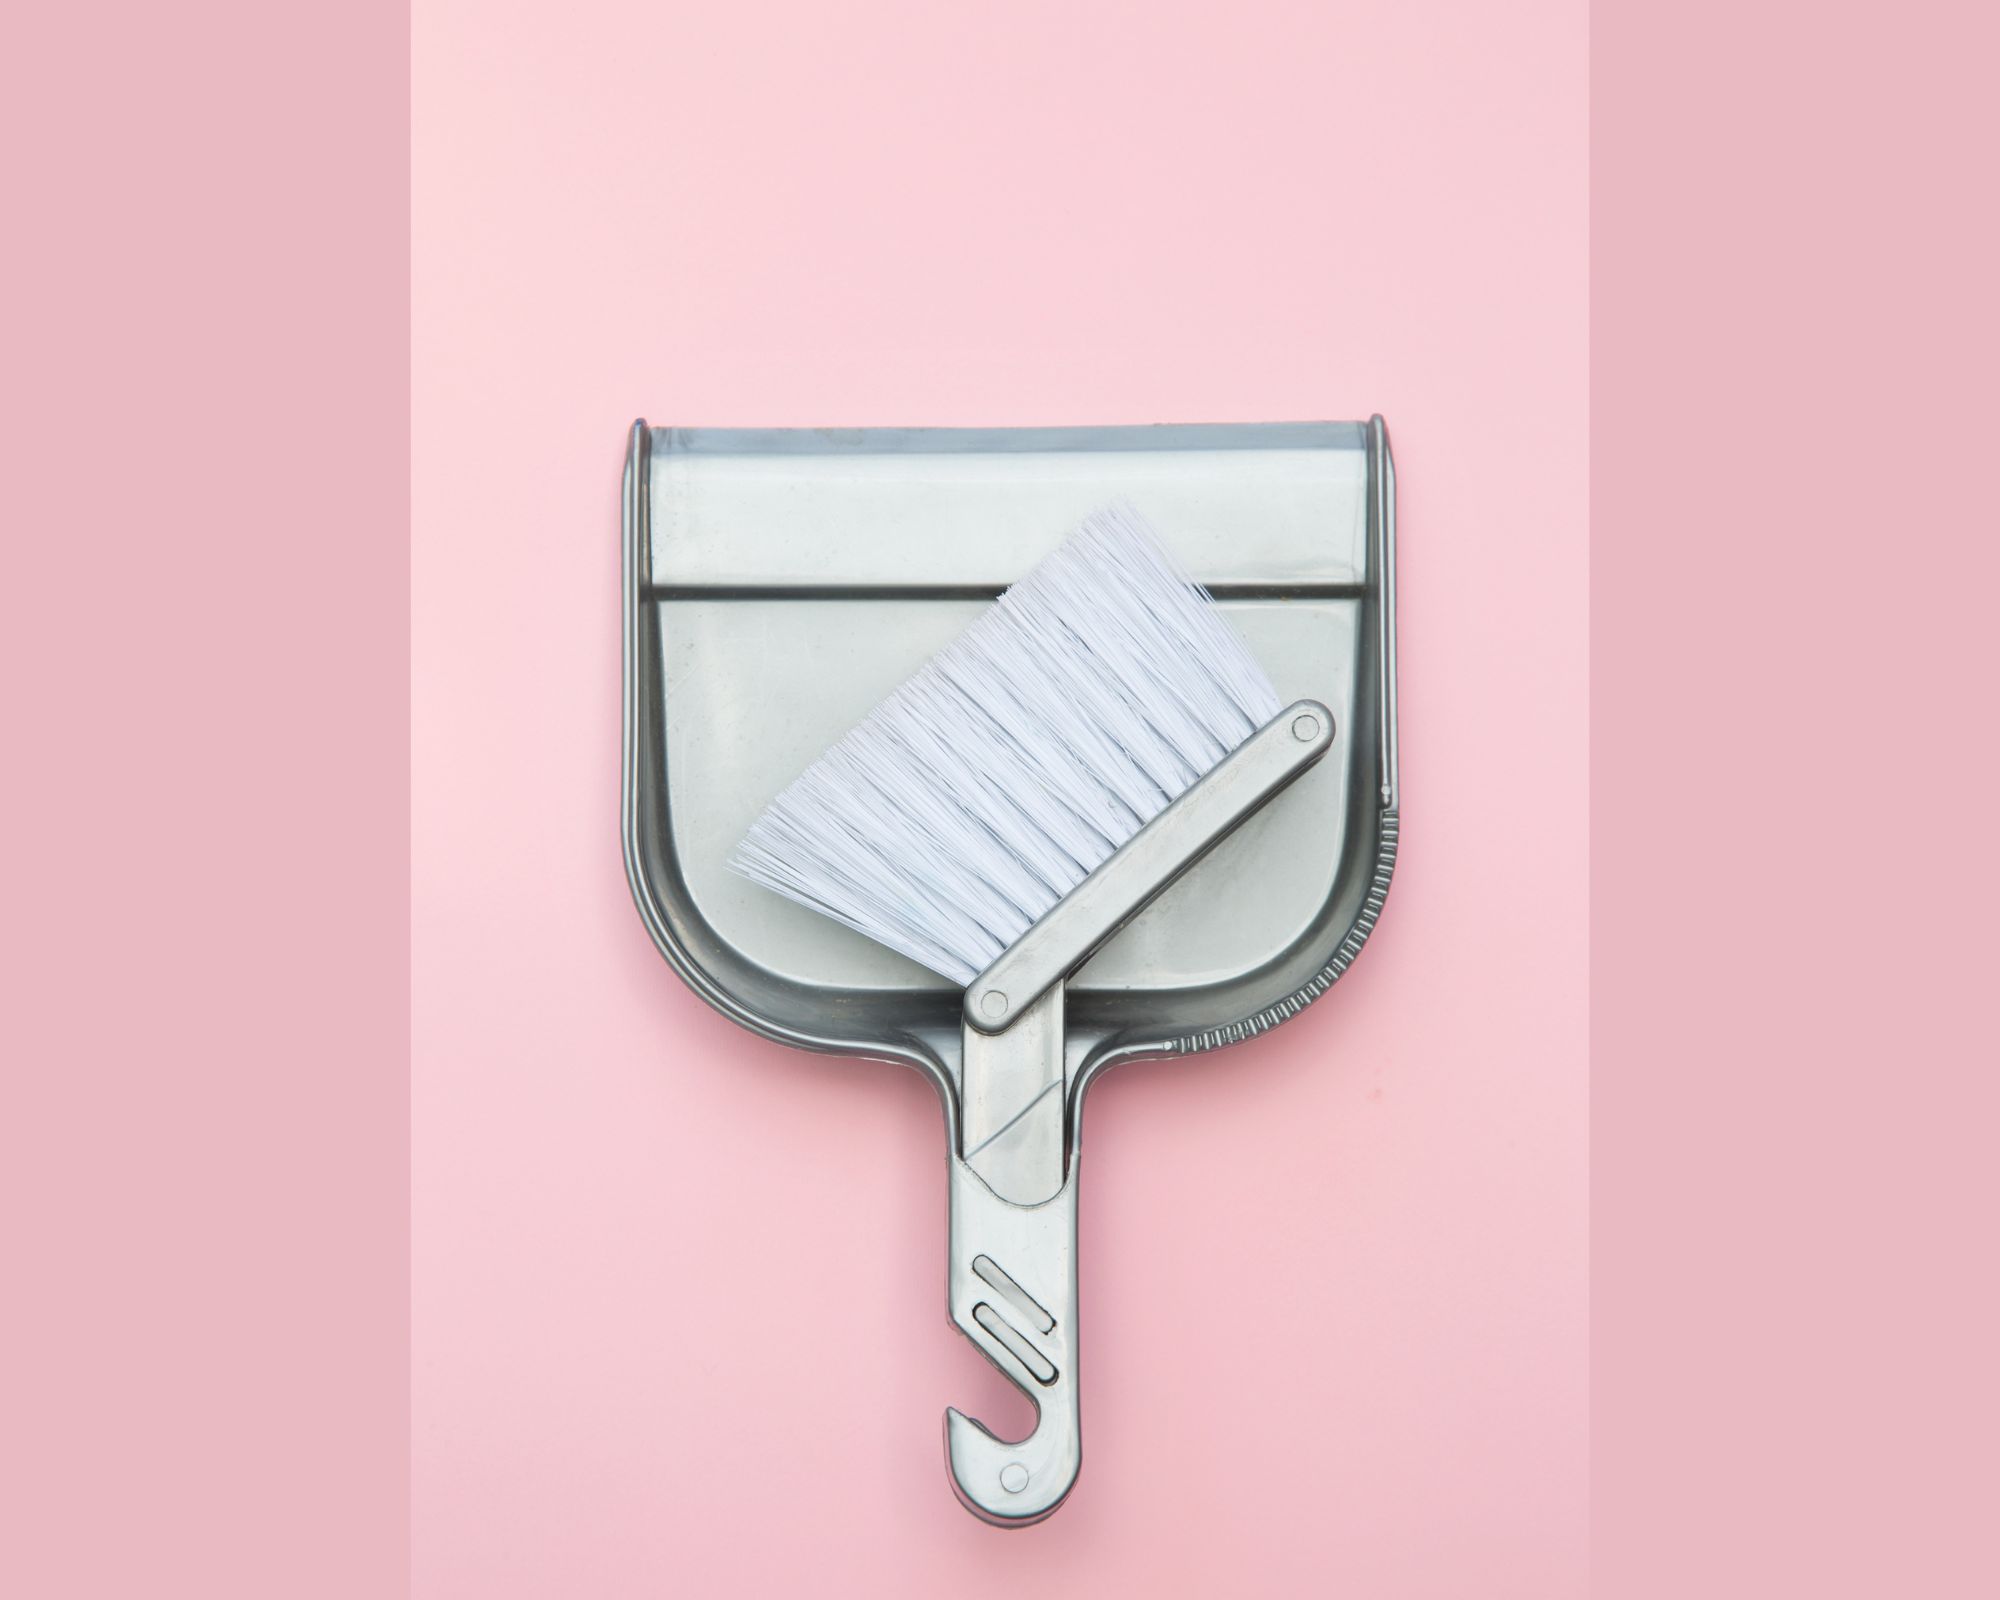
Your dust pan and the mini broom that comes with it have seen a lot. Make sure they get cleaned, too, with this helpful (and easy!) step-by-step guide.
Good to know
Time: 15 minutes
Difficulty: Easy
Helpful hints: Remember, each broom type (bristle, nylon and silicone) may require different care, so always do your research before cleaning.
Here's what you'll need
- Bucket (this collapsible bucket from Amazon is a great choice)
- Dish soap (this highly rated Dawn dish soap from Amazon should work perfectly)
- Microfiber cloth (you can't go wrong with these best-selling microfiber cloths from Amazon)
How to clean a dust pan and brush
Step 1: Remove dust and debris
Use the brush to remove any grime from the pan. Then, take the brush outside and run the bristles along the edge of a step to help to remove any lodged dirt, dust, or debris.
Step 2: Wash the brush
Fill a bucket with warm water and two teaspoons of dish soap. You'll then submerge the small broom in the water and swish it around. This will help remove any grime or trapped dirt that's been stuck within the bristles. If it has nylon bristles, you'll only need to do this for a couple of minutes max. Silicone brushes can handle the soapy solution for longer (up to 10 minutes).
Step 3: Wash the pan
Fill the bucket with fresh soapy water and then submerge the pan into the water, allowing it to soak for five minutes. Then, using a microfiber cloth, carefully wipe away any remaining dirt or debris from the pan, before removing it from the water.
Step 4: Air dry the dustpan and brush
Put the dustpan and brush outside to air dry, making sure that both are positioned upside down so that water can drip off and won't collect on either.
How to clean a mop head
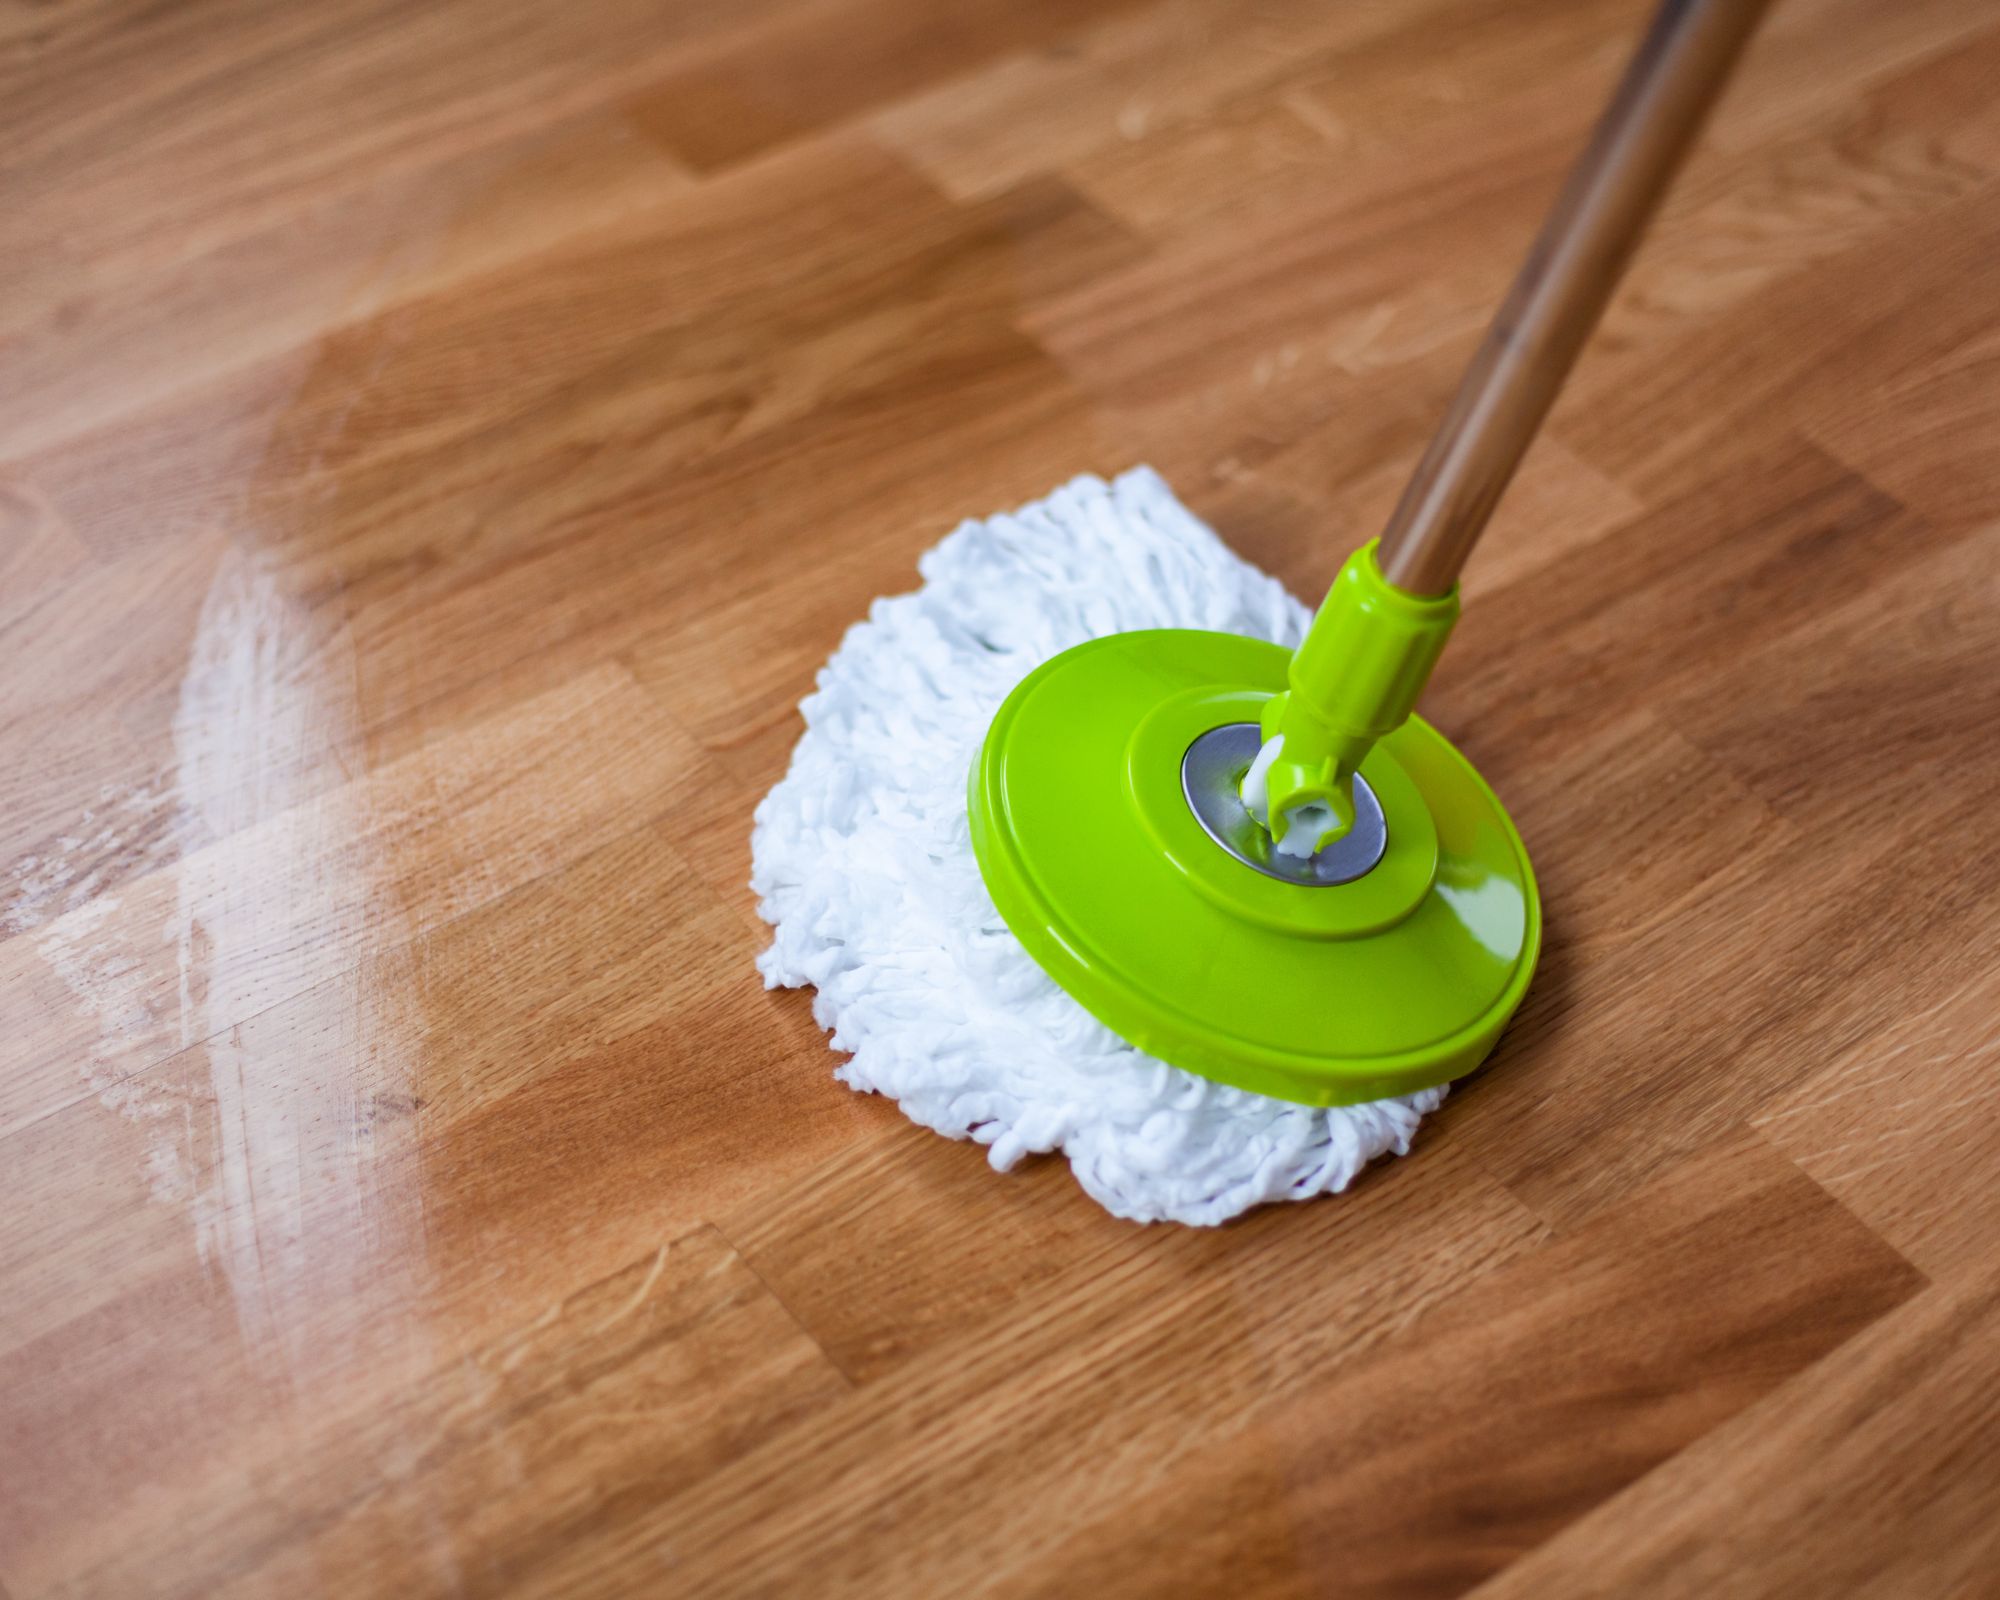
It might not seem like your mop head needs cleaning but if it's not regularly cleaned dirt, bacteria, and grime may start to build up, impacting how efficiently it works. No one wants a dirtier floor after mopping!
Good to know
Time: 15 minutes (excluding washing and drying time)
Difficulty: Easy
Helpful hints: Make sure to check the manufacturer's care instructions before machine washing.
Here’s what you’ll need
- Laundry detergent (this detergent from Tide that's available at Amazon should work well)
- Washing machine
- Shower
How to clean a removable mop head
Step 1: Remove the mop head
The first step is simply to remove the mop head from the frame. If you're not sure how to do this, make sure to refer to the manufacturer's instructions or check online!
Step 2: Rinse the mop head
Rinse the mop head under your shower at a cooler temperature until the water runs clean and there's no visible dirt or debris.
Step 3: Wash the mop head in the washing machine
Put the mop head in the washing machine and add a capful of laundry detergent and a cap of white vinegar. Turn the washing machine onto a gentle cycle at a low temperature.
Step 4: Air dry the mop head
Remove the mop head from the washing machine and place it outside to air dry. Once it's dry you can then reattach it to the mop arm.
FAQs
Can you machine wash a mop head?
As long as you follow the manufacturer's care instructions, it's safe to machine wash most mop heads. Double-check the guide and be sure to air dry, most can't be thrown in the dryer!
How to clean a non-removable mop head
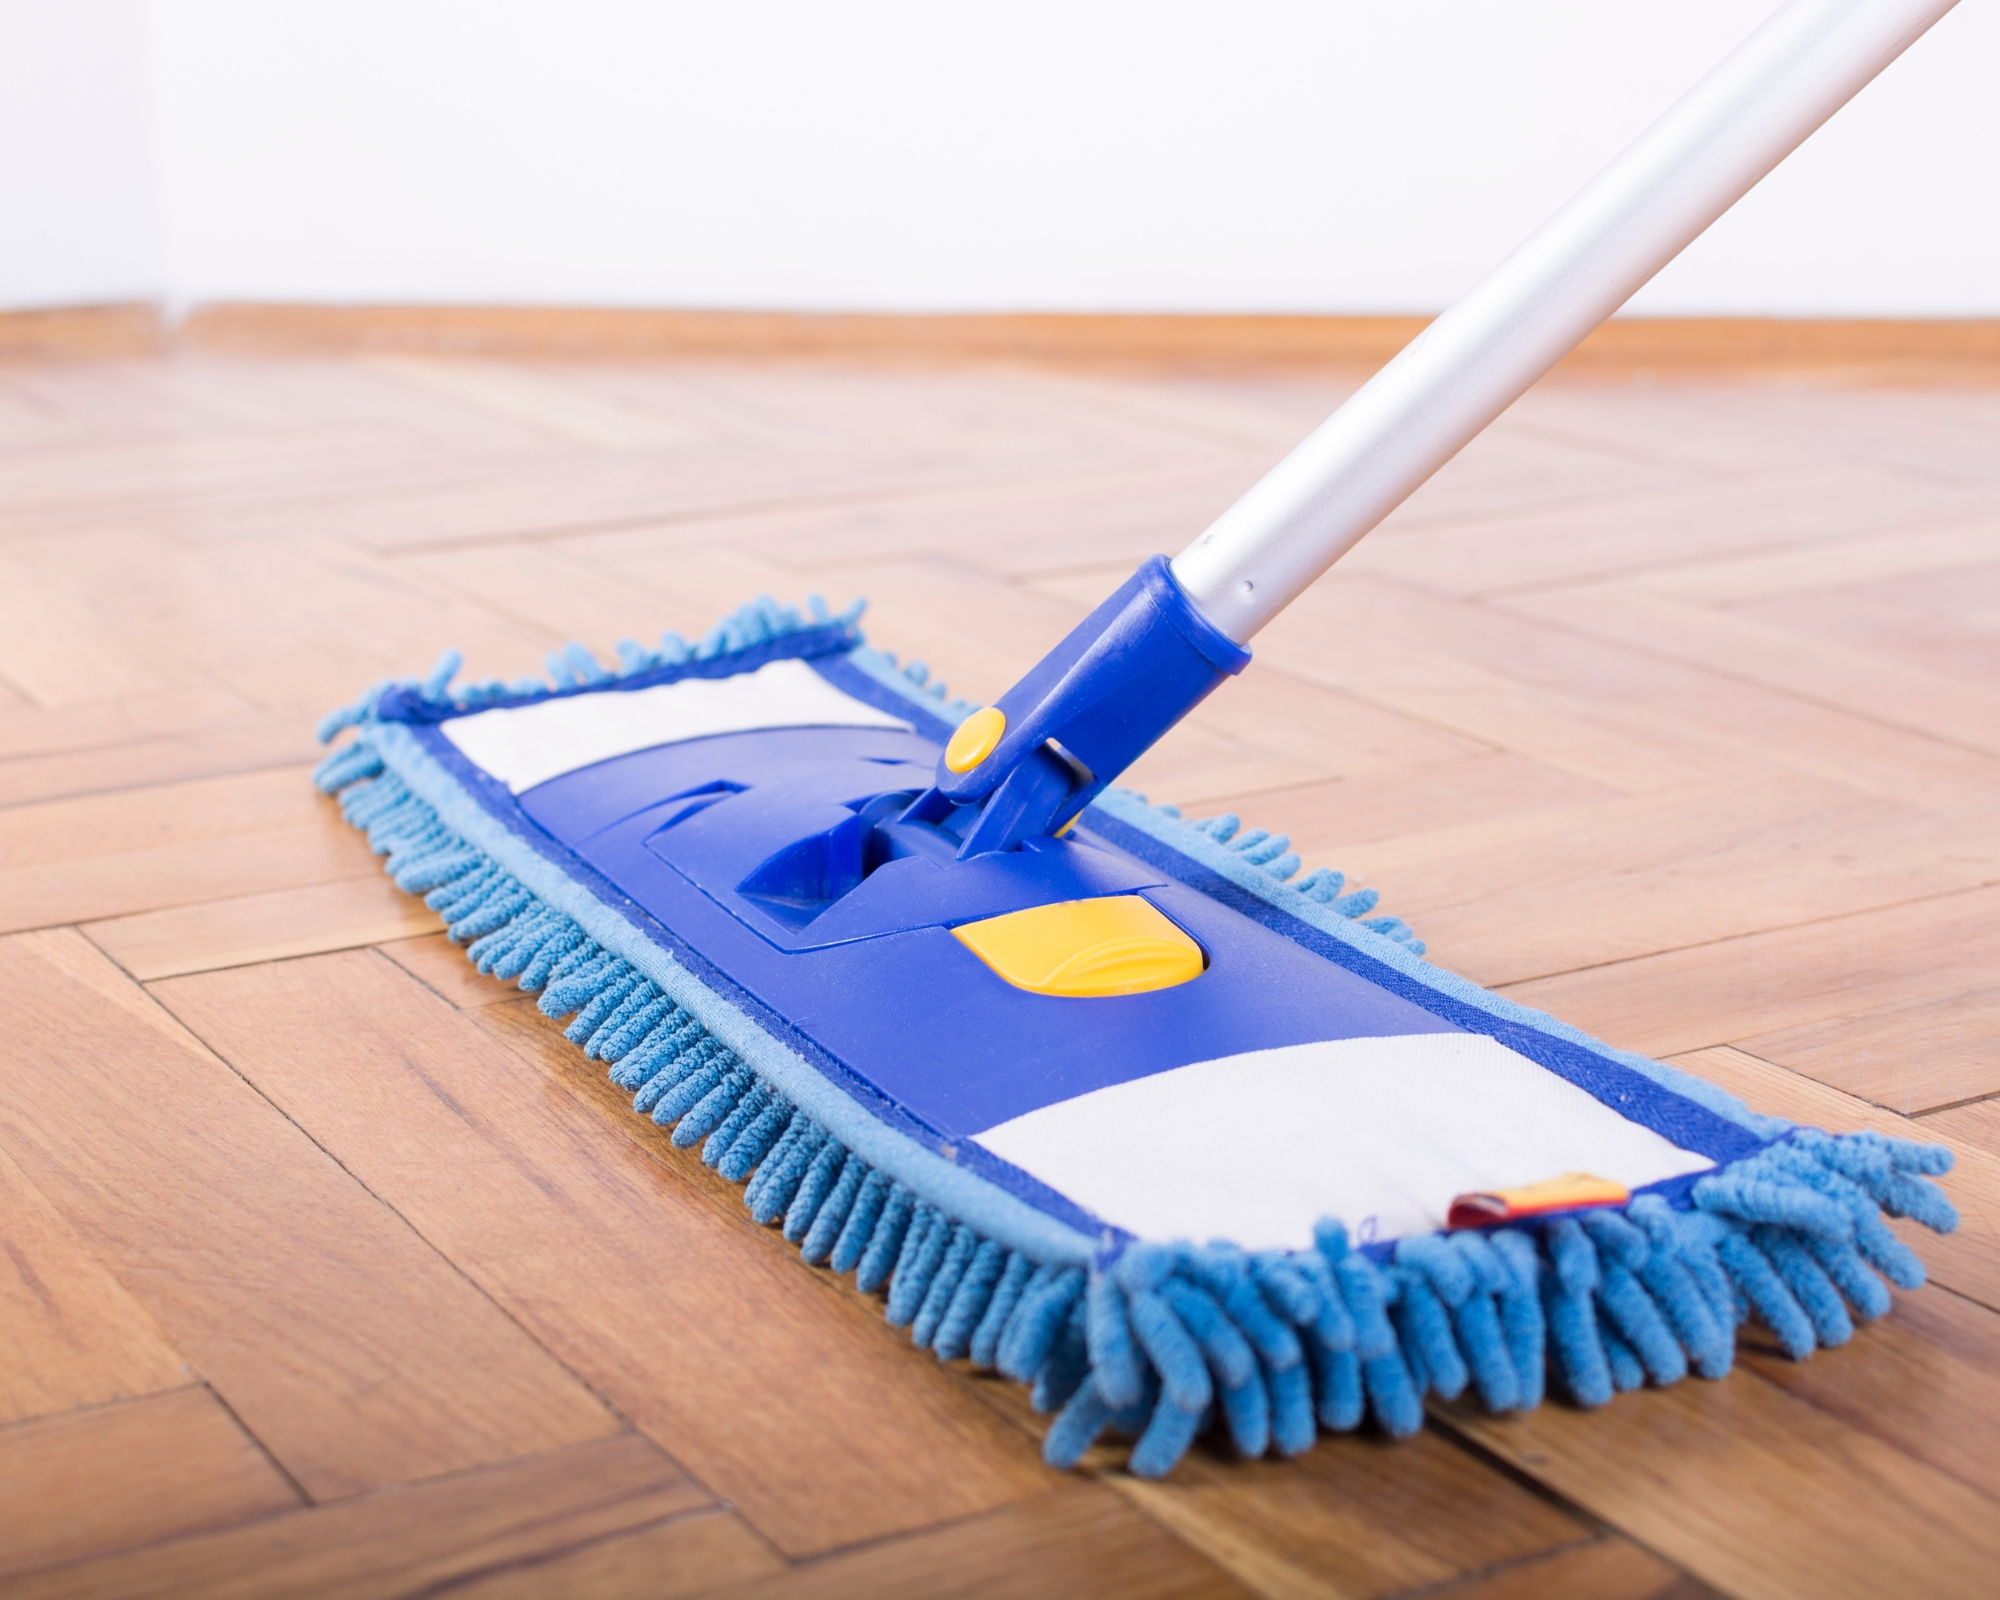
If your mop has a mop head that isn't removable, cleaning it regularly is still important. Here's how to do it.
Good to know
Time: 15 minutes (plus drying time)
Difficulty: Easy
Helpful hints: Make sure to read the manufacturer's care instructions before starting the cleaning process.
Here's what you'll need
- Laundry detergent (this detergent from Tide that's available at Amazon should work well)
- White vinegar (we always like to use Heinz white vinegar from Amazon)
How to clean a non-removable mop head
Step 1: Fill a bucket with soapy water
Fill a bucket with hot water and two teaspoons of laundry detergent and a cap full of white vinegar.
Step 2: Soak the mop head
Place the mop (with the mop head submerged in the water) into the bucket and leave to soak for 10 minutes. Lean the pole against a wall or ledge so it doesn't knock the bucket over.
Step 3: Wring out the mop
Remove the mop from the water and wring out the head, removing as much excess water as possible.
Step 4: Wash the mop head
Next, to ensure that all leftover soap has been removed, wash the mop head by soaking it in a bucket of clean water.
Step 5: Air dry the mop
Remove the mop from the water, wring out the mop head (removing as much water as possible) and then place the mop outside to air dry.

Hi! I’m Beth Mahoney and I’m a former staff writer at Real Homes. I’ve been a journalist for the national press for the past six years, specializing in commerce and trends-related lifestyle articles, from product reviews and listicles to guides and features. With an eye for pretty things (think: quirky wall prints, scalloped edge furniture, and decadent-looking tableware) but a limited budget, I love nothing more than a bargain buy.