Furoshiki: what it is, and why everyone's doing it
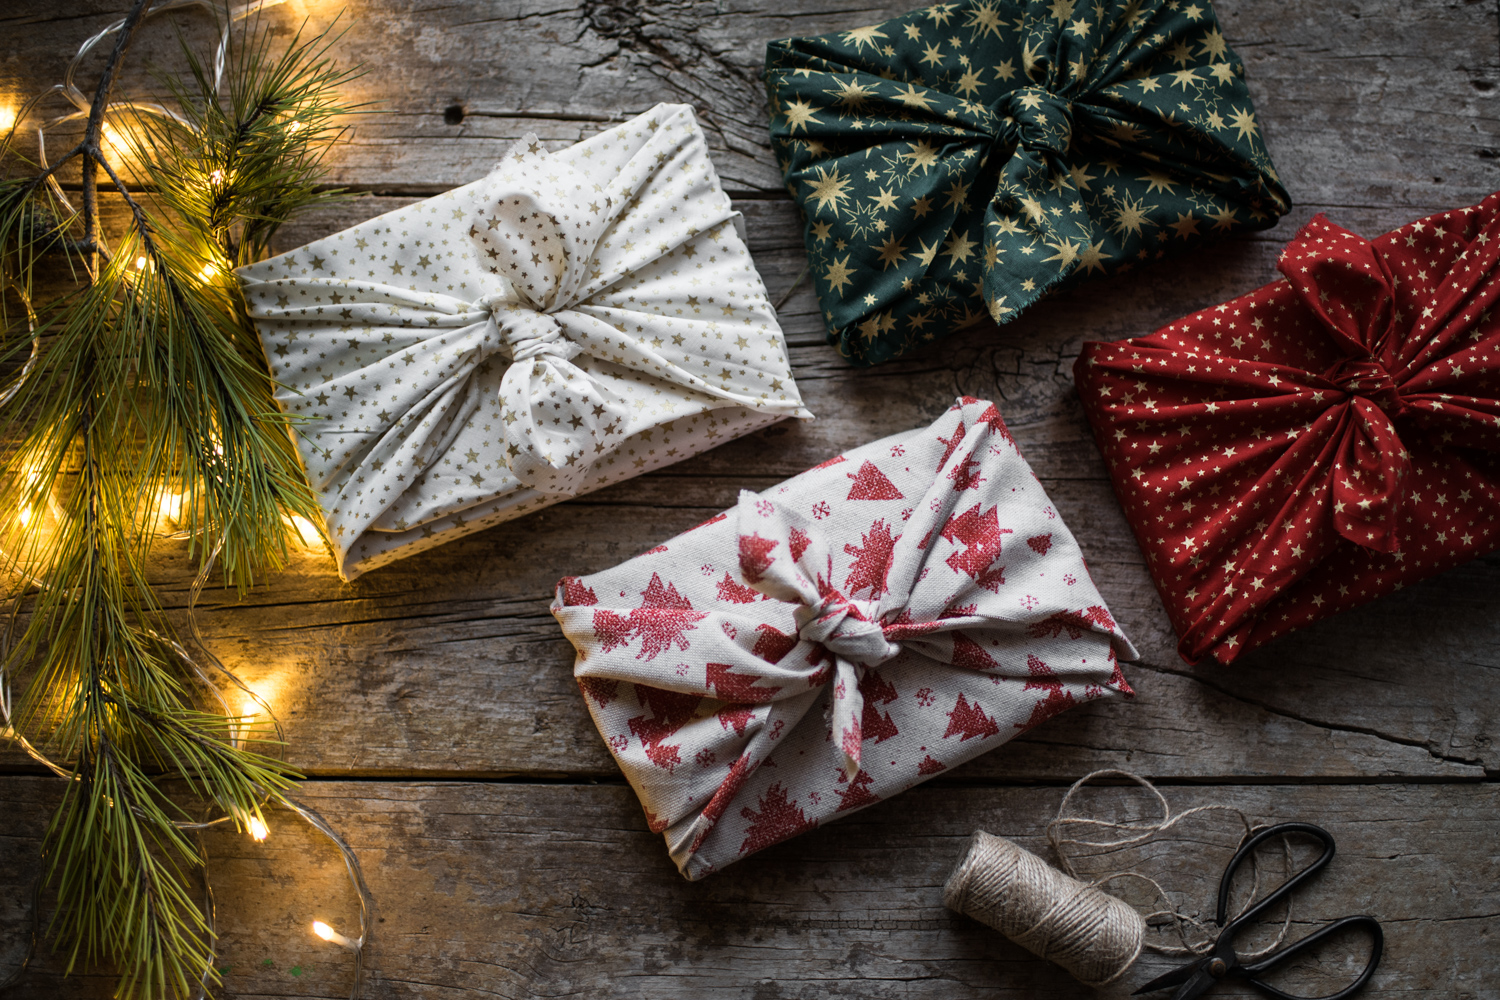
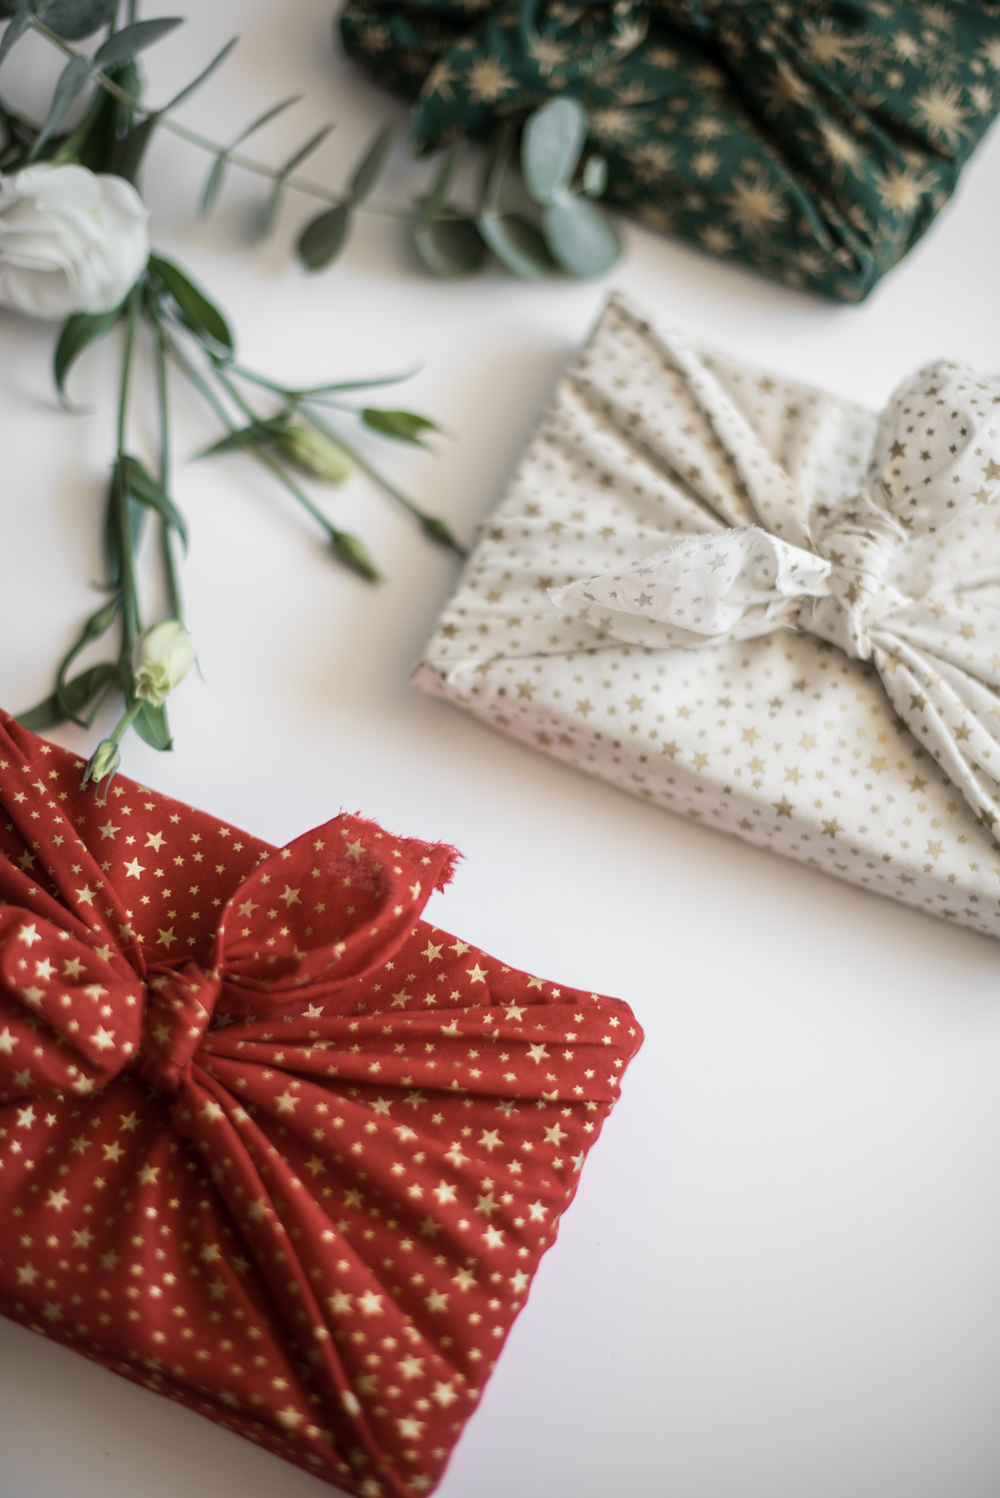
It looks cute, it's eco-friendly and it's the only way we are wrapping our gift this Christmas!


So what exactly is furoshiki? And how do you go about doing it? Well, just quickly, furoshiki is a traditional Japanese way of wrapping – but rather than using paper you use cloth. It looks super cute, is really easy to do, and is so much kinder to the planner, plus pick a nice cloth, say a silk scarf, and it becomes part of the gift!
It's basically the only way we are wrapping our gifts this year because it's so eco-friendly (unlike many traditional gift wraps which aren't recyclable), so we have asked to experts over at Wrapuccino to give us a hand with getting it right. There are some really easy to follow step by steps here, plus loads of different designs to try out depending on what you are wrapping. So find your piece of cloth, grab something to wrap and get practicing! And for load more gift wrapping ideas head over to our full guide too.
1. How to do a single knot wrap


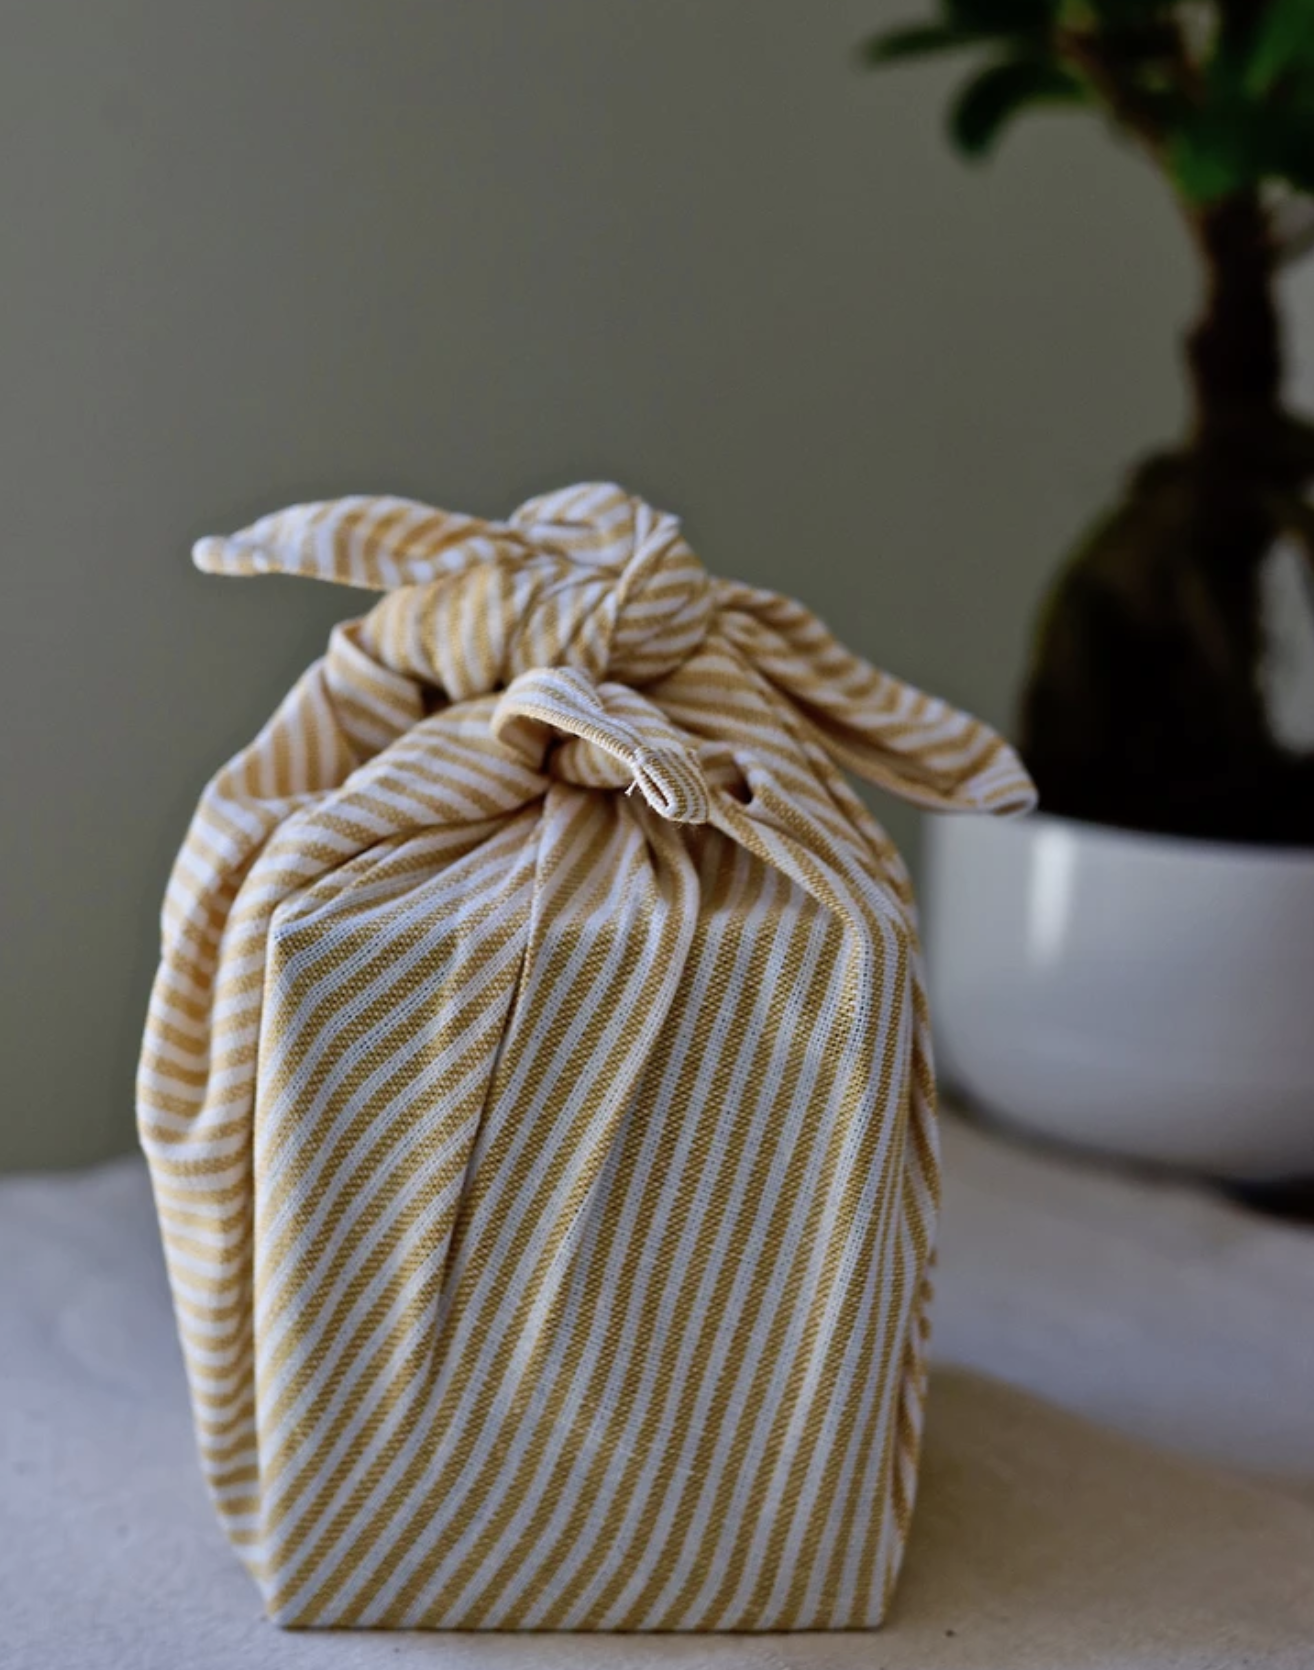
Firstly, we should point out you won't need any scissors or glue for furoshiki wrapping, just piece of fabric that is big enough to cover your gift. Here's how to create a single knot wrap like the beautiful one above:
1. Start by placing your cloth diagonally and pop what ever you are wrapping in the centre.
2. Take the top corners over the gift and tuck them underneath.
3. Then take the bottom corners and fold those over the top.
4. Take the two remaining corners and tie them in double knot over the top of your gift.
Get small space home decor ideas, celeb inspiration, DIY tips and more, straight to your inbox!
5. Simple! then just arrange you bow so it's looking it's best and you can add in some greenery or a decoration to make it extra festive.
2. How to double knot wrap


1. Start in the same way – arrange your cloth diagonally and place your gift in the middle.
2. Grab any two opposite corners and tie them together over the top of your gift.
3. Take the two remaining corners and do the same – and that's it, so simple!
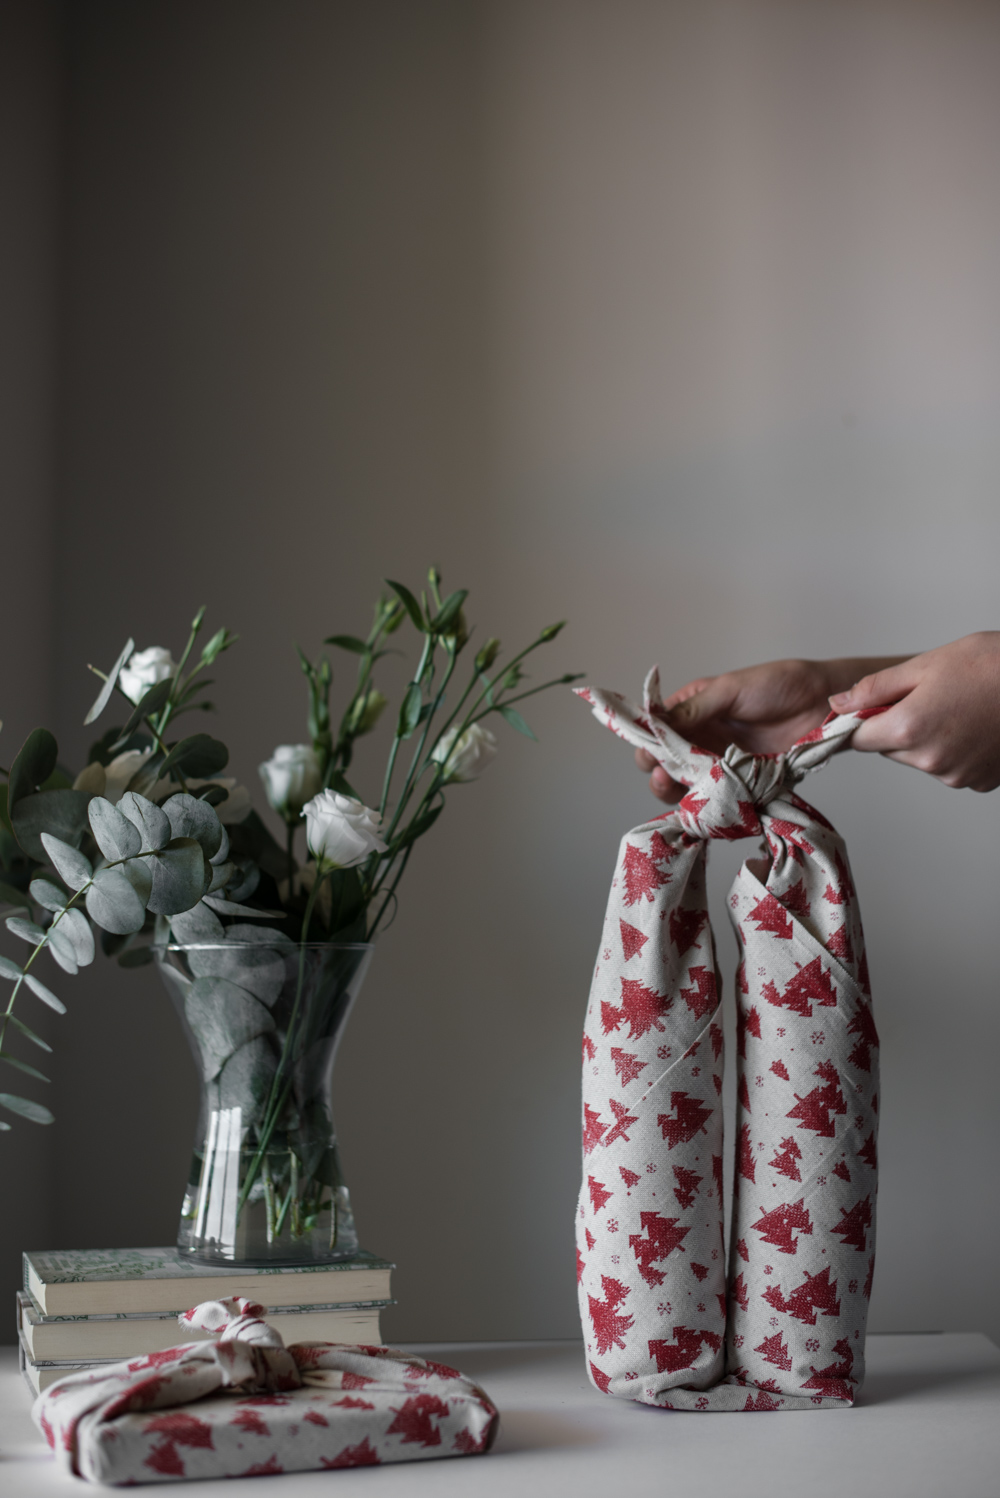
3. How to wrap a bottle


1. Place your bottle facing upwards, in the middle of the cloth.
2. Grab any two opposite corners and tie two knots with them on top of the bottle.
3. Take the remaining two corners and bring them together. Cross hands and swap corners (so that the left corner is in your right hand and the right corner is your left.
4. Go around the bottle horizontally and tie 2 knots there. Your bottle is ready both for gifting and carrying it!
Note: if you would rather follow along with a video, Wrapuccino has a handy video for each of these techniques so be sure to check those out.
4. How to wrap a larger gift

1. Lay your cloth in a diagonal position and place your gift in the centre, facing downwards.
2. Take the corners that are furthest away from one another and tie them in two knots.
3. Grab the remaining two corners together and repeat.
4. Then just fiddle with the bows until you are happy with how they look.


Hebe joined the Real Homes team in early 2018 as Staff Writer before moving to the Livingetc team in 2021 where she took on a role as Digital Editor. She loves boho and 70's style and is a big fan of Instagram as a source of interiors inspiration. When she isn't writing about interiors, she is renovating her own spaces – be it wallpapering a hallway, painting kitchen cupboards or converting a van.