A DIY nightstand: How to build a stylish and minimalist DIY nightstand with a drawer
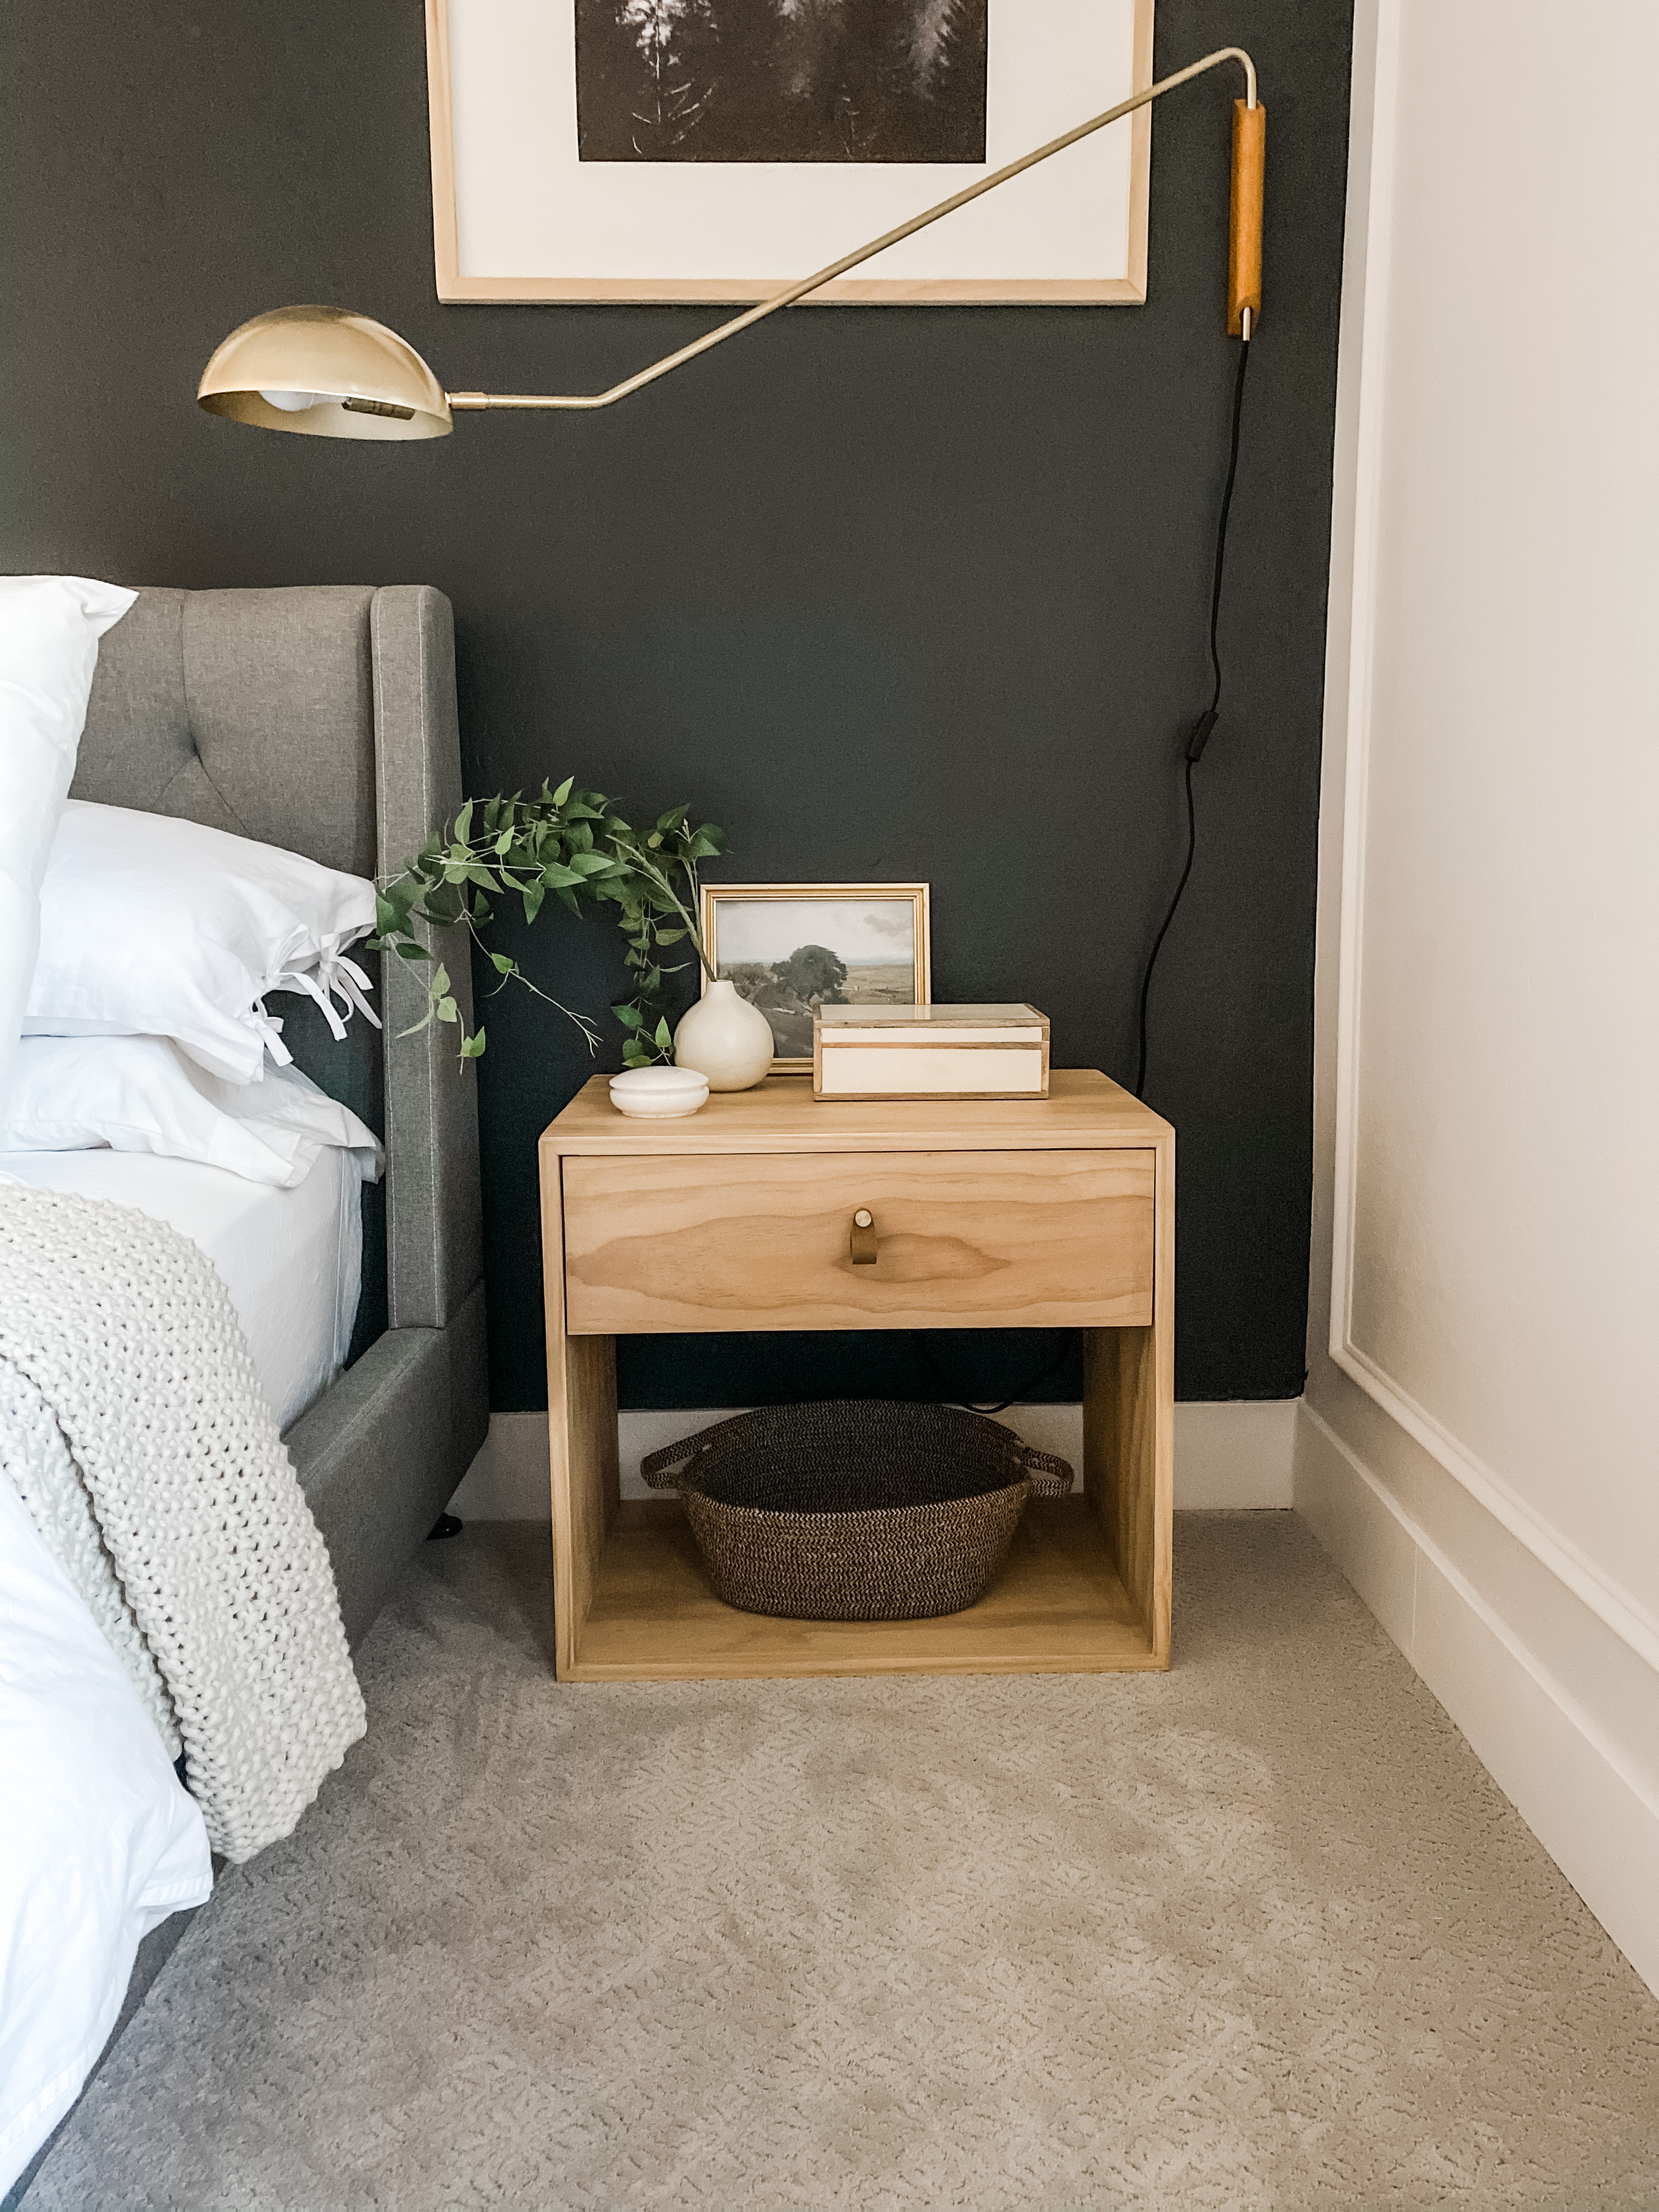
DIYer Brooke Waite recreated a pricey nightstand she loved with simple plywood pieces. The result: A gorgeous, inexpensive DIY nightstand that looks like a million bucks.

Get small space home decor ideas, celeb inspiration, DIY tips and more, straight to your inbox!
You are now subscribed
Your newsletter sign-up was successful
I’ve always liked the look of expensive things ... I know I’m not alone here. But, the more confident I become with my DIY projects, the more critical I am when looking at a price tag out of my budget and wondering how I can recreate it. I’m always reluctant to purchase something when I think that I can make it myself, which was the case with the nightstands I built for my bedroom.
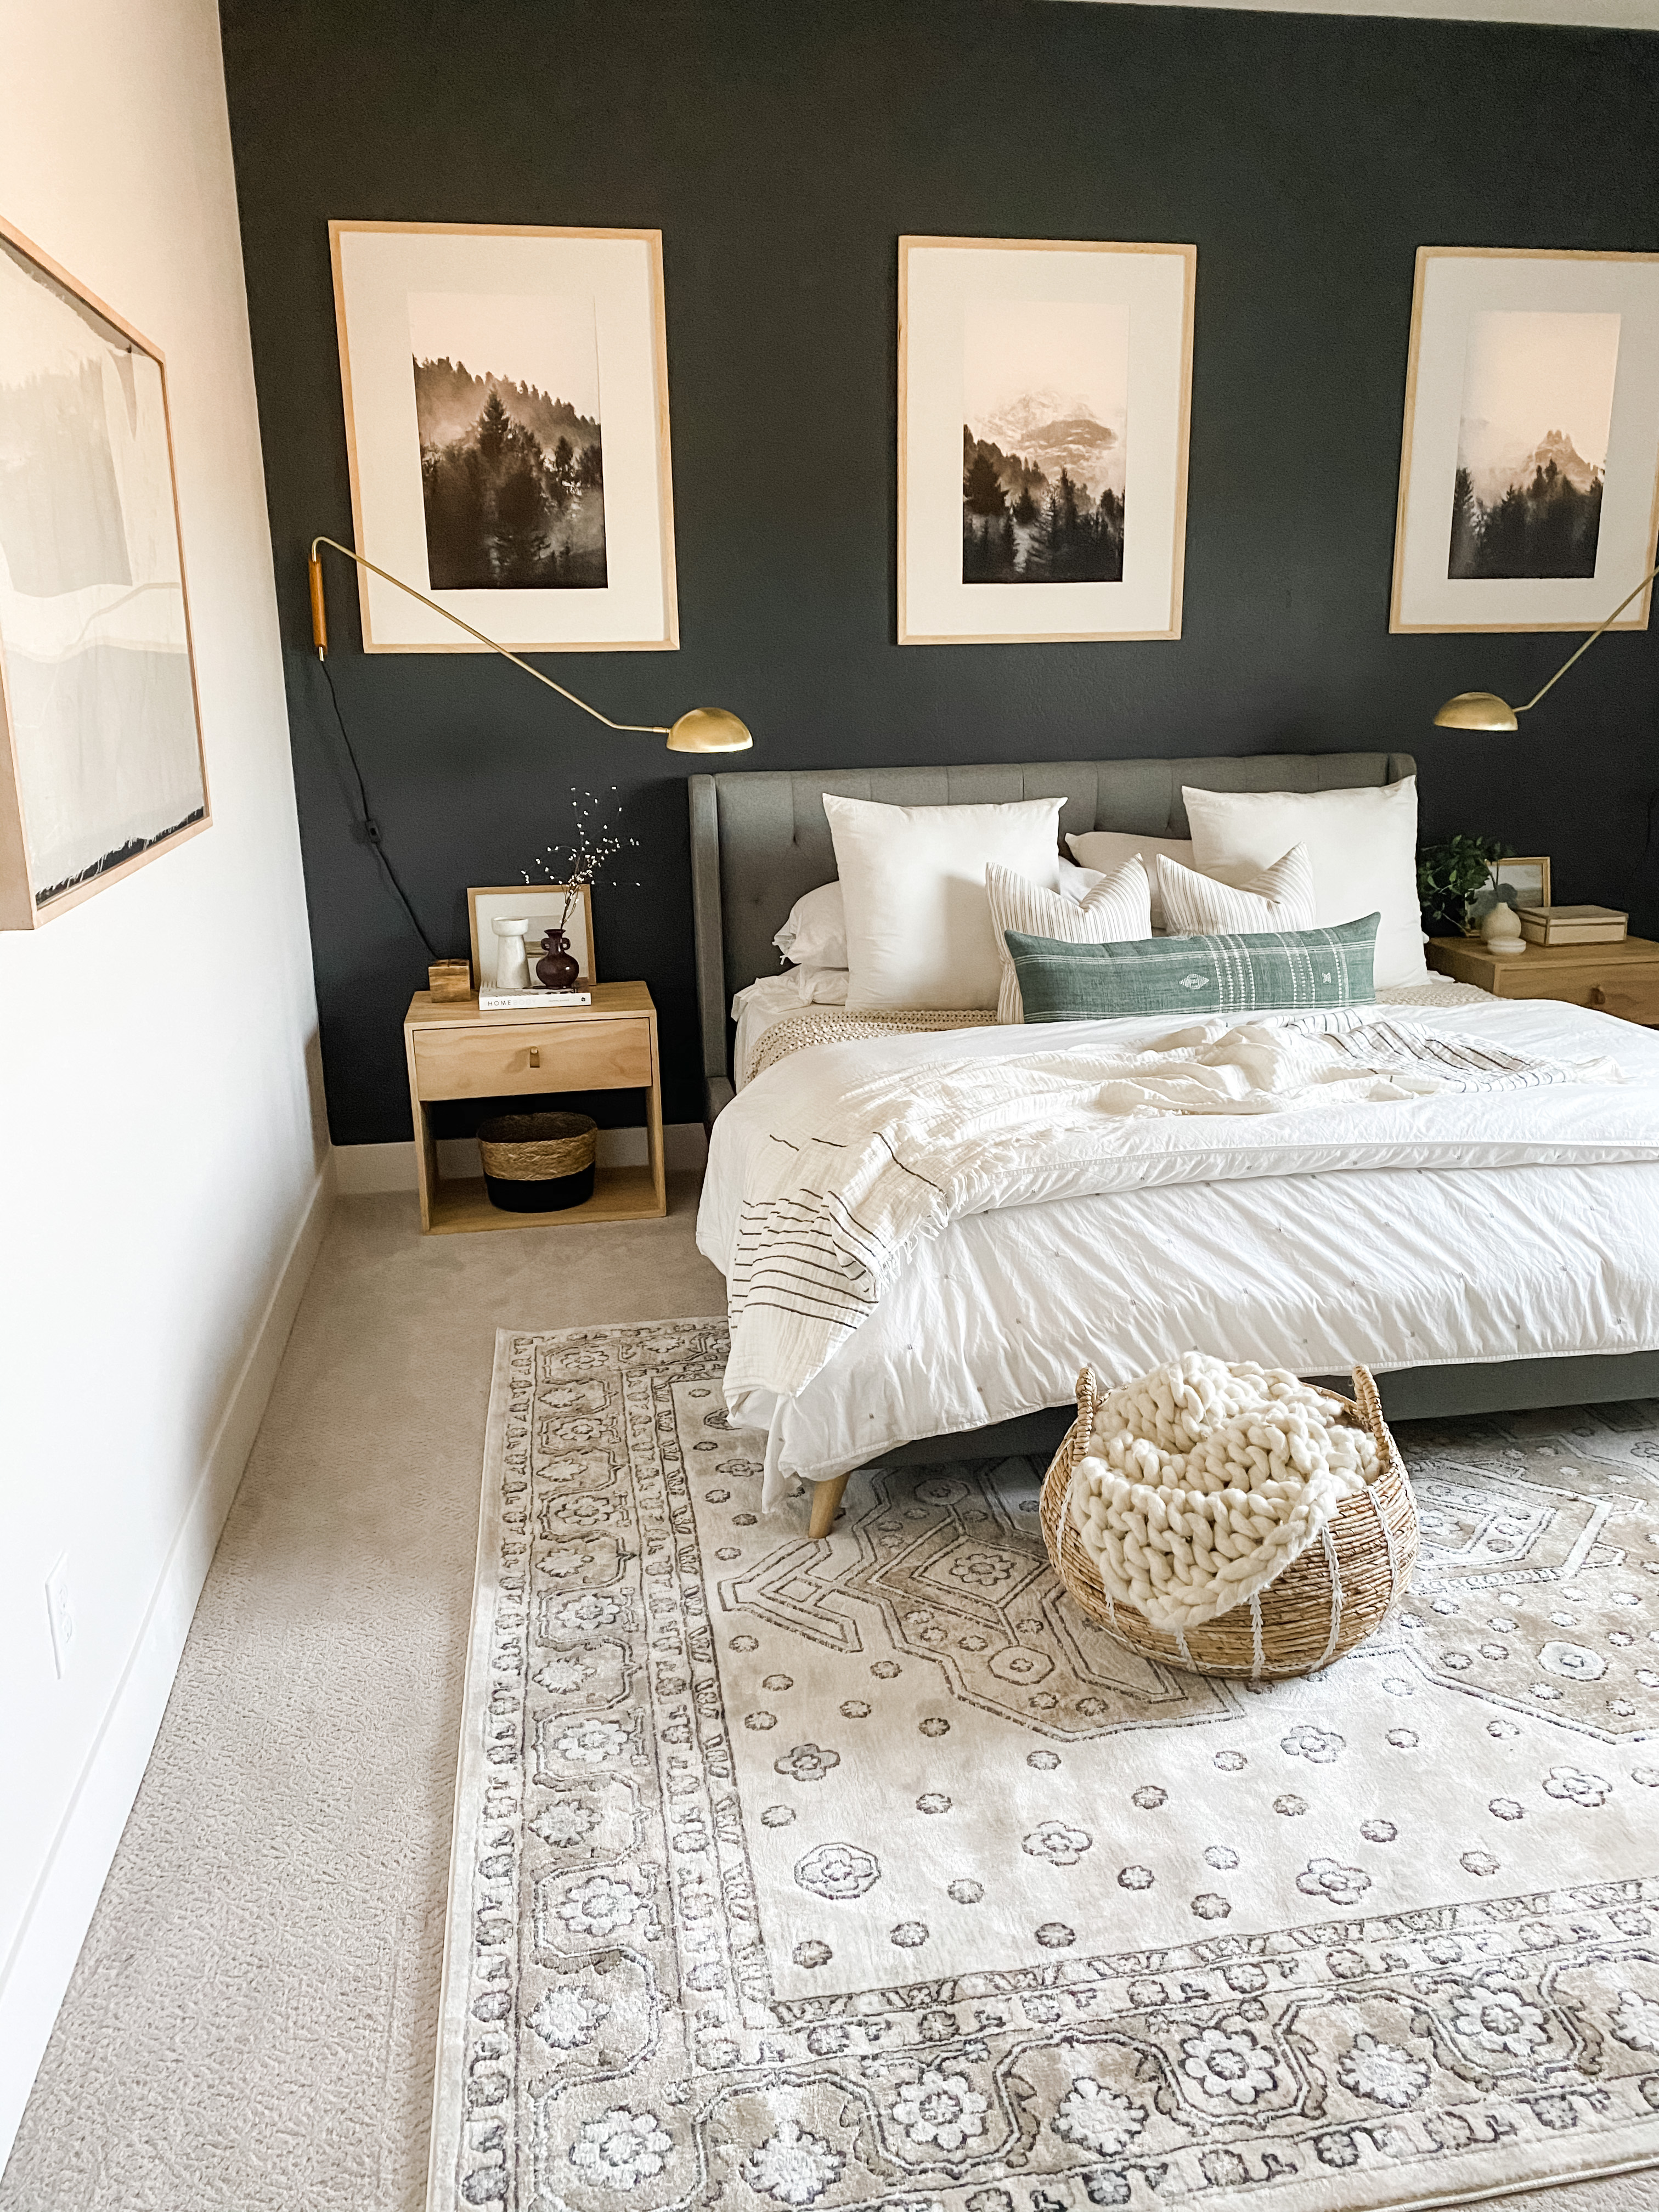
The nightstands I wanted were very minimal. Just an open square box with a drawer ... simple enough! I had never constructed a drawer so this statement was easier said than done.
Still, the process was fairly straightforward, and if you've been considering building DIY nightstands for your own space, I encourage you to give it a try! Below, I'm detailing out how I built my nightstands for under $200.
DIY nightstand: What you'll need
- Measuring tape
- Level
- 3/4" plywood sheets
- Miter saw (or a nice hardware store employee who will cut your wood to size)
- Wood glue
- Woodworking clamps
- Drawer slides
- Screws
- Pocket screws
- Drill
- Screwdriver
- Sandpaper
- Tack cloth or microfiber towel
- Wood conditioner
- Wood stain
- Polycrylic or sealer
- Drawer hardware
Step 1: Start with the nightstand frame
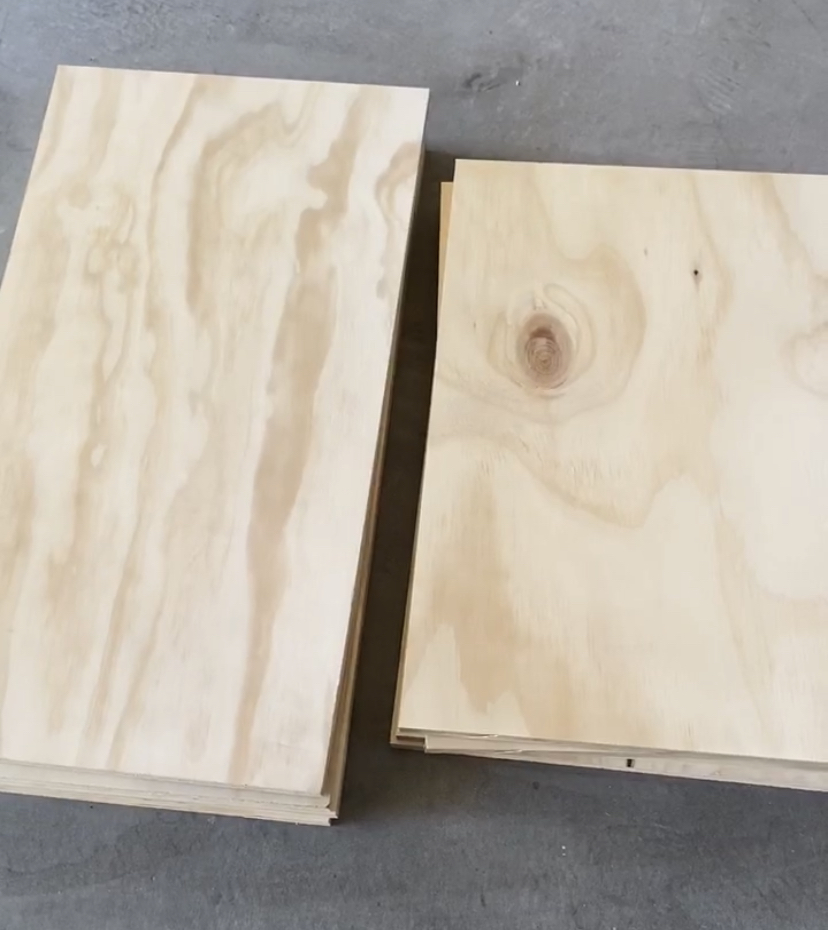
To create the frame of the nightstand, first decide on the dimensions of your piece (it can help to find a similar style online and look at the dimensions!
Then, I purchased ¾” pine plywood and had the hardware store cut them down to my specifications. Using four pieces of plywood, I basically constructed an open box using pocket screws, wood glue, and clamps to hold it all in place while I worked.
I knew that I did not want the raw edge of the plywood showing so I created a face frame using select pine 1x2s ripped down to ¾” pieces and miter cut each end. I glued and nailed these pieces to the box and left them clamped overnight.
- Keep reading: DIY breakfast nook - how to build a built-in banquette
Step 2: Add drawer slides
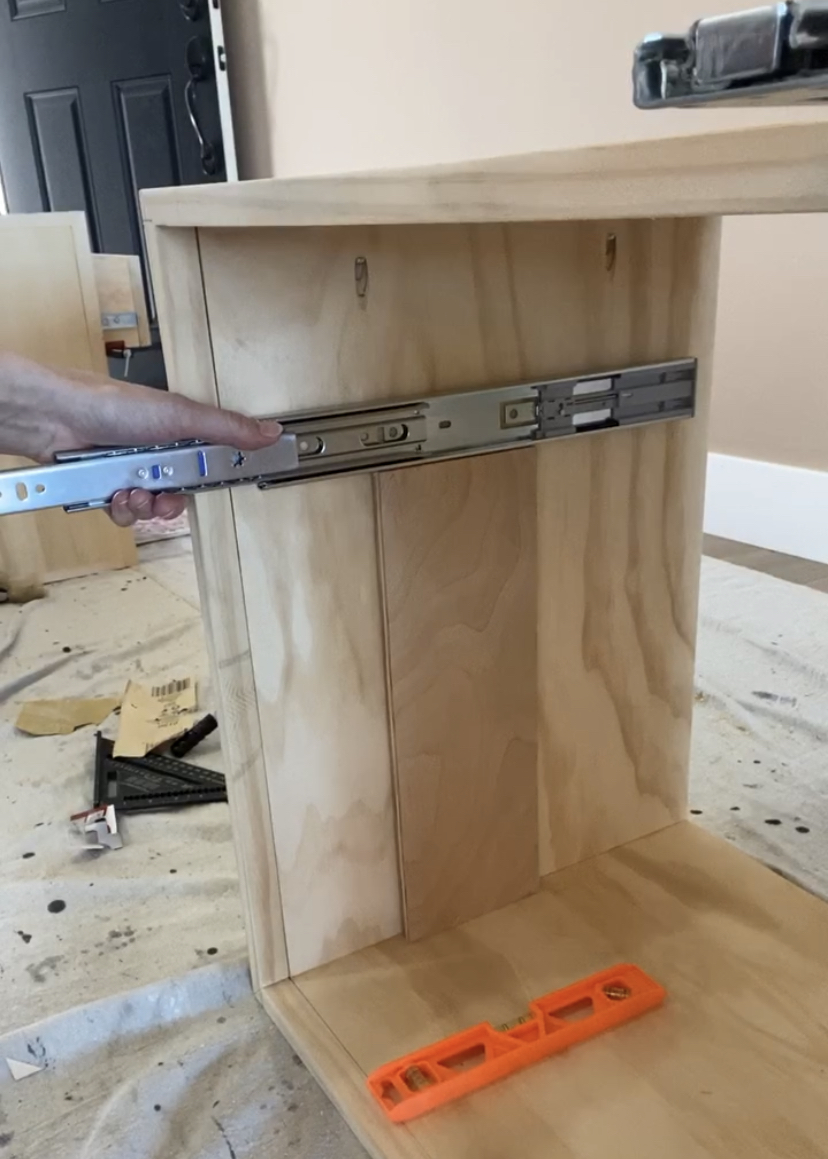
Now it’s time to add a drawer. This was nerve wracking because I’ve never done this before. I watched quite a few tutorials on how to do this, so if I can figure this out, you can too!
Get small space home decor ideas, celeb inspiration, DIY tips and more, straight to your inbox!
I purchased my soft-close drawer slides on Amazon. Once I decided on the height of the drawer, I used a scrap piece of wood cut to the height where the drawer slide would be mounted and made sure it was level. I used this as a guide to mount and screw the drawer slides into place with ½’ screws on both sides.
Step 3: Construct the drawer
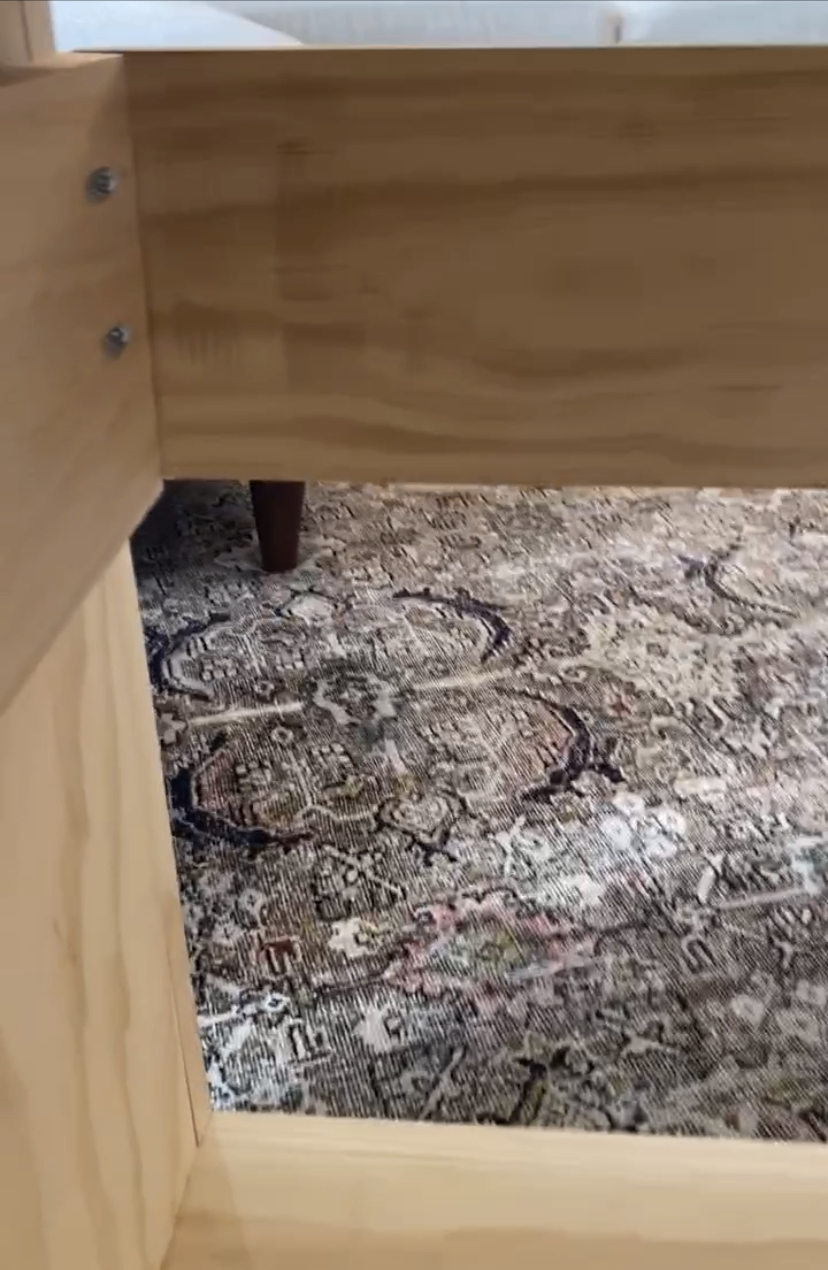
Now, it's time to assemble the drawer. To do this, I measured and cut four pieces of wood (front, two sides, and back.)
I then screwed the pieces of wood I'd cut for the sides of the drawers on to the slides on the drawer member (the part of the slide that pulls out.)
But before you do this step, however, make sure that each side has pre-drilled pocket holes for attaching the front and back pieces of the drawer. Once the sides of the drawers are attached to the drawer slides, it's now it’s just a matter of attaching the front and back of the drawers with pocket screws.
I attached the drawer front first, from the back of the nightstand, for ease of access and then the back piece was attached last. Now I added a face frame for the drawer with a piece of select pine cut 2” taller than the actual drawer. This will be what the hardware is attached to.
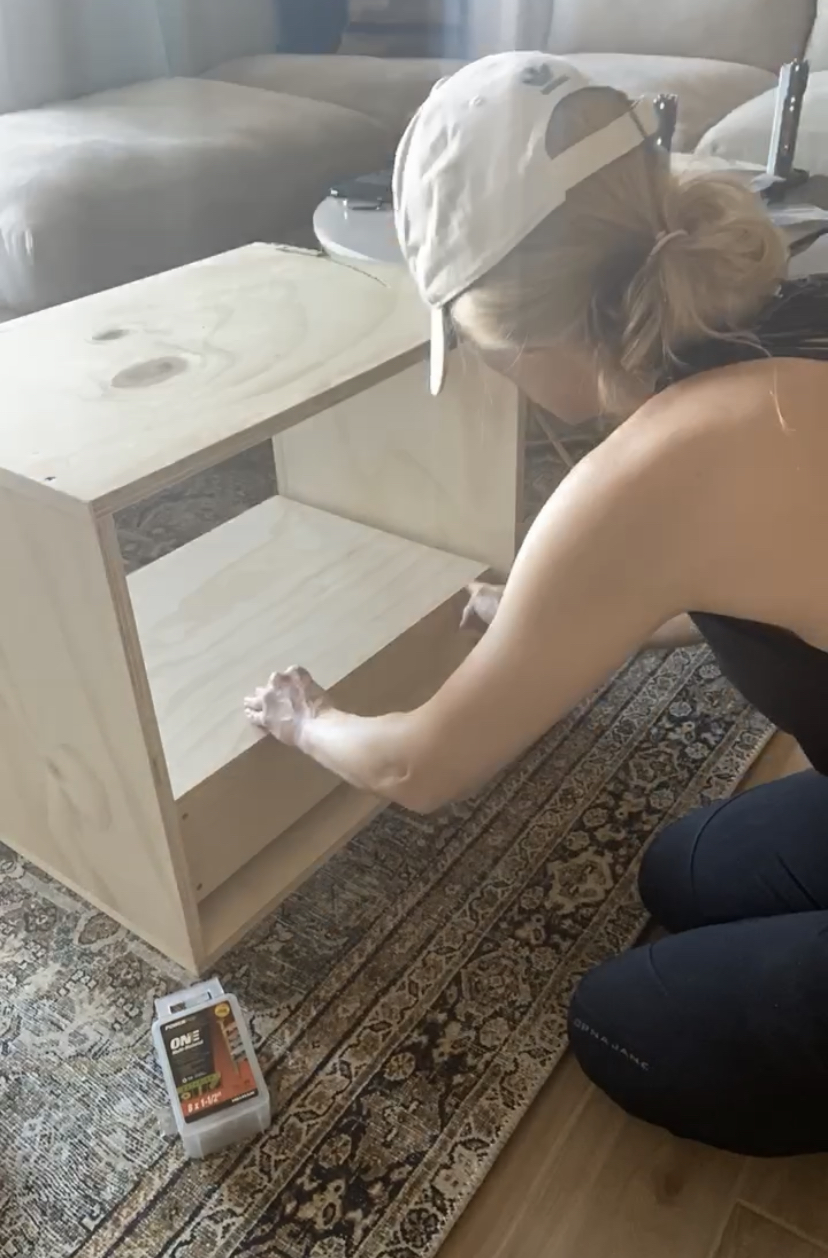
The very last part of the drawer is the bottom piece and for this I used ¼” plywood and screwed from the bottom with the nightstand flipped upside-down.
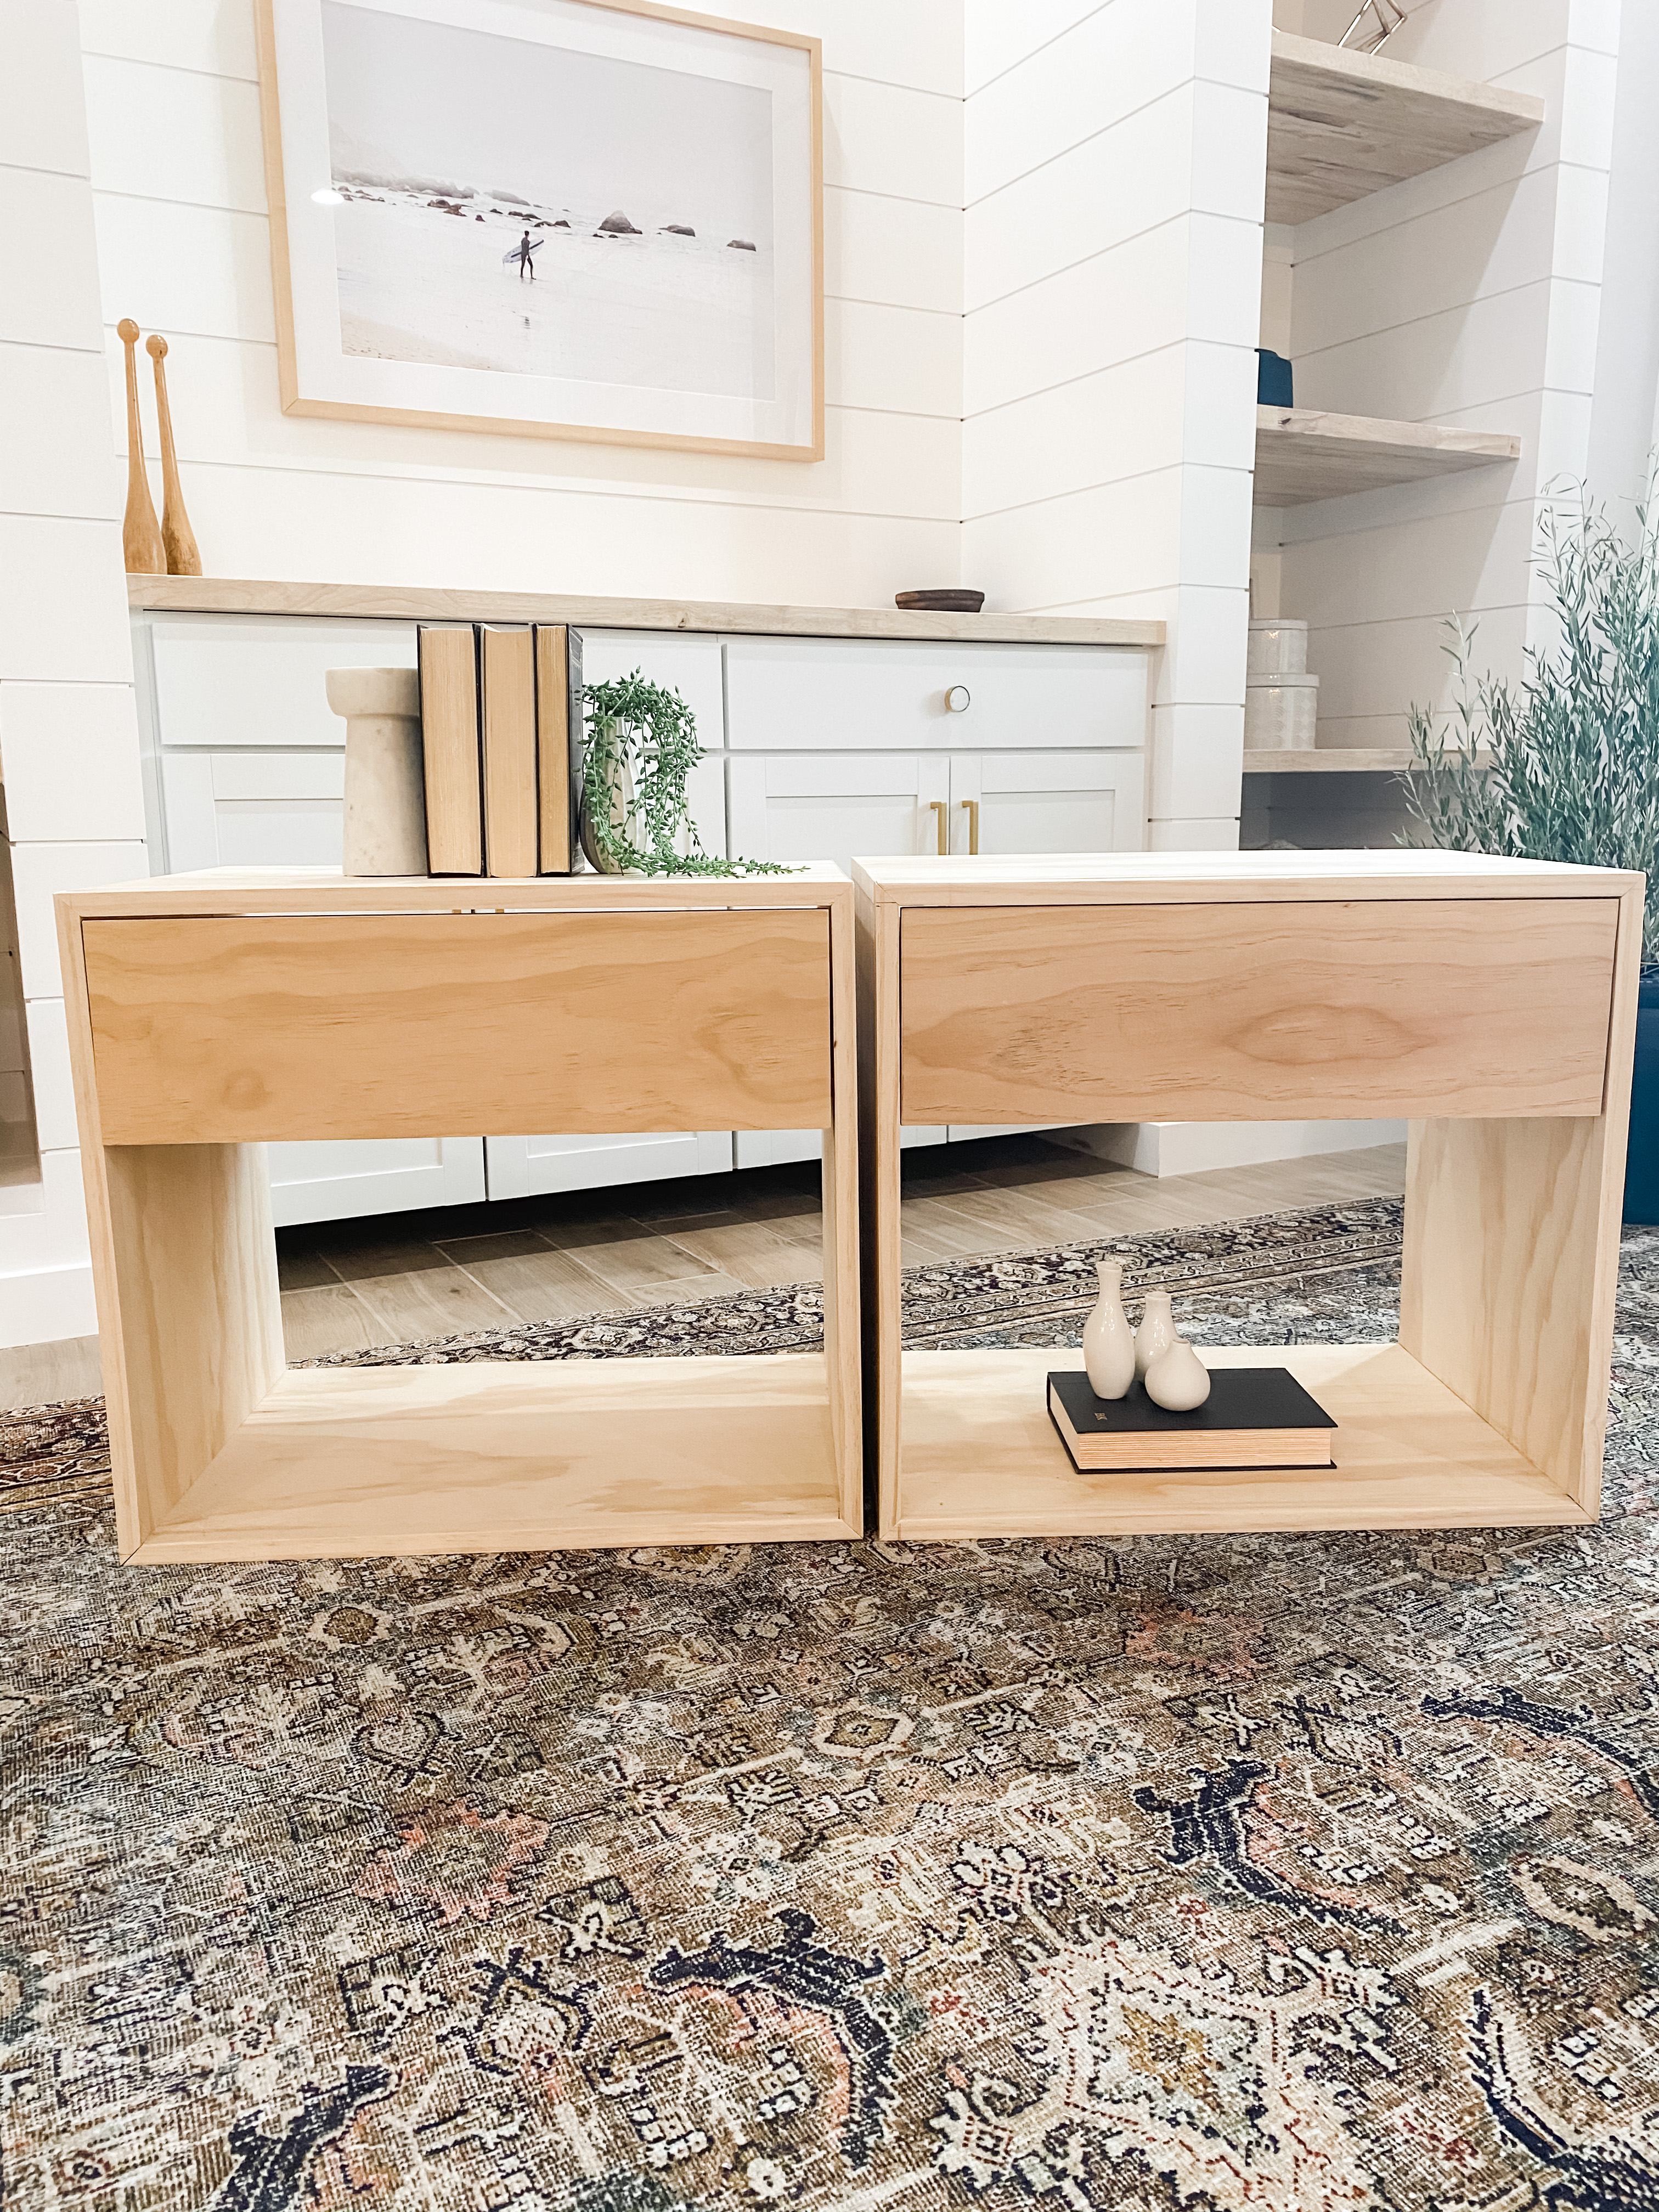
I seriously can’t even believe that I built these and they have an actual working drawer. This is them unfinished, without stain, but I’m pretty darn proud of what I have so far!
- Keep reading: How to paint an outdoor rug
Step 4: Spackle and sand the nightstand
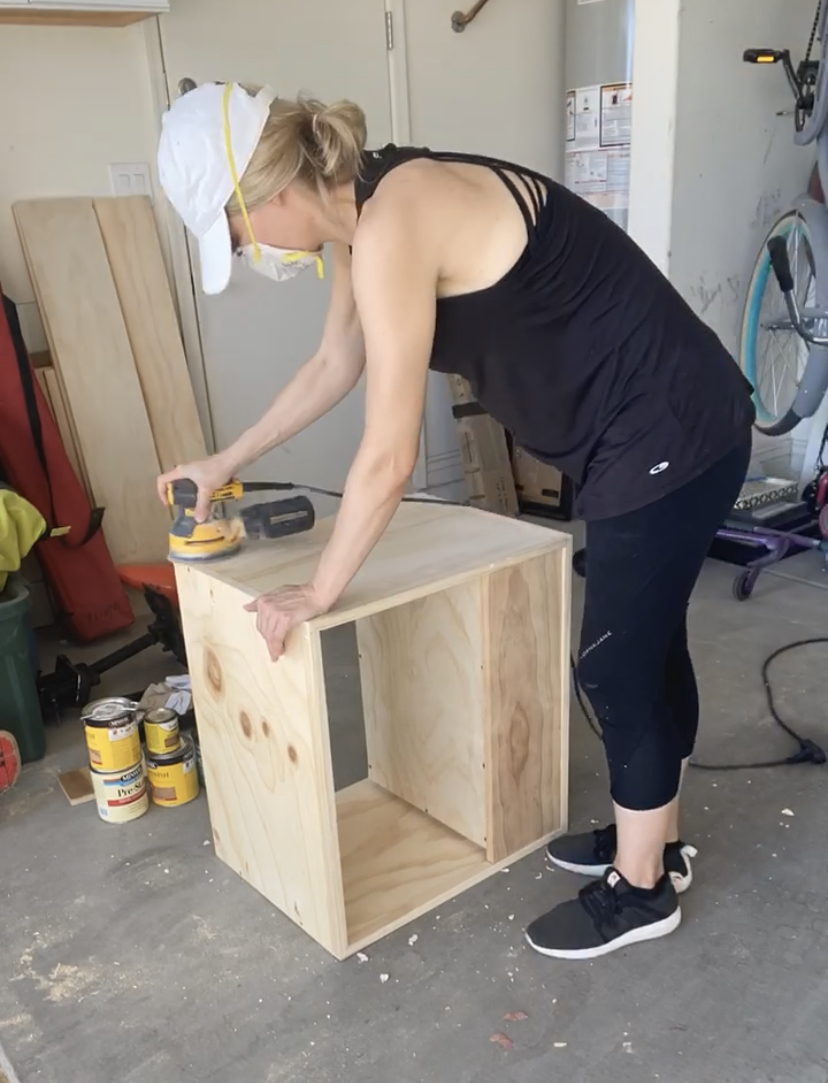
Now comes all the finish work! I used spackle to fill in gaps between the nightstand box and the face frame and also any nail holes. Then I used a course 60 grit sandpaper to even everything out followed by a 120 grit sandpaper to make sure everything was super smooth.
- Keep reading: The best paint for furniture
Step 5: Stain or seal
After I was done sanding, I wiped both nightstands down with a tack cloth to ensure any dust was gone, and applied pre-conditioner to the wood. This ensures that the stain will go on nice and even without any weird splotches. I used a 1:1 mixture of stain (Weathered Oak by Minwax) and Polycrylic.
This is the best tip I’ve learned about staining -- combining your stain with polycrylic. It goes on like a gel and so smoothly, and saves you the step of applying the stain and sealer separately.
Step 6: Add hardware
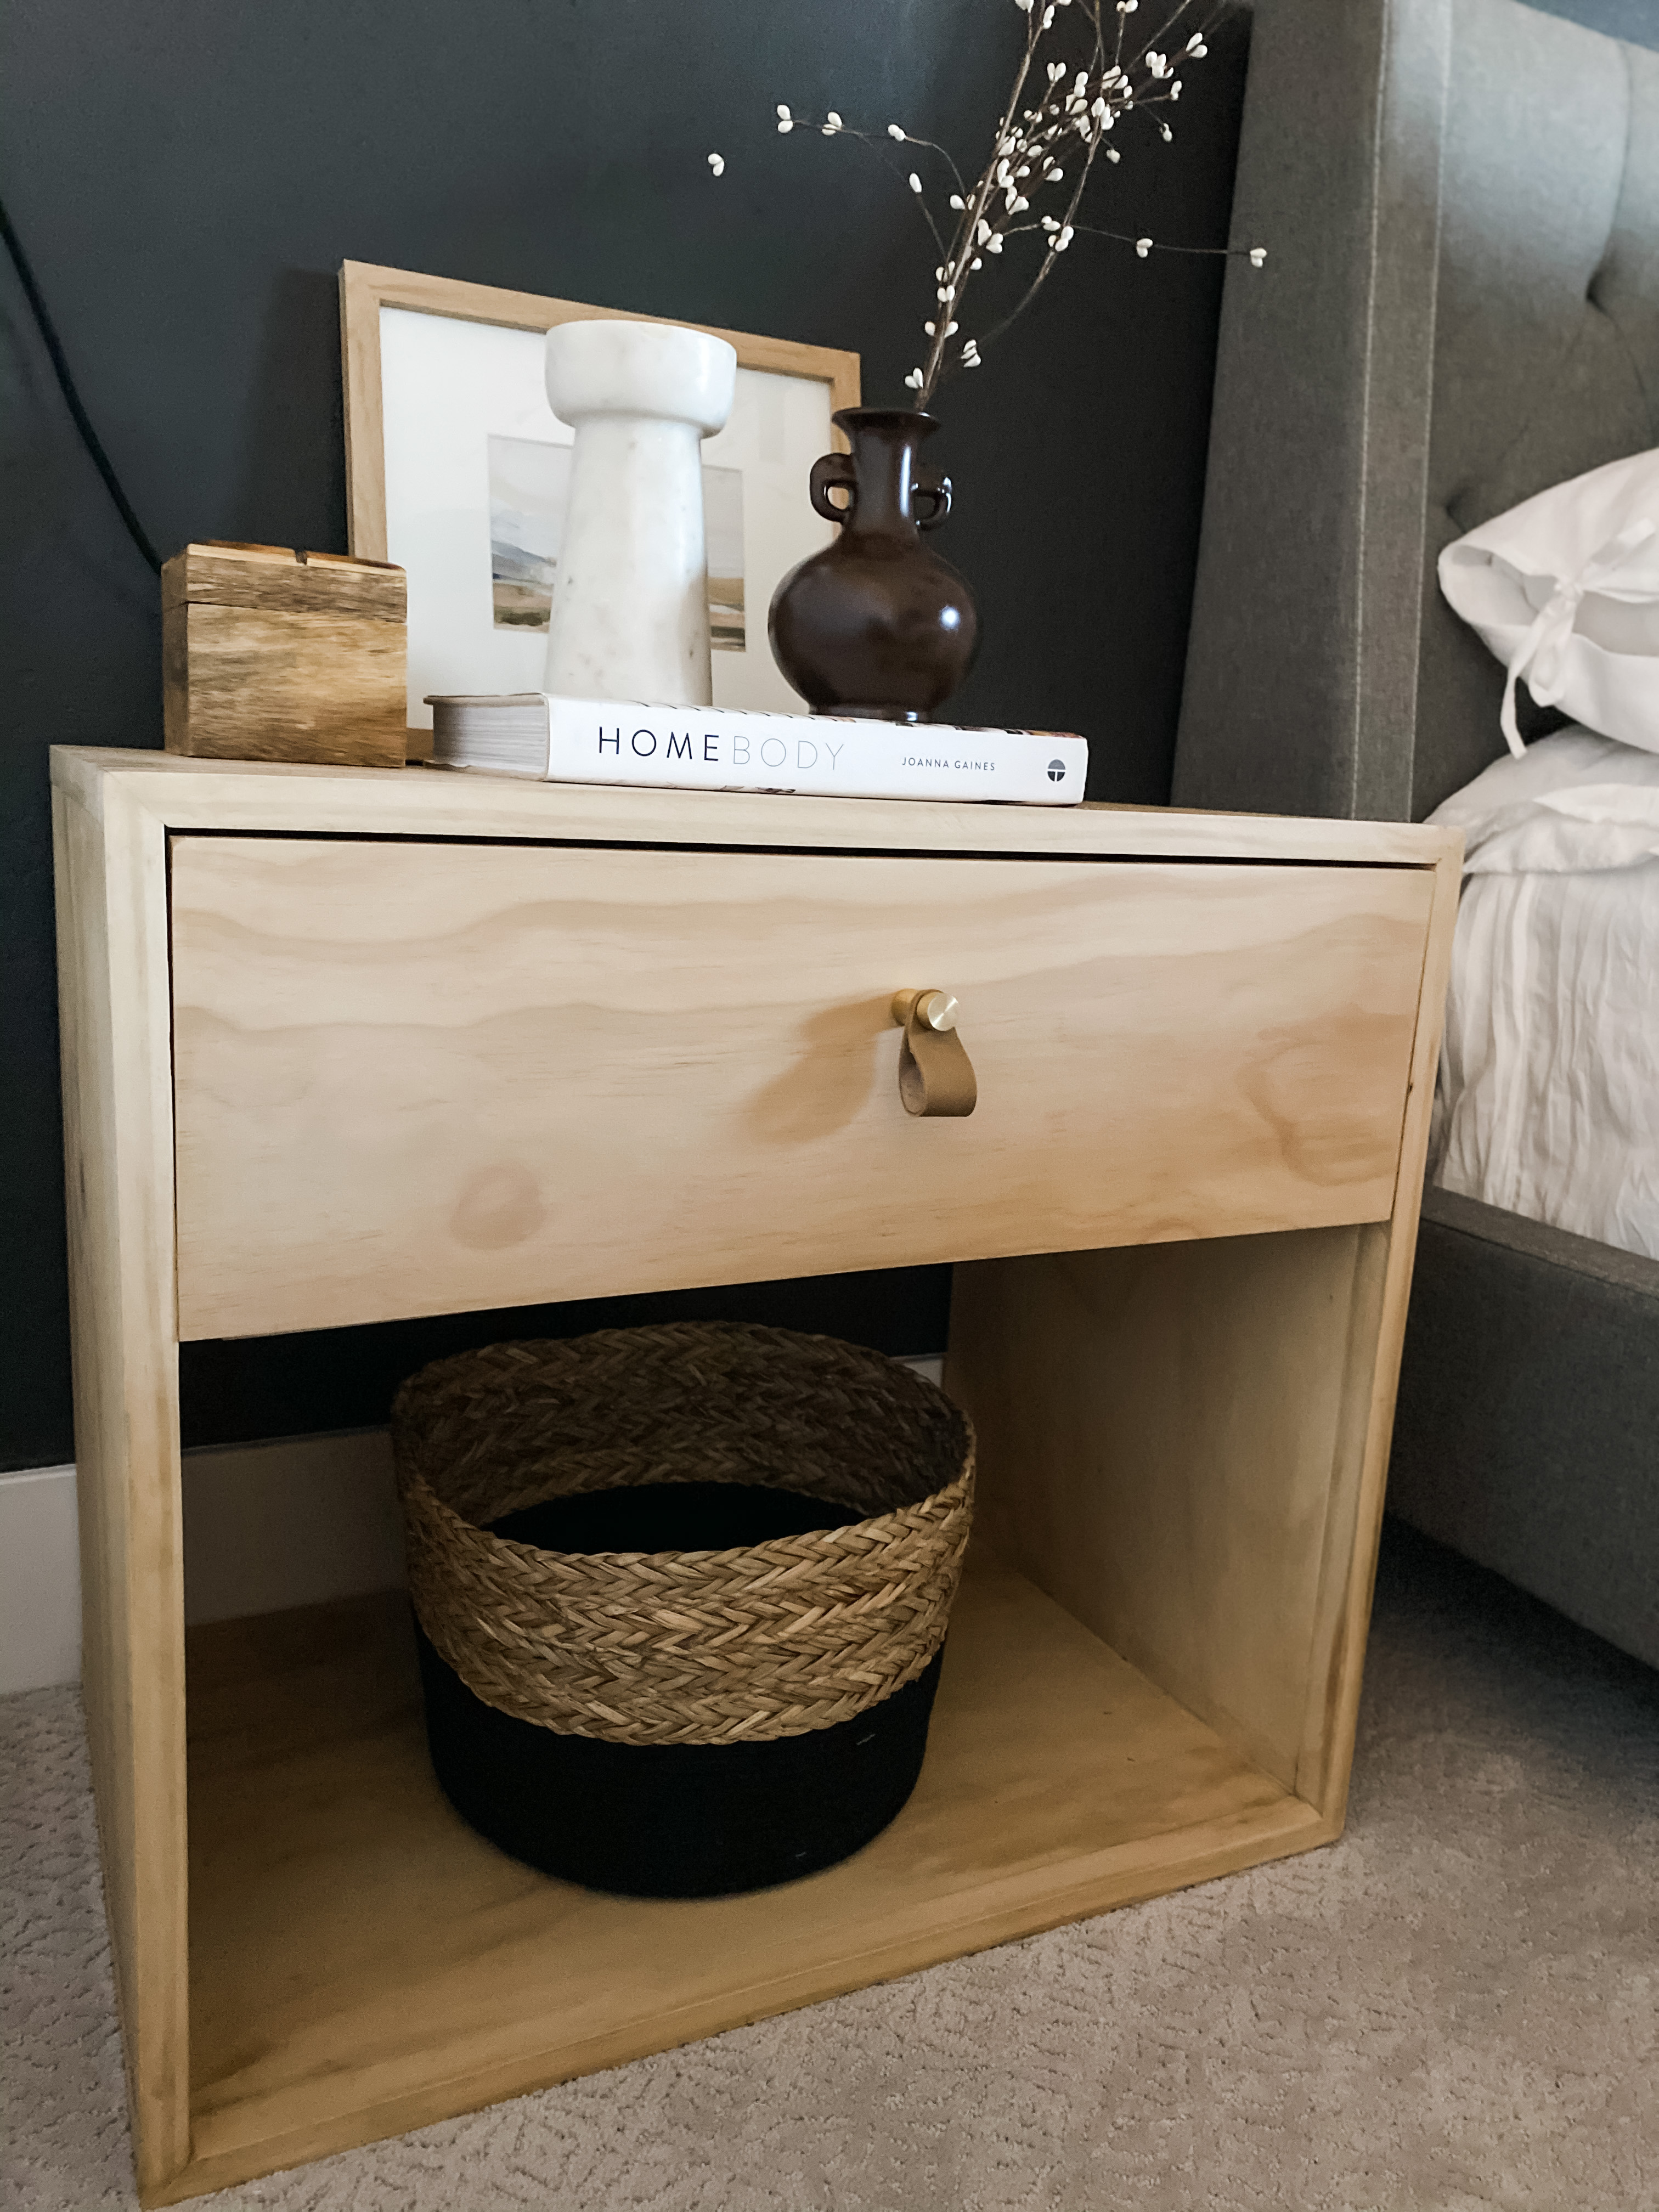
For the finishing touch I installed a beautiful leather pull from a shop on Etsy called Lamborn Studio. This might be my favorite build to date!! So simple but they really add a special touch to our bedroom. And an added bonus, they only cost me a little over $200 to build!
For more DIYs like this be sure to follow me on Instagram @brookewaitehome.
I'm a mom of three with a passion for interior design and DIY! I am currently renovating a farmhouse along with my husband and running an Airbnb in our hometown. I would define my style as loving clean lines with a good mixture of old and new. I love a modern cottage look and have been very interested in vintage pieces as of late. When I’m not spending time with my family or dreaming up another home project, I love to read, eat good food, and binge-watch crime shows on Netflix!
