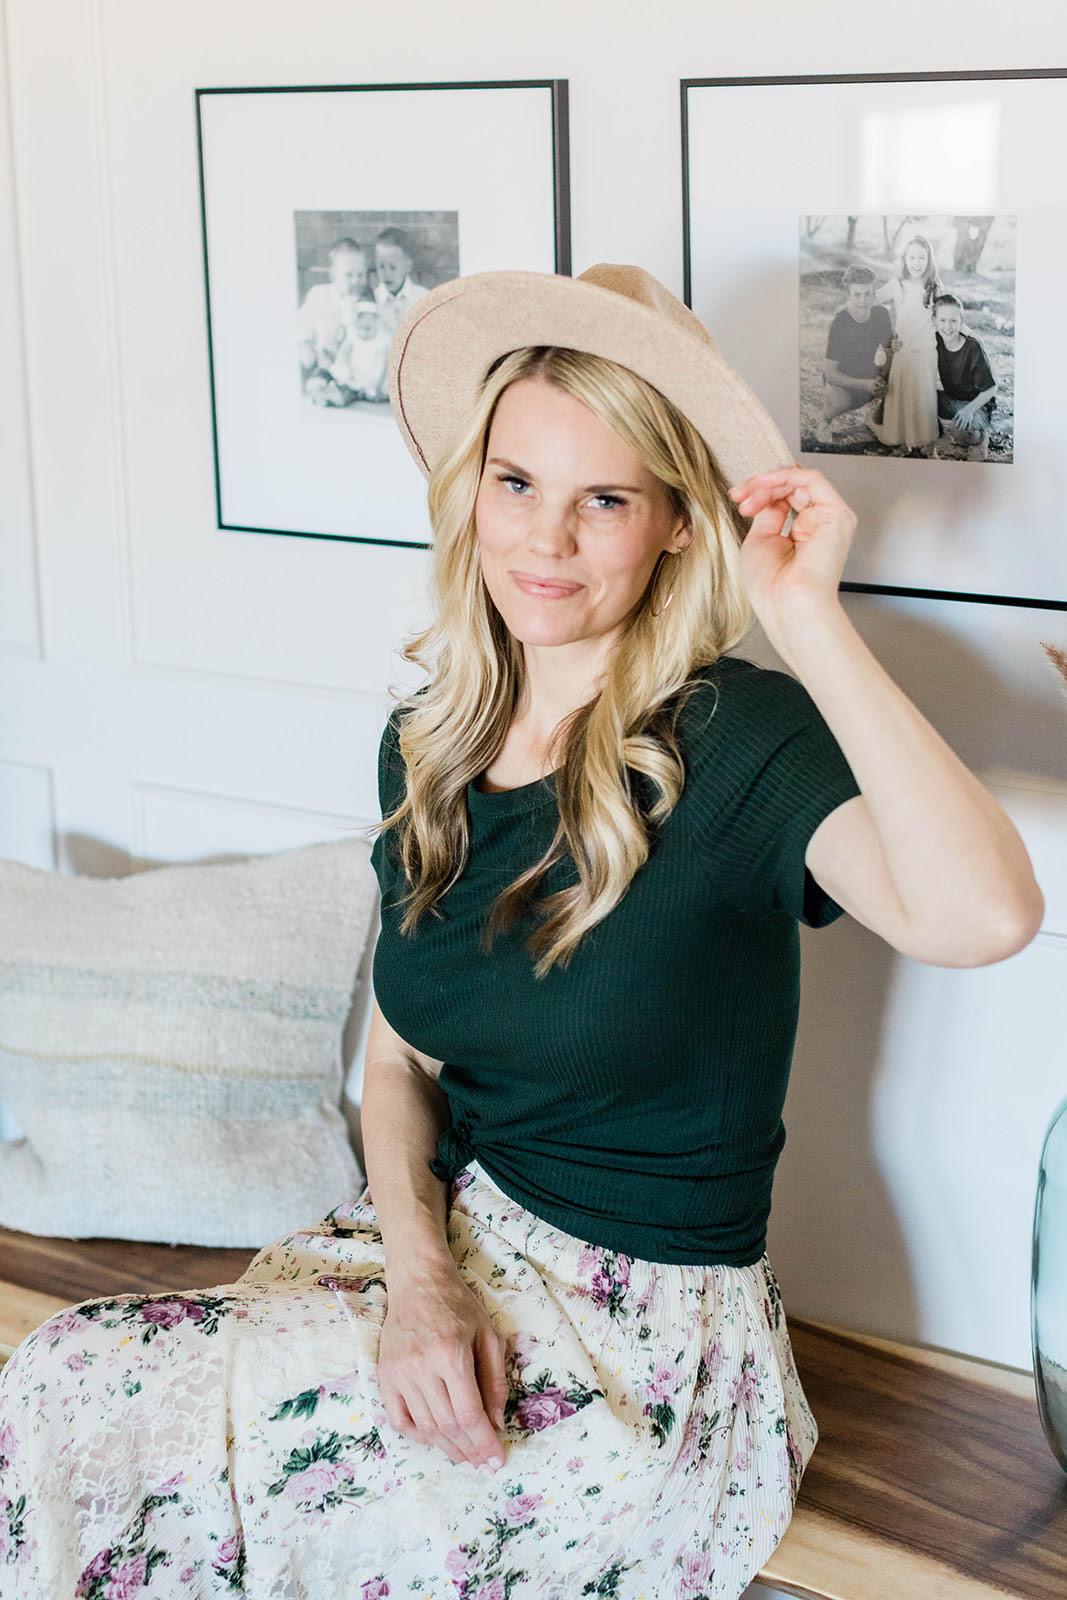
DIY breakfast nook: How to build a banquette or bench for your space
Thinking about making a DIY breakfast nook in your kitchen? This simple step-by-step tutorial by blogger & DIYer Brooke Waite takes your through the process from start-to-finish.

Get small space home decor ideas, celeb inspiration, DIY tips and more, straight to your inbox!
You are now subscribed
Your newsletter sign-up was successful
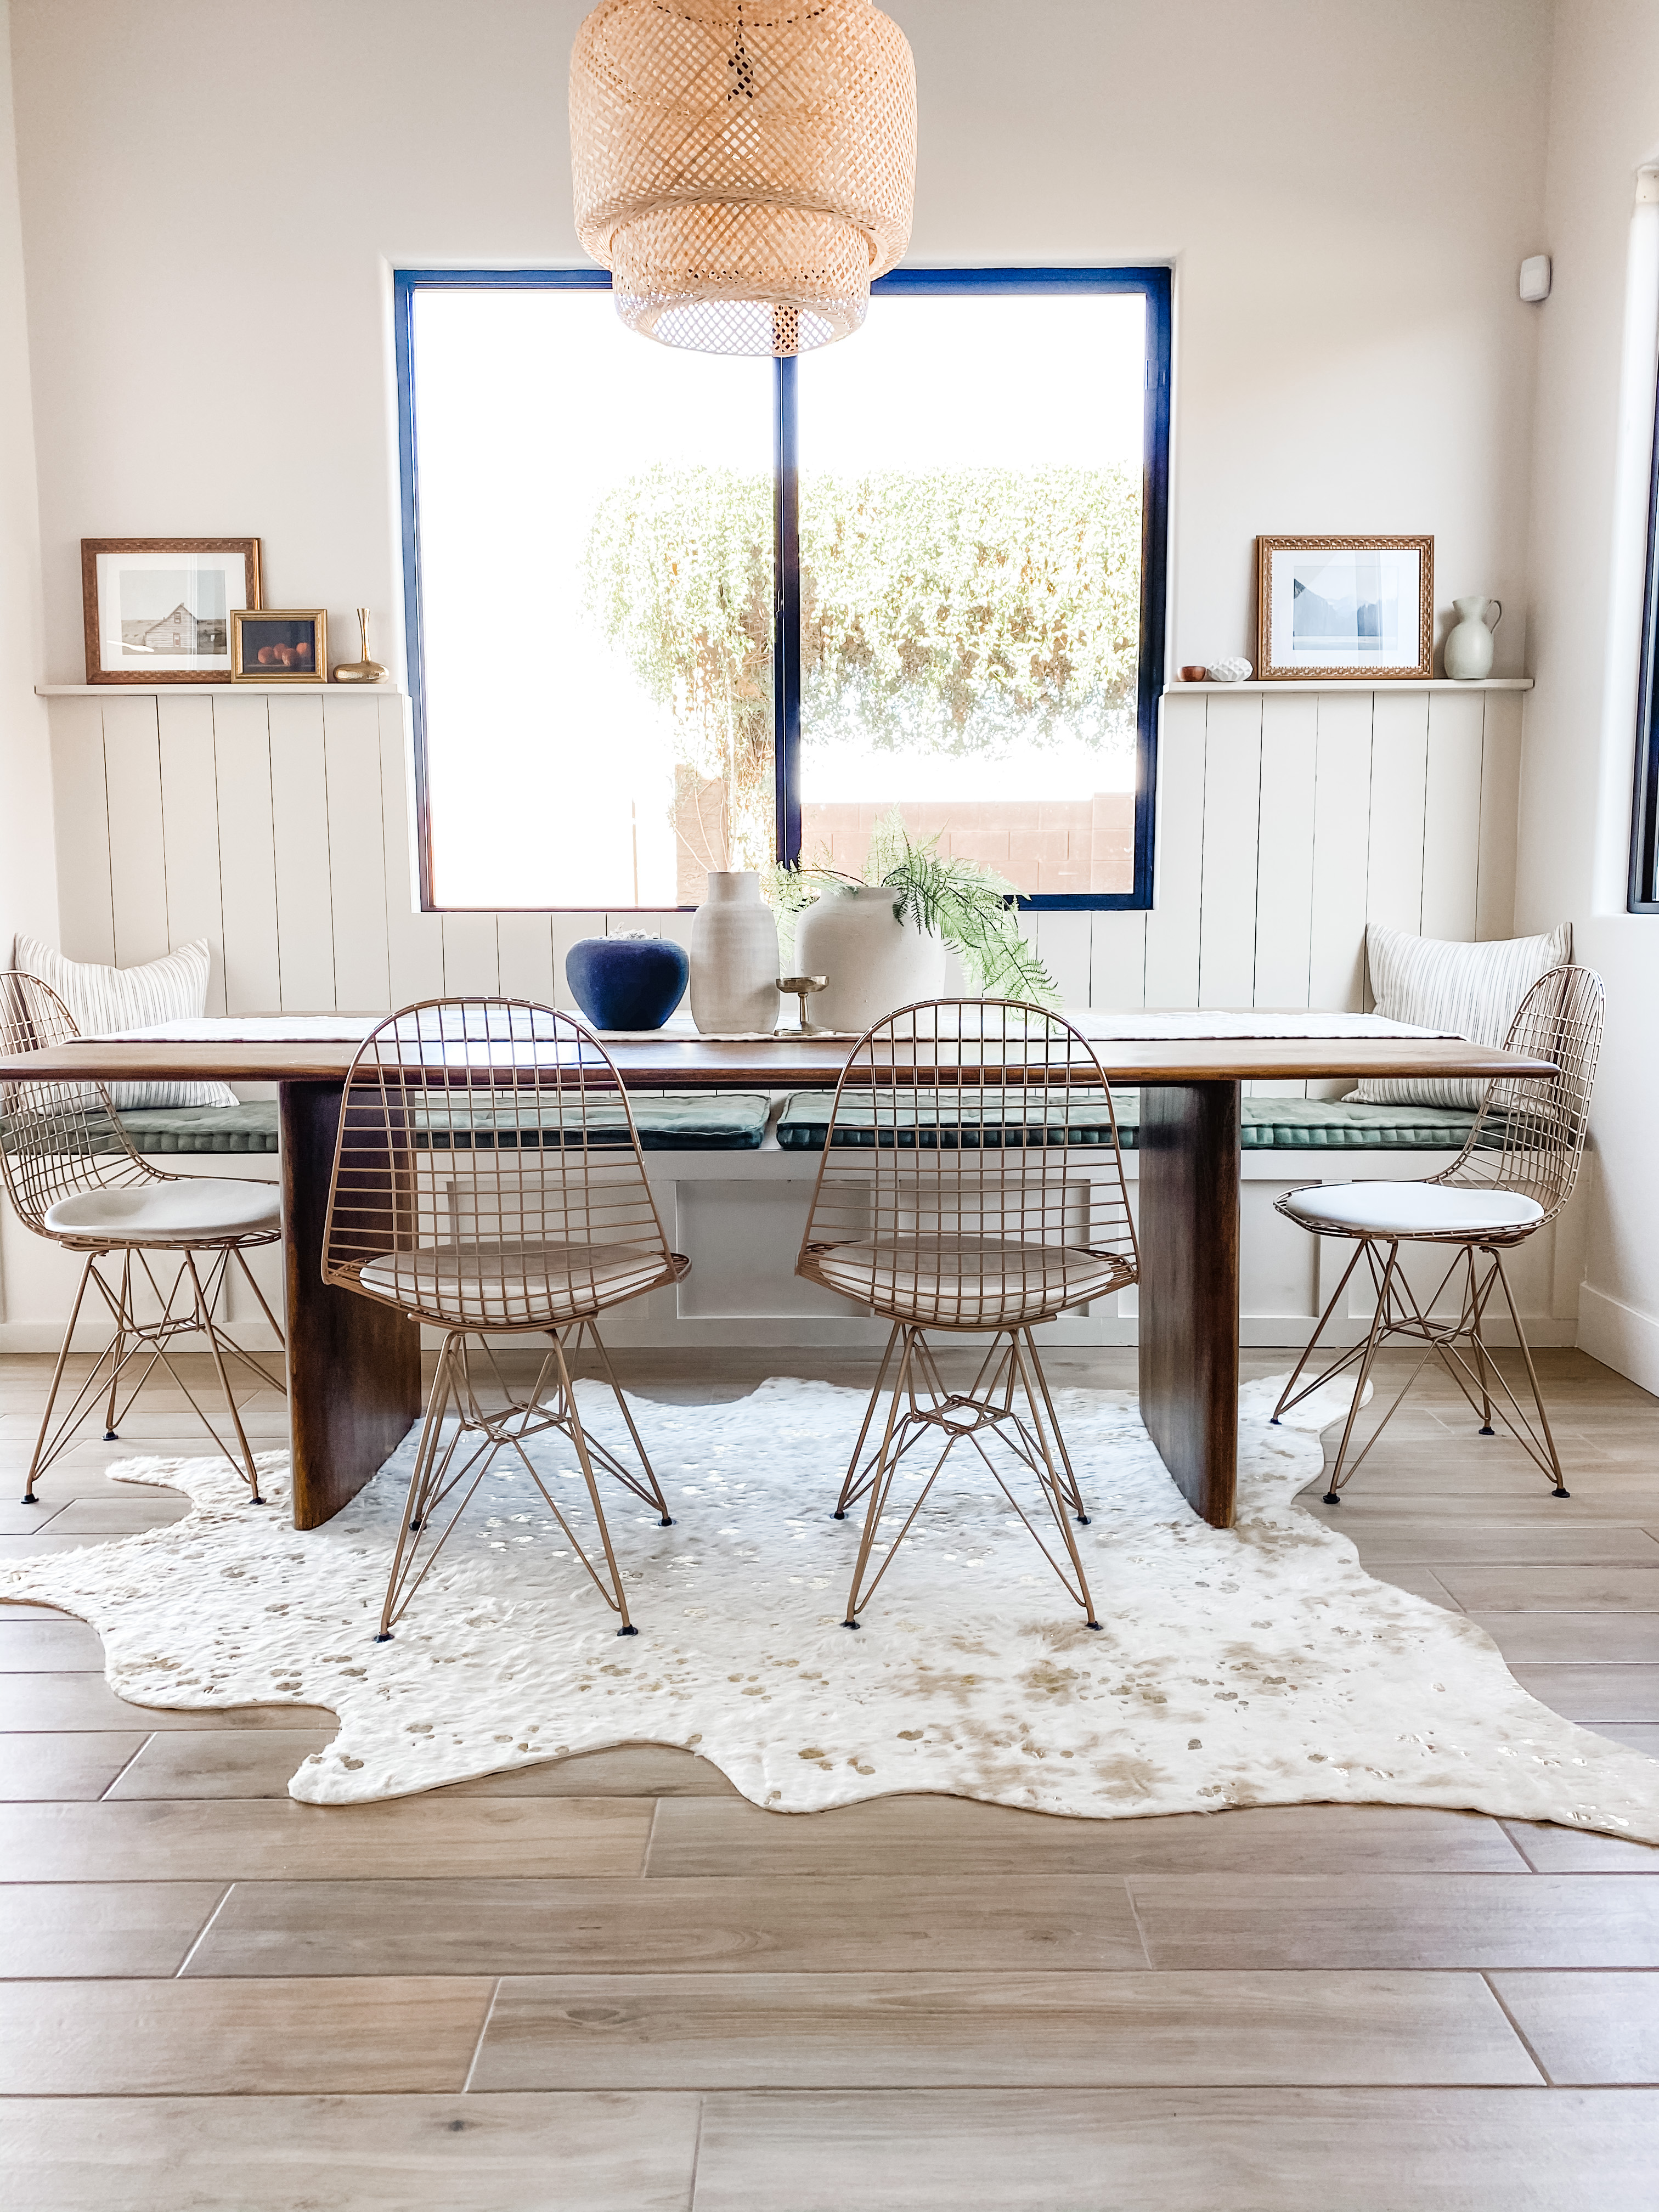
I love the look of built-ins in a home. They add so much character and possibility. Our breakfast nook before was just plain boring but I knew we could add some personality by building a DIY breakfast nook banquette. Its purpose would be both for aesthetics as well as function as it would add more seating options to this area.
How to make a DIY breakfast nook banquette
Interested in trying this DIY project out at your home? Here's how I built this bench.
What you'll need:
- Utility knife
- Hammer and pry bar to remove baseboards if necessary
- Stud finder
- 2' level
- Measuring tape
- Miter saw
- Drill
- Screws
- Wood glue
- Nail gun
- 2' x 4's
- Pocket hole screws
- Plywood sheets (1/2" for sides, 3/4" for top)
- Trim (we used primed 1"x3" primed MDF trim)
- Spackle or painter's caulk
- Sandpaper or orbital sander
- Paint & primer
Step 1: Prep the space
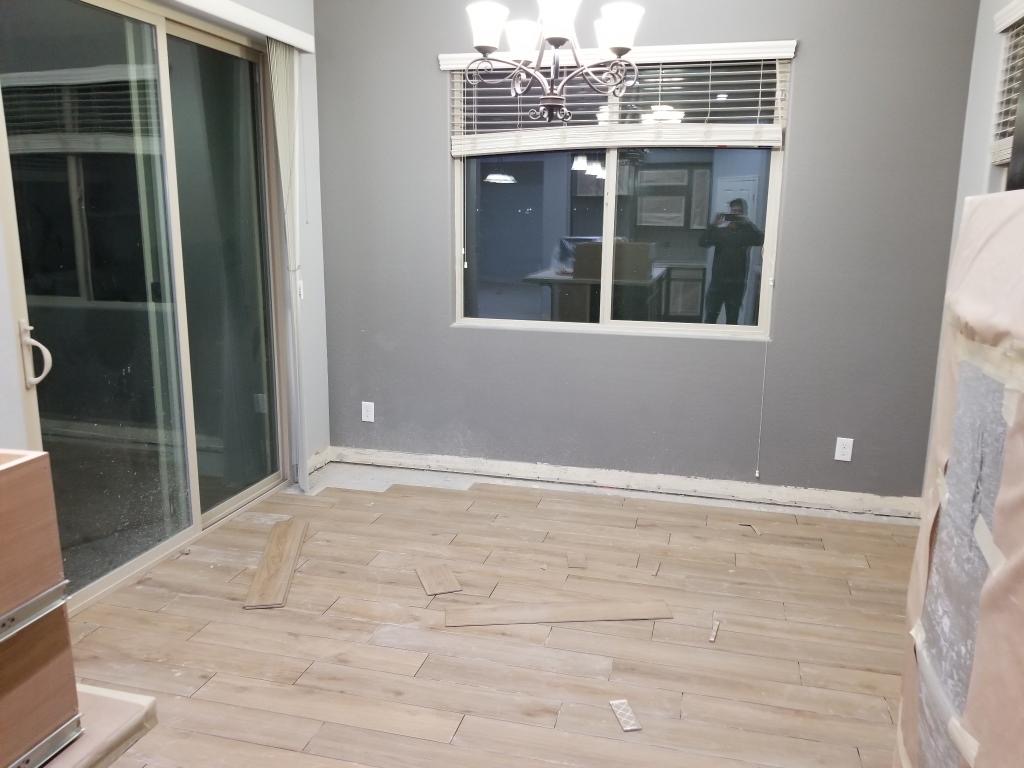
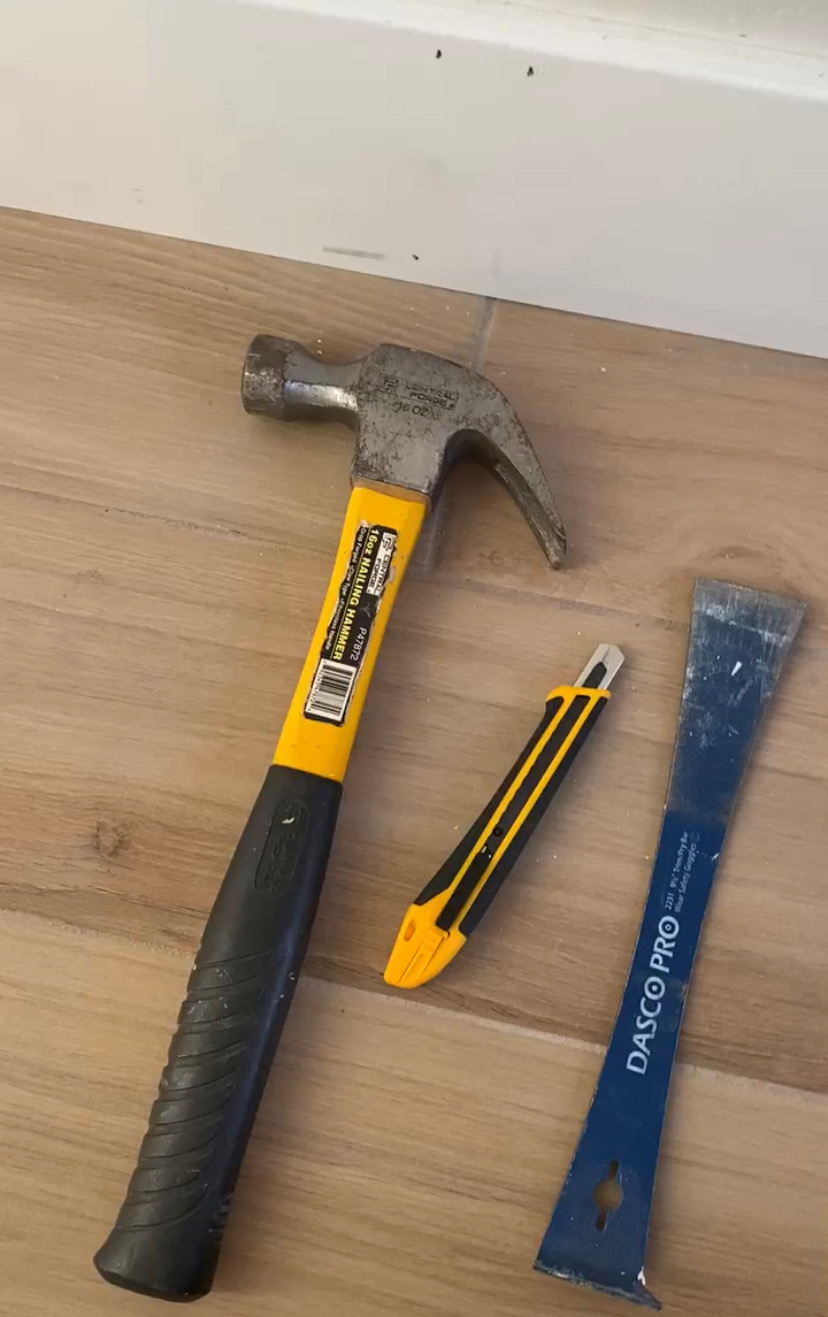
The first thing to tackle was removing any furniture and clearing as much from the area as possible so you have plenty of room to work. I removed the baseboards on the walls where the banquette would sit by first running a utility knife along the line of caulk to separate the baseboard from the wall, and then using a hammer and pry bar to pry the baseboard away from the wall.
- Keep reading: 65 kitchen ideas - pictures, décor, and design ideas for your next makeover
Step 2: Add studs for your bench
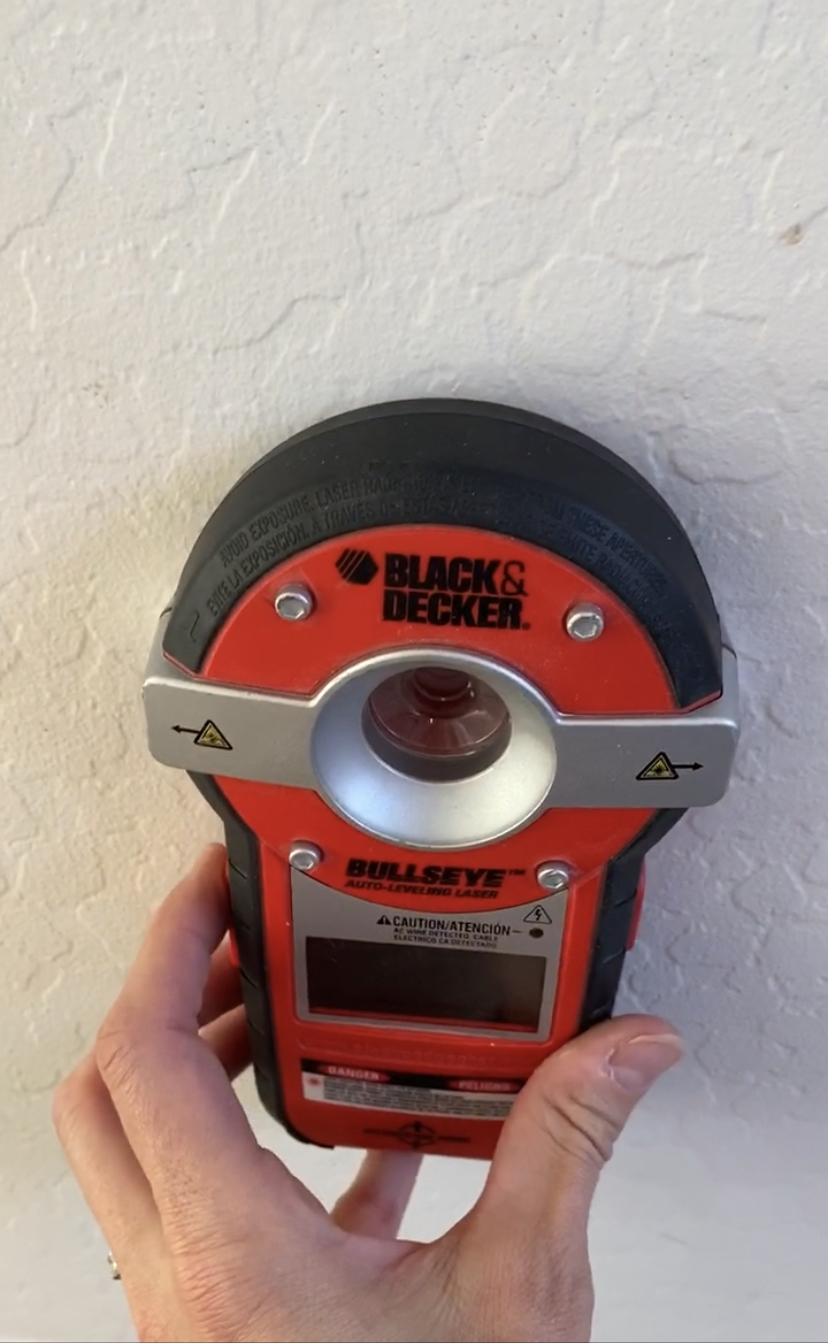
Once the baseboards were removed I marked the wall for studs using my stud finder. This is one of the most important steps so that in the end you have a very sturdy and structurally sound bench.
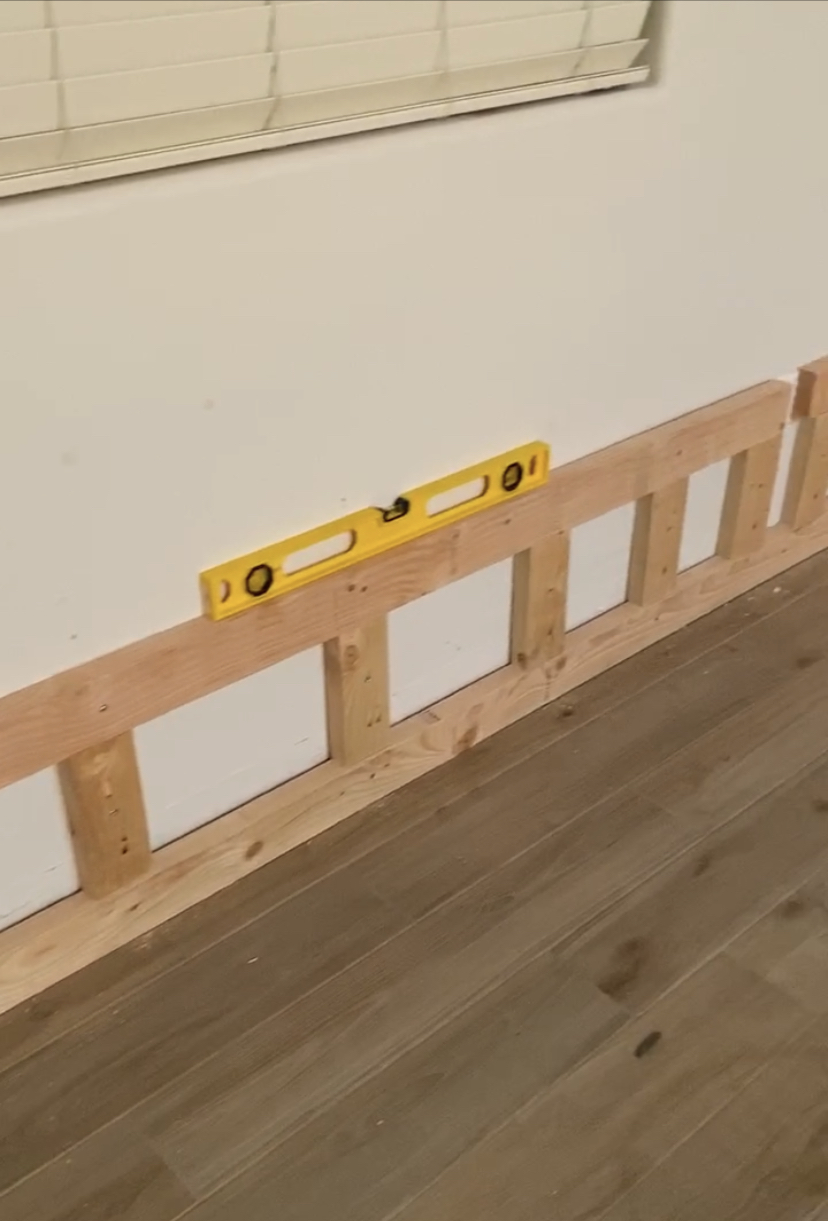
Then, I attached two 2'x4's horizontally to the back of the wall for the supports, making sure to drill them into studs. I wanted to cover the entire length of the wall so our bench is wall to wall. Your measurements will adjust according to the space you are working with. Using pocket holes and pocket hole screws I cut and attached the smaller vertical supports between the 2'x4's already anchored into the wall.
Then, I measured and cut 2'x4's to complete the rest of the bench frame, attaching them with a drill and pocket hole screws.
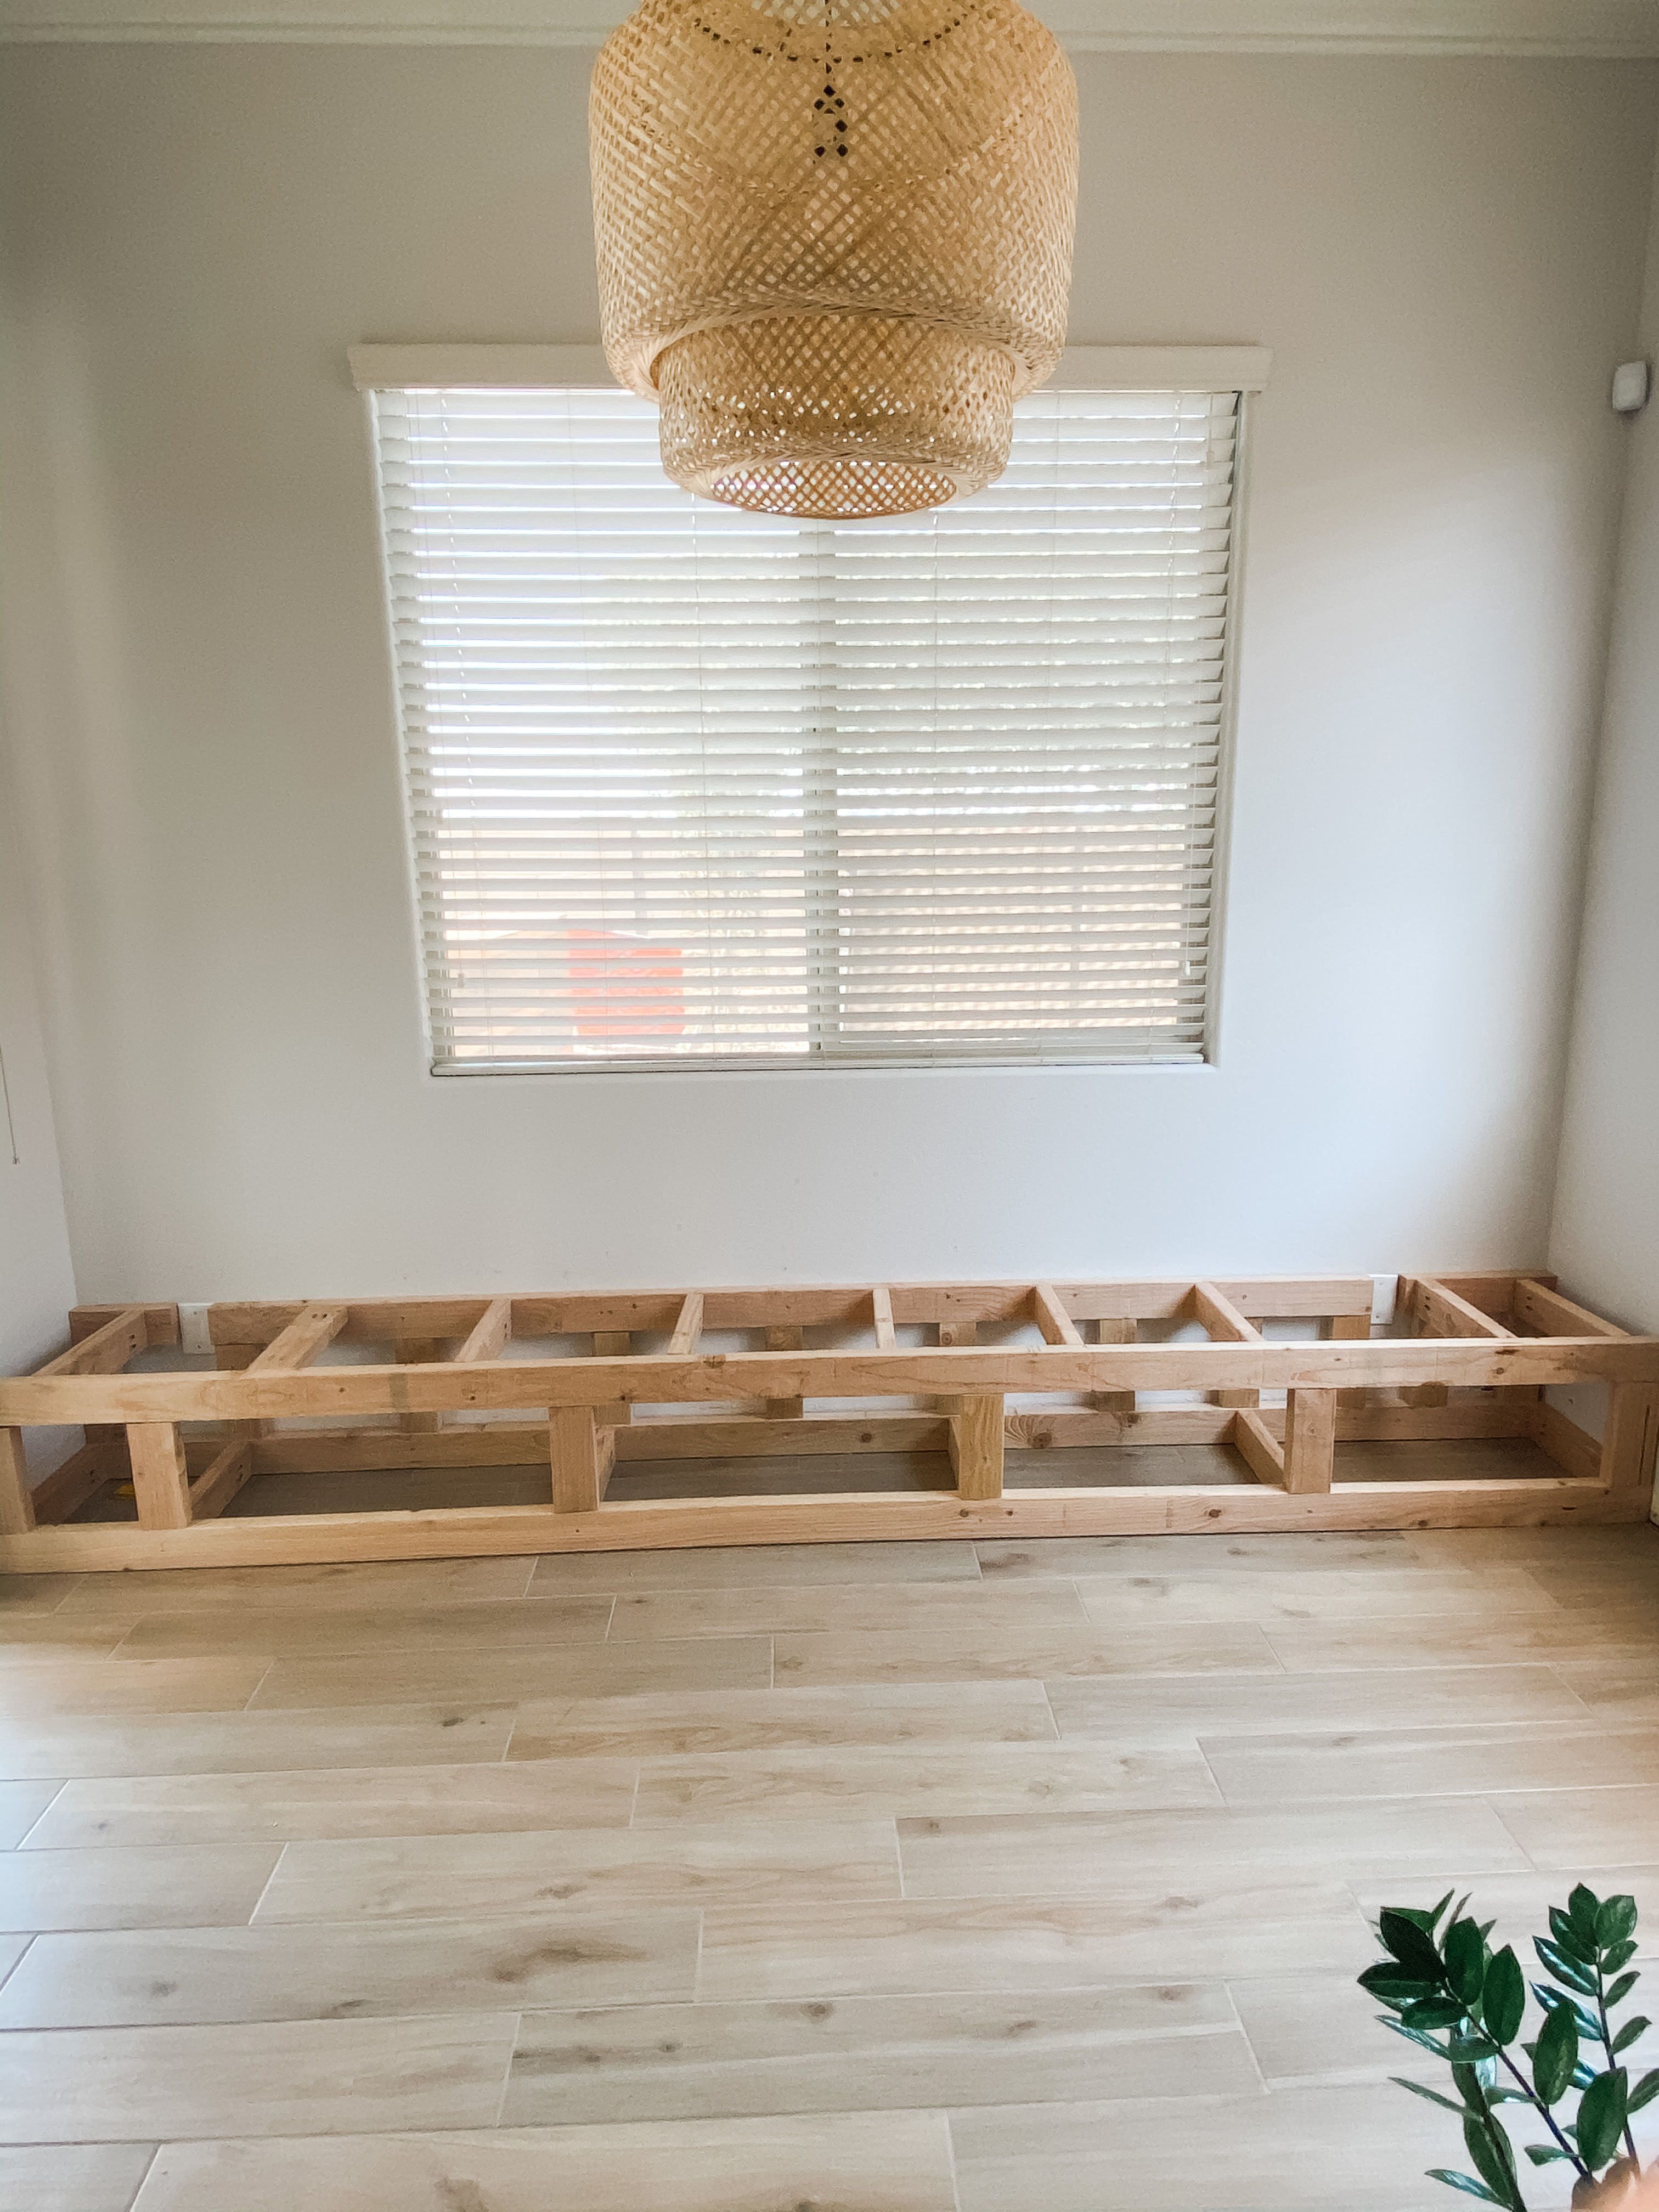
You now have a frame! This is the most labor intensive part in my opinion with a lot of cuts being made on your miter saw and holes being drilled.
Get small space home decor ideas, celeb inspiration, DIY tips and more, straight to your inbox!
Step 3: Cover the bench frame with plywood
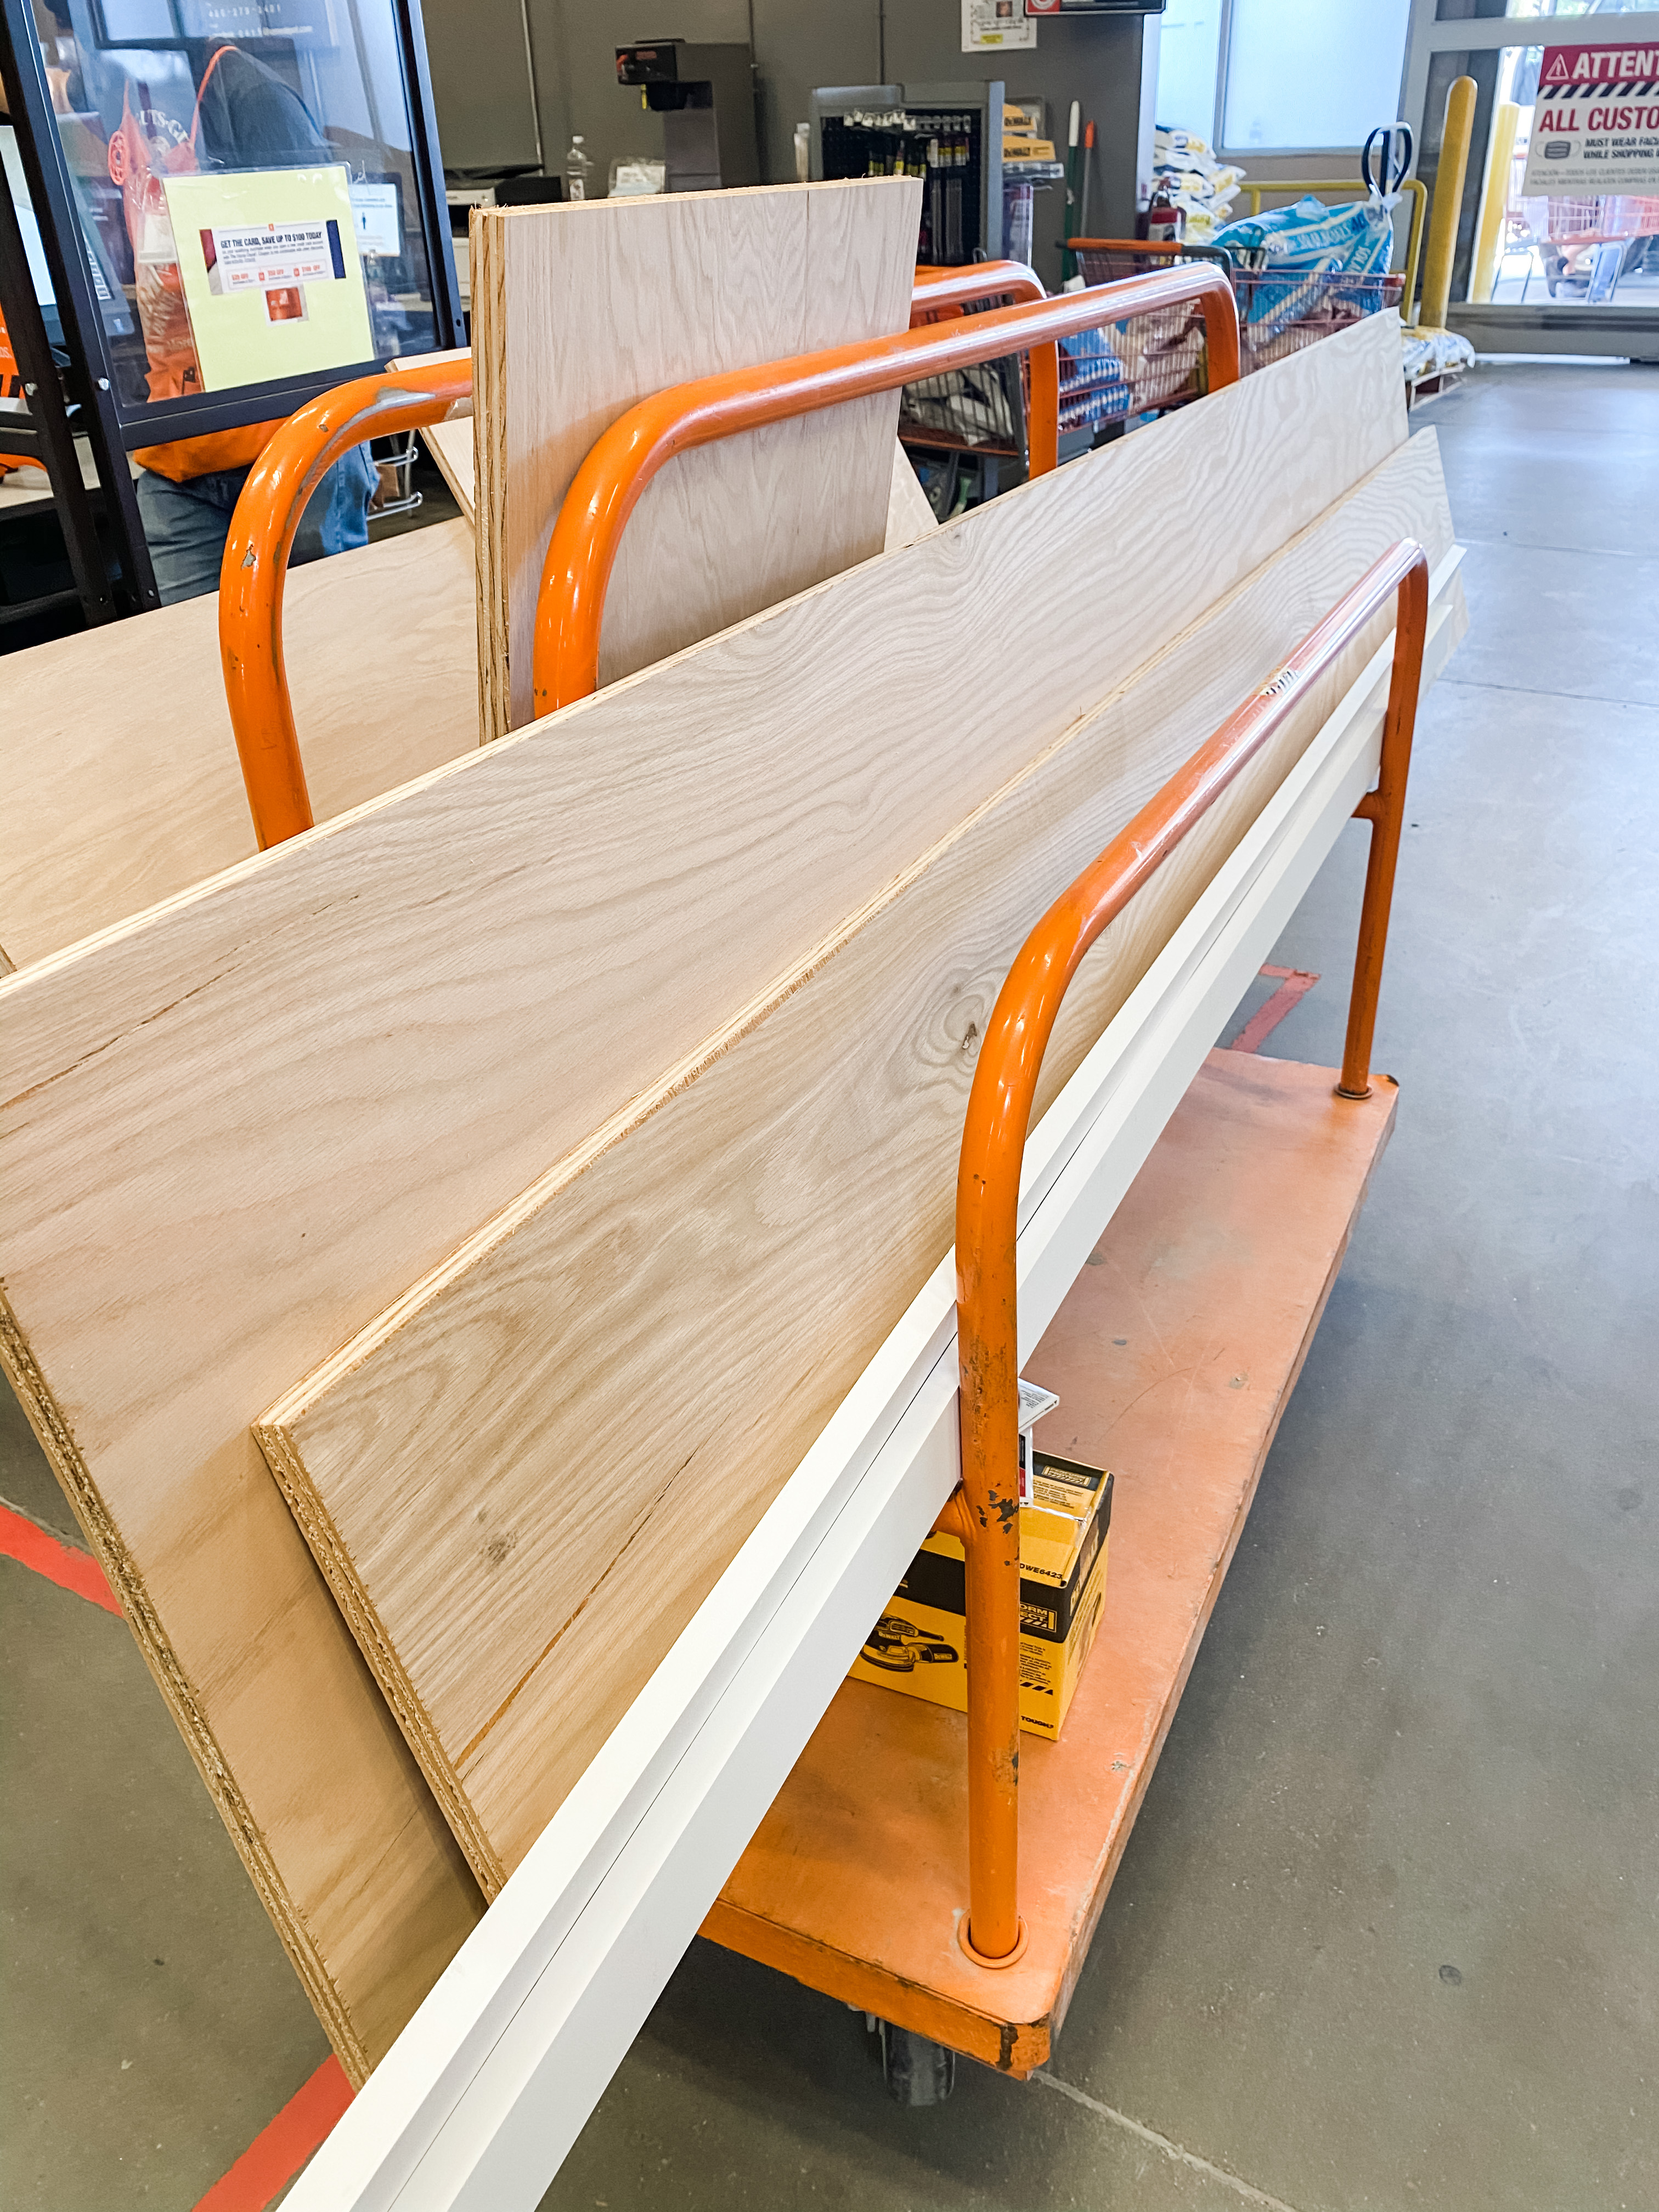
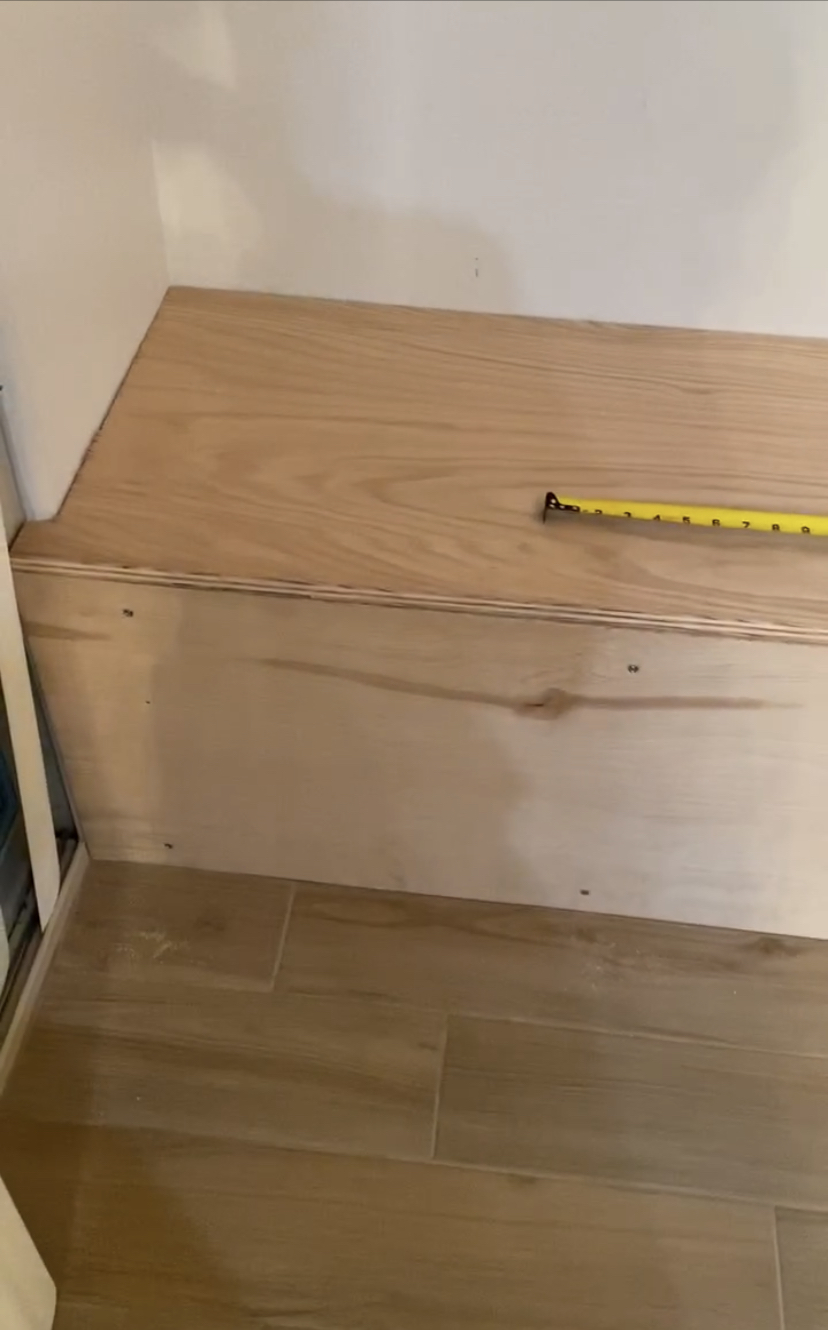
Now it’s time to cover the frame with plywood. We chose a ¾” birch plywood for the top and ½” for the front, or face. To make things easy we had the hardware store help us make most of the cuts.
Since our bench is over 11’ in length and plywood only comes in 8’ sheets we did have to use two pieces on each the top and front to cover it all. That was okay in the end because one of our trim pieces on the front covered that seam. We used wood glue, our nail gun, and screws to attach the plywood to the frame. The only tricky part was using our jigsaw to cut the plywood to accommodate the curve in our drywall.
Step 4: Add trim to the bench
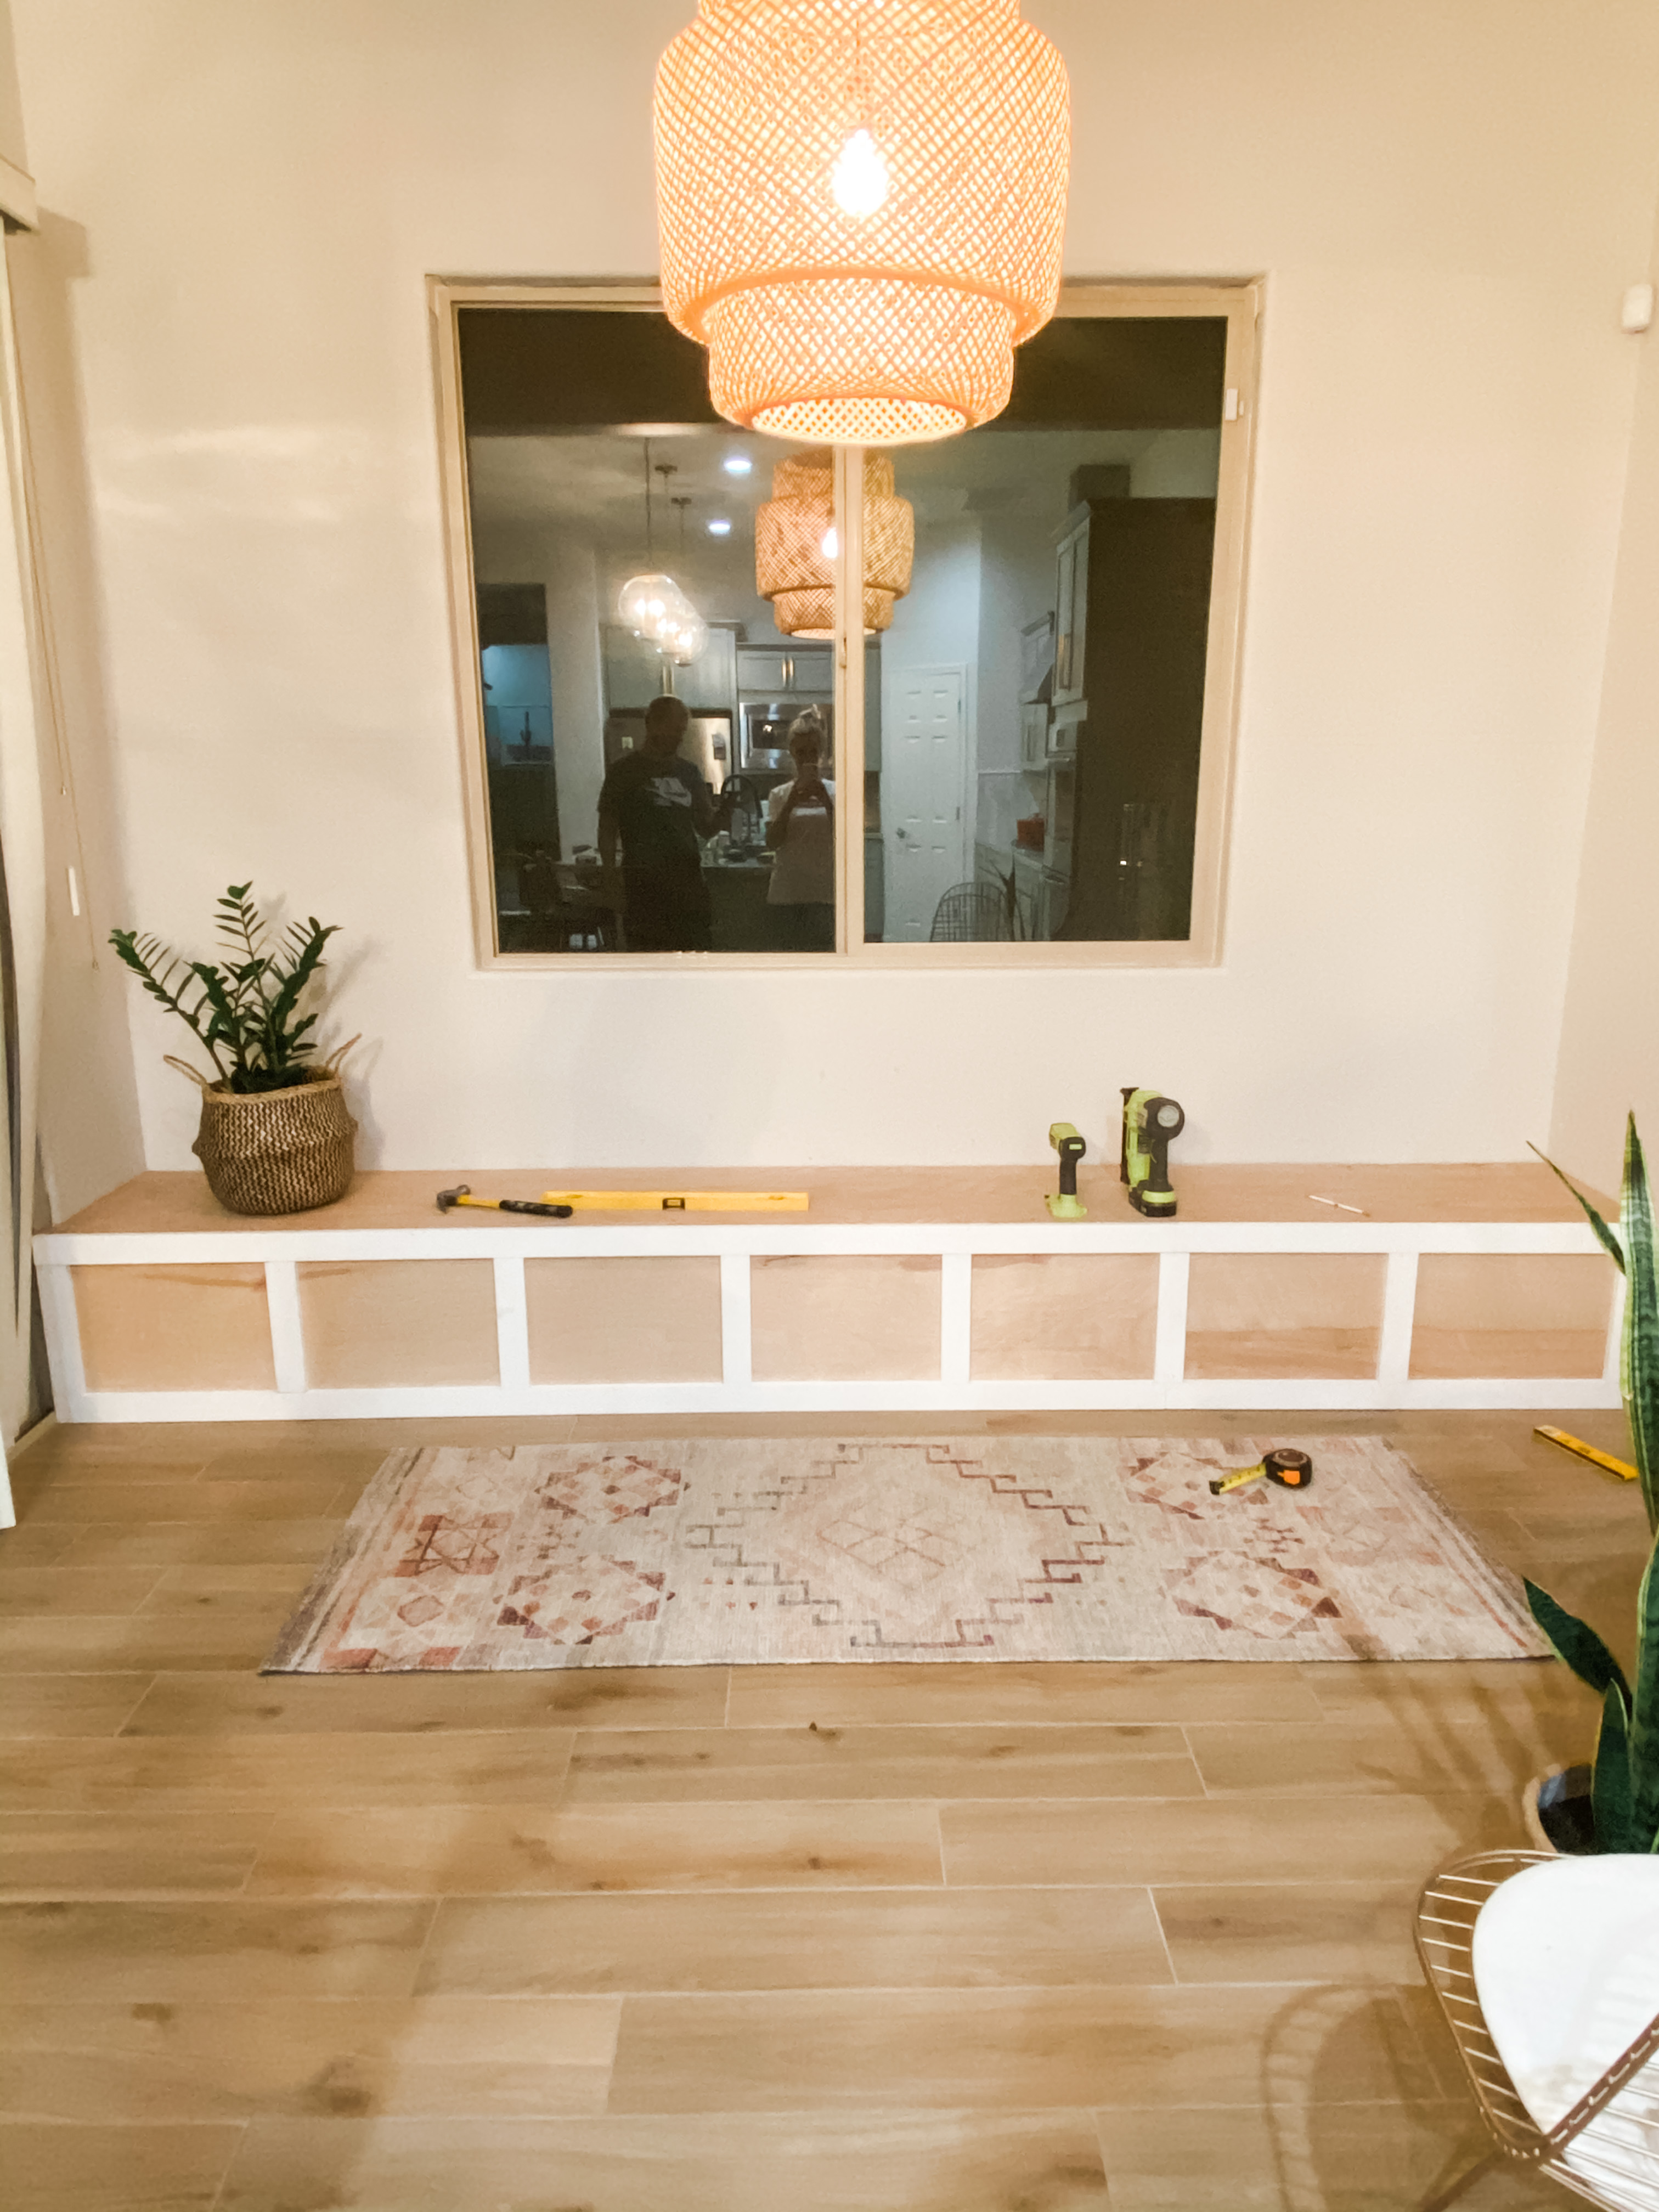
Now for the trim on the face of the bench. I chose a board and batten method and used primed 1"x3" mdf. I love using inchcalculator.com to quickly calculate the amount and spacing of any trim work I am doing. Having the math done for me is a huge win!
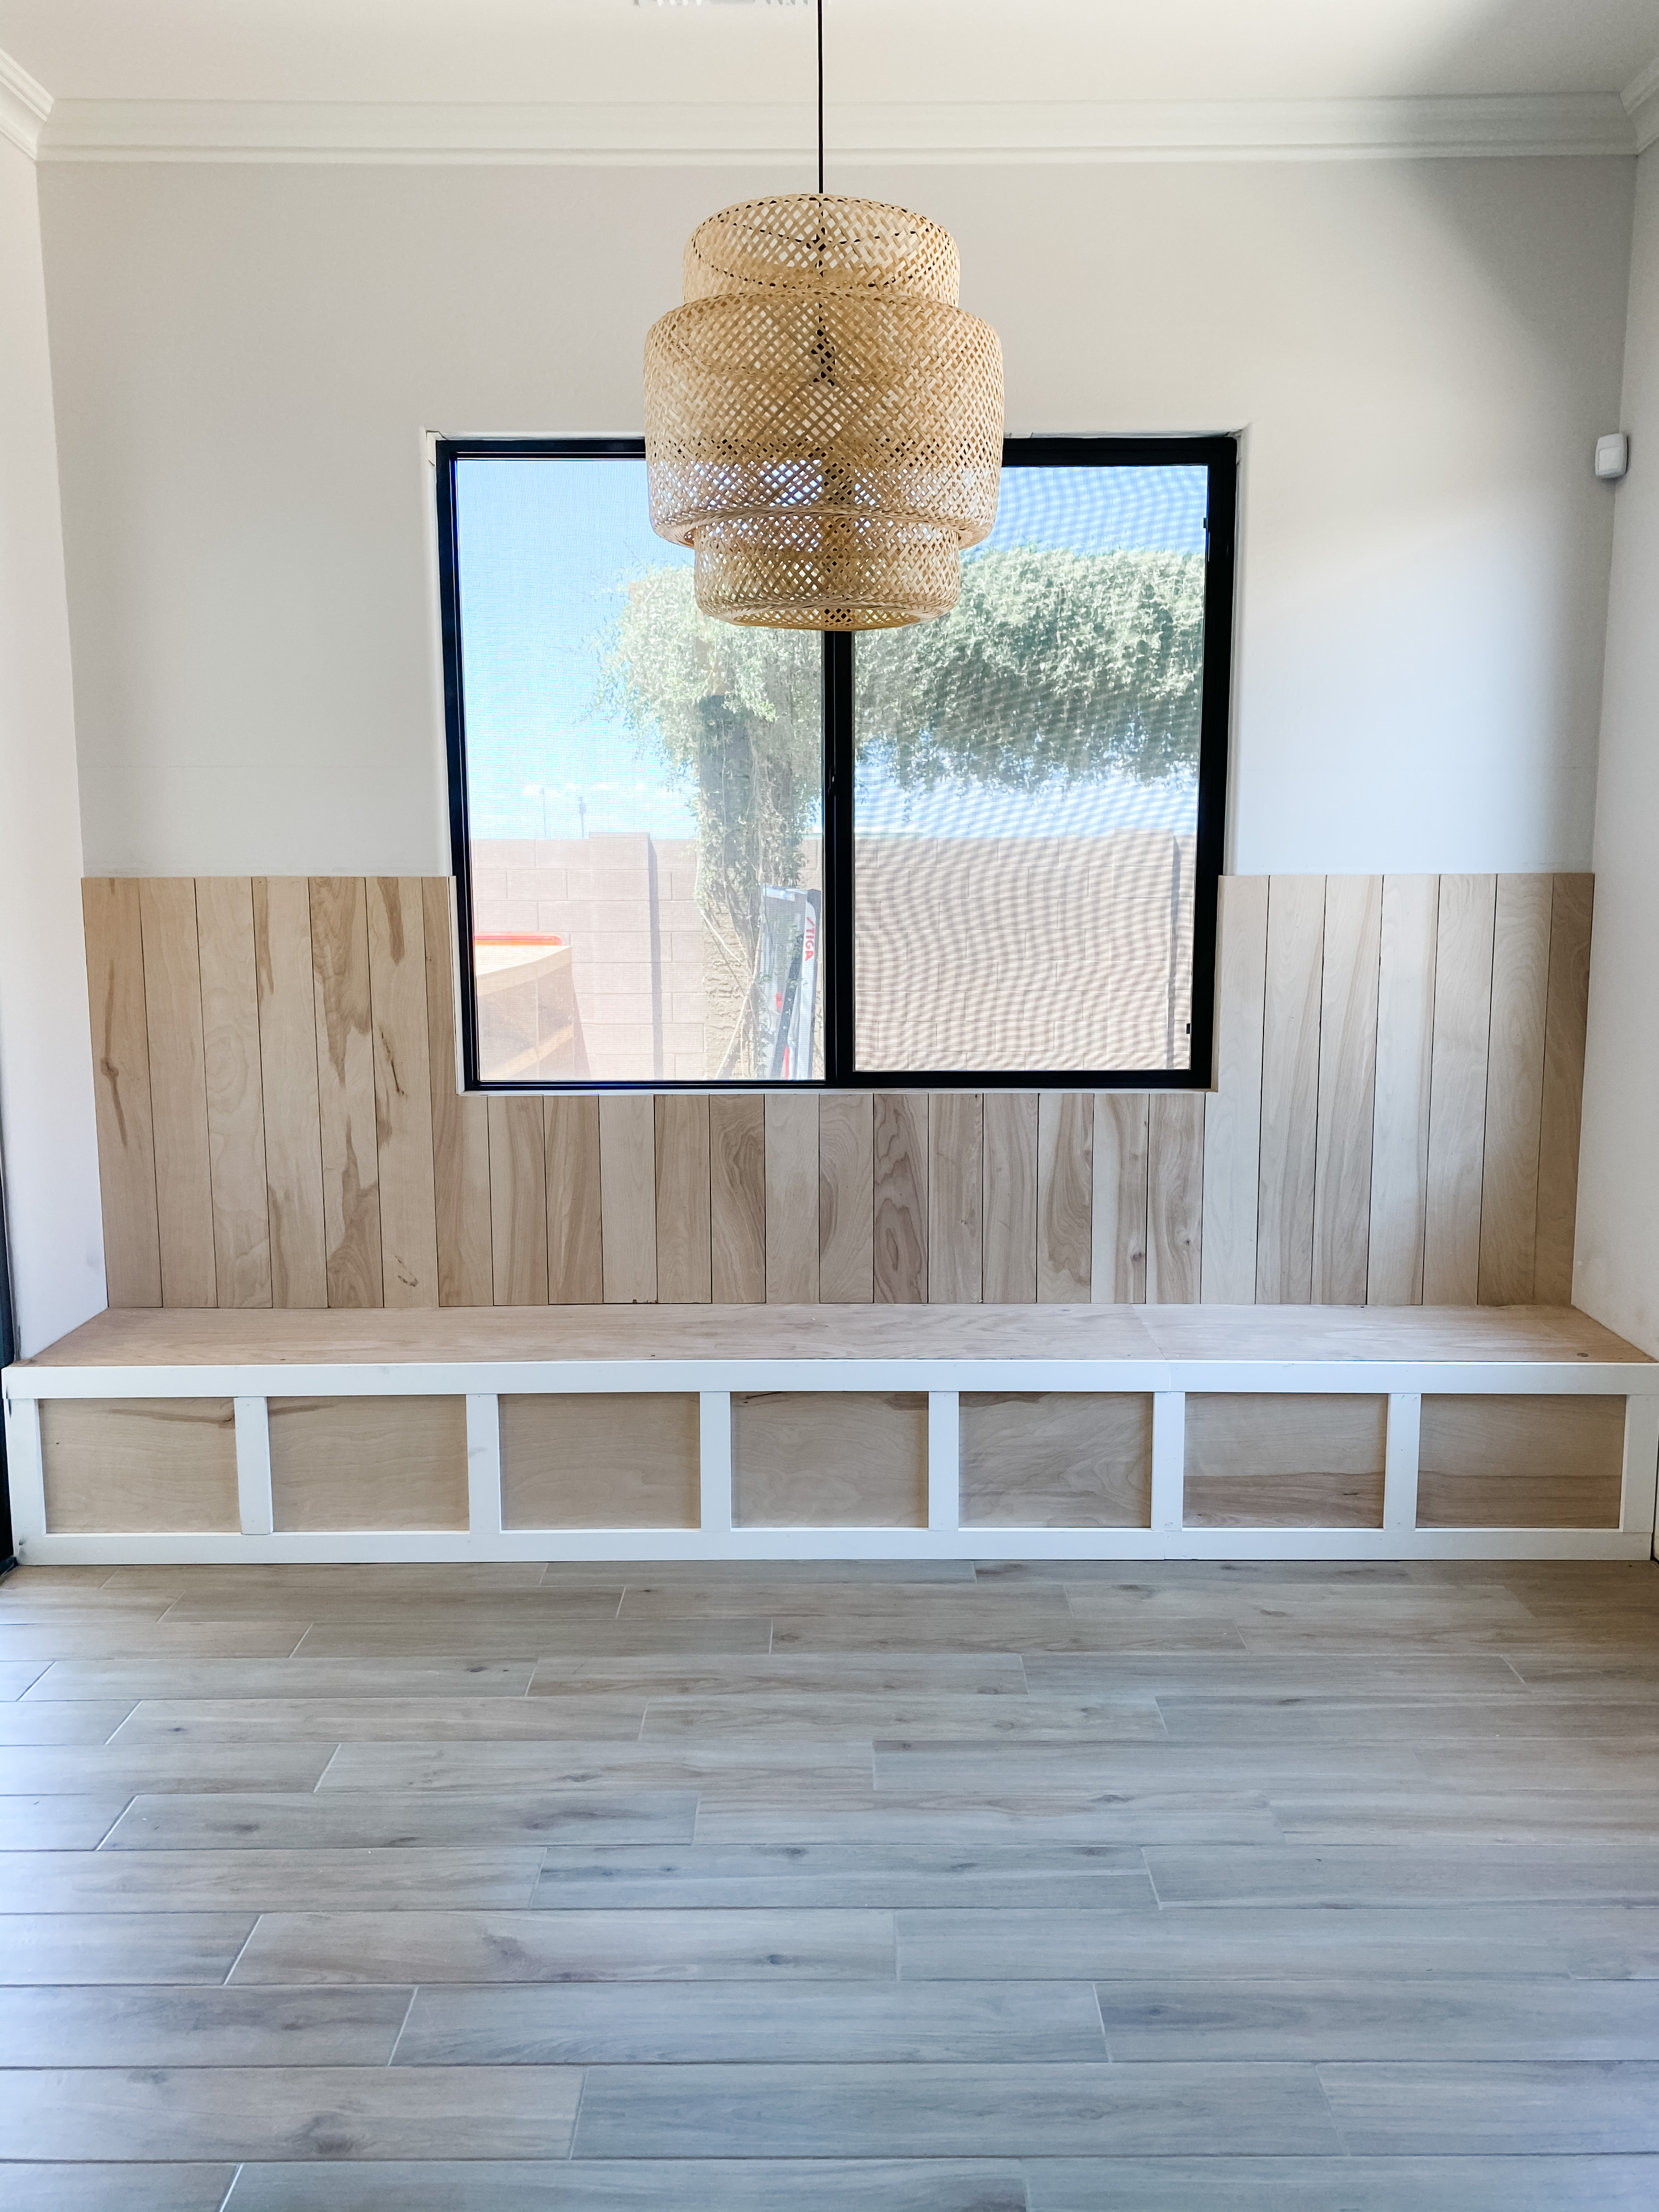
At this point, my DIY breakfast nook bench was pretty much finished, aside from paint but I knew that I wanted to add wall paneling as well. We used ½” birch plywood and ripped it down to 5” widths to create a paneled look on the wall above the bench. We used nickels for the spacing and attached each piece with our nail gun.
We also added a small shelf on each side using leftover 1"x3"s because I really wanted to be able to add leaning art to this area.
Step 5: Fill nail holes, sand, and paint
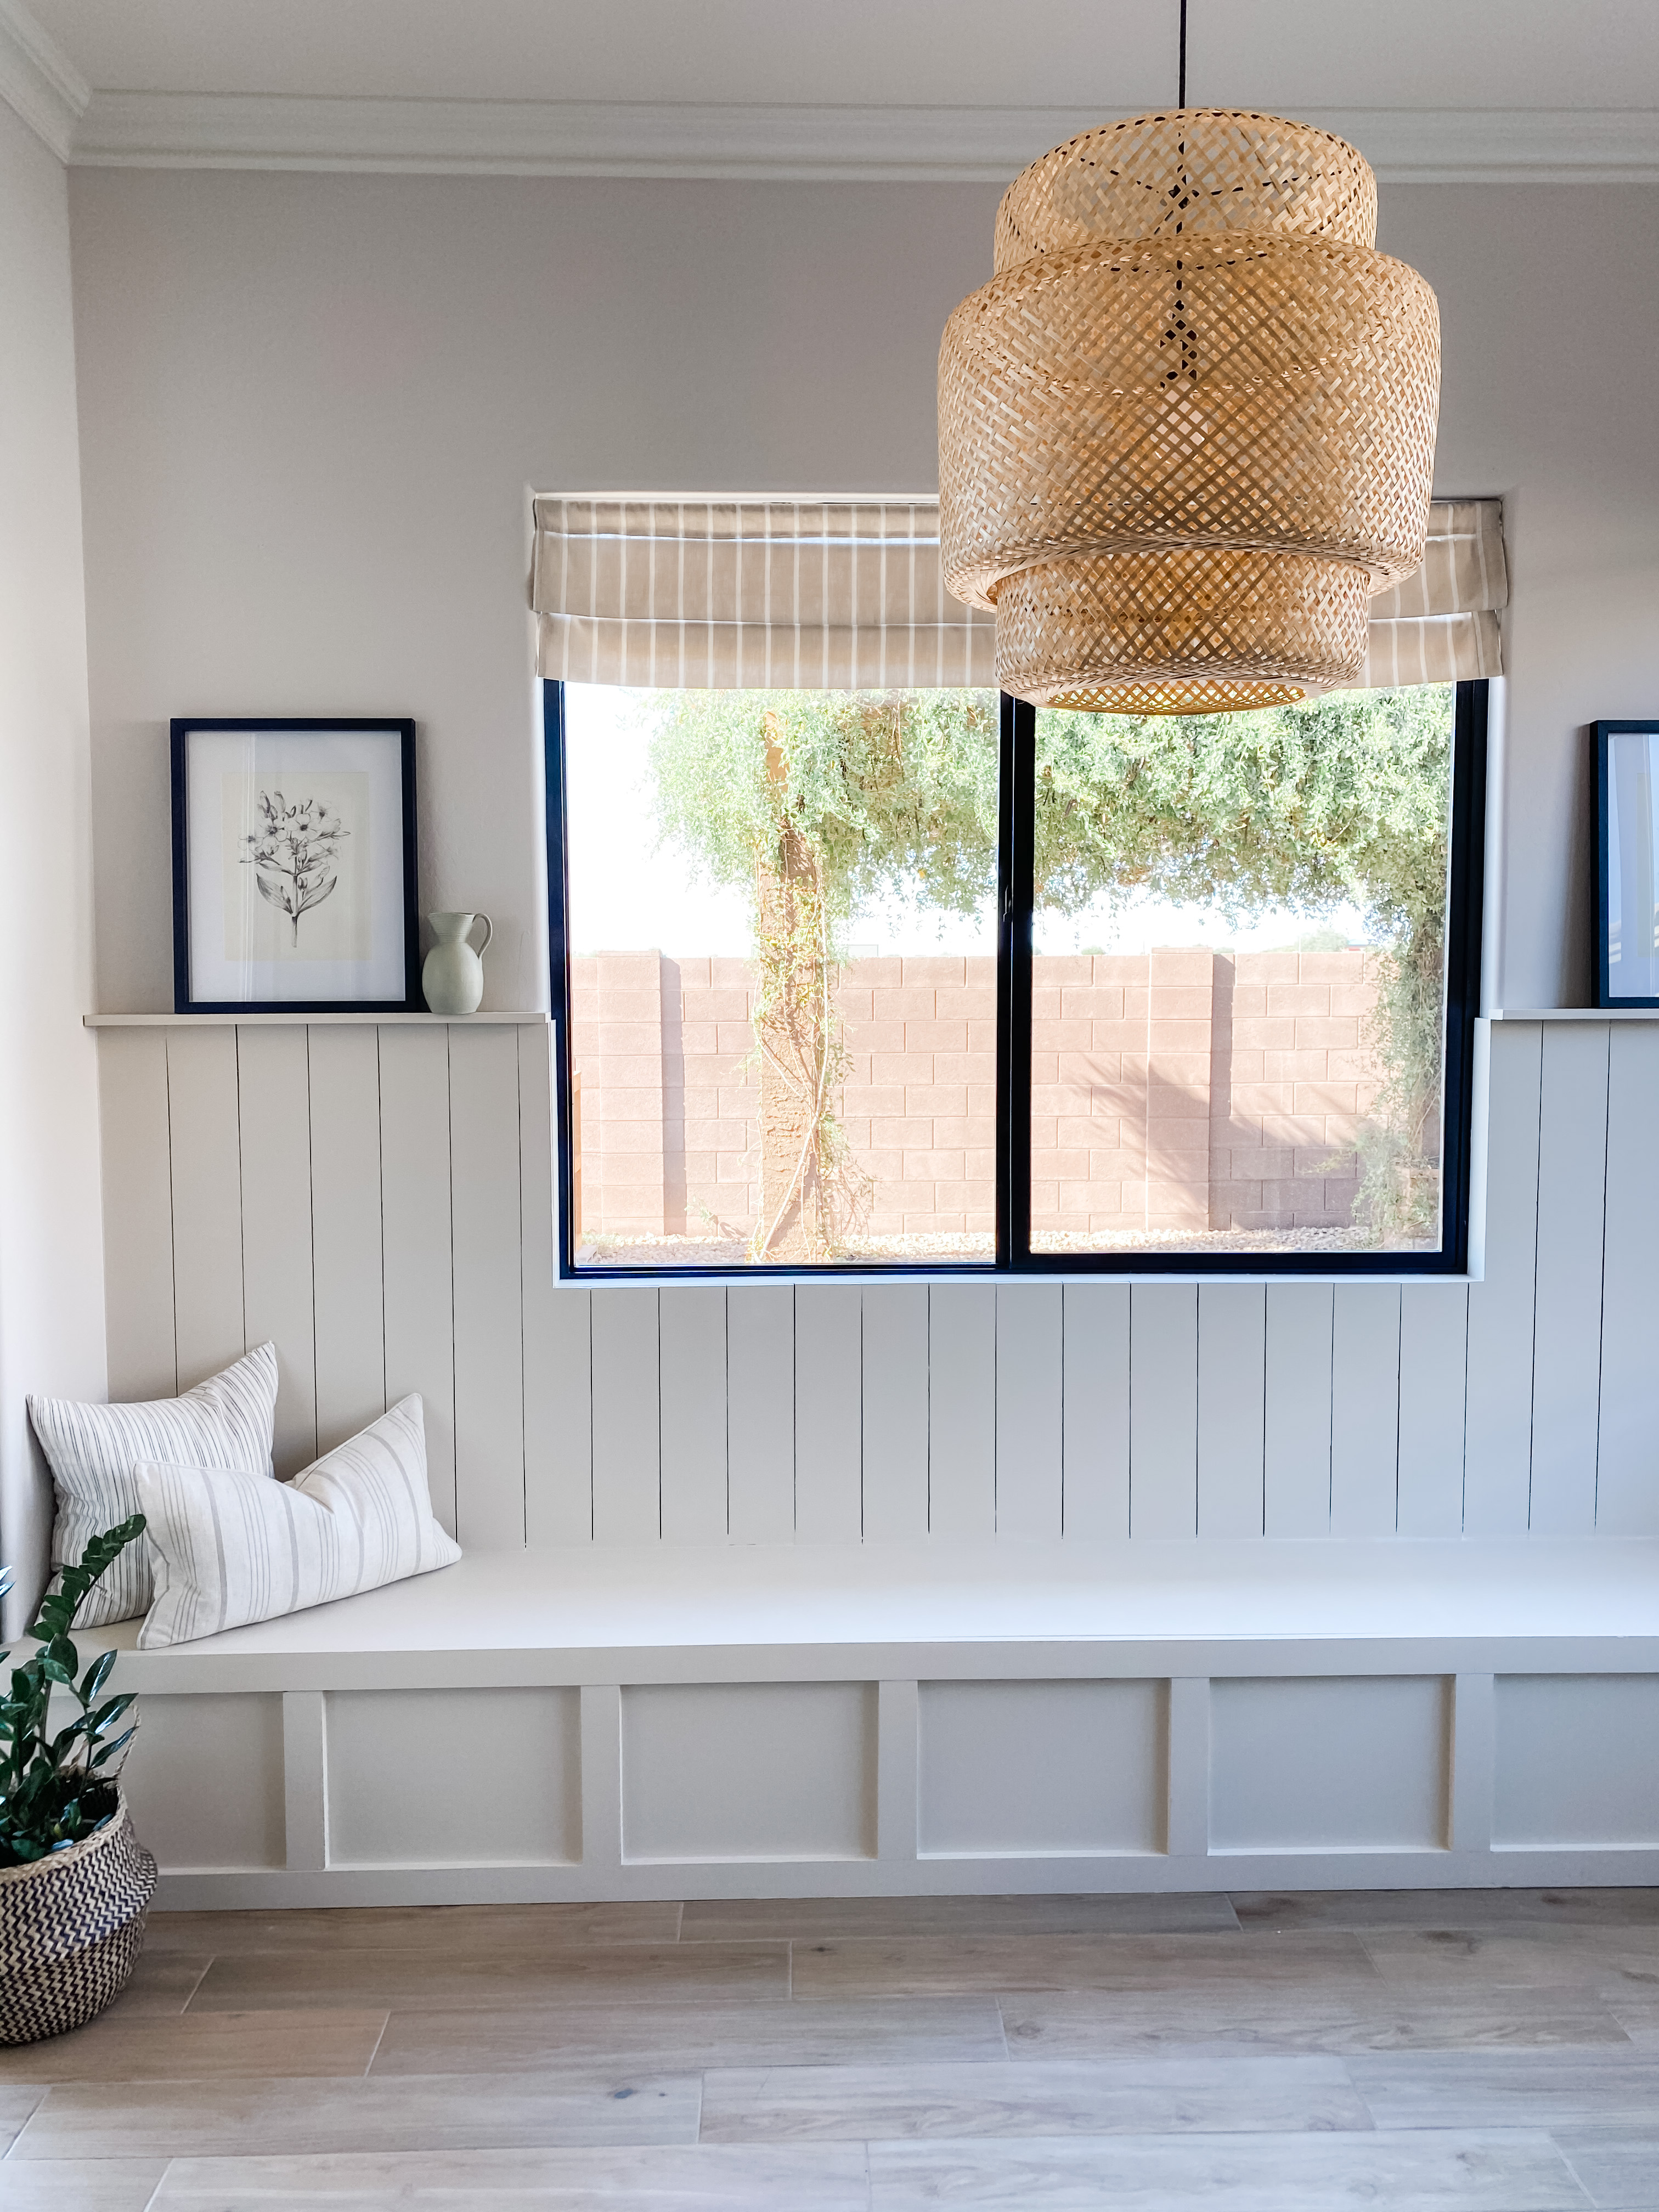
The tedious part is always the finish work for me: filling nail holes and sanding. But, it's such a crucial step. After filling the nail and screw holes, I sanded with my orbital sander using a 60 grit sandpaper first and finished with a 220 grit to give the bench a nice and buttery smooth finish.
Then, I primed using Kilz latex primer and we’re ready for paint, finally!
I grabbed a few samples from the hardware store in pretty neutral colors. This is totally just preference. I would have loved a bold color but needed to stay in harmony with my already gray-green kitchen cabinets so I decided to keep the bench color neutral. In the end I chose Natural Linen by Benjamin Moore.
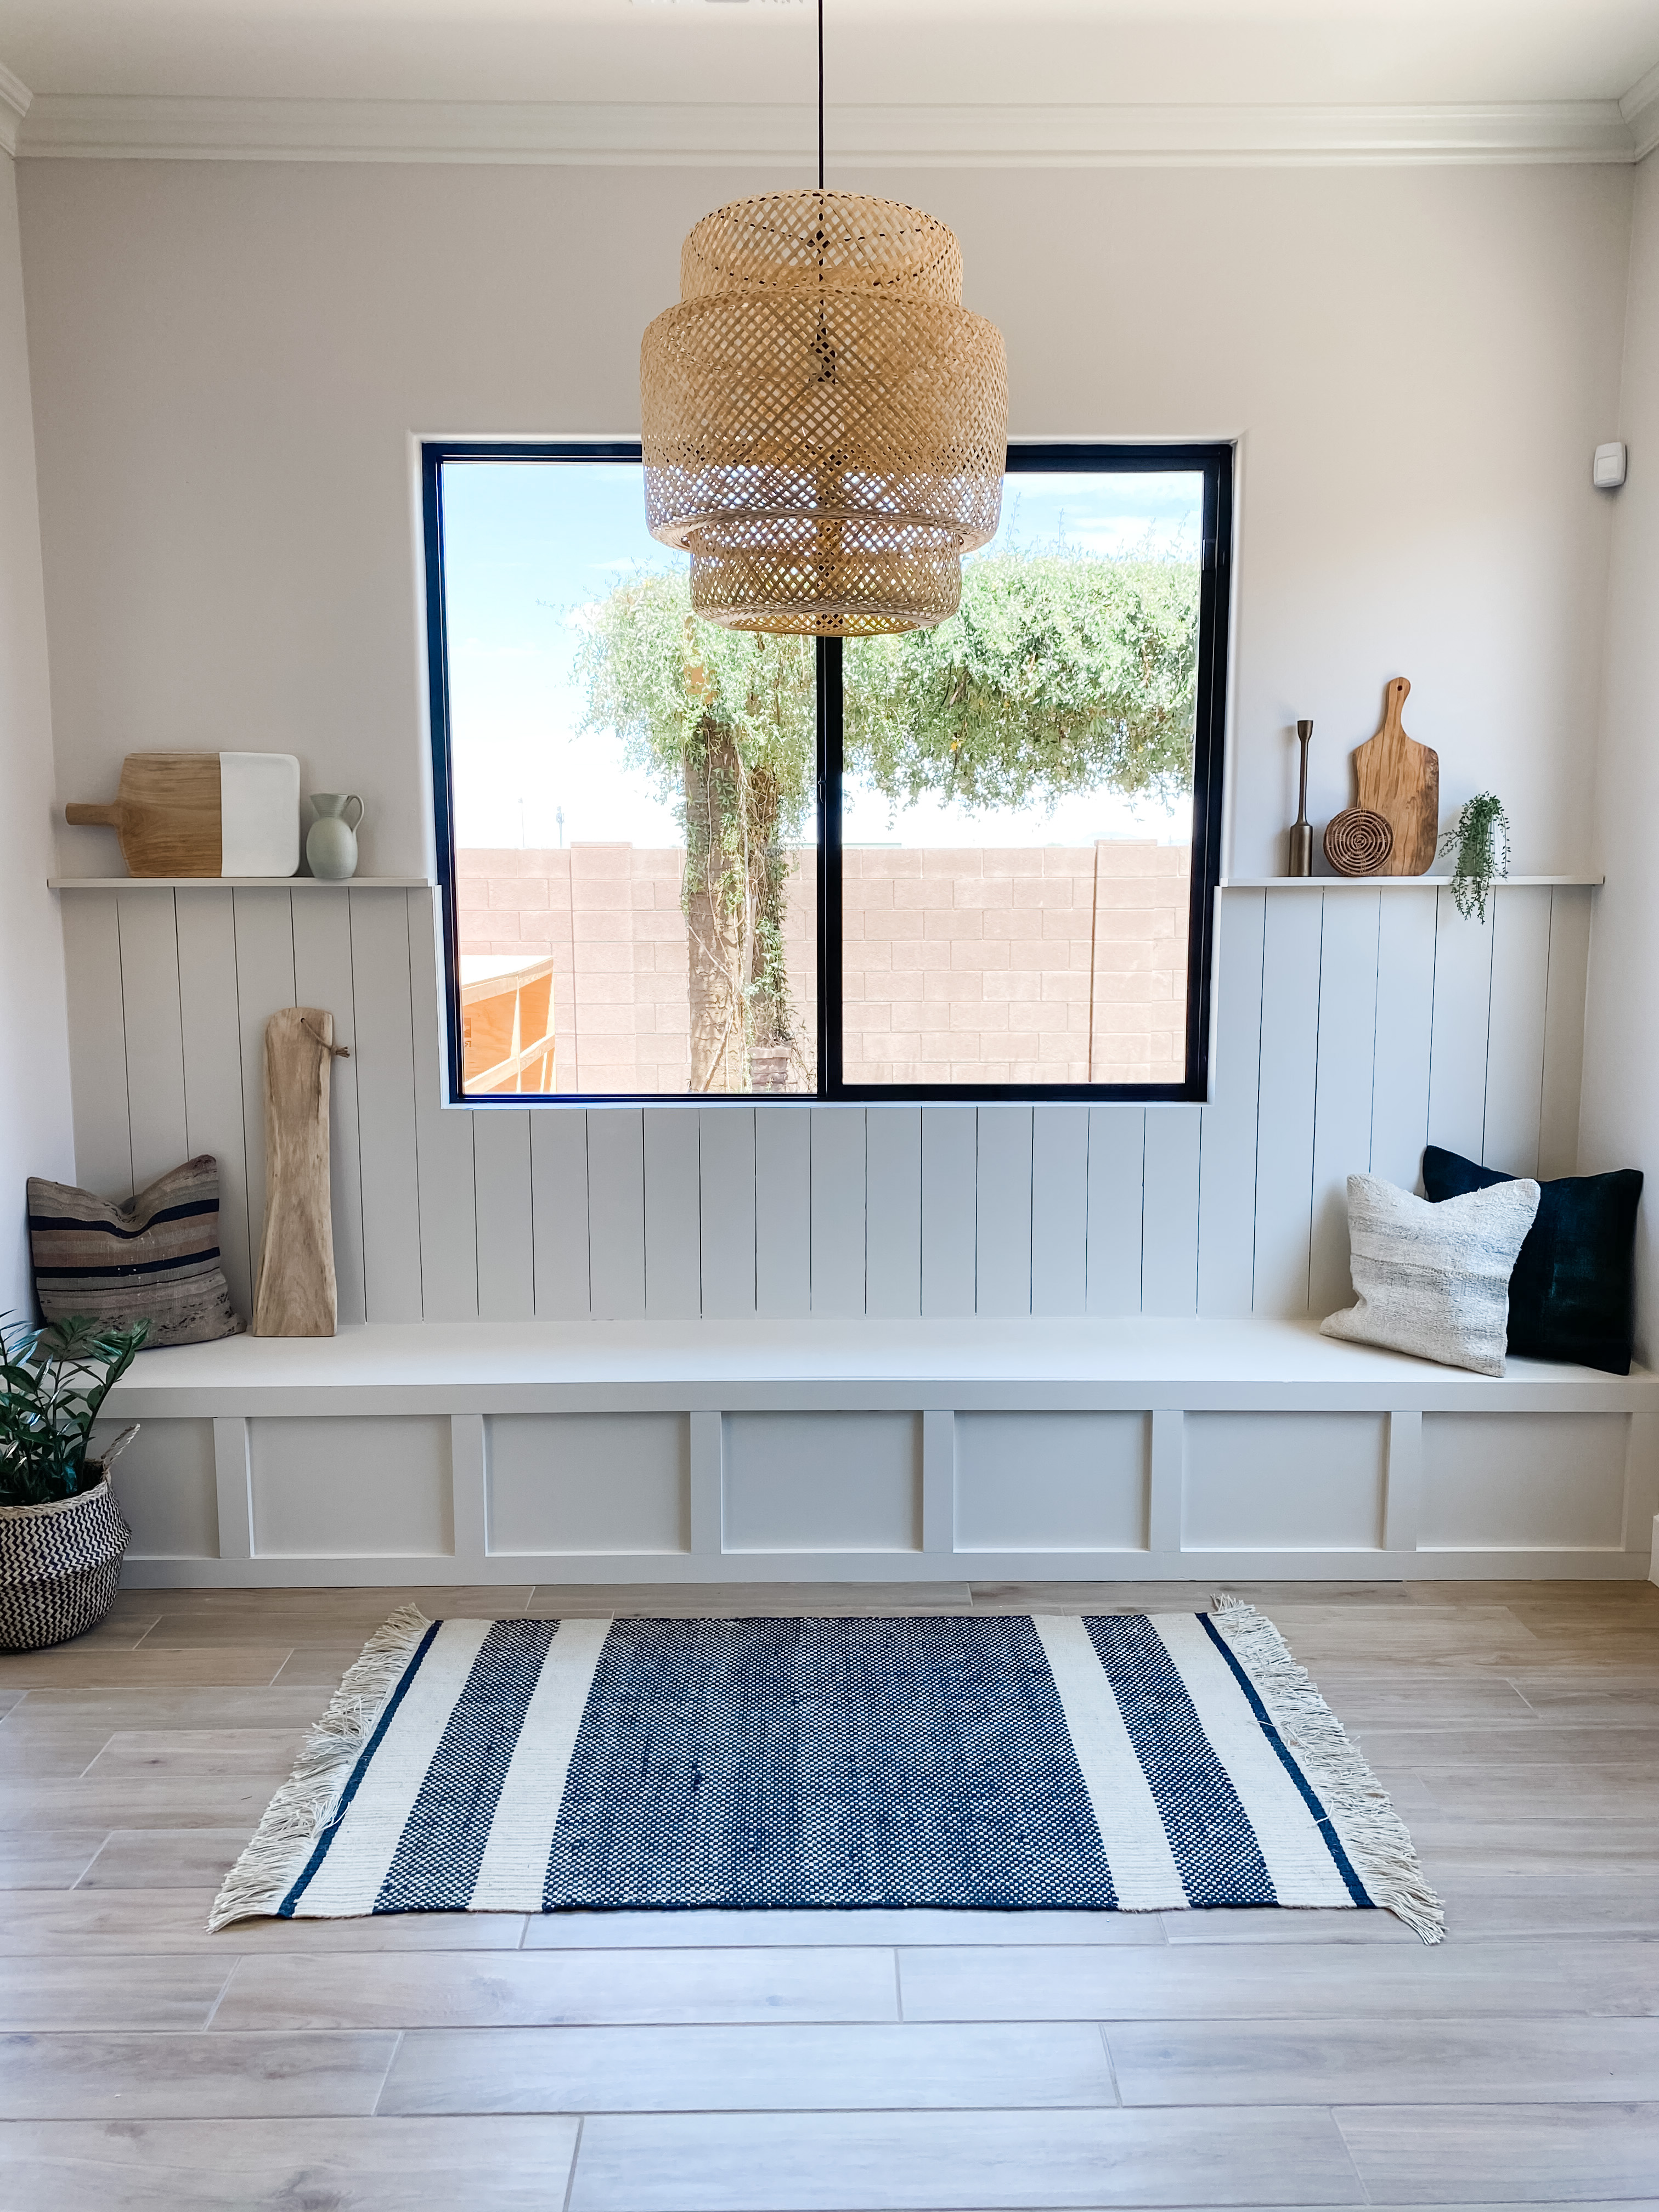
This built-in banquette was my biggest build to date and I can’t describe the feeling of accomplishment I feel looking at this beauty! I couldn’t have imagined even a year ago being able to tackle something like this without the help of a professional.
This space has developed over time with the addition of a table, chairs, and rug, as well as DIY tufted French mattress cushions I made for the bench seats. We use this built-in breakfast nook daily and I’m so happy our family has a comfortable place to gather.
If you are interested in seeing more of my projects and home follow me on Instagram @brookewaitehome.
I'm a mom of three with a passion for interior design and DIY! I am currently renovating a farmhouse along with my husband and running an Airbnb in our hometown. I would define my style as loving clean lines with a good mixture of old and new. I love a modern cottage look and have been very interested in vintage pieces as of late. When I’m not spending time with my family or dreaming up another home project, I love to read, eat good food, and binge-watch crime shows on Netflix!
