This DIY bath panel is the budget friendly update your bathroom deserves
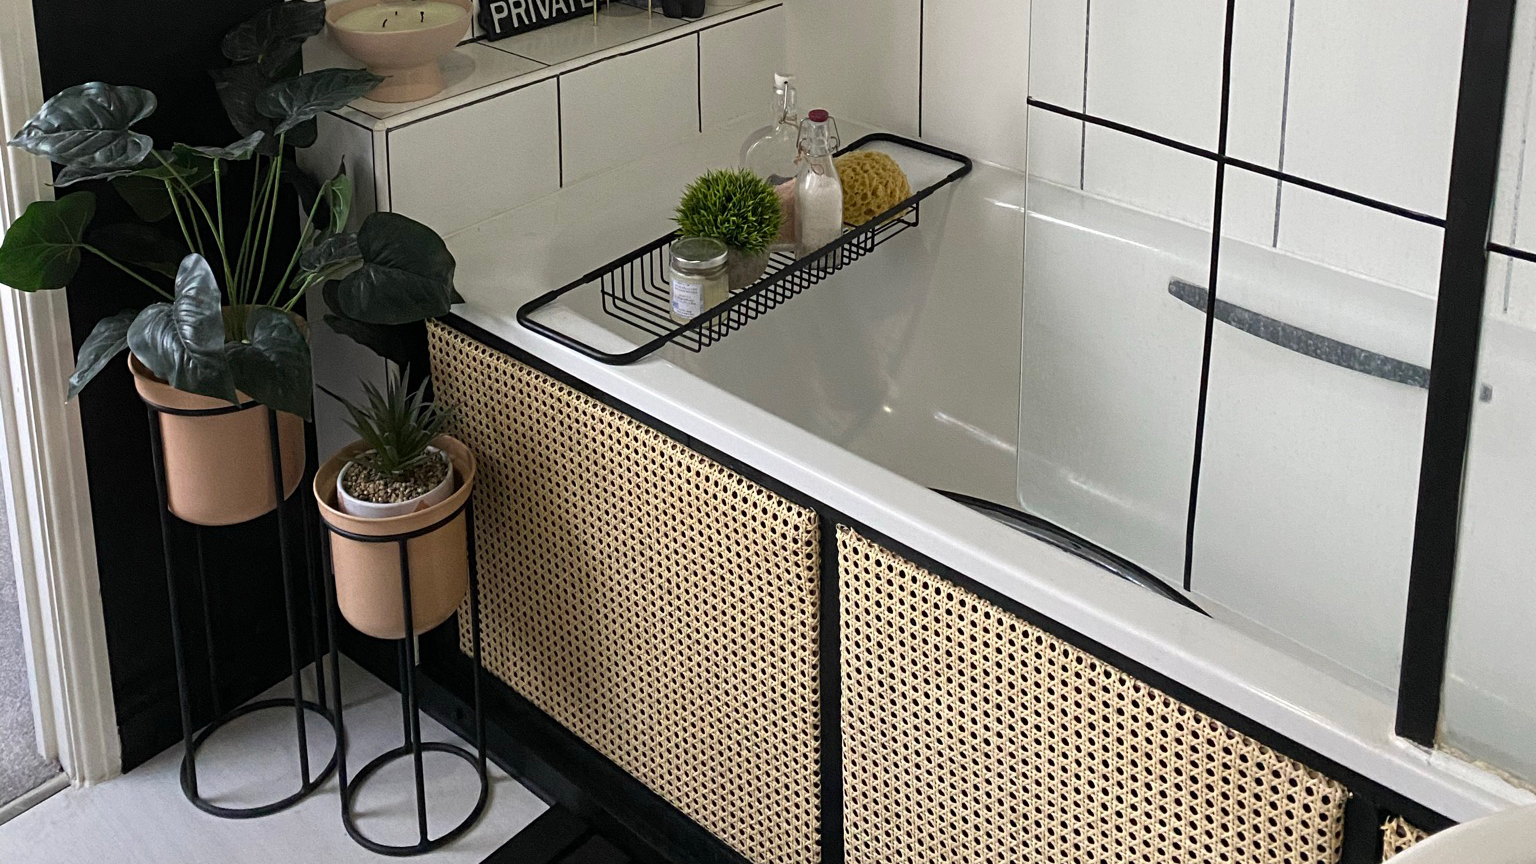
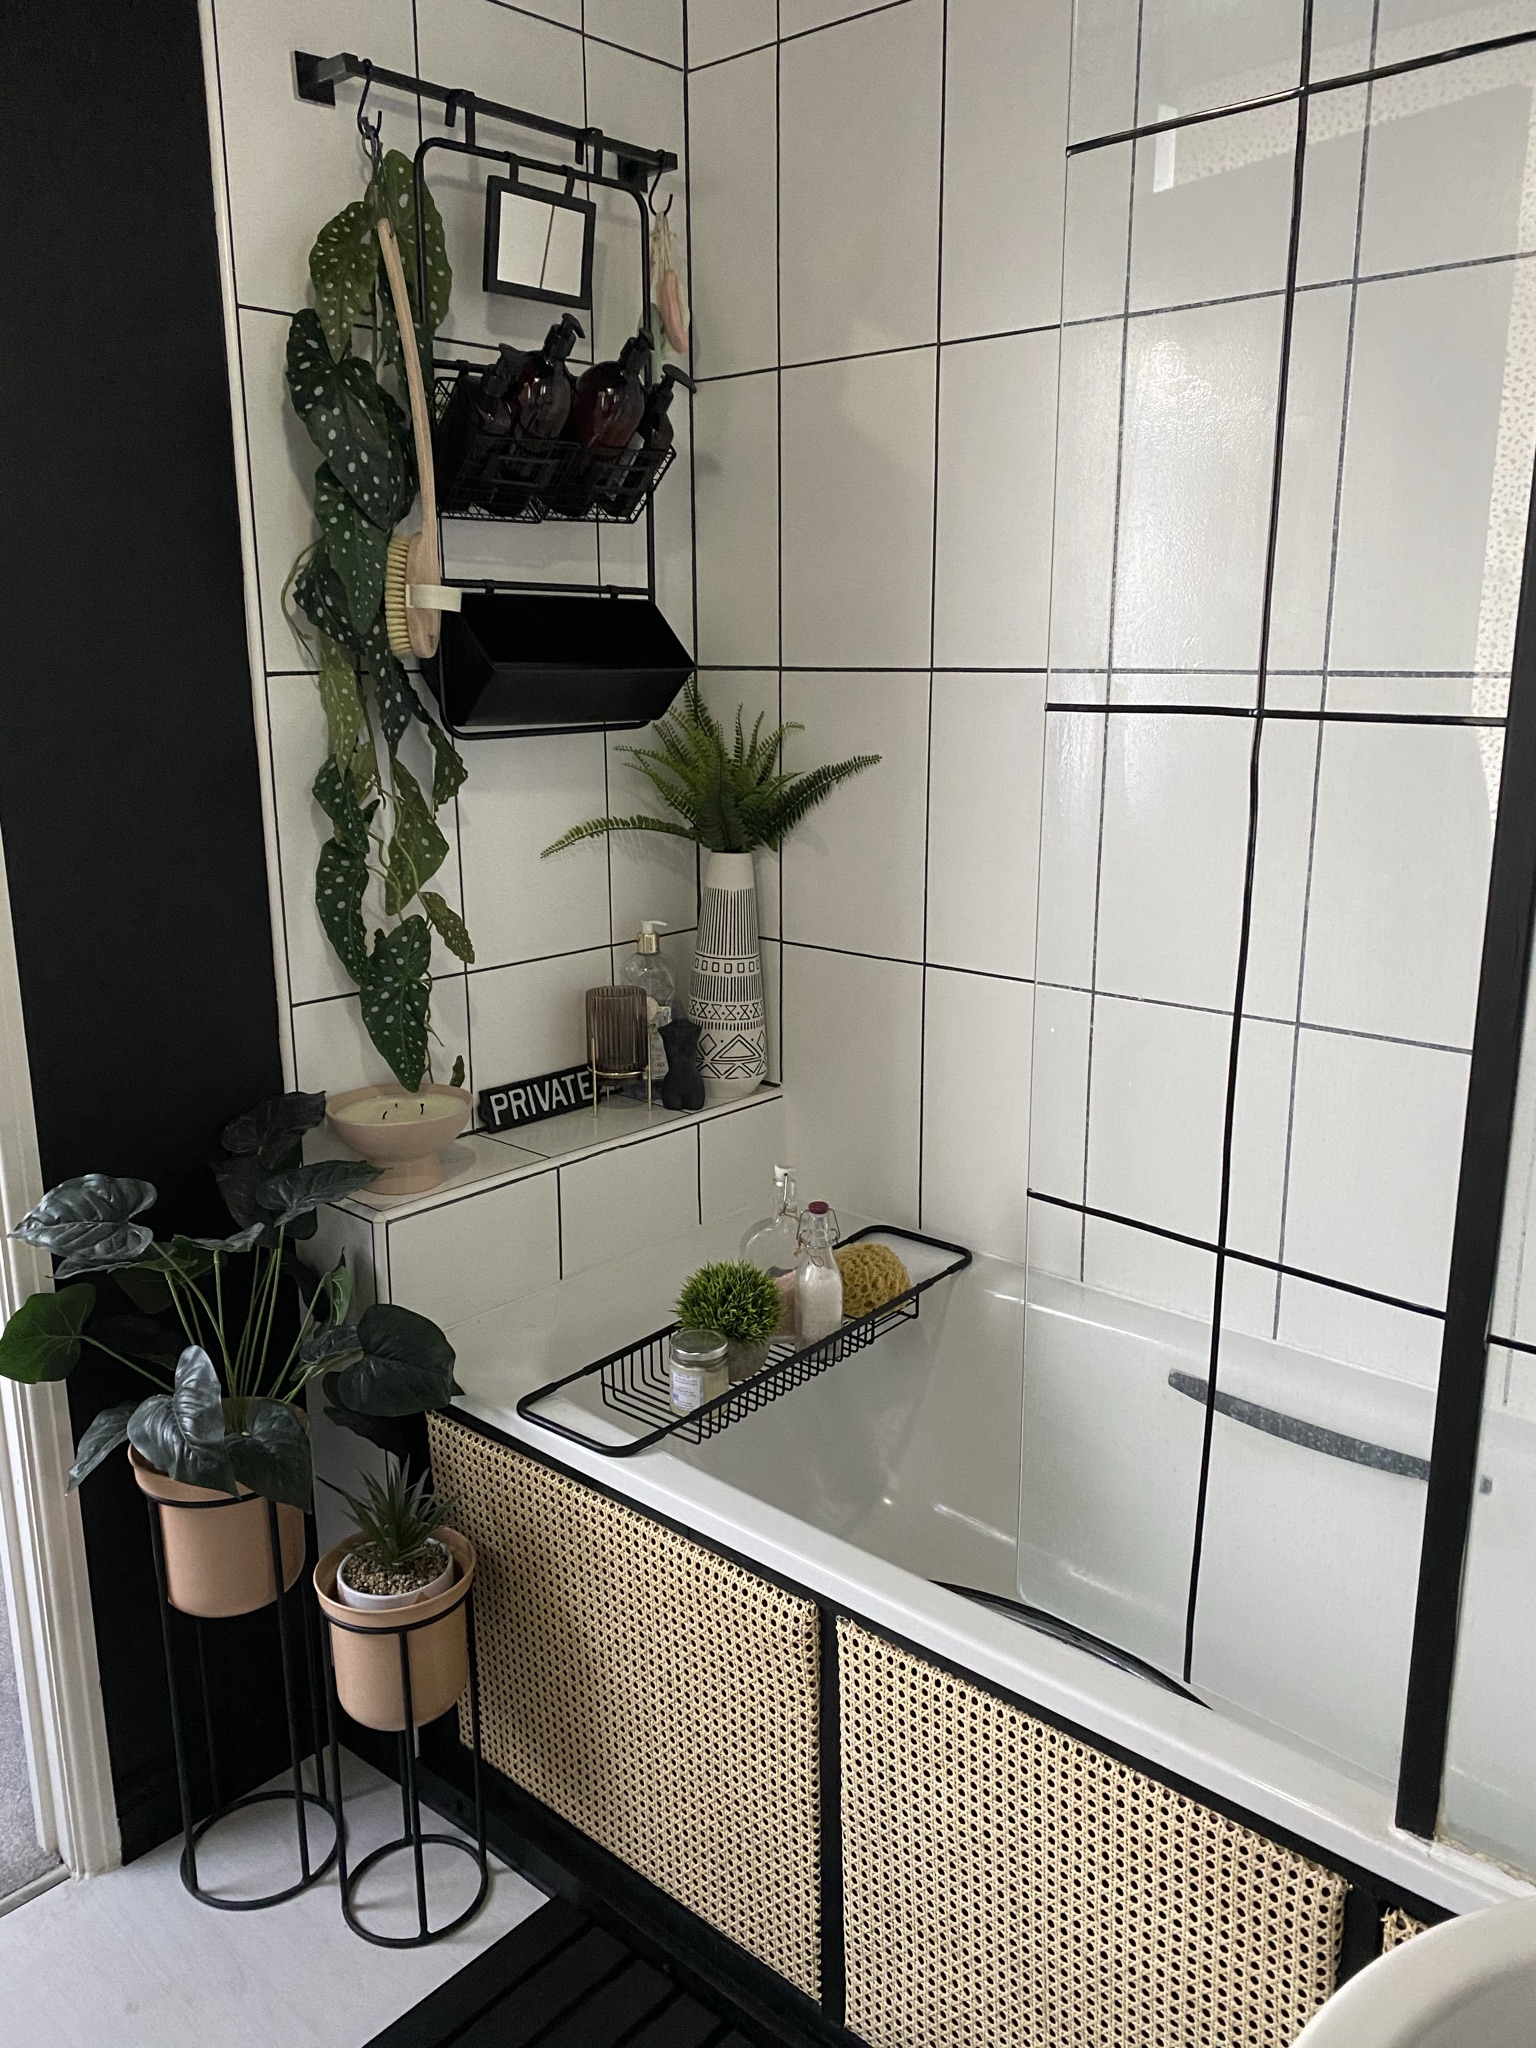
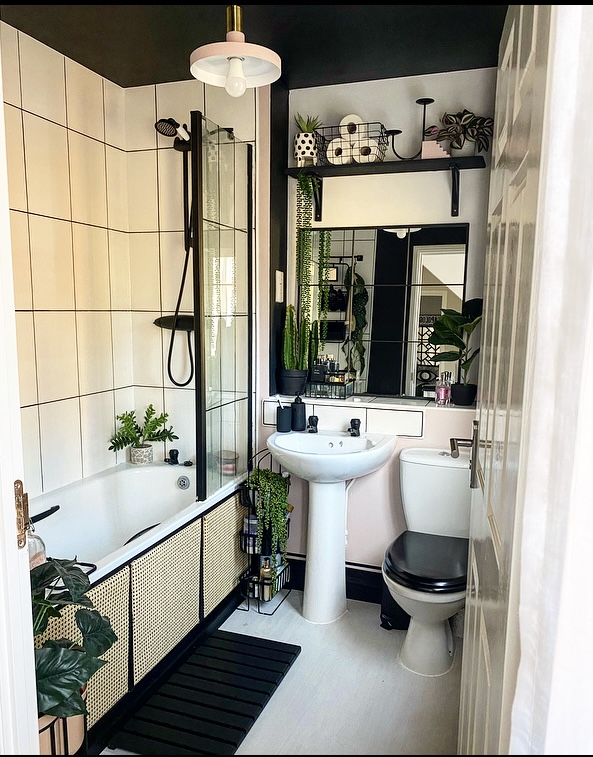
Check out how our fave Instagram DIY guru Victoria (aka @thisenglishhome) turned her plain bath panel into an amazing cane creation...


Looking for an amazing DIY project that's going to totally transform your bathroom on a budget? Well, good, because we have just found this insanely cool hack from Victoria over on @thisenglishhome. She is the queen of room makeovers and you need to check out what that woman can do with paint! But today we are looking at her most recent project – a DIY cane bath panel. Yep, it's every bit as dreamy as it sounds and completely changed the look of the bathroom, so naturally, we want to recreate it ASAP. So keep scrolling to find out how it's done and for more bathroom ideas head over to our full feature.

You will need:
- Paint (Victoria went with black which looks amazing contrasted against the rattan)
- MDF that's at least as wide as your current bath panel
- A measuring tape
- A saw
- A pencil
- A staple gun
- Cane webbing
Step one: remove your old bath panel
First off, if you want a video step by step of how to recreate this look check out Victoria's Bathroom Instagram highlights.
Once you have removed your old bath panel you should be left with a wooden frame. However no worries you aren't you can easily DIY one using wooden pieces, just cut four pieces for the edges of the space and two pieces to go down the middle to create three even squares. If you would rather just one cane panel rather than three, just leave out the two middle pieces. Secure them in place using wood glue.
Then paint the frame whatever colour you choose using a good wood paint – Rust-Oleum Universal All Surface Matt Paint & Primer is our top choice.

Step two: measure and cut your MDF panels
Depending on whether you want one long panel or three smaller ones, measure out the inside of each section of the frame, or the whole frame if you are just having one panel, and then mark it on the MDF using a pencil. Use a saw to make your cuts – you should now have three panels that really snuggly into the gaps in the frames, or one larger panel.
Step three: cover your panels
You'll want to wet the cane before you start working with it to make it more flexible plus it means it will dry tight to your board. Cut your cane to just bigger than your MDF boards and fold it over the edges. Then use a staple gun to secure it into place.
Step four: add in your panels
If you are lucky, the panels will snuggly fit into the frame and you won't need to force them in. Do be careful if they are a squeeze though as you don't want to damage the wood. Victoria recommends using a hammer covered in something soft like a towel should you need to.
Get small space home decor ideas, celeb inspiration, DIY tips and more, straight to your inbox!

Hebe joined the Real Homes team in early 2018 as Staff Writer before moving to the Livingetc team in 2021 where she took on a role as Digital Editor. She loves boho and 70's style and is a big fan of Instagram as a source of interiors inspiration. When she isn't writing about interiors, she is renovating her own spaces – be it wallpapering a hallway, painting kitchen cupboards or converting a van.