How to restore and maintain timber windows
As the eyes of a house and a key architectural feature, it’s important to maintain and repair original timber windows. Follow this expert advice to find out how

Carefully maintaining and restoring timber windows will contribute more to the look of an old house than any other single feature. The proportions and features of timber windows help to define different architectural styles, while the details of their construction show off the craftsmanship of those who made them. So if your period home has timber frame windows, or you've had new timber-framed windows made, here's how to maintain them.
Find out more about windows on our dedicated hub page and, if you need to replace yours, discover how to choose windows for a period home.
What to consider when maintaining period windows?
It's vital to look after any surviving original glass. The varying historic styles of windows are very closely aligned to the development of glass. Originally, only small panes could be made so early windows were divided by multiple, and quite wide, glazing bars.
As the 18th century progressed, the bars became thinner and more delicate and, in Victorian times, fewer in number as the manufacture of larger sheets of glass became possible.
Older glass will have ripples, bubbles and other imperfections that result from the manufacturing process, which gives original windows their inimitable character. Or, you may have to factor in replacing broken glass to your window maintenance.
The other irreplaceable feature is the timber that older windows were made from. Although often softwood, this tends to be very dense and durable because, unlike today’s timber, it was slow grown and straight grained.
Window maintenance warning signs
Despite their importance and beauty, old timber windows are often sadly neglected and can easily fall into disrepair.
Get small space home decor ideas, celeb inspiration, DIY tips and more, straight to your inbox!
Careful repair of your existing windows, as well as upgrading them to improve thermal efficiency, is generally more cost effective than opting for replacements. This also allows the character, history and value of the house to be maintained.
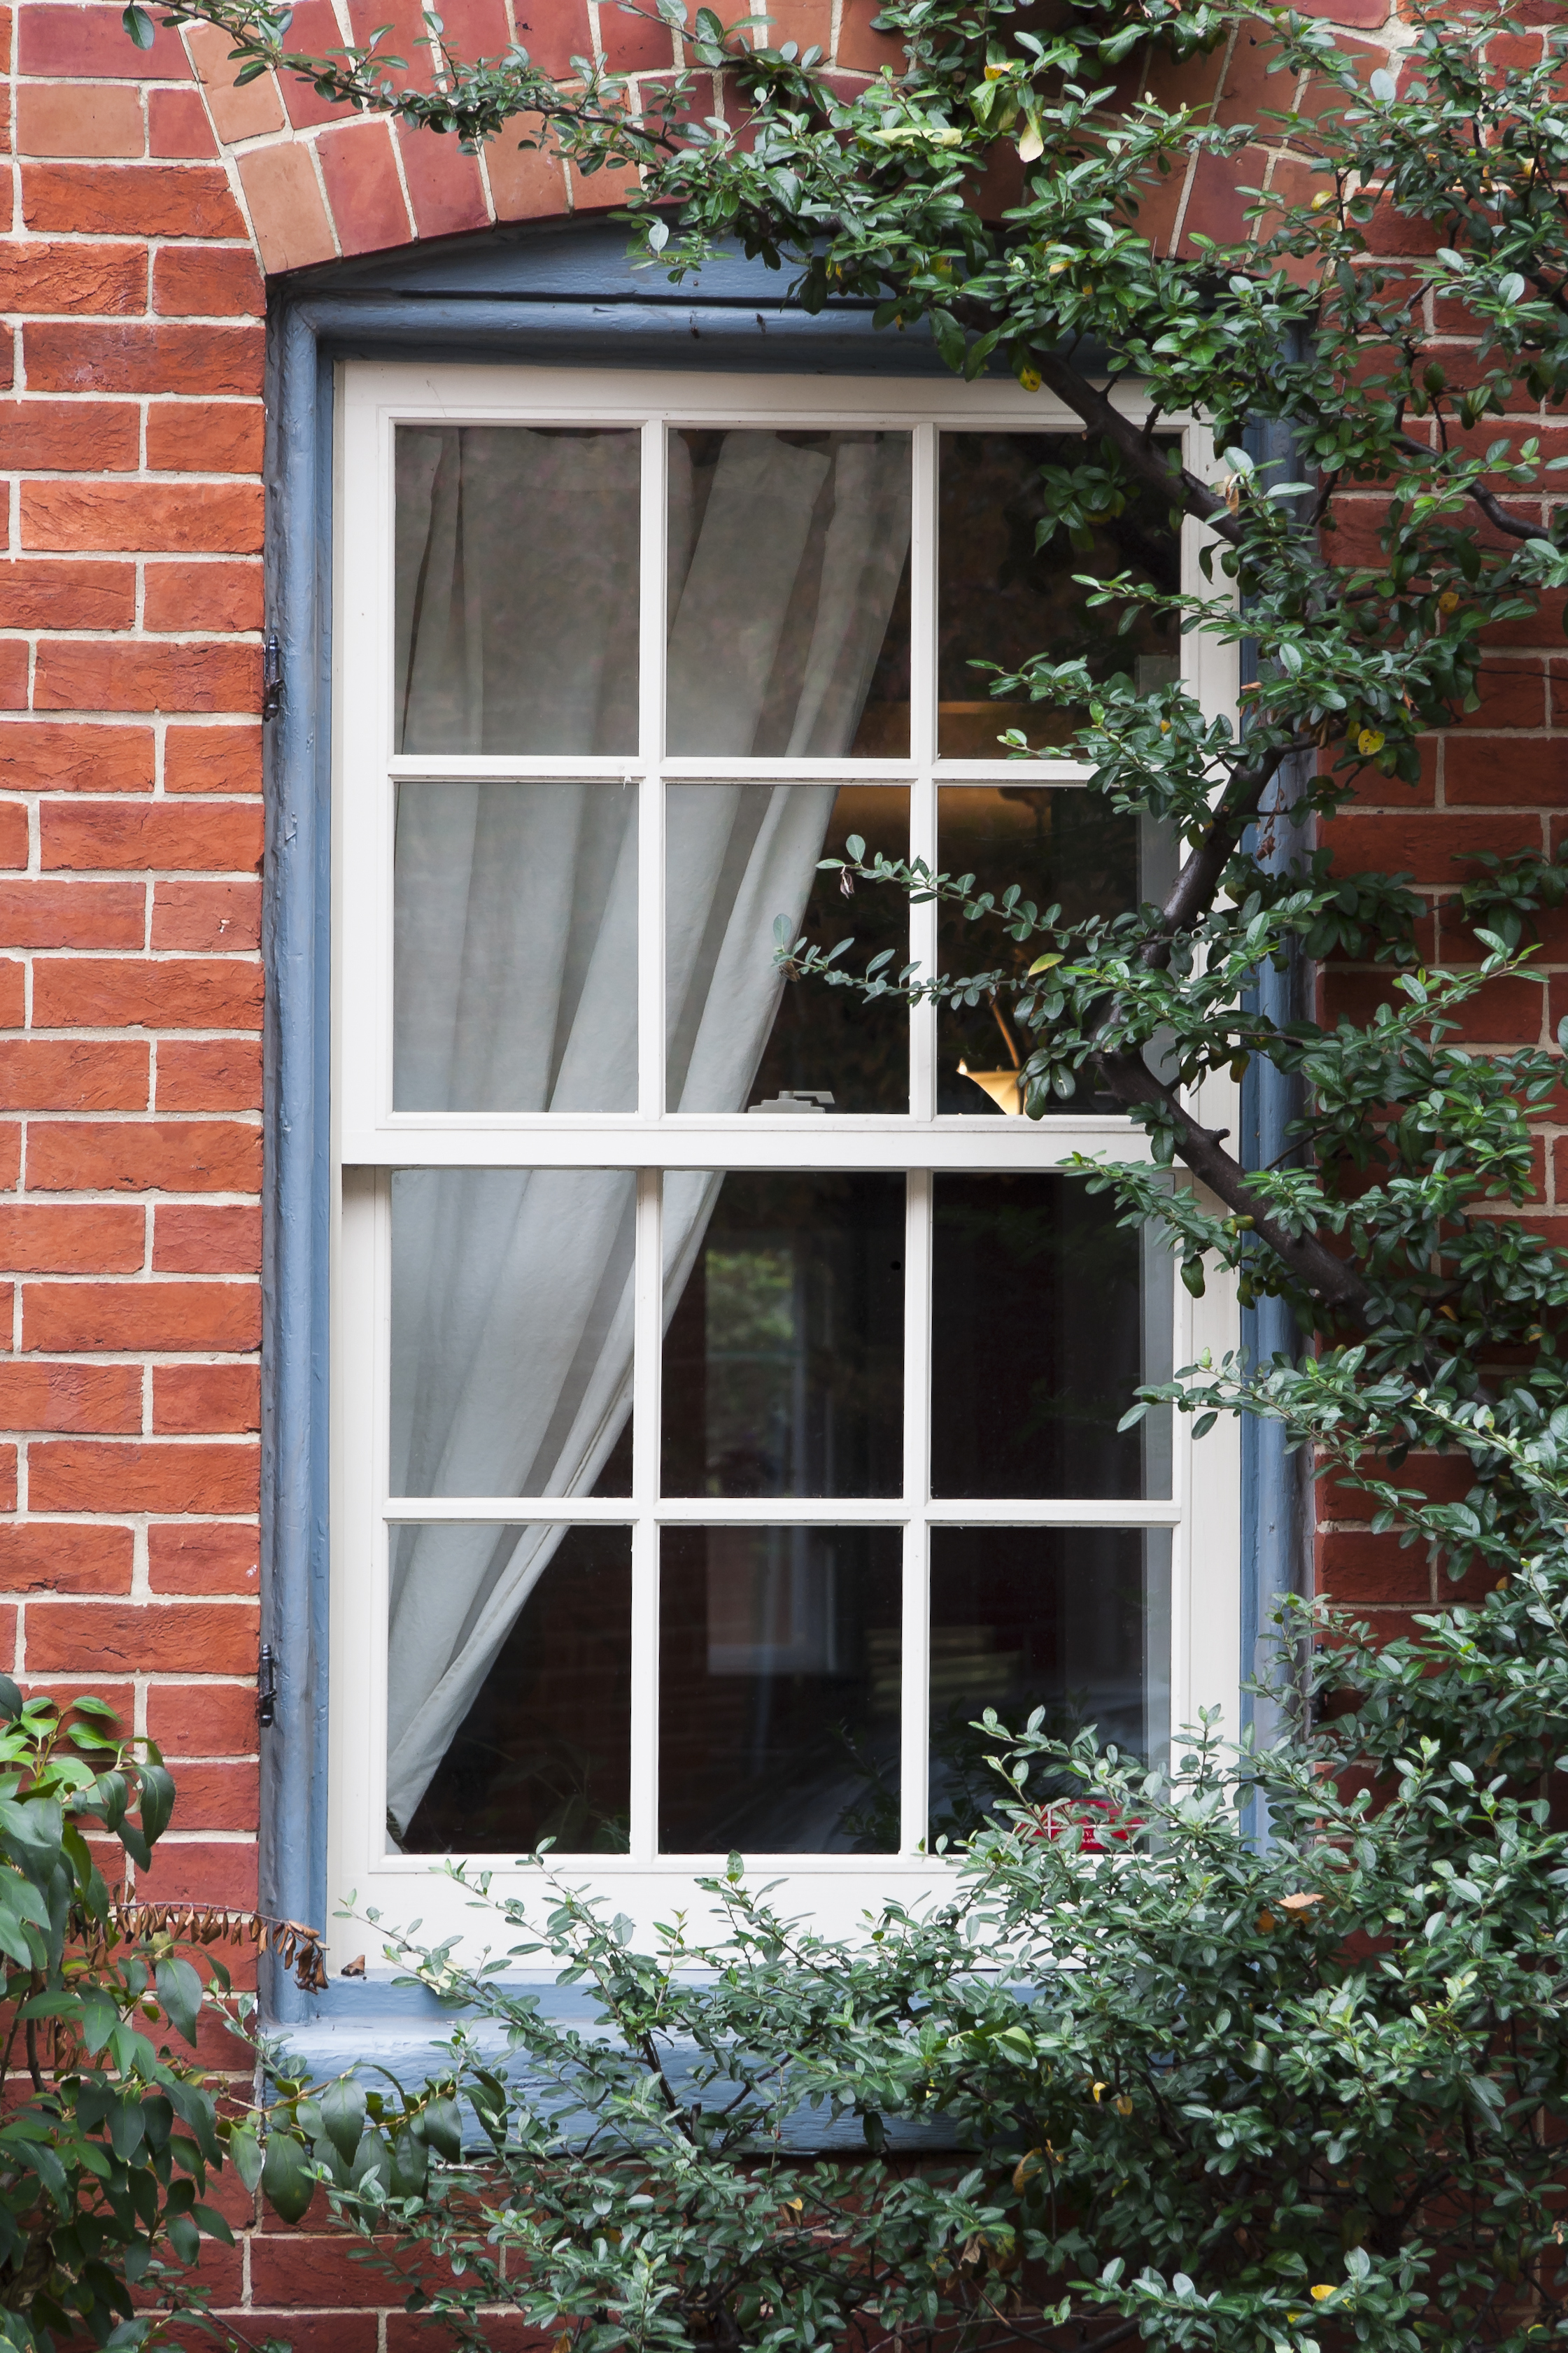
The vertical sliding sash window is suspended on cords and counterbalanced by weights contained within boxes either side of the frame
If left unchecked, window problems only get worse. Where possible, open the sash or casement and inspect it both inside and out to check for any problem areas, but take care when opening windows that are stuck or in particularly bad condition. Damp weather, overpainting and structural movement in the building can often cause windows to jam.
What to look for:
- Damaged or loose hinges
- Broken sash cords
- Rotten timber - test suspected rotten areas by prodding with a penknife or screwdriver
- Missing, loose or damaged putty
- Cracked or peeling paintwork
- Loose joints
- Draughts and rattles
- Difficulty opening
- Cracked or broken glass
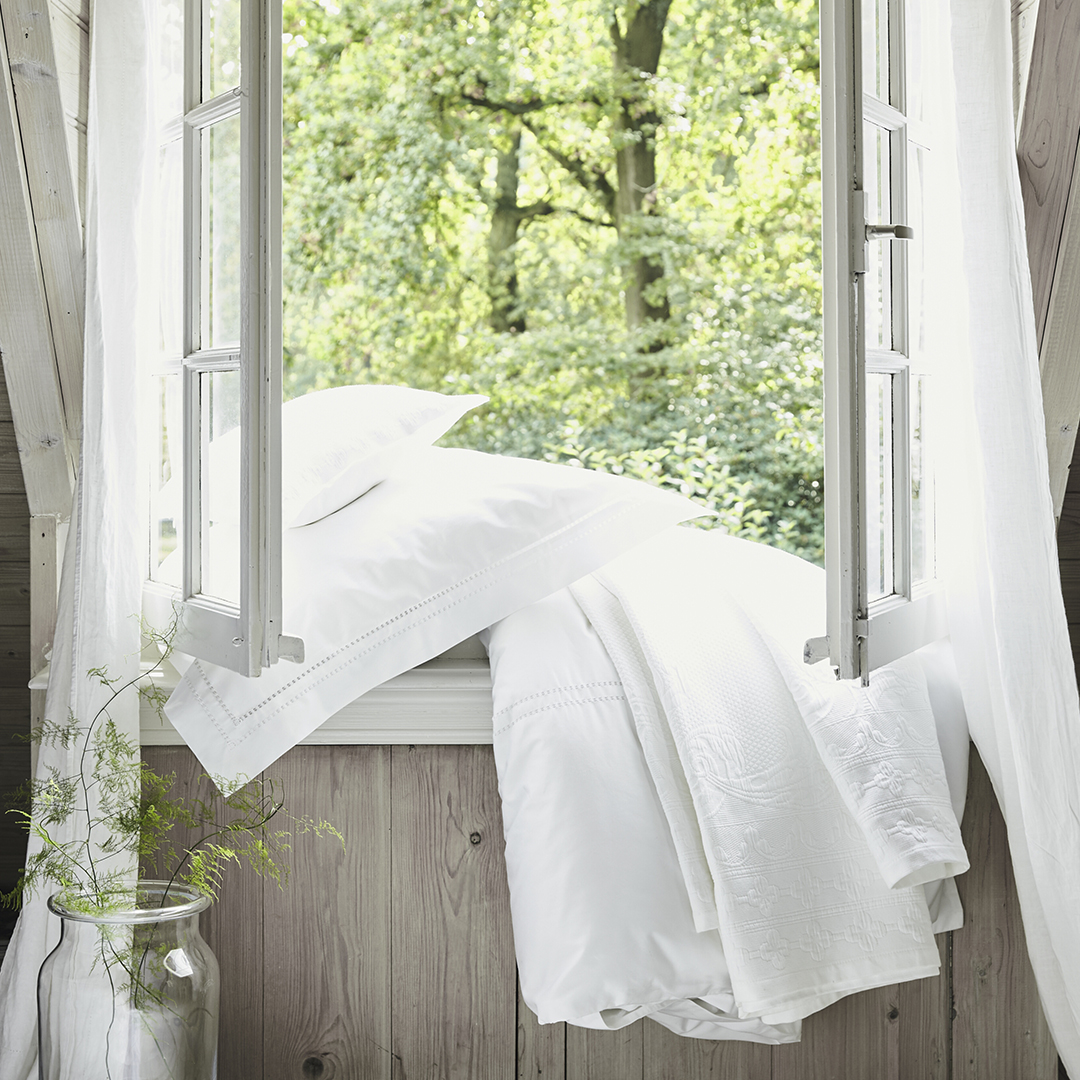
Defective hinges, catches and stays can cause a window to stick or rattle so check they are working properly
Making general window repairs
Try to retain original timber and glass wherever possible.
The most common areas for rot are window sills, the bottom of sash boxes and the lower sections of the window frame. Although short-term repairs can be made with two-part resin fillers, rotten timber is usually best cut out by a carpenter who can then joint in new sections of well-seasoned timber of a similar type on a like-for-like basis. Always ensure exterior grade adhesive and stainless steel or brass screws are used.
Over the years, the joints holding a window together can also become loose. The simplest repair is to fit a stainless steel angle bracket across the joint. Alternatively, carefully take the window apart and re-glue the joints, where necessary using woodworking sash cramps to pull them tight until the glue is dry. Joints were often secured with dowels and wedges, which may have to be reinserted or replaced.
Although, in theory, all the corners of a window should be at right angles, they are often out of square, so it is advisable to check the casement or sash in the frame before allowing the glue to dry. It is also vital to check that any glass that has been removed still fits.
Action:
- Re-glue joints using exterior-grade adhesive.
- Use brass or stainless-steel screws.
- If necessary, strengthen corners with metal brackets.
- For complicated repairs employ a good joiner or a company that specialises in overhauling windows.
- Apply beeswax or tallow to the edges of sashes to help them run.
- Oil squeaking or stuck pulleys.
- Check hinges, locks and catches. Where necessary, realign, ease, repair and lubricate them.
- Clean the glass and wipe pollen, dirt and mildew from the timber.
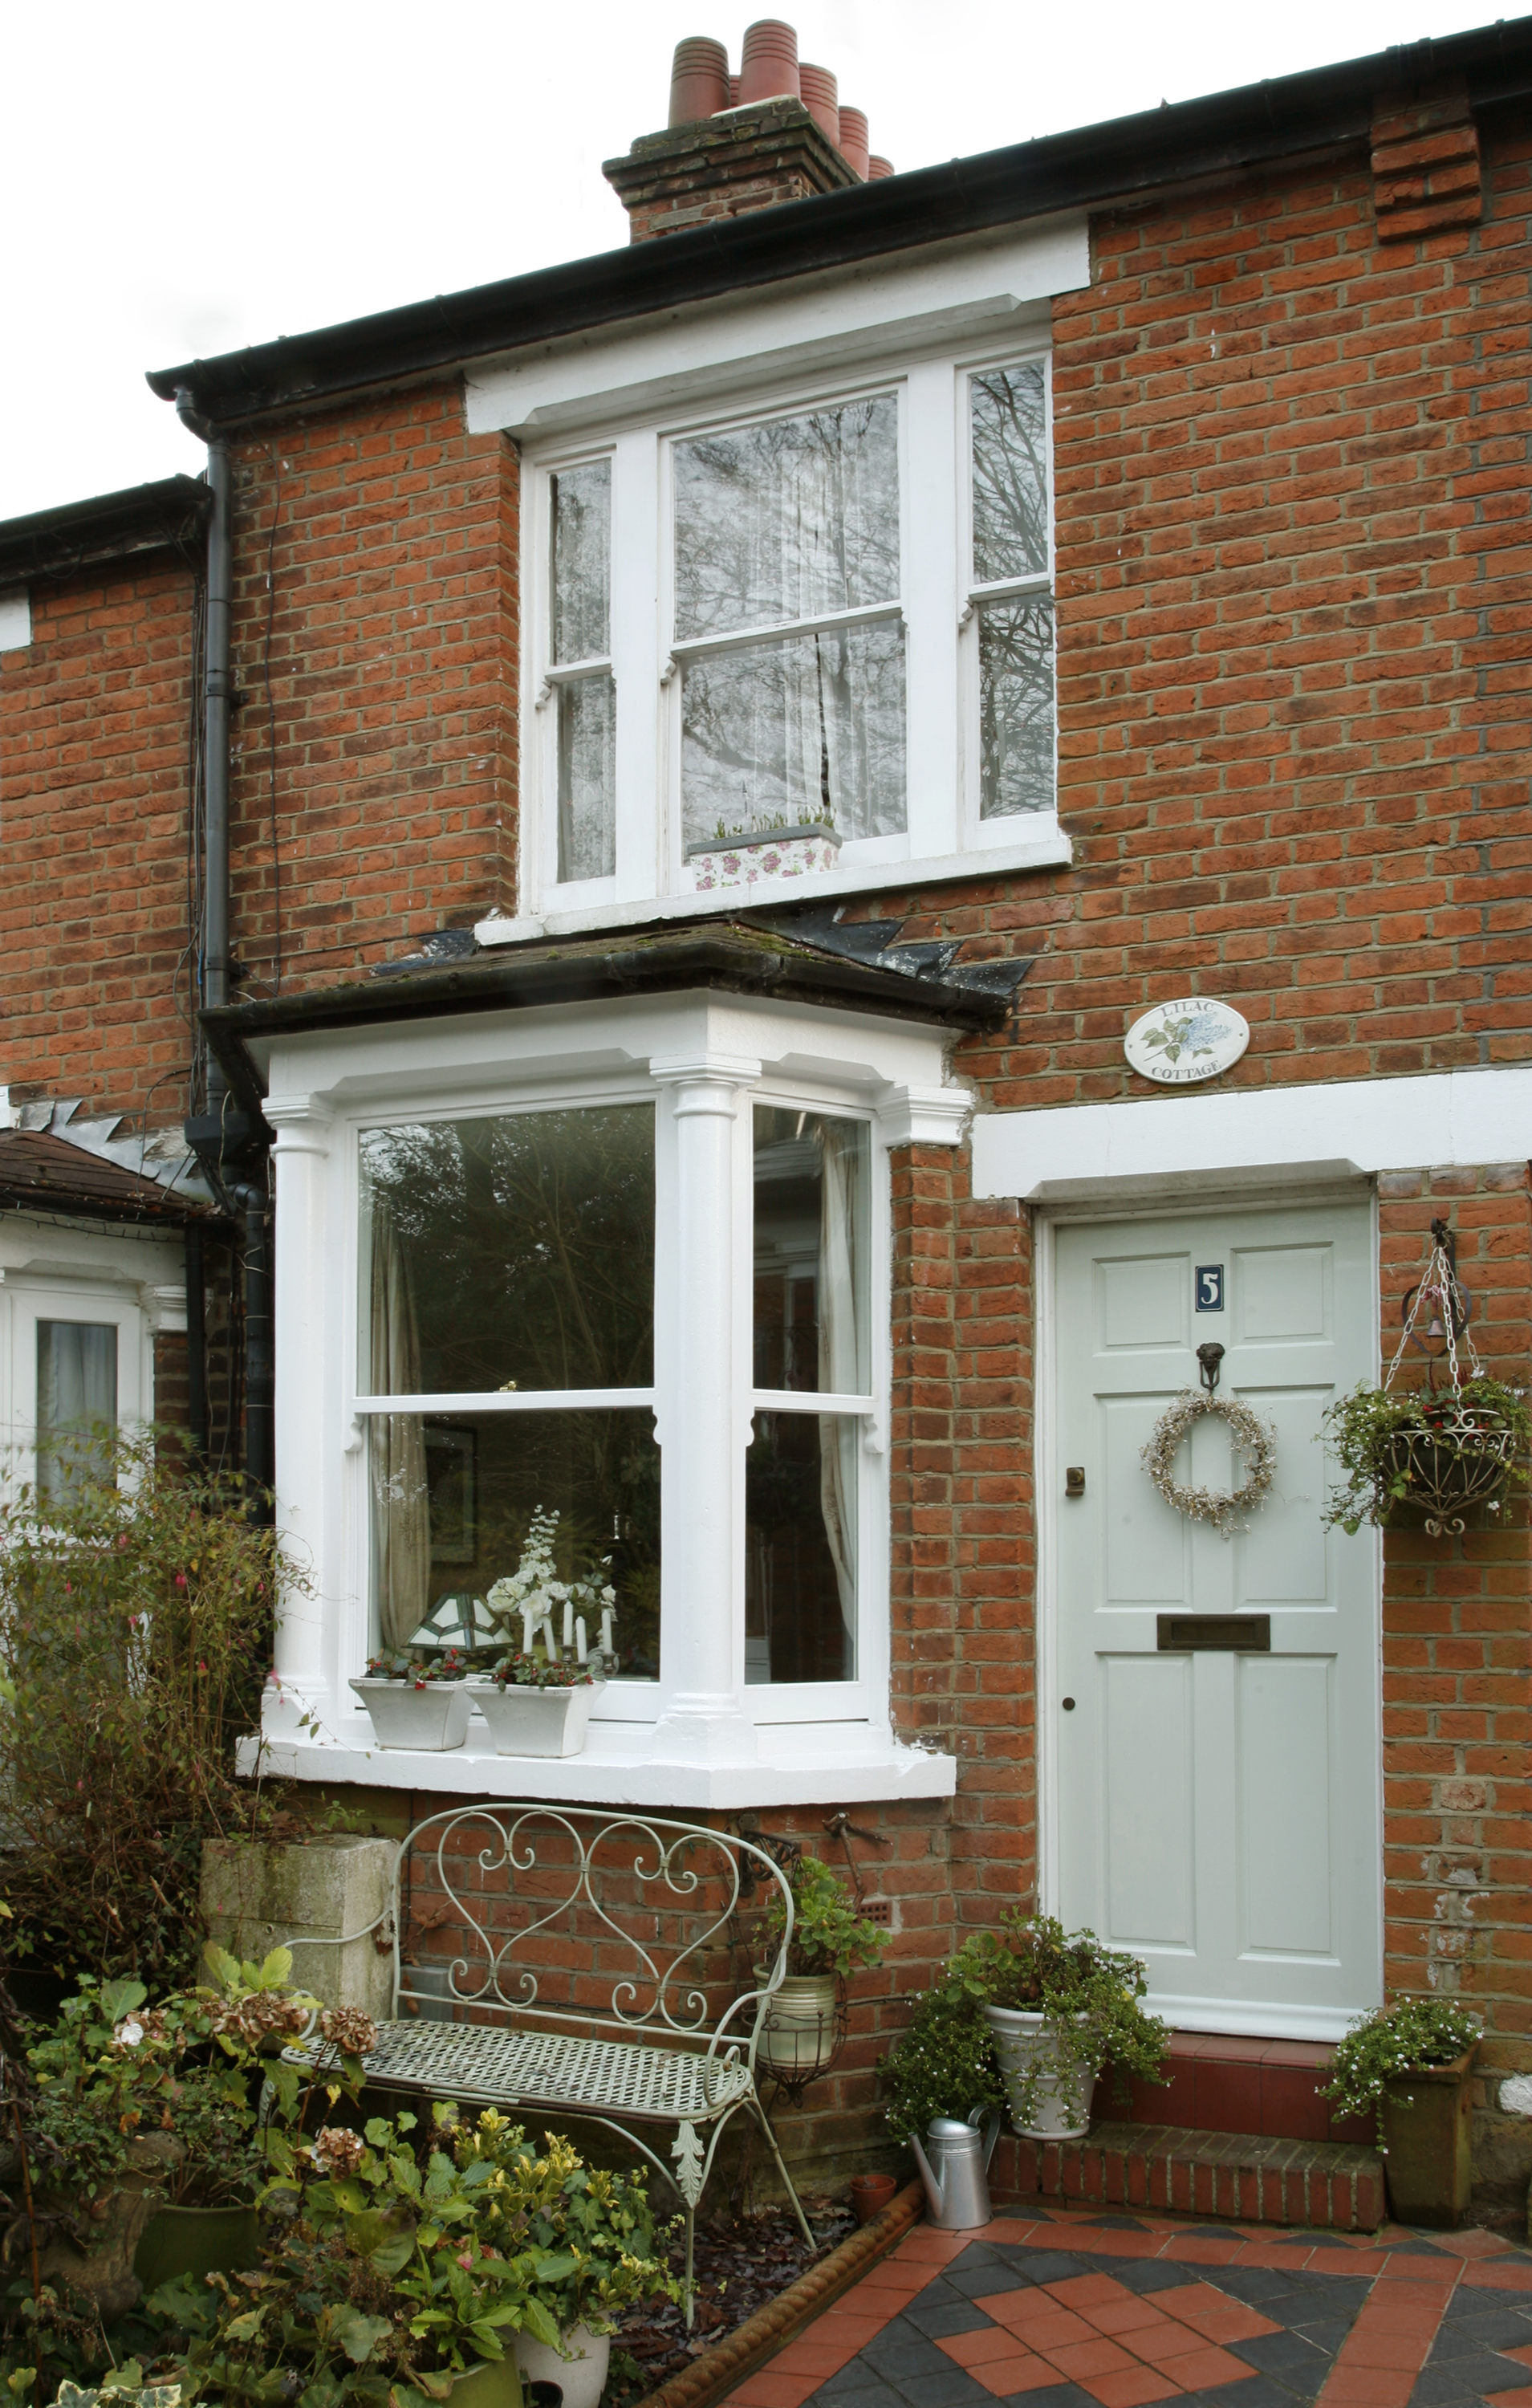
Regularly check and maintain windows, inside and out
Painting window frames
Regular painting of windows is vital as poorly maintained and unprotected timber will rot and swell, resulting in joints failing, windows rattling or sticking and draughts.
It is important that all surfaces, including unseen edges, are painted to prevent moisture entering. Thorough preparation of surfaces is vital. This may include sanding down and removing all loose or flaking paint, or stripping paint layers using gel-type strippers.
Natural linseed oil paint offers good protection and is available in a range of colours. Be careful, however, not to clog draught strips with paint as this prevents them working. Find out how to paint timber window frames in our guide.
Action:
- Cut out rotten wood and make repairs.
- Thoroughly sand down, clean and prepare all surfaces.
- When stripping paint, use hot air guns with care as the heat easily cracks glass.
- Re-putty glazing where necessary with linseed oil putty.
- Use a good-quality paint system.
- It’s important to properly prime all surfaces, including unseen edges, to prevent the timber swelling in damp weather.
- Avoid painting over draught strips as this prevents them working effectively.
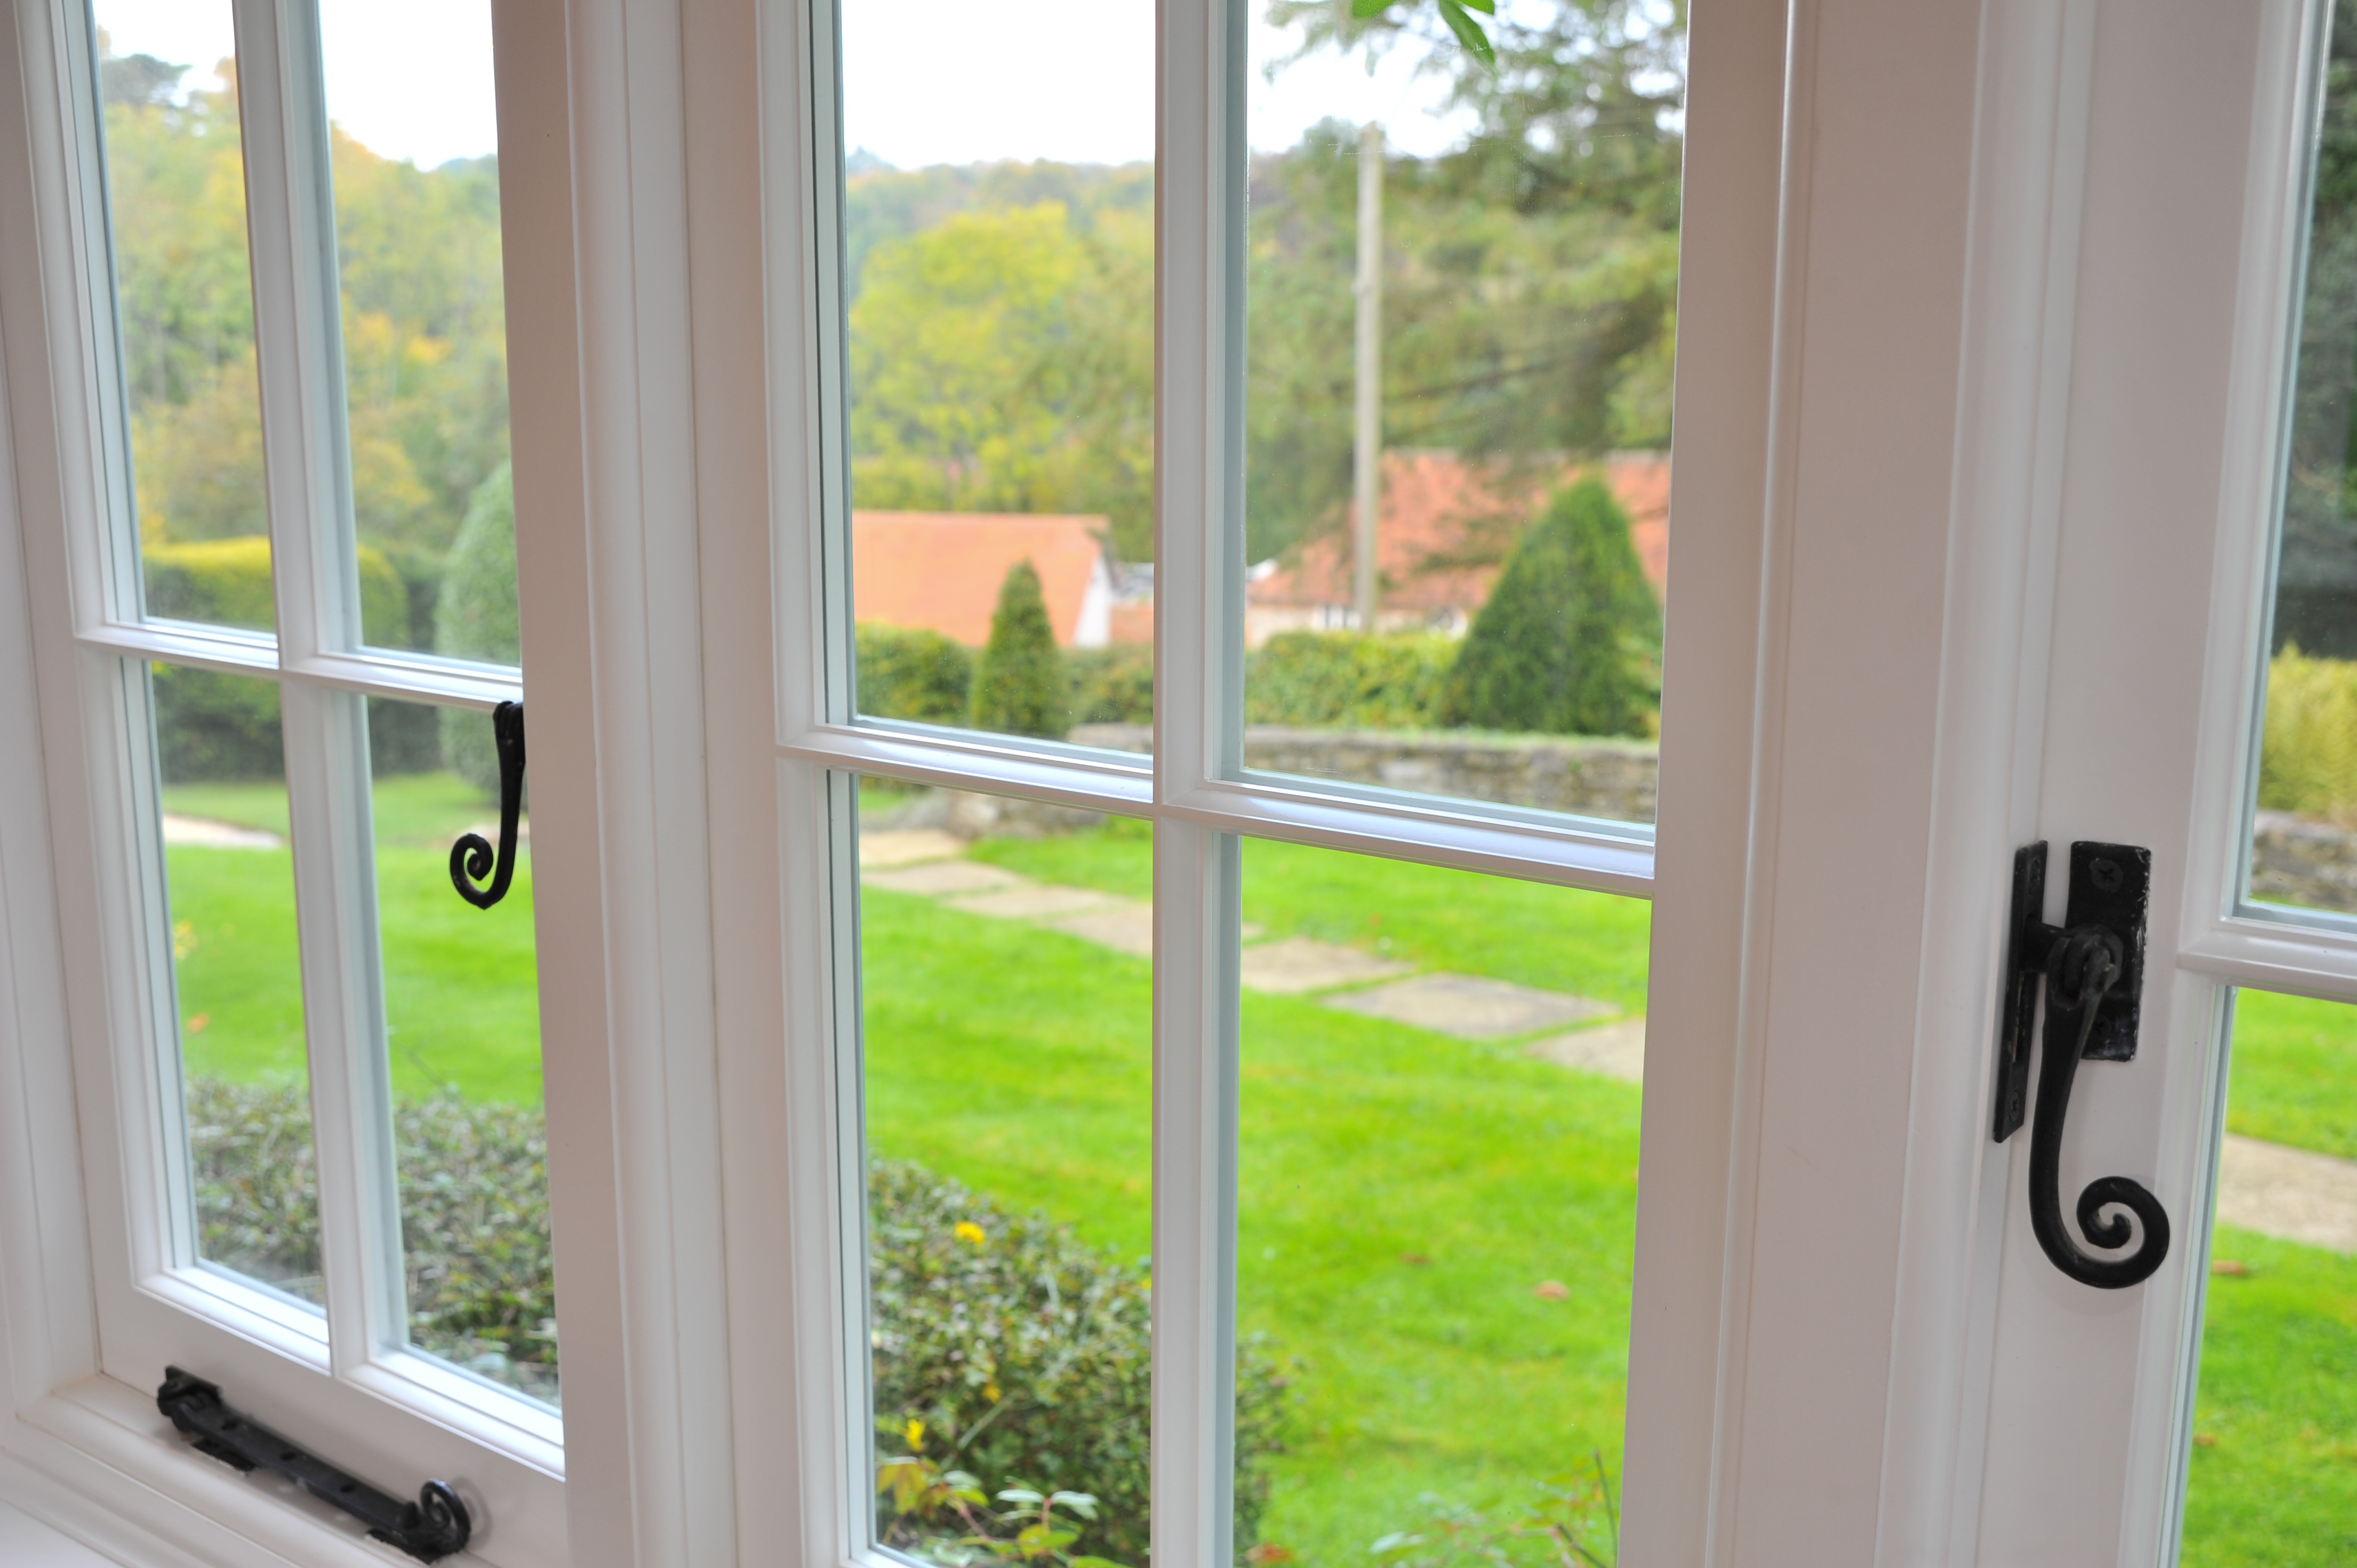
Paint windows carefully to preserve the wood and to prevent them from sticking. These windows are from The Sash Window Workshop
Replacing sash window cords
When a sash window shows signs of rot, the damage will most likely be to the most vulnerable parts, typically the horizontal elements, such as the bottom rail, or the meeting rail. The ‘boxes’ (the frame in which the sashes slide) are often intact and can be left in situ while other components are repaired, although the sill can also be vulnerable.
Damaged sections of timber windows can either be replaced (including the whole sash in some instances), or repaired by cutting out the section of damaged timber to at least 5cm beyond the furthest point of decay and then treating the remainder and splicing in a new piece of matching seasoned timber. This is followed by sanding, filling and repainting.
Replacing broken or frayed sash cords is a relatively easy task. The work can be done from inside the house, although it is usually advisable to have a helper.
Action:
- Purchase sash cord from a DIY store, checking the pulley size first.
- Always repair both cords.
- Check the sash pulleys are running freely - rubbing a candle along the edge of sashes before they are replaced will help them slide more easily.
How to draught-proof windows
Upgrading windows to make them more thermally efficient by draught-proofing or fitting secondary glazing helps to cut energy bills while also reducing street noise and dirt.
Draught-proofing is best undertaken either by a good carpenter or one of the many specialist companies that overhaul windows. They will rebate inconspicuous draught strips into the edges of the windows as well as the meeting rails and parting beads of sashes, while also ensuring the window fits snugly within its frame
If you wish to do it yourself, draught seals, which are inconspicuous and installed around window edges, help cut draughts and prevent heat loss from within the home. The cost of draught-proofing will generally be recouped within five to 10 years.
If external noise is a problem, or when superior energy efficiency is required, it is possible to add new double-glazed replacement sashes into the original box frames, or secondary glazing can be added internally.
Action:
- Choose the type and colour of draught seal carefully to ensure the best finish.
- Avoid stick-on draught strips that may peel off.
- Fit ‘brush’ strips to the edge, meeting rails and parting beads of sashes.
- Employ a company that specialises in overhauling and draught-proofing windows.
- Don’t draught-proof windows if secondary glazing is to be installed; the space between the unit and window must be ventilated to prevent condensation.
Secondary glazing
Although highly effective, draught-proofing doesn’t deal with the heat loss through the glass and its cold internal surface. Modern secondary glazing addresses both of these issues as well as helping to cut draughts, while being discreet and avoiding significant interference with the original window.
For a cost effective option, you could install secondary glazing yourself.
Action:
- Consider a lift-out magnetic panel system, which may be removed in summer.
- Choose between plastic or glass systems.
- Where windows need to be opened, consider sliding secondary glazing.
- Take careful measurements or templates when ordering as old windows are often not square.
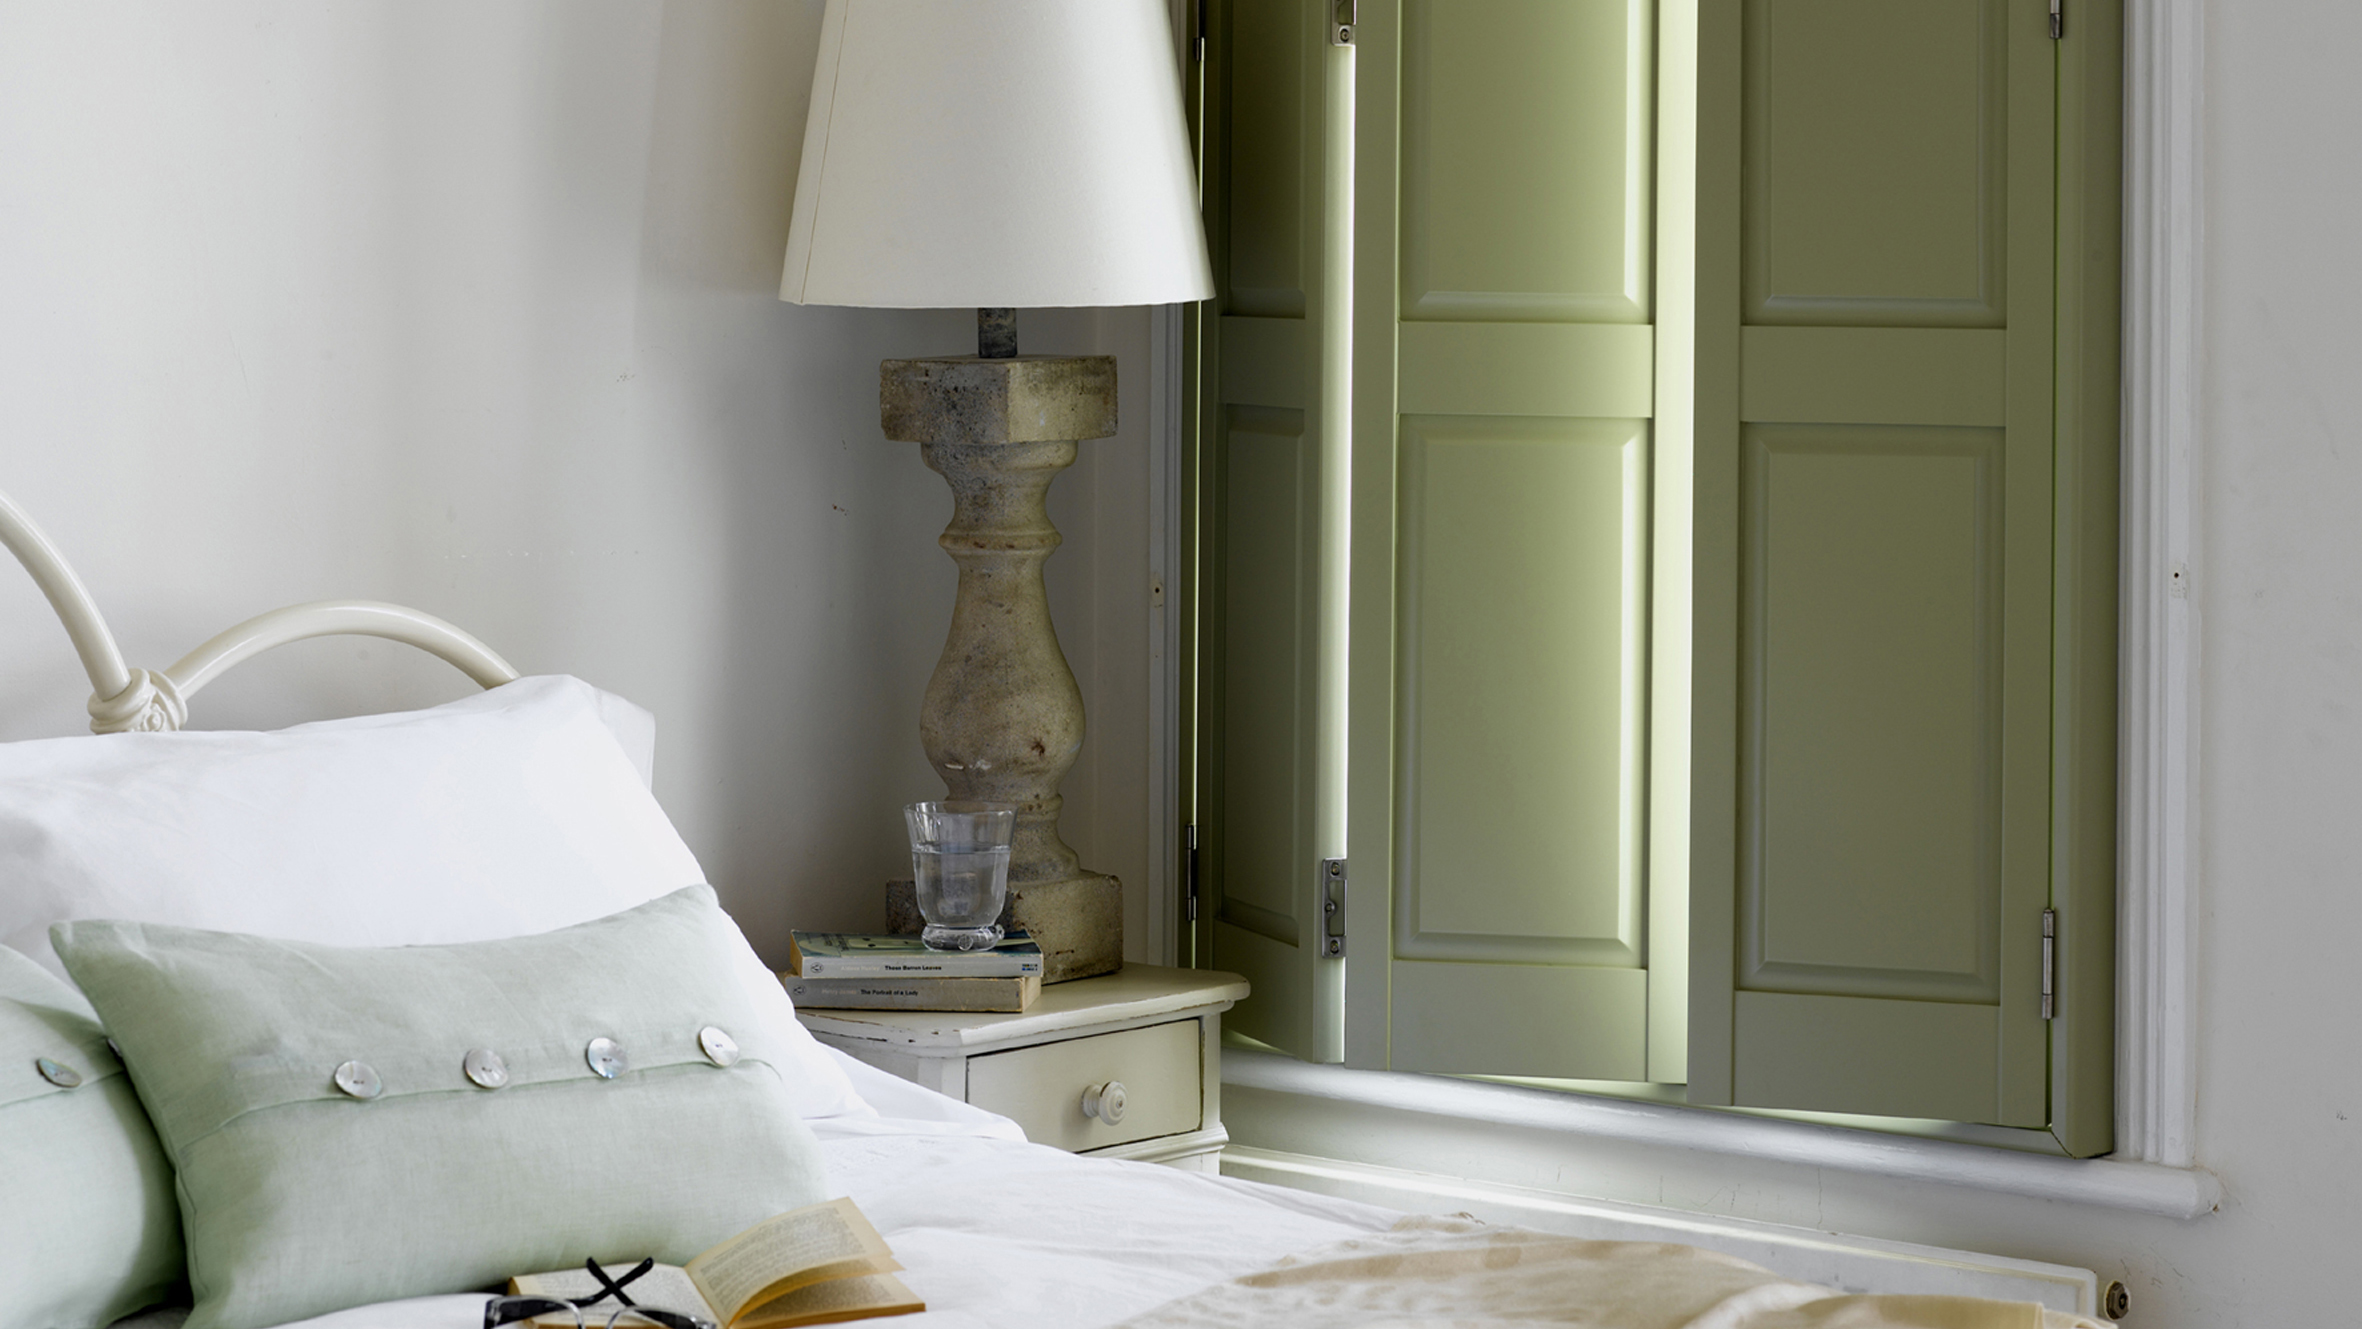
Traditional internal wooden shutters can offer great energy-saving benefits in an older home
Energy saving window treatments
In addition to well-maintained windows, consider the best window treatments to use.
Traditional internal wooden shutters can offer big energy-saving benefits in a period home, so they are worth overhauling and using if they are already in place.
Thermally insulated or reflective roller blinds, fitted close to the glass within the window reveal, are almost equally as good, especially when used with heavy curtains.
When fitting curtains, try to minimise any gaps between the wall and the fabric. The greatest benefits come if shutters, blinds and curtains are closed just before dusk so the warmth of the day is trapped in the room.