How to repot an orchid without killing it in the process
Learn when and how to repot an orchid properly to keep yours alive and thriving

Due to the delicate nature of these plants, knowing how to repot orchids properly and when to do it, is a must to keep them alive and thriving. Orchids are notoriously high-maintenance plants and if your orchids keep dying on you, it's likely due to the fact that the unique needs of these exotic plants have not been met, and that includes root care.
Some orchids do well in soil, but the vast majority that you'll find in garden centers and stores are epiphytes, which means that these aren't indoor plants by nature and that their usual growing environment is simply being attached to a tree by their roots. Bromeliads, air plants and ferns do the same, which is why you'll usually find them in rainforests, surviving off the rainwater, debris and air in this habitat.
Alas, despite many of us not living in tropical climates, we still insist on keeping these beautiful plants but that's not to say that with the right orchid care, yours can't survive!

How to repot an orchid step-by-step
Knowing when and how to repot your orchid is essential as dense, compacted soil will make your orchid unwell, and a root-bound orchid in a pot of regular compost mix will almost certainly die. It is, therefore, necessary to repot your orchid every once in a while to keep the root system healthy.
While orchids such as Phalaenopsis tend to stay roughly the same size and not outgrow their pots, they still need repotting every once in a while in the spring before the faster growing season. Think of it as giving them a fresh start. ‘Over time, orchid compost breaks down and becomes acidic, depriving the roots of nutrients,’ explains David McLaughlin, orchid expert at RHS Garden Wisley who says this should only need doing every couple of years.
You will need:
1. A sharp pair of secateurs like Felco's Model 12 secateurs
2. Gardening gloves if you wish
3. An orchid potting soil mix like Westland Orchid Potting Compost Mix or lava rock compost mix or DIY yours with moss, bark, and perlite
4. A fresh bigger pot may be needed
5. Gentle dish soap, Dawn is fine
1. Check to see if yours needs a new pot
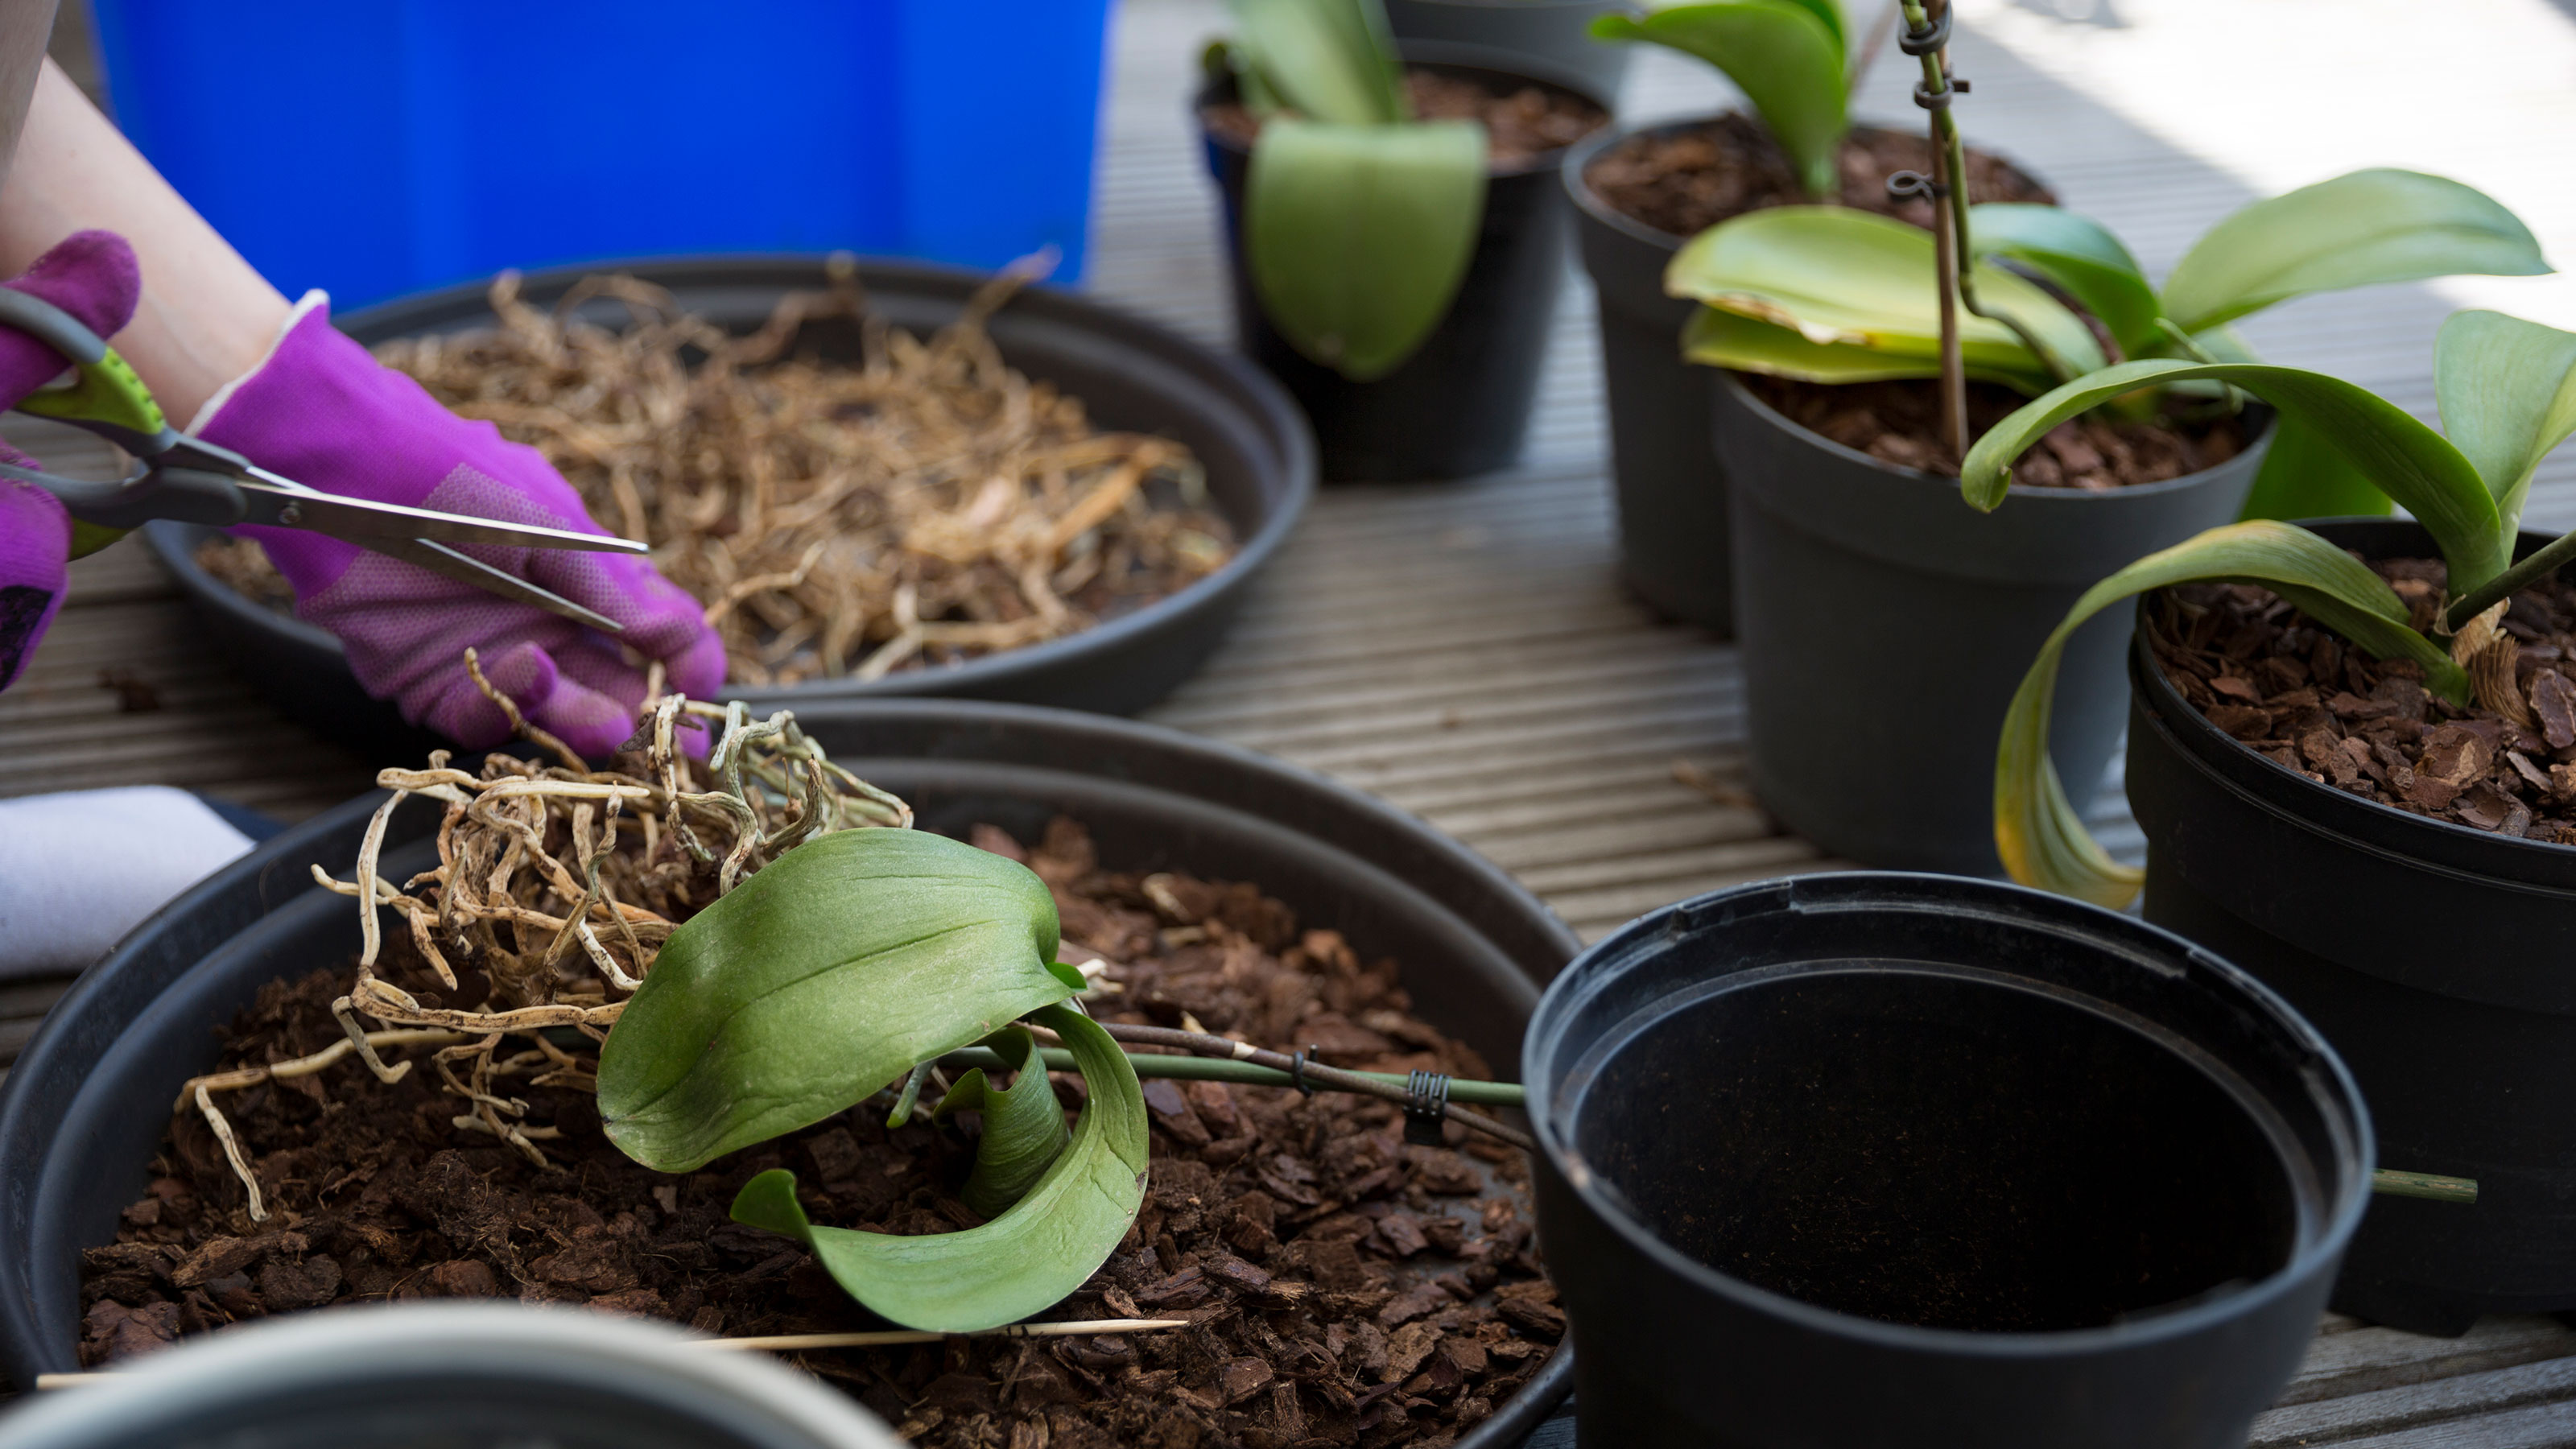
Firstly, you need to determine if your orchid needs a new bigger pot, or if the current pot can be reused. Carefully lift your orchid out of its pot – if it's stuck, it's root-bound and will need cutting out. If it lifts easily, then you may be able to reuse the current pot. McLaughlin adds specifically 'Every 18 months to two years, gently lift your orchid out of its pot and clean off all the old compost.'
Note, if the outcome is that you're going to use the current pot, wash it out with warm water and a gentle dish soap to get rid of any bacteria and disease – that orchids are very prone to.
Get small space home decor ideas, celeb inspiration, DIY tips and more, straight to your inbox!

2. Inspect the root ball
Carefully inspect the root ball, using clean secateurs if needed to remove any roots that are damaged or rotten. McLaughlin notes 'Cut off any dead roots which are squishy or dried out, as these will just rot and take up space that healthy roots could grow into.'
3. Water your orchid
This is then a good opportunity to give your orchid a nice soak in room temperature tap, letting it drain thoroughly.
4. Choose your potting mix
You can pick up a generic orchid compost for ease. We like making a DIY orchid potting mix from moss, bark, and perlite which makes for an aerated habitat like the orchid would be used to.
Some people also like growing their orchids using just a lava rock compost mix, with quite a bit of success. You just need to remember to water and drain it regularly (about once a week).

5. Reposition the root ball
Now, position the root ball in the empty pot and then fill the gaps between the roots with your orchid growing mix of choice.
'Then, put the orchid back in the same pot but with new orchid compost.’ Adds McLaughlin, recommending Westland Orchid Potting Compost Mix available on Amazon.
If the orchid is not very steady after you've filled the pot, support it with a bamboo cane, rather than packing it in with too much mix.
What's the best pot to use for orchid plants?
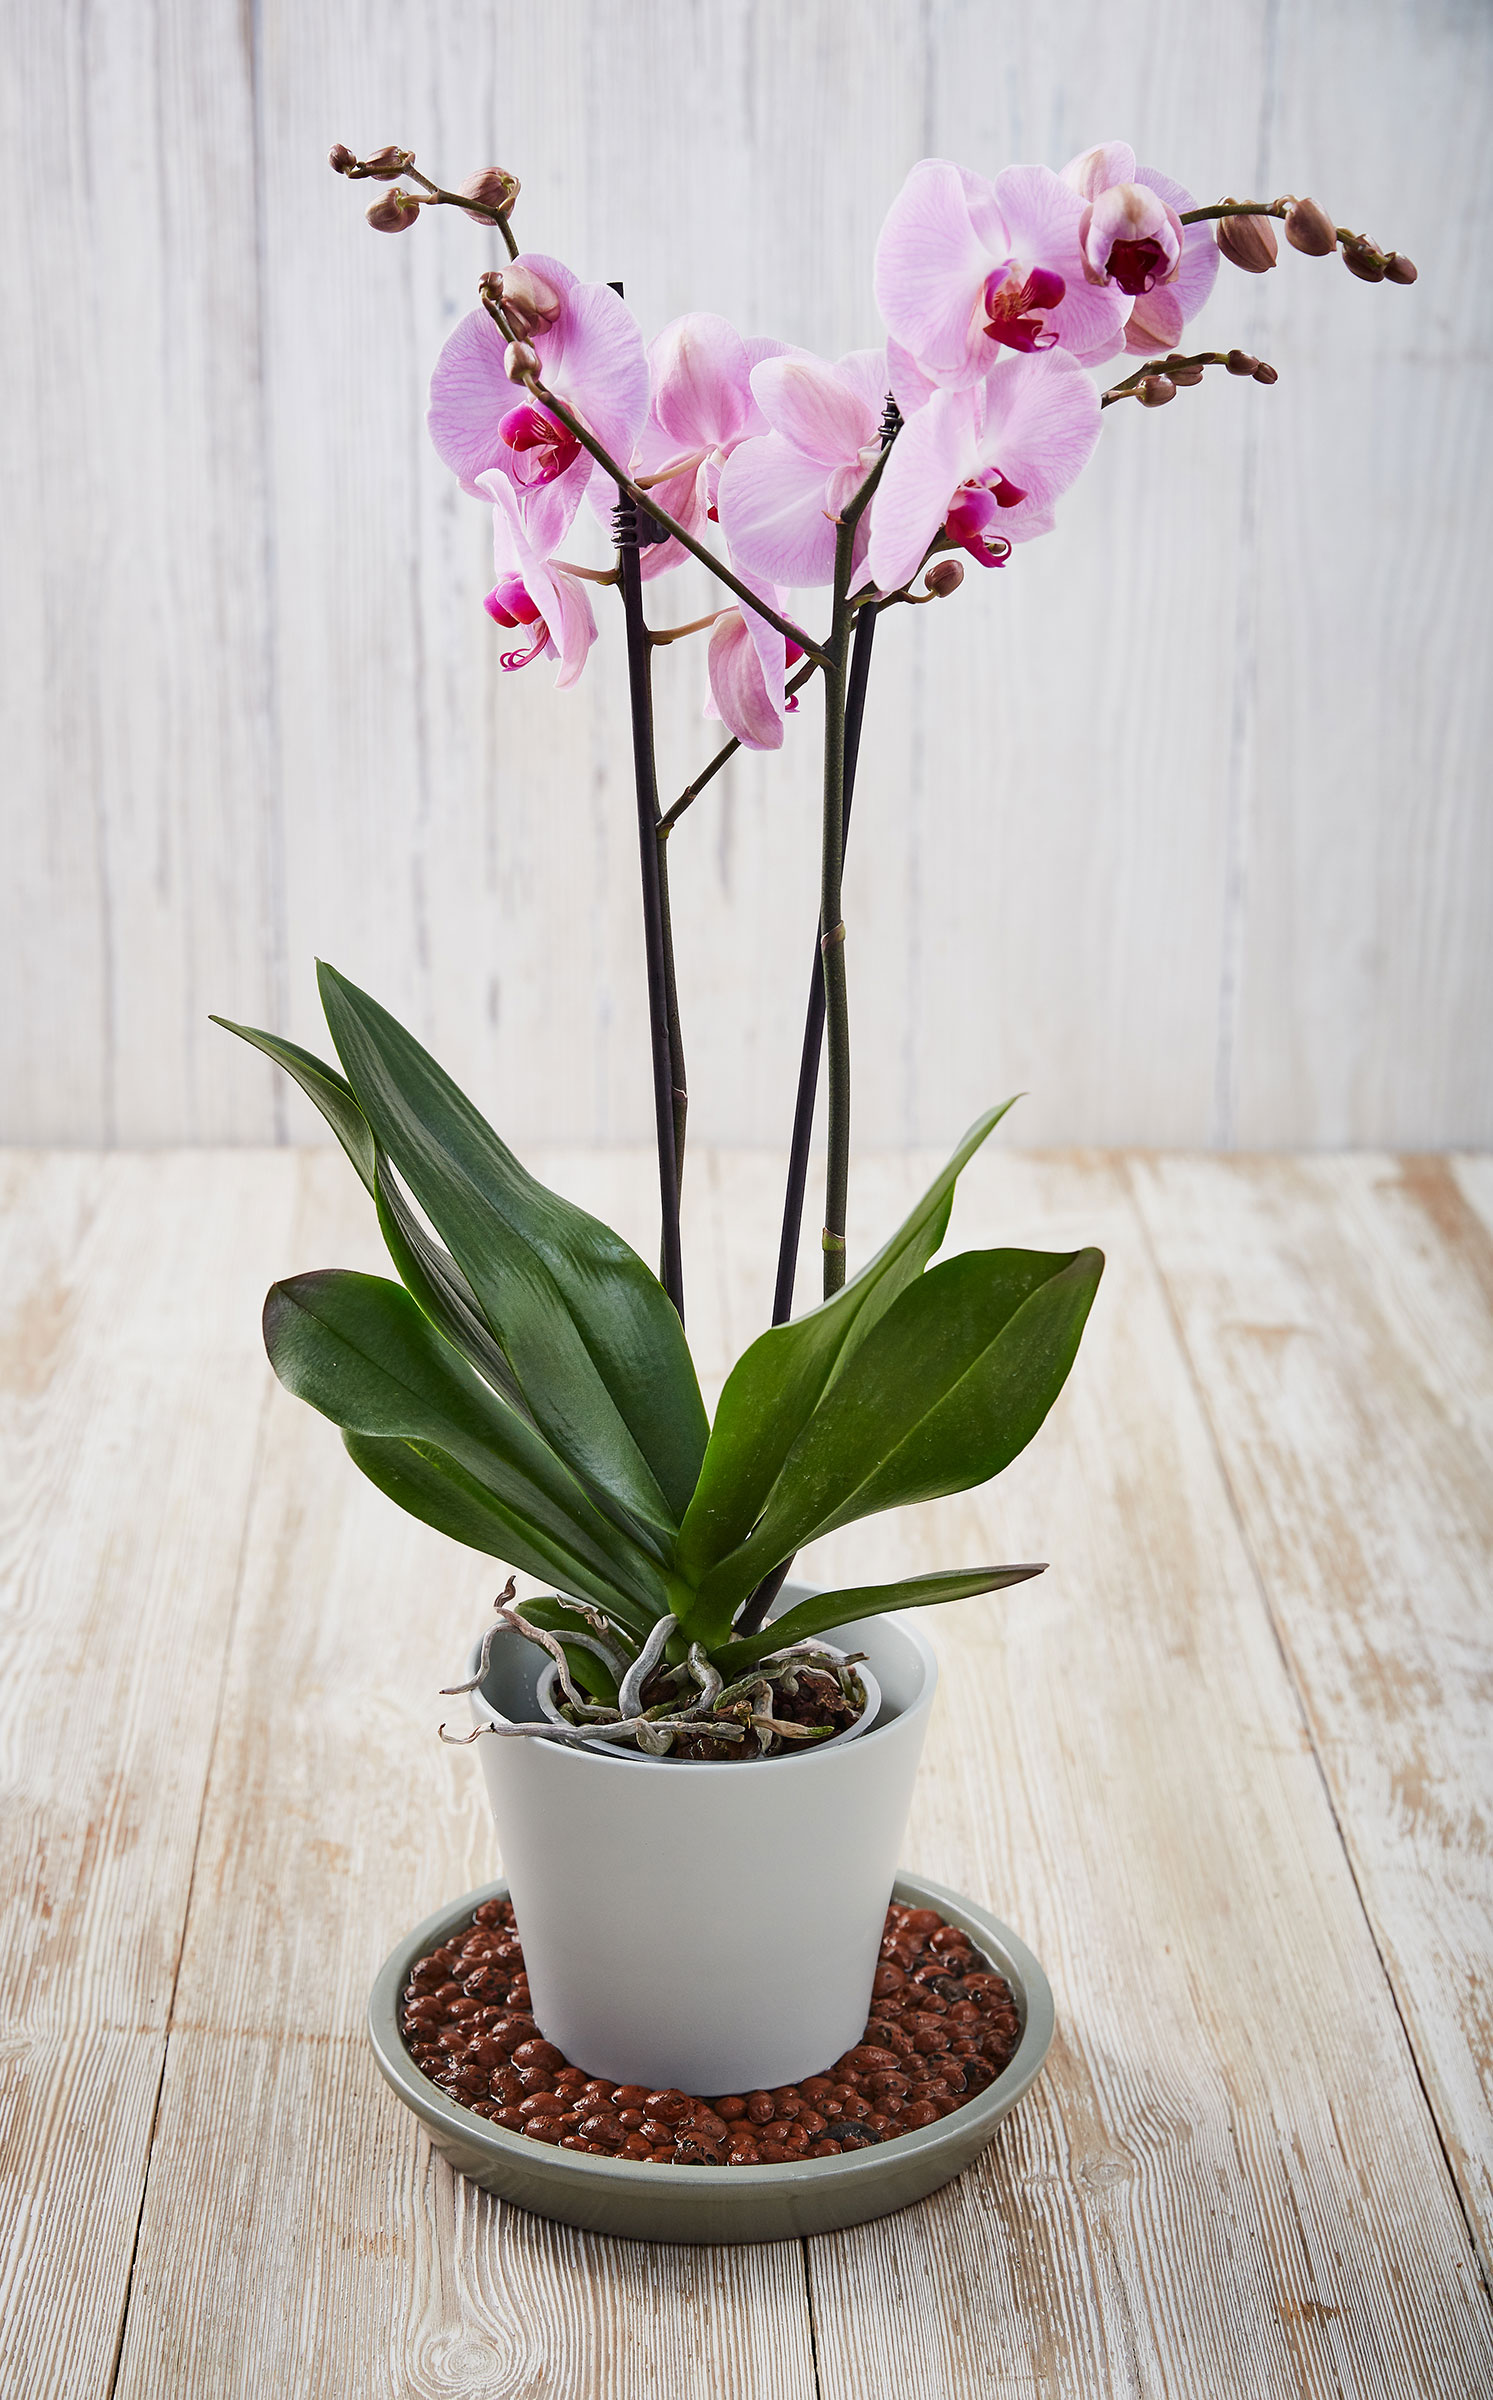
Many people use a plastic pot with drainage holes as a holding pot for their orchids, as this makes watering easier. This isn't strictly necessary, and you can use any pot with drainage. If using a planter without holes, you'll just need to make sure you tip out any excess water after watering – this is best done over a sink, as it can get a bit messy.
Anna is a professional writer with many years of experience. She has a passion for contemporary home decor and gardening. She covers a range of topics, from practical advice to interior and garden design.
- Jenny WoodFreelance Writer
- Camille Dubuis-WelchFormer Deputy Editor