How to install outdoor tile
Lay porcelain or install another type of outdoor tile DIY to create a dreamy patio on a budget

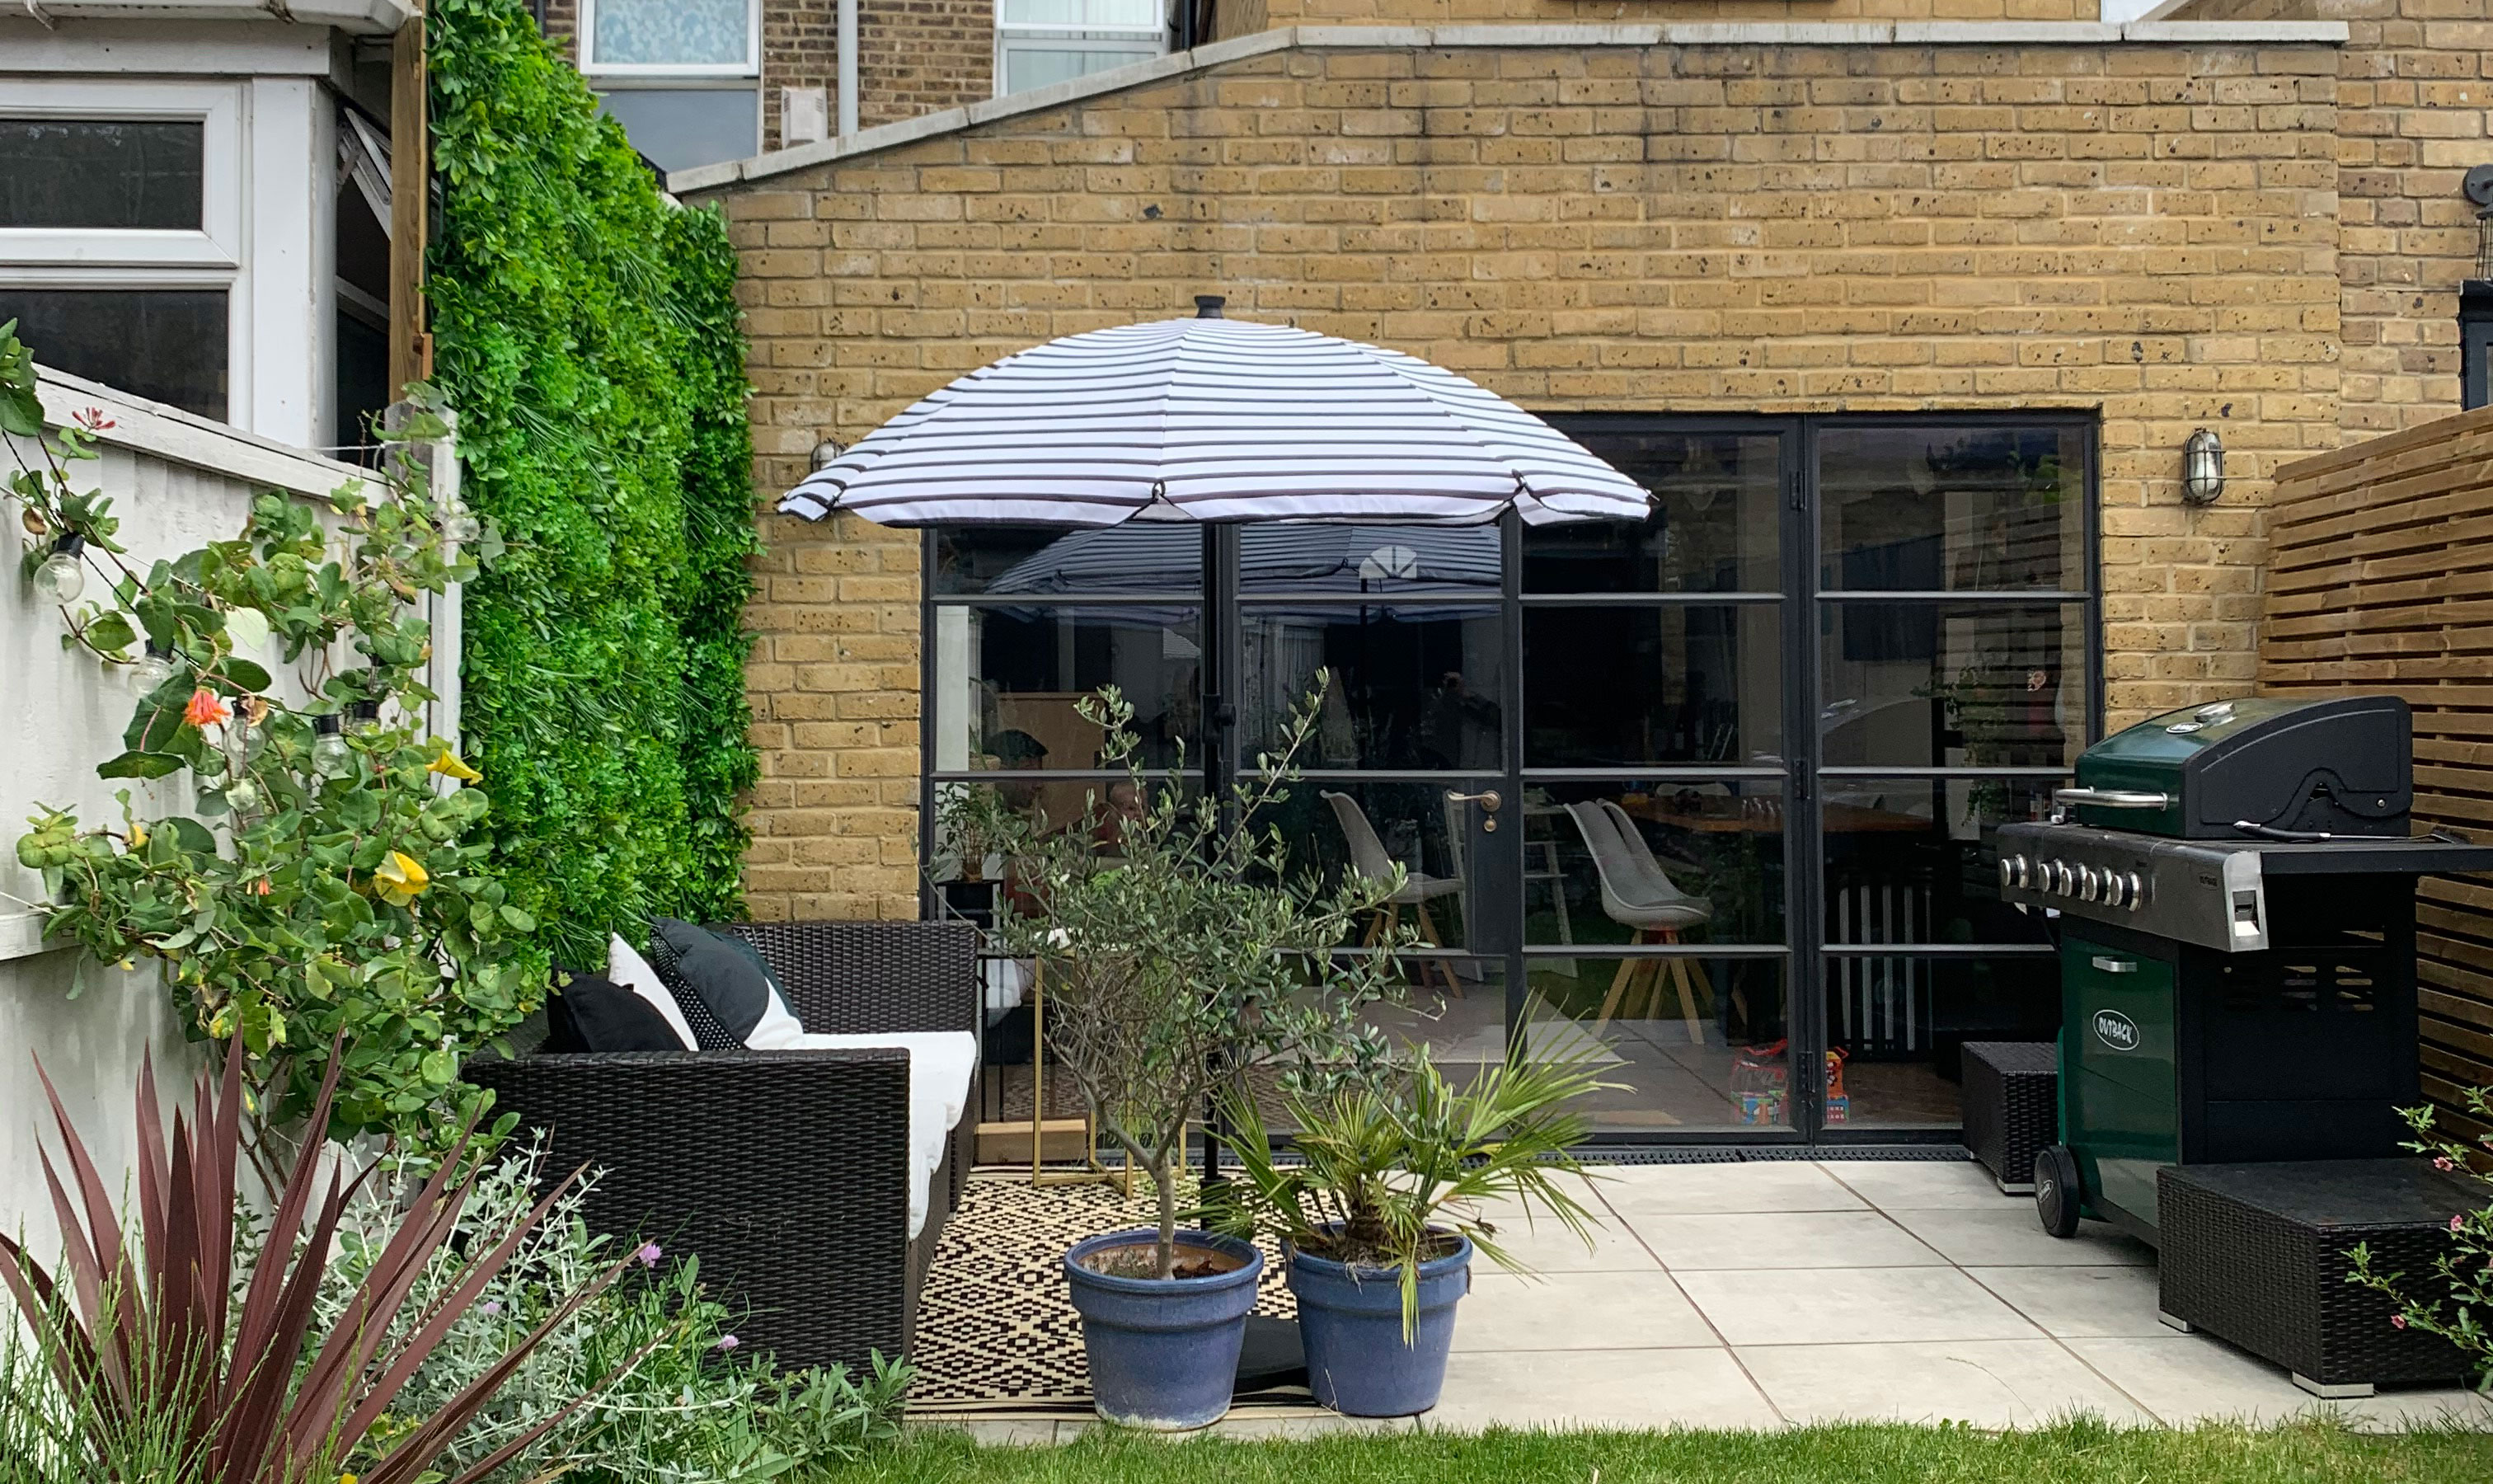
If your yard needs a little facelift, learn to install outdoor tile yourself for a more budget-friendly home improvement project.
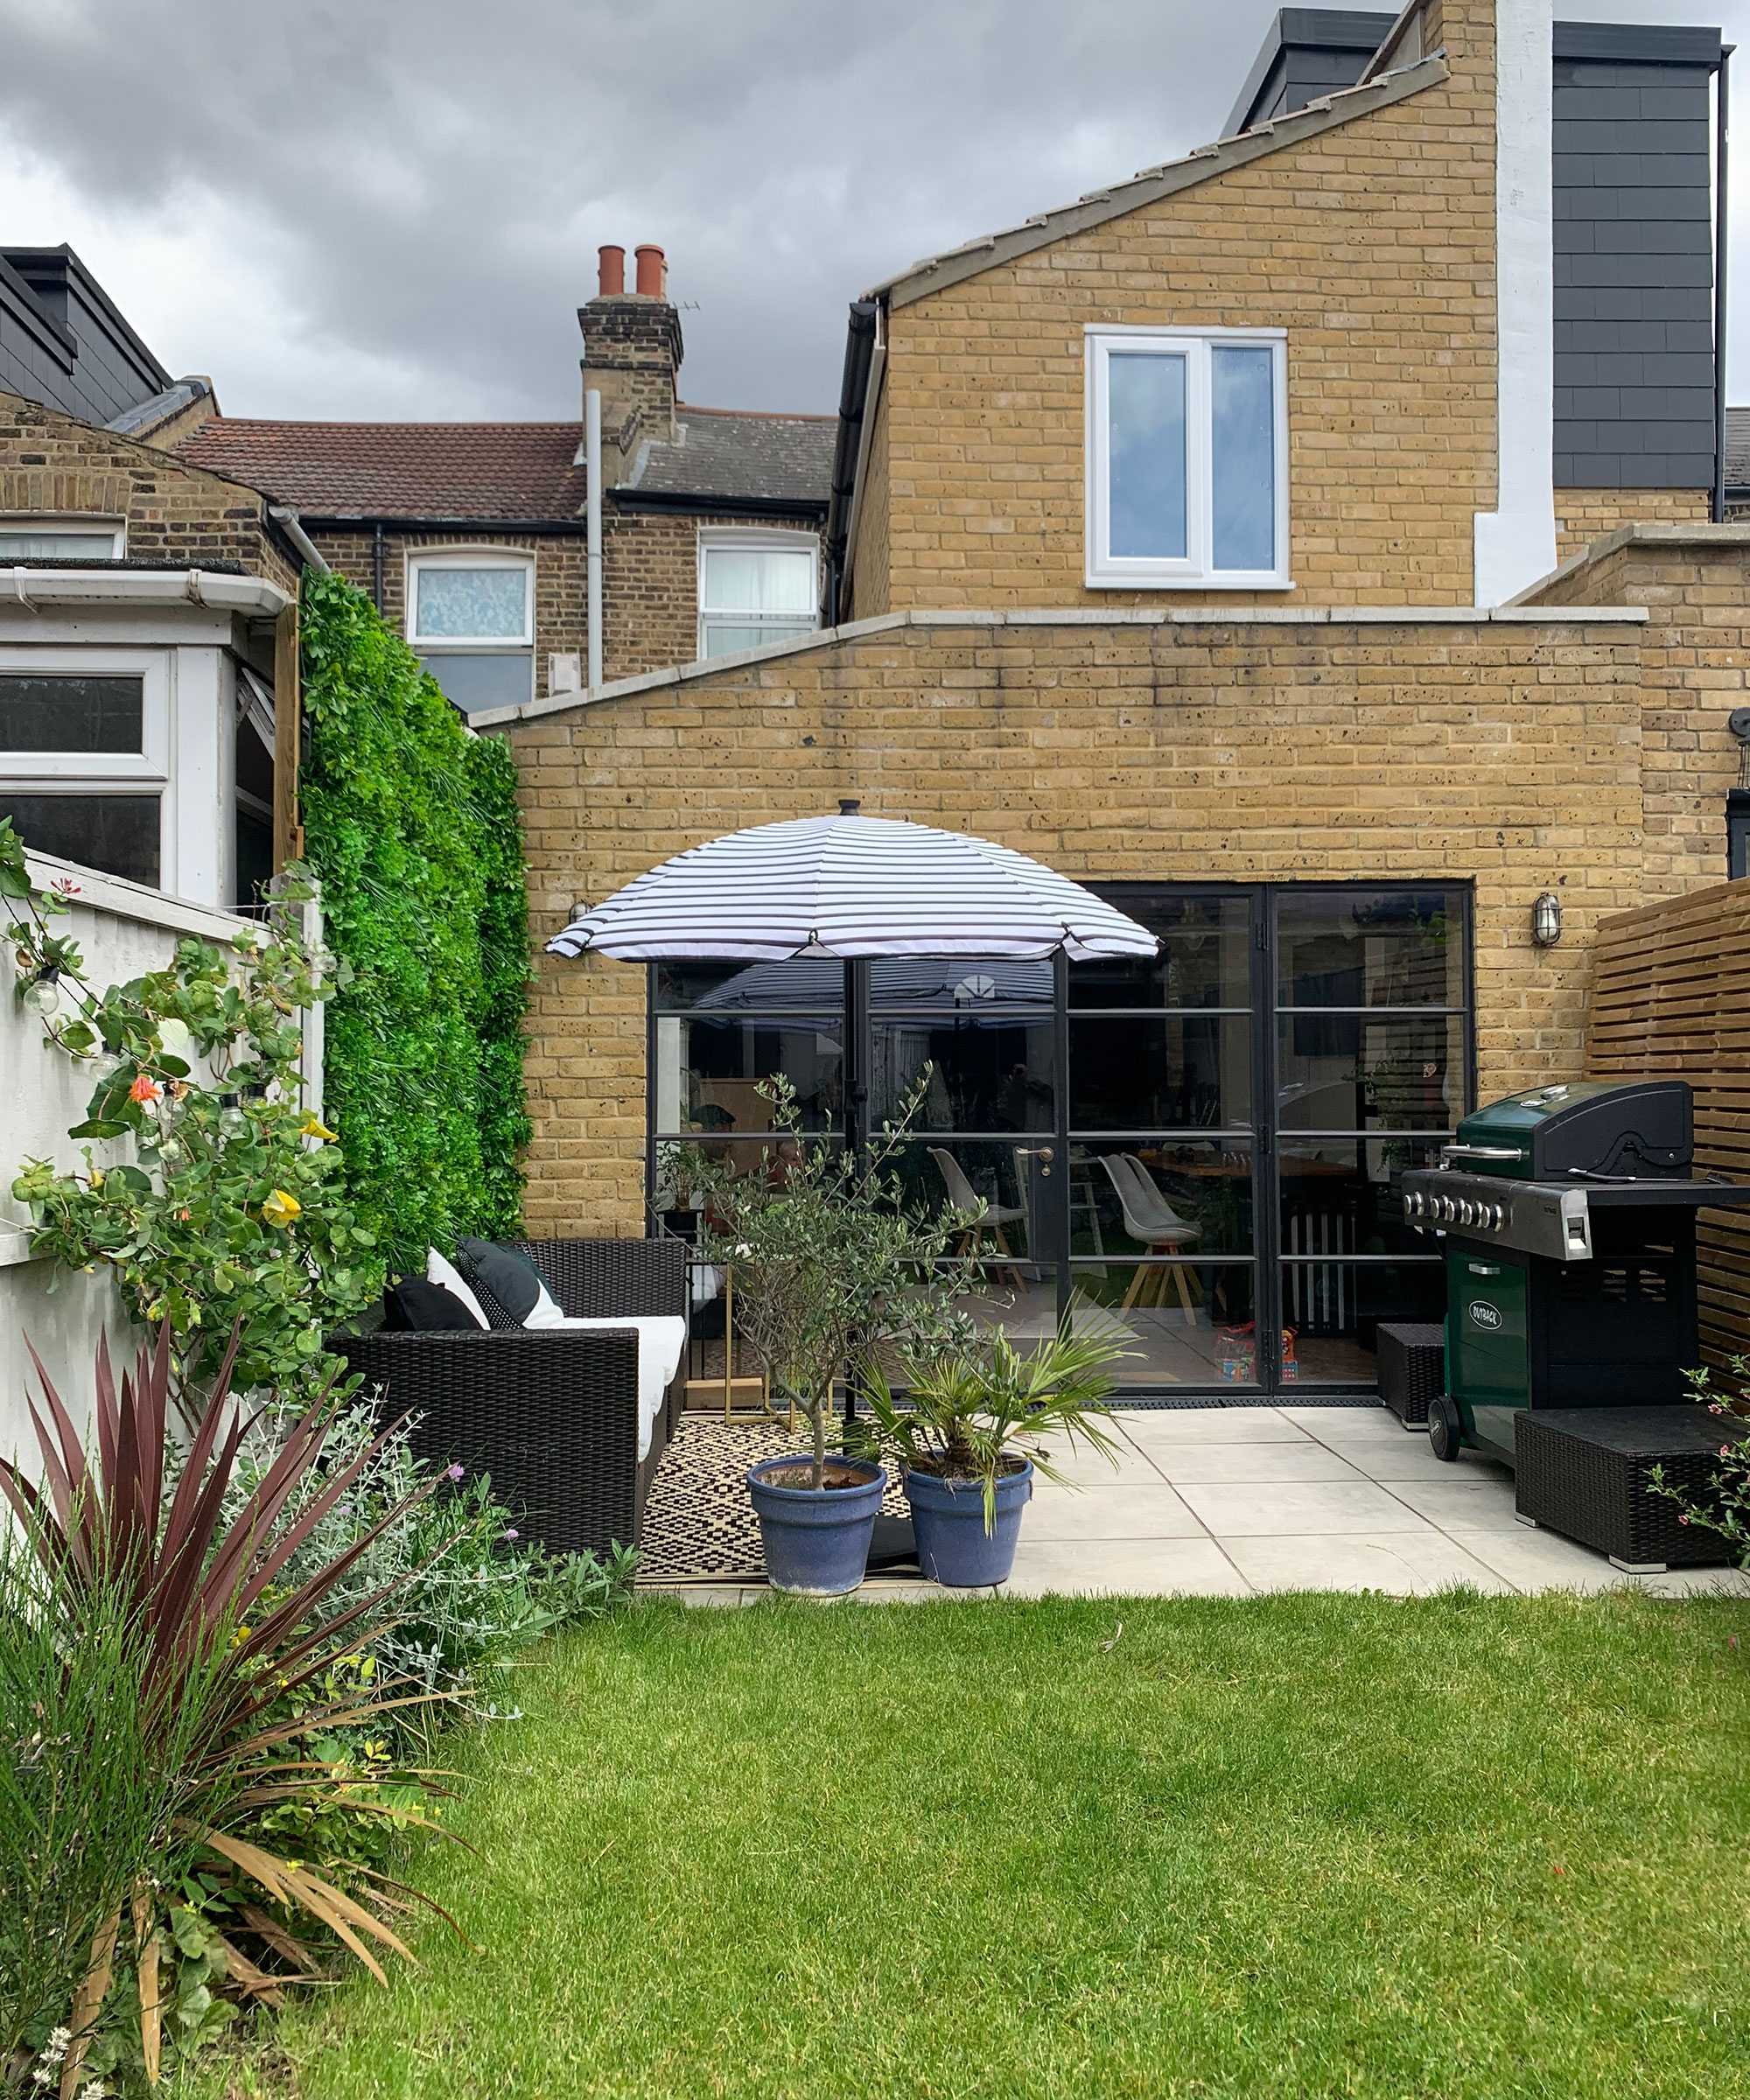
A new patio can transform the look of your space, big or small, to create a beautiful area – ripe for relaxing and entertaining in.
People often choose an outdoor porcelain tile over laying patio pavers for a slightly more polished and refined look. Set aside a weekend to install porcelain tiles in your outside space to transform your landscape.
- Difficulty rating: Medium to hard, but don’t let that put you off! It’s definitely achievable, you just need the right tools and some good planning.
- Budget: Outdoor tile is typically more expensive than pavers but installing it yourself is of course cheaper than hiring a professional.
- Time: A couple of days inc. 24 hours setting time minimum for the tile.
Preparing to install outdoor tile
The catch with laying outdoor tiles is that you'll almost always have to cut some, which is the tricky part. To minimize the need to cut your tiles, make sure you take the measure twice and cut once approach by laying out your tiles in the space first off, to work out the best format that will avoid unnecessary cuts.
If you do need to cut them, you will need a diamond cutting wheel for porcelain tiles or a circular saw for most other slabs. You can invest in a cutting wheel from Amazon or look to rent one from The Home Depot or another local hardware store.
You will also need protective equipment (ear defenders, gloves and eye protection) and to wear tight-fitting clothes to avoid getting anything caught in the machinery.
Mark out your exact space with wooden pegs and string, making sure that the corners are square; you can do this using a builder's square or by nailing two planks of wood together to form a right angle.
Get small space home decor ideas, celeb inspiration, DIY tips and more, straight to your inbox!
Tools and materials needed:
- Patio tiles of your choice
- Rake
- Sledgehammer or heavy piece of wood for compressing sub base
- Spirit level
- Trowel
- Broom
- Sand for mixing into mortar and grouting
- Cement for mixing into mortar and grouting
- Shovel
- Hardcore (rubble or clean crushed stone)
- Offcuts of wood to make into pegs
- Small saw to cut the wooden pegs
- Tape measure
- Rubber mallet
- Bonding slurry (pre mixed SBR) - if laying porcelain tiles
- Coarse brush to apply SBR - if laying porcelain tiles
- Optional - jointing compound to use for grout
1. Dig out the space
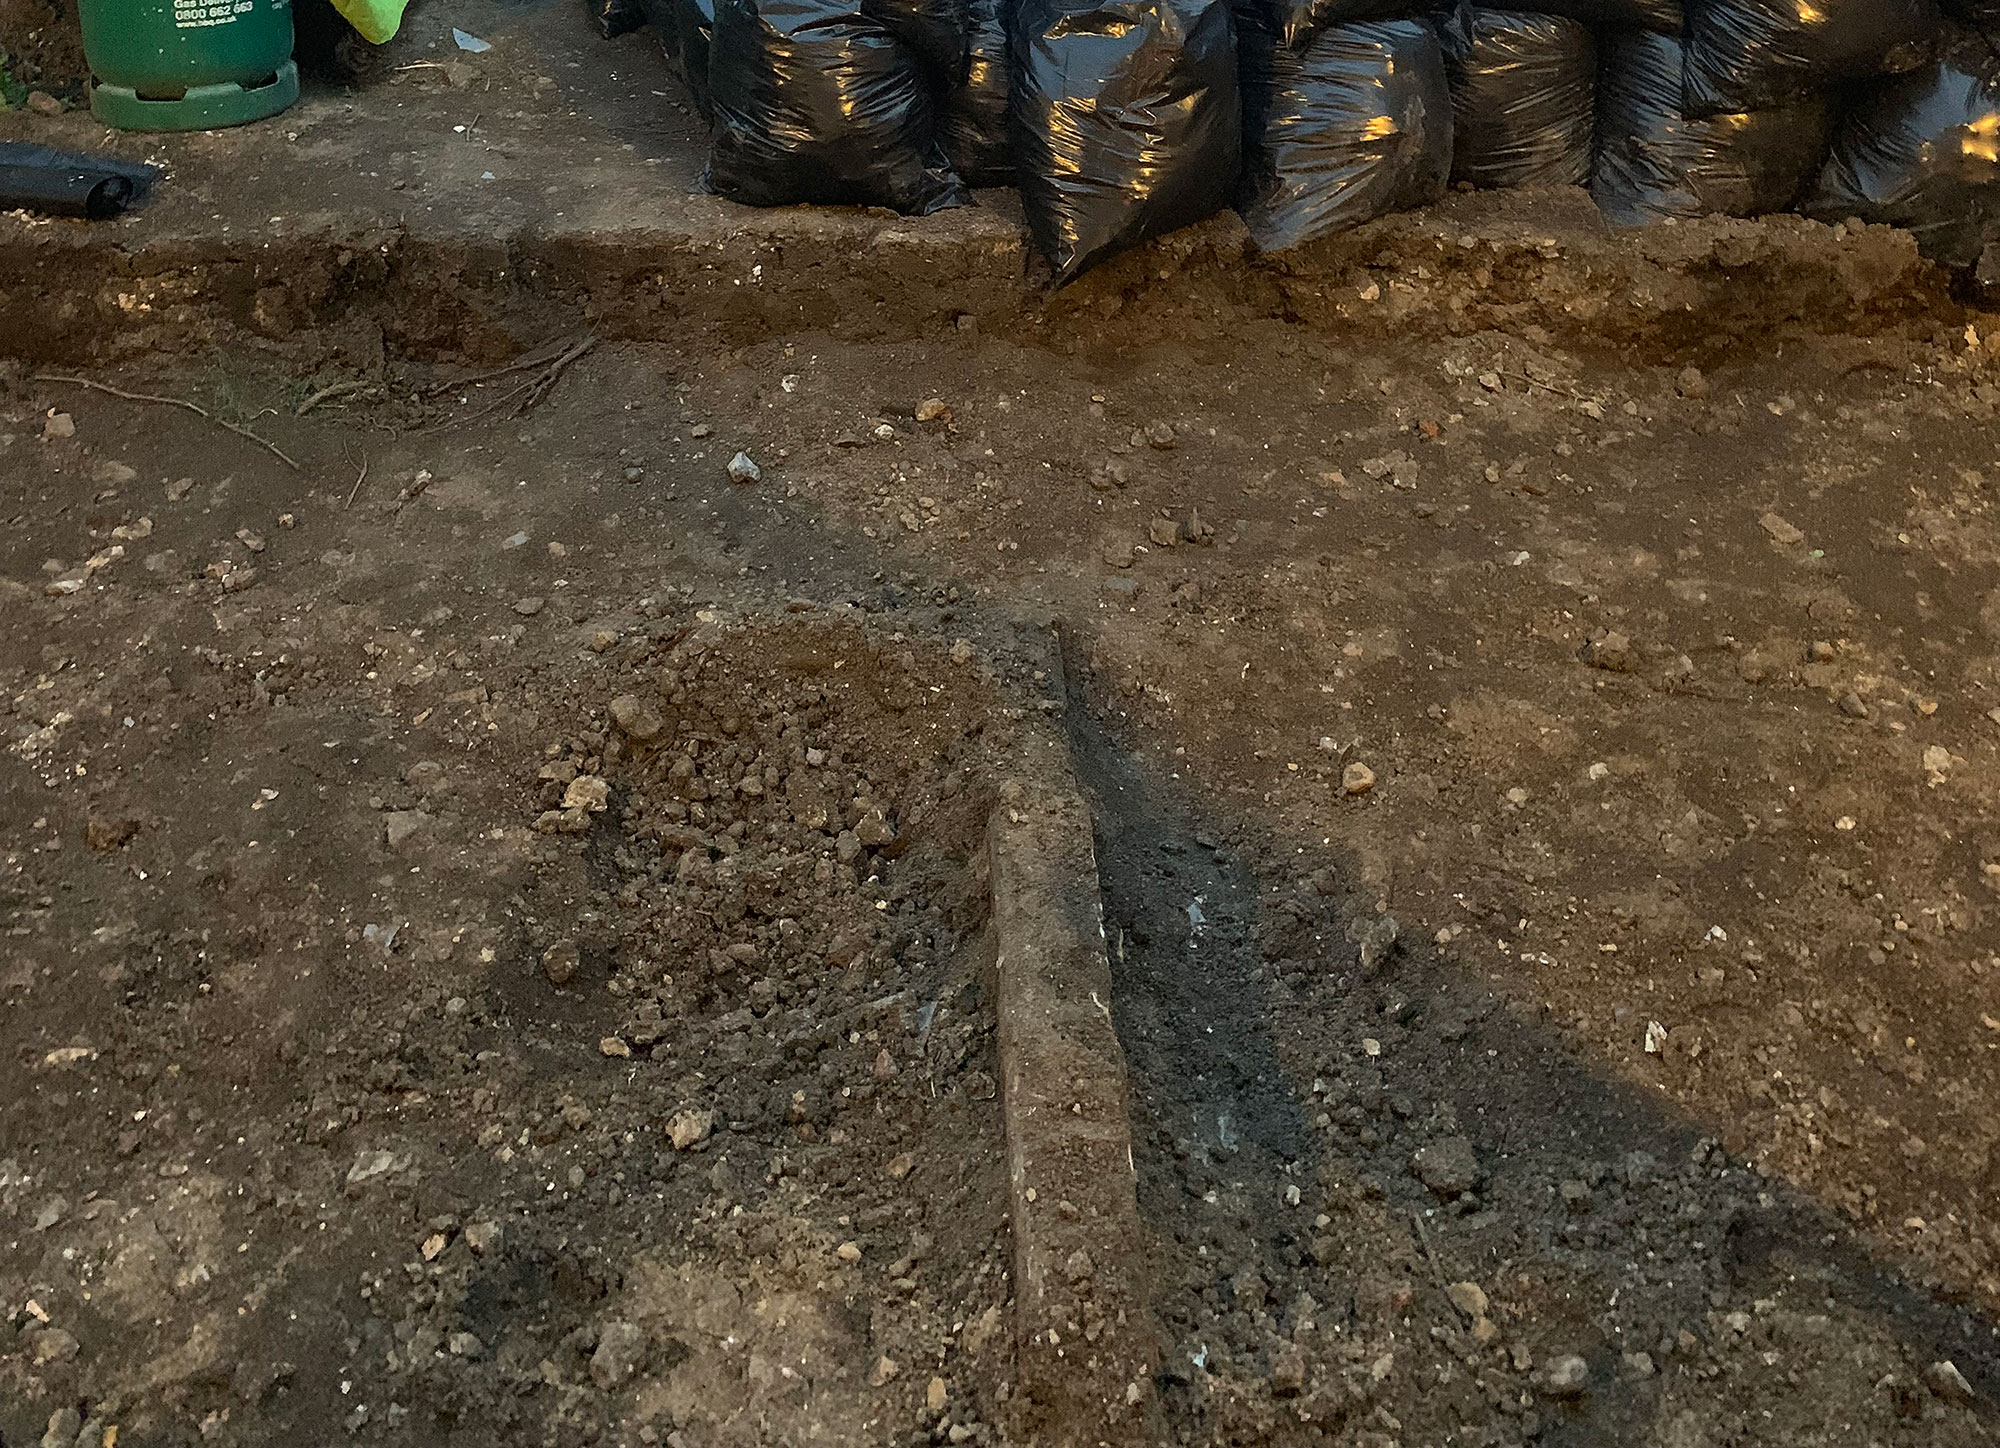
You need to dig away some soil so that once the tiles are installed, your patio will be level with your house and/or yard. Dig out around 11.5cm of soil (10cm to account for the hardcore and 1.5cm for your mortar bed) plus an additional amount equating to the depth of your tiles (e.g. if your tiles are 2cm you would dig 13.5cm in total). Keep the excess soil for now in case you have dug out too much. Remove any large pieces of rubble, rake smooth, bash the soil down using a large piece of wood or sledgehammer and check with a level.
2. Add a depth guide for laying your base
You need to ensure the hardcore you lay in step three is the right depth (industry recommendation is 10cm), in addition you need to ensure there is a slight slope to your patio so that rainwater can run off it, away from your house. The industry recommendation is a ‘fall’ (or slope) of 1cm in every 80cm, meaning that you need to increase the depth you dig by 1cm across every 80cm distance to create a gentle slope. To help with this you need to add a depth guide in the form of string and pegs to help lay your hardcore.
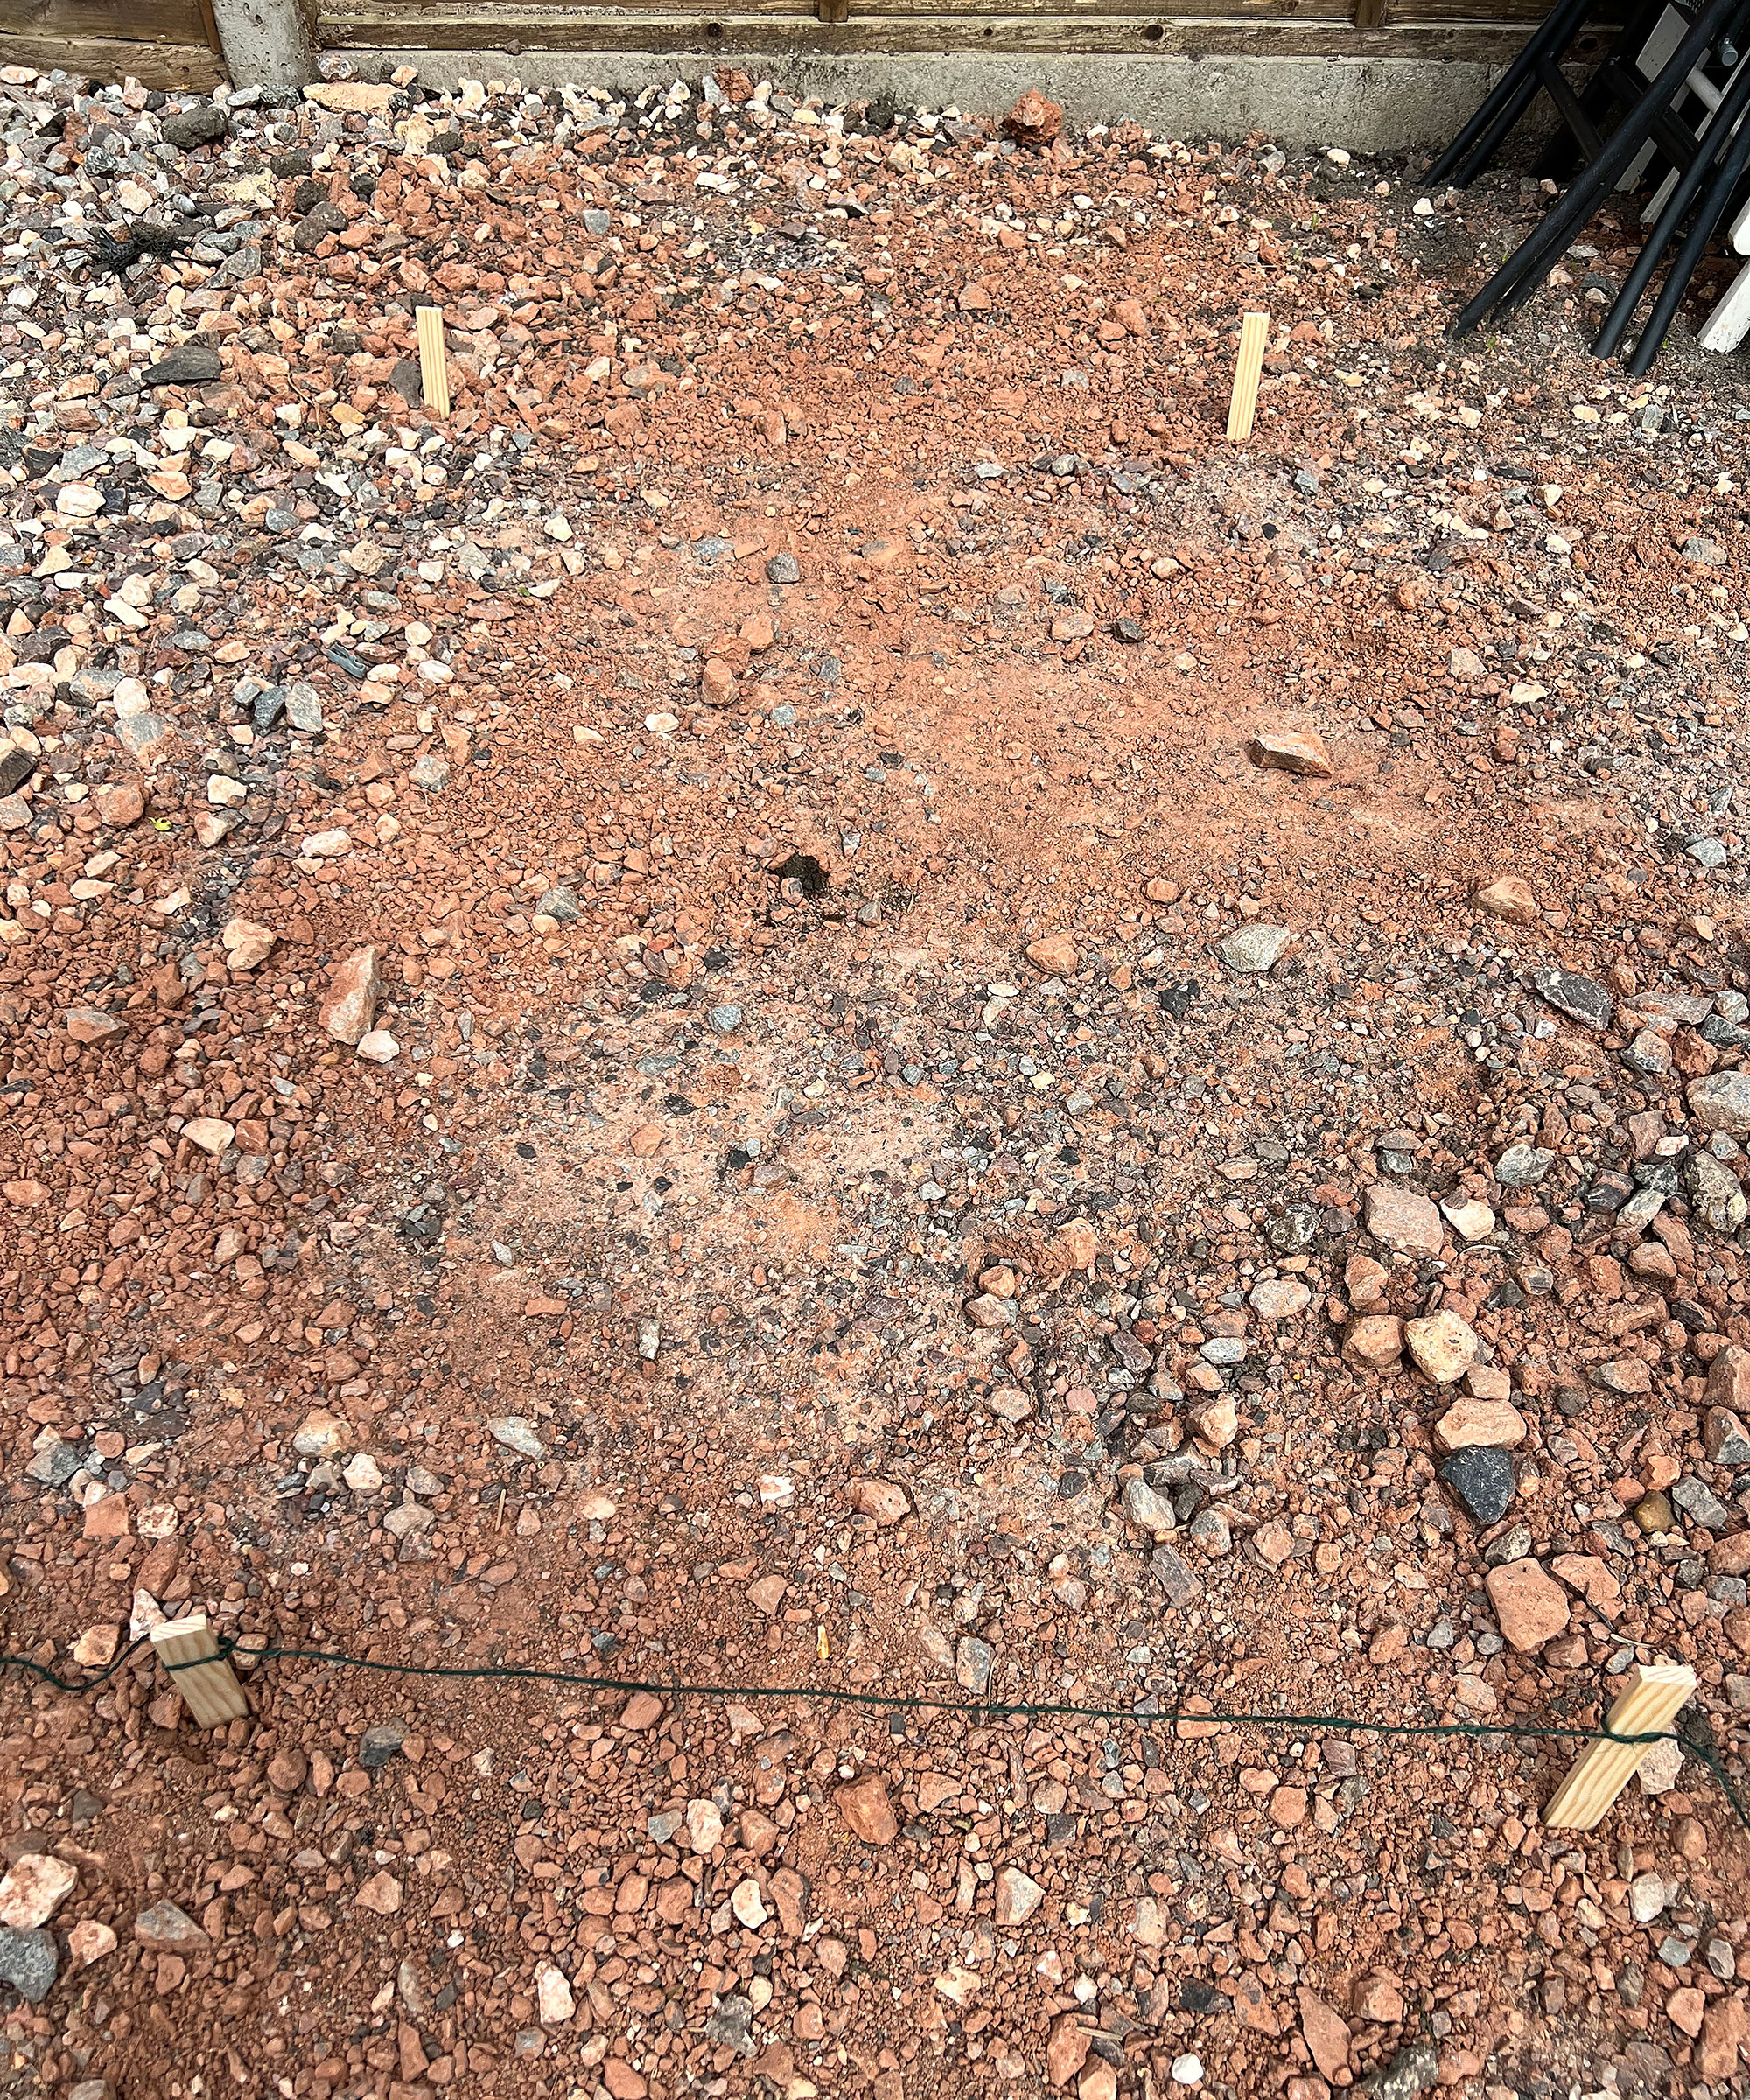
Cut some wooden pegs from old wood and knock them in at different points across your outlined space at the required depth (your chosen hardcore depth, plus adjustment for the run off as above), so that the top of the pegs serve as a guide for where you need to fill your hardcore up to. Check that parallel pegs are level with a level.
Run string from the top of the patio to the bottom, in line with the top of the pegs and measure to ensure you are happy with the level of the slope, adjust pegs as needed.
3. Lay a sturdy sub base
Once all of your pegs are in, spread clean hardcore (which you can buy pre bagged from builders merchants) or crushed stone to form a sturdy sub-base, this is critical as a foundation for areas that require strength, resilience and load bearing capacity. Pack it down to make sure it's flat, you can do this with a sledge hammer or by laying a board on top and stamping on it. Check that the base is flat with a level.
4. Prepare to install the tile
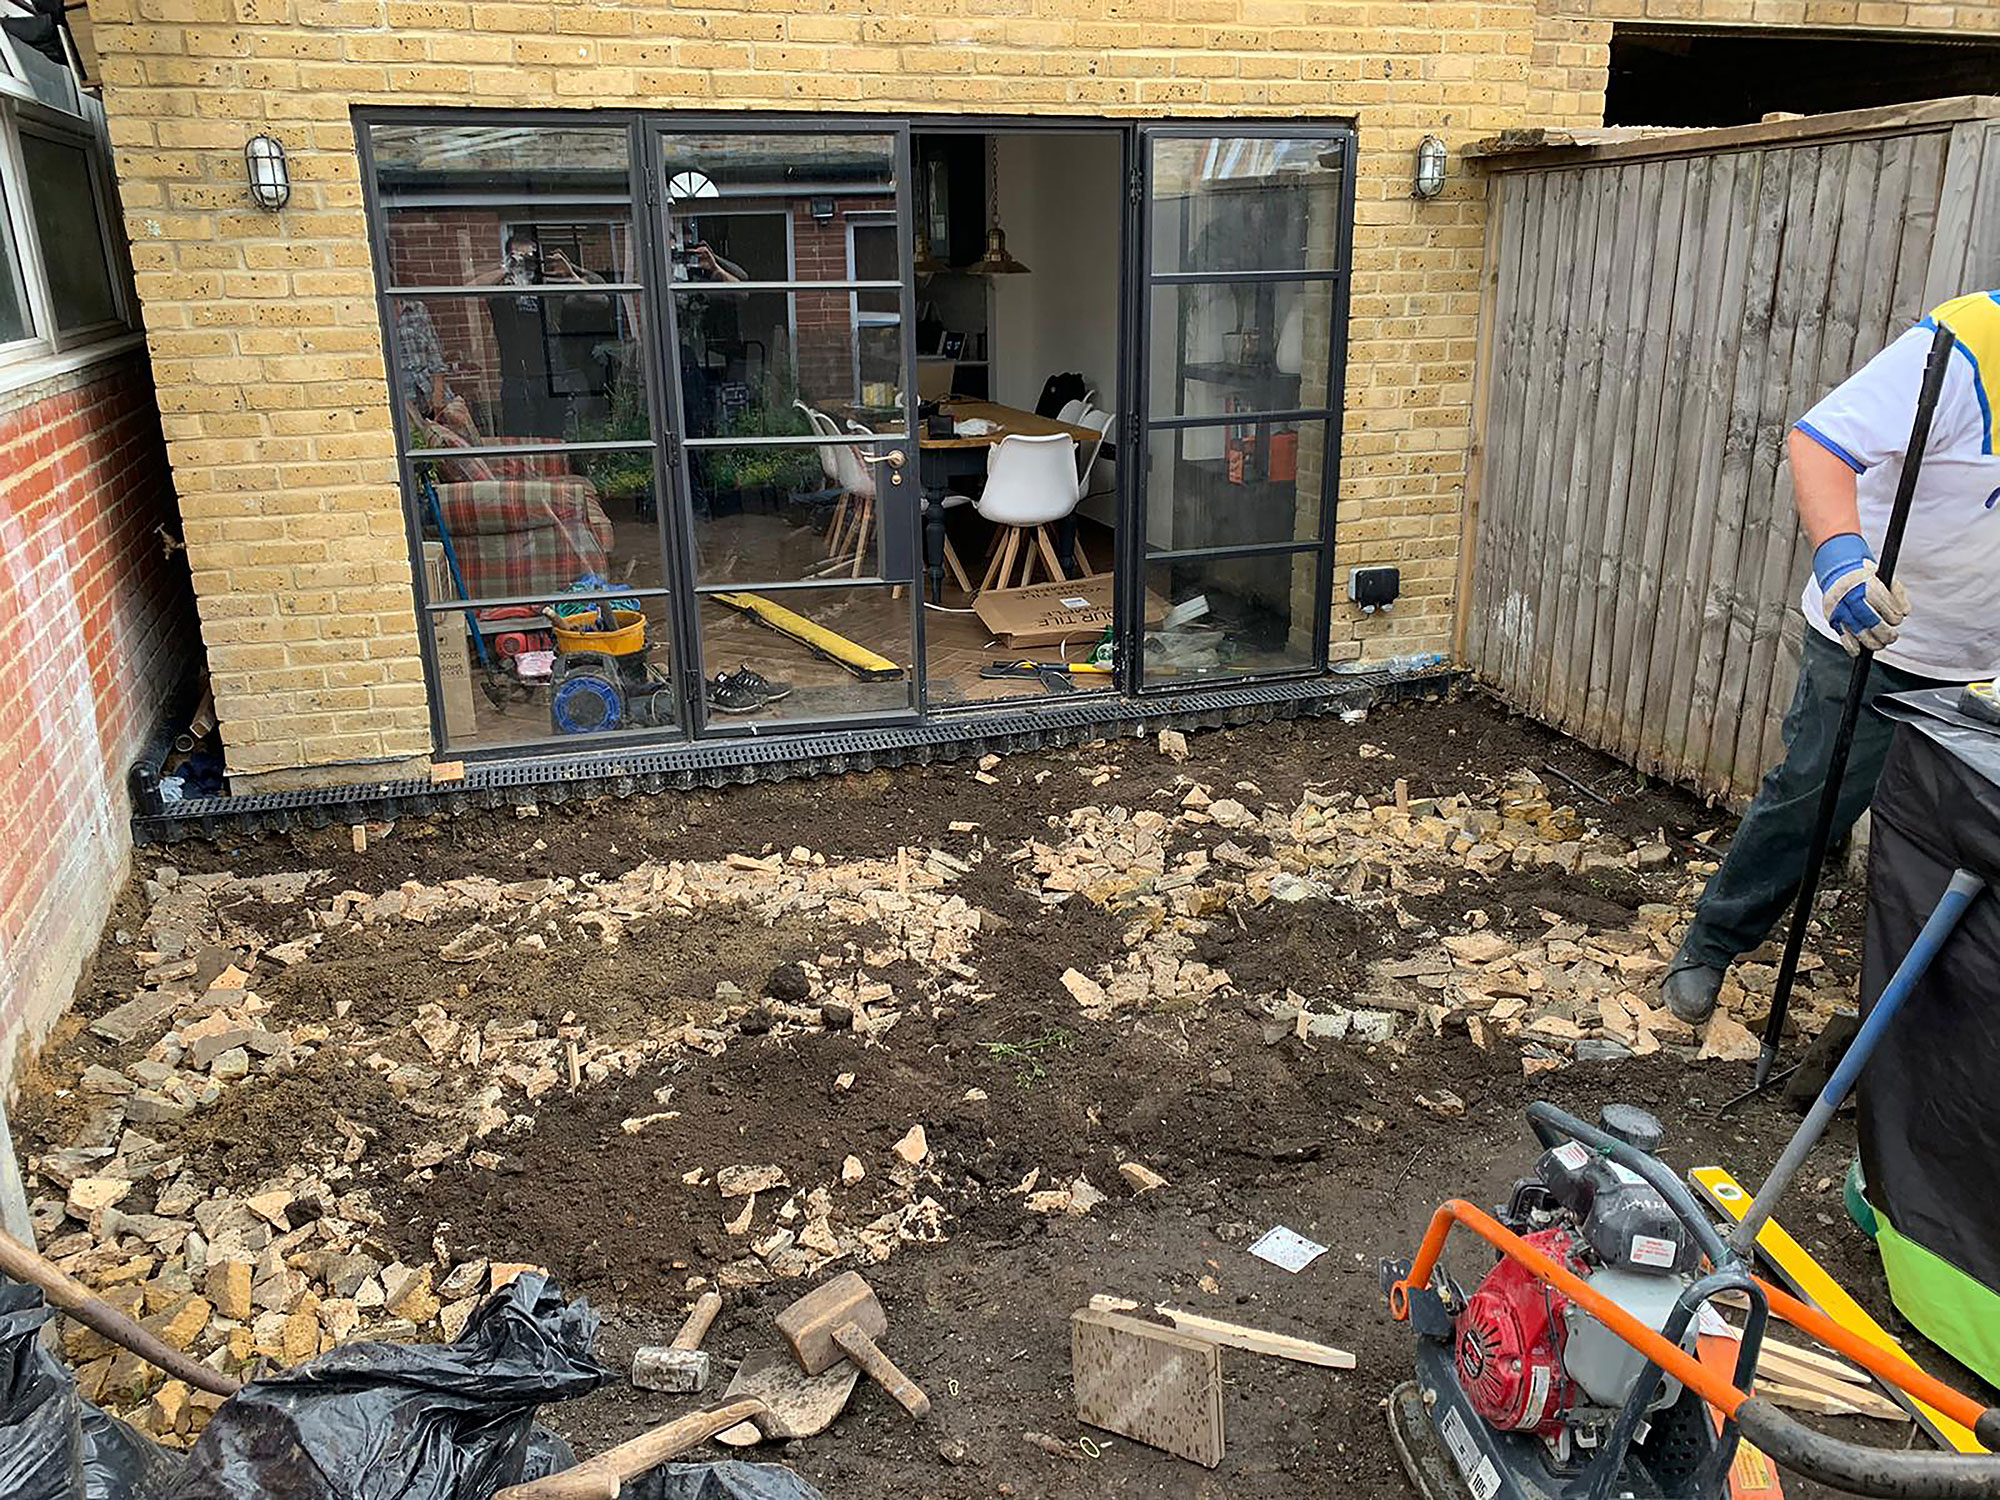
Now you’re ready to lay the tiles. Decide on the format you want to lay them and the gap you’d like in between (1.5cm is a good guide). Cut some thin pieces of wood to use as tile spacers. Mix your mortar bed using sand and cement (in a ratio of four parts sand to one part cement), lay your mortar on top of the hardcore at a thickness of around 1.5cm; do this one row at a time.
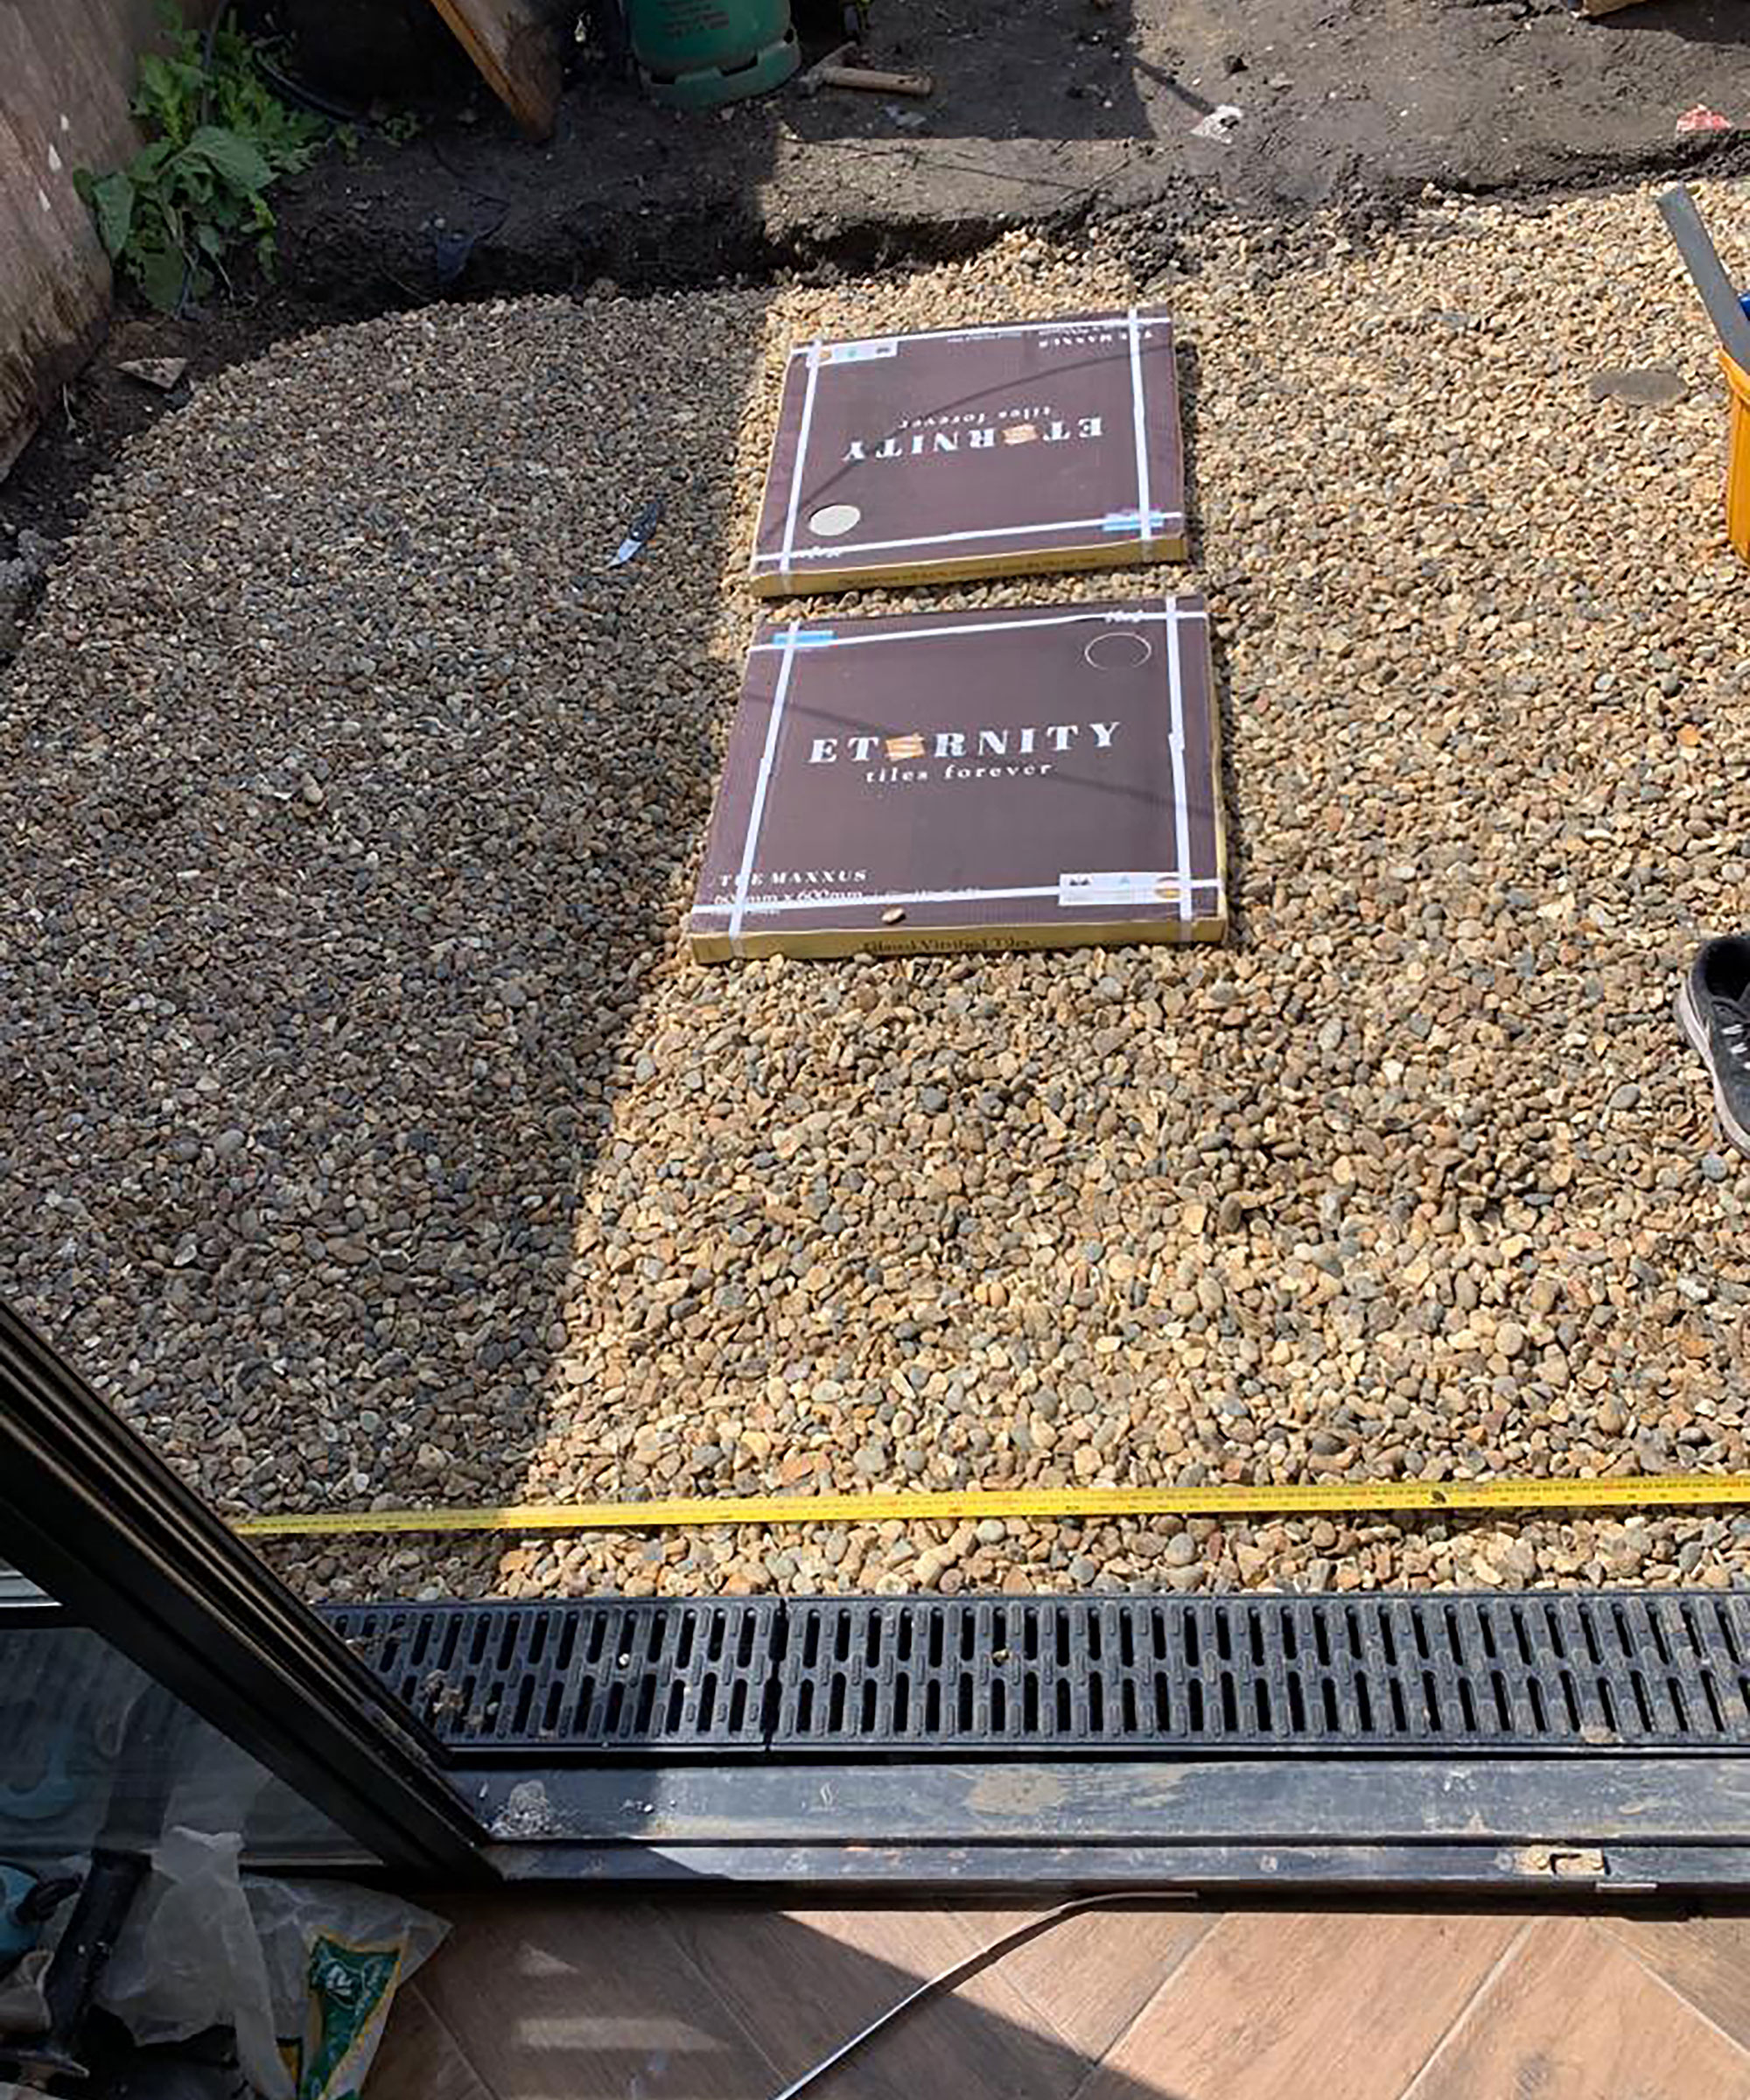
5. Lay the tile
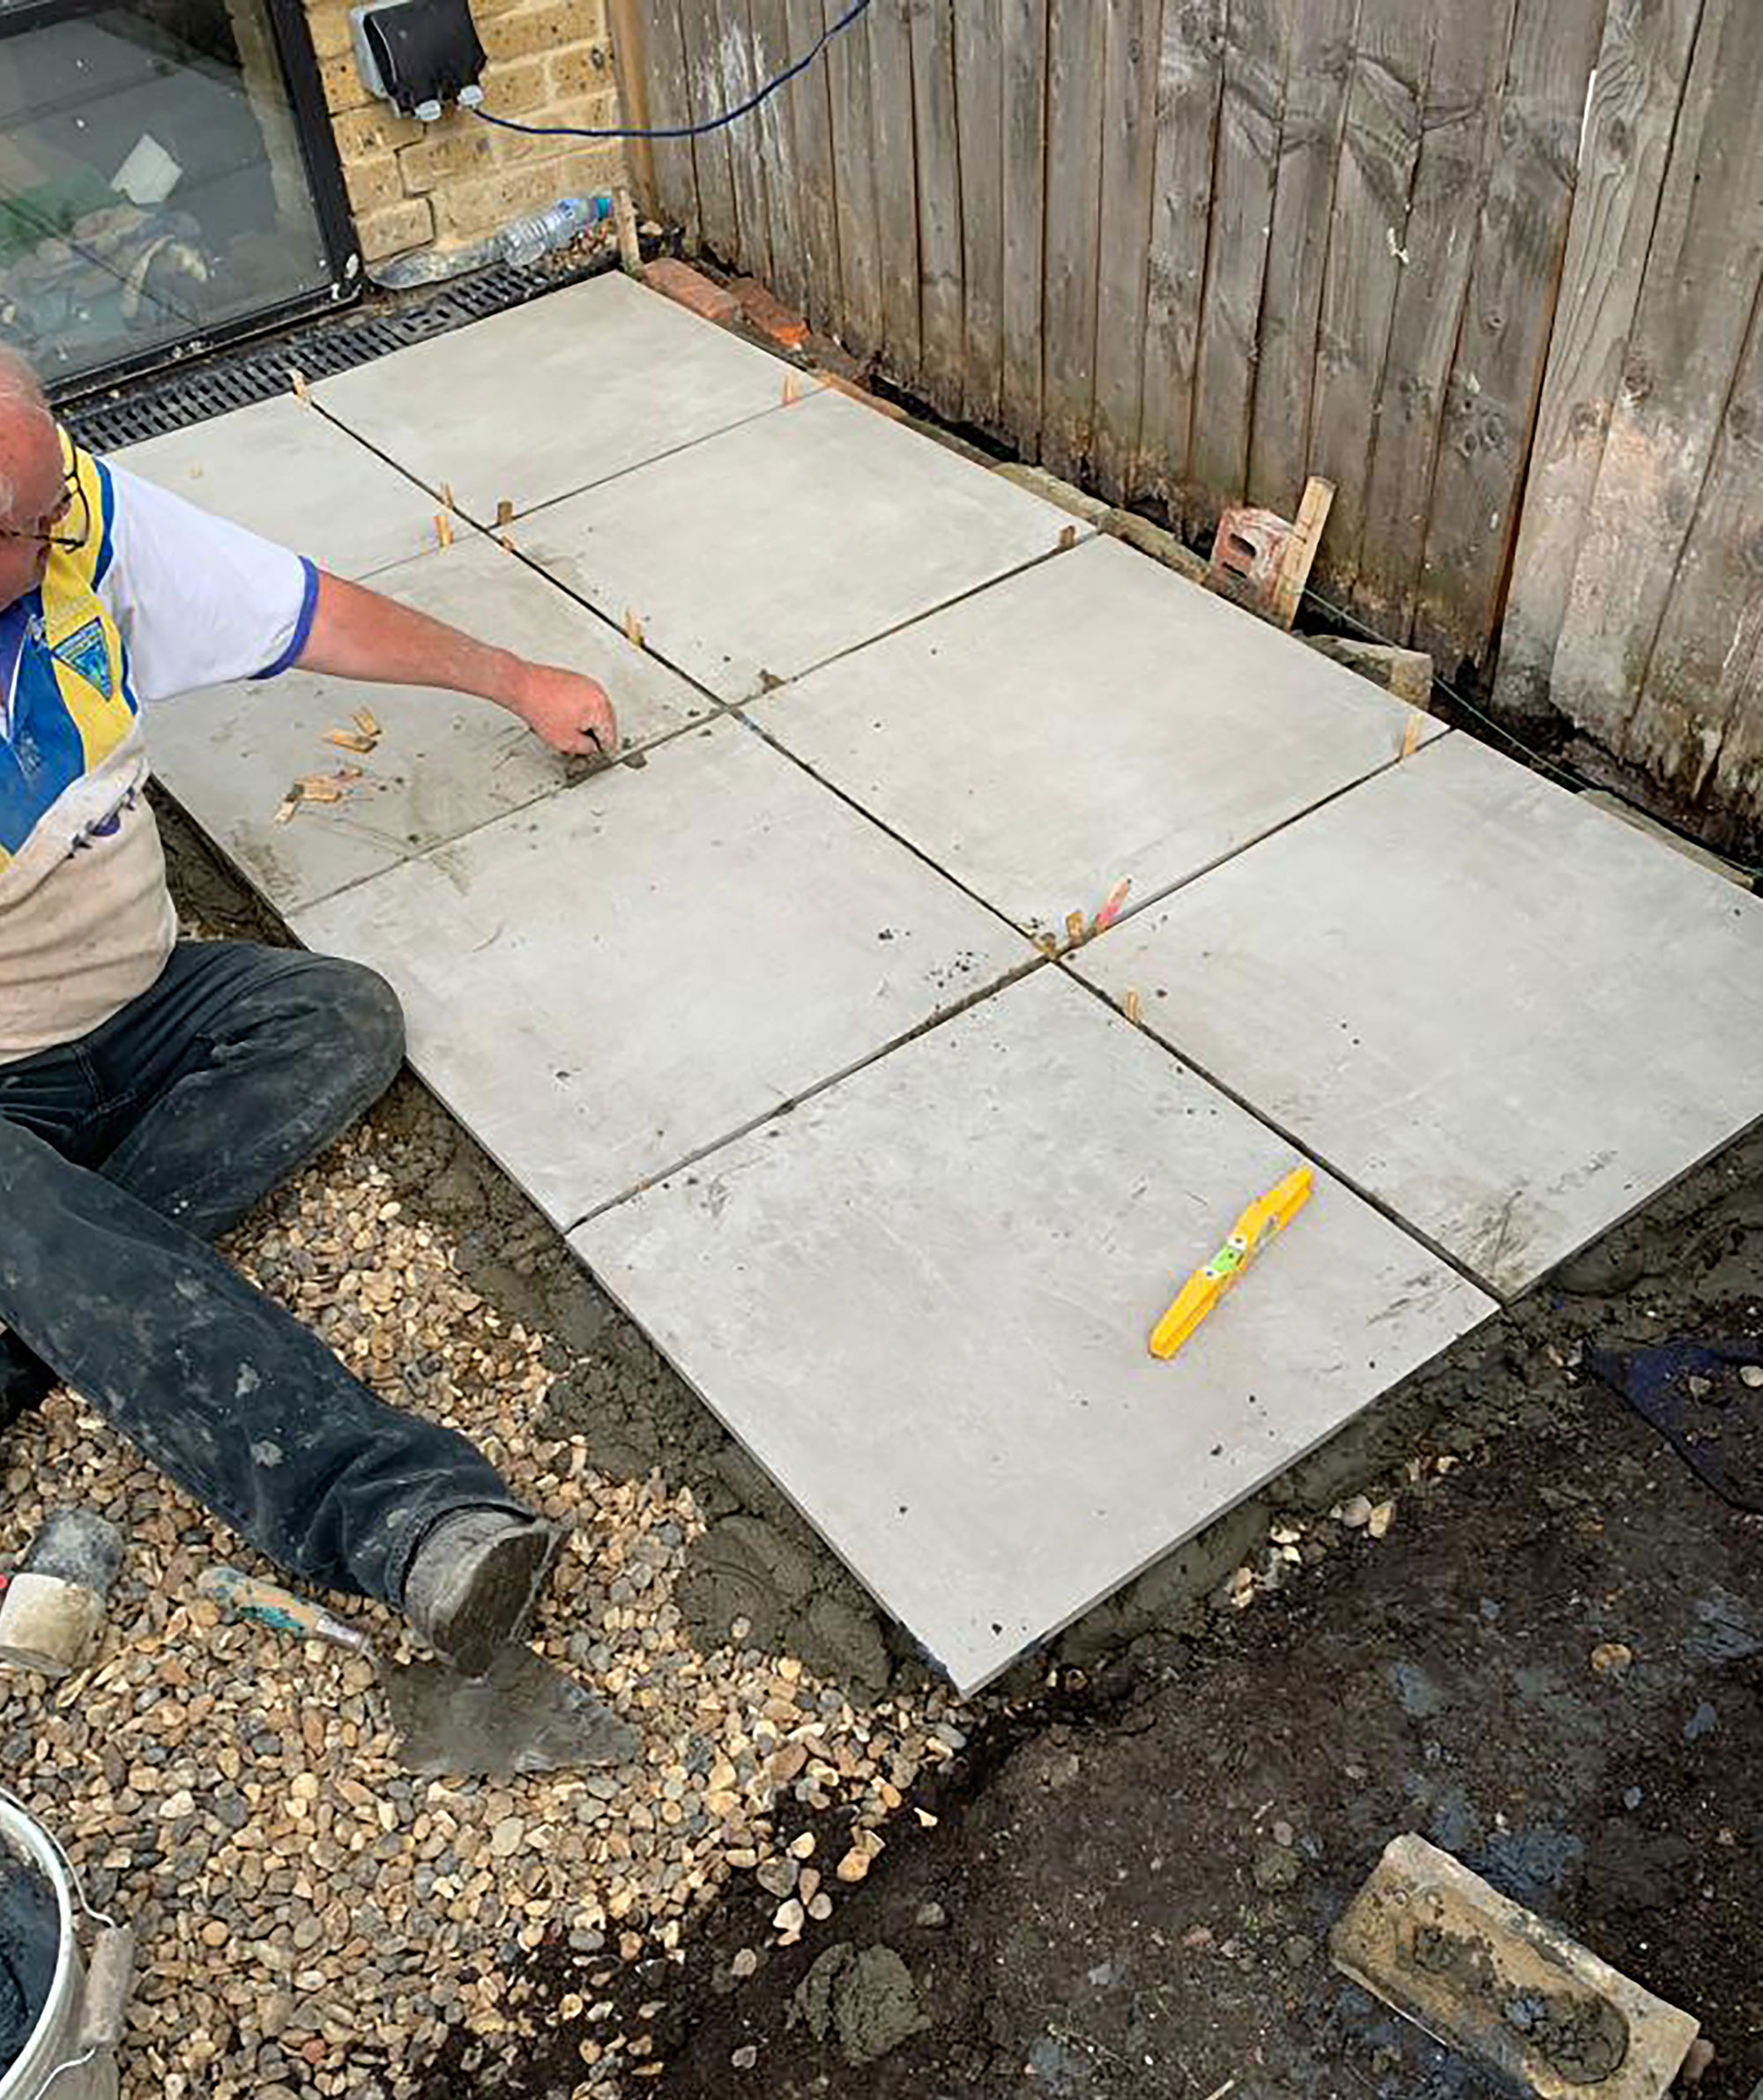
Once your mortar is down, lay the tile. Use a rubber mallet or piece of wood to tap down the tile so it follows the fall of the hardcore and lies flat. Add a spacer next to it and do the same with the next tile until you have completed the space. If you’re using porcelain tiles you will need to add in an additional step, using a bonding slurry because the tiles are non porous. You can buy this premixed and simply need to paint this onto the back of the tiles with a coarse brush before you lay them.
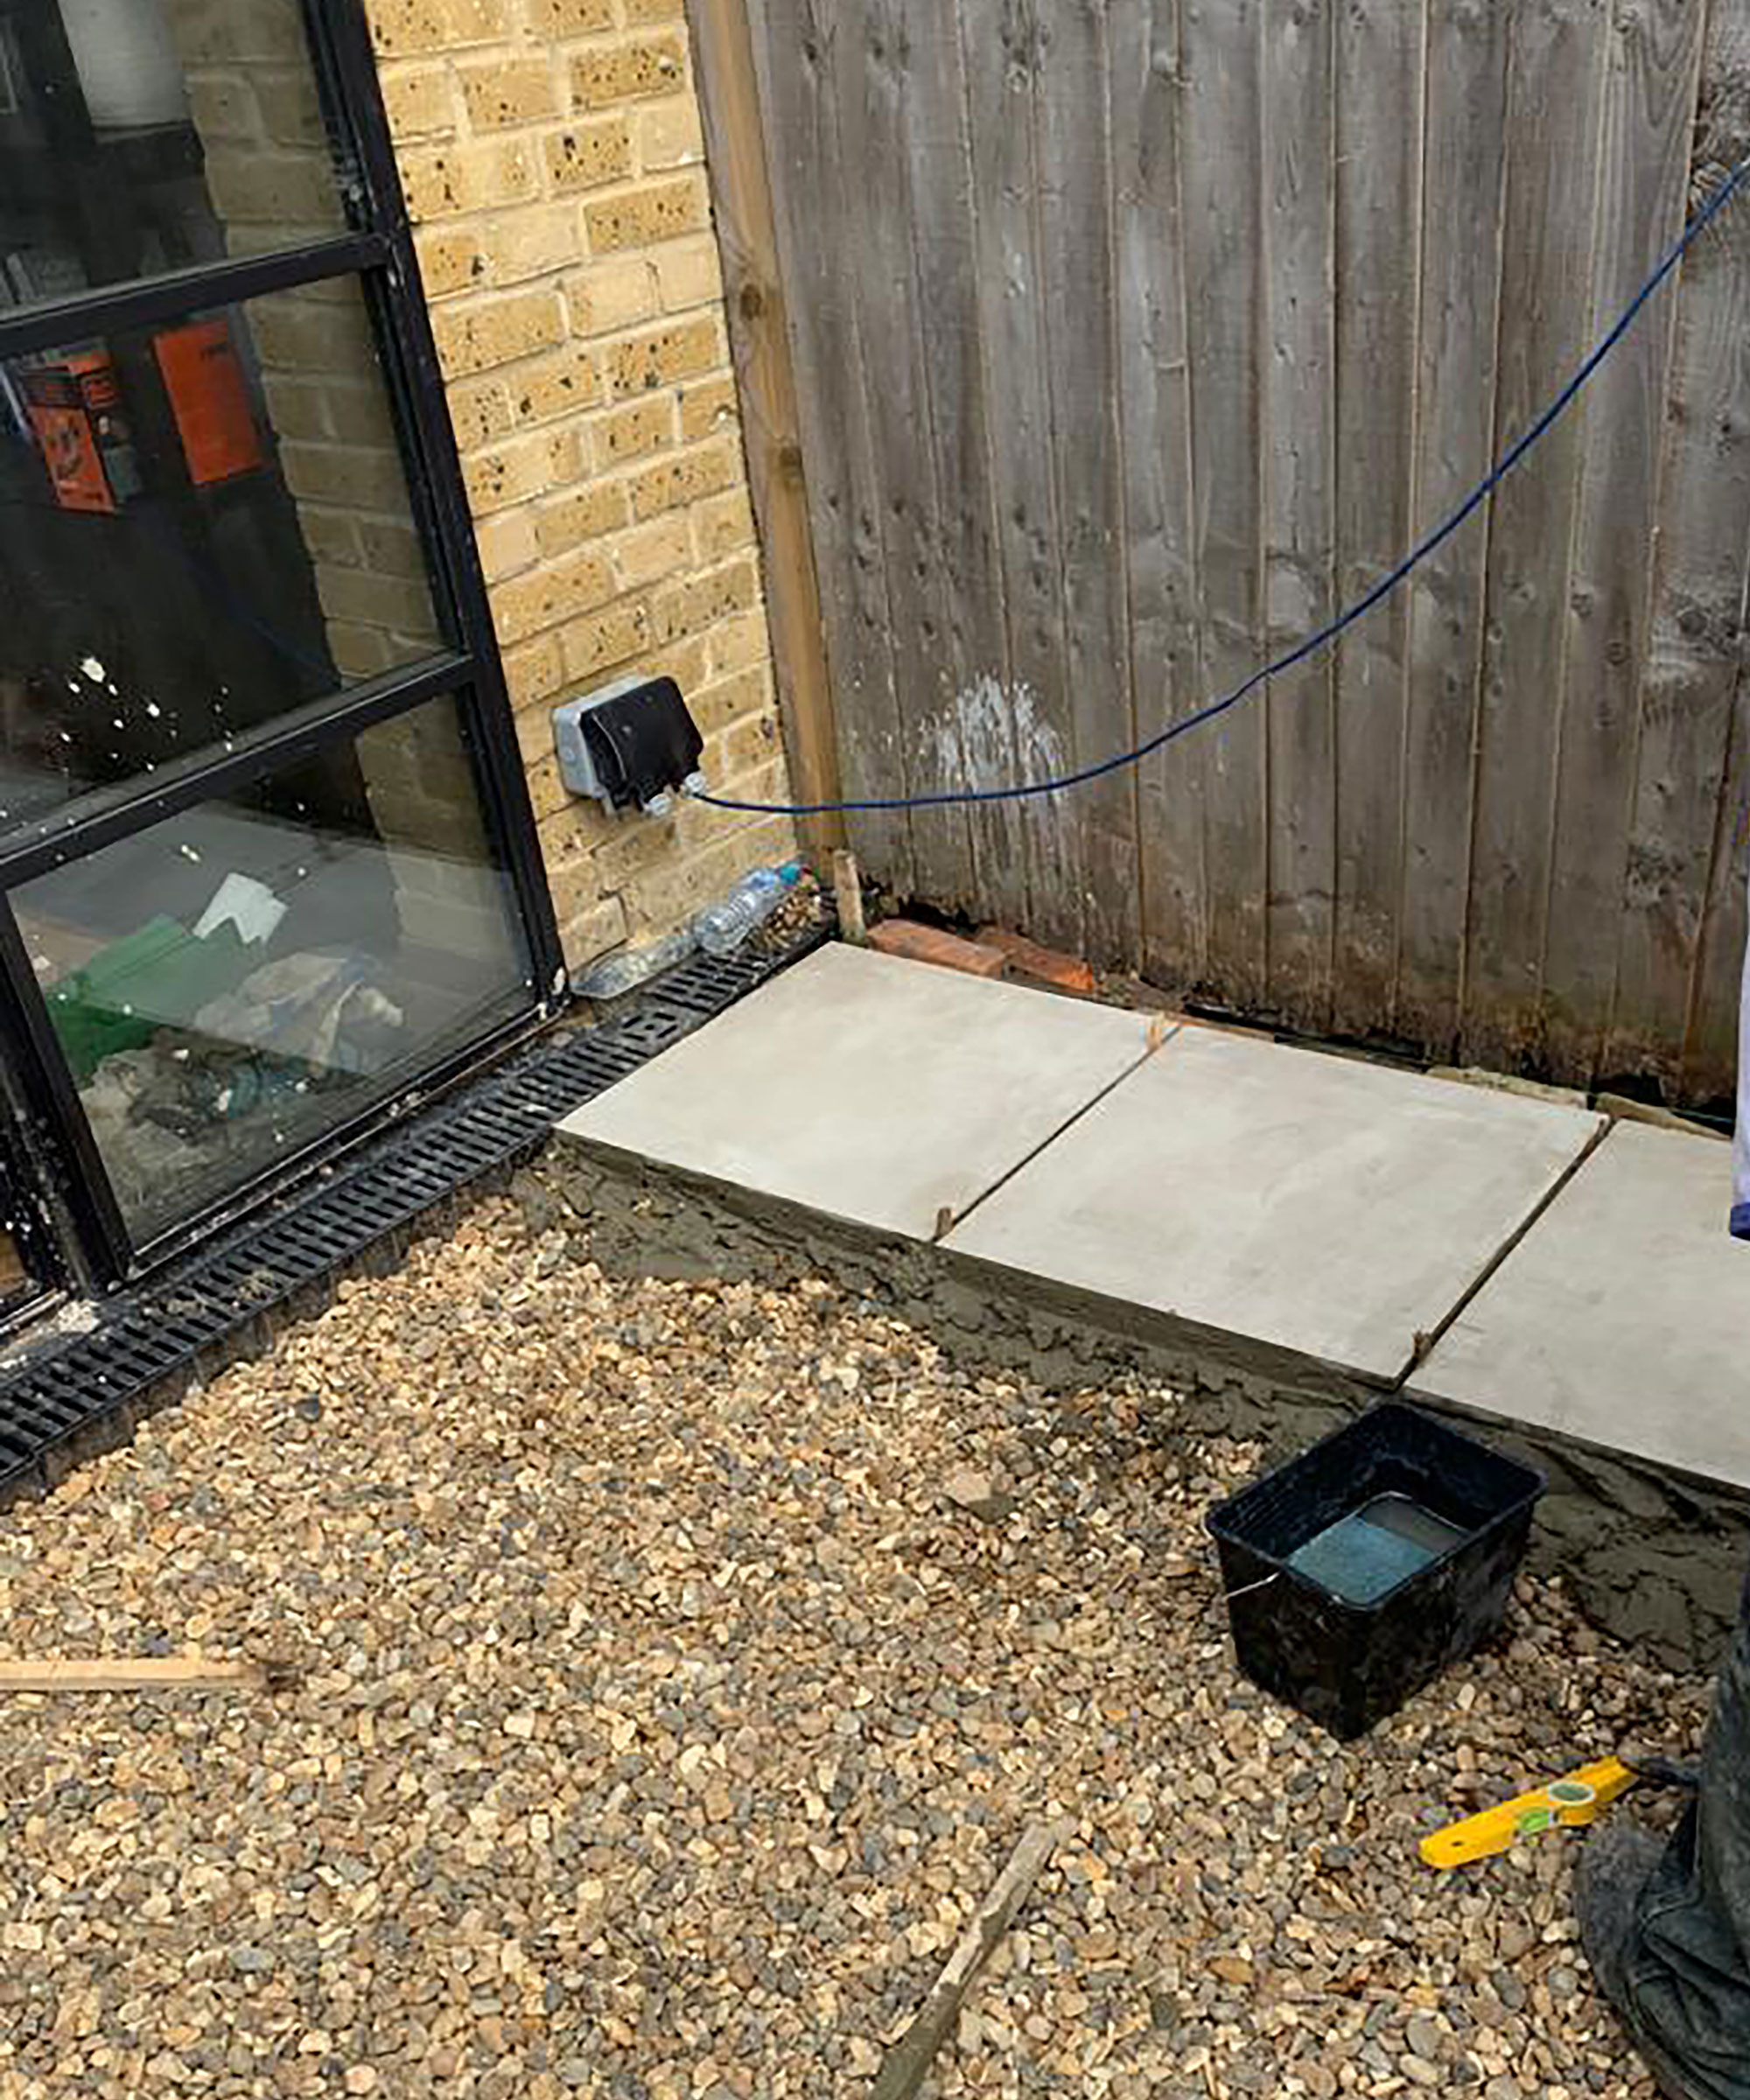
6. Ensure the tiles are level and aligned
Use the line of string and your wooden pegs to ensure the tiles are following the slope to allow rainwater to run off. If any need correcting, tap down with the mallet or reduce the amount of mortar laid using your trowel. You can also use a piece of wood as a straight edge along the tiles to check that they are laid in a straight line as you progress
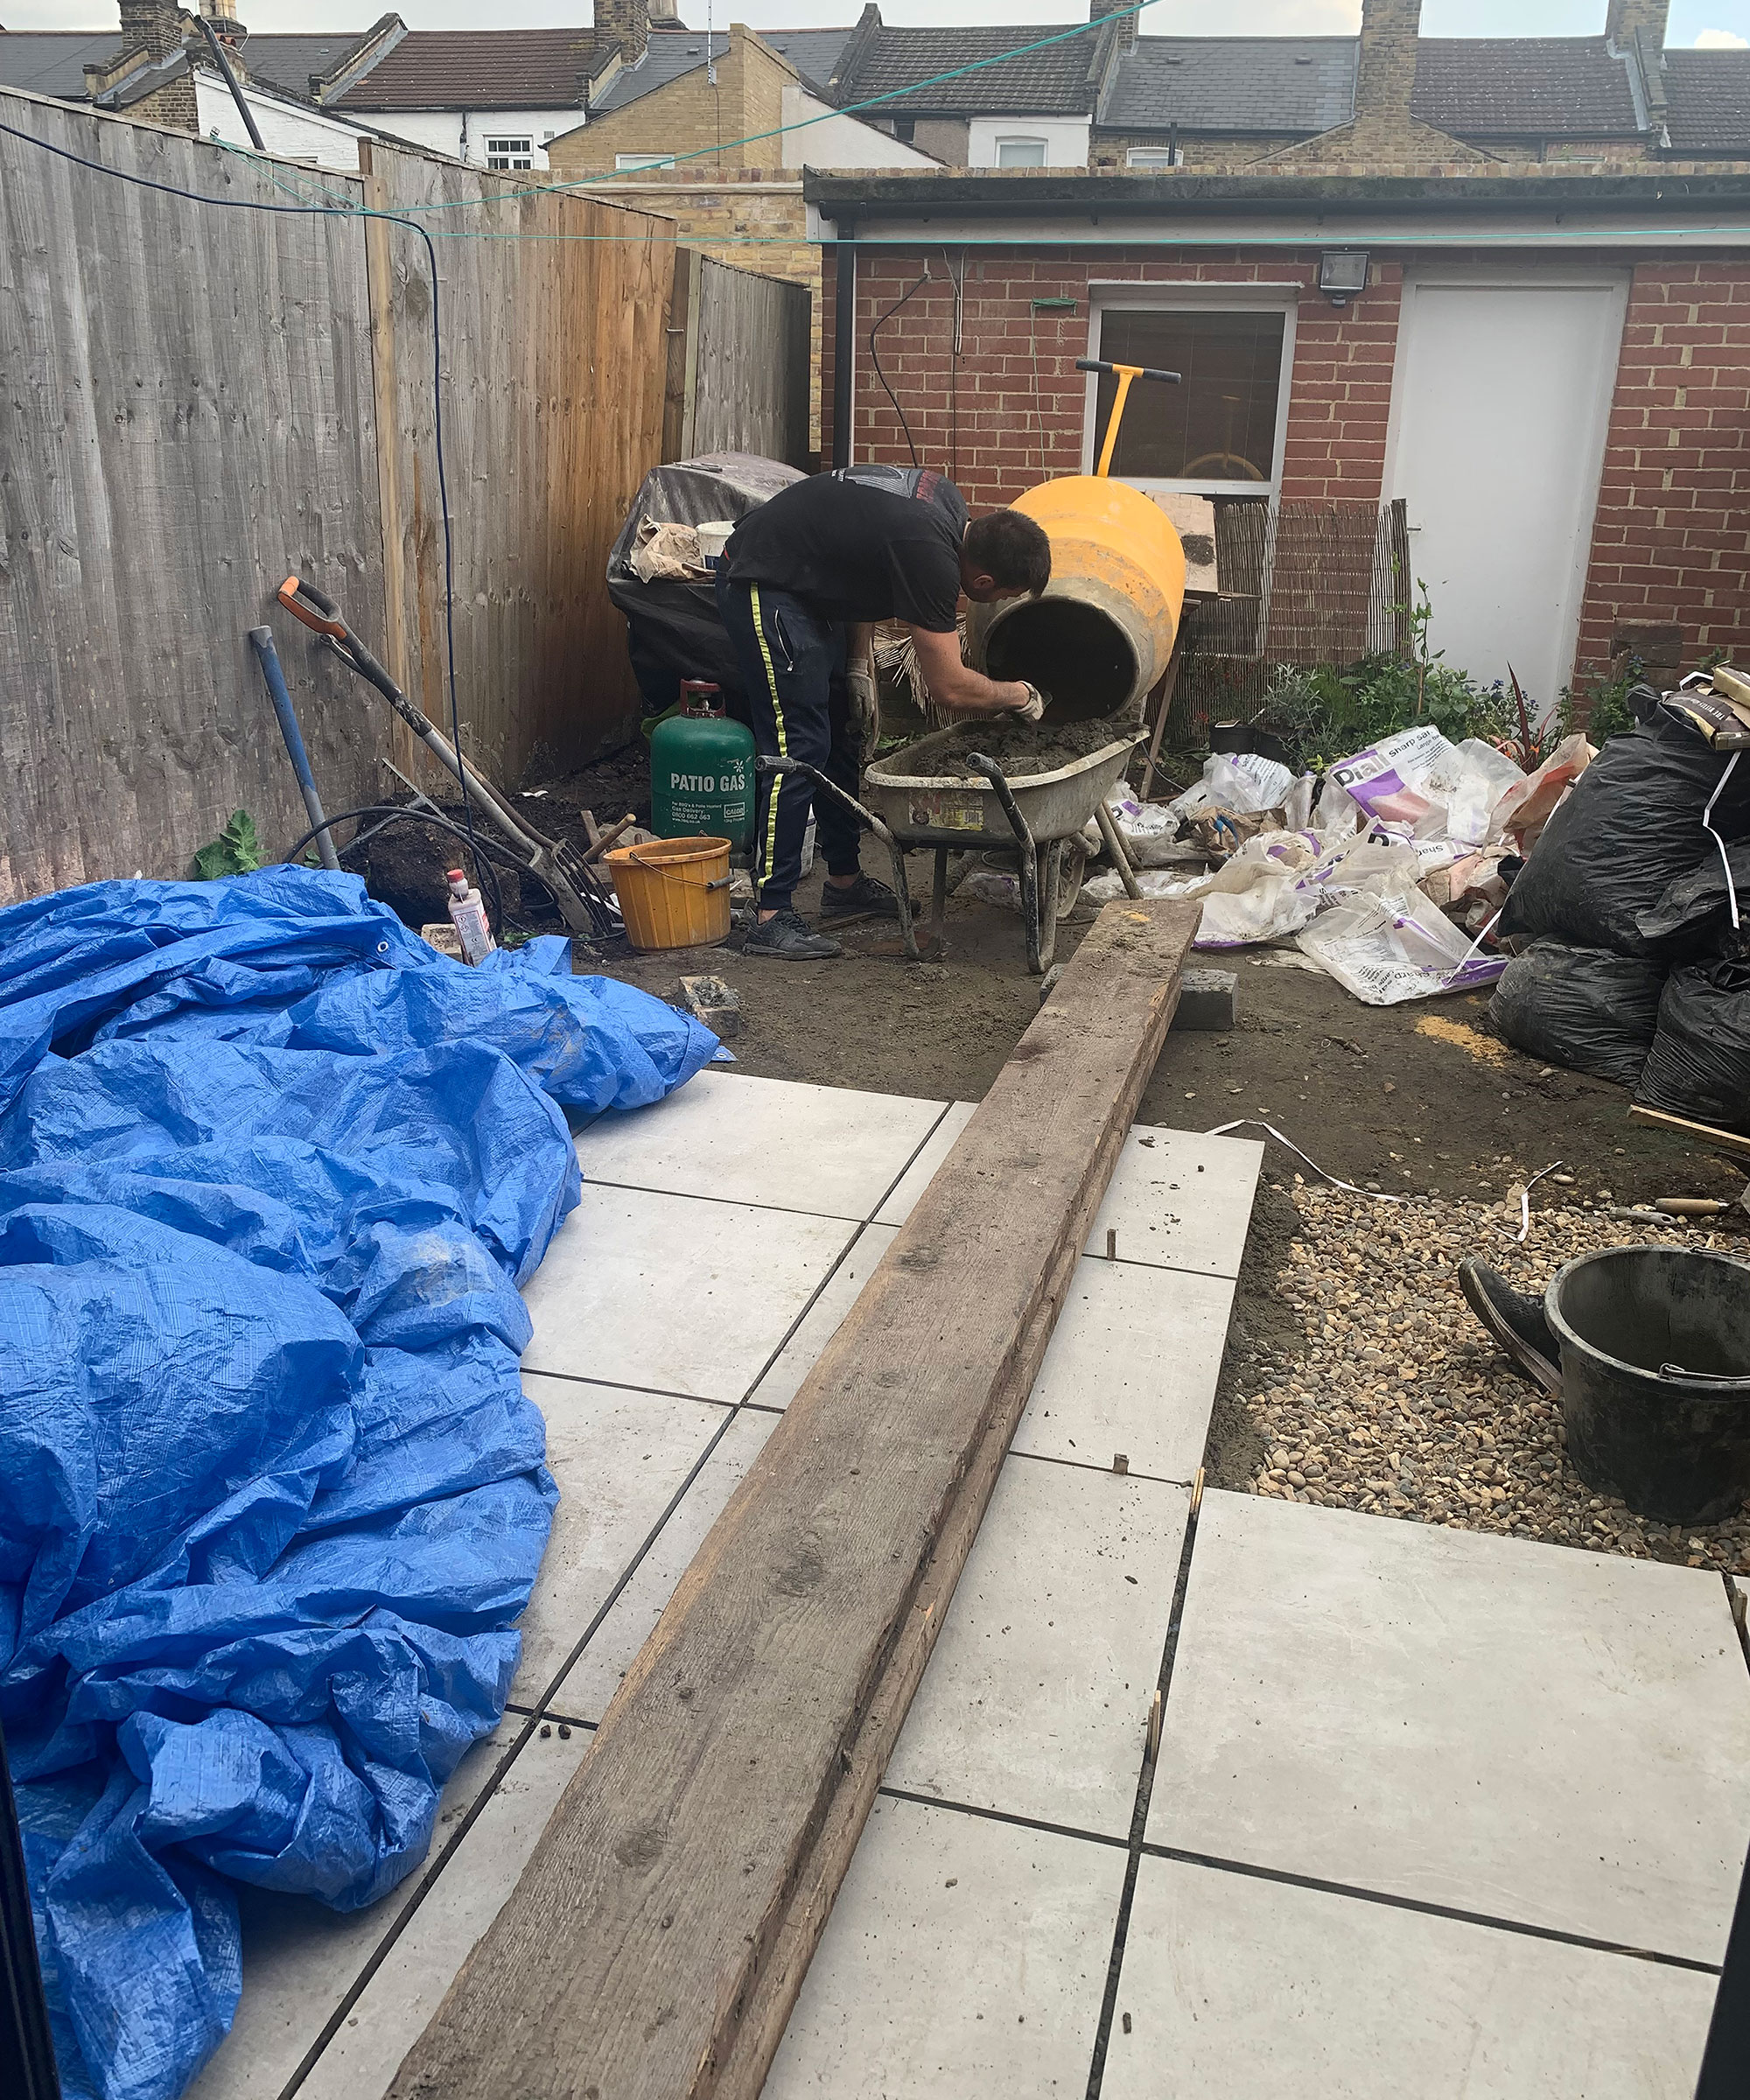
7. Allow to set
When the tiles are laid, allow them to set for a minimum of 24 hours; allow longer if the weather is rainy or damp. Do not walk on the tiles until they are set. When you are certain they are stable you can remove the spacers.
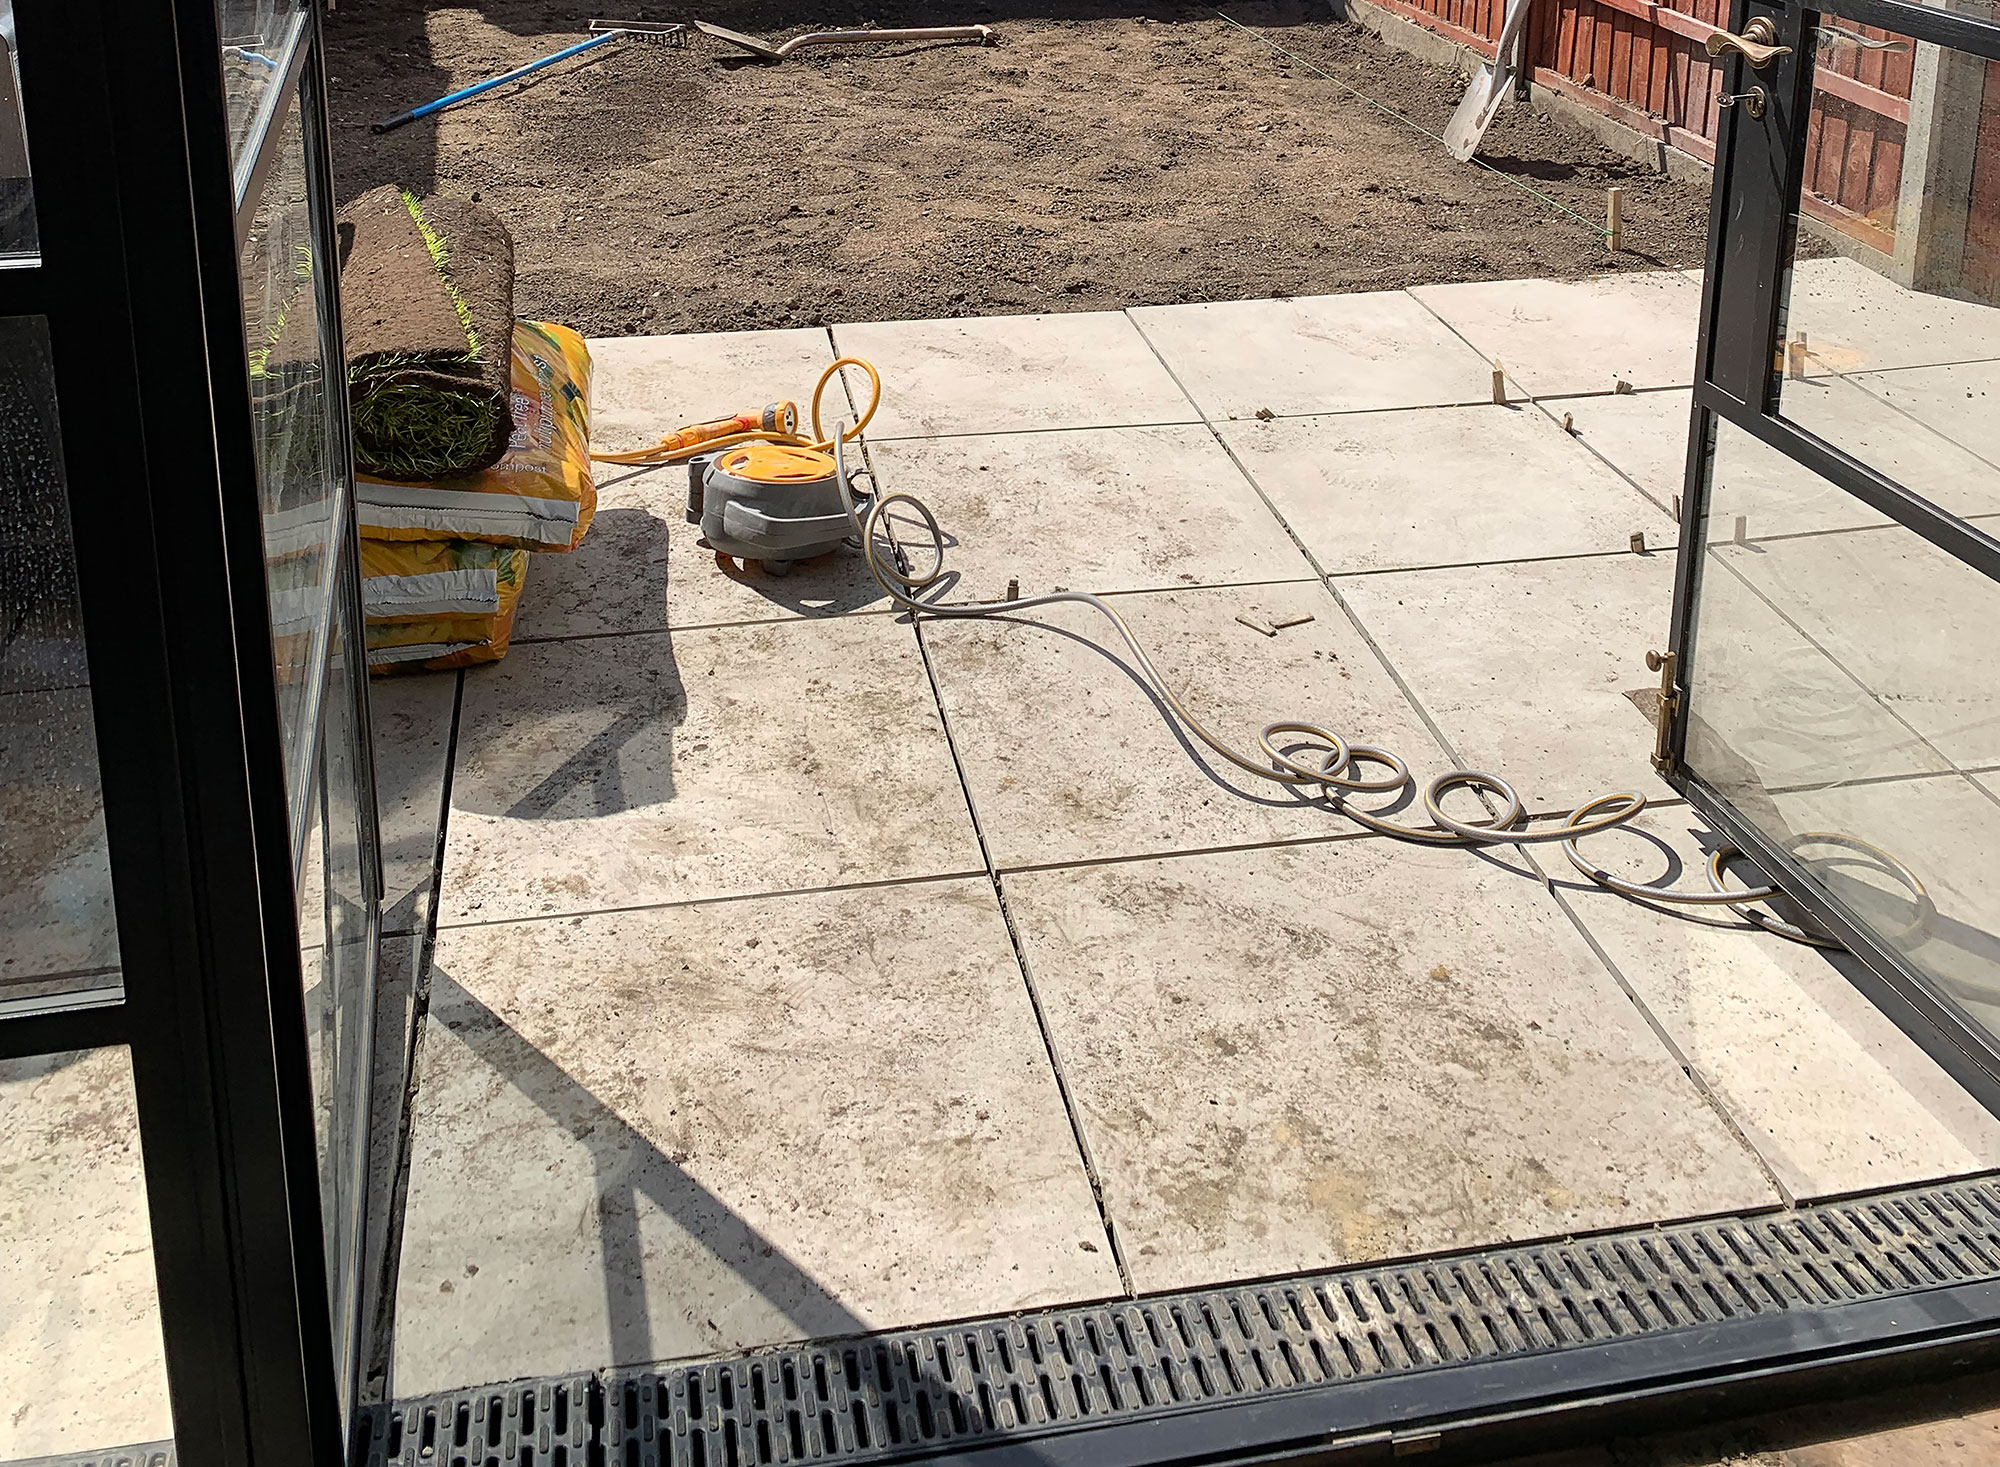
8. Pointing
Once the tiles are set, grout between them using either a mixture of sand and cement or a jointing compound which comes pre made and in a range of color choices. If you are using porcelain tiles then opt for the jointing compound as sand and cement can stain the tiles.
Top tips for installing outdoor tile
If the patio is going to run alongside the house, keep the patio height around two bricks below the damp-proof course. If you aren’t able to do this then you should leave a gap of around 60cm to prevent rain bouncing on to walls and causing damp; you can fill that gap with pea gravel which looks attractive, reduces rain splashback and helps drainage.

I’m a DIY and renovation expert from a family of renovators; it's in my blood! Renovation is my passion and I love sharing my knowledge, either through my Instagram renovation tips or my renovation course. I love seeing how it helps others build the confidence to create their dream home without it costing the earth!