How to DIY Crittall-style windows using electrical tape – ideal if you rent
It costs $10

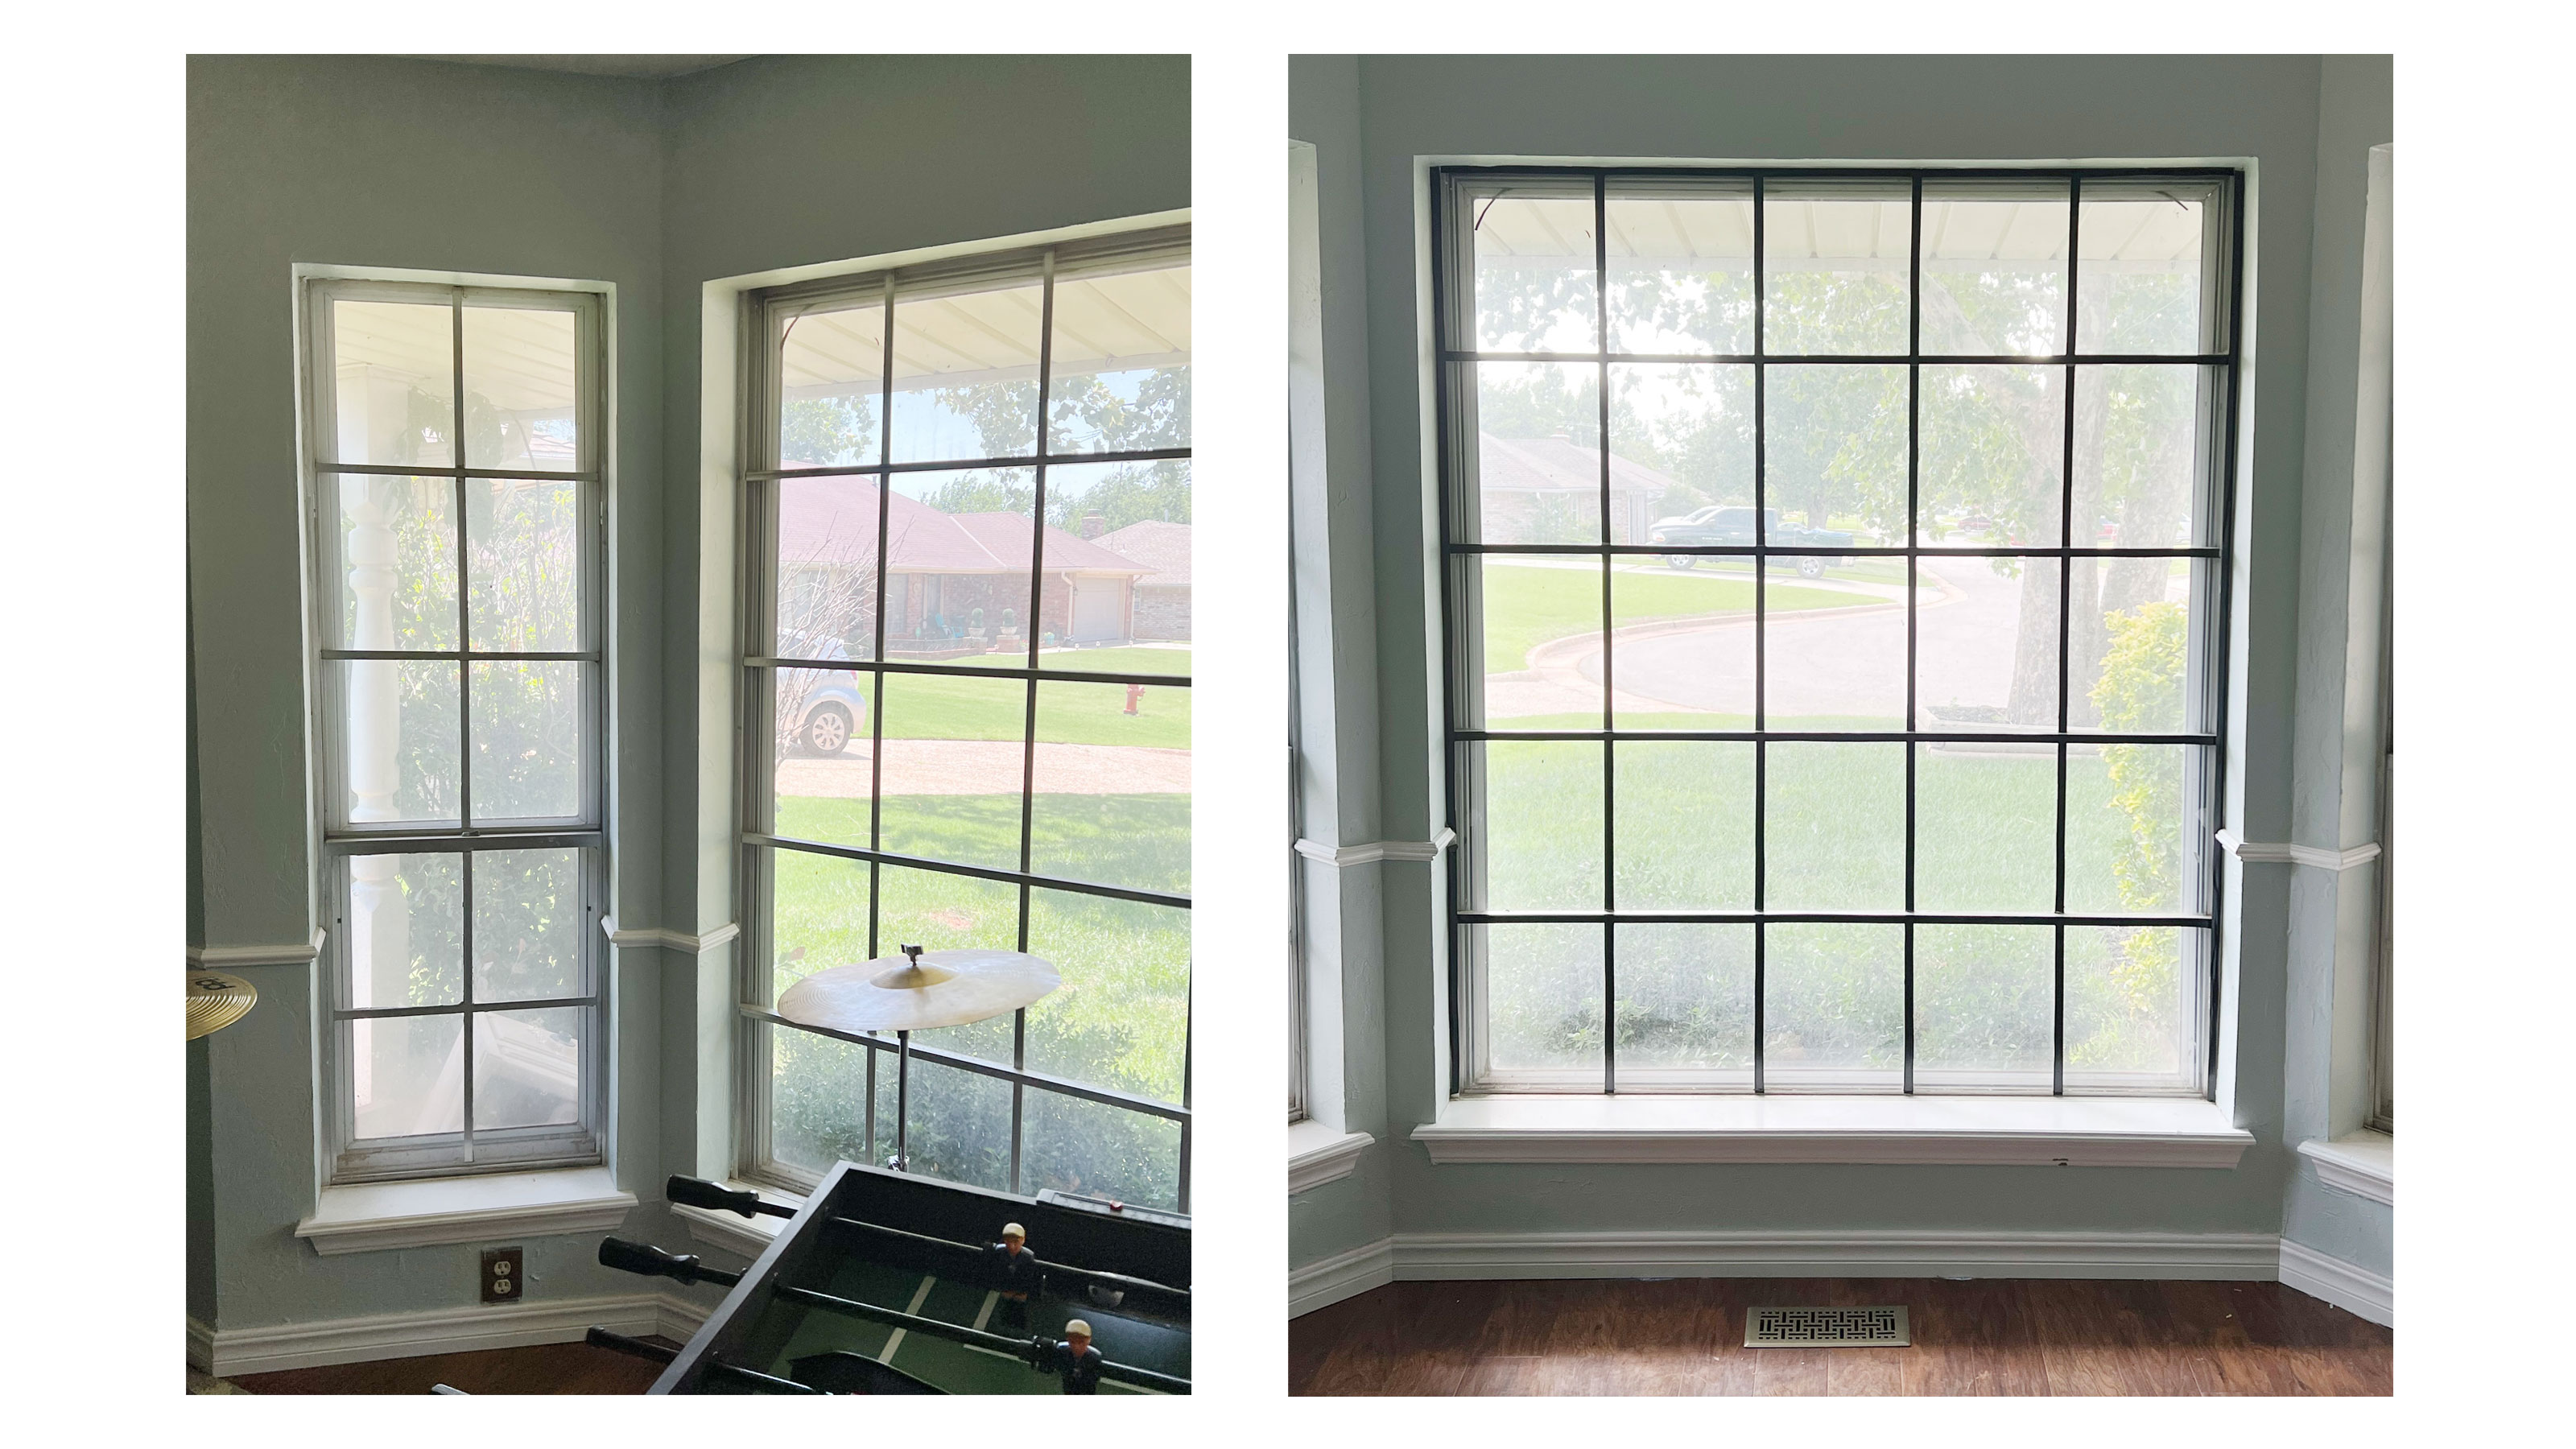
New windows not in your budget? Try this DIY Crittall-style windows hack using black electrical tape for an affordable upgrade that works great whether you own or rent your space!
Outdated windows can really be a drag on the look and feel of your home. However, replacing windows costs thousands of dollars. And, if you rent, replacing them might not even be an option. Maybe you’ve tried minimizing them with shades or curtains but it still isn’t the look you want.
When we purchased our 1970s home, all but the large windows on the front of our house had been replaced. The old windows have a silver metal frame and grid (known as a window grille) that show the age of the home. It wasn’t in our budget to replace them anytime soon so we decided to try another option.
Black windows are trending in exterior home design and lend a modern feel while going with a variety of styles. Taping over the grille on our old windows with black electrical tape would give the windows an updated feel for little cost, compared to if we had bought the real deal...
How to DIY Crittall -style windows
All you need for this awesome yet cheap DIY project is a roll of black electrical tape, a box cutter and about 30-45 minutes of time to complete it, more if you have multiple windows. I purchased my electrical tape at Walmart for less than a dollar per roll! But you can find it easily on Amazon too for as little as $2.
Total project cost: $10
You will need:
1. Measure your window
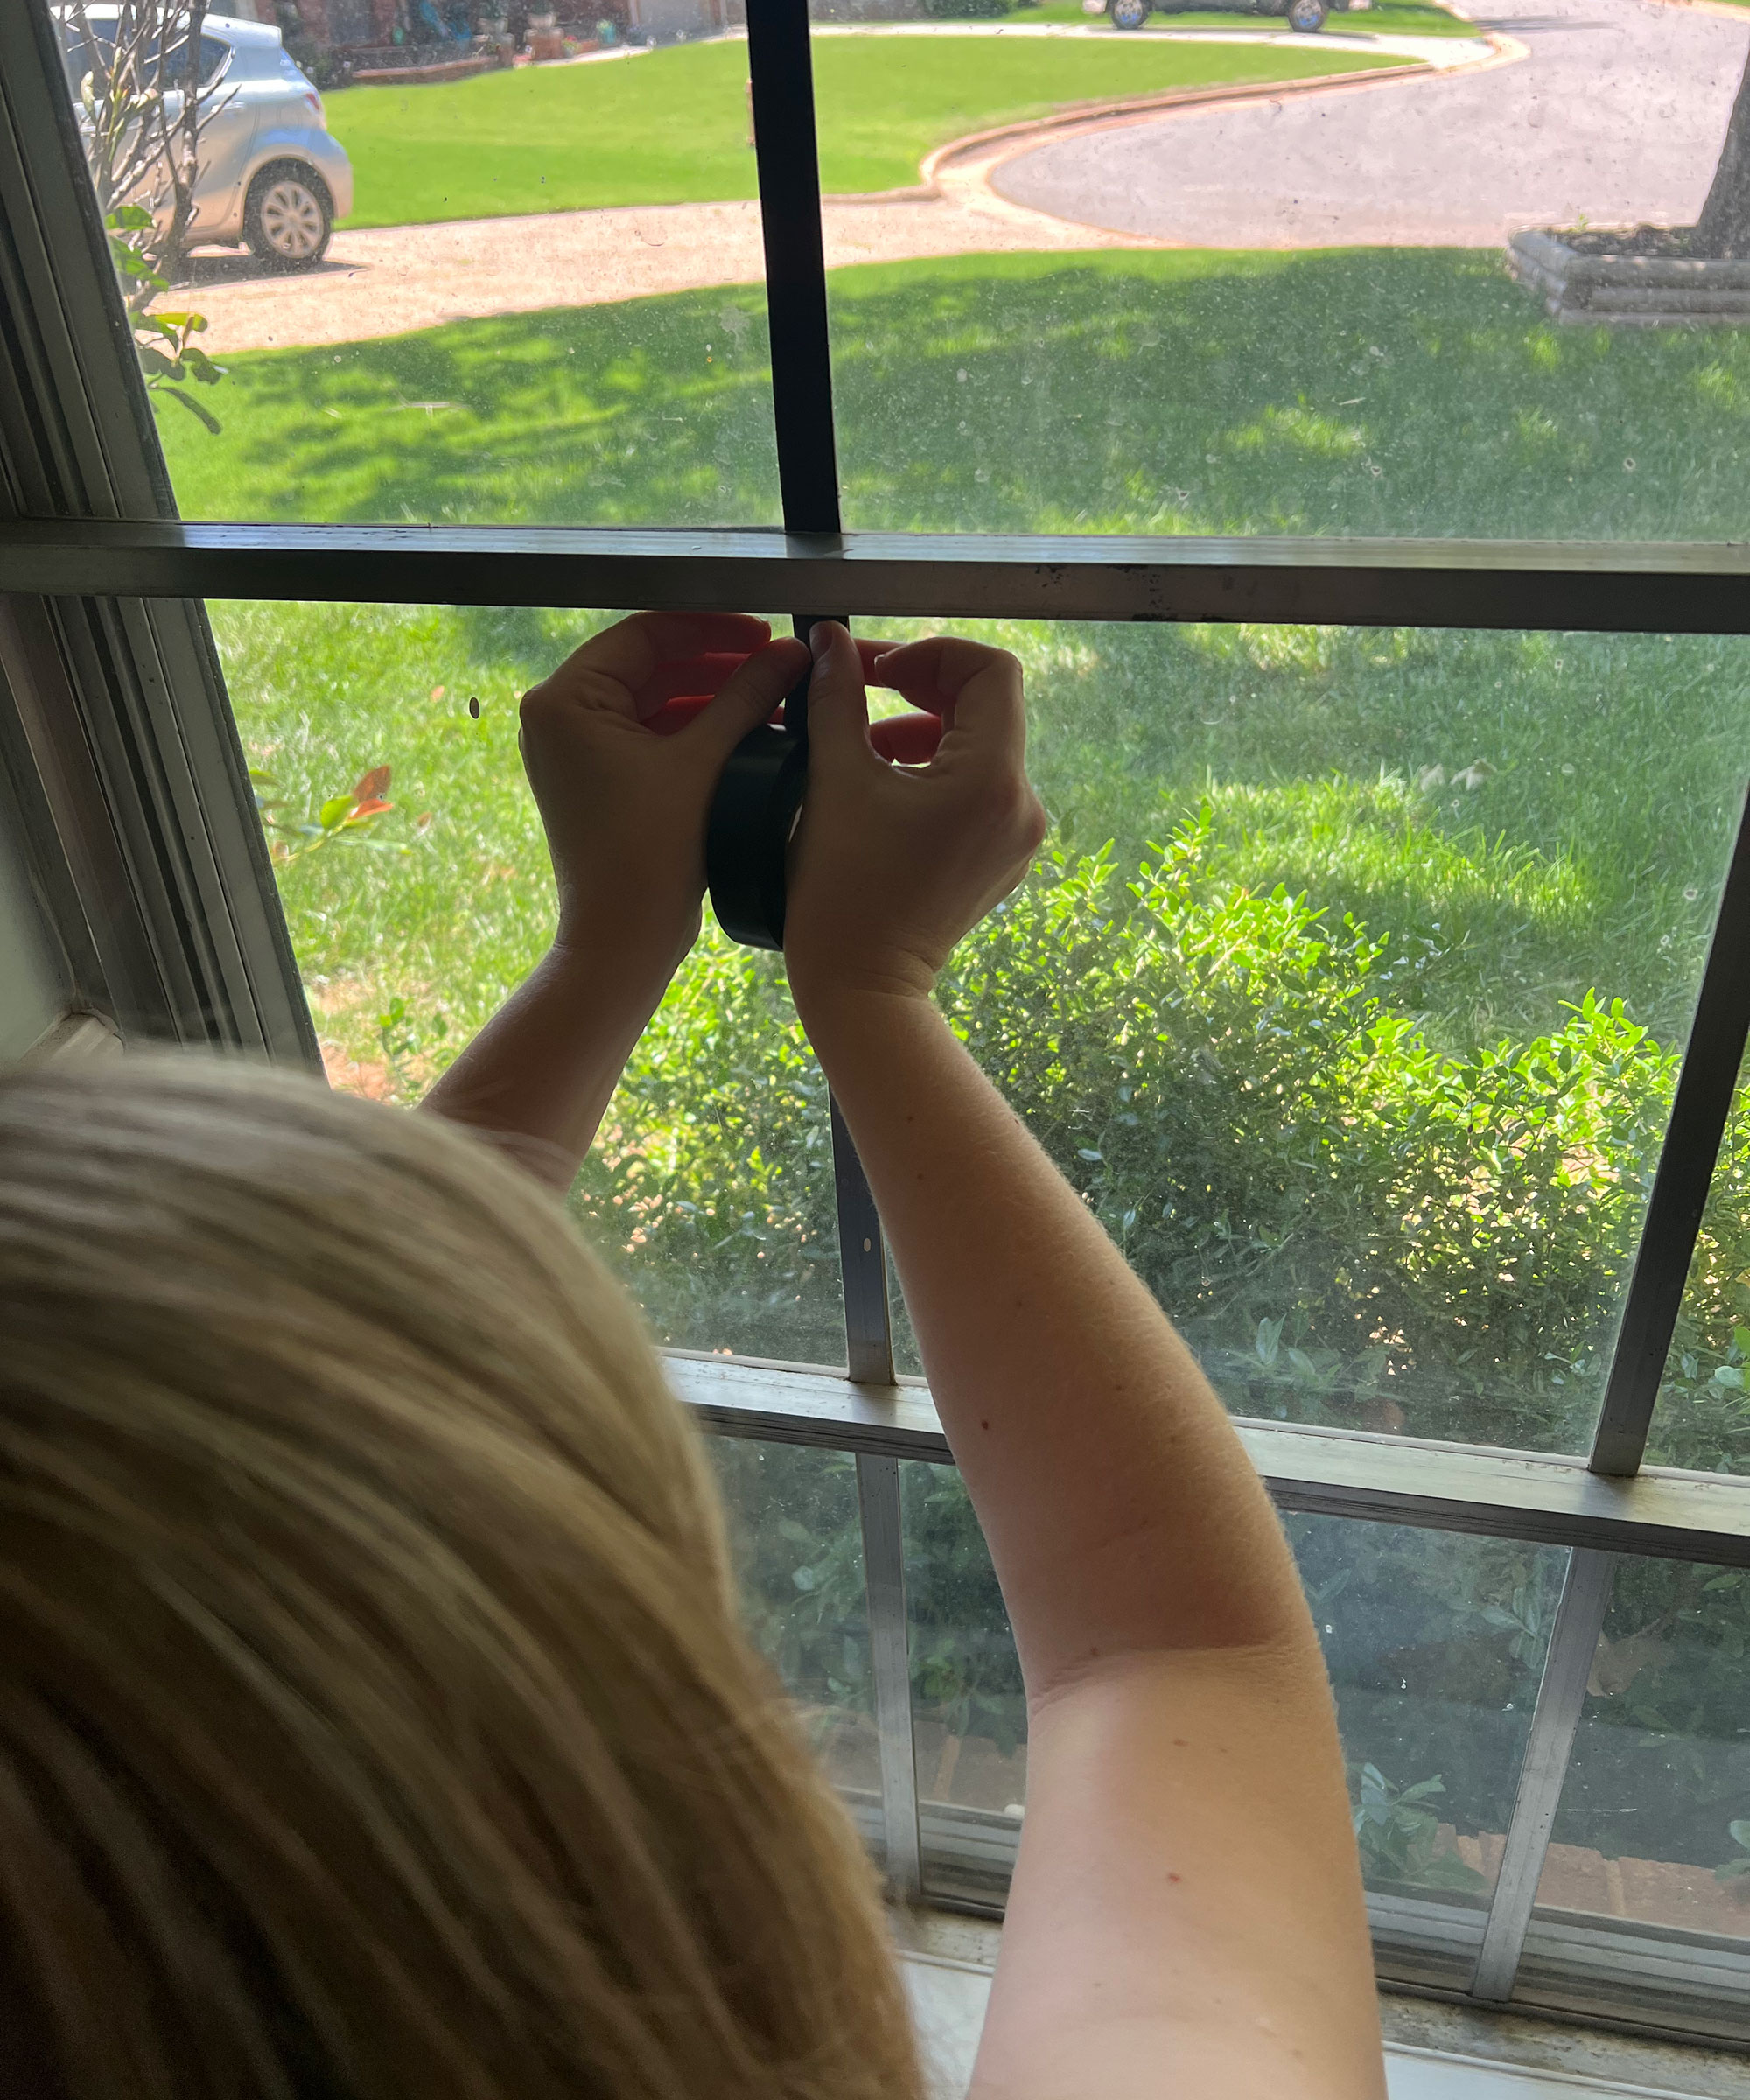
First you need to measure your window so you know how much electrical tape to buy. For reference, our window is 70 inches tall and 59 inches wide. My roll of electrical tape came in a 60 foot roll and was ¾ inch thick and I used most of it on this one window.
Get small space home decor ideas, celeb inspiration, DIY tips and more, straight to your inbox!
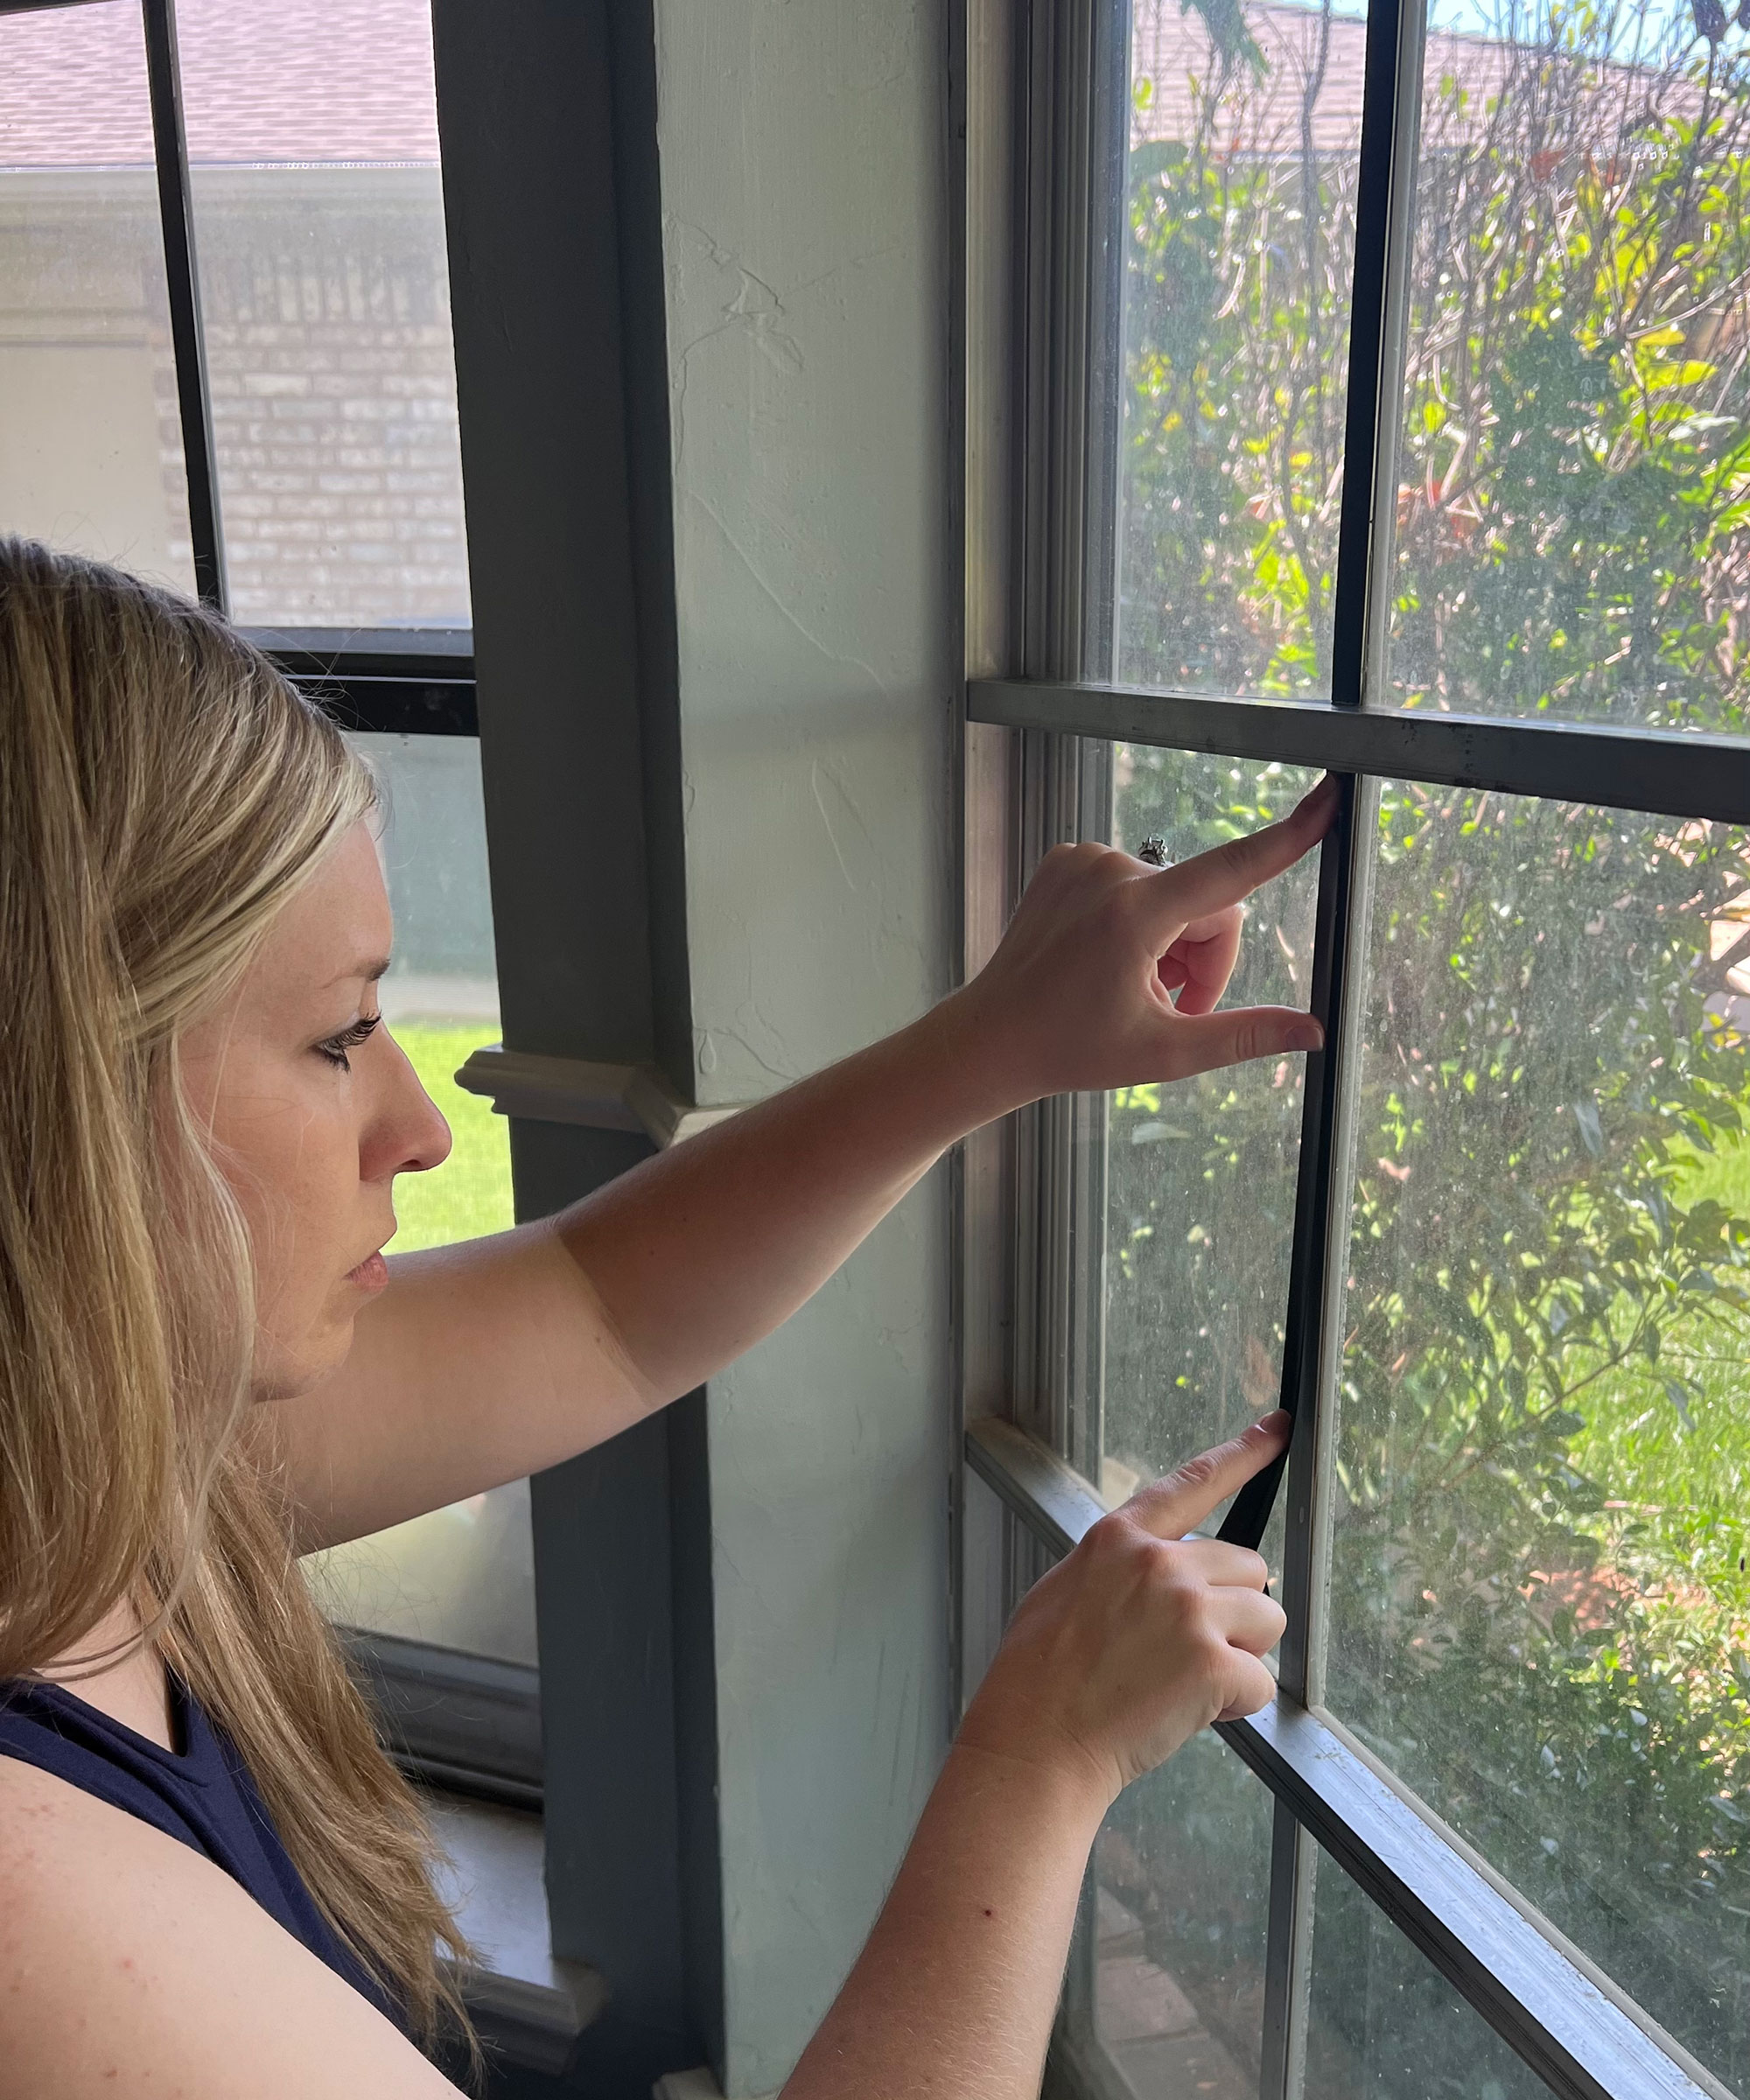
2. Clean the panes
The next step is to thoroughly clean your window panes to make sure they’re free of dirt and dust that may prevent the tape from sticking. Allow the glass to fully dry before placing the tape so it will adhere properly to the window.

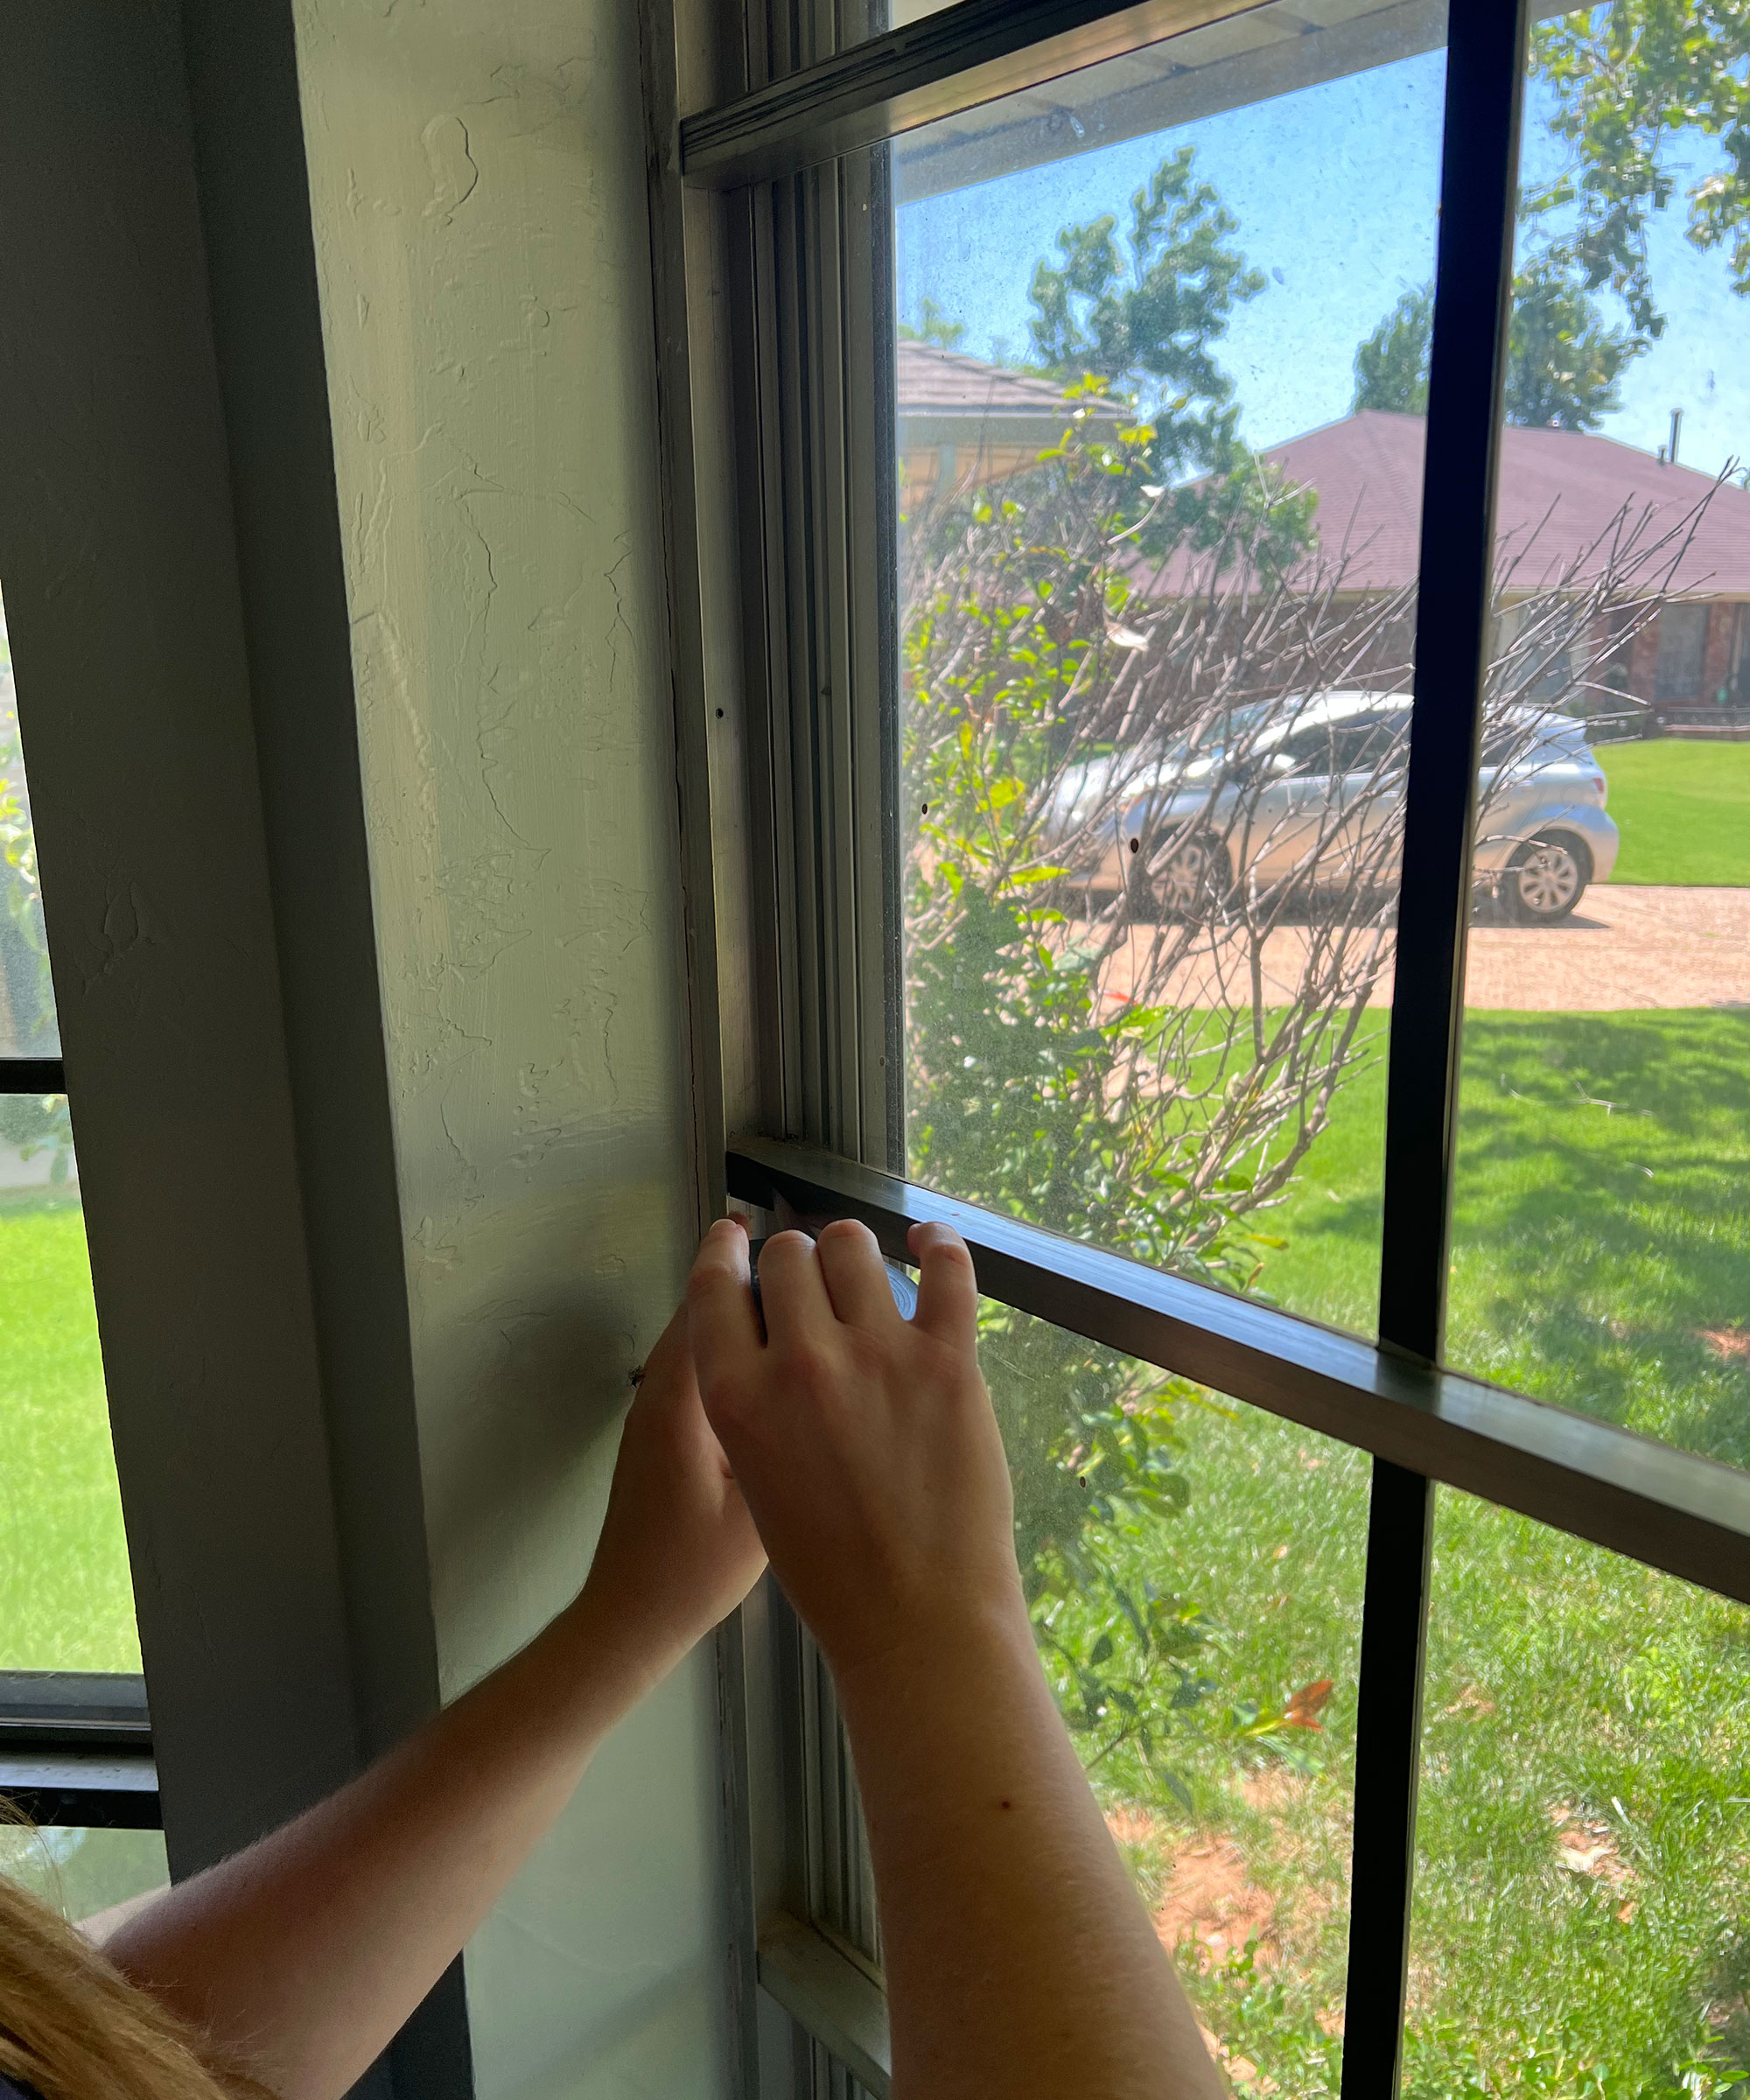
3. Start applying the tape
Beginning at the top of your first vertical grille, place the tape with a little overhang and work your way down smoothing the tape along the line as you go.
If your line gets off you can peel the tape up and reapply.
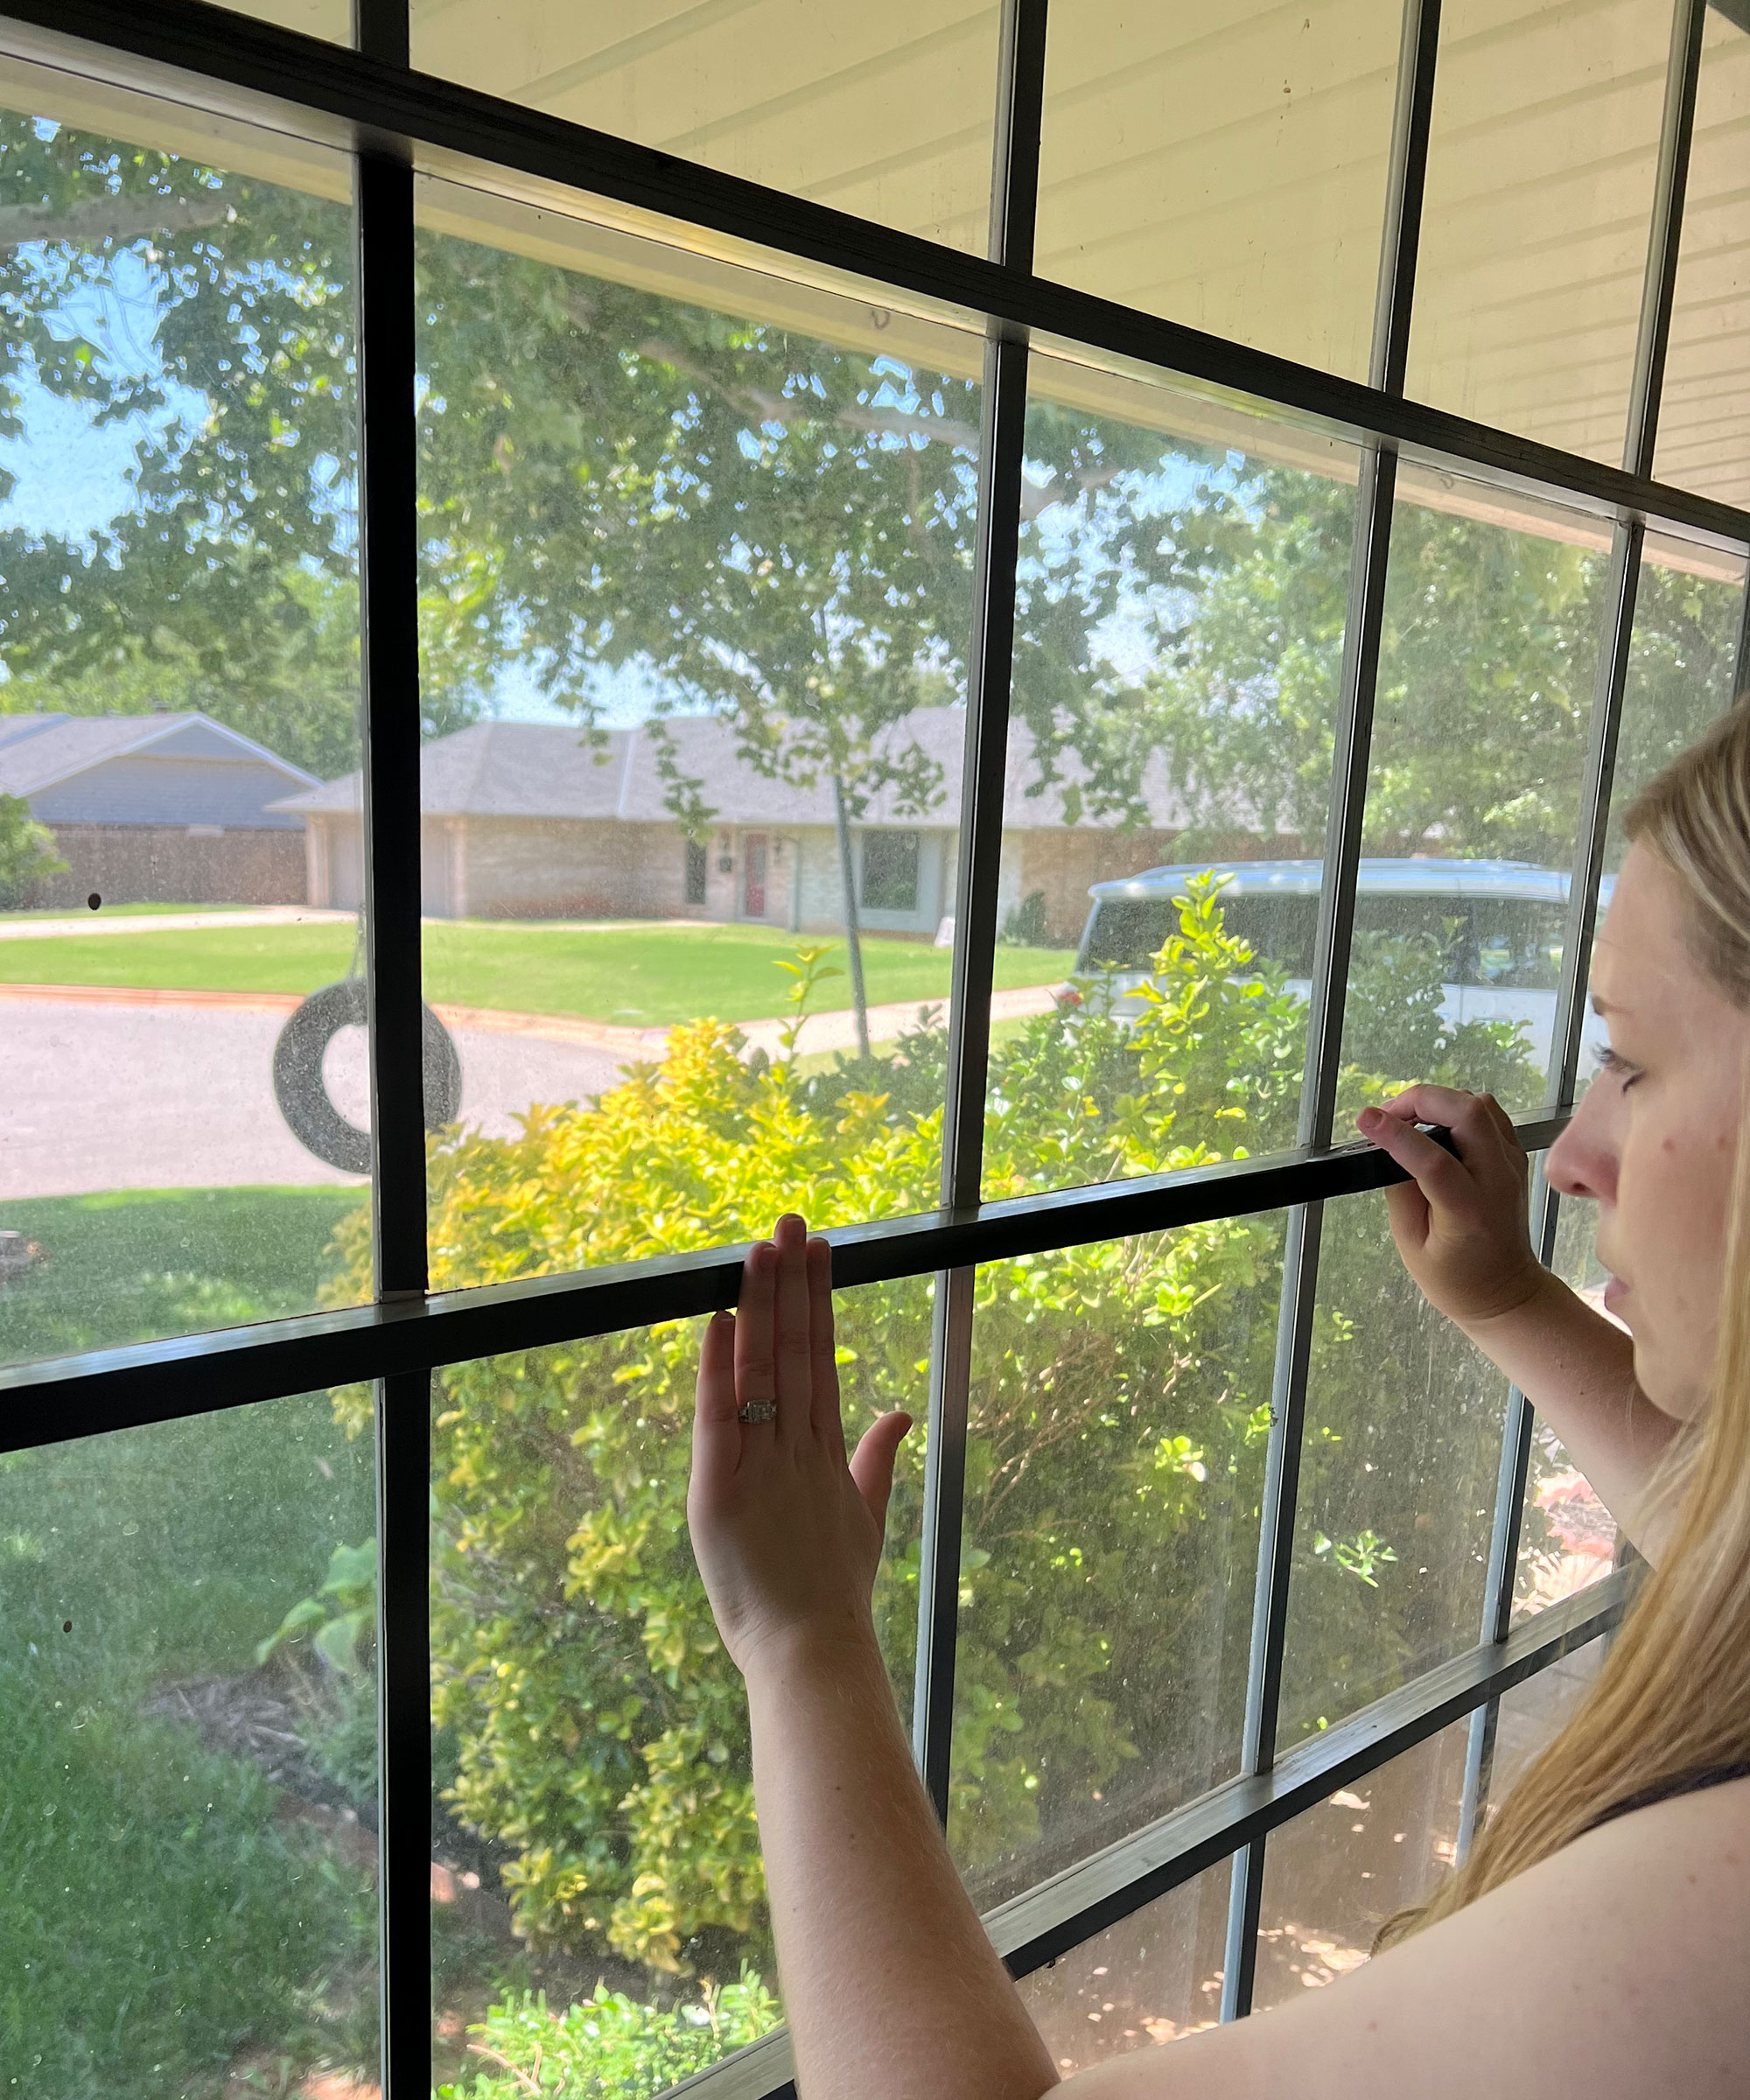
TIP: If you see bubbles in your tape it’s due to stretching. Peel back the tape just past the bubbles and allow the tape to return to its original form before adhering it to the line again.
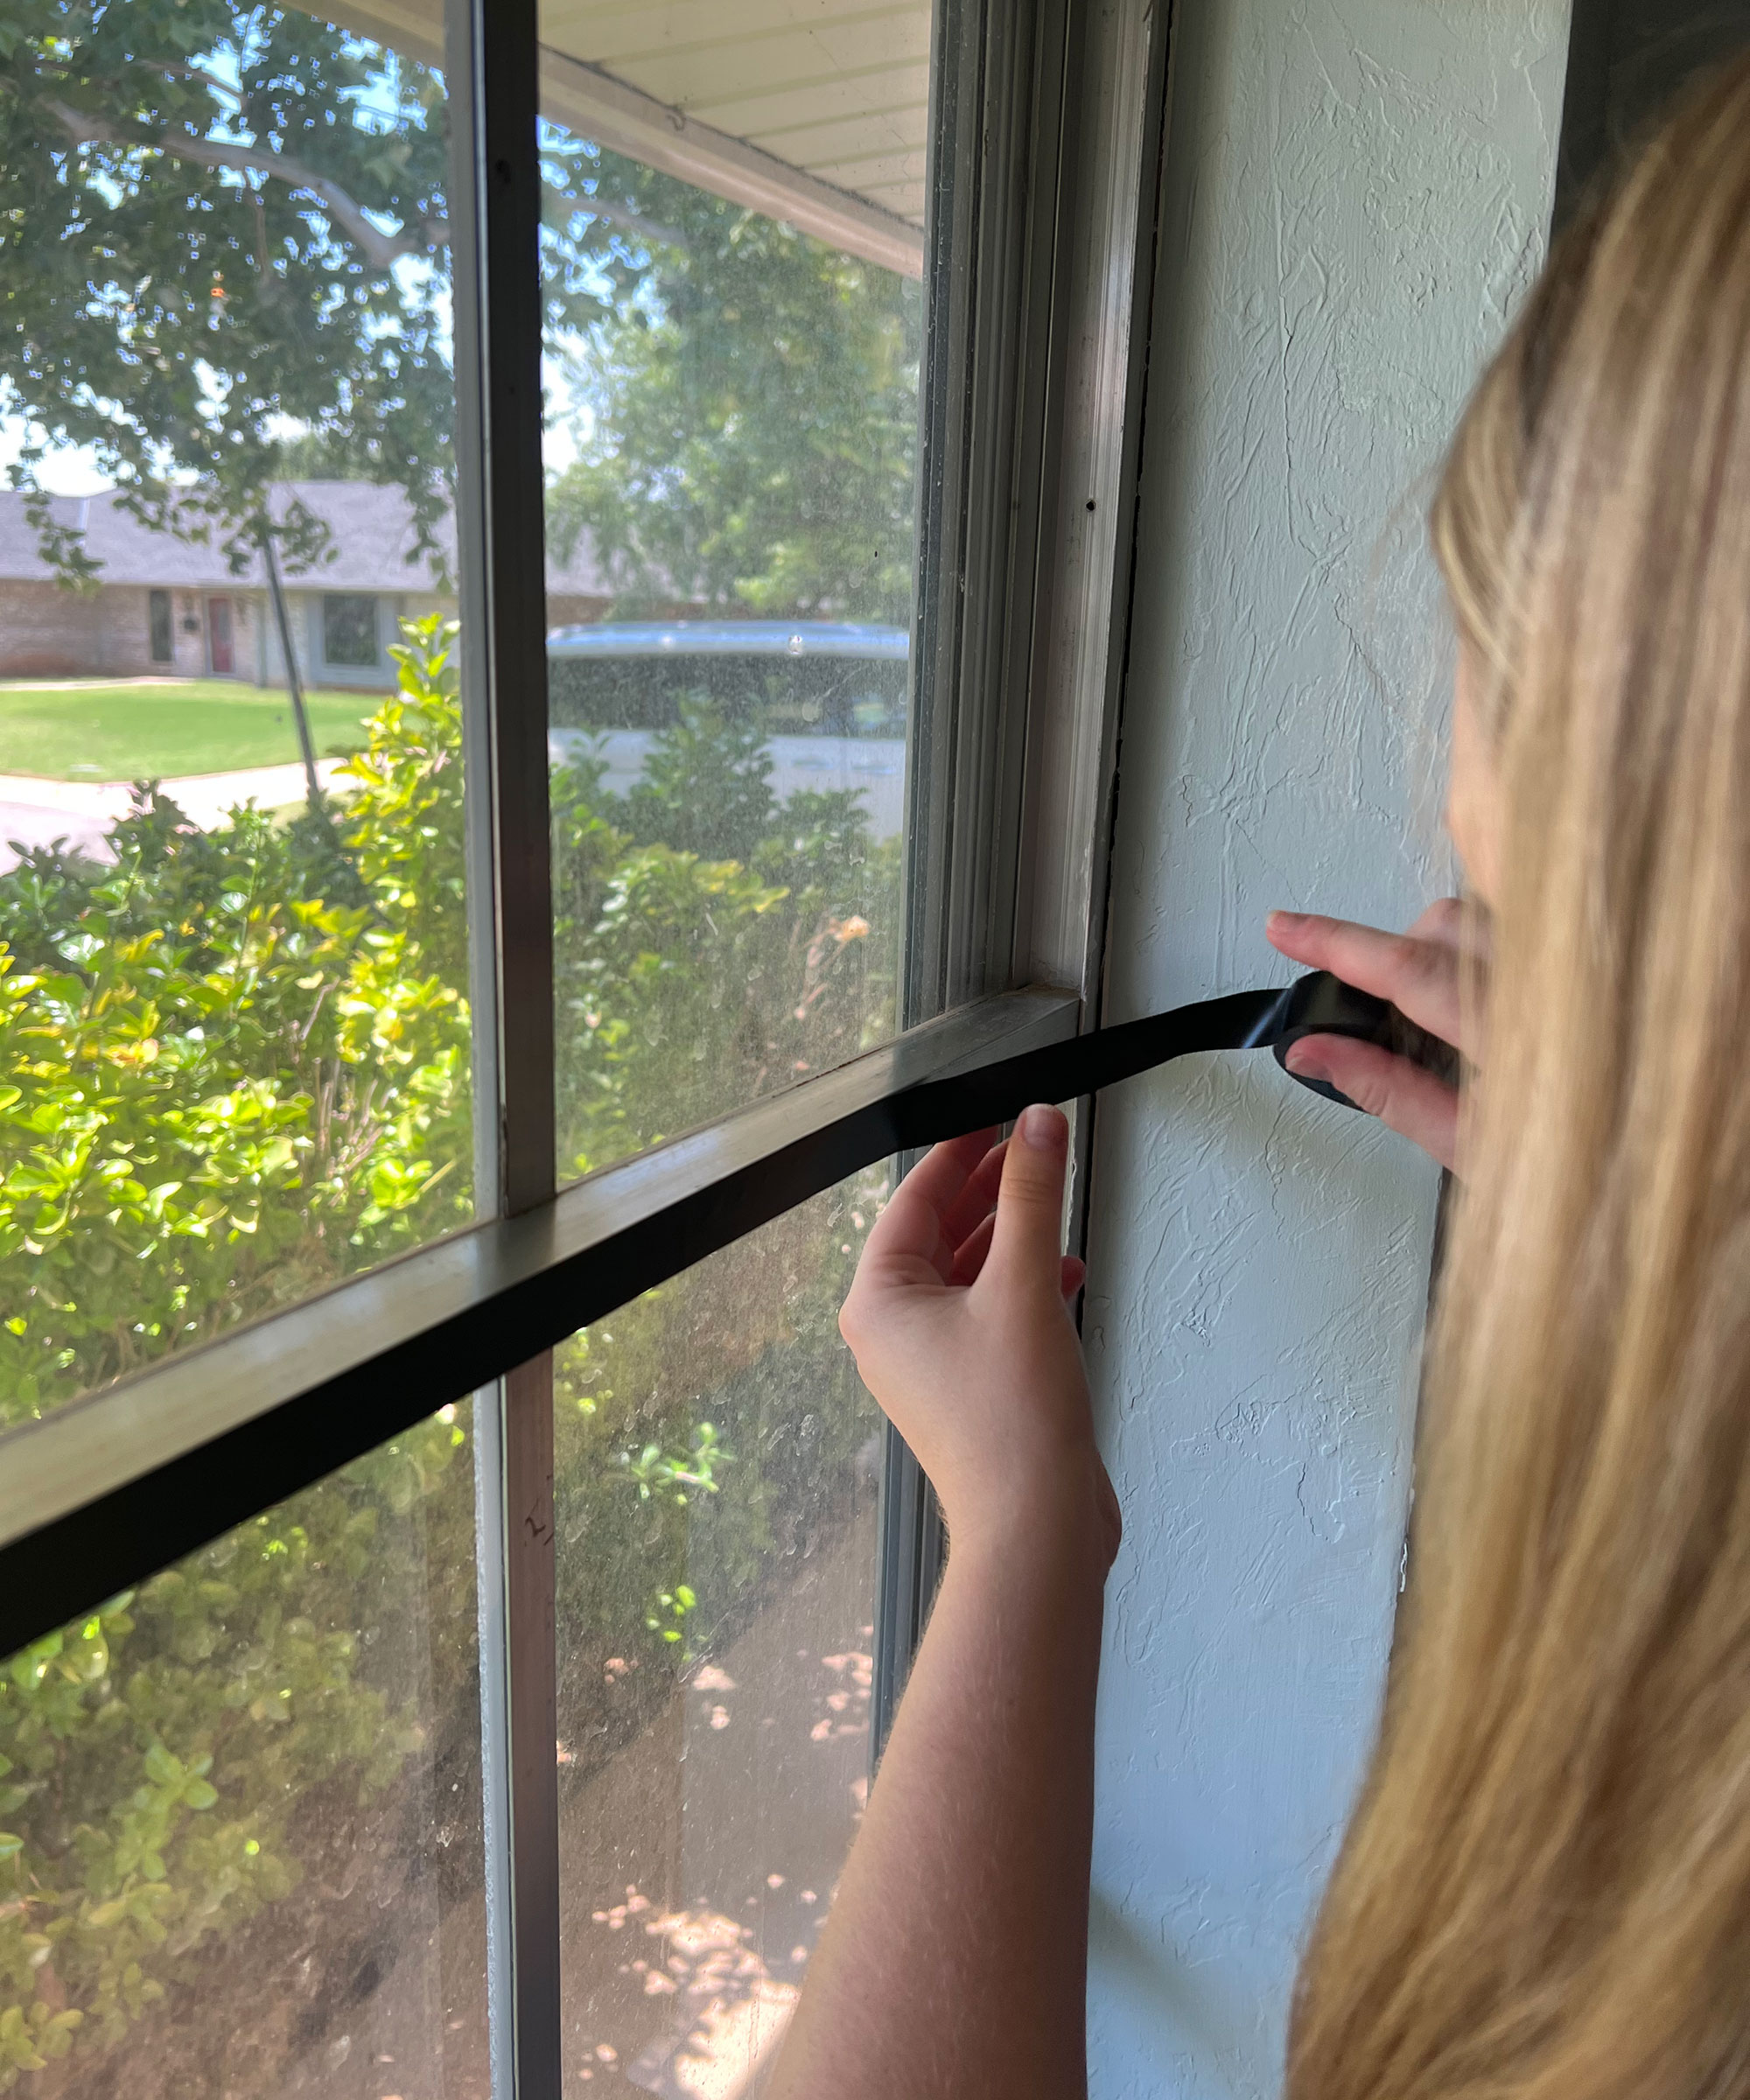
4. Cut and tidy up the tape
Once you reach the bottom of the grille use the box cutter to cut the tape in a straight line horizontally also leaving about ⅛ inch overhang as you did at the top. Repeat this process for the rest of the vertical lines.
Now you’re ready to start on the horizontal lines. Starting on one end, place the tape with ⅛ inch overhang and work your way across leaving ⅛ inch overhang at the opposite end.
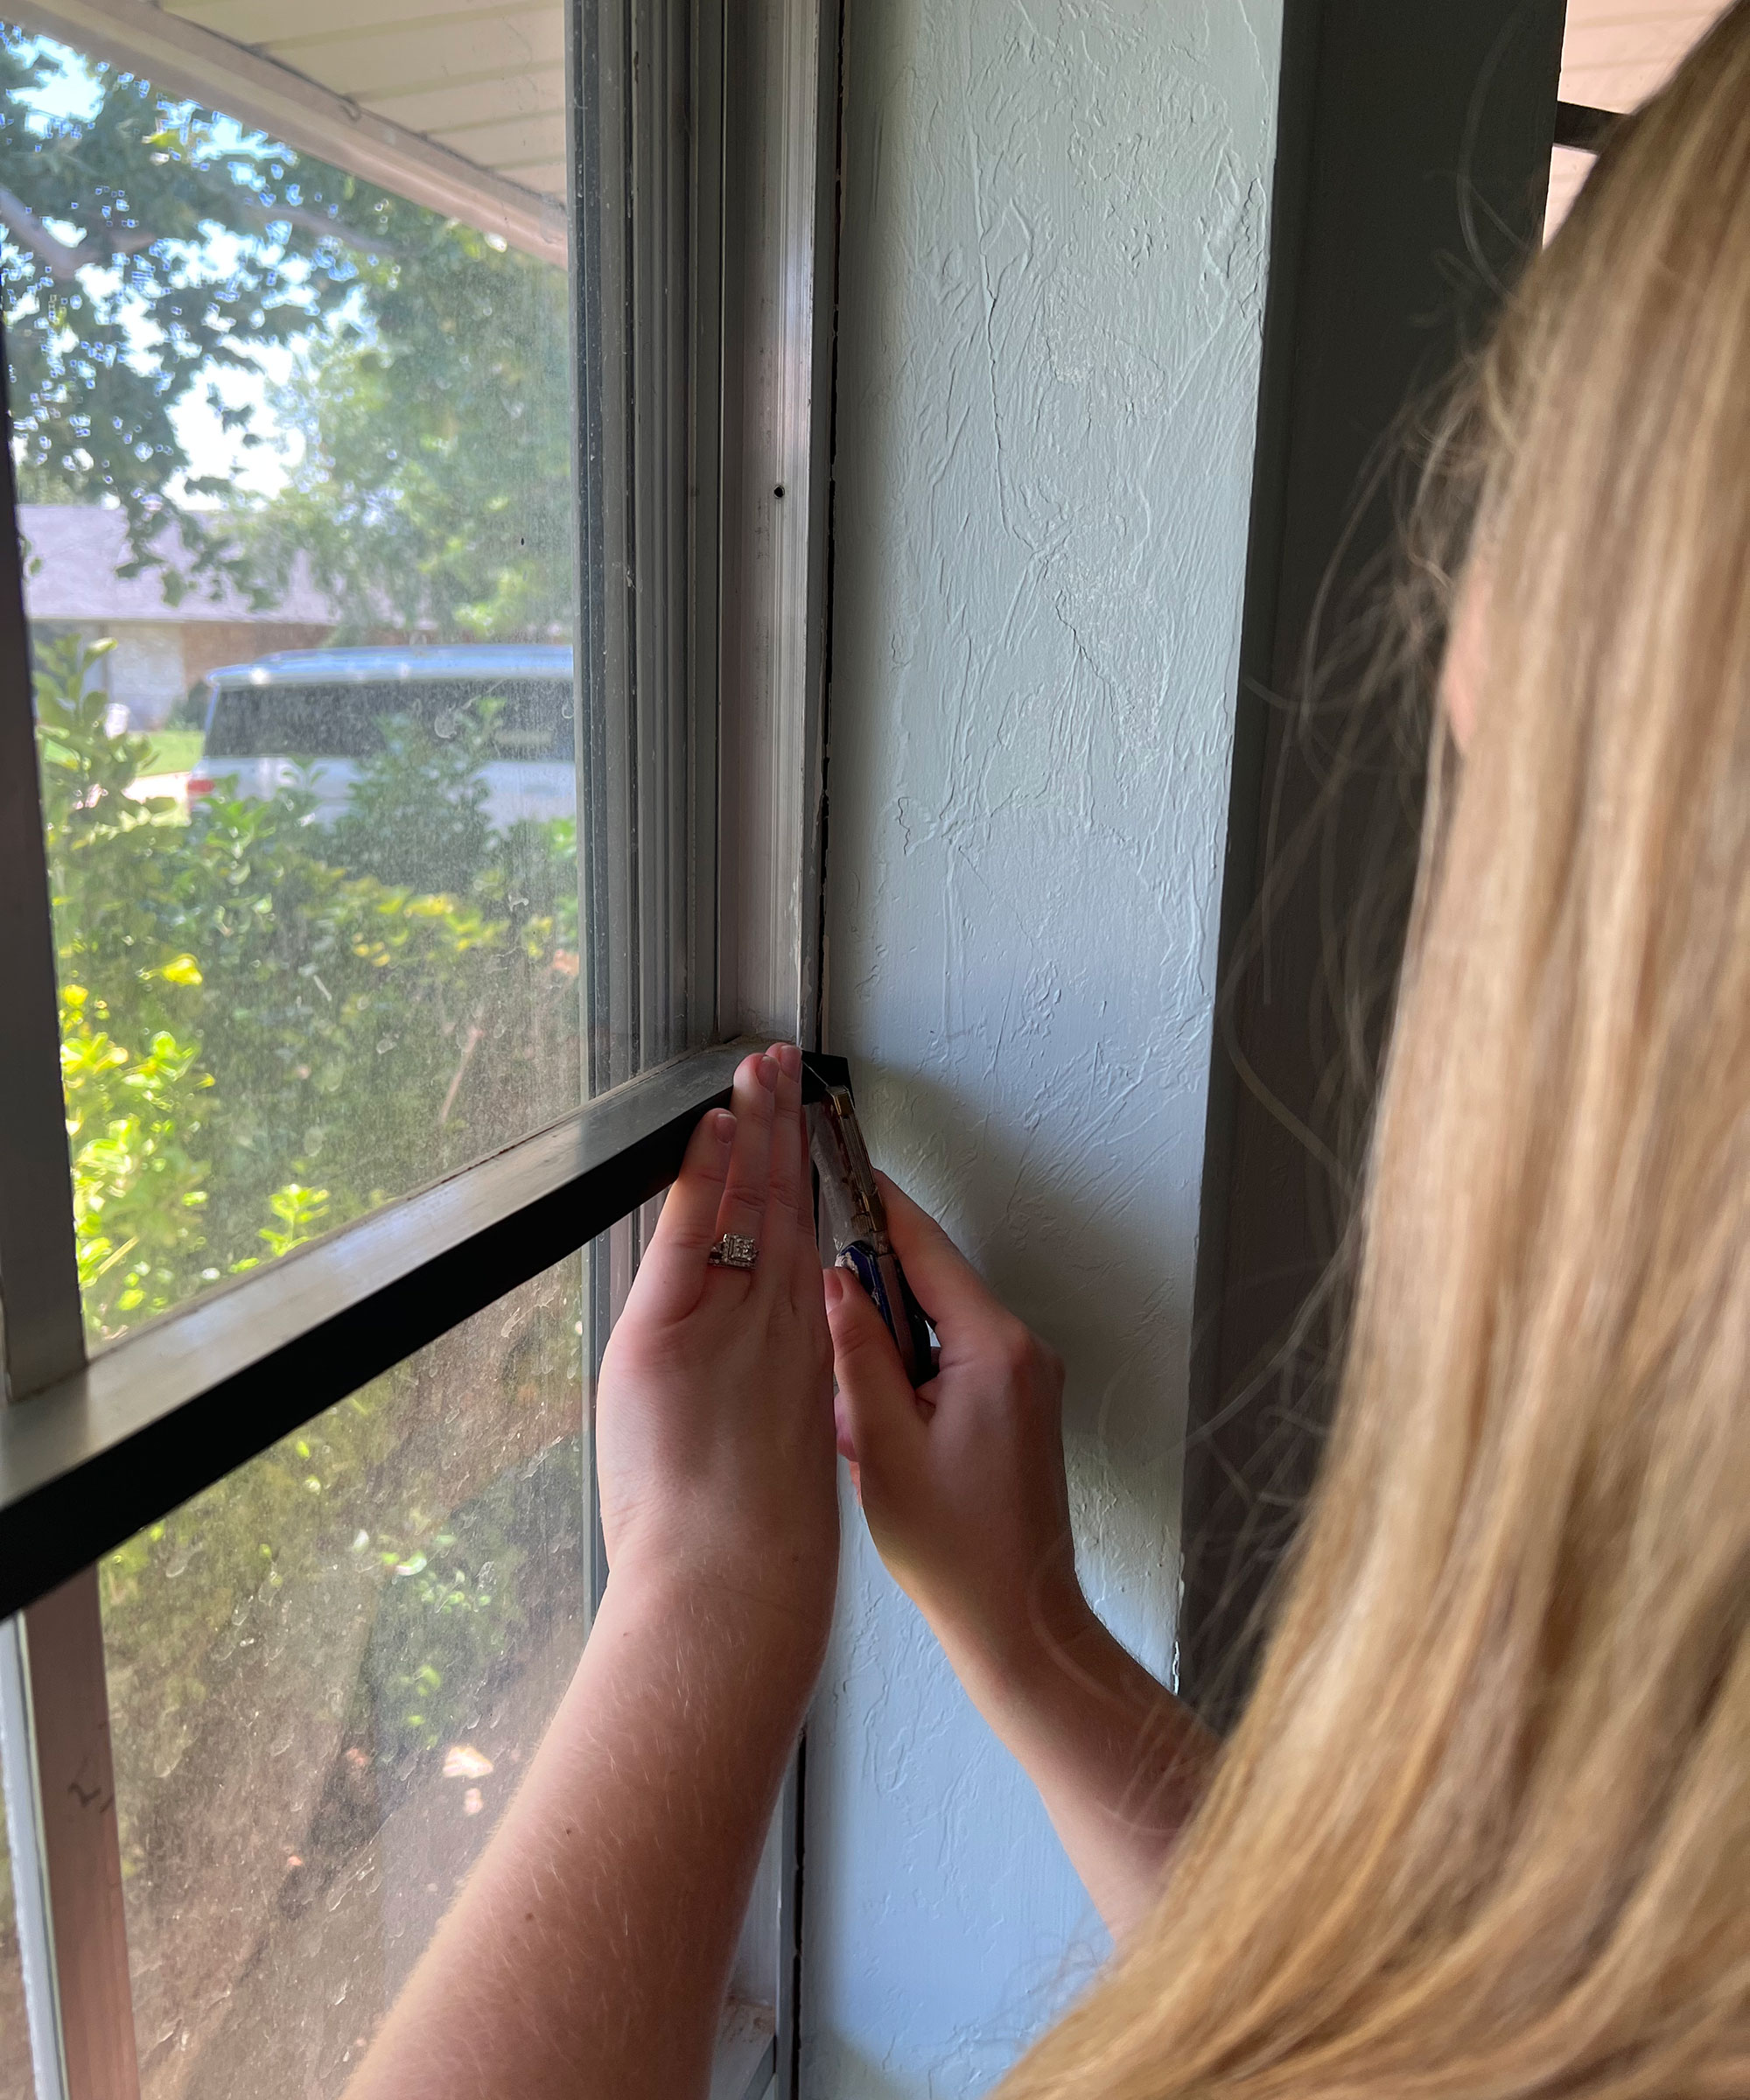
5. Finish the window frame
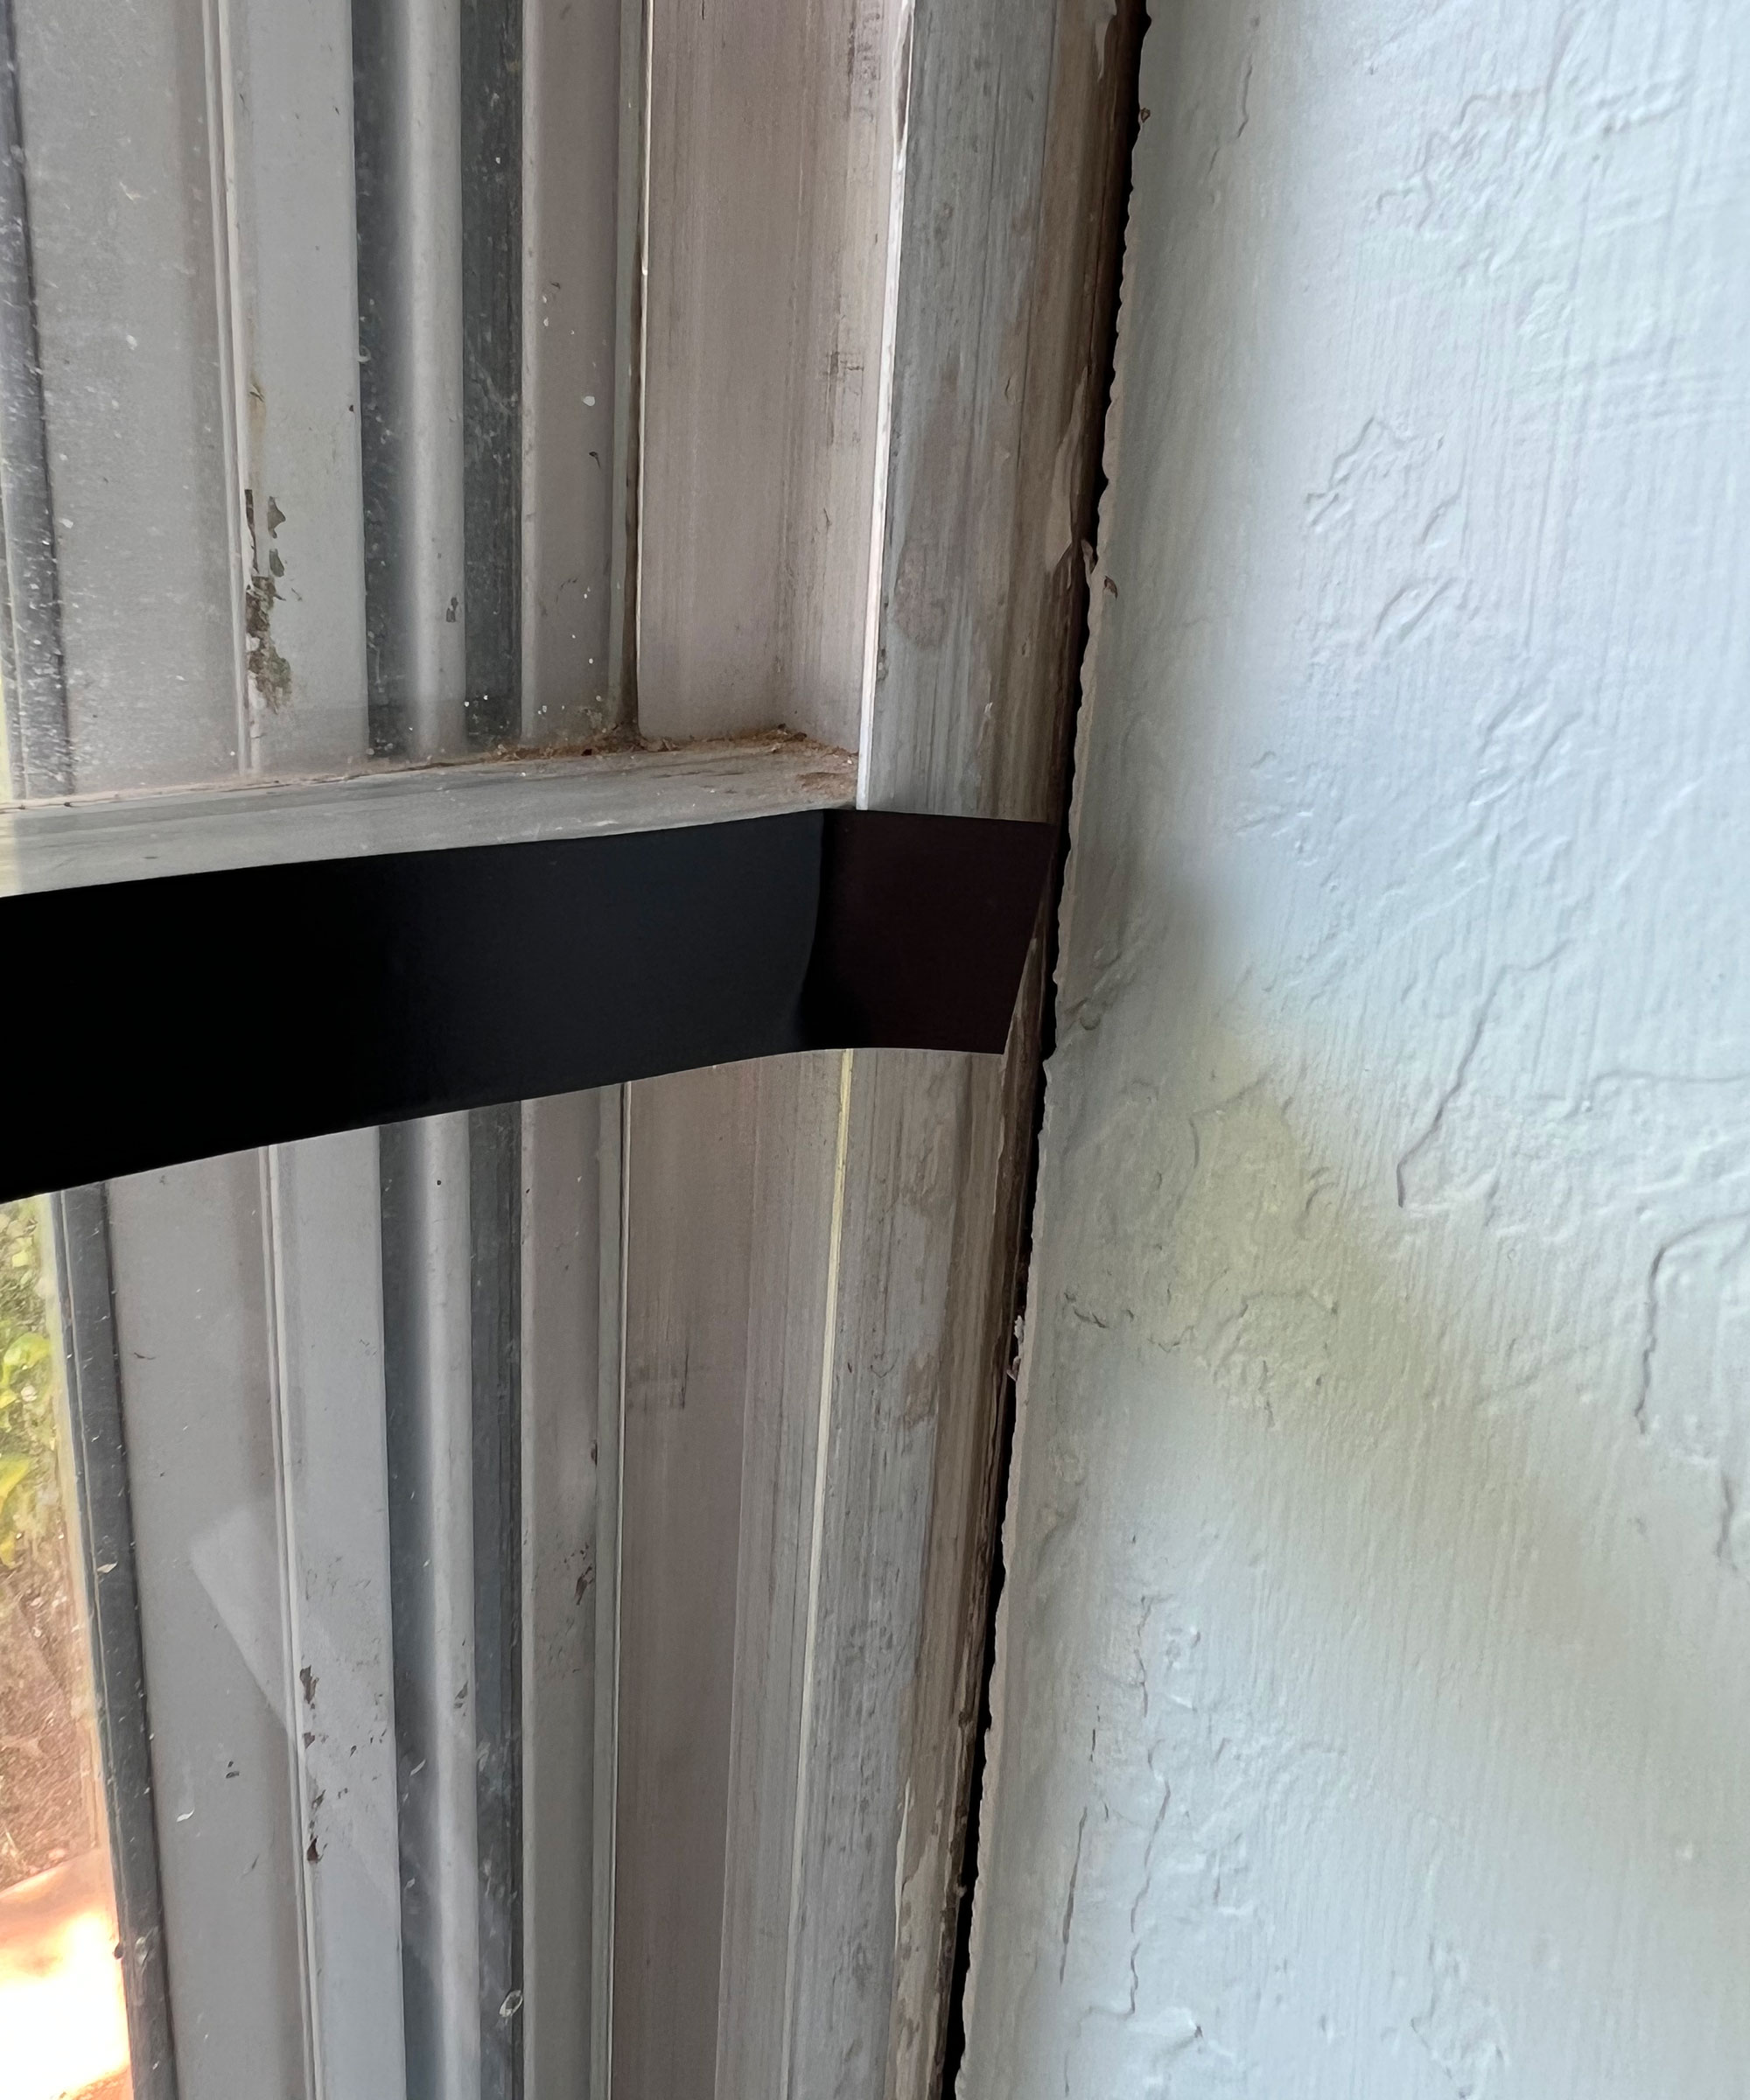
Once you’ve finished the vertical and horizontal lines you’re ready to do the window frame. Starting at the top left, place the tape and work your way down, overlapping the overhanging tape from the horizontal lines. Once you reach the bottom of the frame use the box cutter again to cut the tape in a straight line horizontally. Repeat on the opposite side.
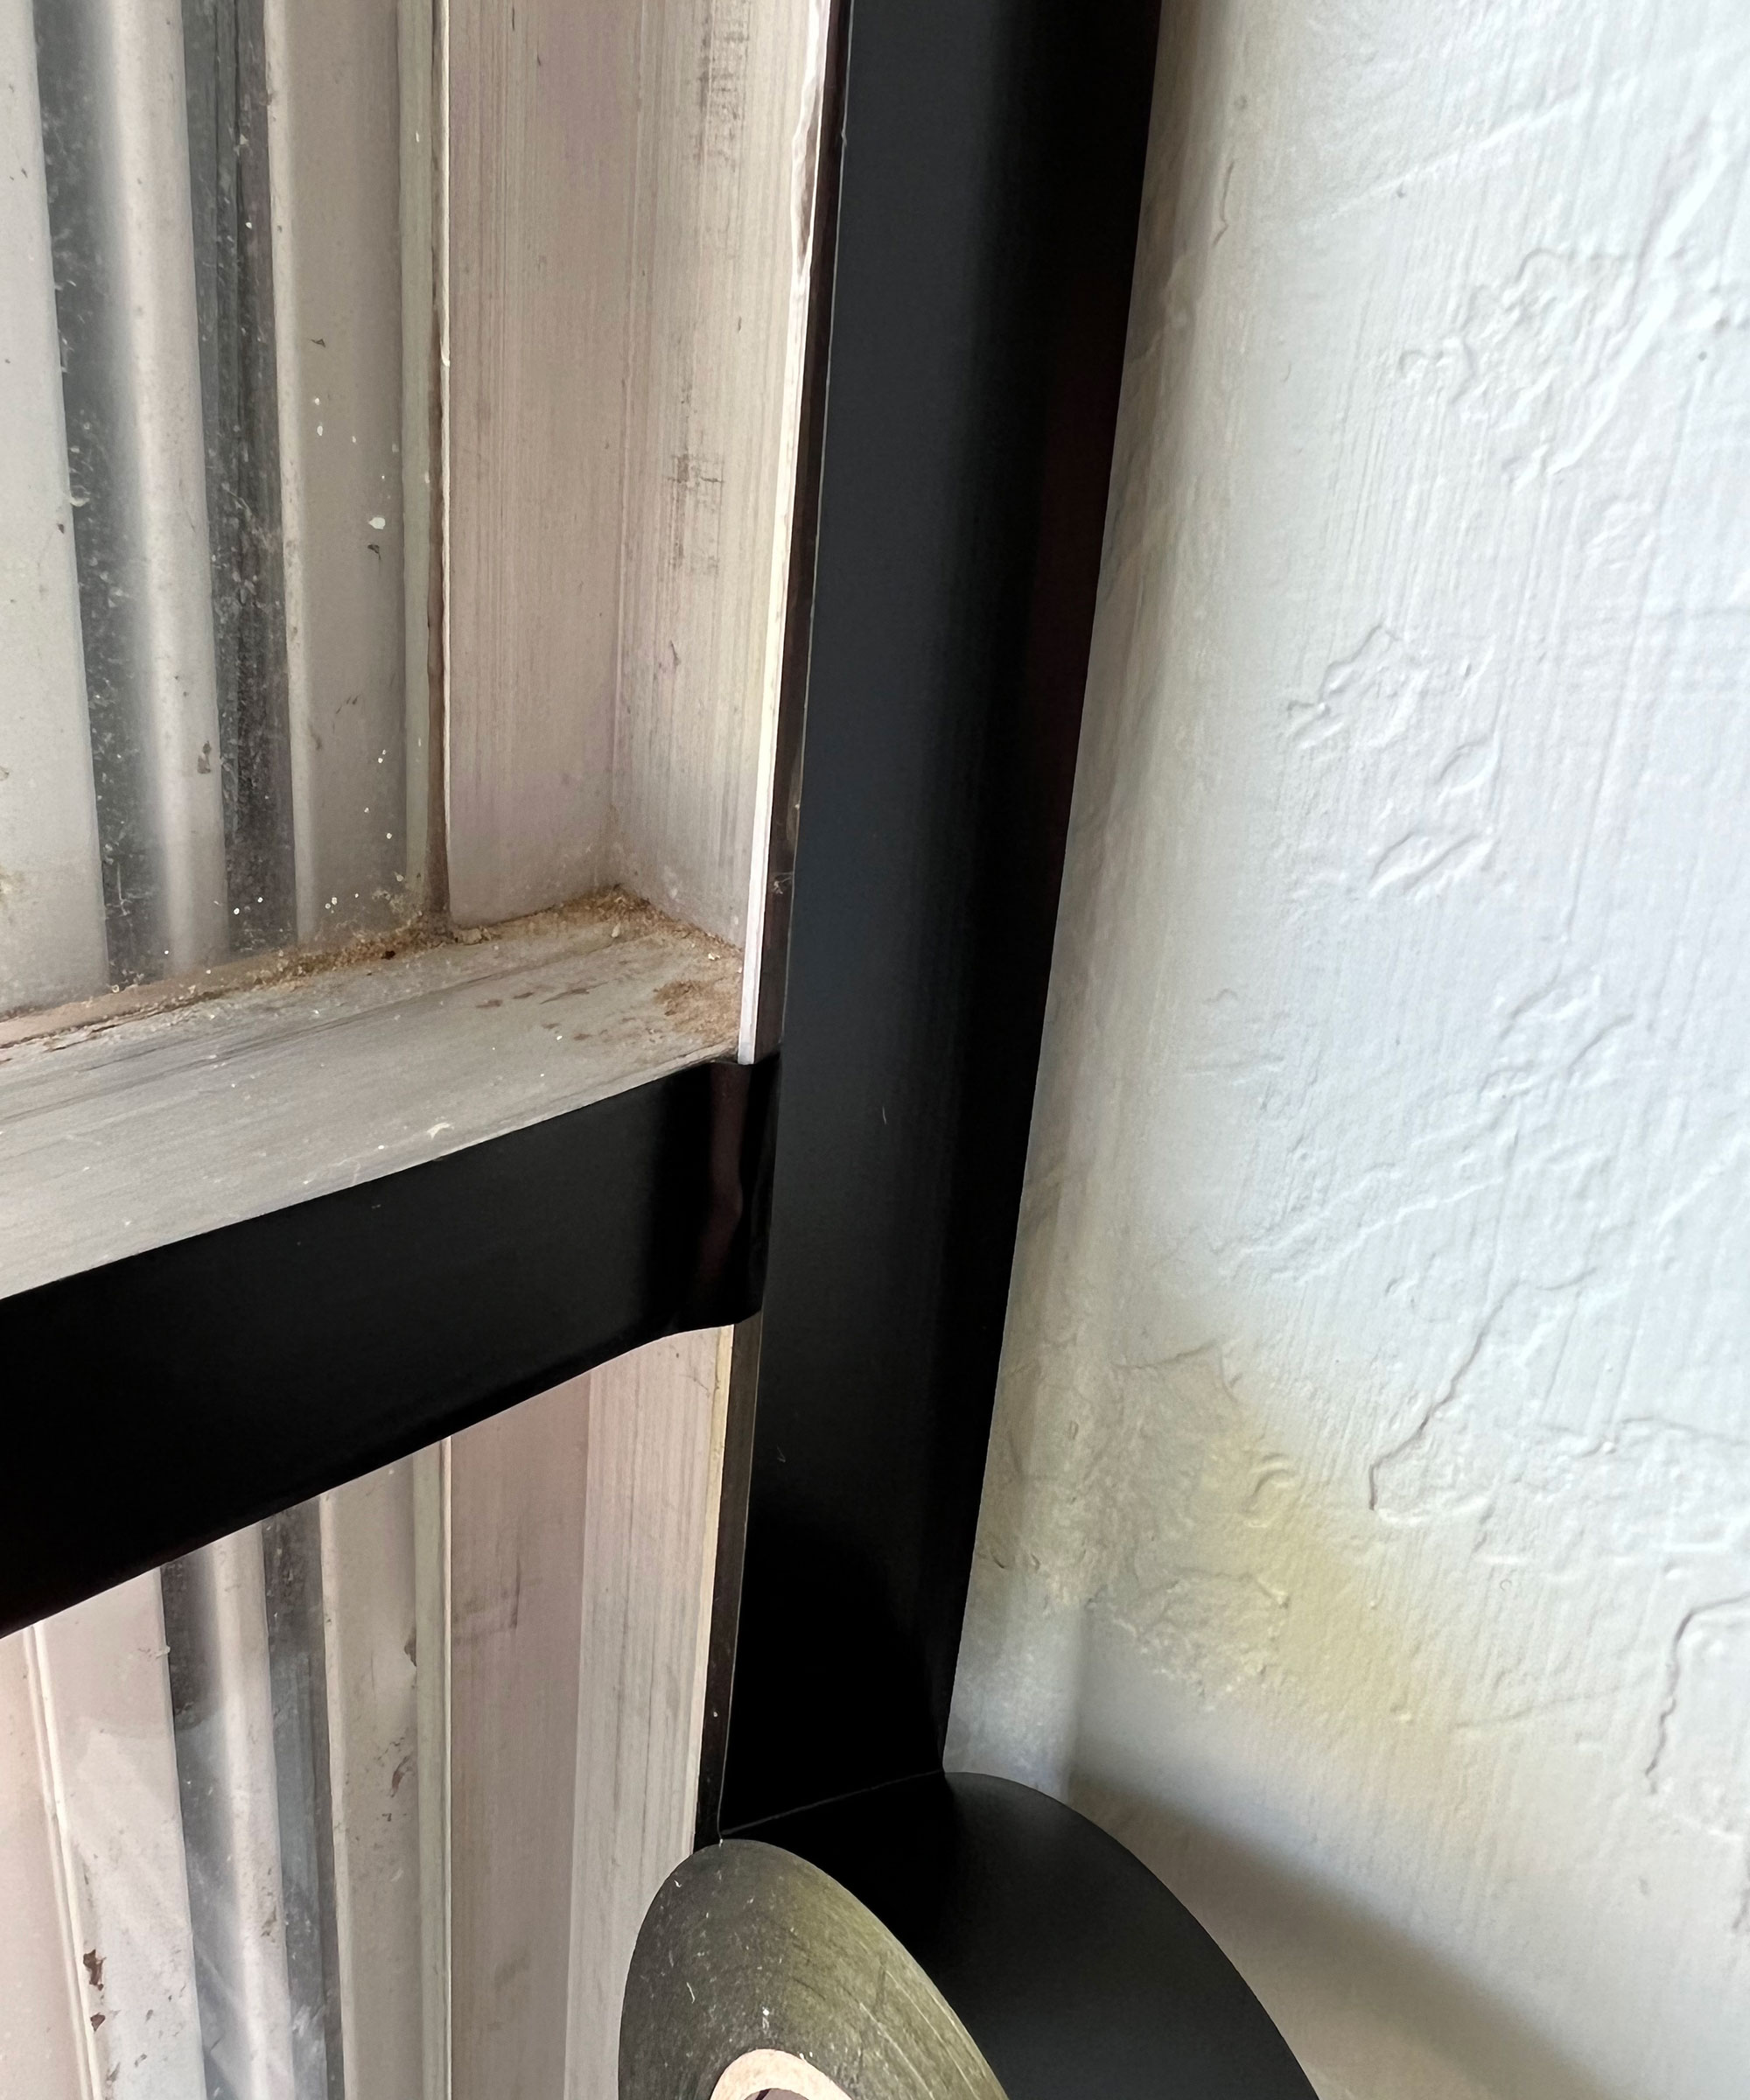
Now that the vertical lines of the frame are complete, move to the top of the window for the horizontal line. Meet at the point where you started the vertical line for the frame and work your way across, using your box cutter to cut the tape when you meet the opposite end. Repeat on the bottom.
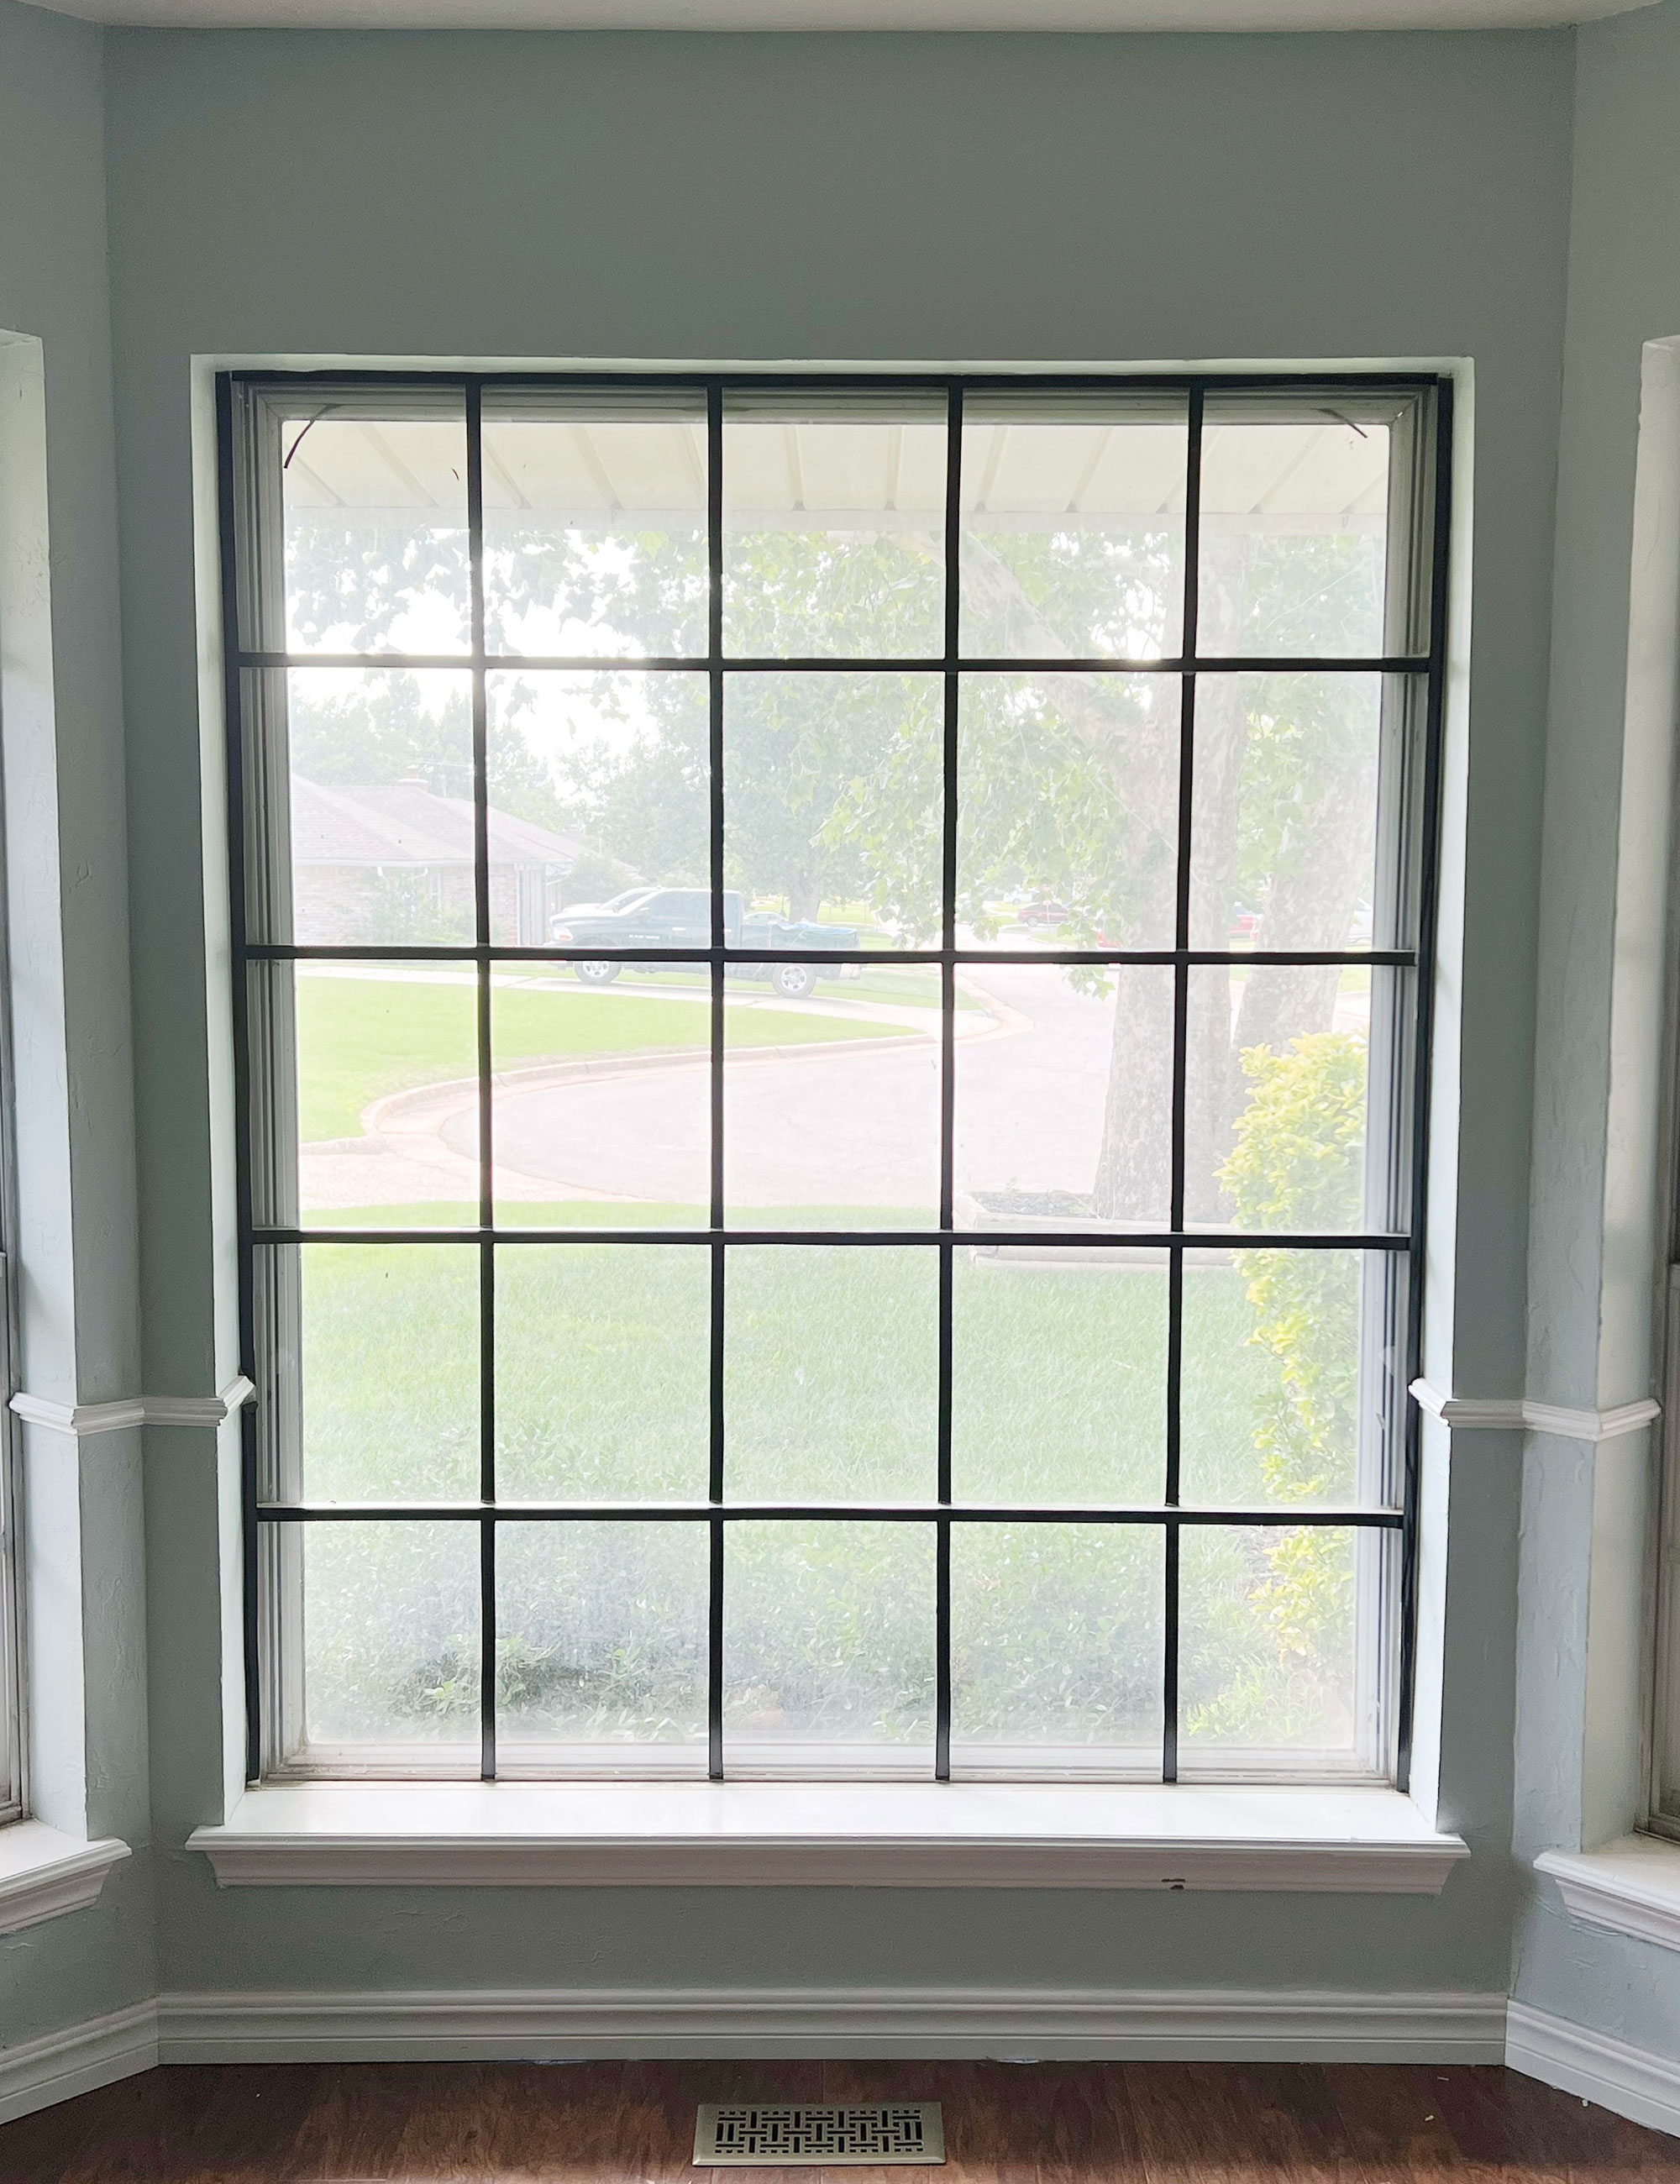
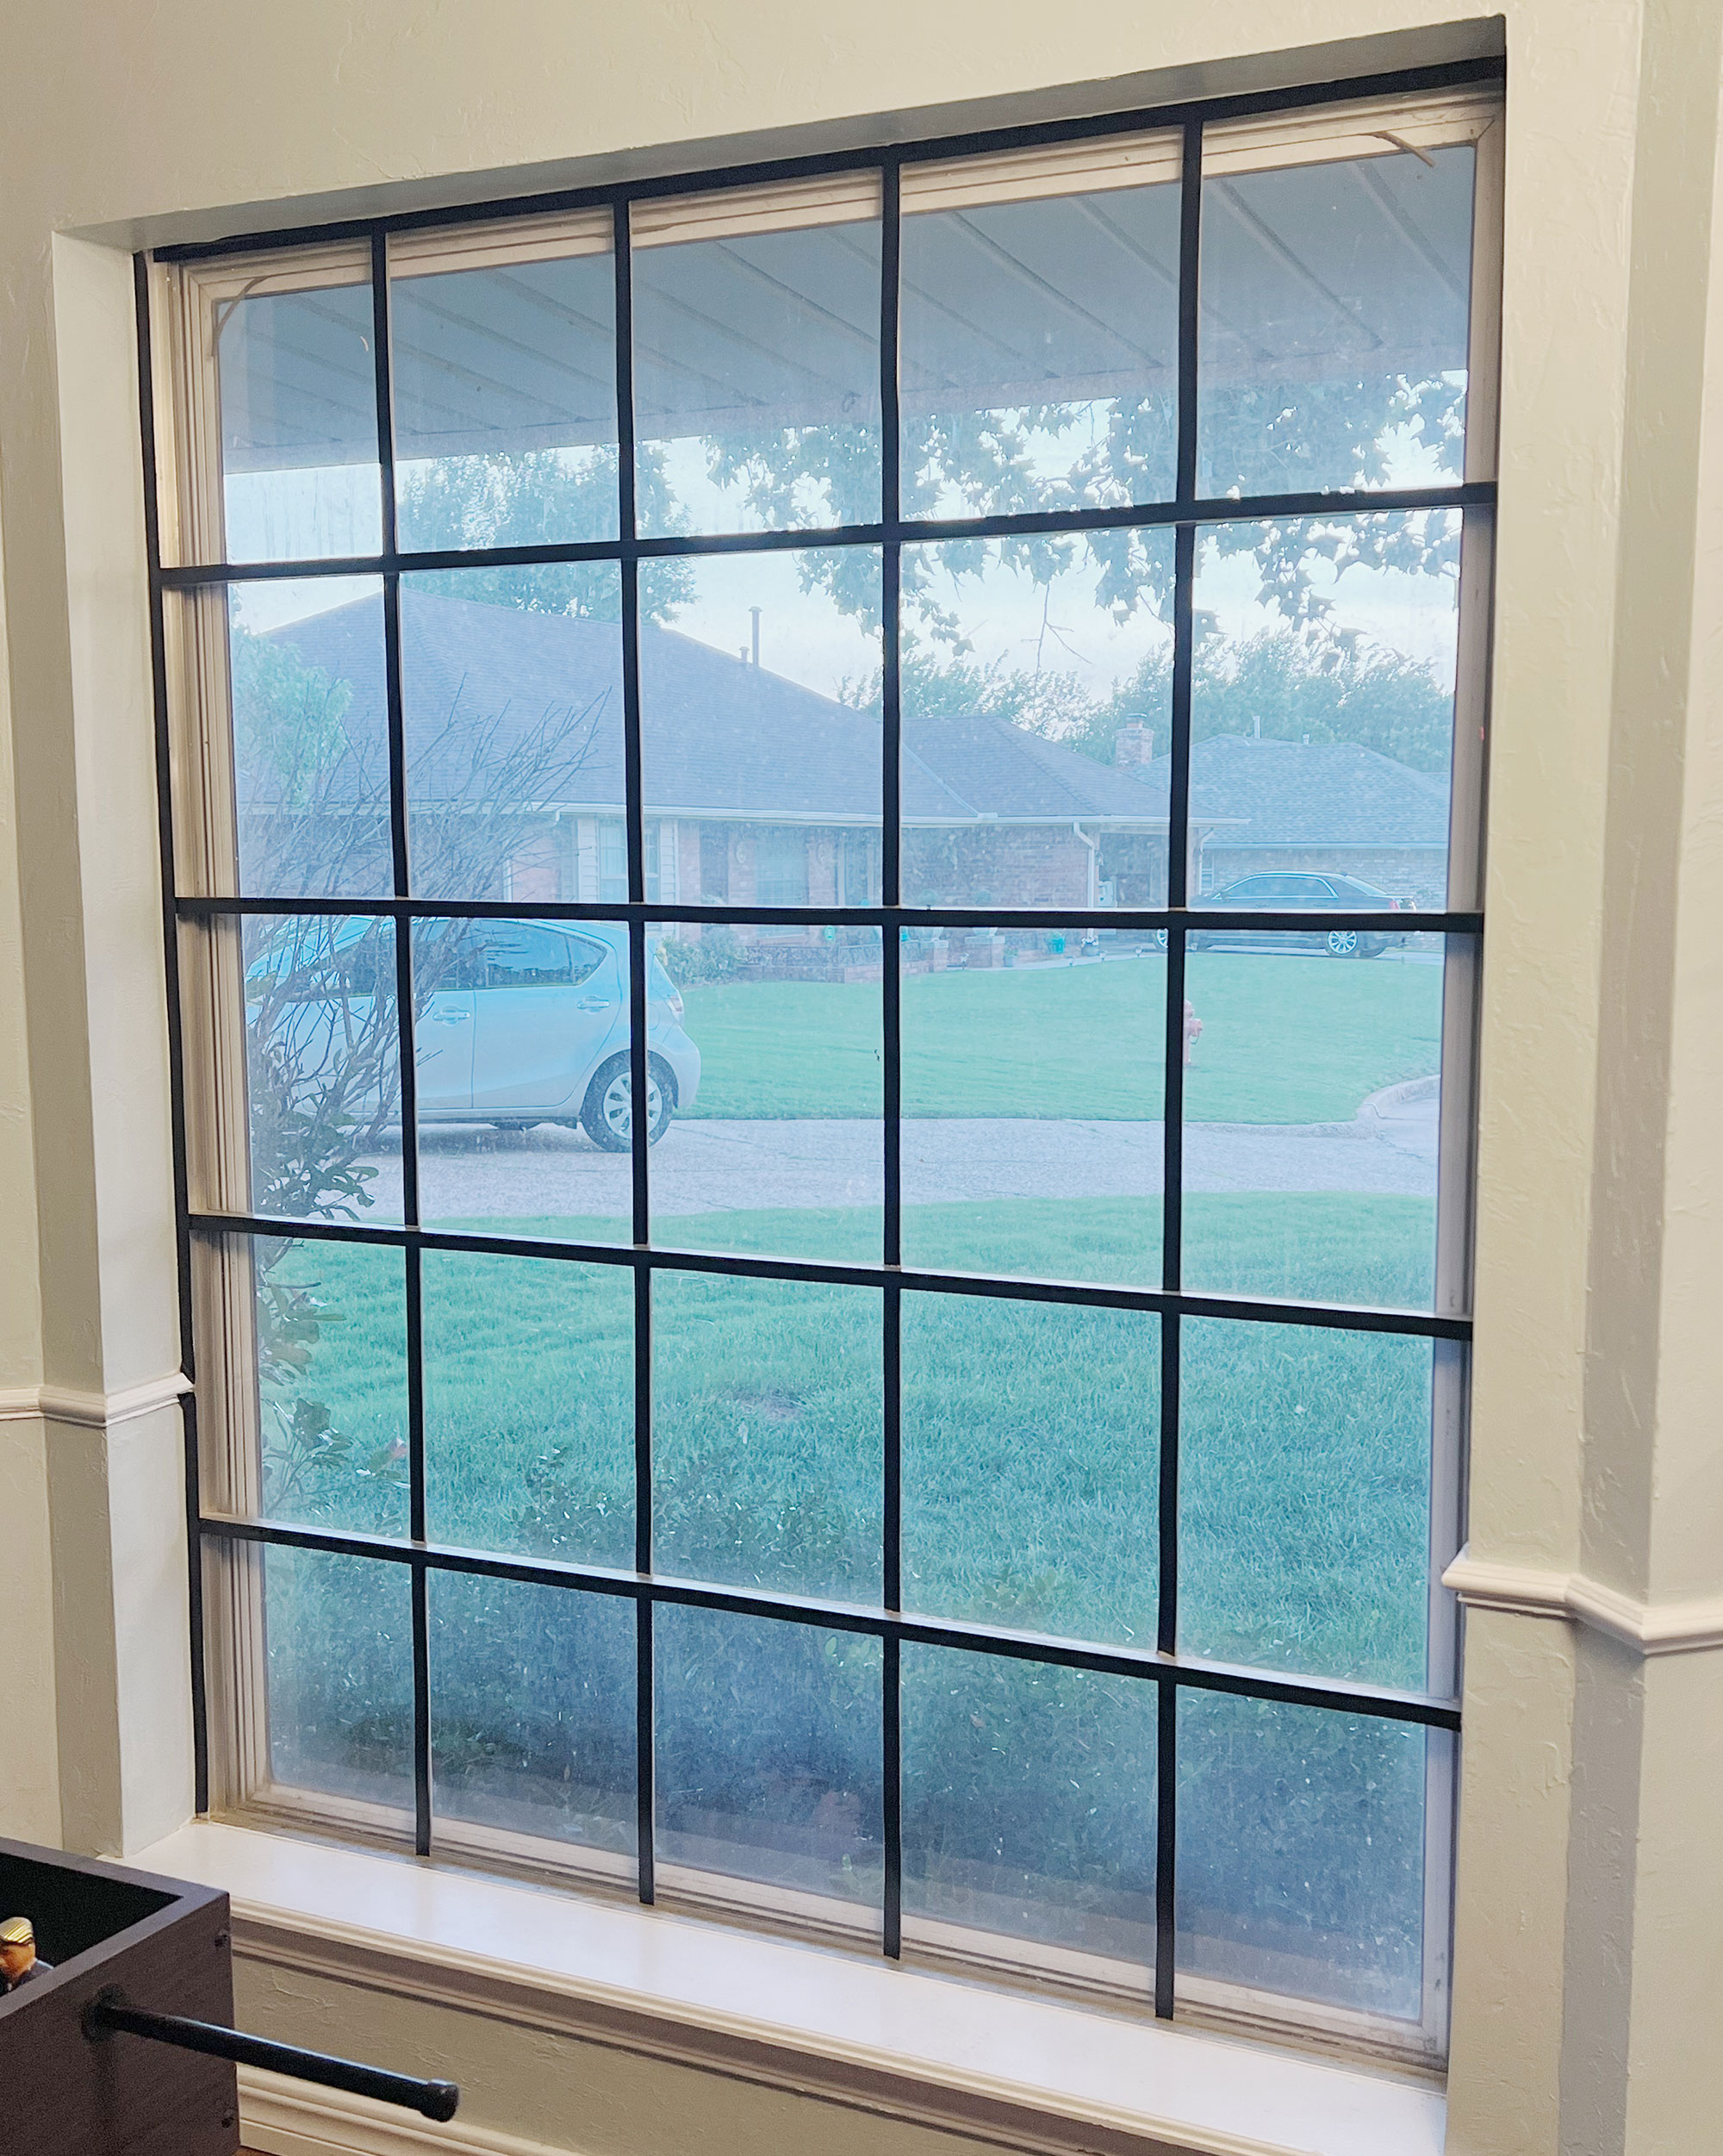
The results:
Once you’ve finished taping your window you’re ready to step back and enjoy your updated view!
Consider your next DIY project by delving into which is better: wrapping your kitchen counters, or painting them.

Dori Turner writes blog posts and feature articles on affordable design and DIY from her home in the heart of Oklahoma. She has a passion for teaching others how they can transform their home on a budget.