This $32 TikTok glassless mirror hack is an easy way to make your space look twice its size
The perfect weekend DIY


(Glassless) mirror mirror on the wall, whose the greatest of them all? Yup, I'm the self-confessed wicked queen of my castle two-bed apartment. But Disney references aside, if you're on the hunt for a lavish-looking glass, call off the search. I've got all of the answers.
Of all of the Instagram grid posts and TikTok vids I've seen, this soft stretched polyester mirror trend keeps popping up. So rather than spending a fortune on a fragile fixture, consider choosing a piece of affordable Amazon home decor that won't break the bank or shatter... period.
*Seven dwarfs not included, so don't forget to clean your mirror to retain that influencer aesthetic.
Though @nicki_da_bish bought her glassless mylar shatterproof mirror from Ten-O by GMR, there are cheaper outlets to sort your squishy decor. She paid around $730 for hers, but below we'll show you how to get the look for around $30 from Amazon.
How to DIY a glassless mirror in three simple steps
First, you need to buy your supplies:
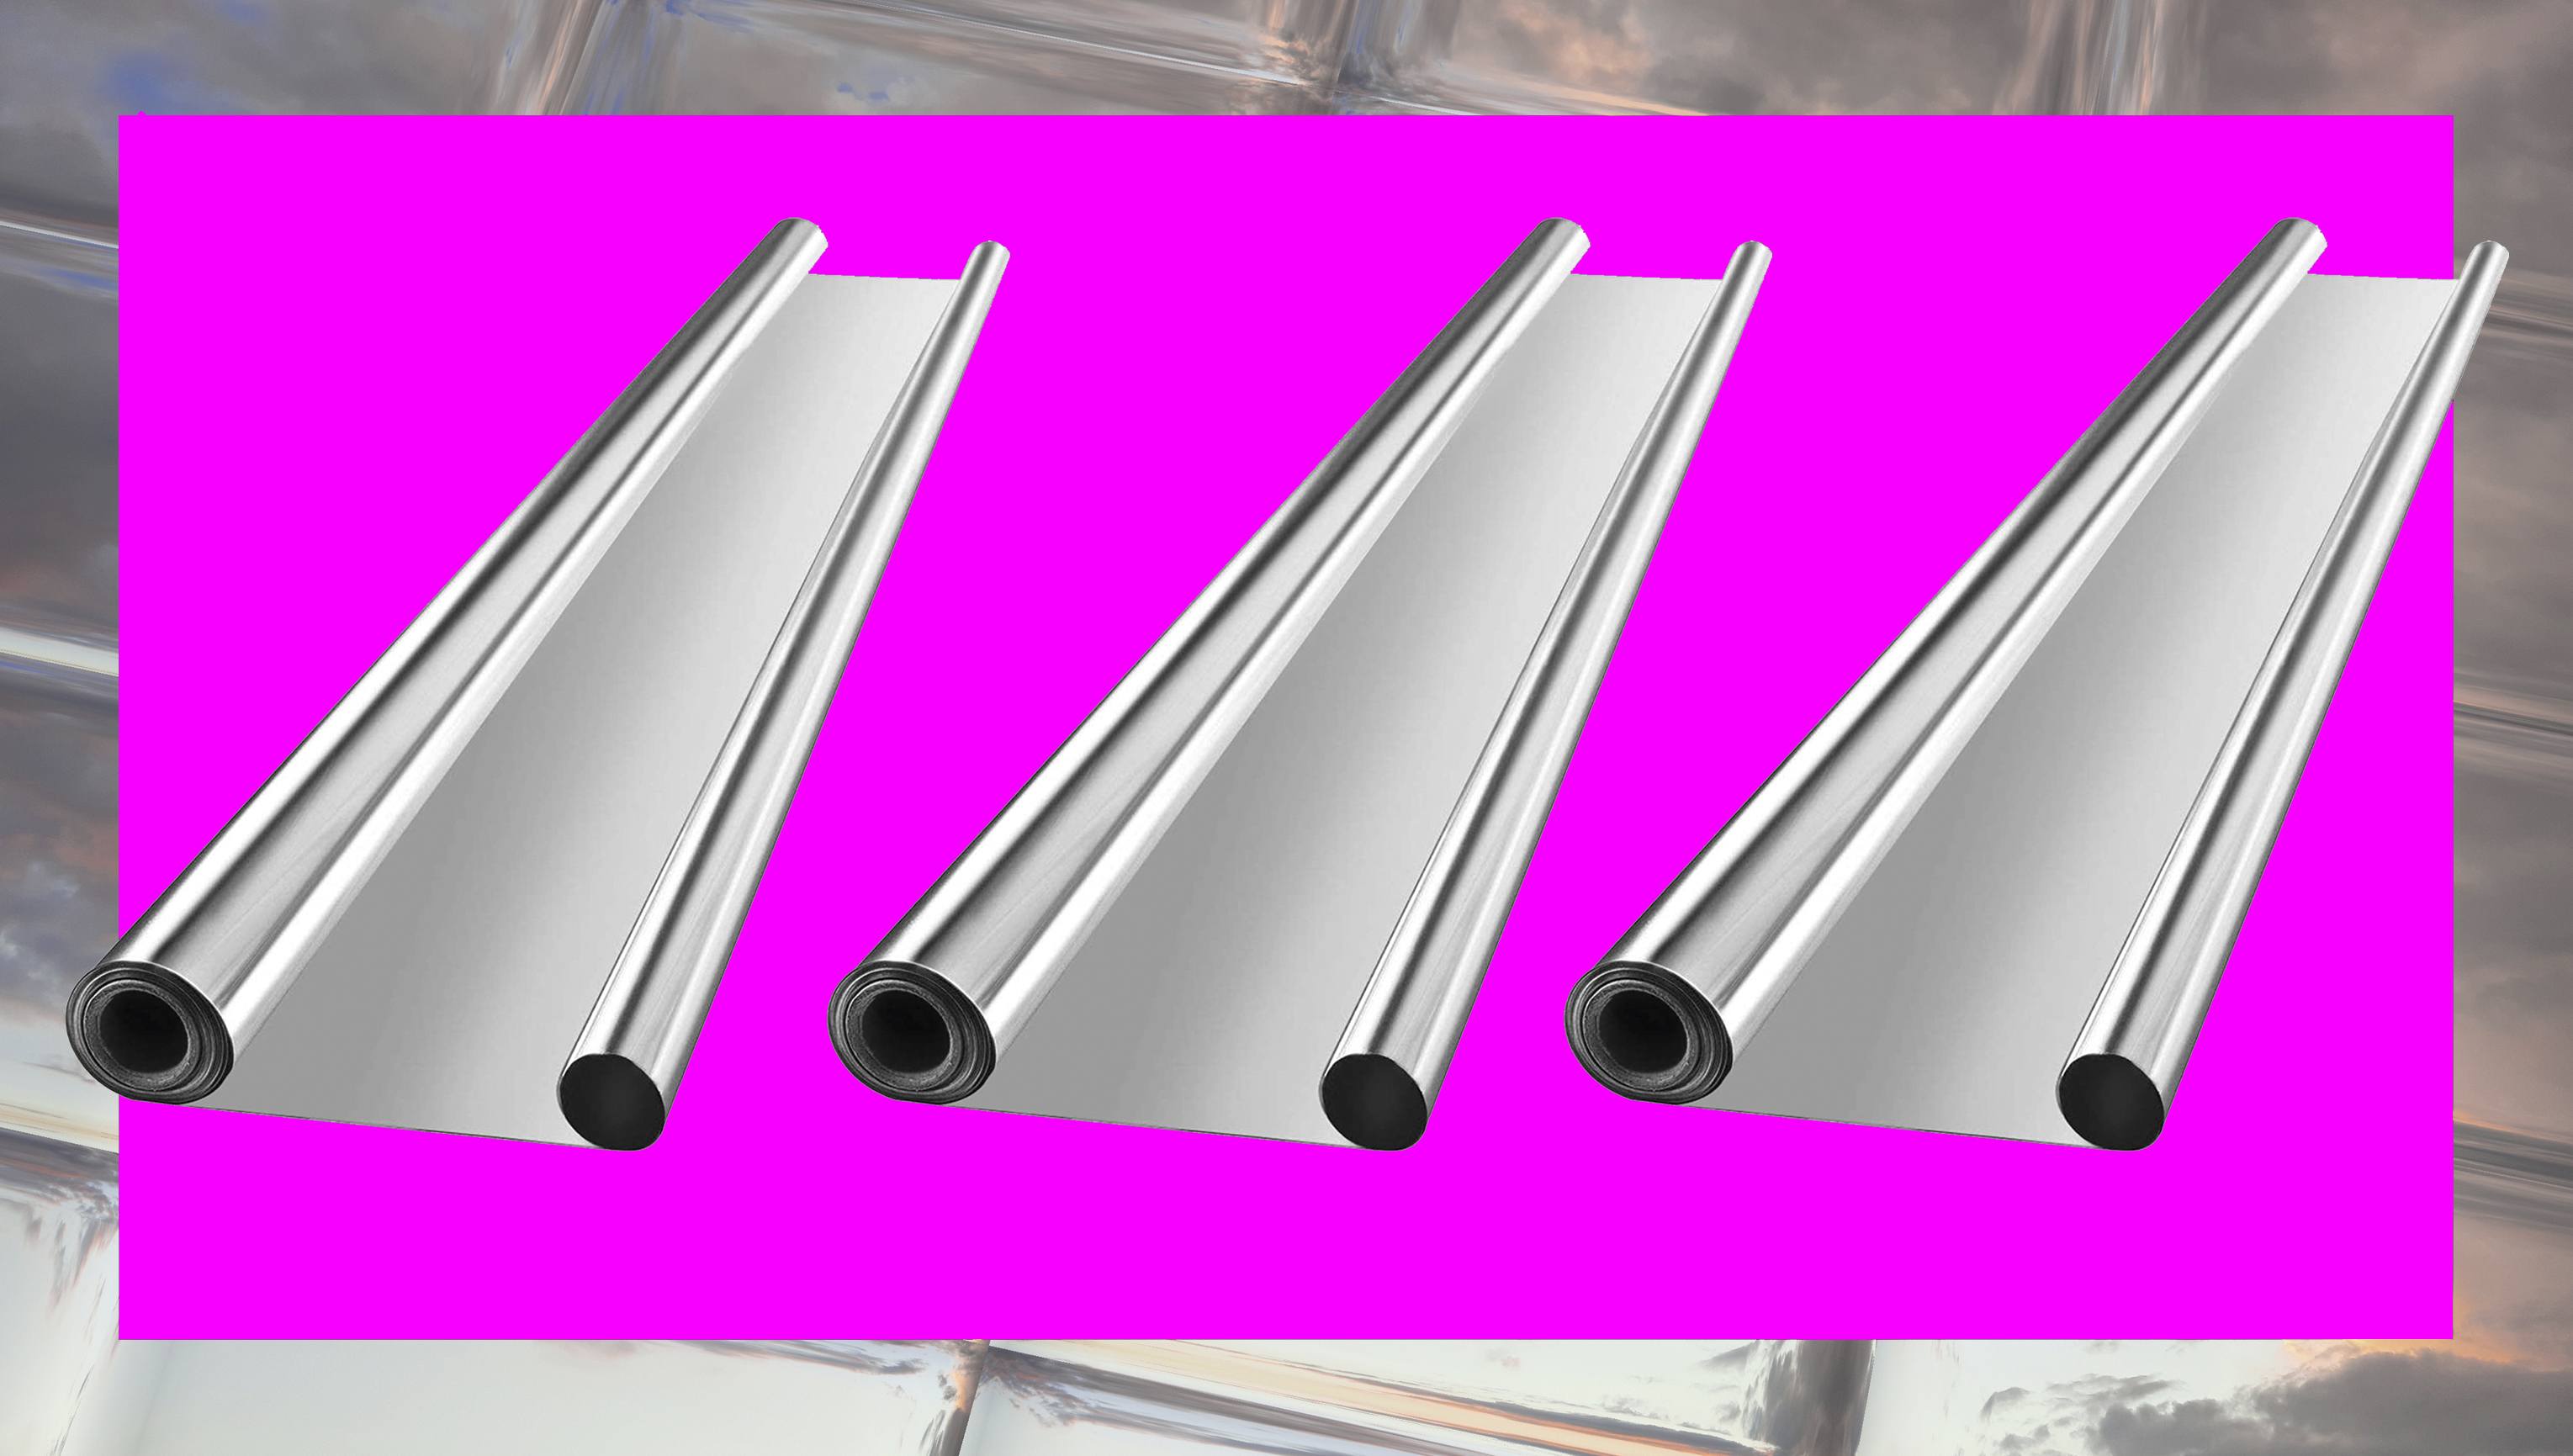
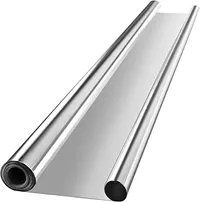
Vivosun Highly Reflective Mylar Film Roll 4FT x 25FT | $31.99 from Amazon
This is a much more cost-effective solution to buying a glassless mirror, and you can create super cheap gifts for friends and family, too. This is the exact product that everyone and their mom is using on TikTok — you get loads for the price, too.
You will also need:
- A large stretched blank canvas — Go big or go home, there are tons on Amazon
- Tape — I like The Original Duck Tape, available on Amazon
- A staple gun — This one has over 2,400 4.5-star reviews on Amazon
- A heat gun (or your hairdryer)
- Canvas pliers — This set comes with a pair of staple removers which will come in handy
Here's how to do it:
- Wrap your canvas with Mylar film and secure the edges with tape. For professional-looking results, you'll aim to put the tape at least 1/4" away from the front of your mirror. Use a little extra tape to tuck any excess film into non-visible parts of the board.
- Just like a blow-out, you'll want to smooth out your Mylar film using your heat gun or hair dryer. But don't spend too long in one spot or you might damage/melt the material. The main purpose here is to iron out any remaining creases.
- If you spot rippling — don't freak out. Those staples you popped in should be removable, and you should be able to make the necessary tweaks to smooth it out. If you want to be cautious, use your canvas pliers to you don't tear the film. Once you're happy with the tension, re-staple the canvas to keep things safe and secure.
Get small space home decor ideas, celeb inspiration, DIY tips and more, straight to your inbox!

Hi, I'm the former acting head ecommerce editor at Real Homes. Prior to working for the Future plc family, I've worked on a number of consumer events including the Ideal Home Show, Grand Designs Live, and Good Homes Magazine. With a first class degree from Keele University, and a plethora of experience in digital marketing, editorial, and social media, I have an eye for what should be in your shopping basket and have gone through the internal customer advisor accreditation process.
