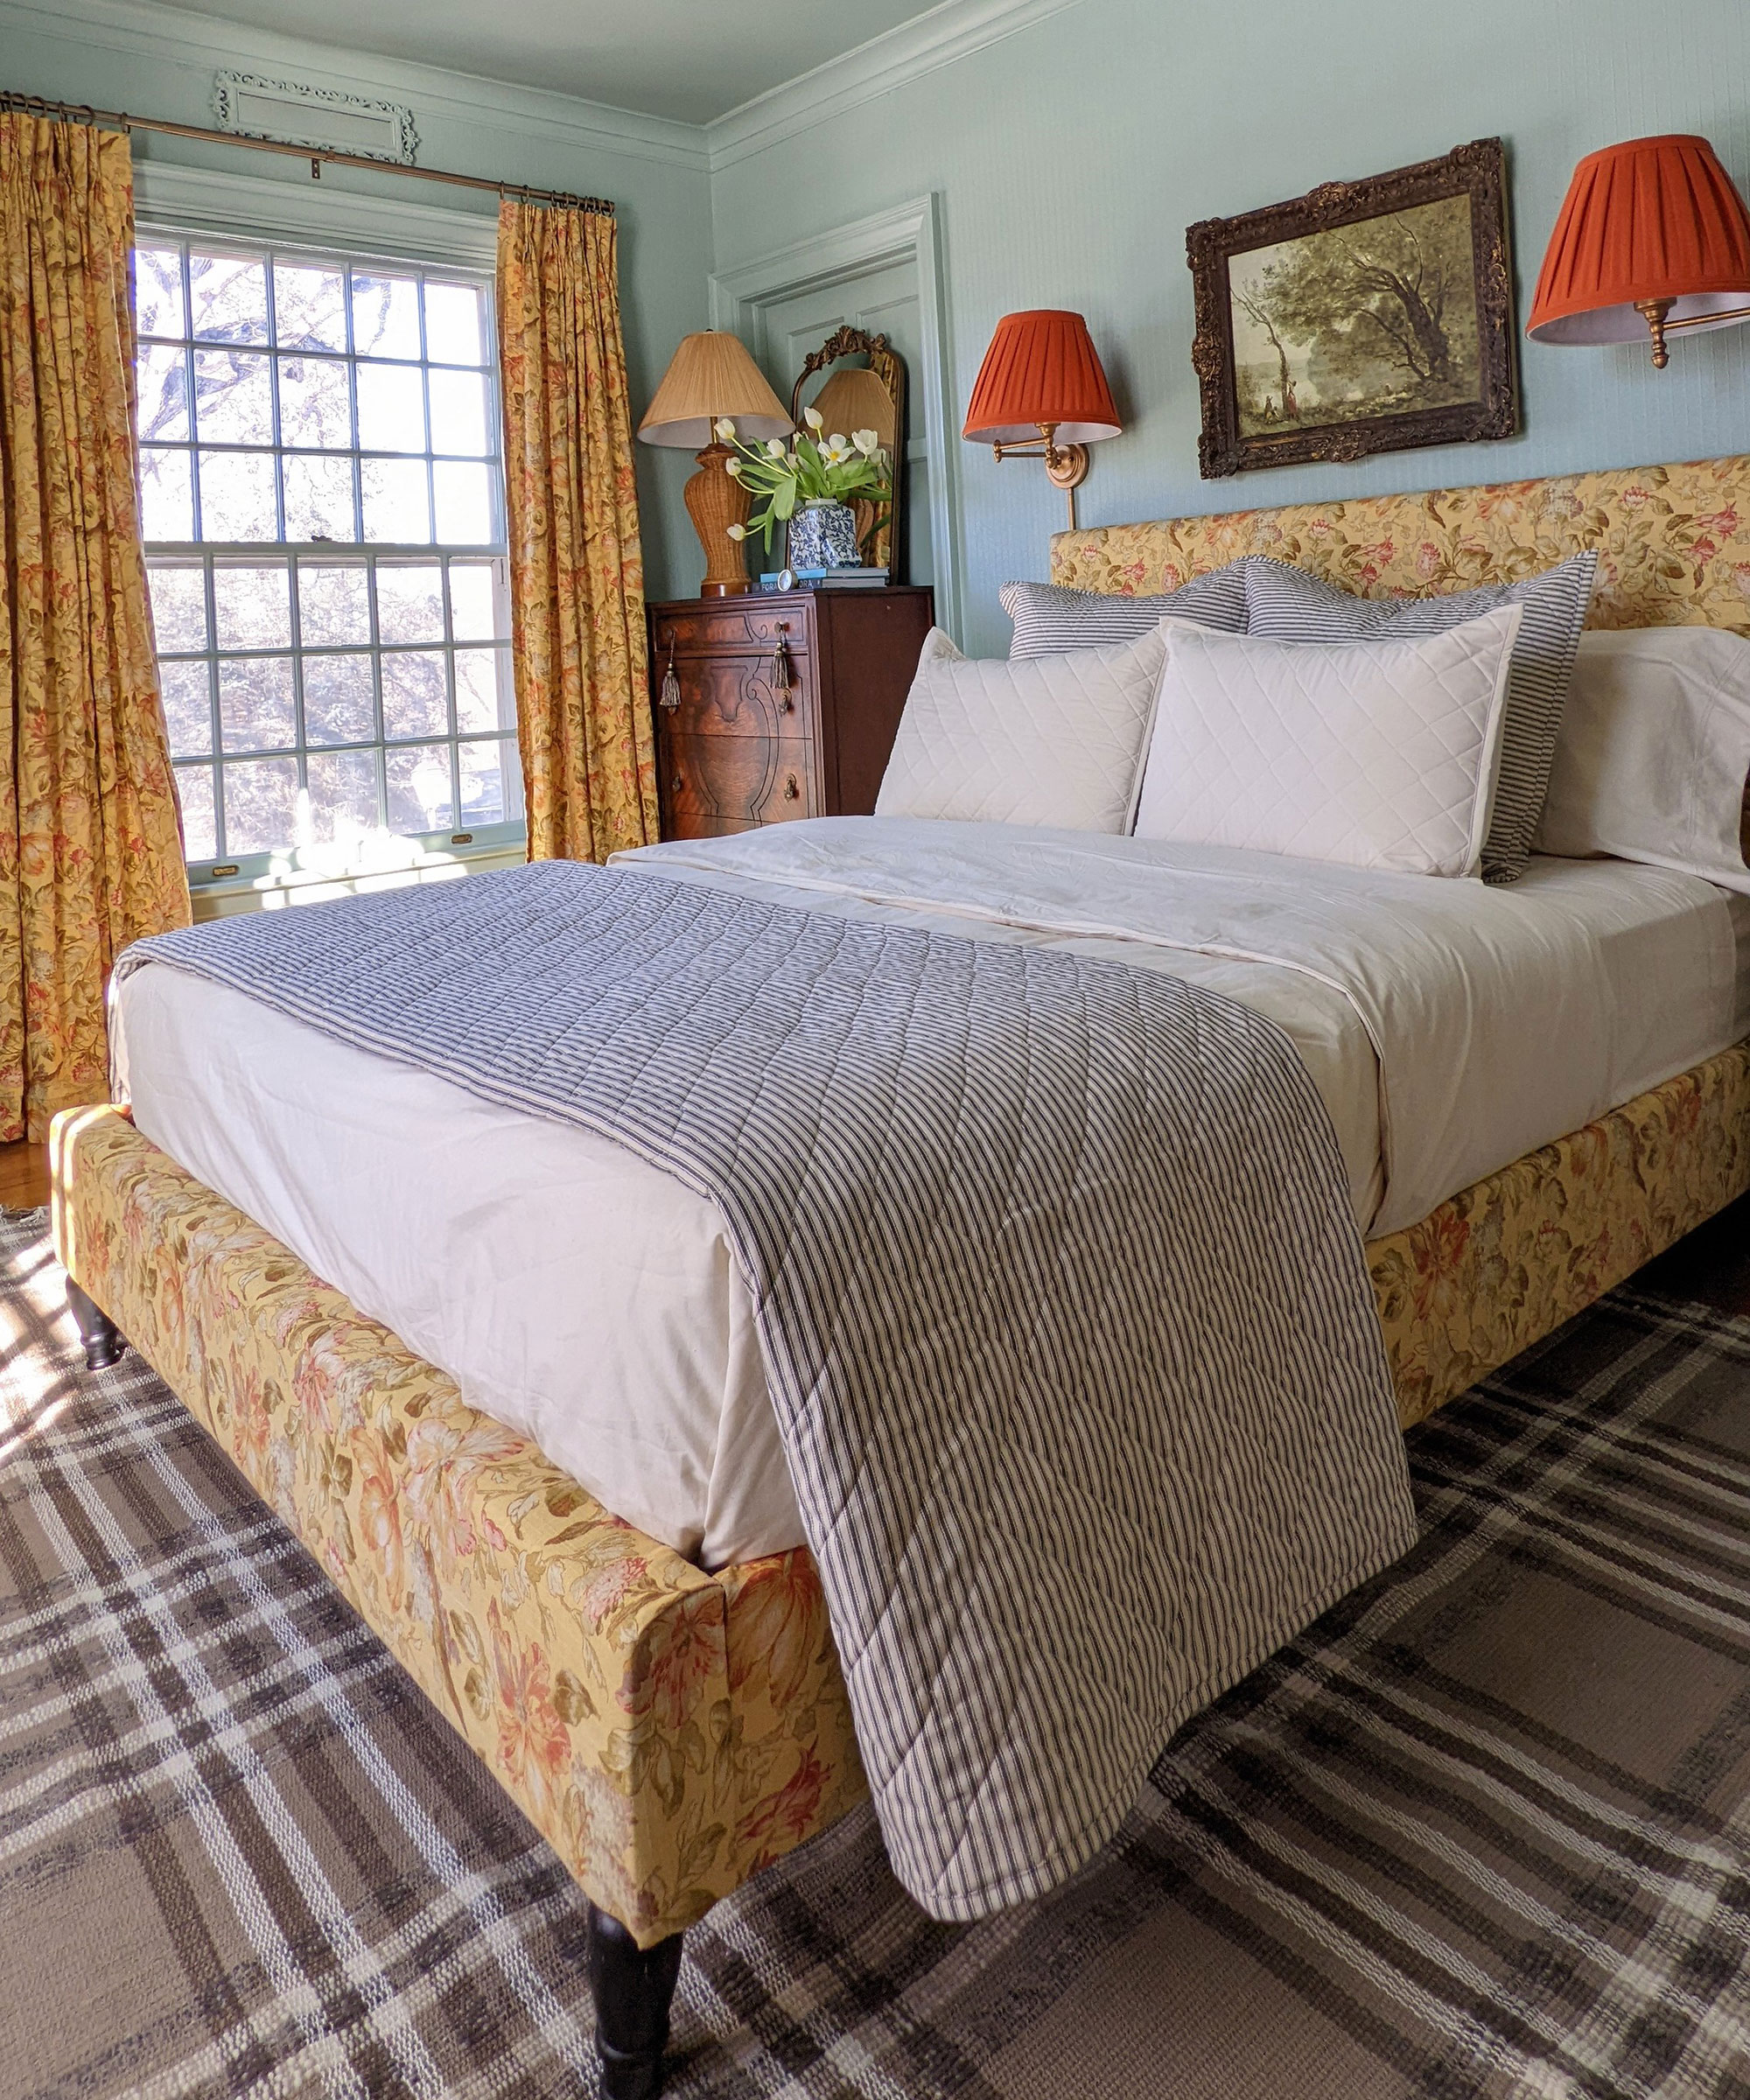
We all know how good it feels to be welcomed to a friend's or family member's home. Whether you're staying the whole week or just for a night, a beautiful guest room is one that makes you feel welcome and a little cozy inside.
What with the pandemic, our spare room was probably more neglected than it would have otherwise been. As soon as I had a little more time on my hands and some spare creative energy, all the best guest room ideas started inspiring me to finally take on this room's transformation.
I completed a couple, no budget makeovers over the past years, but they were band-aid efforts created from cast-off furniture and linens and leftover paint. This guest room makeover felt like it needed something more special.
Since the new year, I painted, reimagined, and repurposed to create a charming marriage of old and new in our guest room. First, I cleared out the clutter. As my kids returned to in-person school, the desk was decommissioned and the toys exiled. But as I worked on the adjacent kiddo bunk room, the guest room filled with discarded furnishings. I stashed a few things in the basement for potential, future use. Others, sold on Craigslist, giving a little padding for the guest room, makeover budget.
Guest room project breakdown
Now I'm a big fan of DIY, it's my go-to to keep costs down of course, but also to add character and a totally unique twist to your space. Hopefully what I did with this guest room makeover can inspire you to think outside the box, and really consider what supplies are sitting right in front of you because, honestly, just a little design creativity (and gusto) can give you awesome results.
In terms of time and level of difficulty, this is a breakdown of what went down:
Re-upholstering the headboard
Get small space home decor ideas, celeb inspiration, DIY tips and more, straight to your inbox!
DIY level: Novice
Time: 4 hrs
Chair cushion
DIY level: Novice
Time: 10 minutes (no joke)
Painting
DIY level: Novice
Time: Two days (inc. drying time)
Project costs:
- Paint: $118 (two gallons)
- Bedding: $900 (duvet, quilt, shams, sheets, euro shams)
- Pillow inserts: $160
- Lamp shades: $100
- Rug: $220
- Mirror: $140
- *Everything else I reused. Bedding and paint received as part of paid partnerships.
The before:
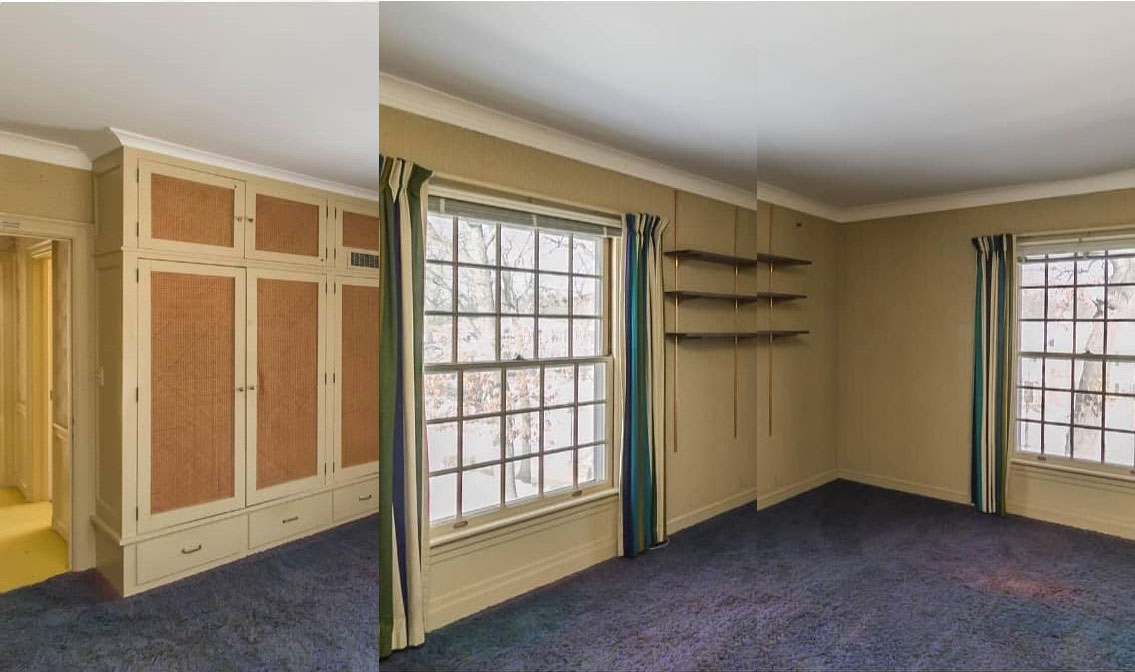
I actually shared my plan, a while ago, to make our guest room check-in ready once again. I longed to reclaim the space for its original purpose and return to welcoming our friends and family. As I completed the more modest, monthly updates, I began to eye a fresh look as well.
Here's how I tackled this space:
Revamping old sconces
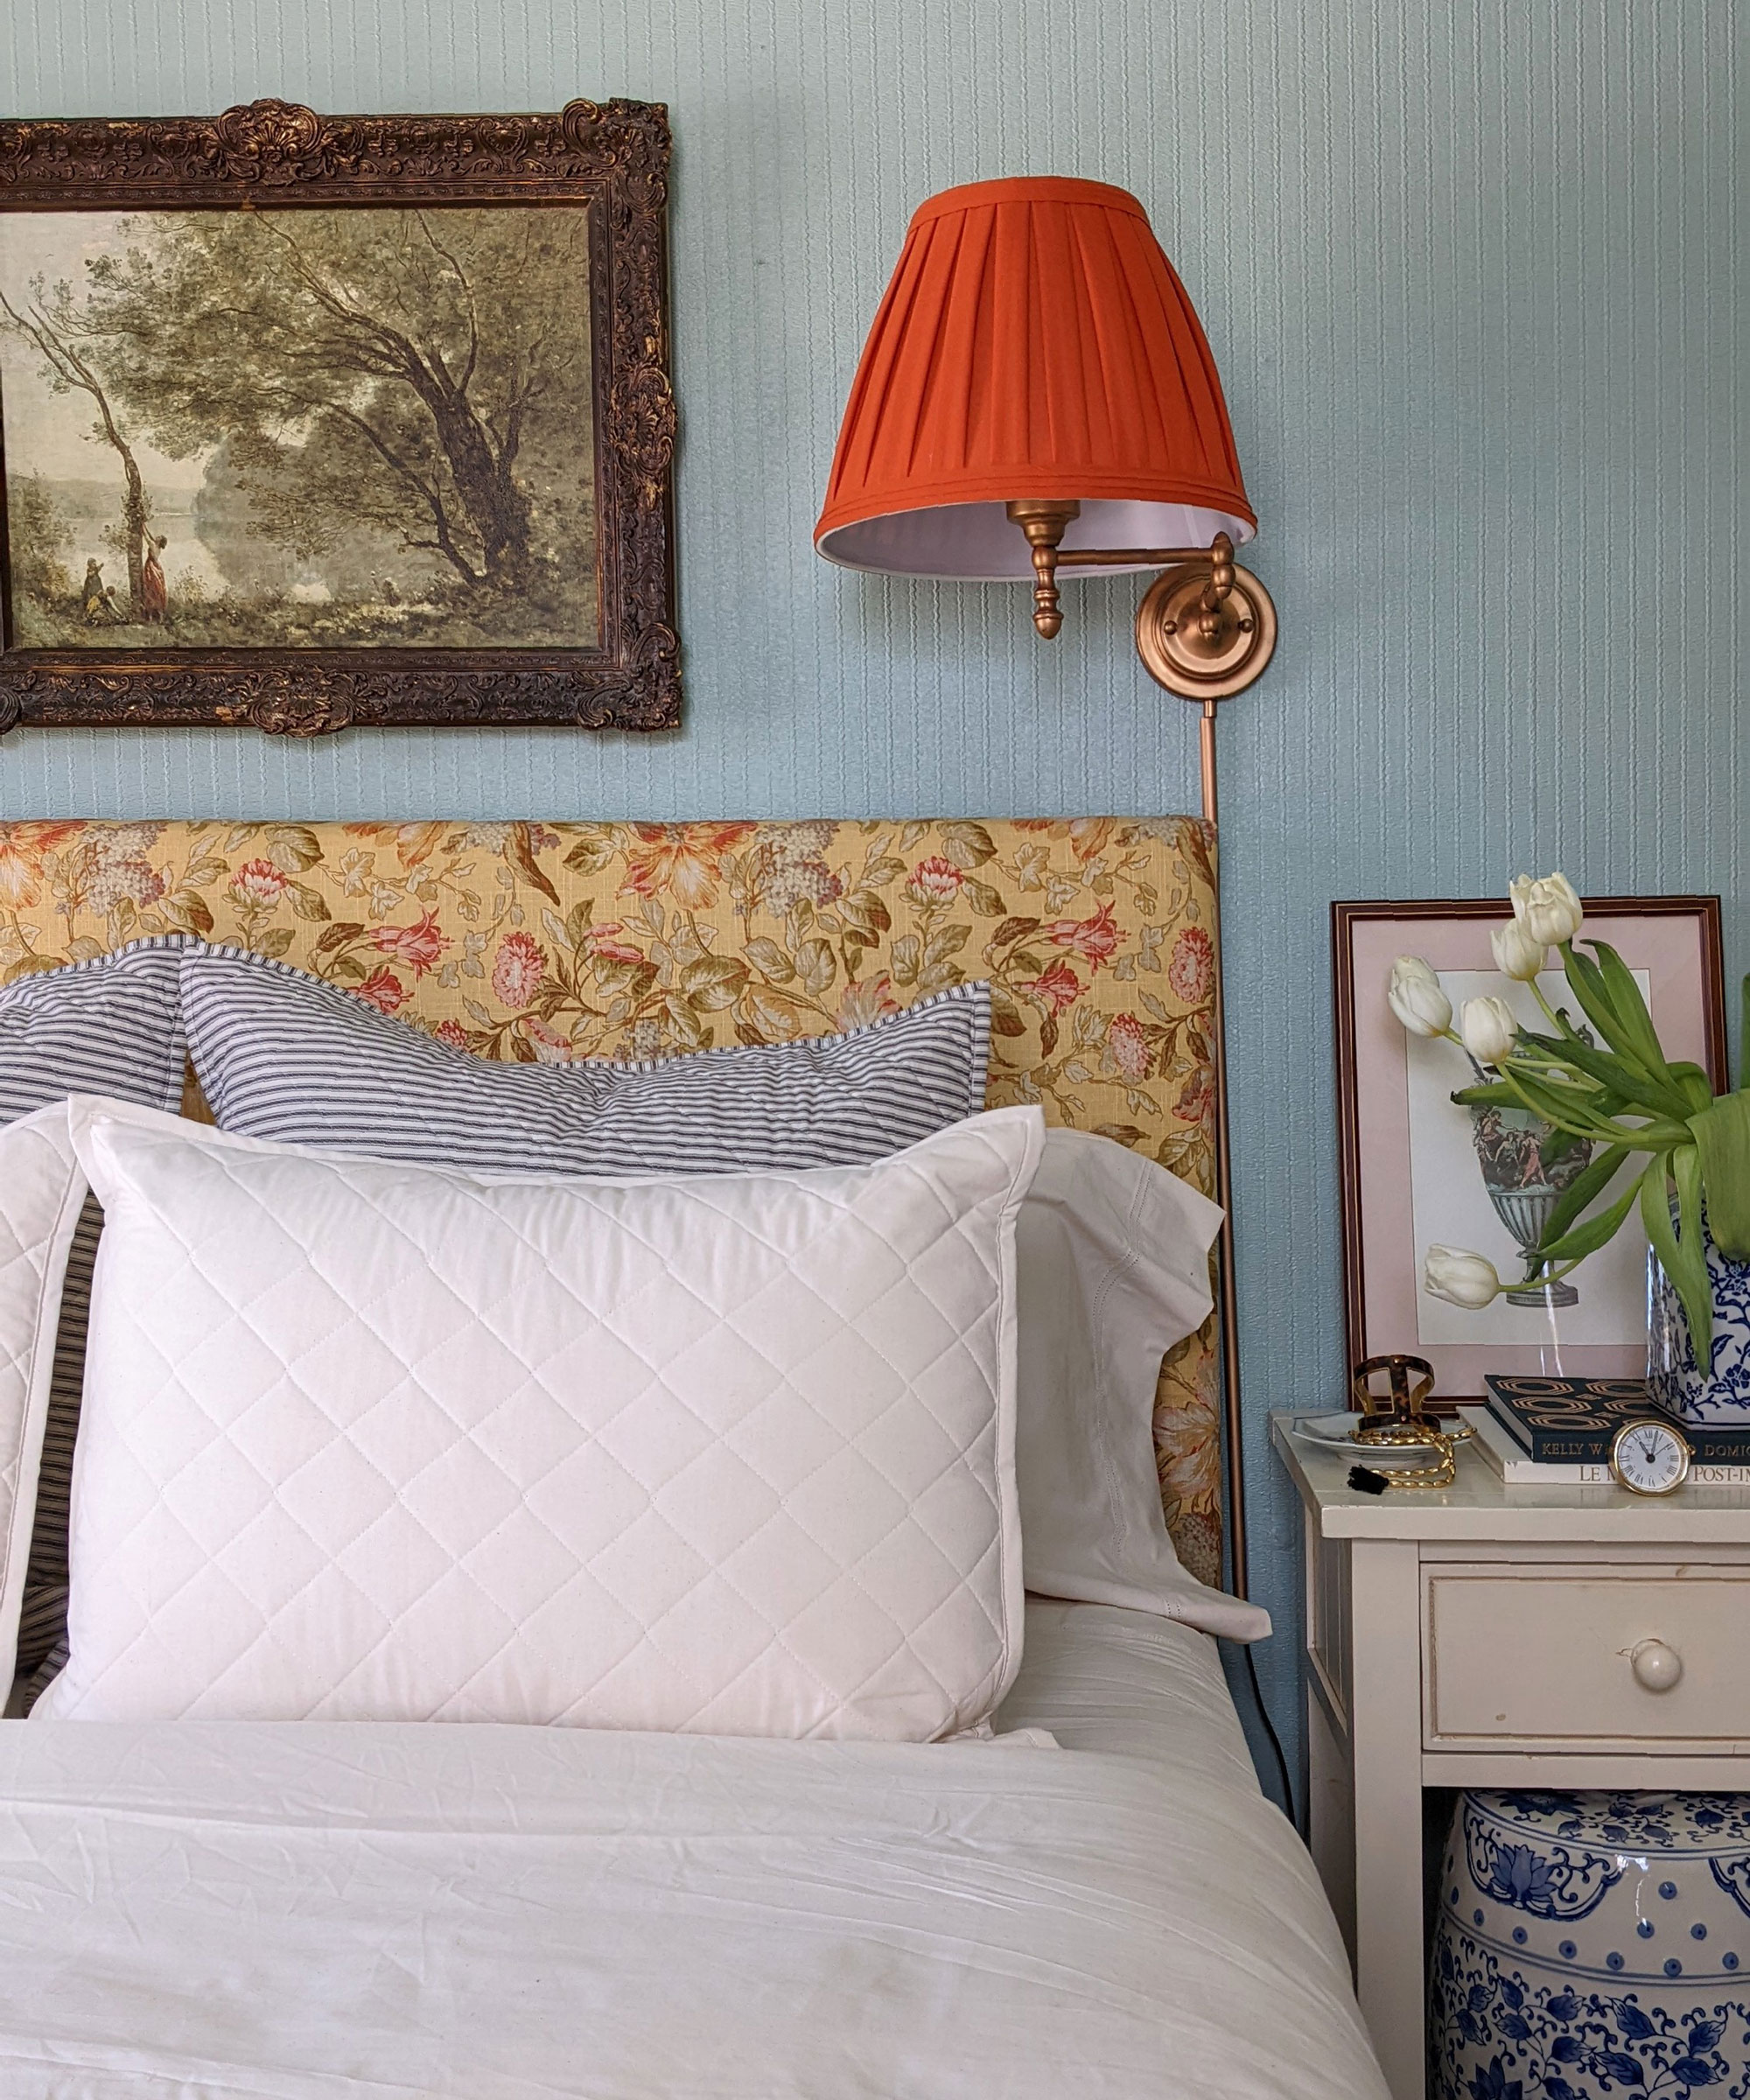
The sconces first appeared in our daughter's nursery nearly a decade ago. Their first update involved gilding in gold Rub n Buff which you can find on Amazon.
This go-round, I wanted to swap in statement shades. I searched pleated, patterned numbers for hours, but landed on these poppy, burnt orange toppers from Walmart. Burnt orange tends to sell out quickly but I like them in turquoise and blue teal also.
Re-upholstering the bed
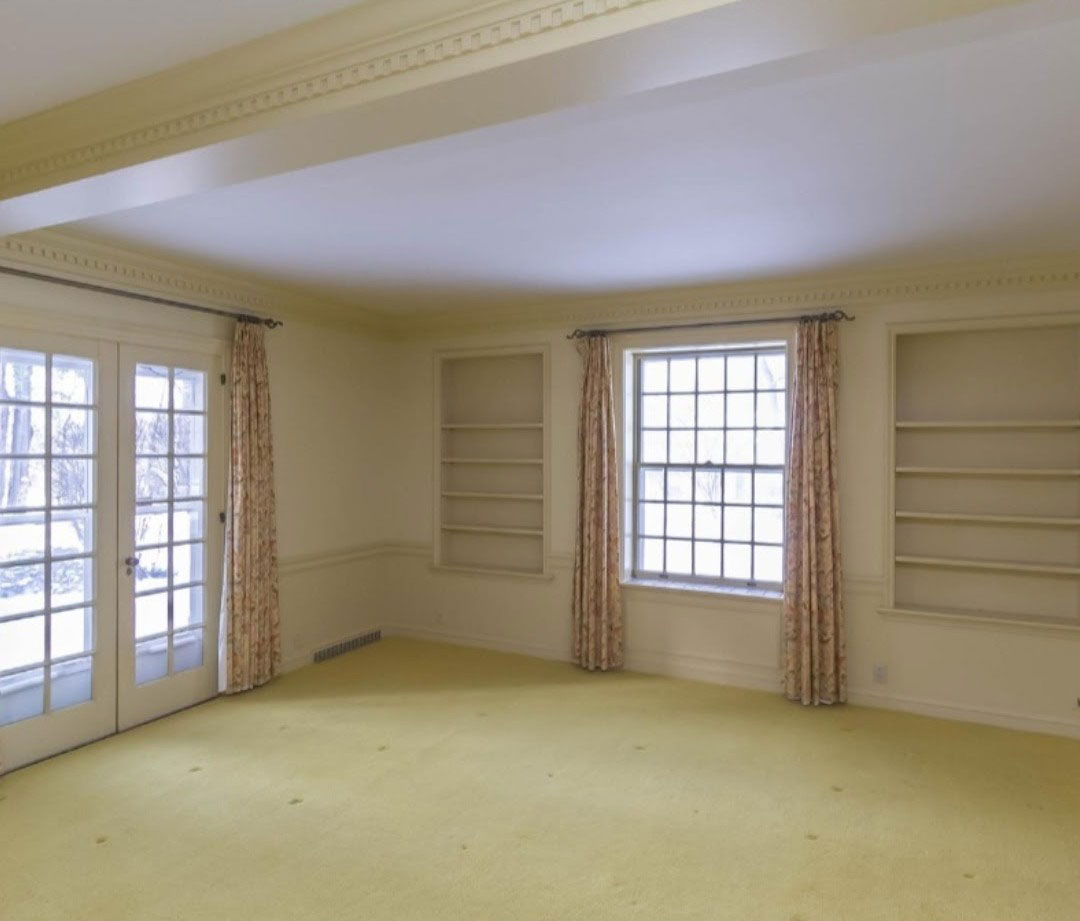
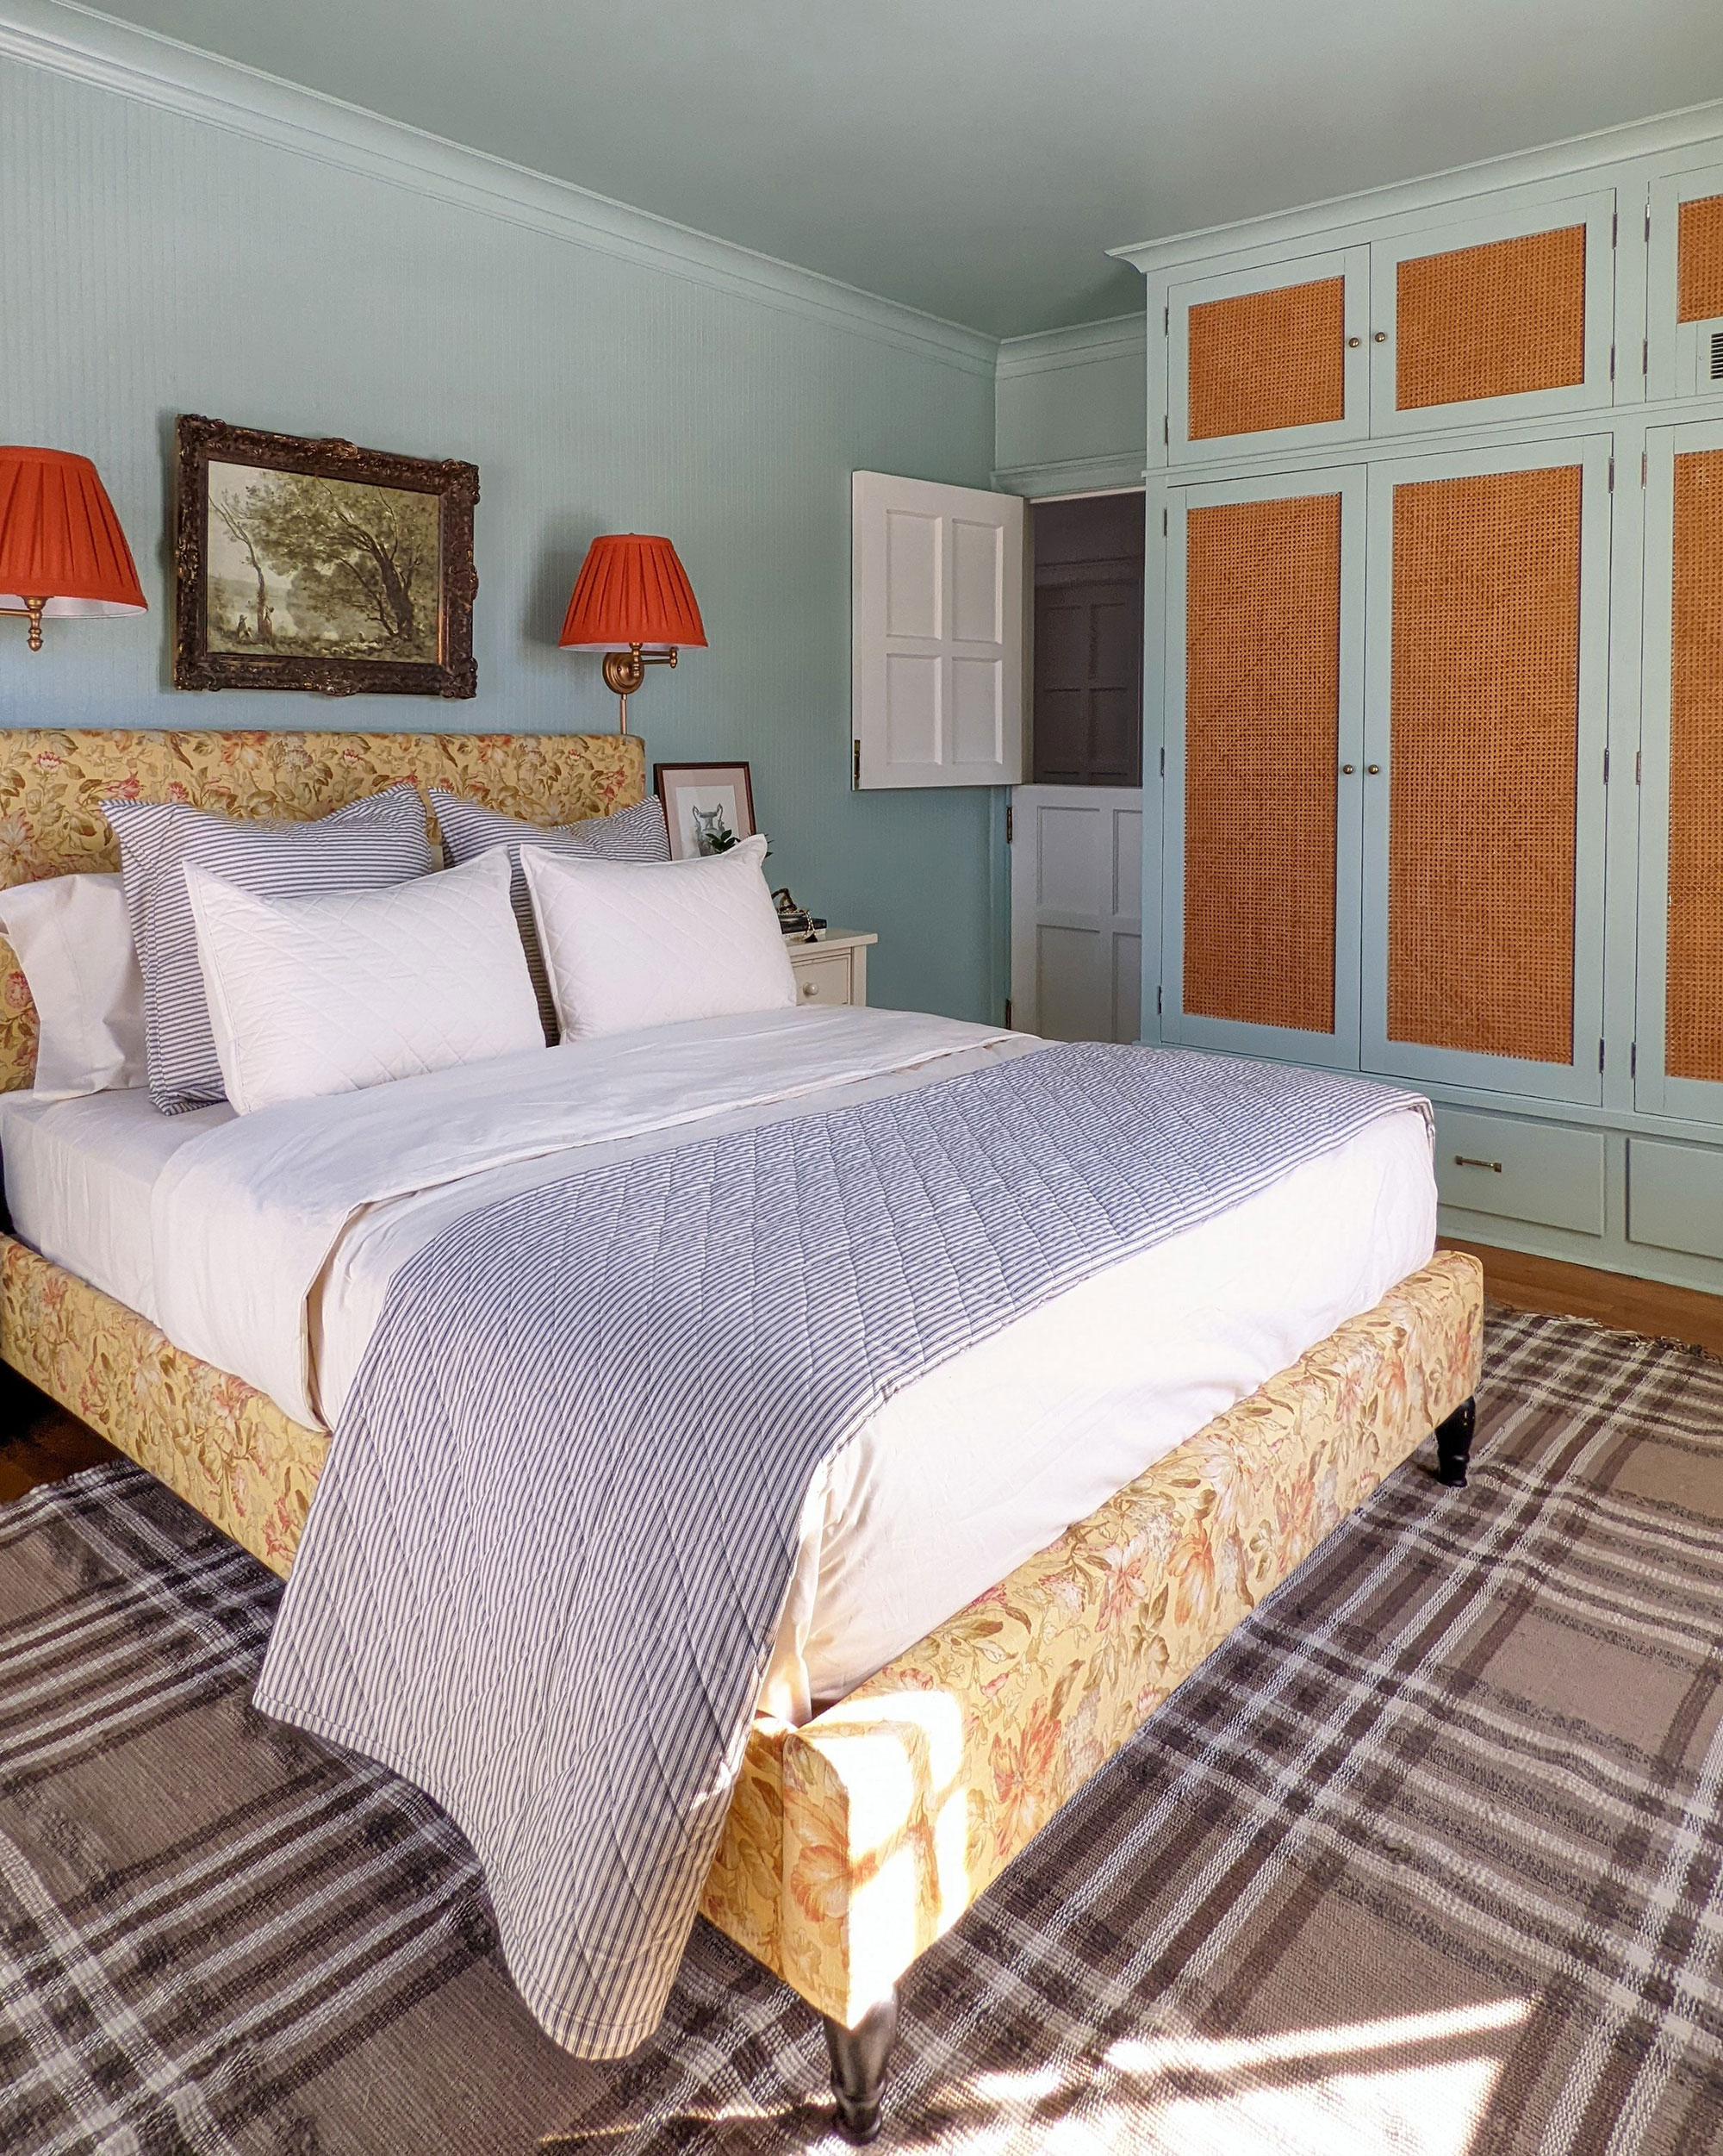
The crown jewel of this update is the cheery, floral bed- cleverly reupholstered using cast-off drapes as seen above.
Cue images of Fräulein Maria making curtain costumes for the Trapp Family Singers and Scarlett O’Hara ripping down velvet curtains in impoverished desperation to fashion a regal dress.

When we moved in, I stashed the sunny, 1960s floral, pinch pleated, living room curtains for later use. I had no immediate ideas, but something about them said “keep me”.
Supplies:
- Wide bolt upholstery fabric (or old curtains)
- Staple gun – I’m partial to my Milwaukee staple gun which you can shop on Amazon
- Half-inch staples and sharp scissors.
- Upholstered bed in need of a new look – I used an “Amazon special” bed we originally purchased for our bedroom.
How to:
I started the project in my usual way– a search for all the DIYers who have gone before. I thought this tutorial by A Beautiful Mess was straightforward and used it loosely during my project.
I differed from their tutorial in the following ways.
- First, I pulled the backing off the headboard
- Removed excess staples.
- Deconstructed the drapes, and stapled the fabric in place while keeping things straight with my other hand.
- I reattached the backing after securing the floral fabric, creating a factory-finish look.
- To complete the look, I also swathed a Craigslist chair in the same fabric and covered the windows in the remaining curtains.
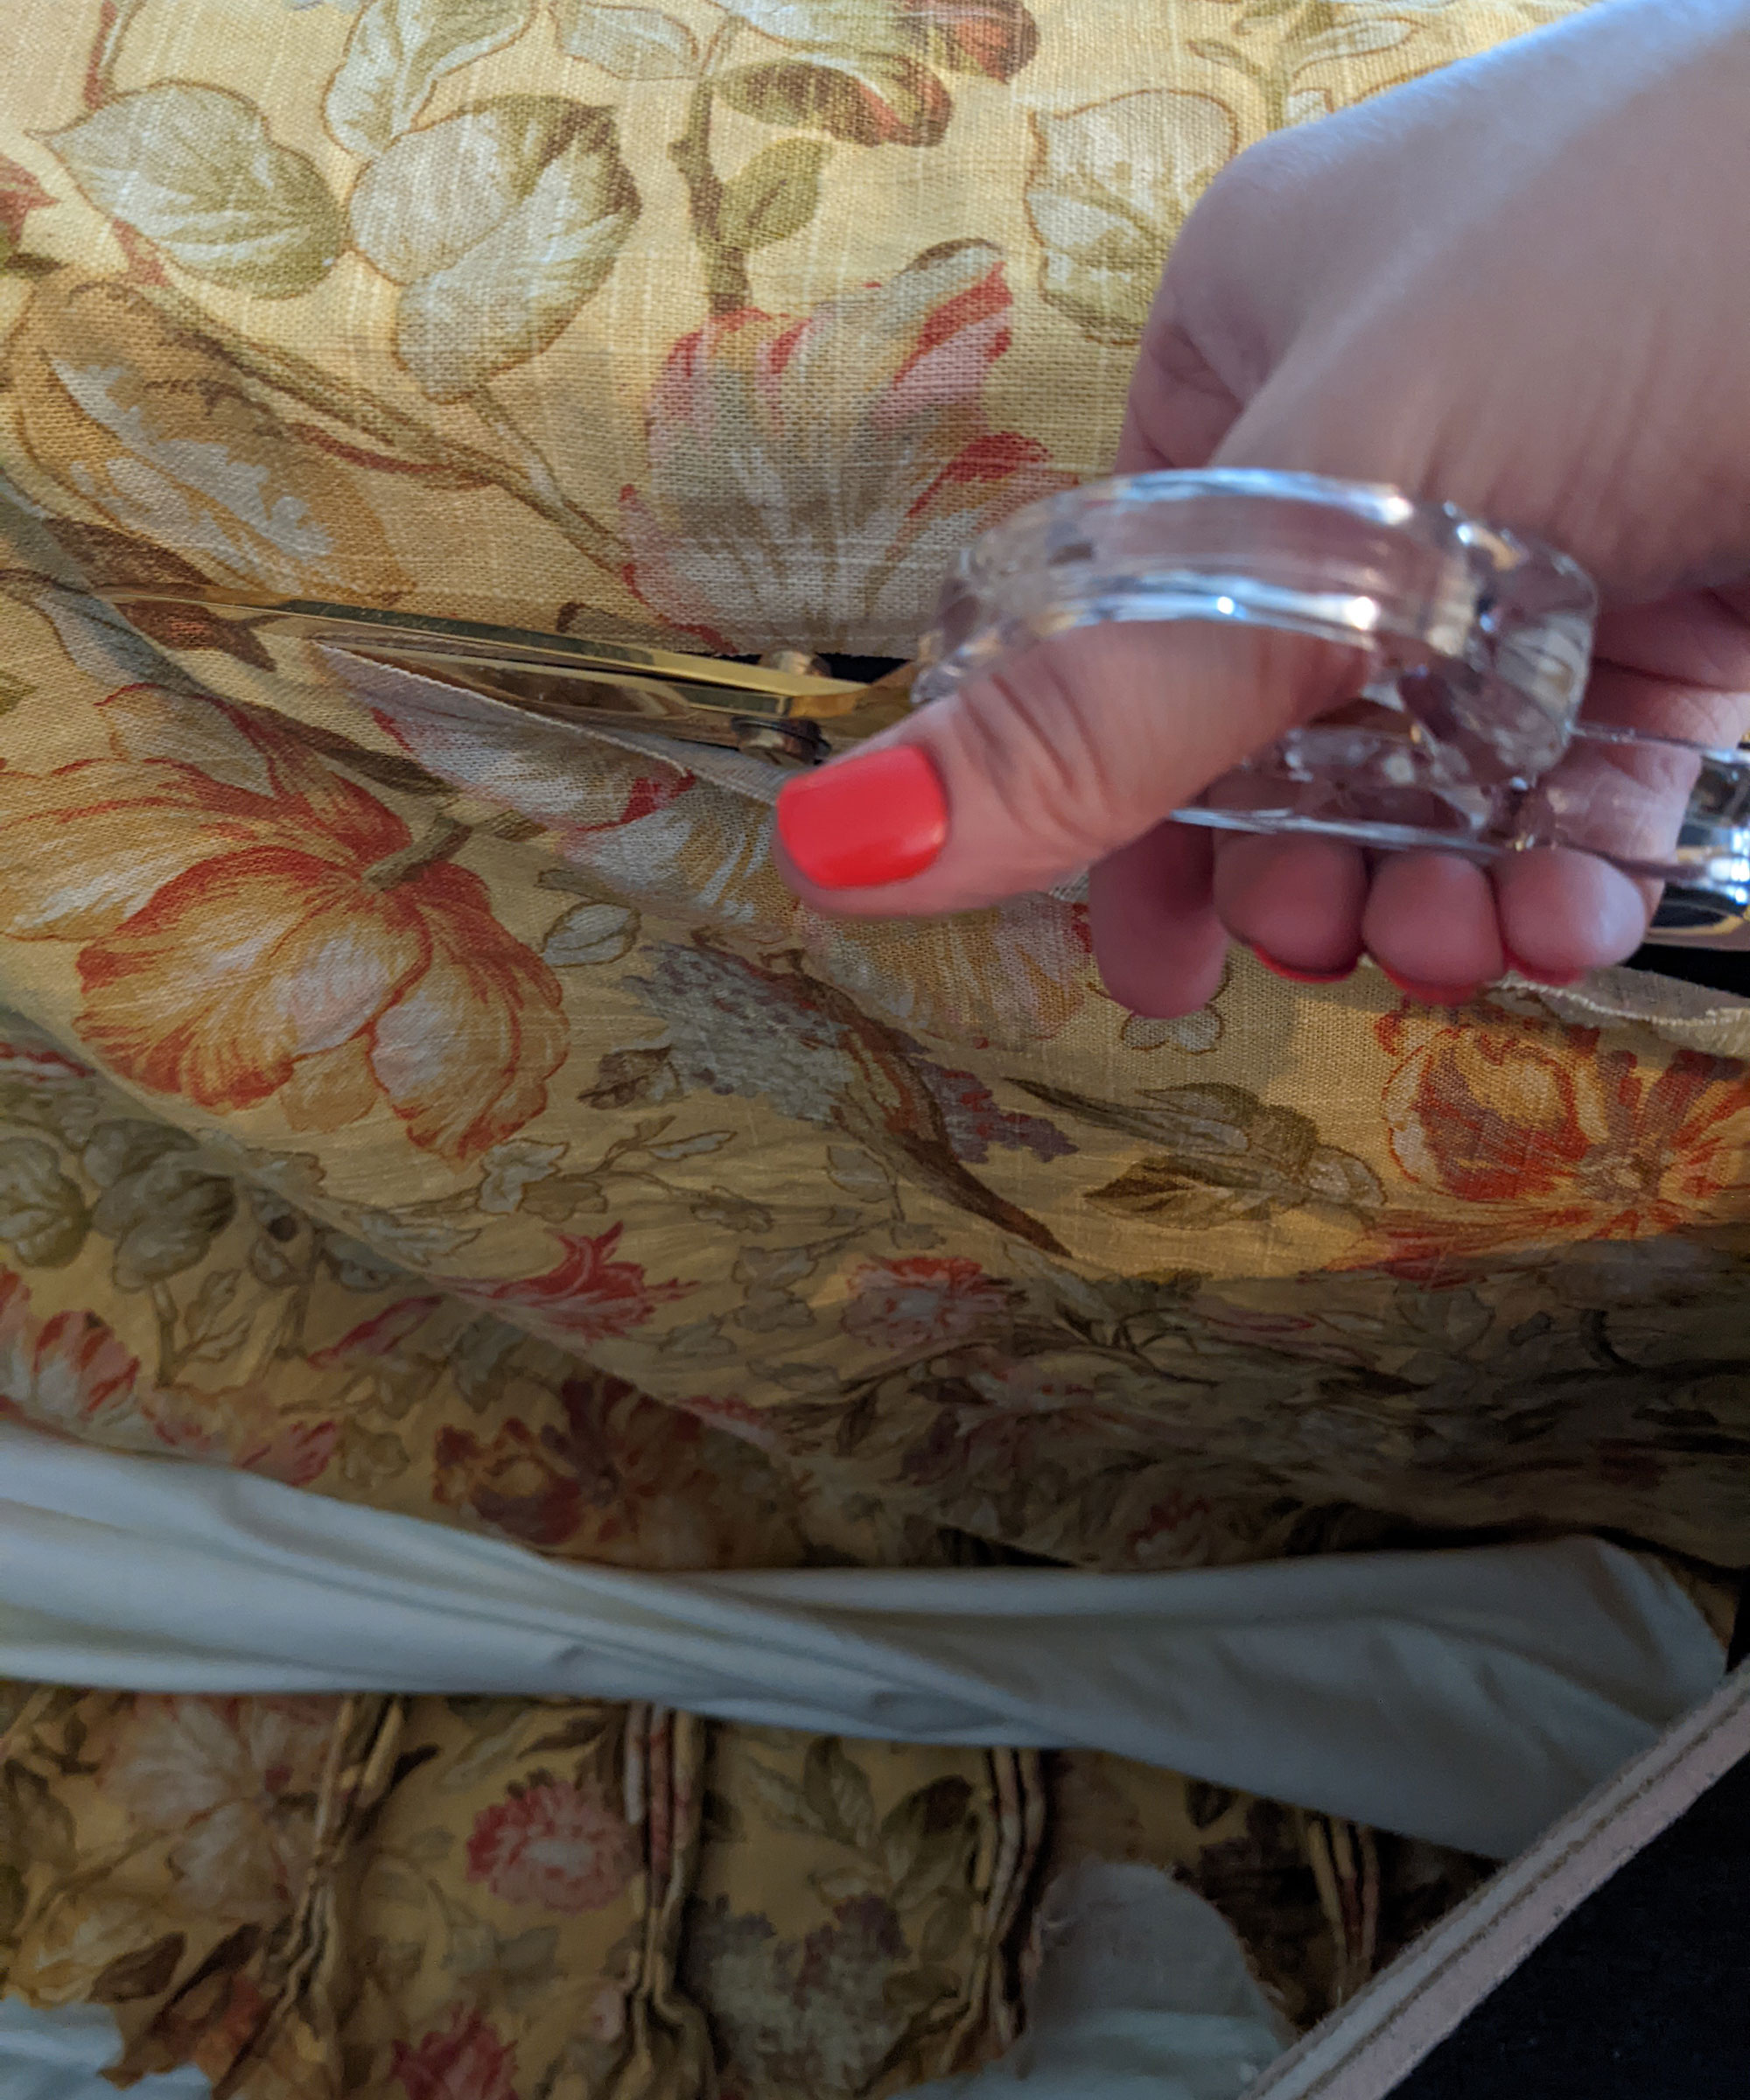
Reupholstering the bed took four hours and I’d put it solidly in the novice level, DIY project category.
A post shared by Ruthie Jackson (@miracleonthirtyfourth)
A photo posted by on
New guest room additions
When you're DIYing some, you can afford to splash out a little on finer details, it's about balance!
I picked up the rug about six months ago for $230. I imagined the plaid as the perfect, graphic pattern to ground for the space. It is made of natural cotton and wool, giving it an old-fashioned, rag rug feel underfoot. The Hardy Rug is currently available in 5x8 only at Ashley Furniture.
Bedding investments
This room called for traditional linens that echoed the past. I layered the bed high with crisp, cotton bedding in natural and classic, ticking stripes. Cotton sheets wrinkle less than linen and get better with every wash. Red Land Cotton, hemstitch sheets in natural, duvet from Red Land also in natural , quilted standard shams in natural, ticking stripe euro shams and quilt.
I bought four universal-style pillows from Land’s End to ensure my new shams had a plush look.
Something borrowed
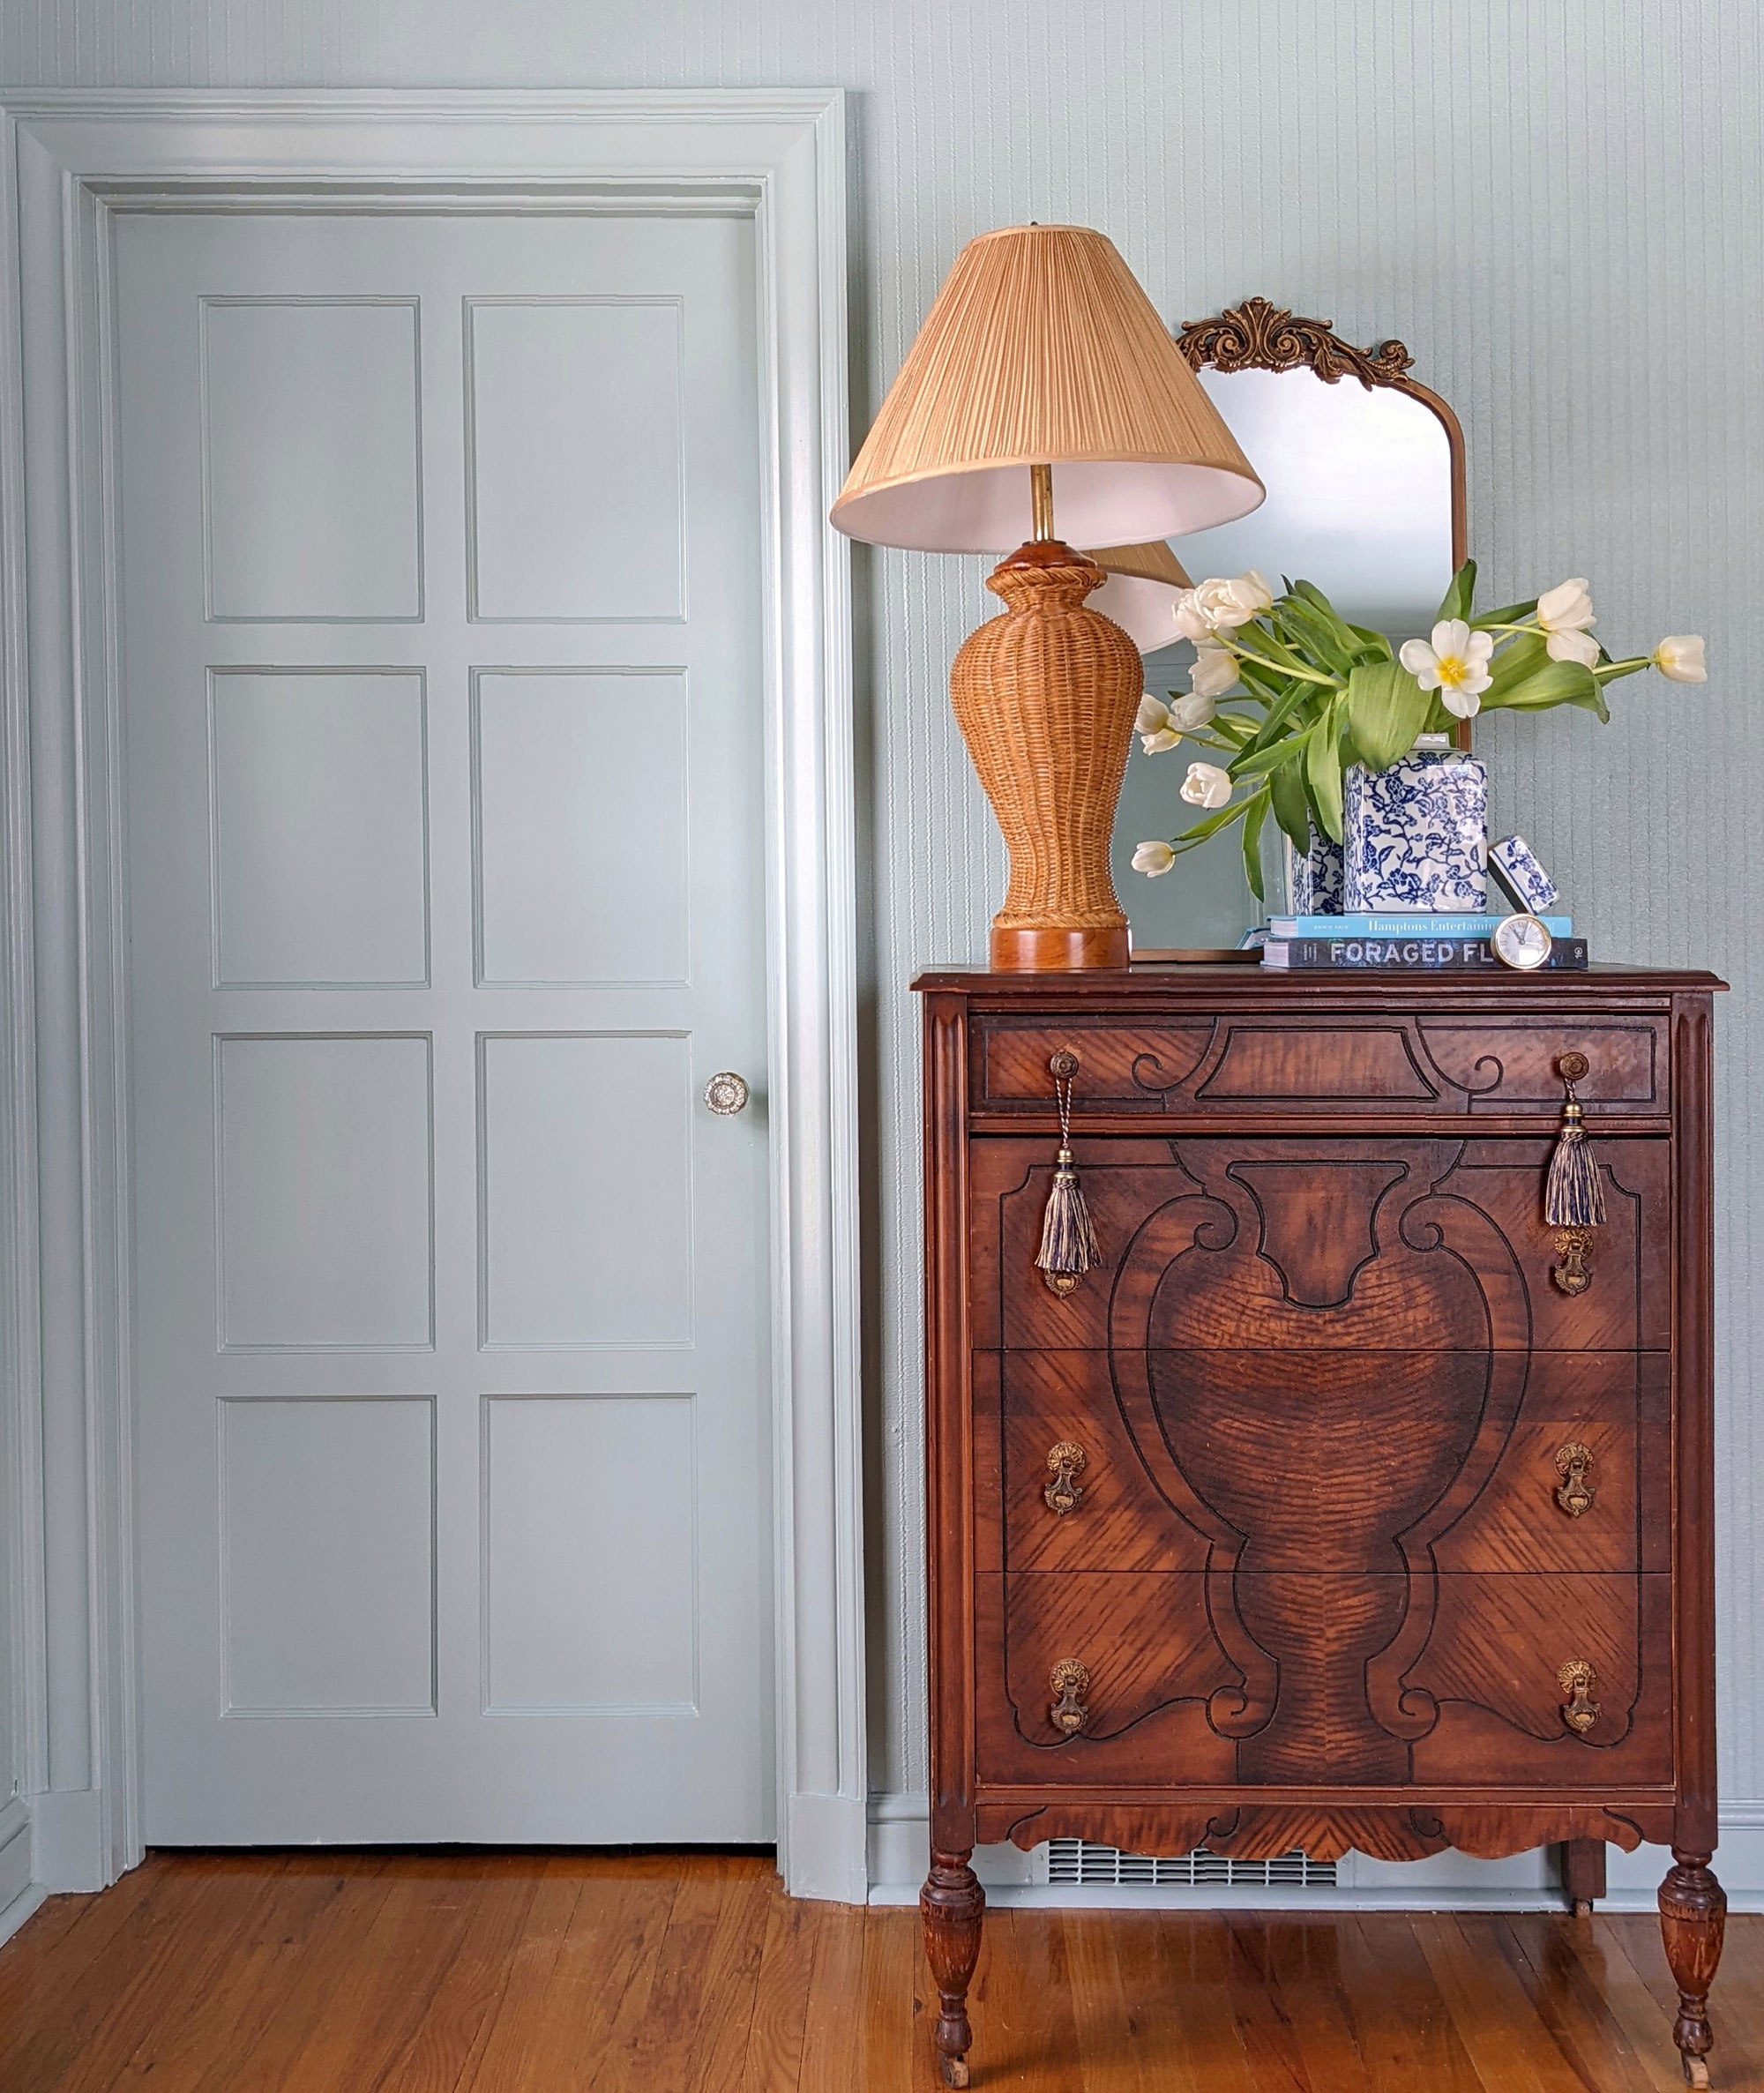
I shopped the house for art and borrowed decor from other spaces. My sister thrifted and gifted the sweet, wicker lamp.
Paint!
I dipped the entire guest room in the most perfect blue/green color. I used one gallon of Claire Paint in “Views,” eggshell on walls and ceiling. I selected the same color in semi-gloss for the trim and built-ins. ($59 a gallon) I love how it morphs from blue to green as the light shifts during the day.
The results

I look forward to welcoming our first visitors next month to our newly tranquil and uncluttered guest room. Now onto pulling together that guest room coffee bar I promised my mom.
- Bedding received as part of a paid partnership with Red Land Cotton. Paint sponsored by Clare Paint.
Ruthie Jackson is an Iowa-based DIYer, furniture flipper, certified interior decorator, and lover of all things vintage. She's currently renovating her family's 1930s colonial home, which she documents on Instagram at @miracleonthirtyfourth.