5 must-have DIY tools and how to use them properly
A level, measuring tape, combi drill are just some of the essentials to include in your home tool kit. Check off these 5 must-have DIY tools and learn how to use them properly.
Whether you're new to the world of DIY or have been upcycling IKEA furniture and fixing up your home for longer than you can remember, there are a handful of must-have DIY tools that will help bring all of your DIY projects to life.
Without them, your hands will be tied and your capacity to change anything will be greatly reduced. Whether your home improvement project is big or small, whether you're wiring a plug or hanging a shelf, it's worth getting to know both your basic hand and power tools well so that you get the most out of them. Not to mention, do a good job!
Andre Thompson, Senior Merchant of Hand Tools at The Home Depot comments: 'Keeping must-have tools in your toolbox can help you complete projects faster and easier or take care of most everyday home repairs. Think about how you’ll be using your tools – from assembling furniture to hanging a picture.'
How to use basic DIY tools
From figuring out how to use your best drill to getting measurements super accurate to ensure your DIY bathroom install goes to plan, ensure these items make it into your toolbox and you'll be able to take on all manner of home improvements, with confidence.
1. Measuring Tape
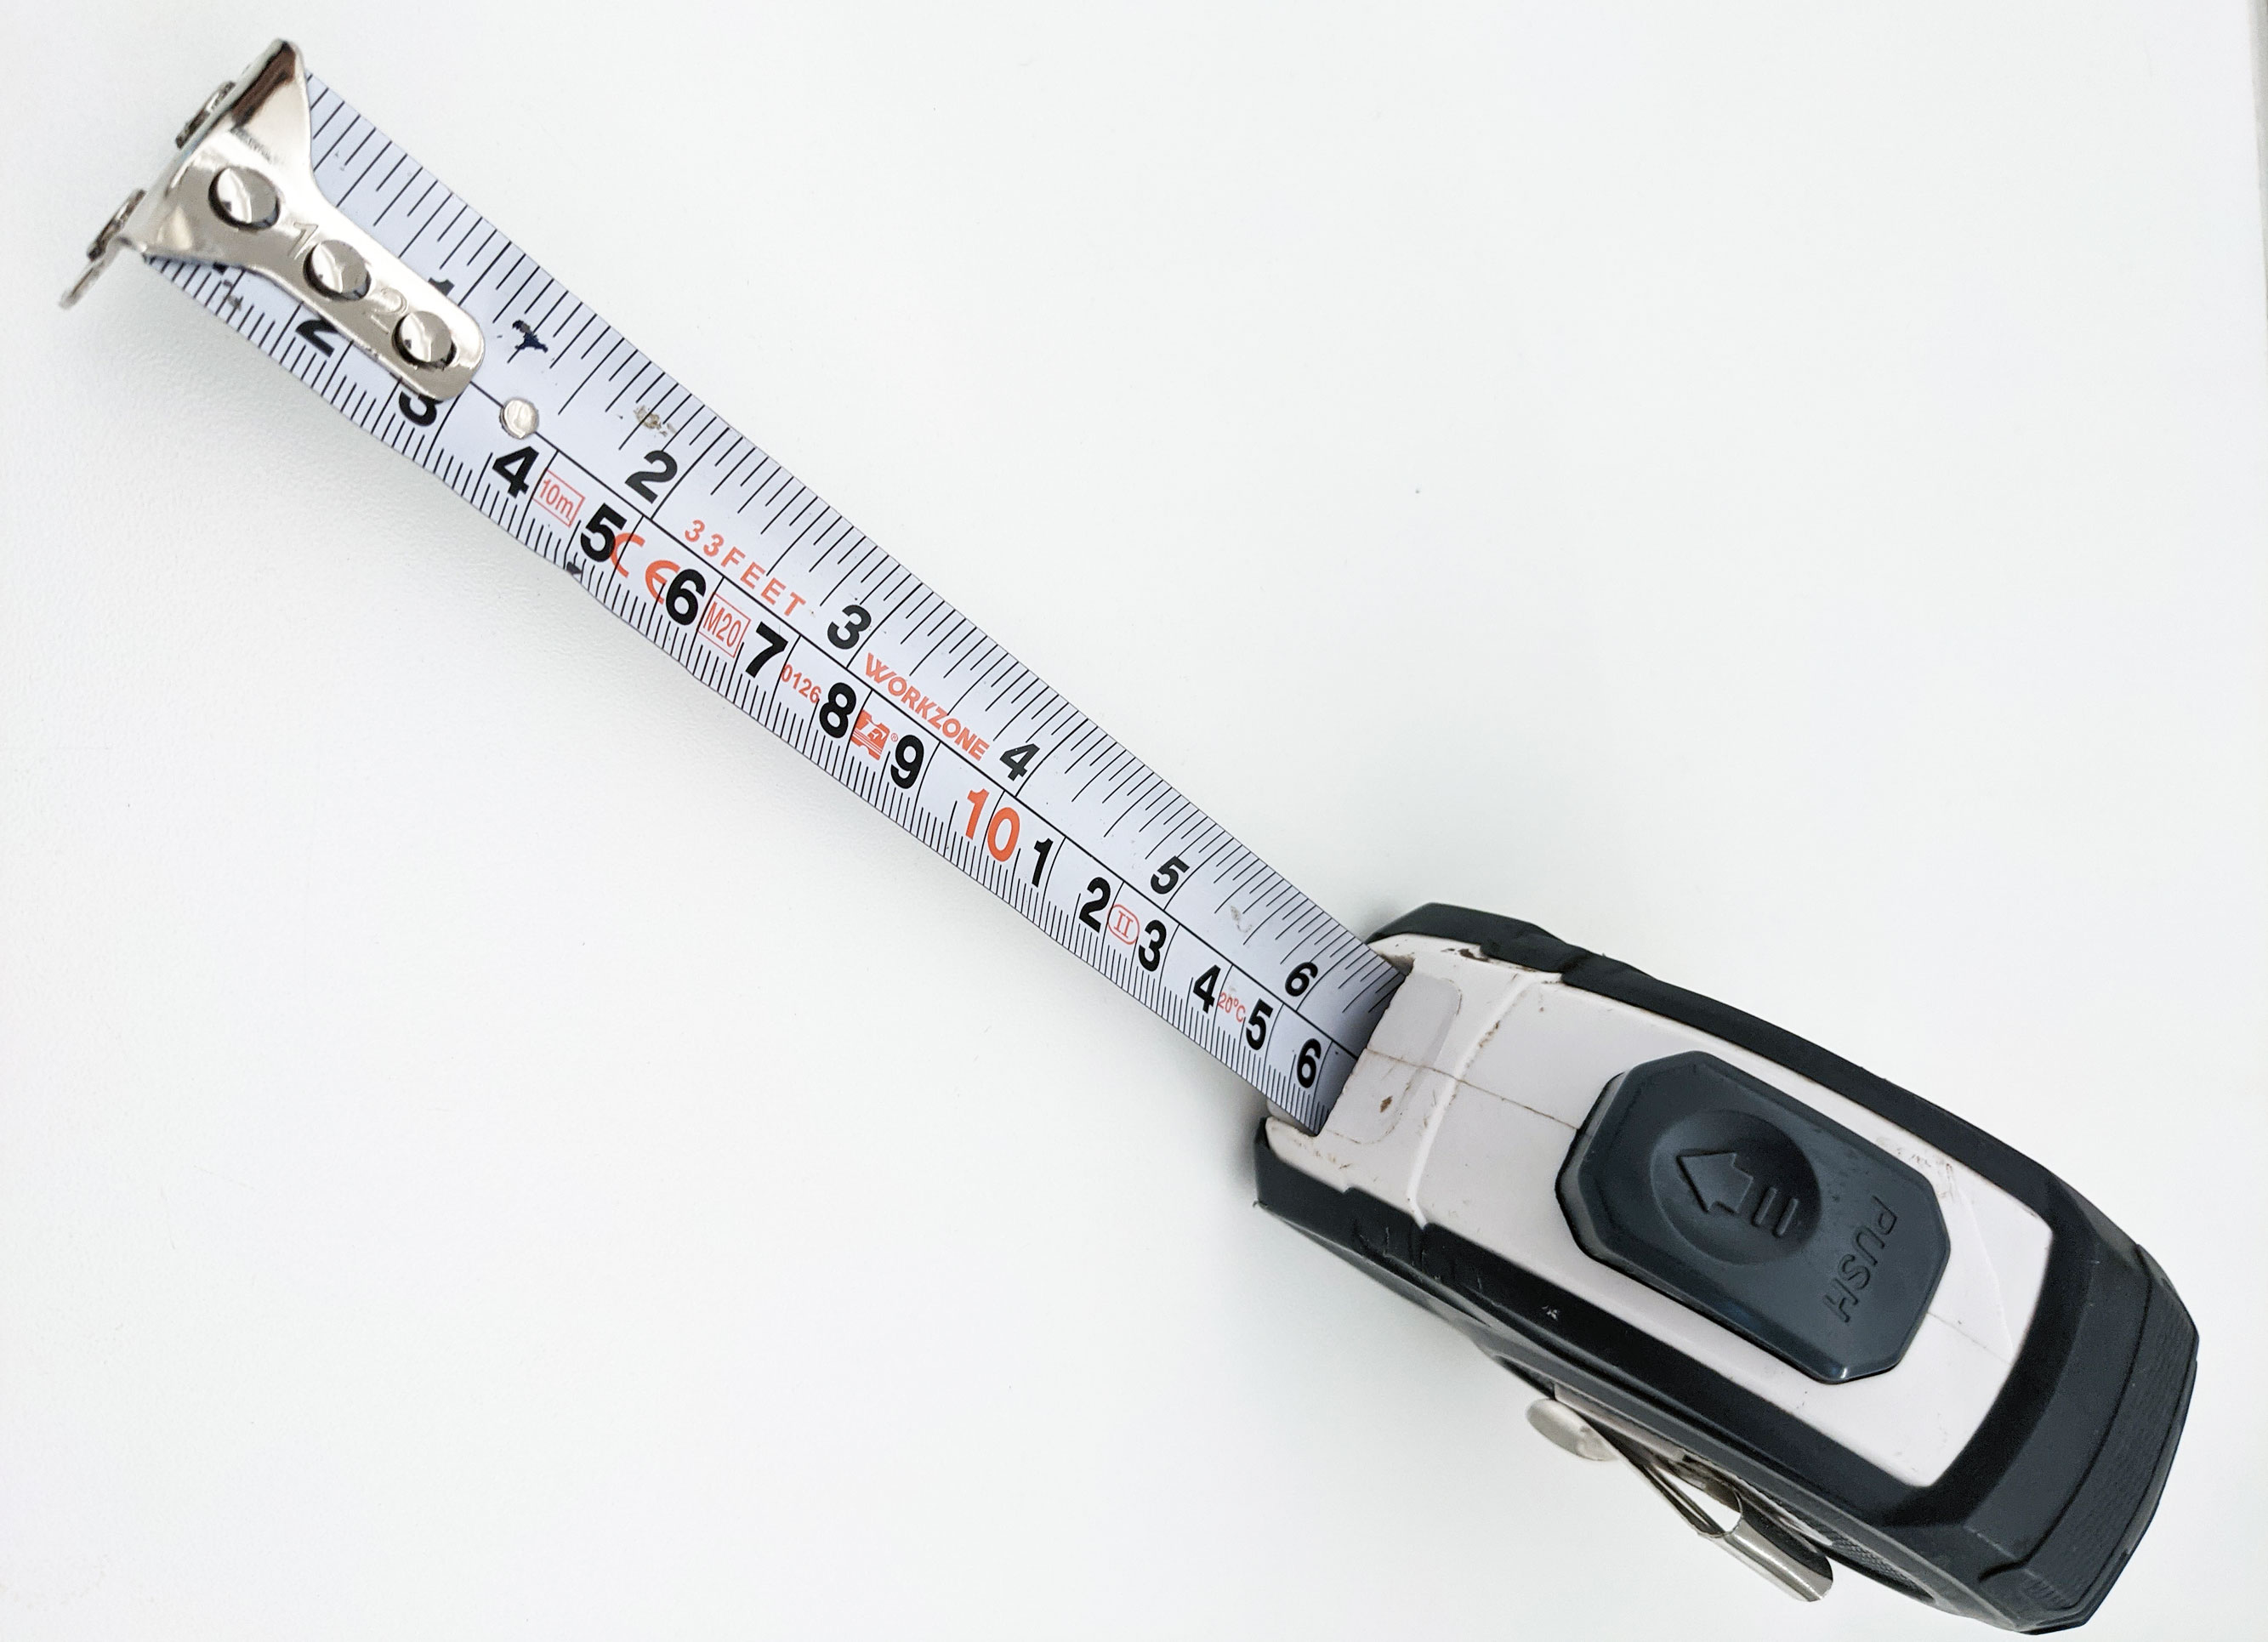
This is a must for any DIYer so get yourself a good quality measuring tape as it’ll be a tool that ends up being used for most projects. DeWalt, which you can buy on Amazon, offers some of the best in class tape measures and Thompson recommends the Milwaukee 25 ft. Compact Tape Measure from Home Depot.
I would go for a minimum of 5 meters as this is enough to measure most rooms. There are two main types of measuring tape and they differ due to their button. Some use a button as a “push to release” the tape so you can measure or “push to hold” the tape in a fixed position when you are taking the measurement. When the tape is released it will automatically wind back to disappear into the holder.
Pro tips on using a measuring tape
Get small space home decor ideas, celeb inspiration, DIY tips and more, straight to your inbox!
- Latch the hook at the end of the tape latch it to one end of whatever you want to measure.
- Extend the tape to the other end of the item you are measuring and use the button to stop the tape from winding back. Most tapes will have two units of measurement (centimeters and inches). Use the unit of measurement you are most comfortable with when measuring to get the most accurate reading narrow it down to the smallest unit for example using the metric system get the length in millimeters.
- The old saying of “measure twice, cut once” are words to live by in DIY. Make sure you write down the length you have measured so you don’t forget it.
2. Combi Drill
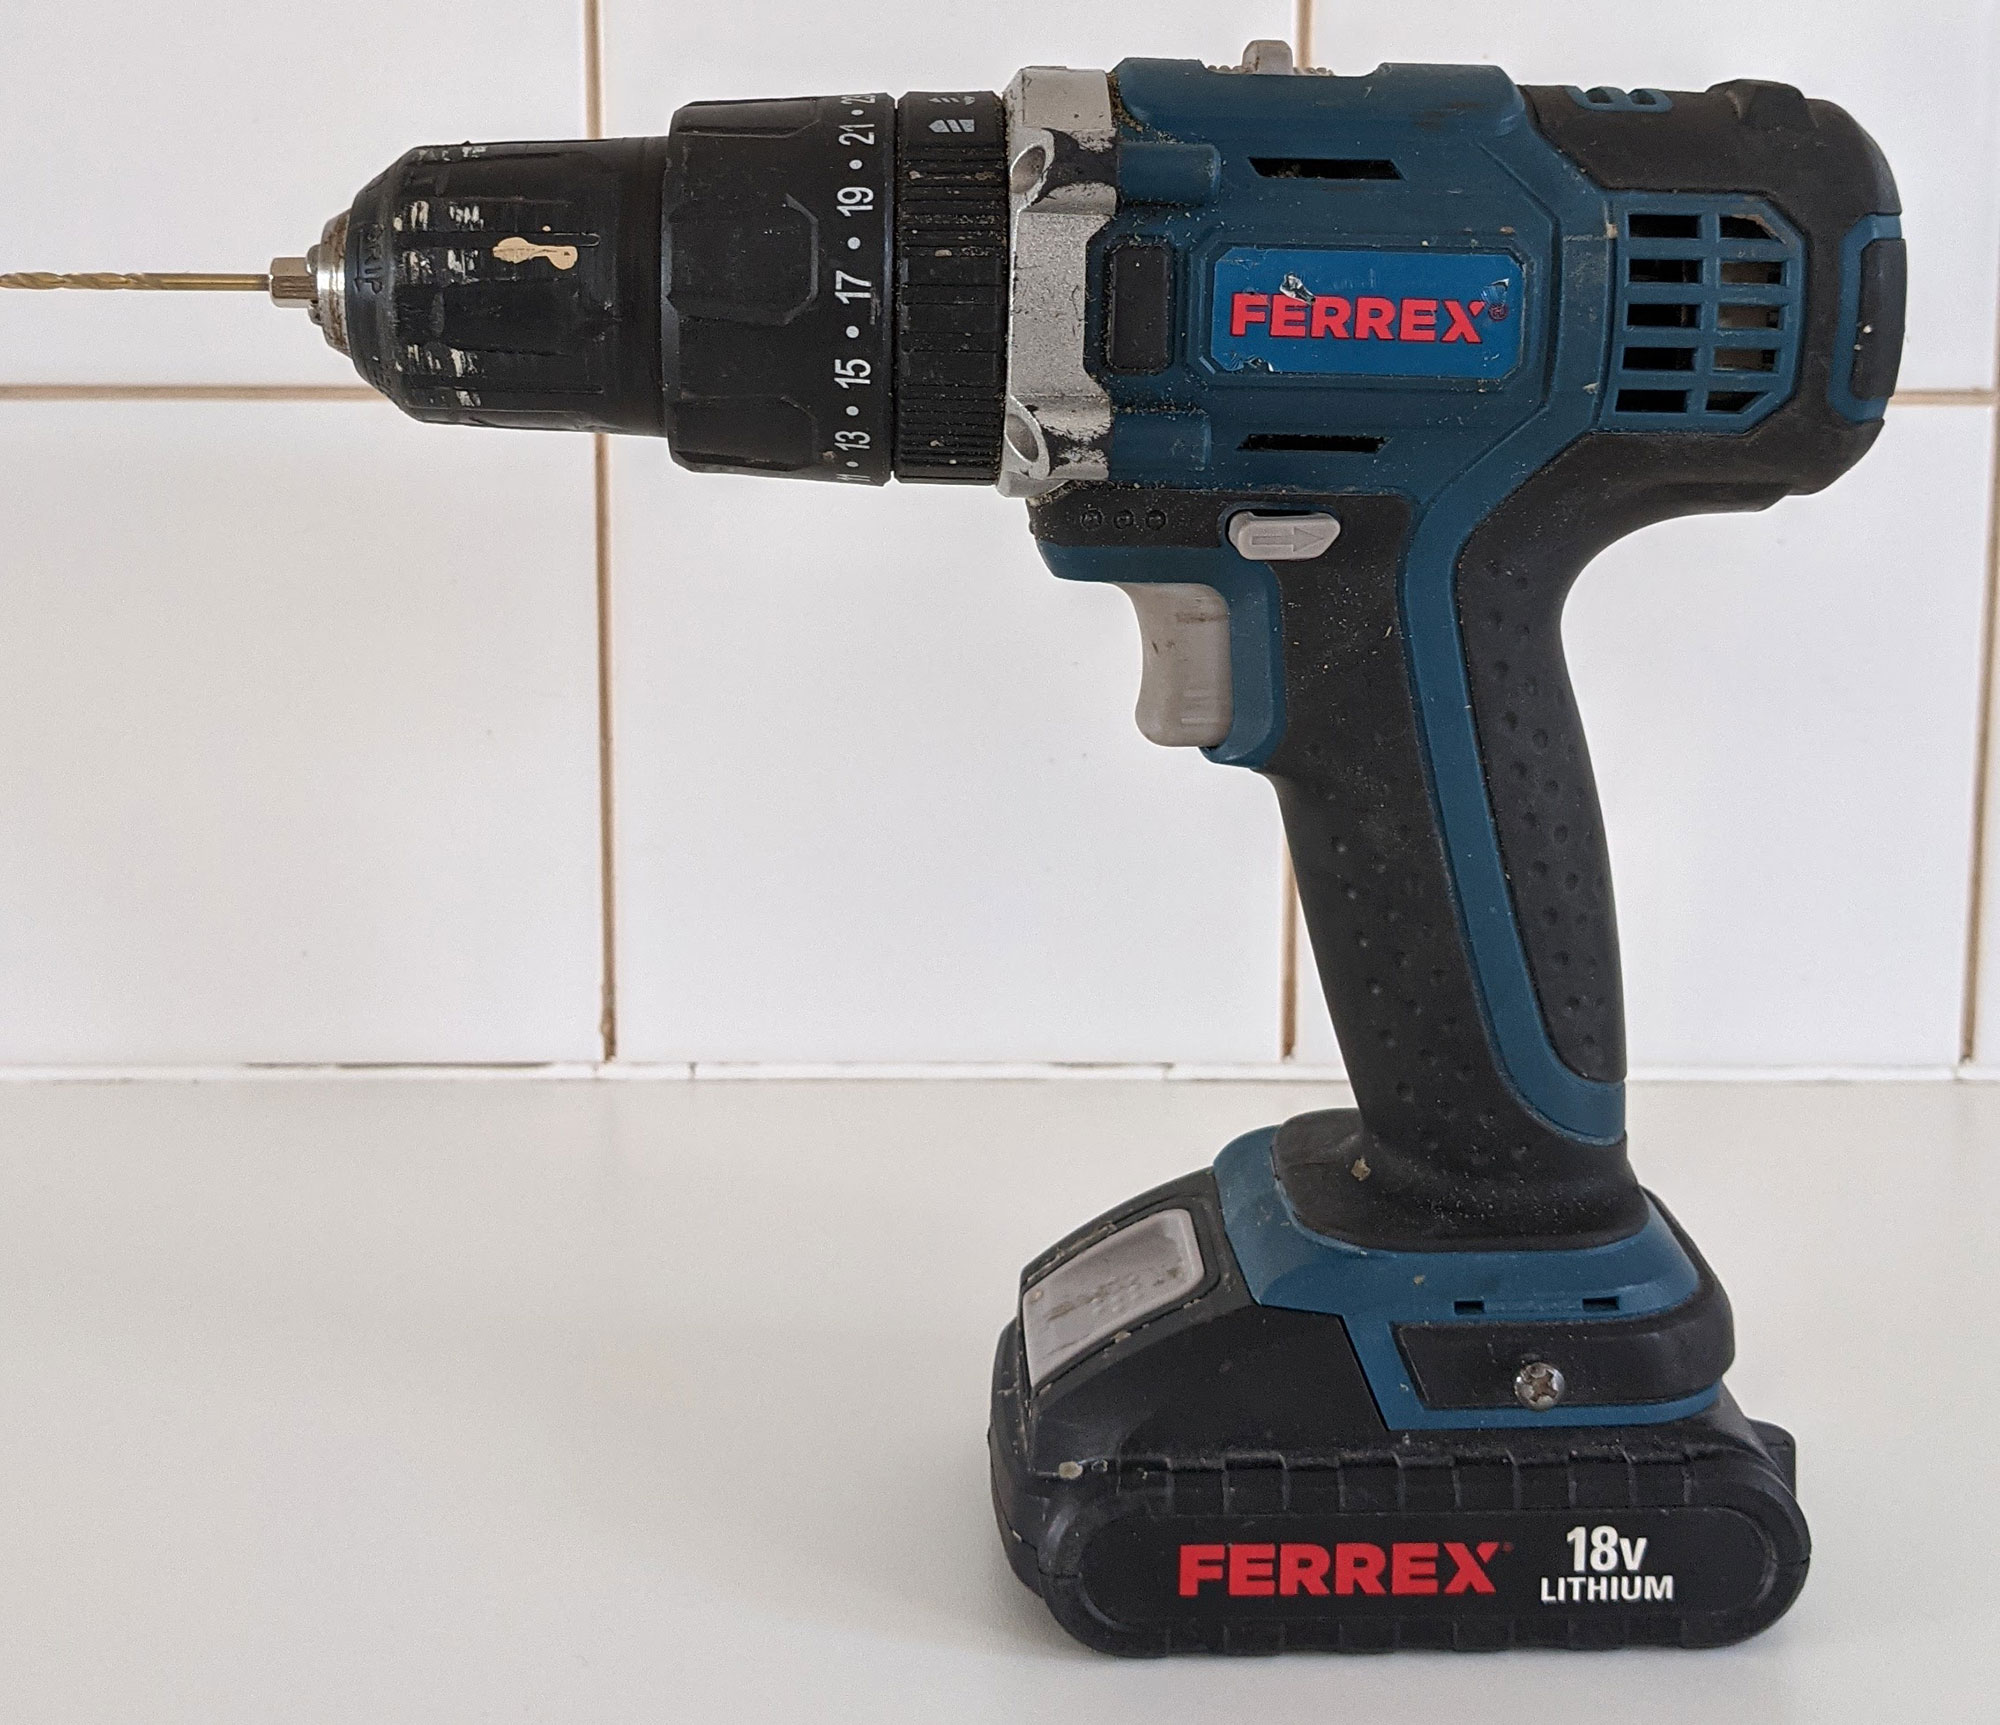
Another necessary tool for any DIY is a Combi drill. A Combi Drill will be suitable for most DIY projects and it is worth getting a battery-powered one for the flexibility it allows. Most Combi Drills have a number of settings (Drill Torque & Hammer) which are used in different scenarios. Drill bits are interchangeable ends for the drill so you can use the best for the work you are doing, whether it's driving screws or putting holes in metal, wood or masonry.
Thompson comments: 'Any homeowner can benefit from a cordless drill like the RYOBI ONE+ 18V Lithium-Ion Cordless 1/2 in. Drill/Driver Kit with (2) 1.5 Ah Batteries, Charger, and Bag from Home Depot, which makes quick work of lots of small projects.'
Real Homes' guest blogger and DIYer Jasmine Gurney goes into detail on how to use a combi drill in a separate post, but here are your basic starting points.
Pro tips on using a combi drill:
- First up you need to select the right drill bits for the work you are doing. Most drills will come with a set of the most common drill bits for screws and making holes at different sizes.
- For drilling holes you’ll need to select the right size and type whether you are drilling metal, wood or masonry. If you don’t have the correct bit these can be purchased from a DIY store or online.
- To change the drill bits turn the nose of the drill anticlockwise to open up the clasp for the drill bits. Swap the drill bit for the one you want to use and tighten it into place by turning the nose of the drill clockwise until the clasp is shut and tight.
- Speed settings are controlled using the numbered dial – the higher the number the faster the speed of rotation. You may want to use lower speeds for stiffer screws removal or final tightening and use faster speeds for using the drill to make holes. The hammer setting is used when you need the most torque for difficult drill and screwing circumstances.
3. Level
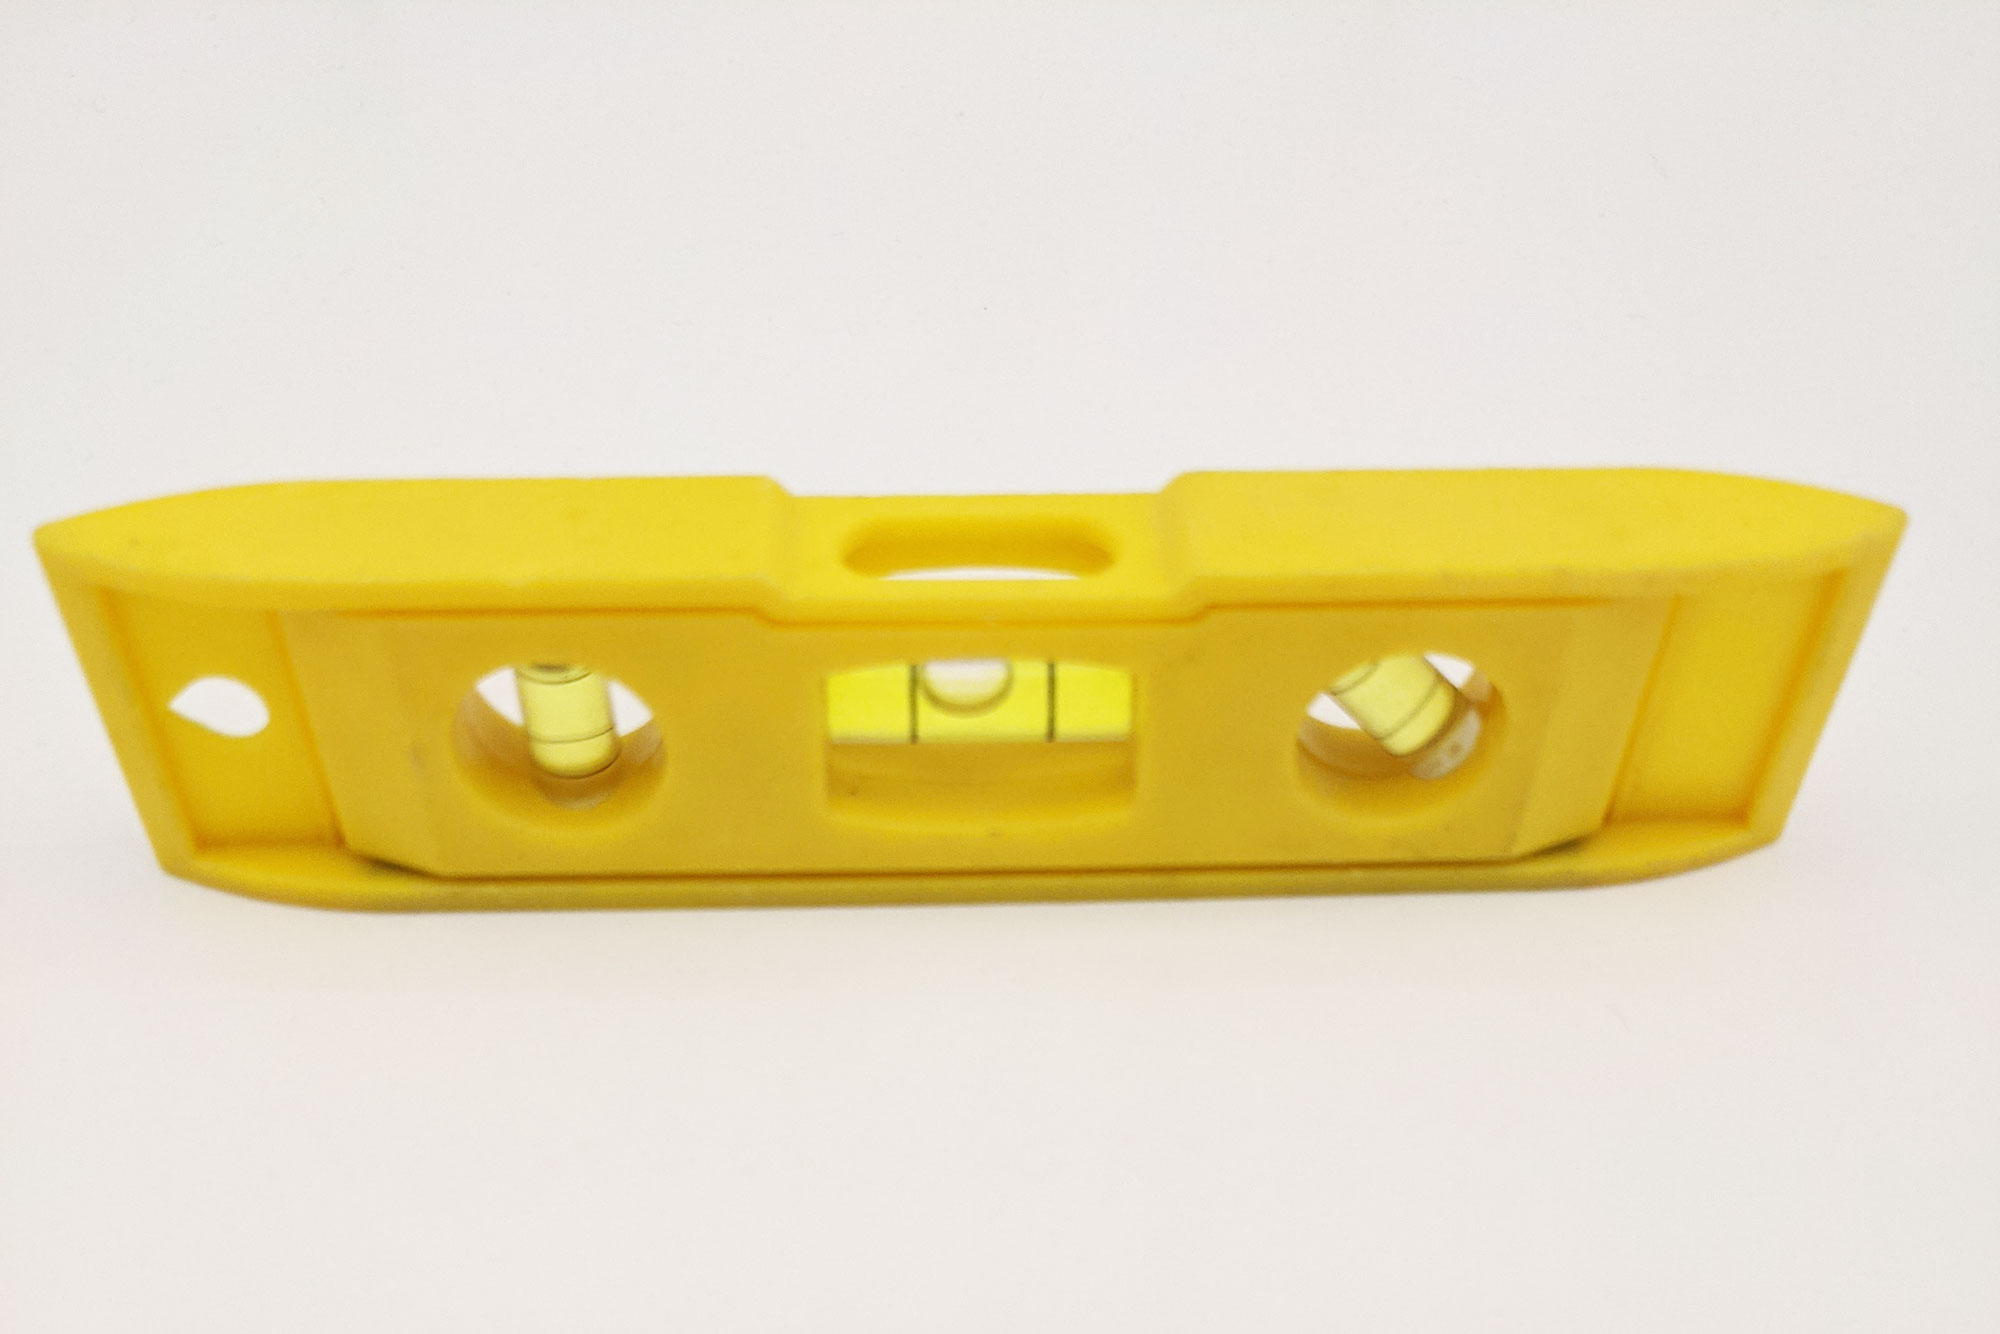
A basic but effective tool to use is a level. Particularly useful when hanging pictures, or attaching things to walls like shelves and building furniture. The principle is very basic and has been used for centuries, where a small bubble held in a liquid will indicate something is level when it is between two marked lines.
They can be used to check if things are “level” horizontally, vertically or diagonally. The level you buy will be pre-set and ready to use without any setup. Ensure your level is large enough to span the gap or item you want to test.
Pro tips on using a level
- For horizontal checks place the level on top and adjust the angle of the item until the bubble is in-between the two lines.
- For vertical checks you’ll need to hold the level against the item and keep it there while you adjust it, to get the bubble between the two lines.
- If your bubble has broken up into smaller bubbles then all you need to do is to give it a shake until it has formed one bubble again.
4. Multitool
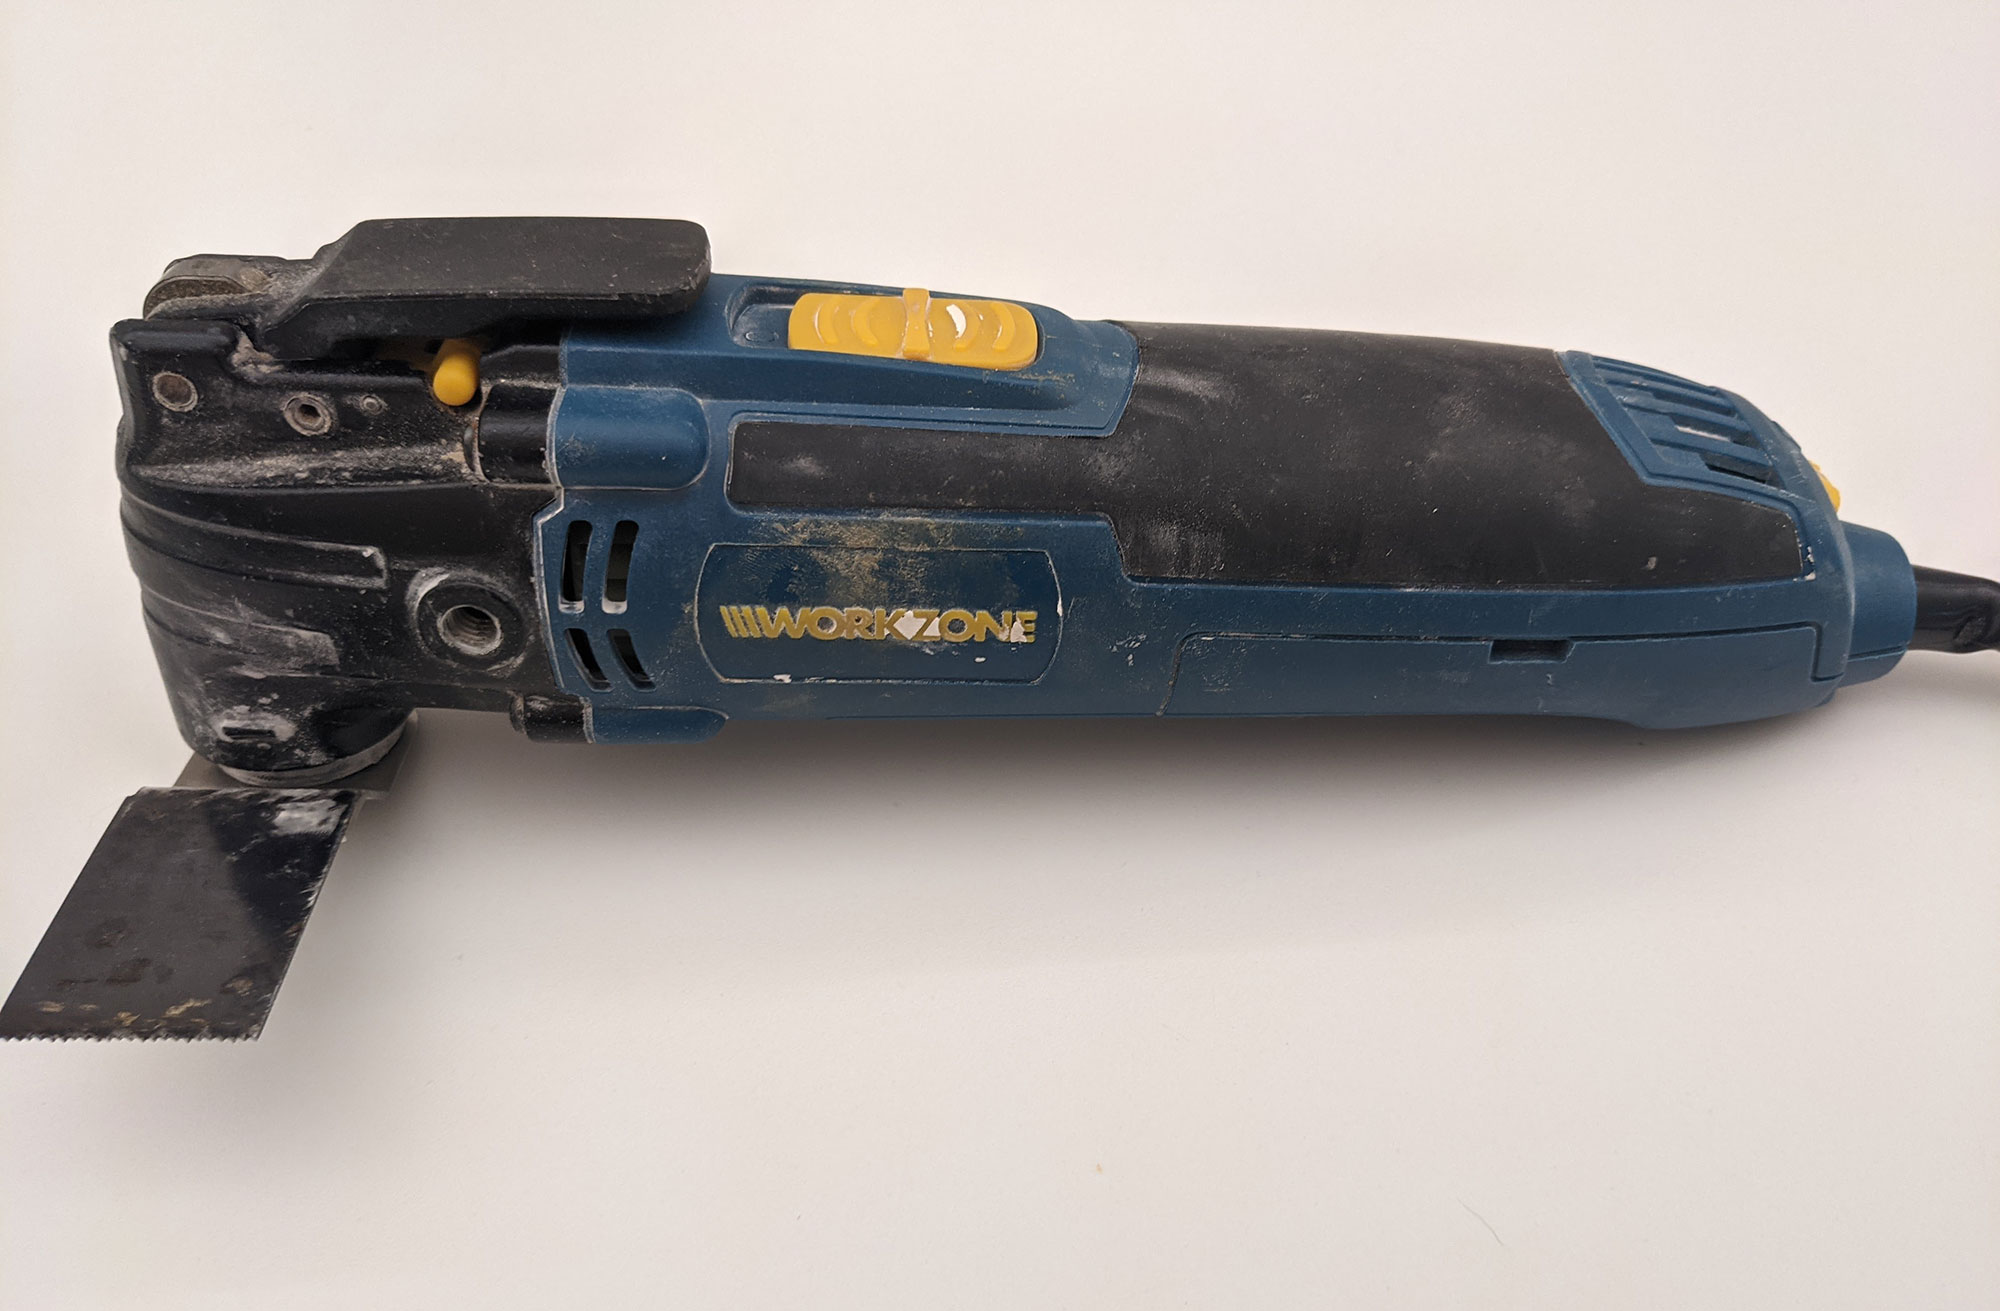
As the name suggests, a Multitool can be used for a variety of tasks such as sawing, cutting and sanding. Essentially it is a vibrating arm with different attachments at the end that is interchangeable depending on the task. Multitools are really useful for precision cutting in awkward places or to sand an area very quickly. I find myself using mine on most of my DIY projects but be warned, they are very noisy!
Most multitools come with a basic set of attachments and can be replenished at DIY stores or online. Select the attachment that's best suited to the work you need to do.
Pro tips on using a multitool:
- For sanding use the sanding pad, for cutting plasterboard a square edge cutting tool or a round edge cutting tool for wood. Do a little research on the task in order to be able to select the best attachment.
- To change the attachment the multitool will have a clip that you will need to open, swap the attachment and close the clip again.
- Be careful when closing the clip as it is spring loaded and can catch your fingers.
5. Stud Finder
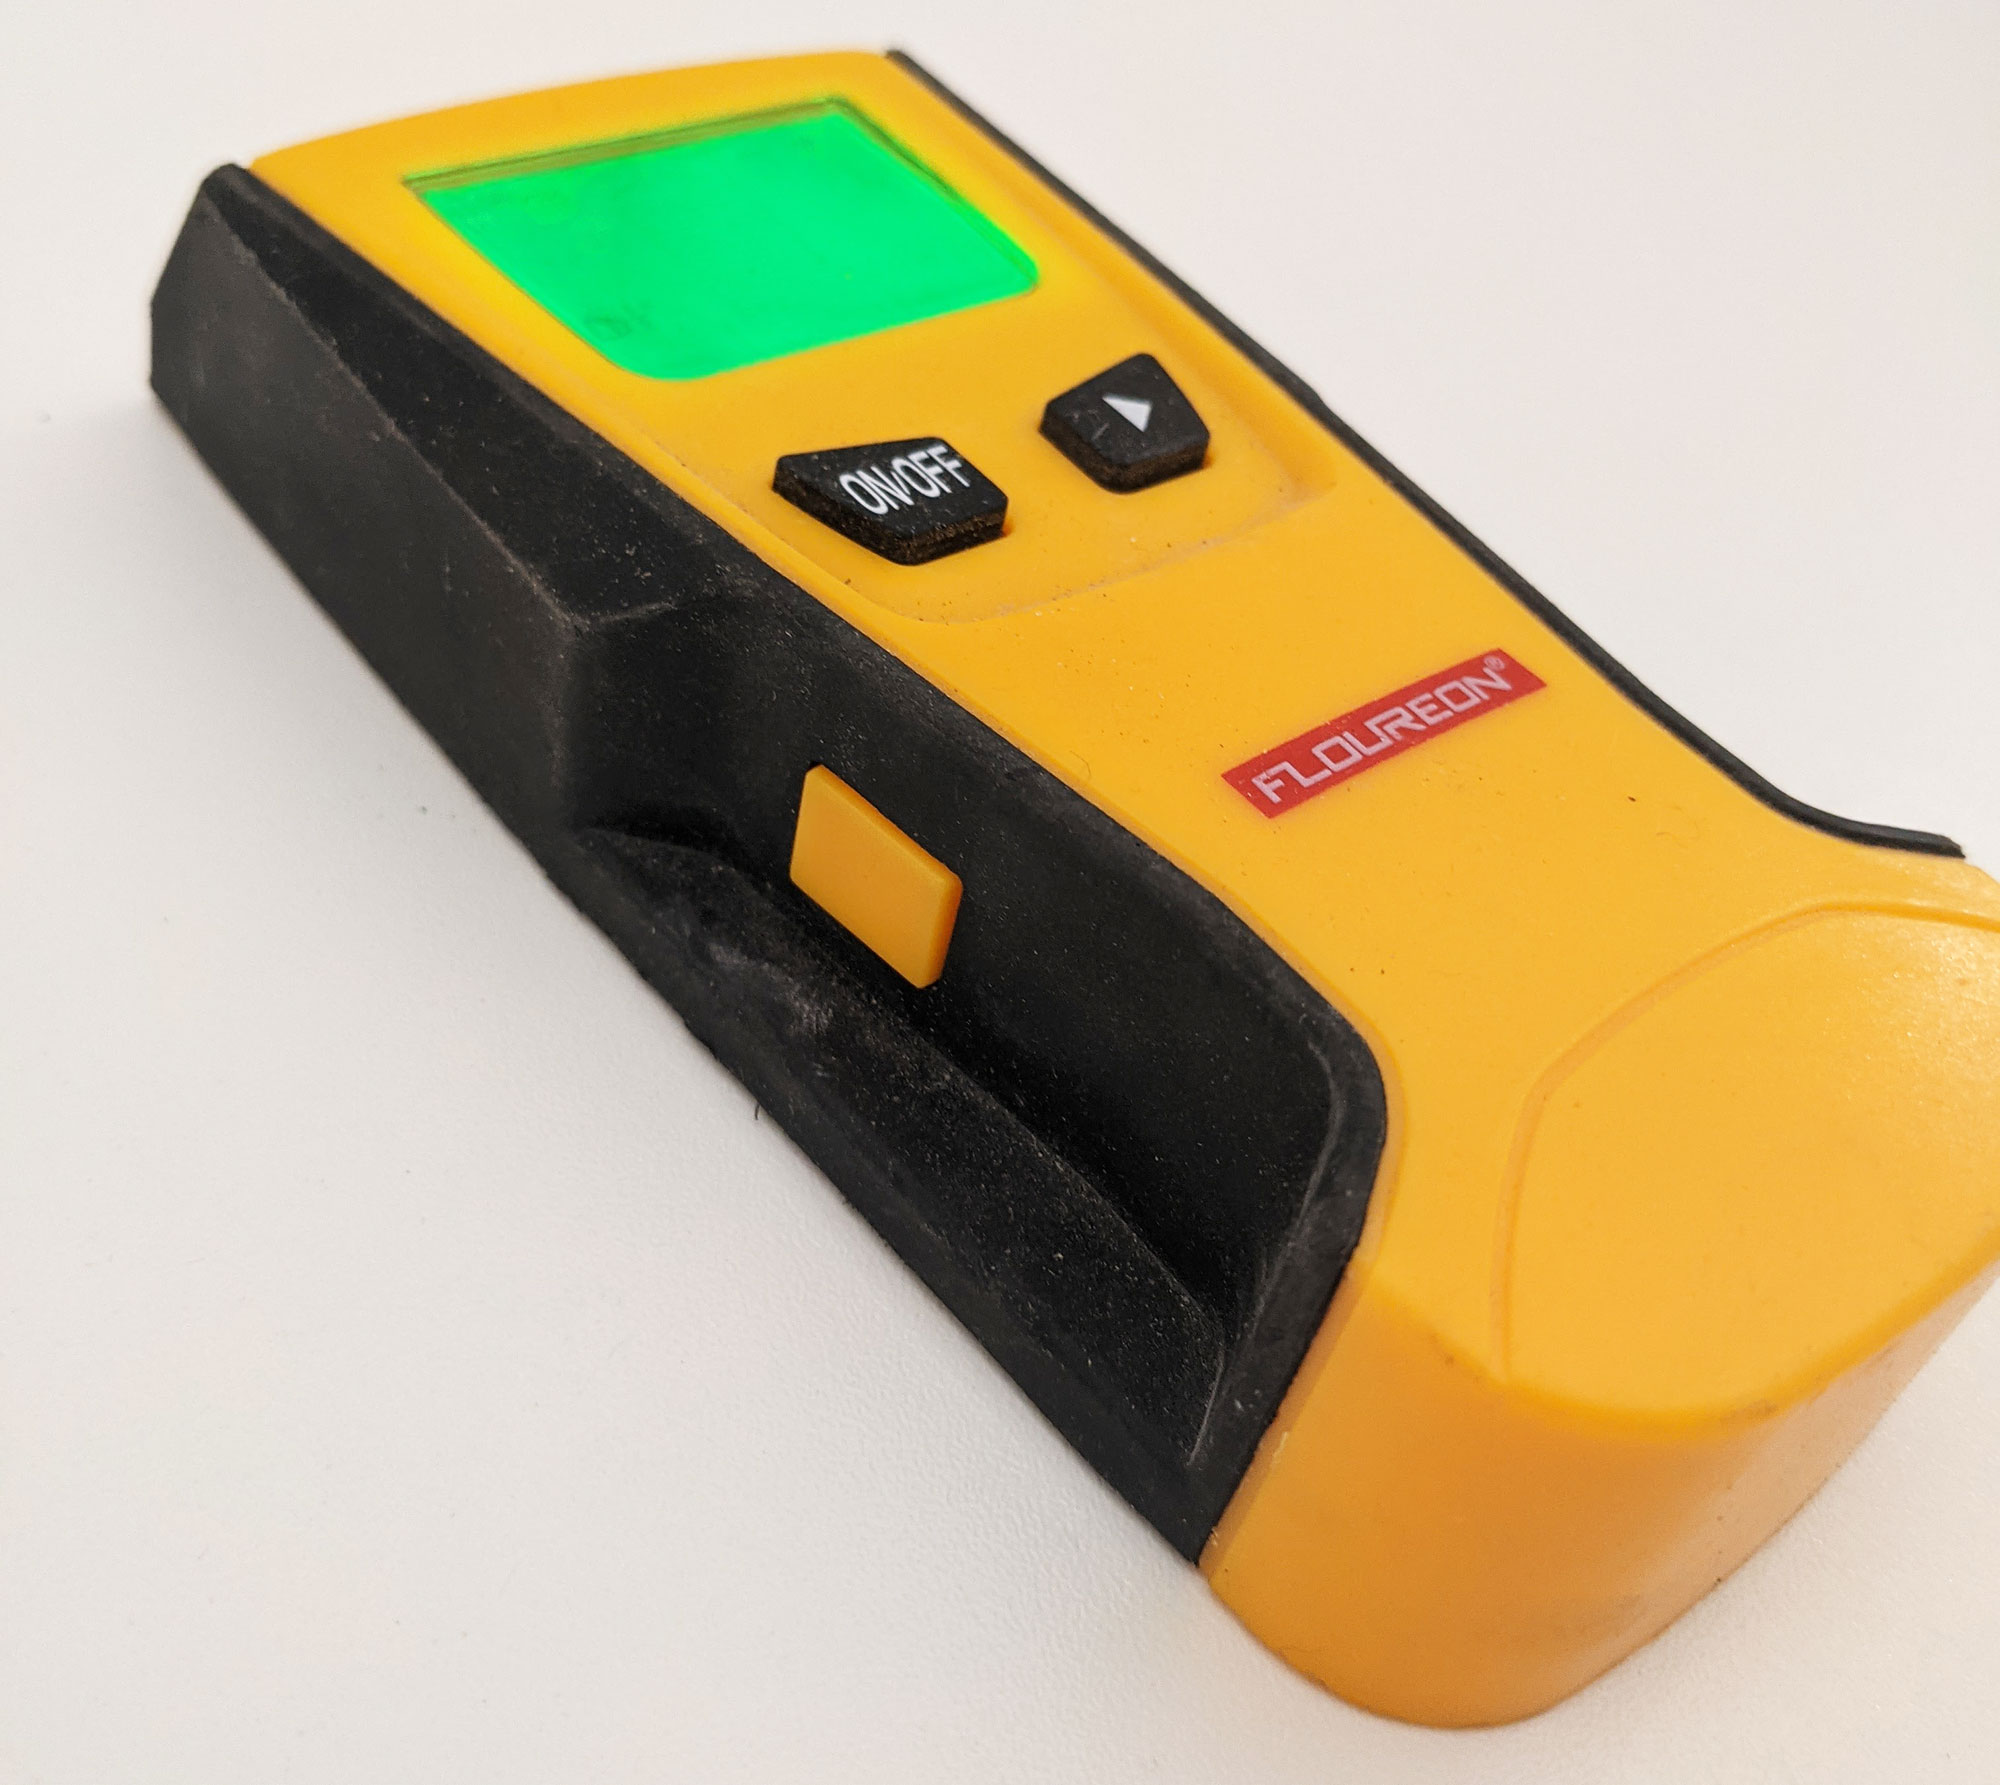
Stud finders are really important to use in areas where you don’t know what is behind the wall (particularly in older houses) as it will help you identify what is behind the plaster. A stud finder can be used in three main ways – firstly to identify wooden thrusts behind the wall, secondly, to identify any electrical wires and finally, to identify any plumbing pipes. This can stop you hurting yourself by drilling into live electrical wires or causing a leak. Basic stud finders are relatively inexpensive online at Amazon and DIY hardware stores. Thompson recommends the Zircon HD 55 Stud Finder from Home Depot.
Each stud finder will have their own way of operating but the principles are the same.
Pro tips on using a stud finder:
- Hold the stud finder against the wall where you are looking to drill for wires and pipework.
- When the stud finder comes across a wire and pipework the finder will make a noise to identify it and allows you to mark the location on the wall.
- When a wire/pipe is found check the area vertically and horizontally to understand the path of the wire/cable so you can avoid them.
- The finder will also help you find the wooden structure in a stud wall. When hanging something heavy on a stud wall you'll want to attach it to the wooden structure as it is the strongest part of the wall
What are the essential tools for DIY?
Thompson notes: 'A basic home tool kit can include a measuring tape, hammer, screwdrivers, pliers, wire cutters, wrenches, level, flashlight, utility knife, nails and screws, and a stud finder.' Here are a few top products from The Home Depot to get started:
- Husky 16 oz. Fiberglass Claw Hammer
- Husky Screwdriver Set (15-Piece)
- Husky Pliers and Wrench Set (3-Piece)
- Husky 10 in. Adjustable Wrench
- Husky 600 Lumens LED Virtually Unbreakable Aluminum Flashlight
- Husky Folding Utility Knives
- Commercial Electric 7 in. Wire Stripper and Cutter
- Husky 20 in. 3-Drawer Small Metal Portable Tool Box with Drawers and Tray
If you're not sure where to get started, 'Homeowners can also opt for pre-assembled tool kits that come with all the essential hand tools including this Anvil Home Tool Kit. You can continue to grow your collection over time as you take the next step in your DIY journey and your skill level improves.' Says Thompson. 'For bigger DIY projects and other home renovations, consider The Home Depot’s power tool rentals.'
Jo Lemos is a DIYer and decorator who chronicles his projects on the popular Instagram account @two.men.and.a.semi. His DIY obsession began in childhood, when he used to help his parents redecorate the family house. Since then, he’s been developing his DIY skills for two decades, culminating in a full renovation of his current house alongside his partner, Chris. Currently the duo is restoring a 1930s semi-detached house in Manchester that had been badly renovated throughout the years. For Jo, sustainable and budget friendly design is the best way to renovate your house, and he considers his renovation motto to be: “Why pay someone when I can do it myself?!”

