How to turn a vintage dresser into a bathroom vanity
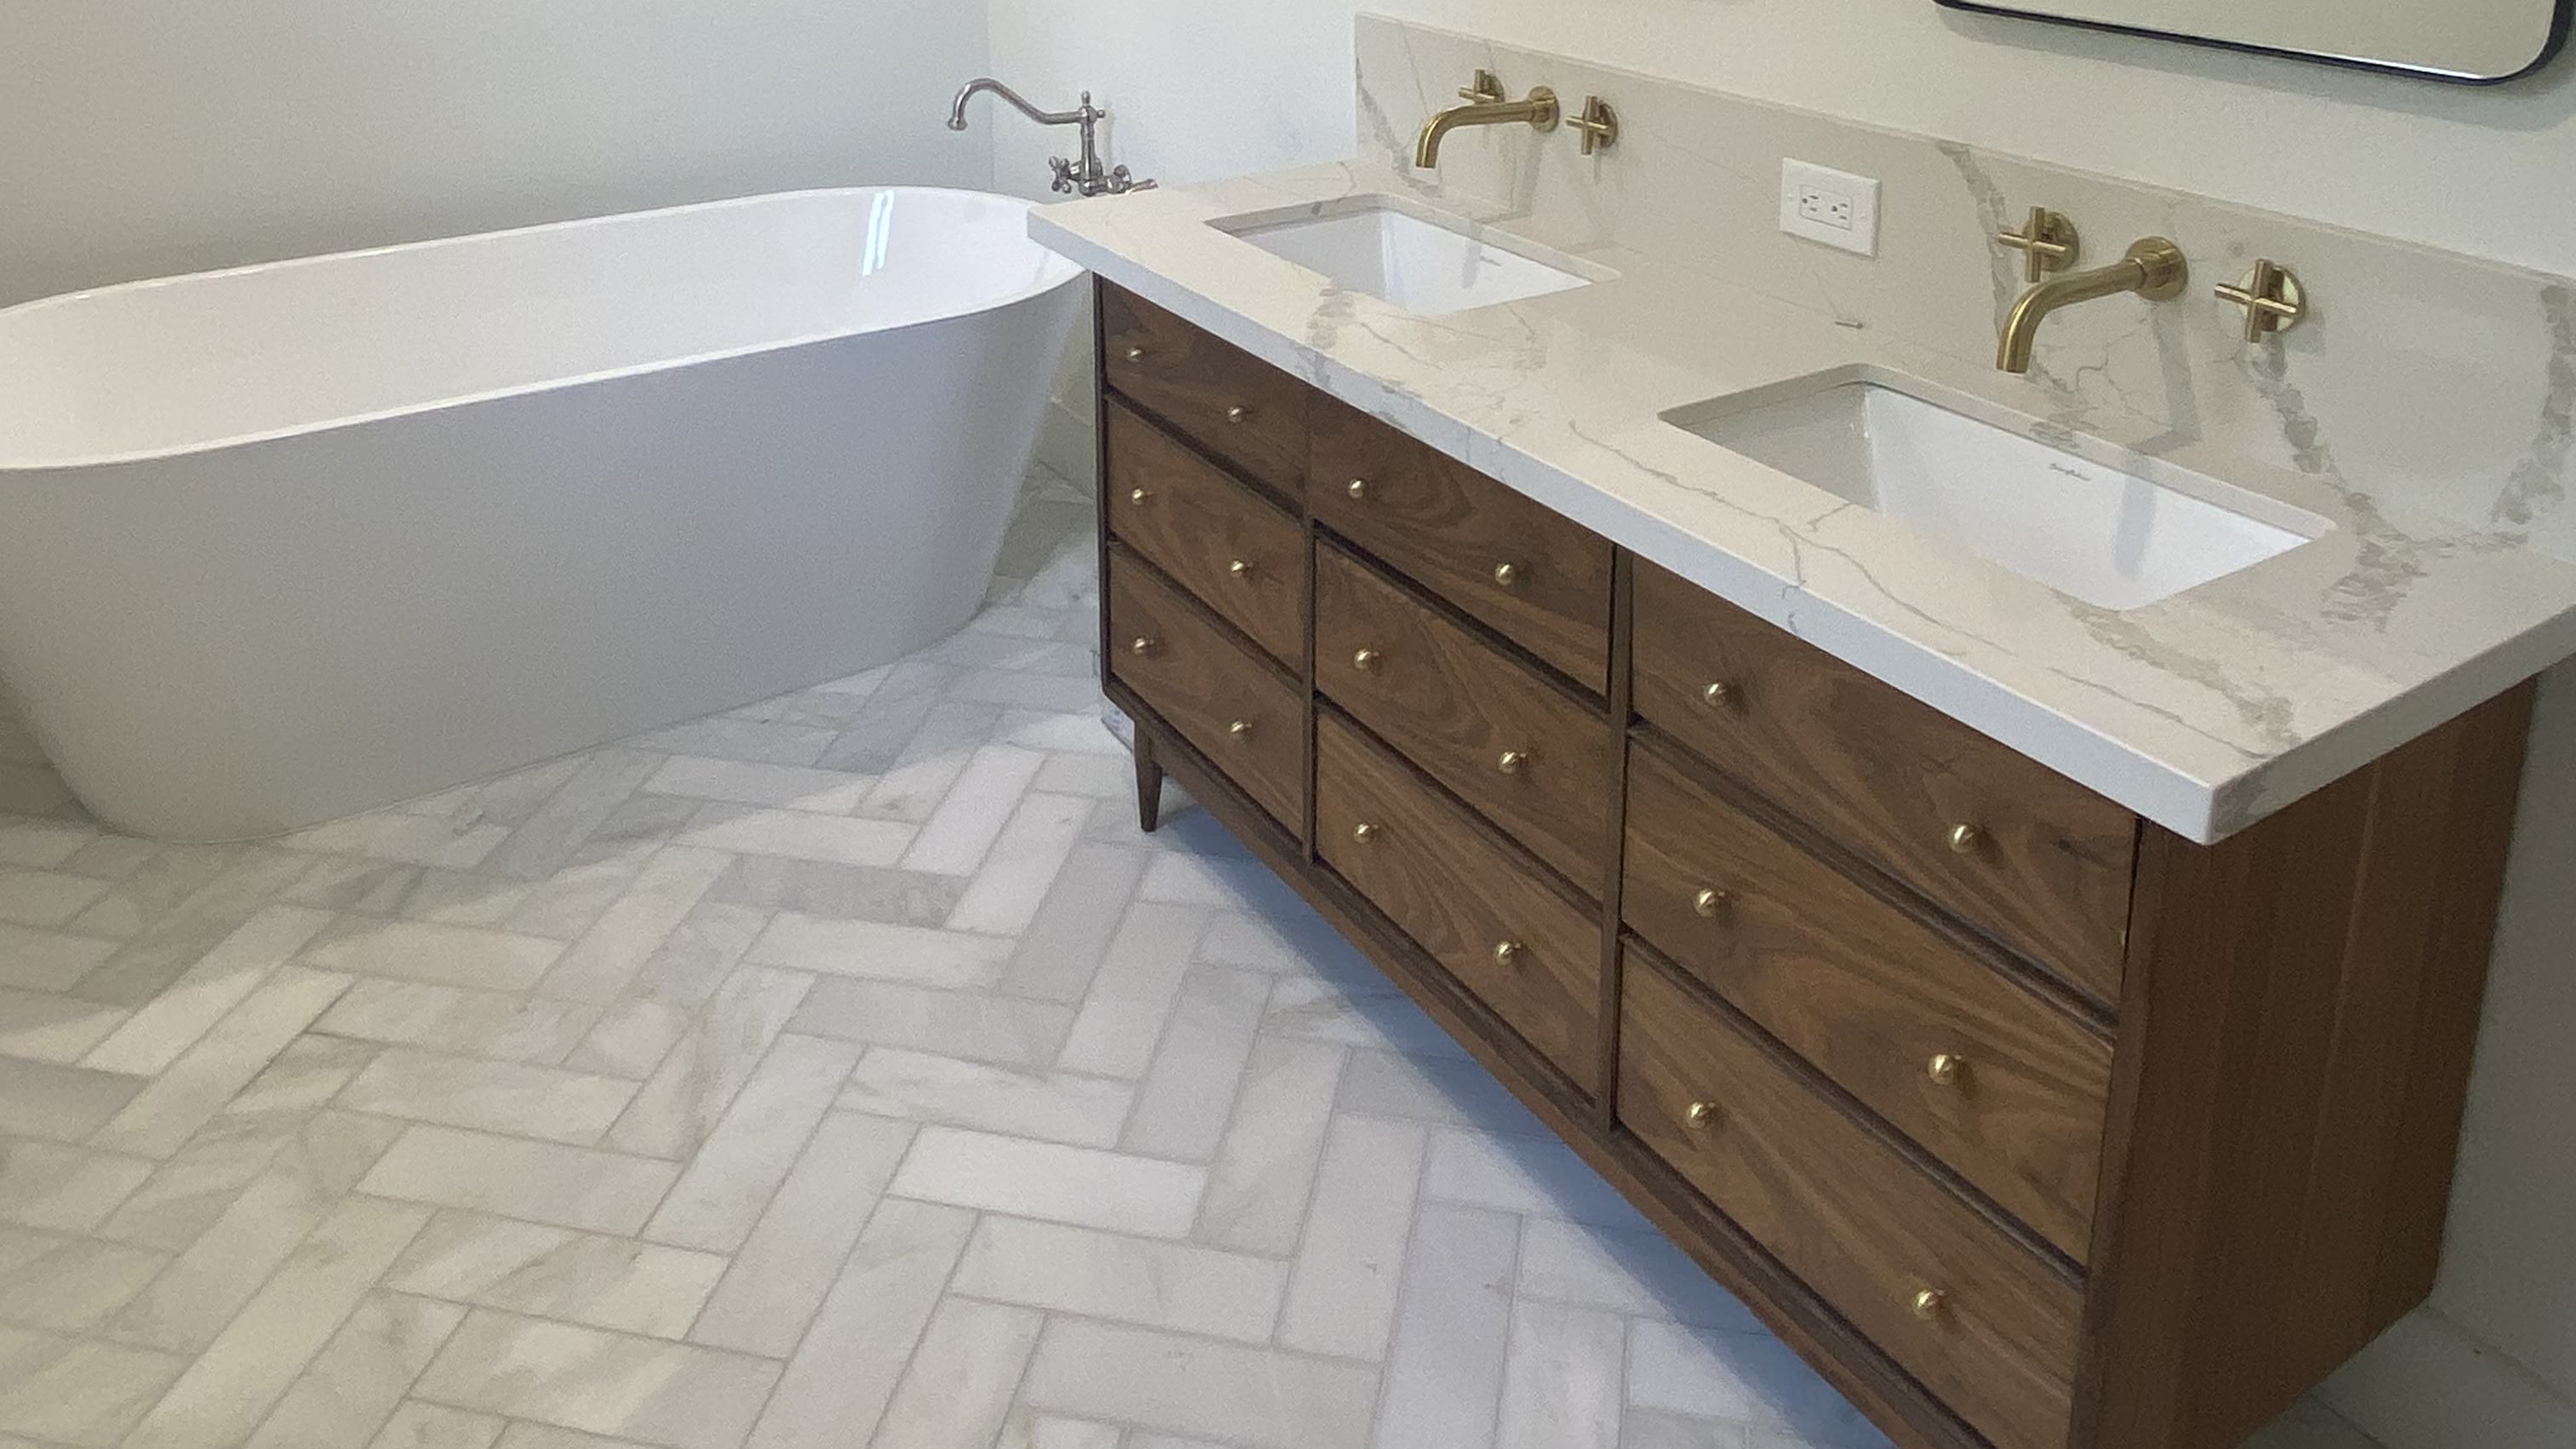
DIY-er found a vintage piece on Facebook Marketplace to turn a dresser into a bathroom vanity and save thousands of dollars in the process

Get small space home decor ideas, celeb inspiration, DIY tips and more, straight to your inbox!
You are now subscribed
Your newsletter sign-up was successful
The primary bathroom in our farmhouse is pretty small. One of our priorities was to have a soaking tub, so to make room for that, our space ended up being quite limited for a bathroom vanity. I really like the look of a freestanding vanity but they are typically very expensive! Like thousands of dollars! I went on a mission to find a more affordable, but still beautiful and functional option.
Scrolling Facebook Marketplace one day, I came across this vintage 9-drawer dresser. It was in pretty rough shape but the dimensions were literally perfect for the space we were working with in our bathroom. Naturally, I brought it home to take on as my next budget DIY project, turning a dresser into a bathroom vanity myself.
Turning a dresser into a bathroom vanity: the process
Skill level: Intermediate
Total costs: $259
Project cost breakdown:
- 2nd hand dresser $60
- Undermount sinks $150
- Low grit sandpaper $6
- Furniture stripper $20
- 3M stripping pads $4
- Minwax Gel Stain in Walnut $9
- Polycrylic $10
1. Make any repairs needed
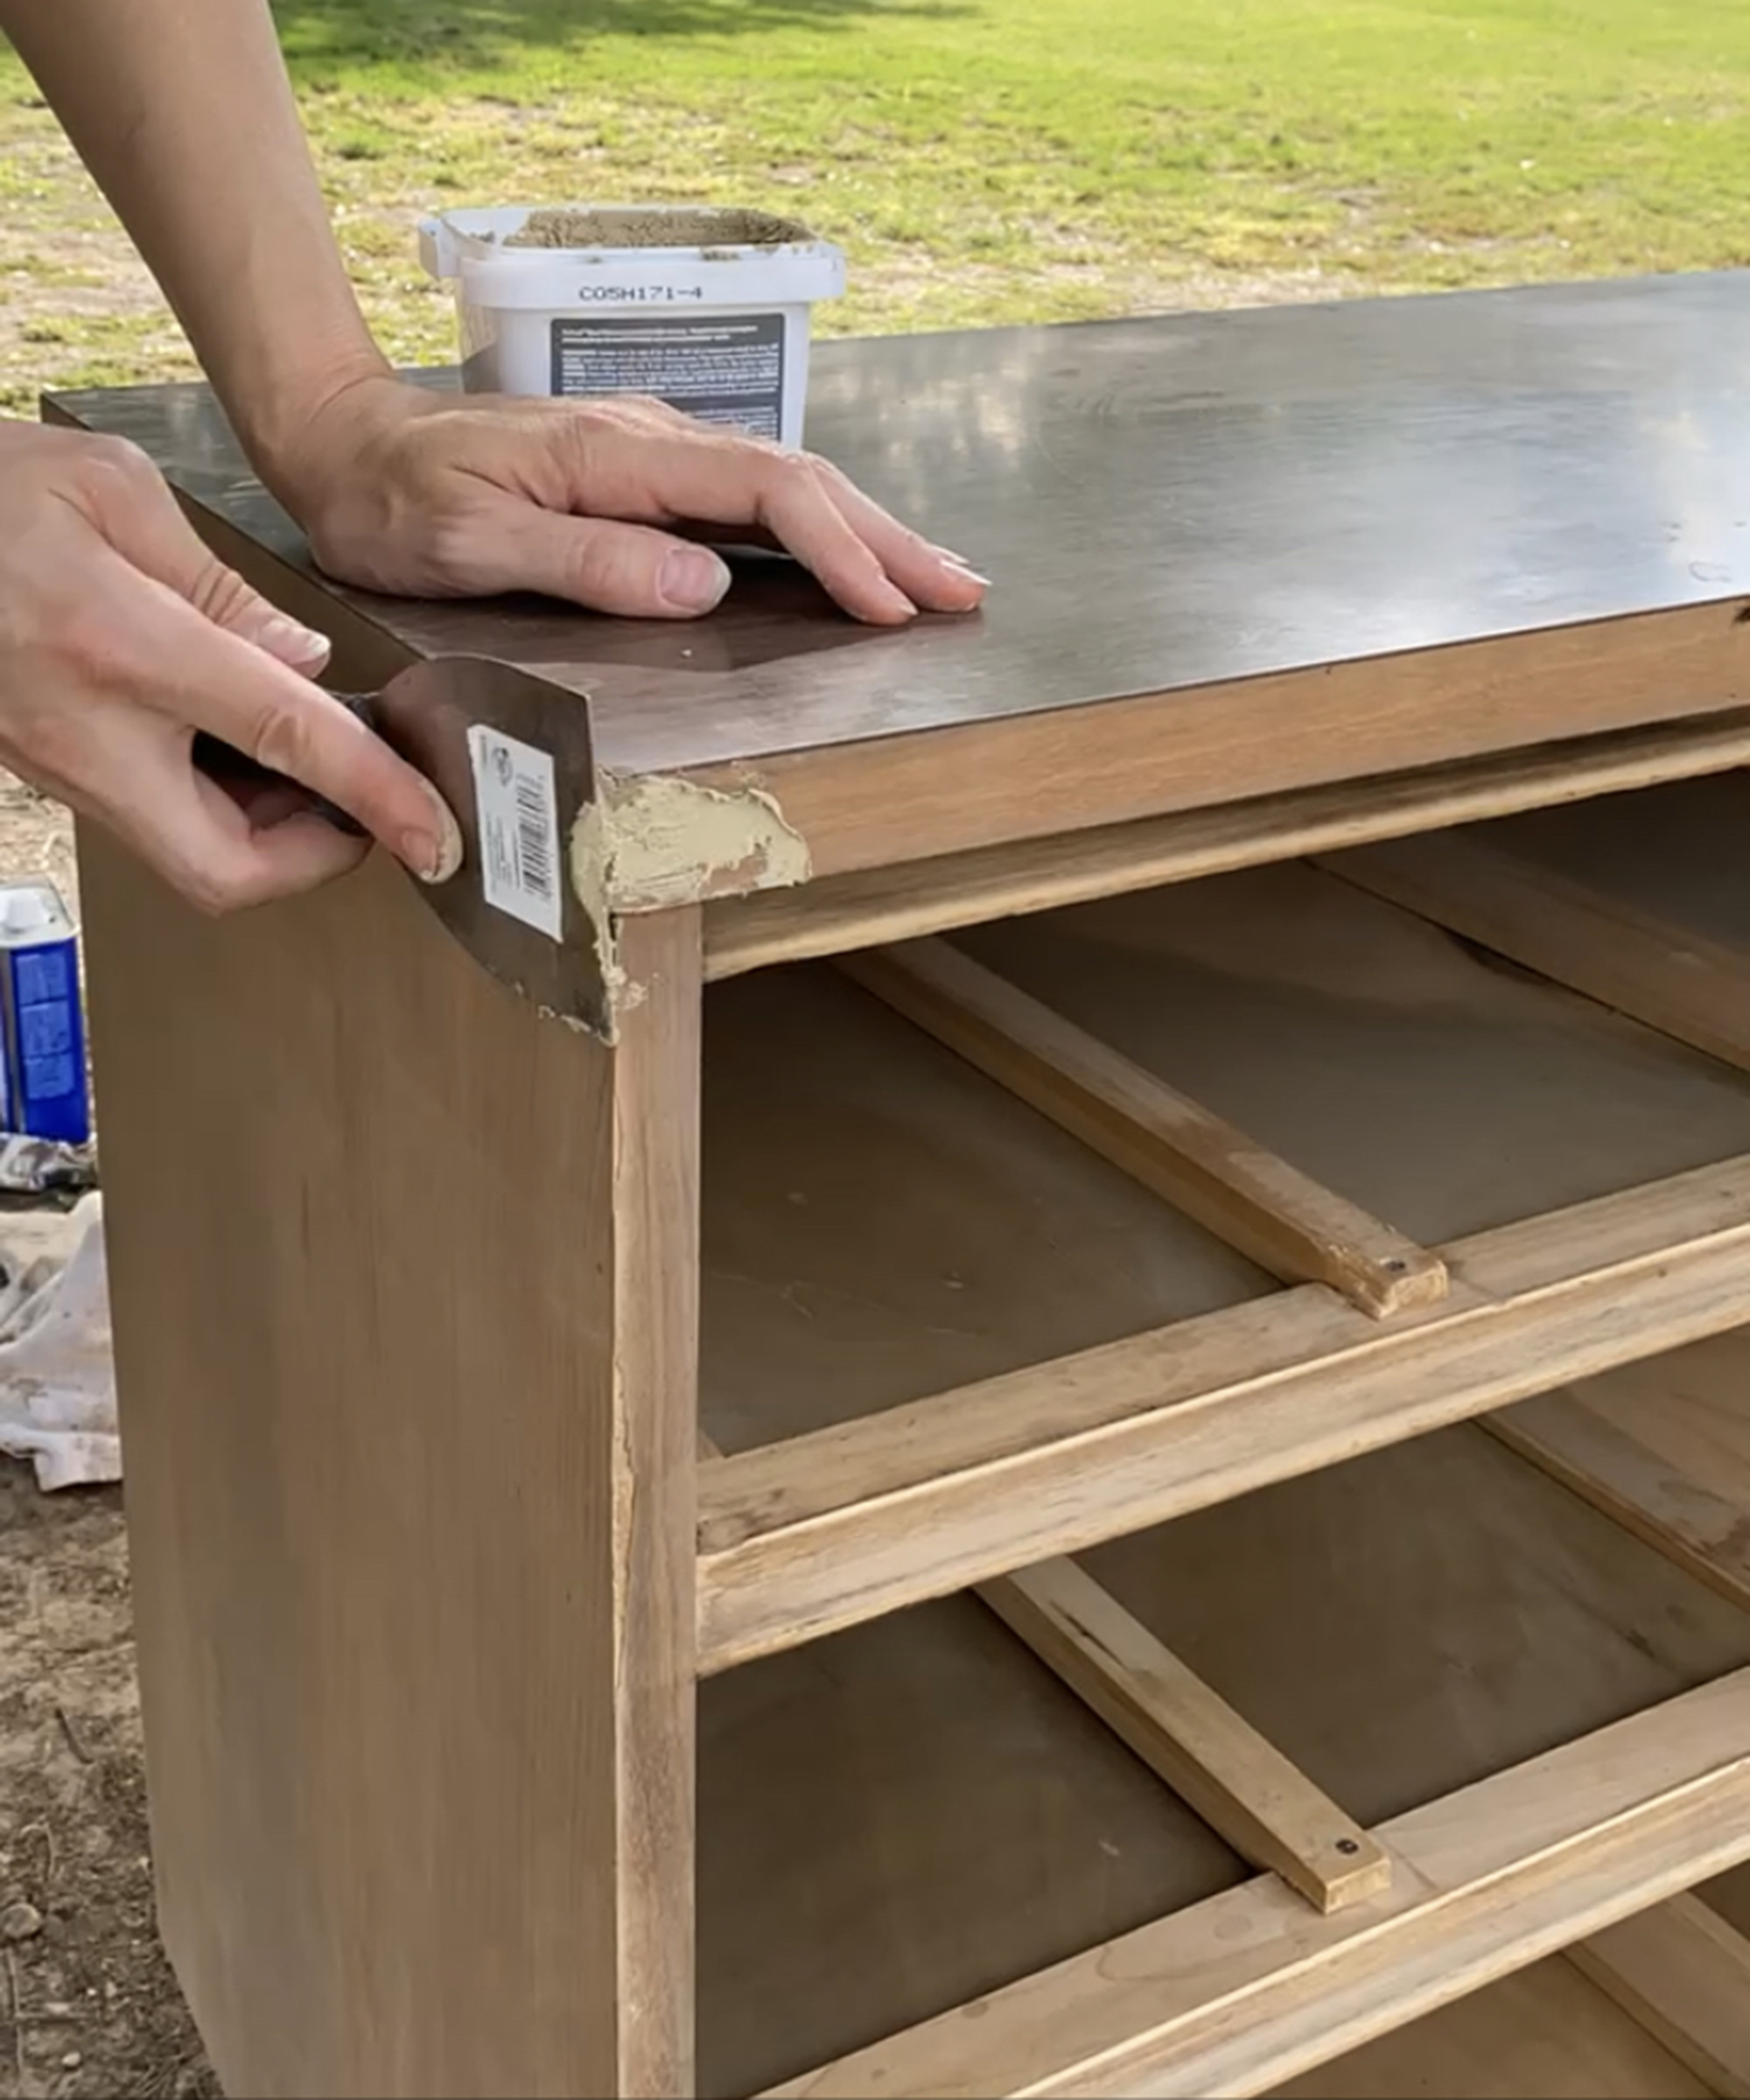
Firstly, I knew it needed quite a bit of repair work. I moved it into our yard, removed the drawers, and began filling in holes and dents. I had to repair a lot of the corners, basically creating a new corner using ProBond stainable wood filler.
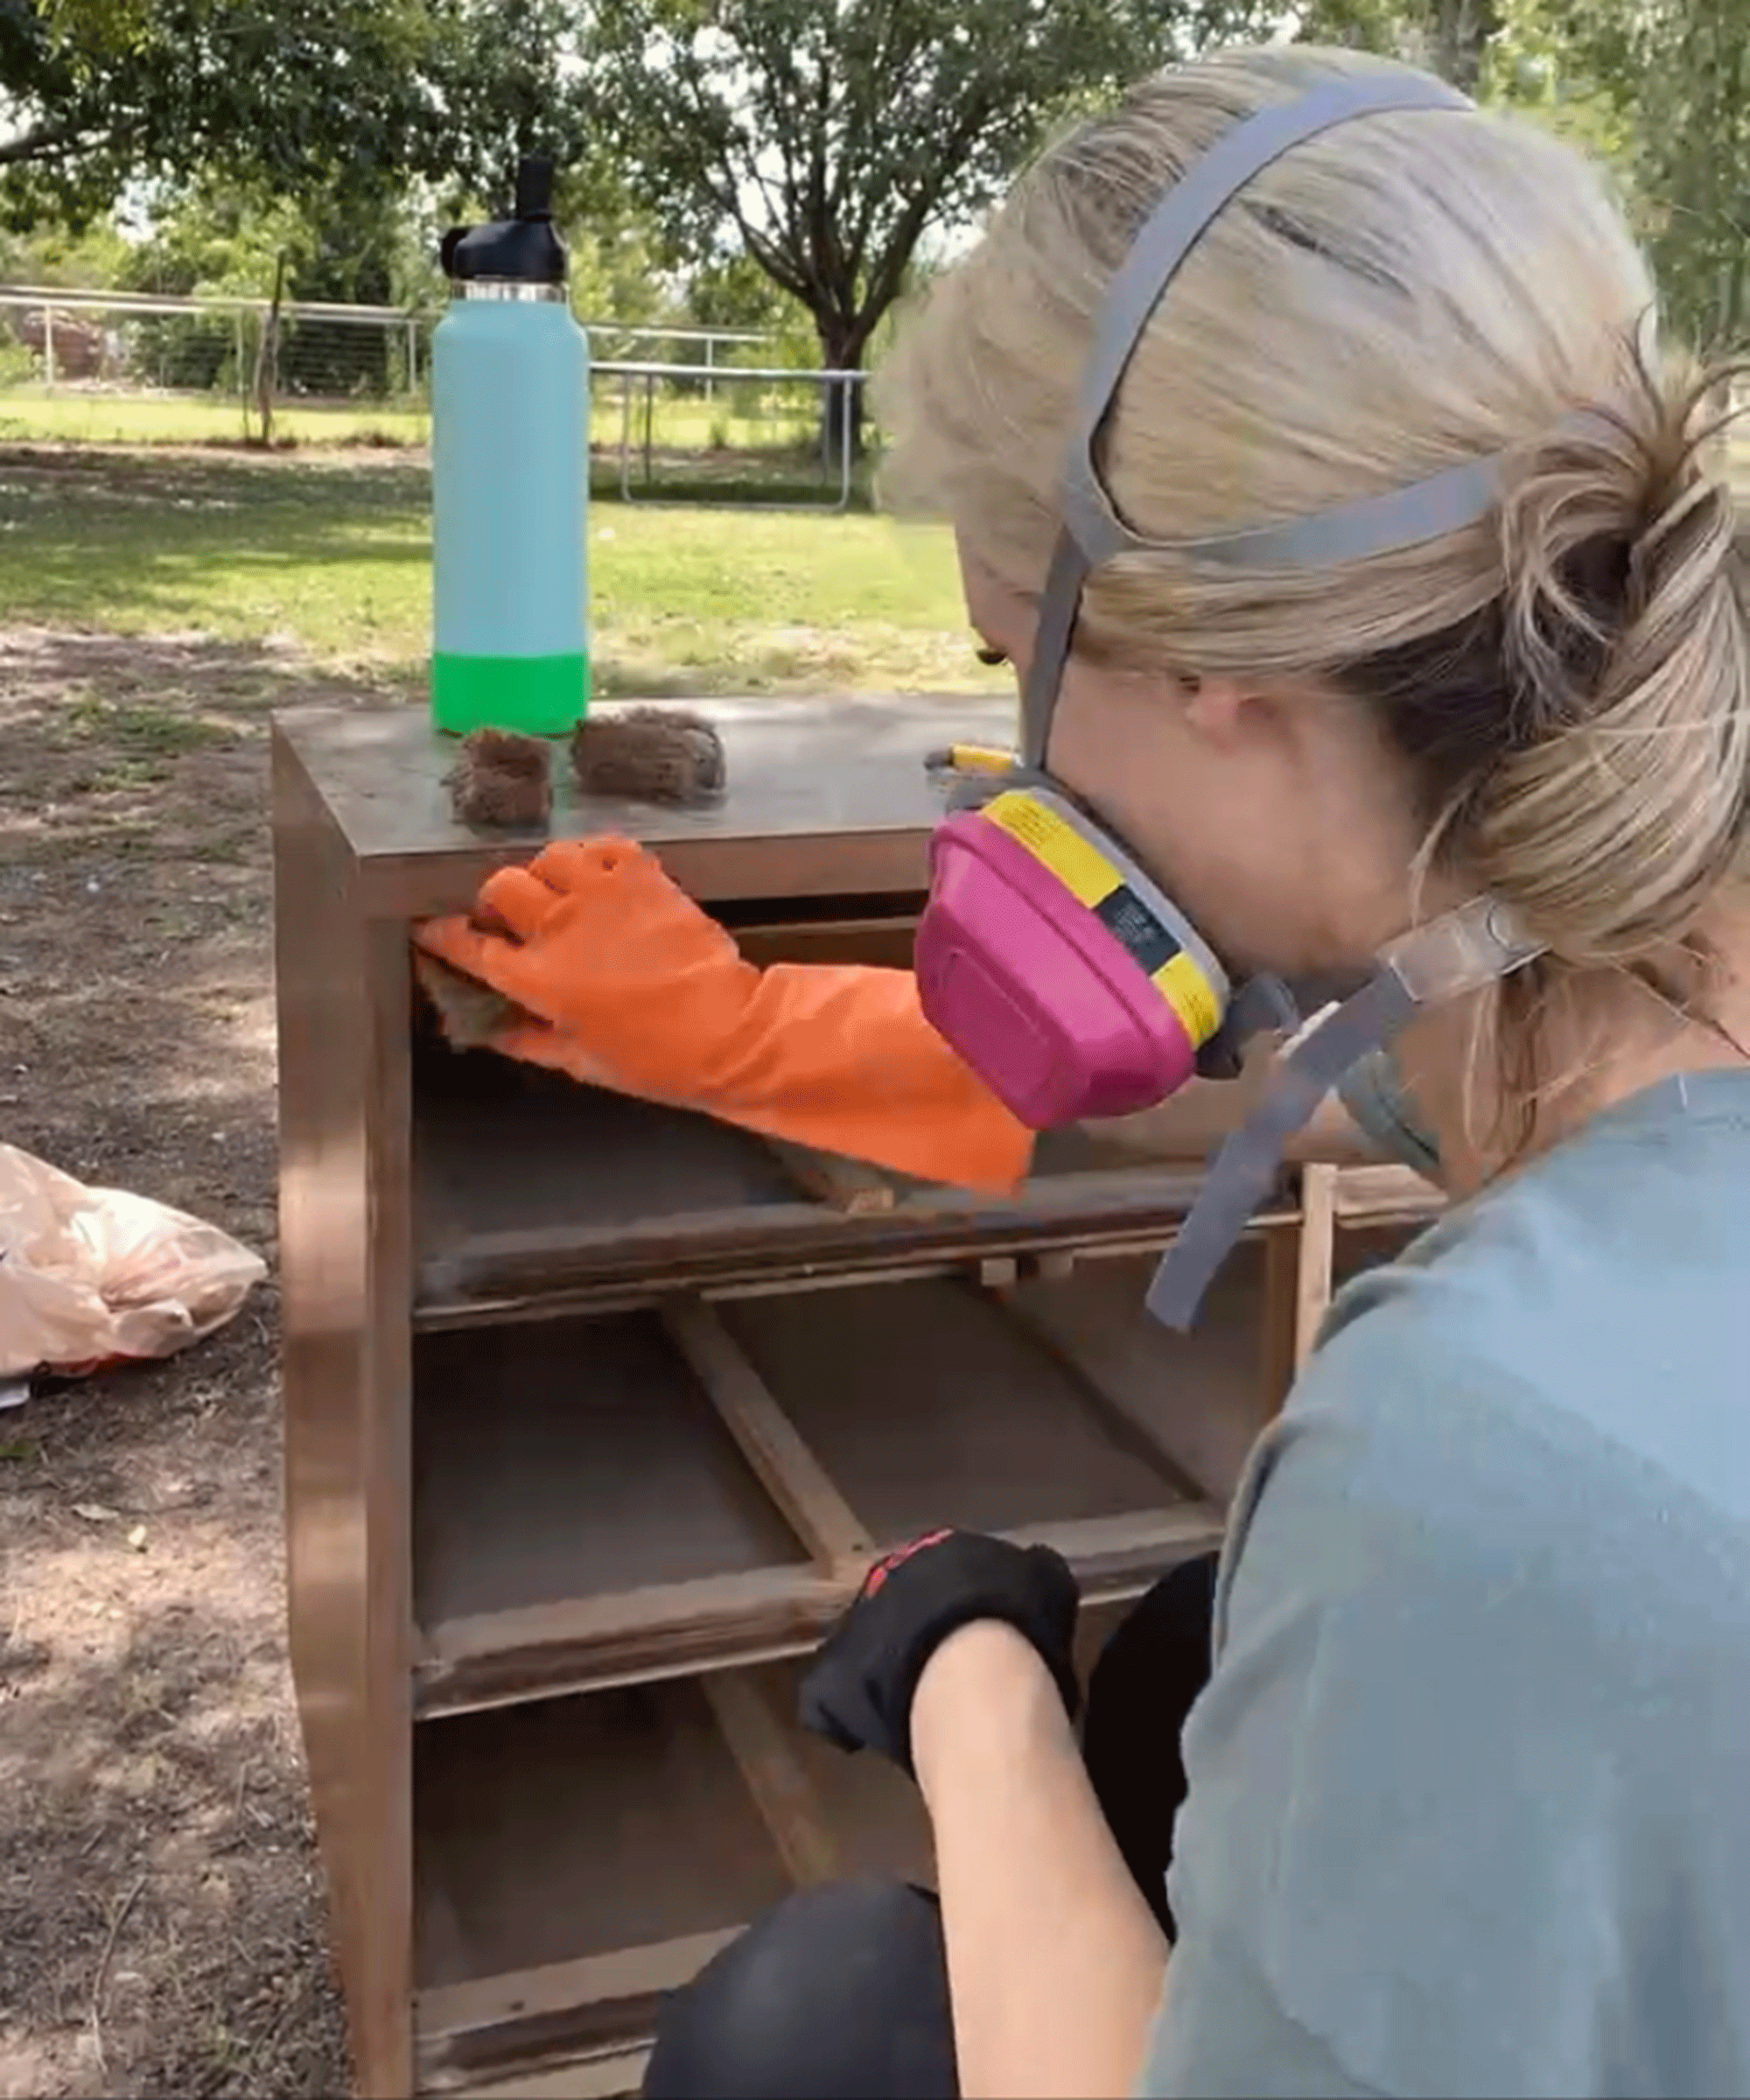
2. Removing the old stain
This dresser is veneer which is a little more particular to work with. For the front of the dresser and feet I was able to sand down to raw wood. I did use a furniture stripper to remove the previous stain using 3M stripping pads. This took quite a bit of time and elbow grease!
3. Sanding
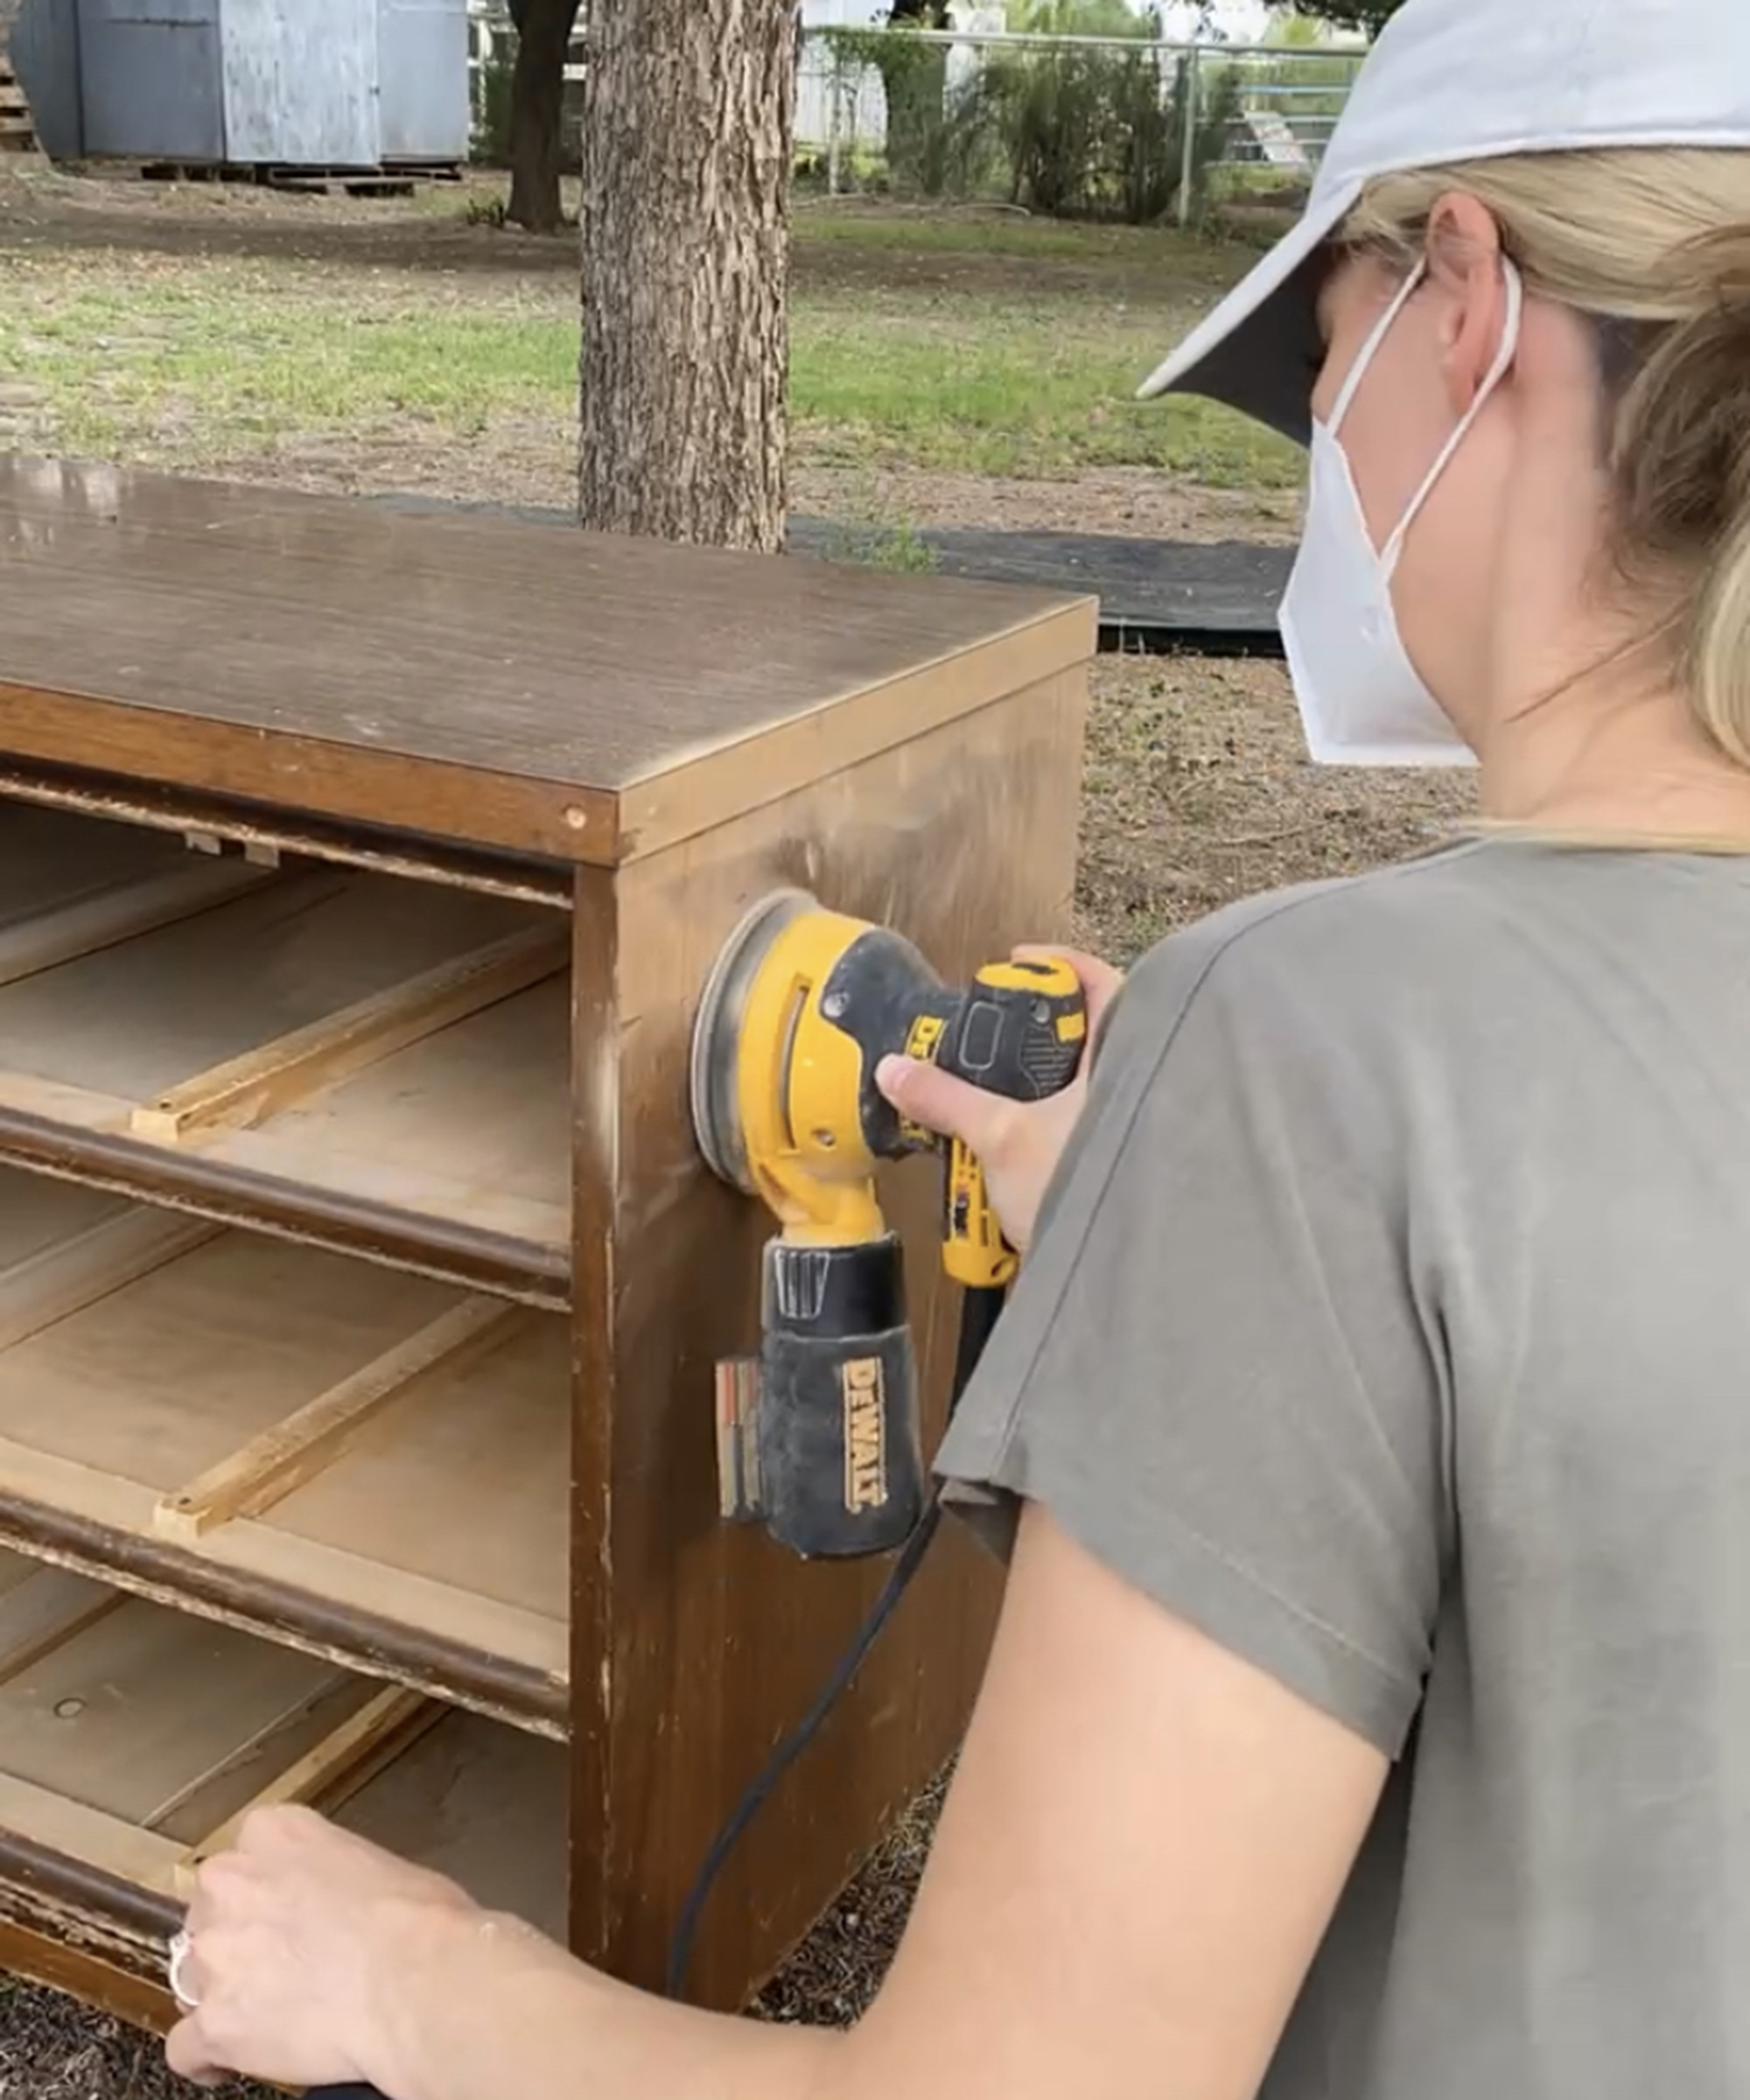
Sanding the entire dresser was the next step. I started with a low grit sandpaper and worked my way up to a higher grit for a smooth-as-butter finish.
Get small space home decor ideas, celeb inspiration, DIY tips and more, straight to your inbox!
4. Choosing the right sink for the vanity
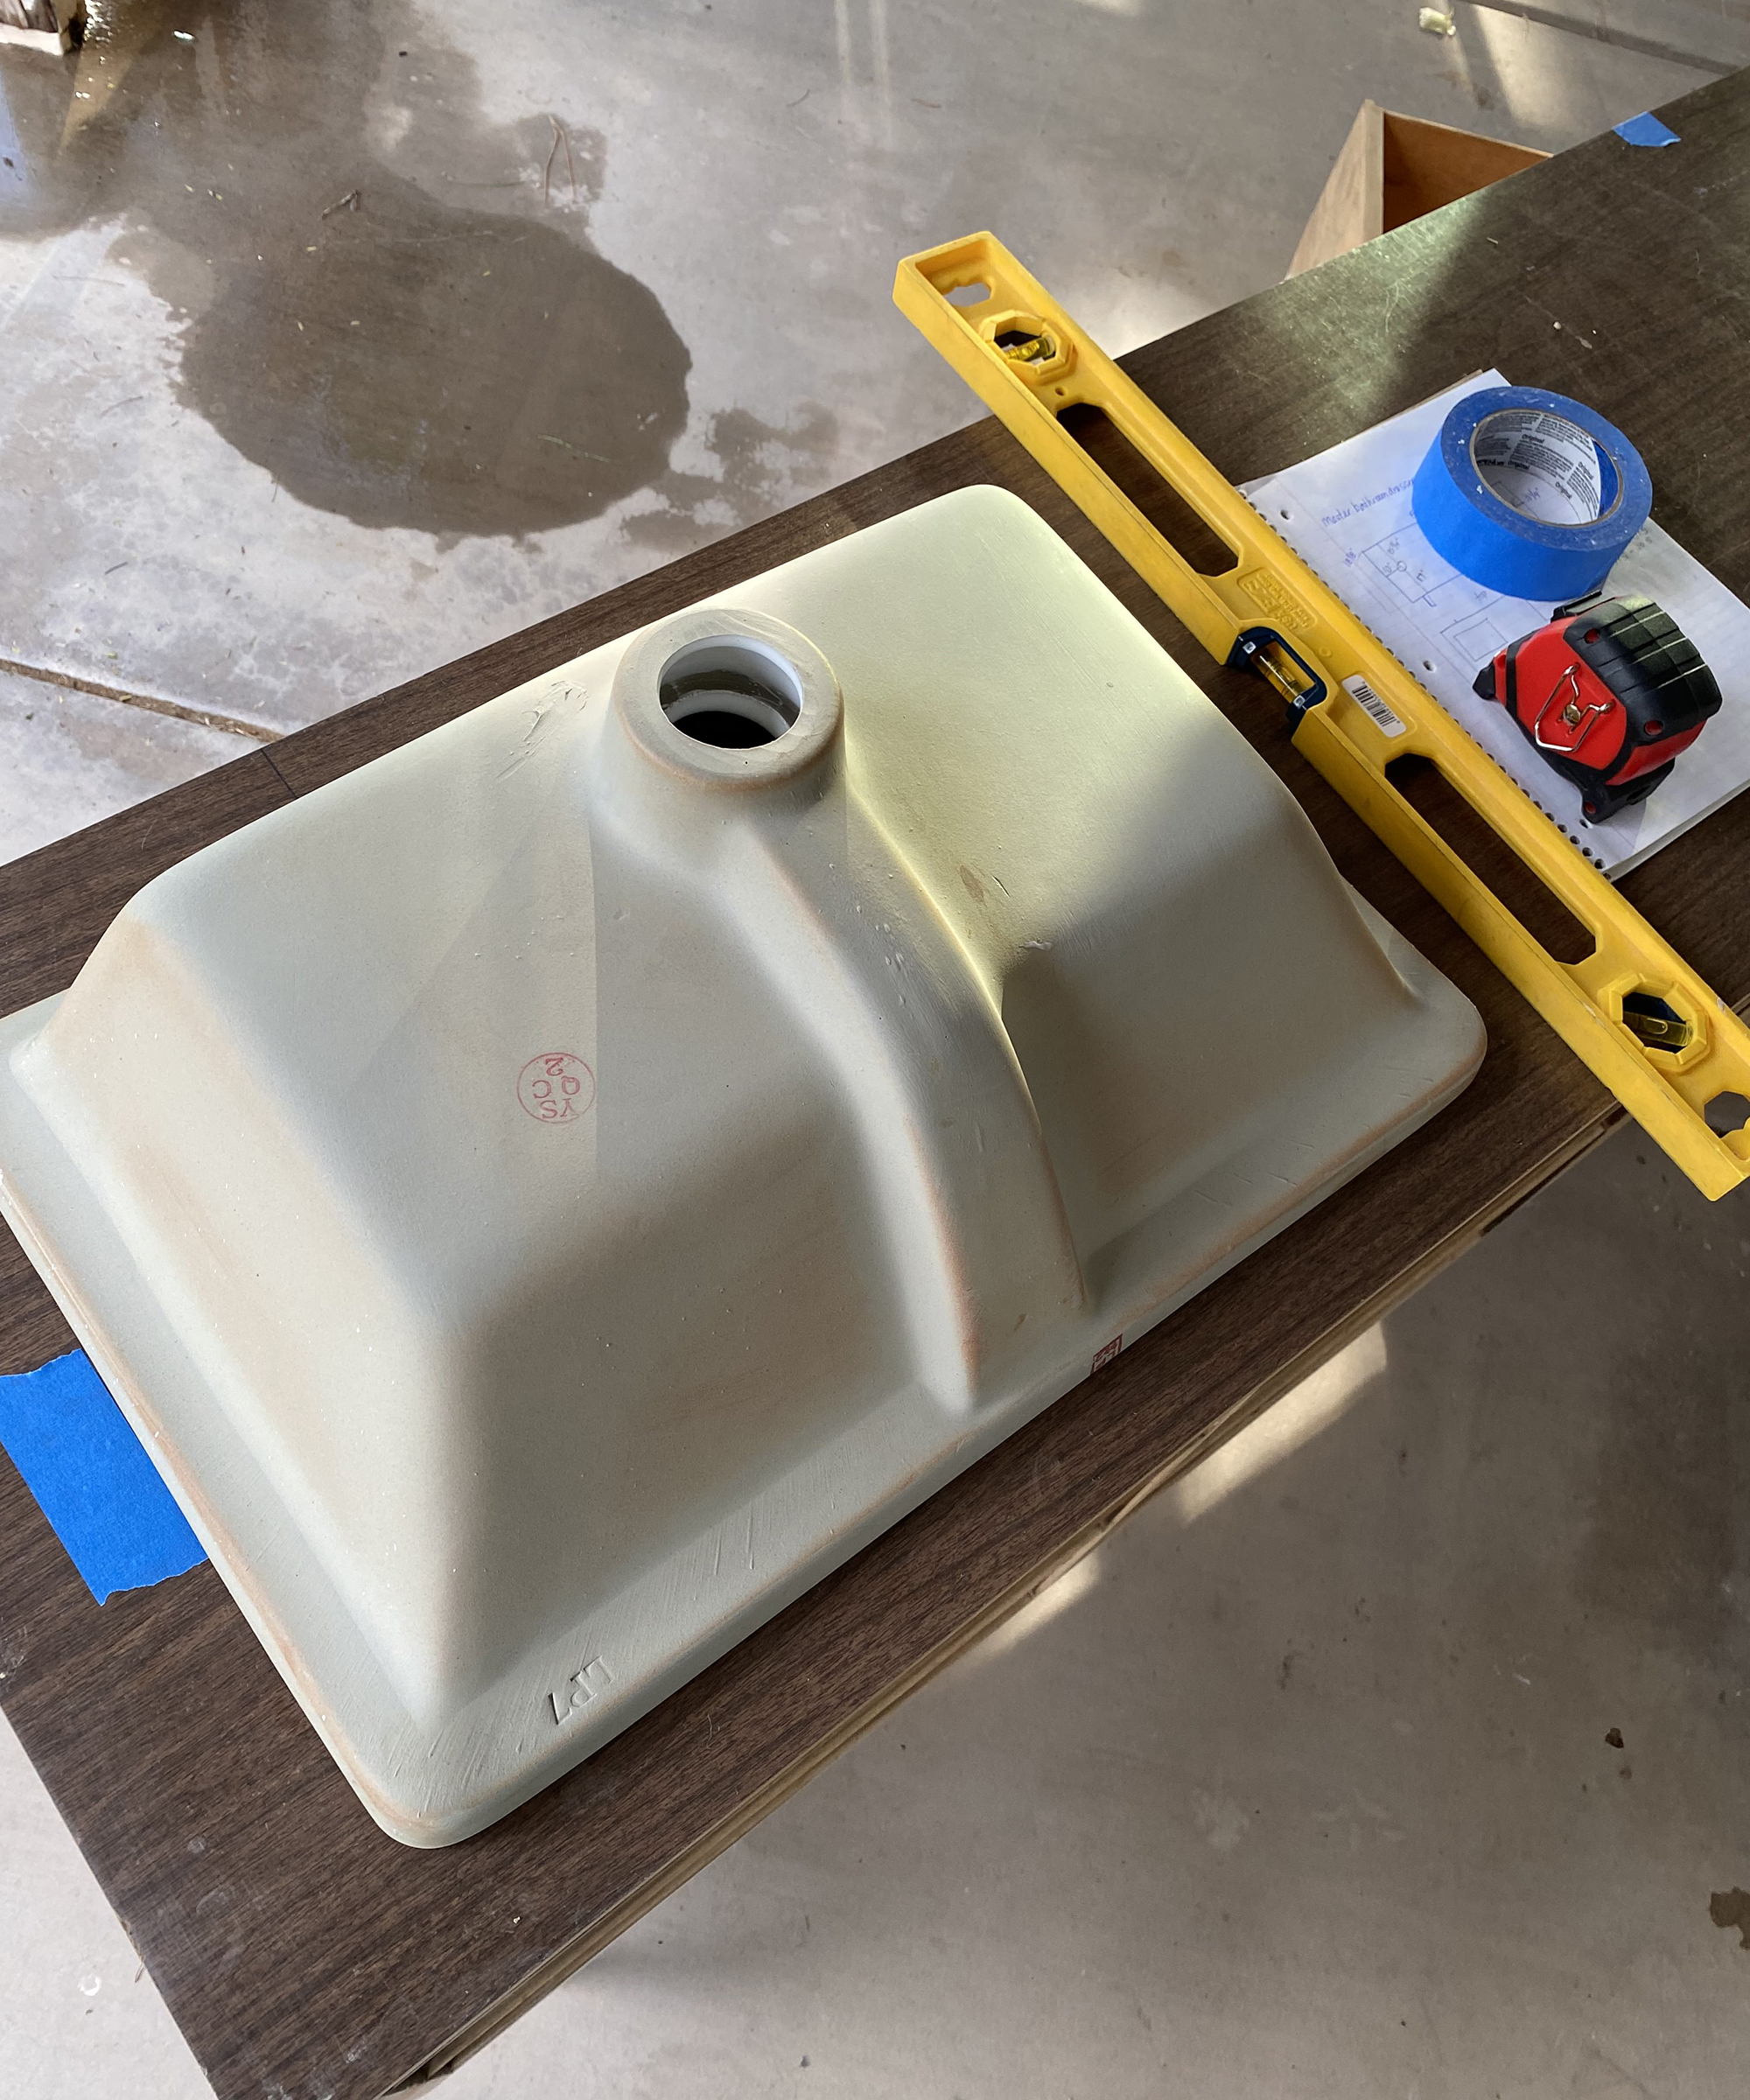
In order to turn a dresser into a vanity you need to determine what type of sinks you want to use. You have the option to go with a vessel type sink that essentially sits on top of the dresser or an undermount option.
5. Cutting holes for the sink
Regardless of the type of sink, you’ll need to cut holes in the top of the dresser to run plumbing. I went with the undermount option. I was able to find two small undermount sinks that would fit and still give us a good amount of countertop space! You’ll want to have your sinks on hand so that you can measure correctly based on the sinks you purchase.
6. Trace out where the sinks will go
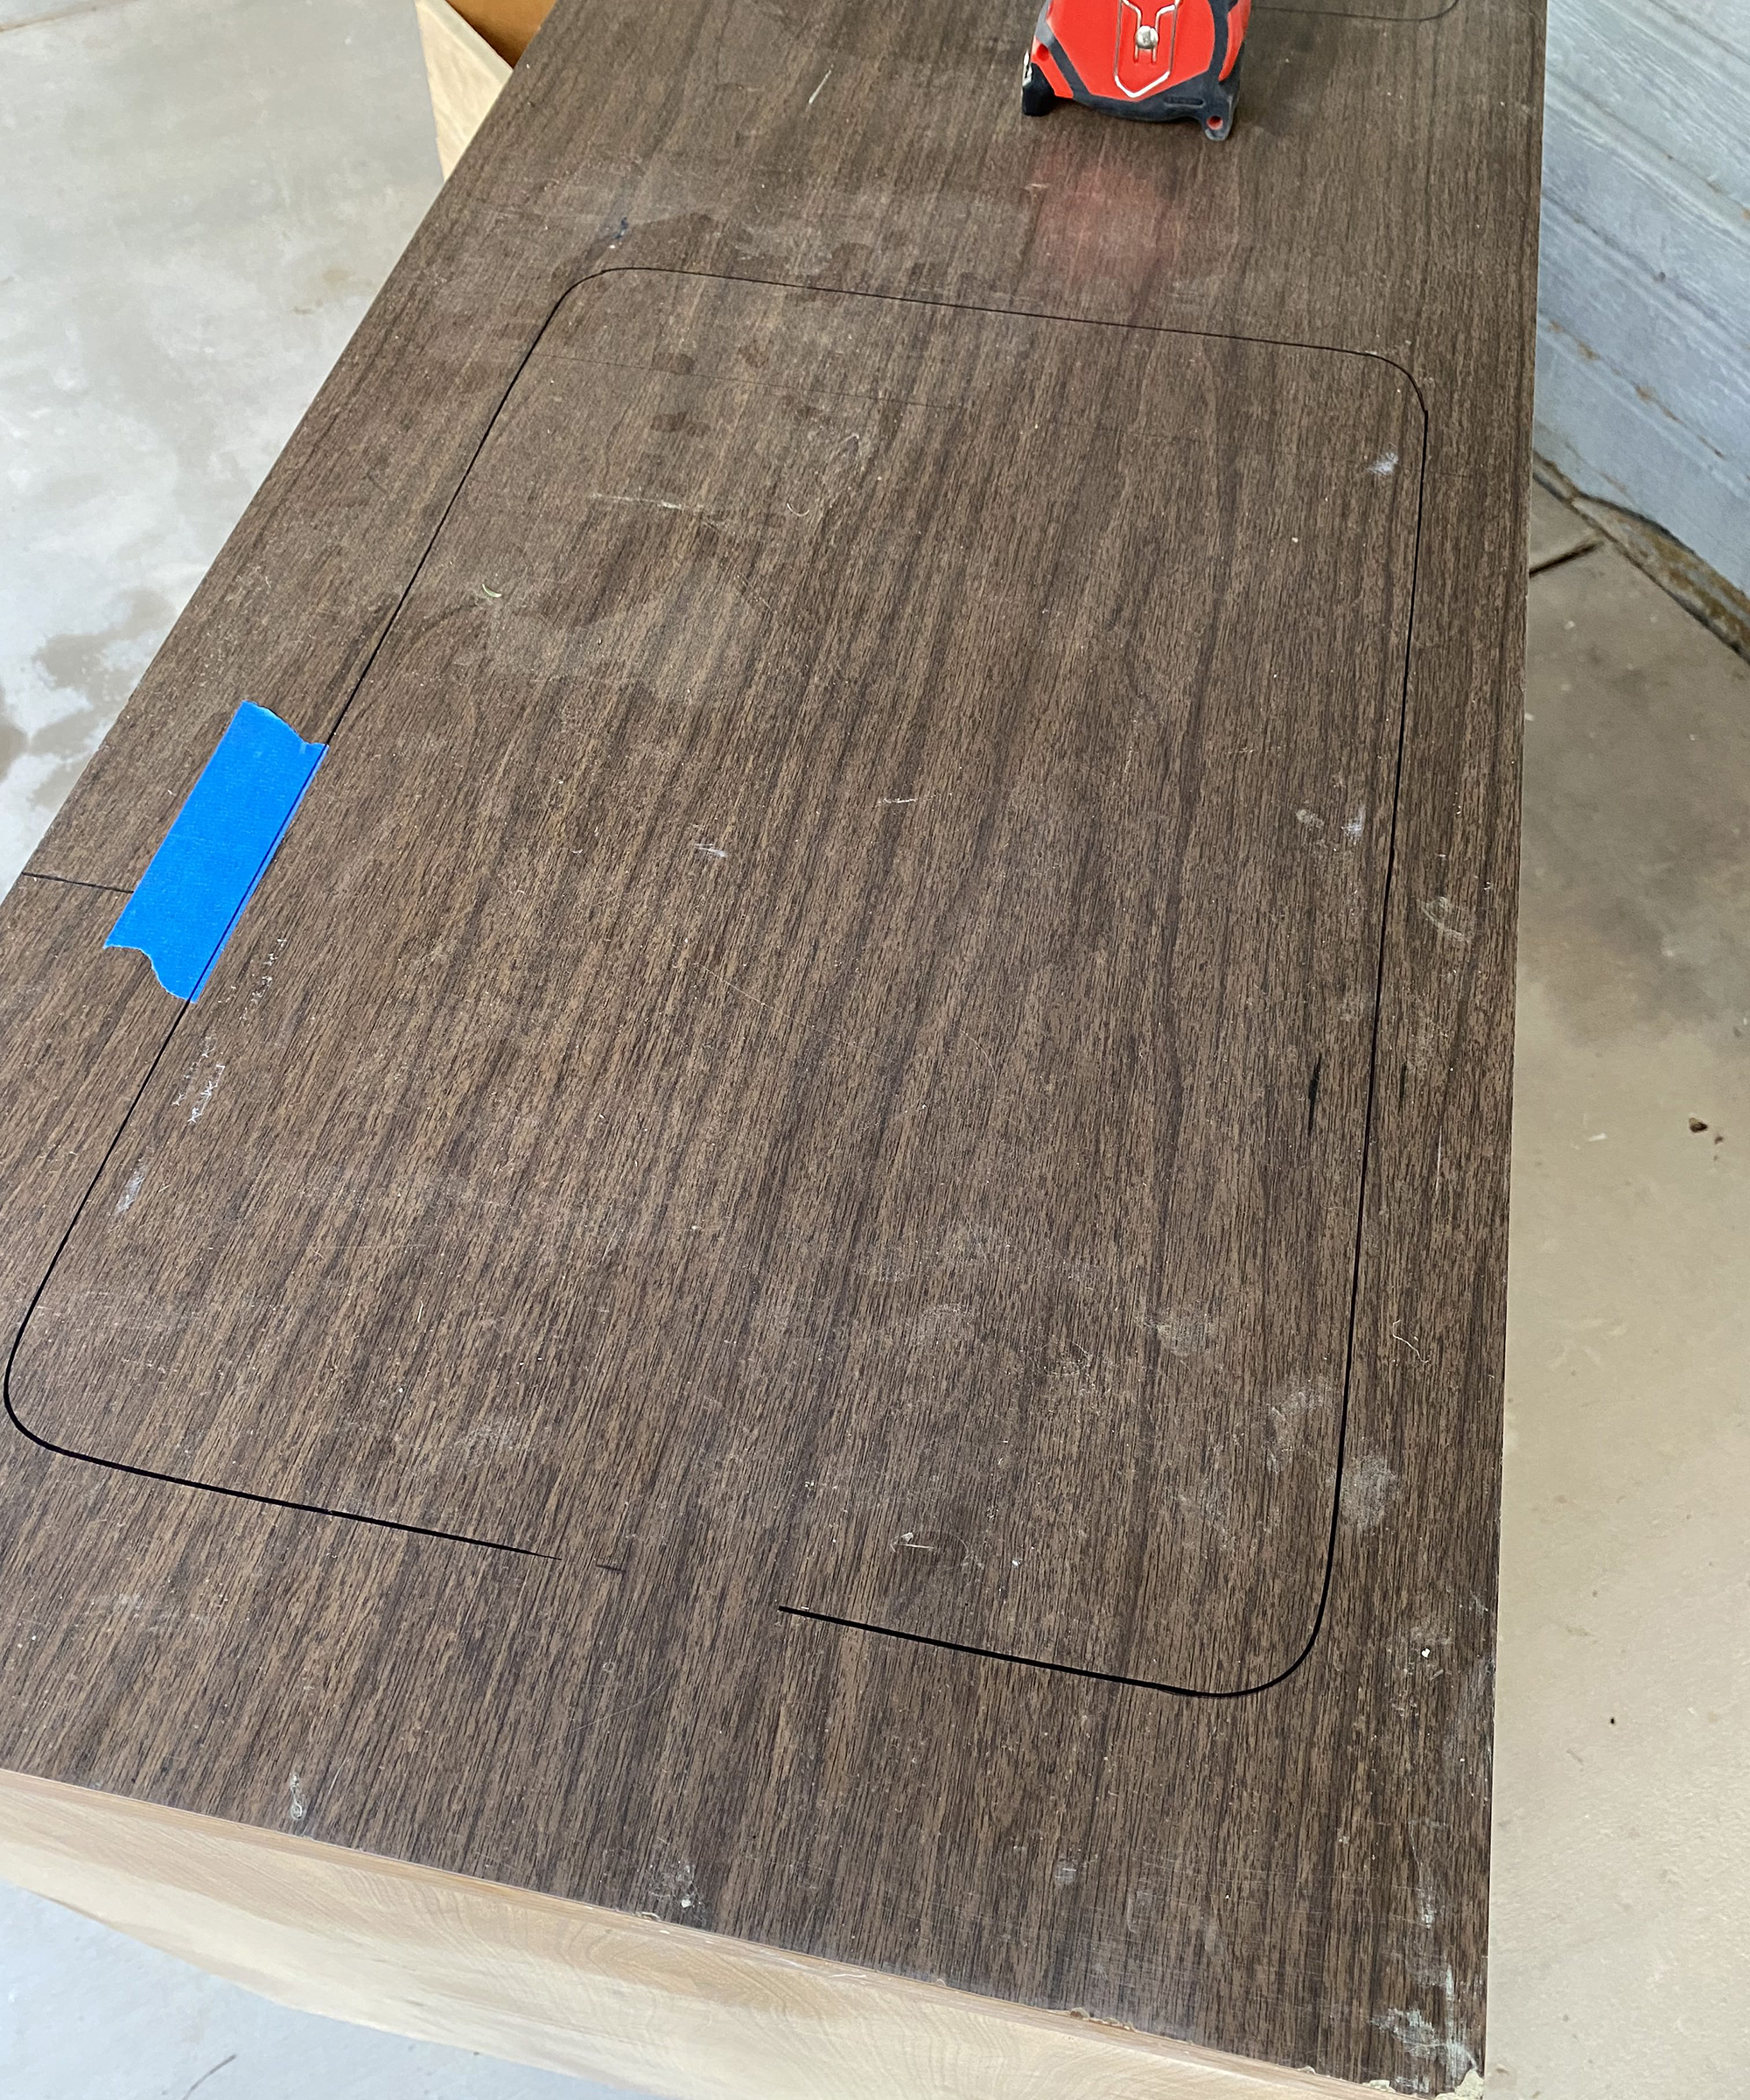
I measured the top of the dresser to find the center and then determined the center for each sink. Per the instructions that came with the sink, I traced around the edge of the sink directly onto the dresser top and added ½” around the whole perimeter.
7. Cut out the space for the sinks
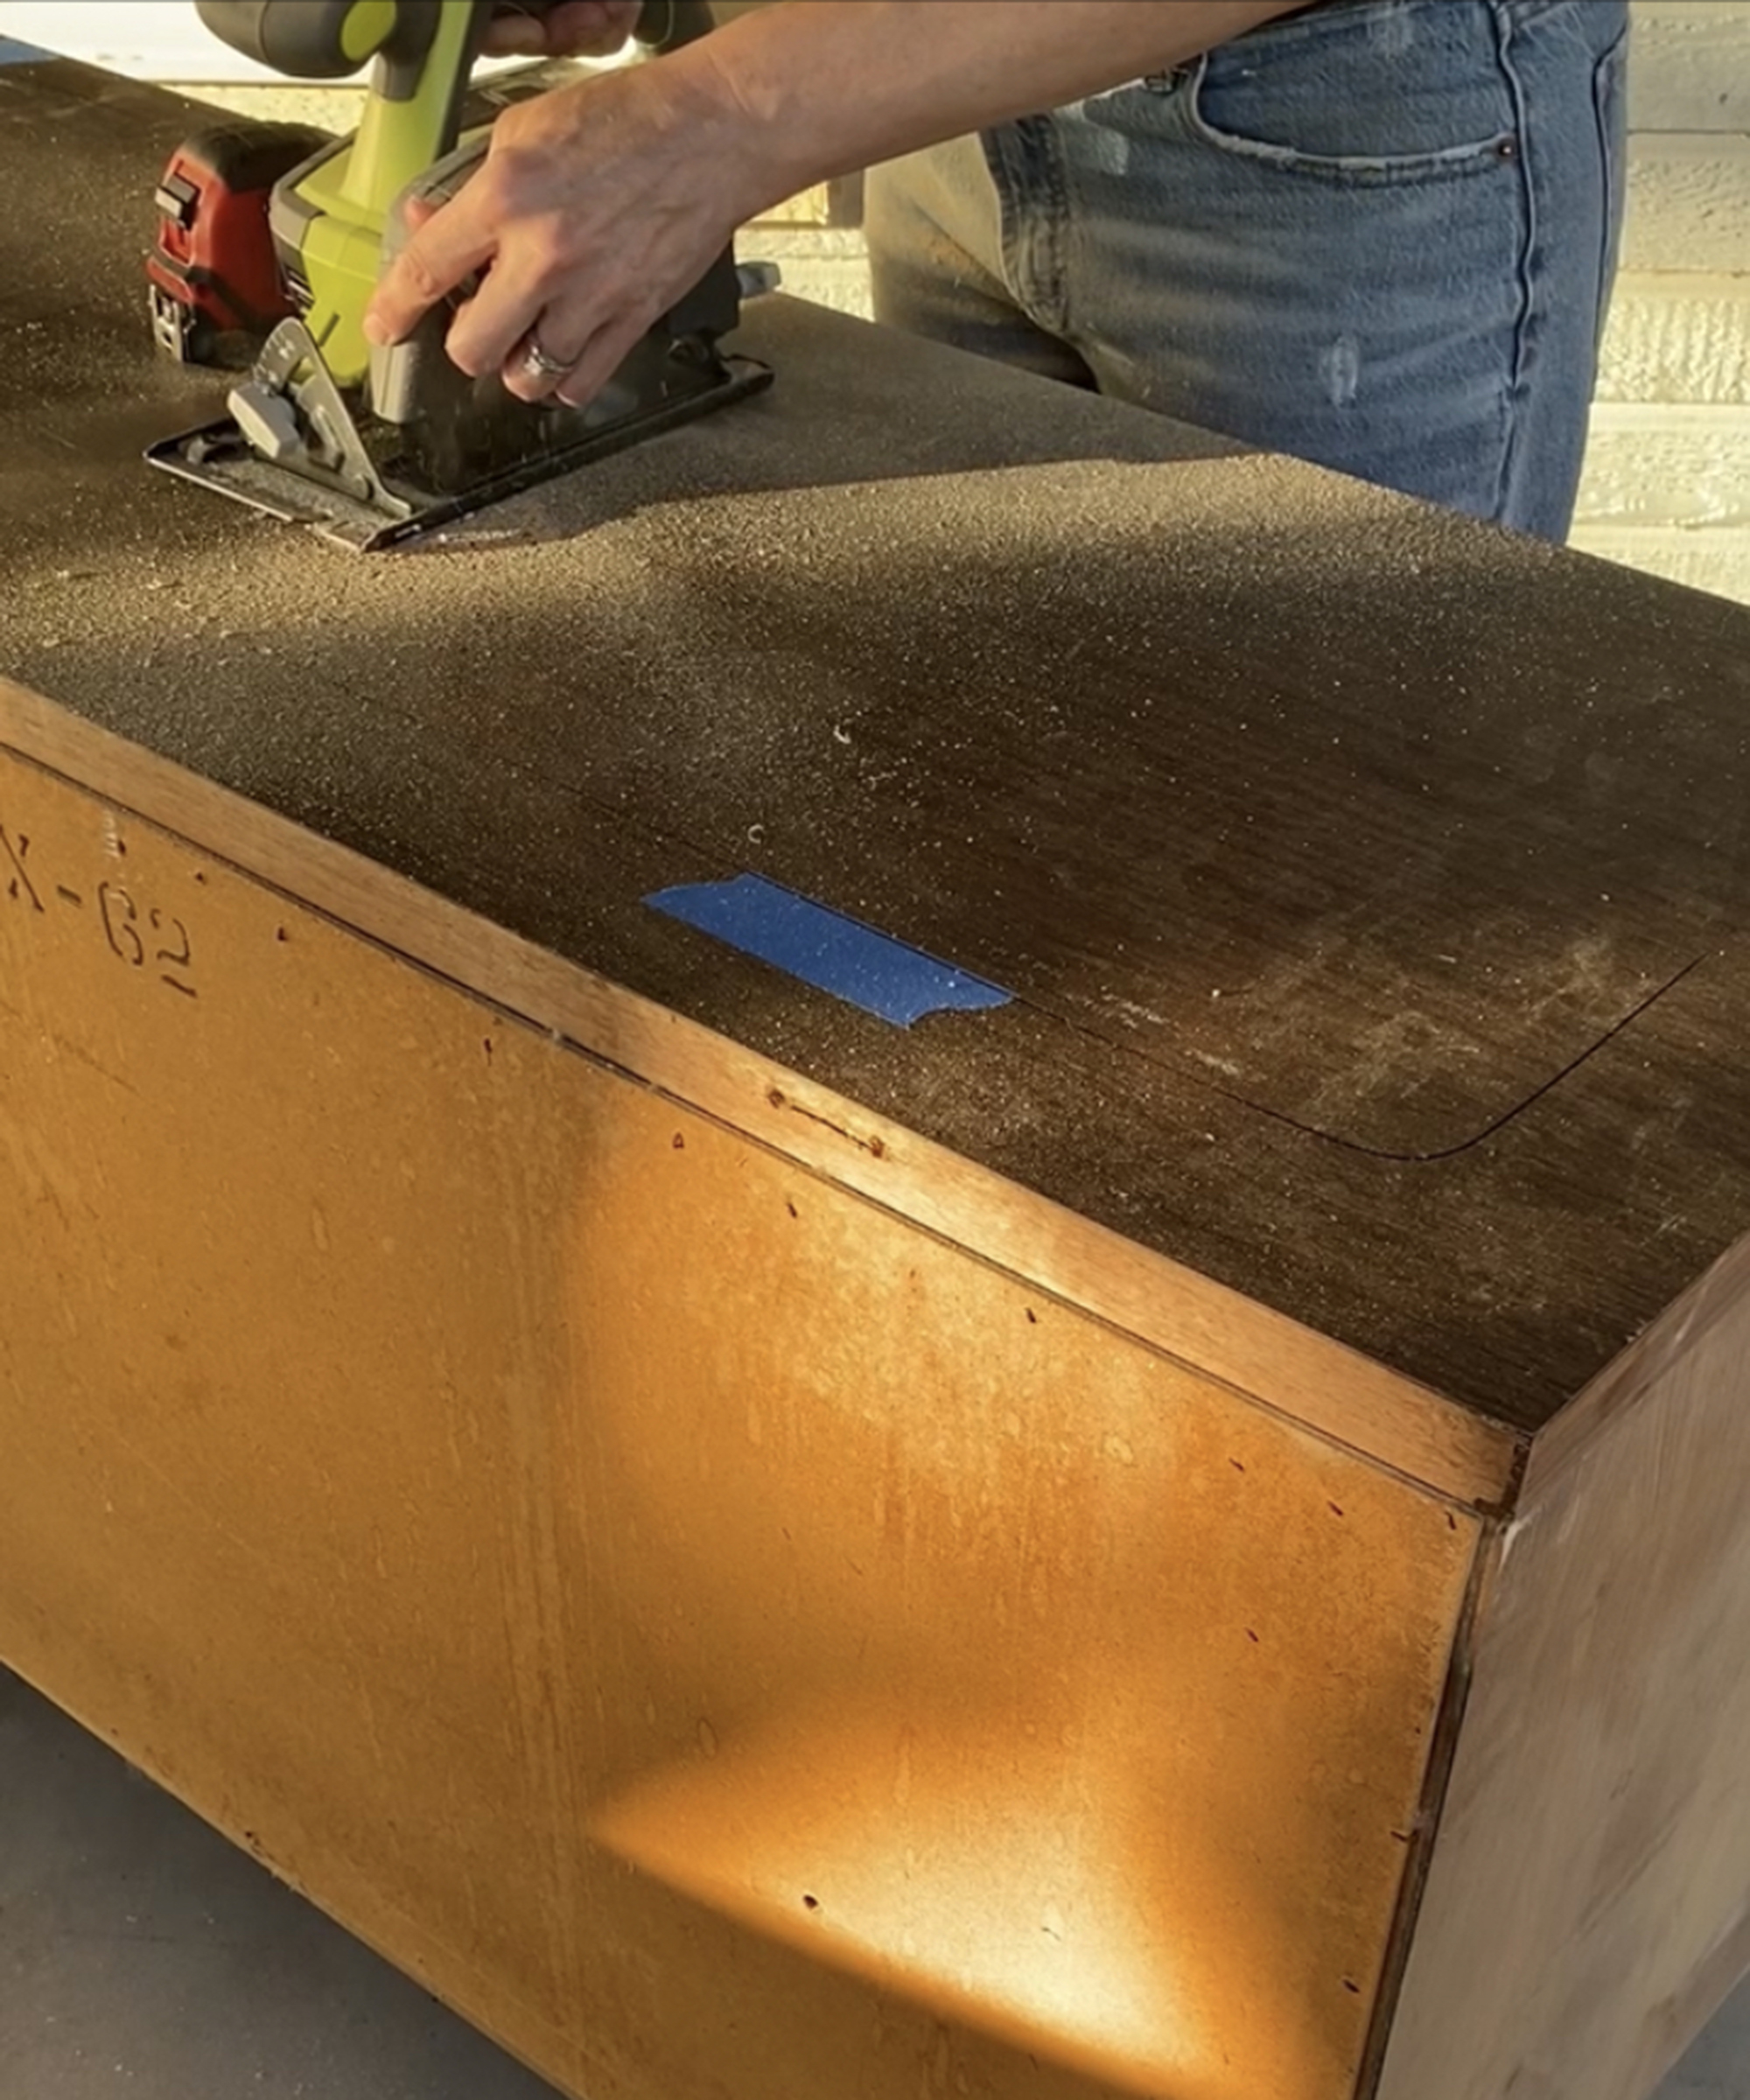
I then used my circular saw to cut into the dresser top and tested to make sure that the sinks fit.
8. Set purposes for all the dresser drawers
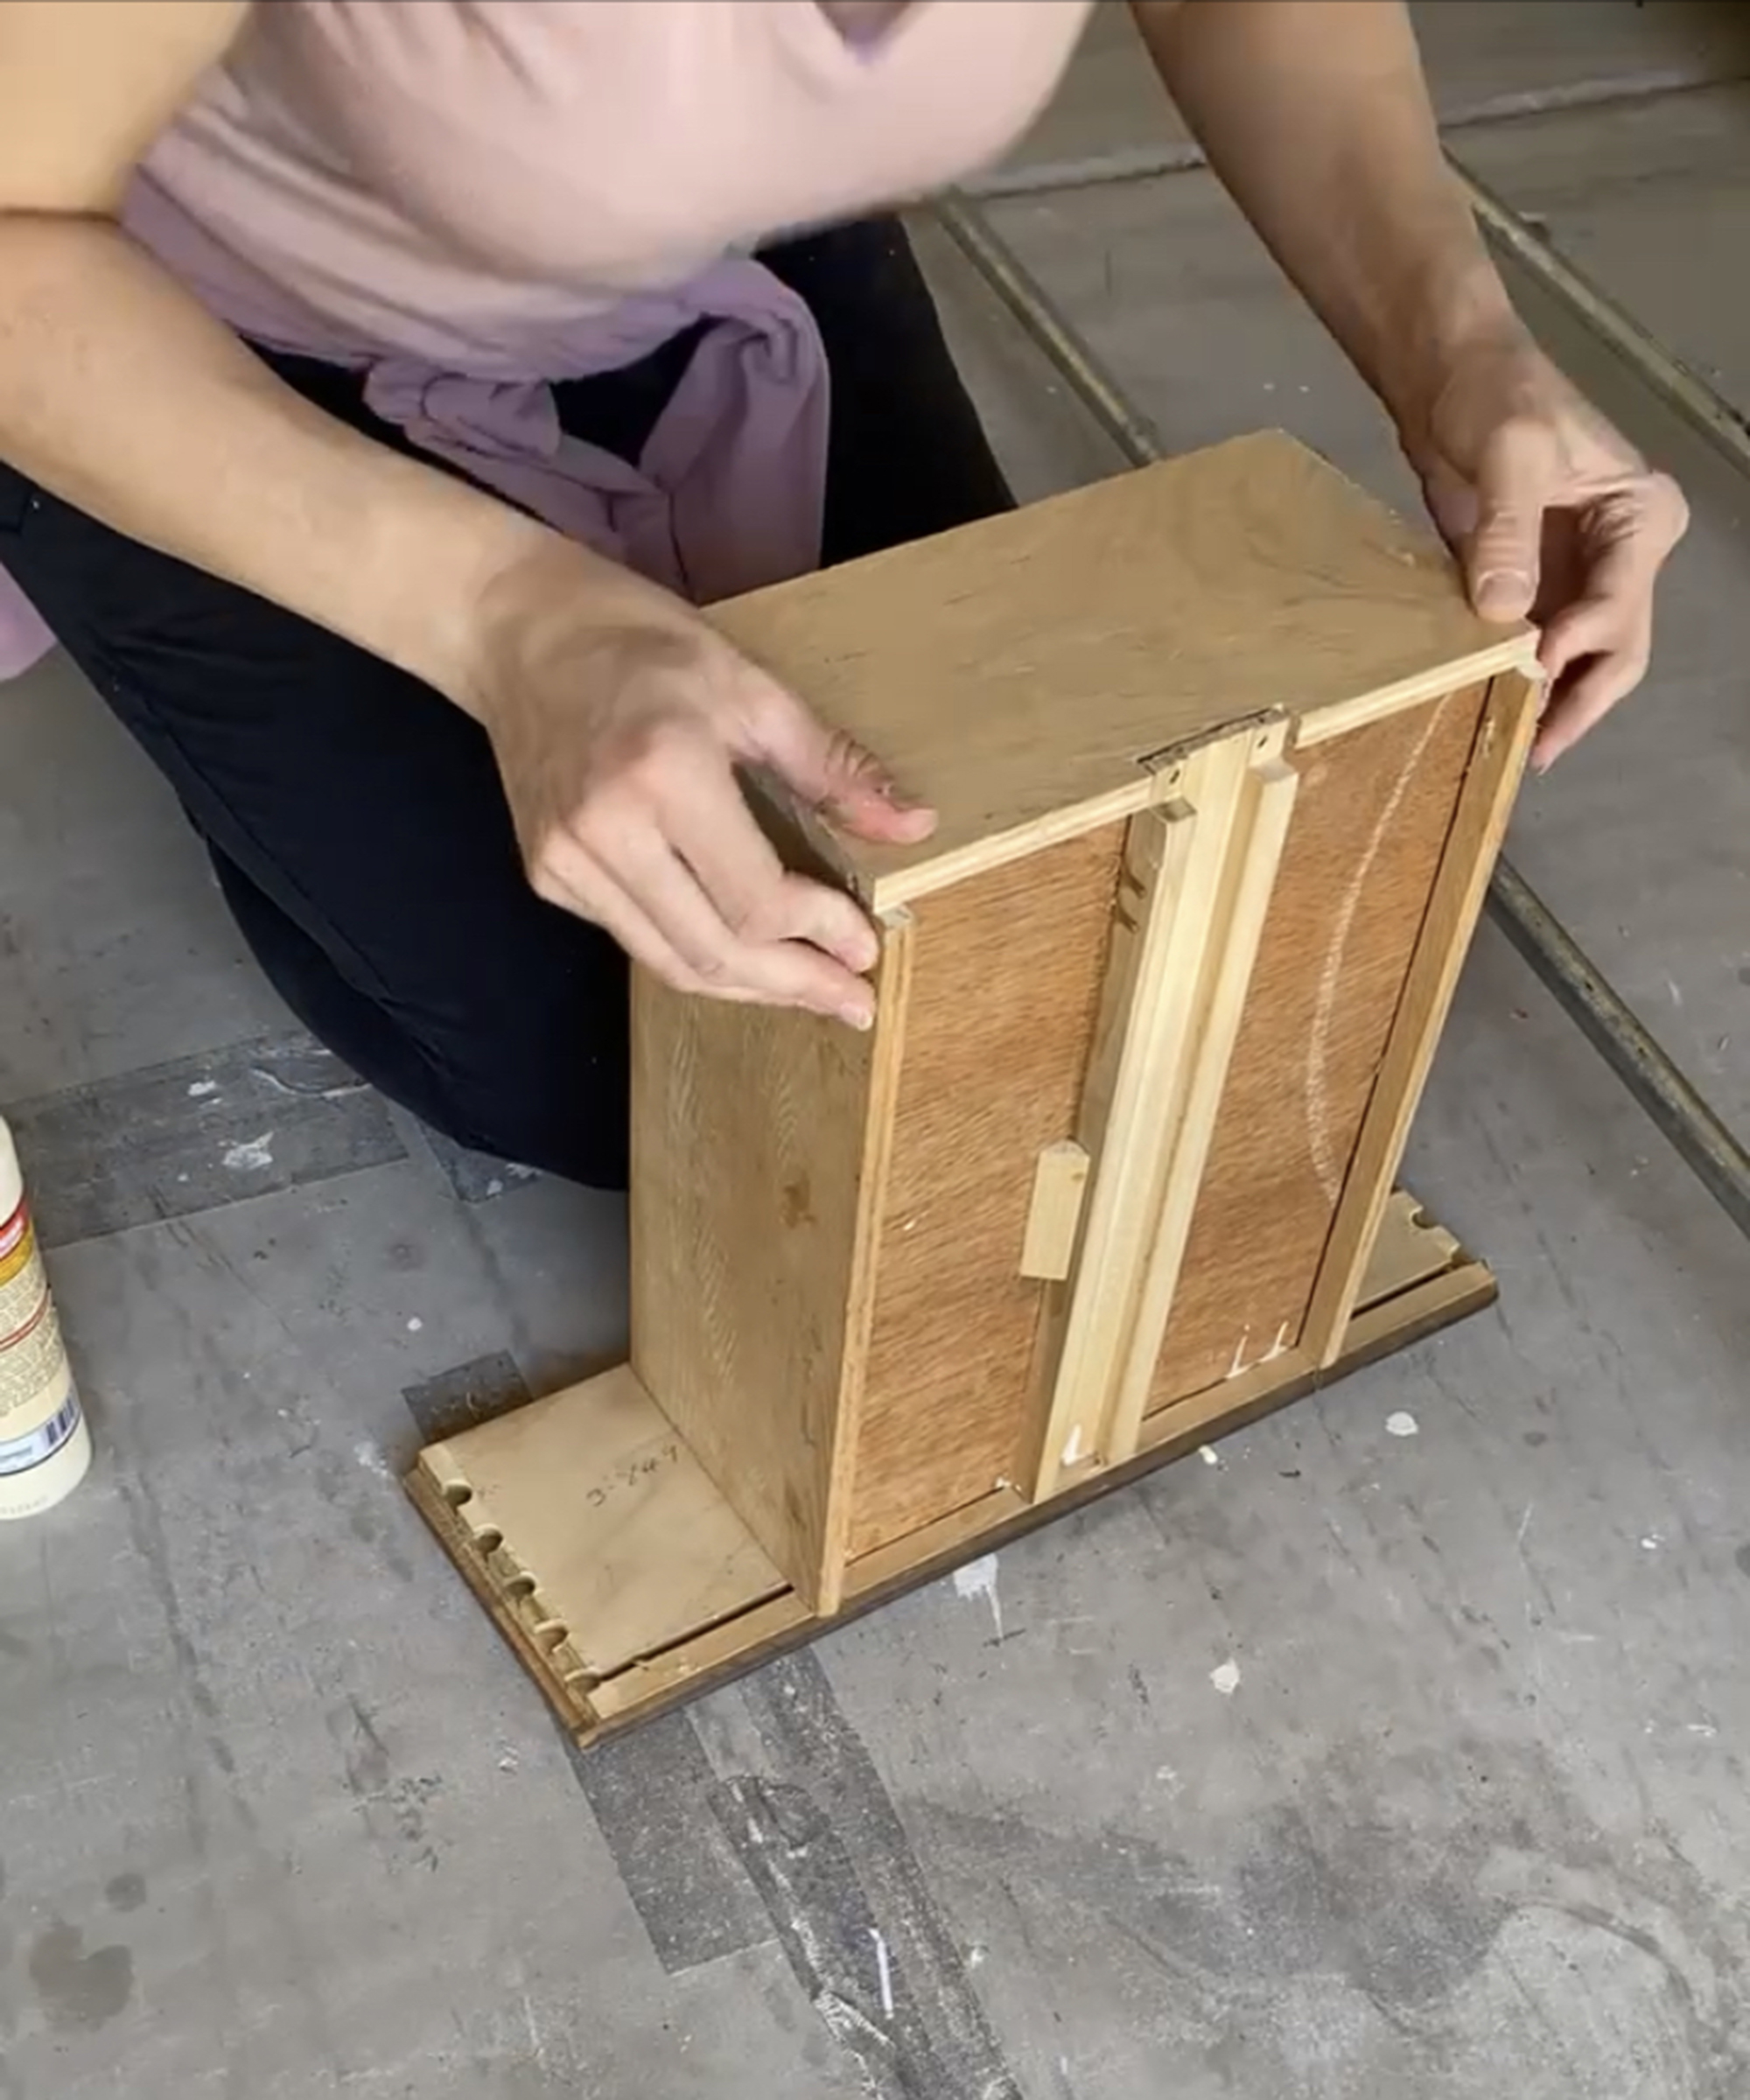
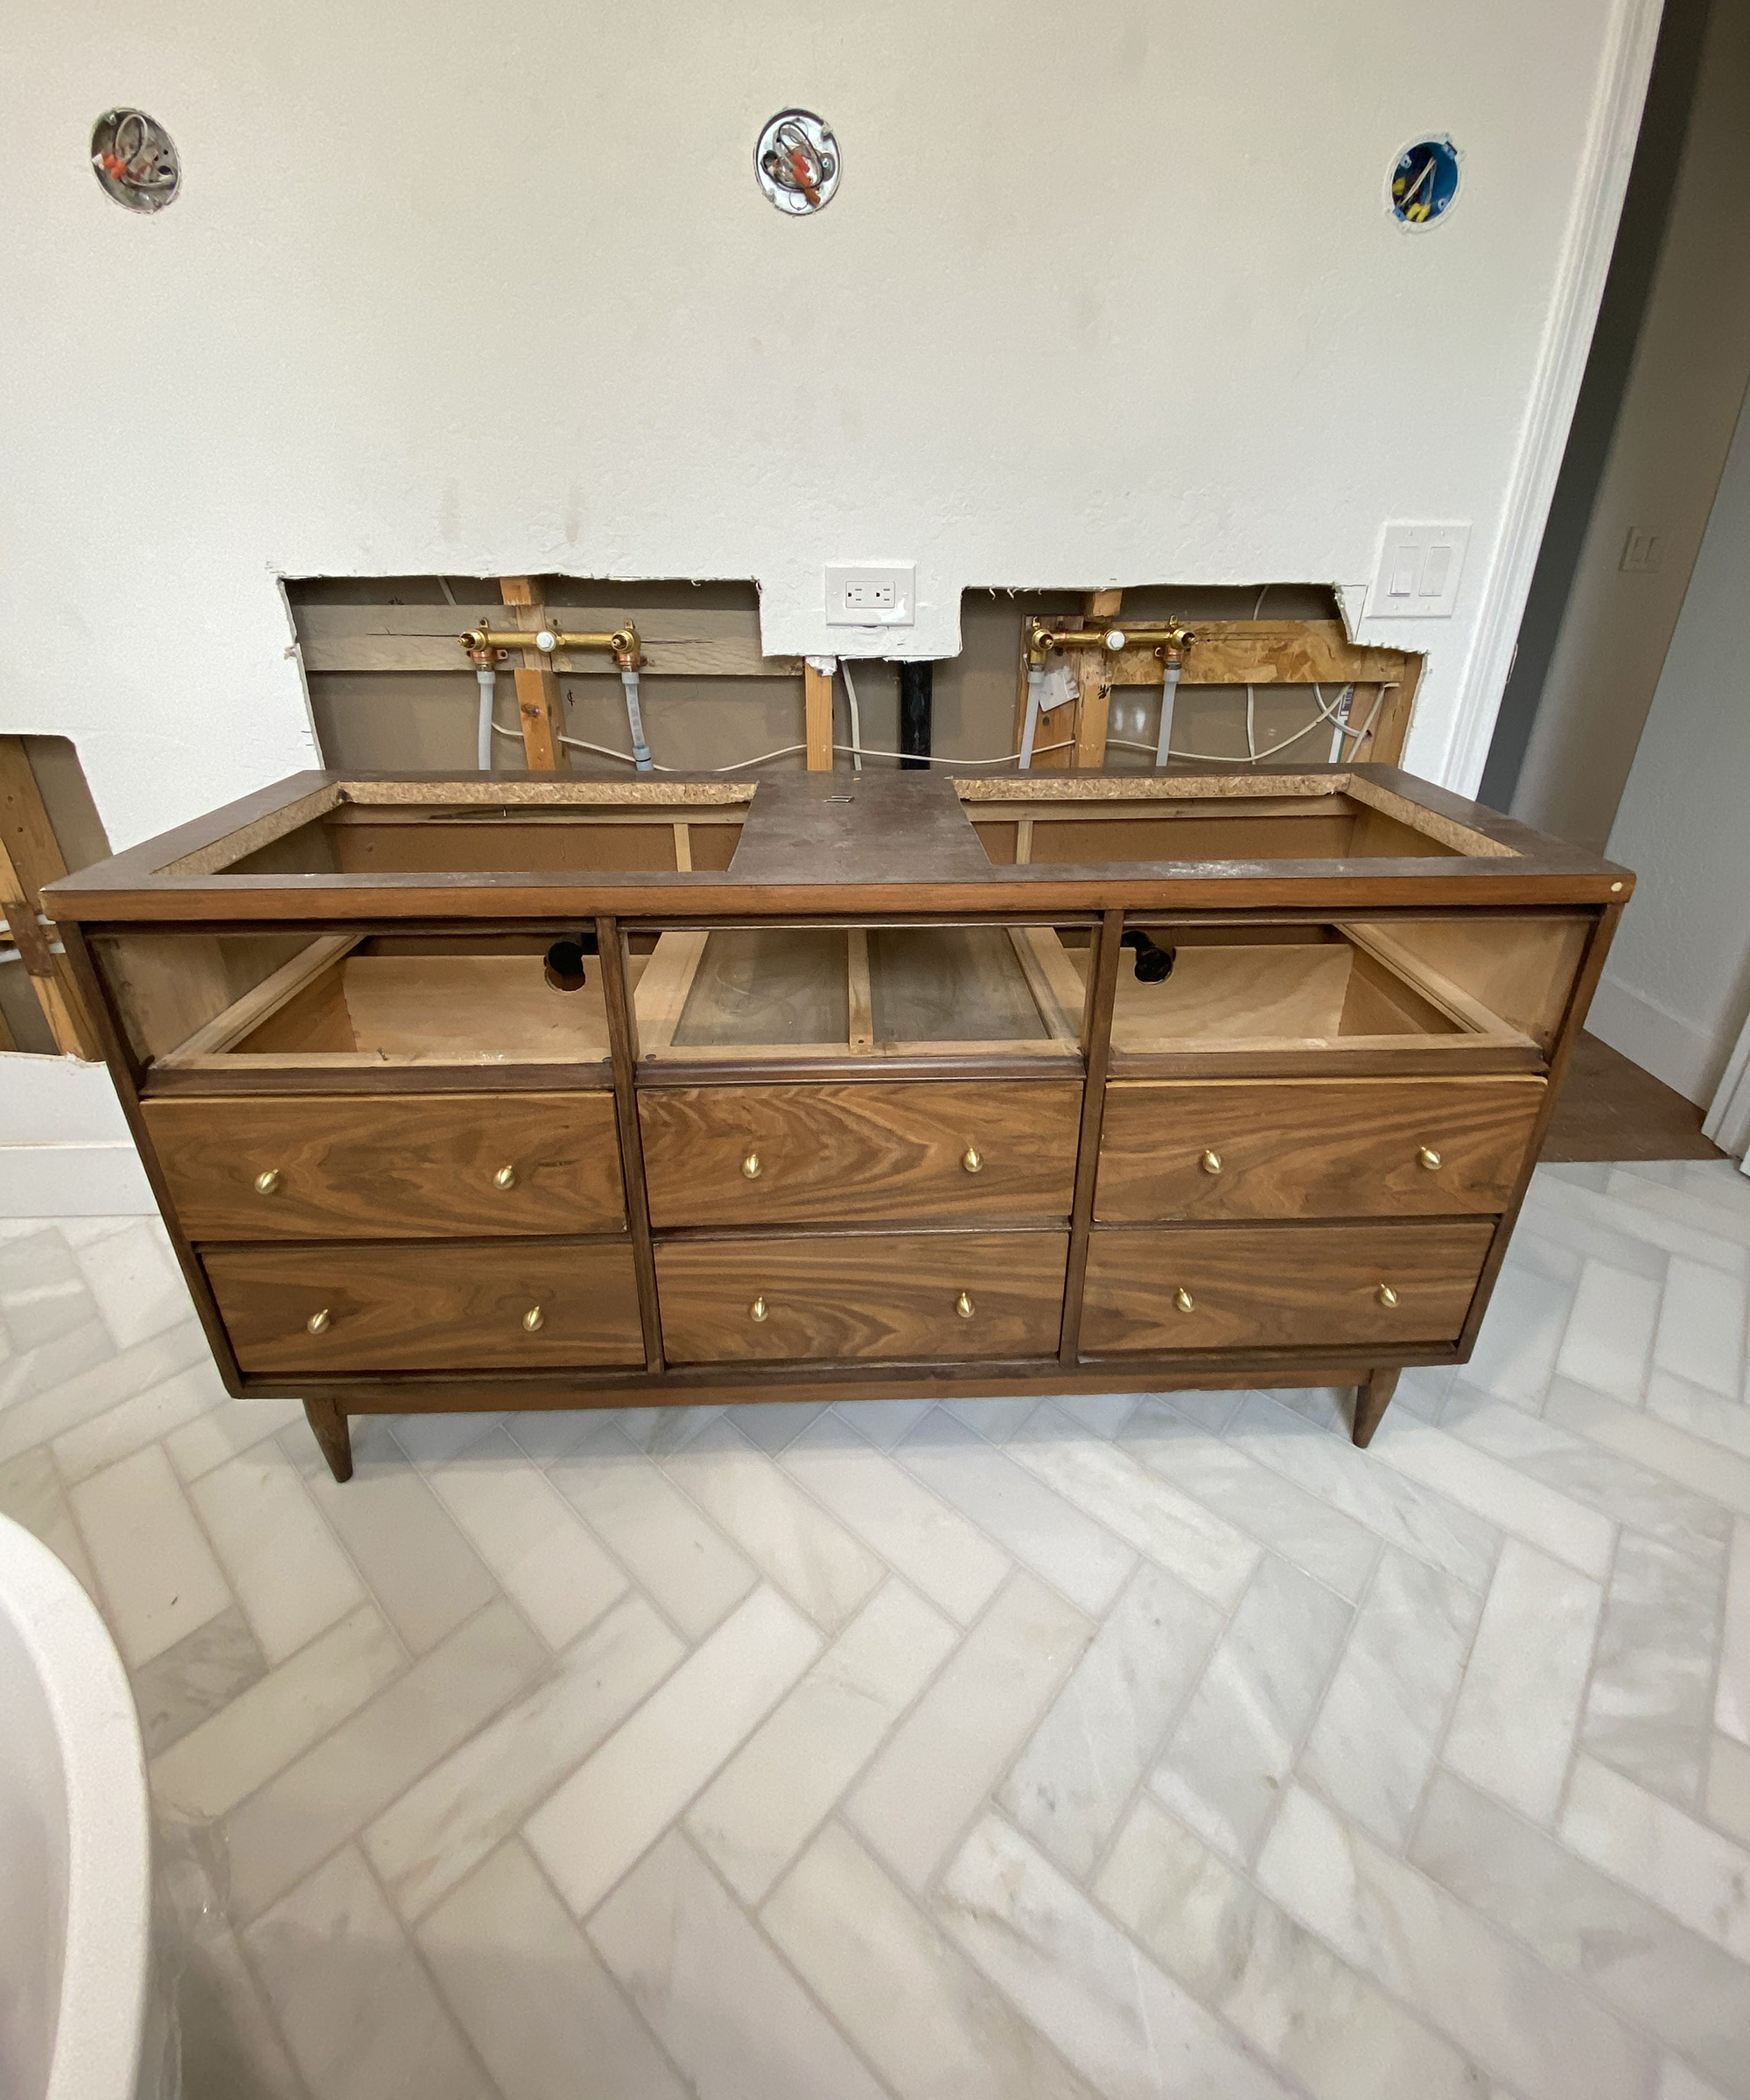
Now that I have two holes on the top of the dresser, I needed to decide what to do with the top three dresser drawers. I knew at the start that the far right and left drawers would be non functional because of the sinks, but in the middle drawer I was able to create a “mini drawer” by disassembling the drawer and moving each drawer side in a few inches to account for the sinks on either side.
The two non functional drawers I just created a faux drawer by screwing the drawer face to the sides of the dresser.
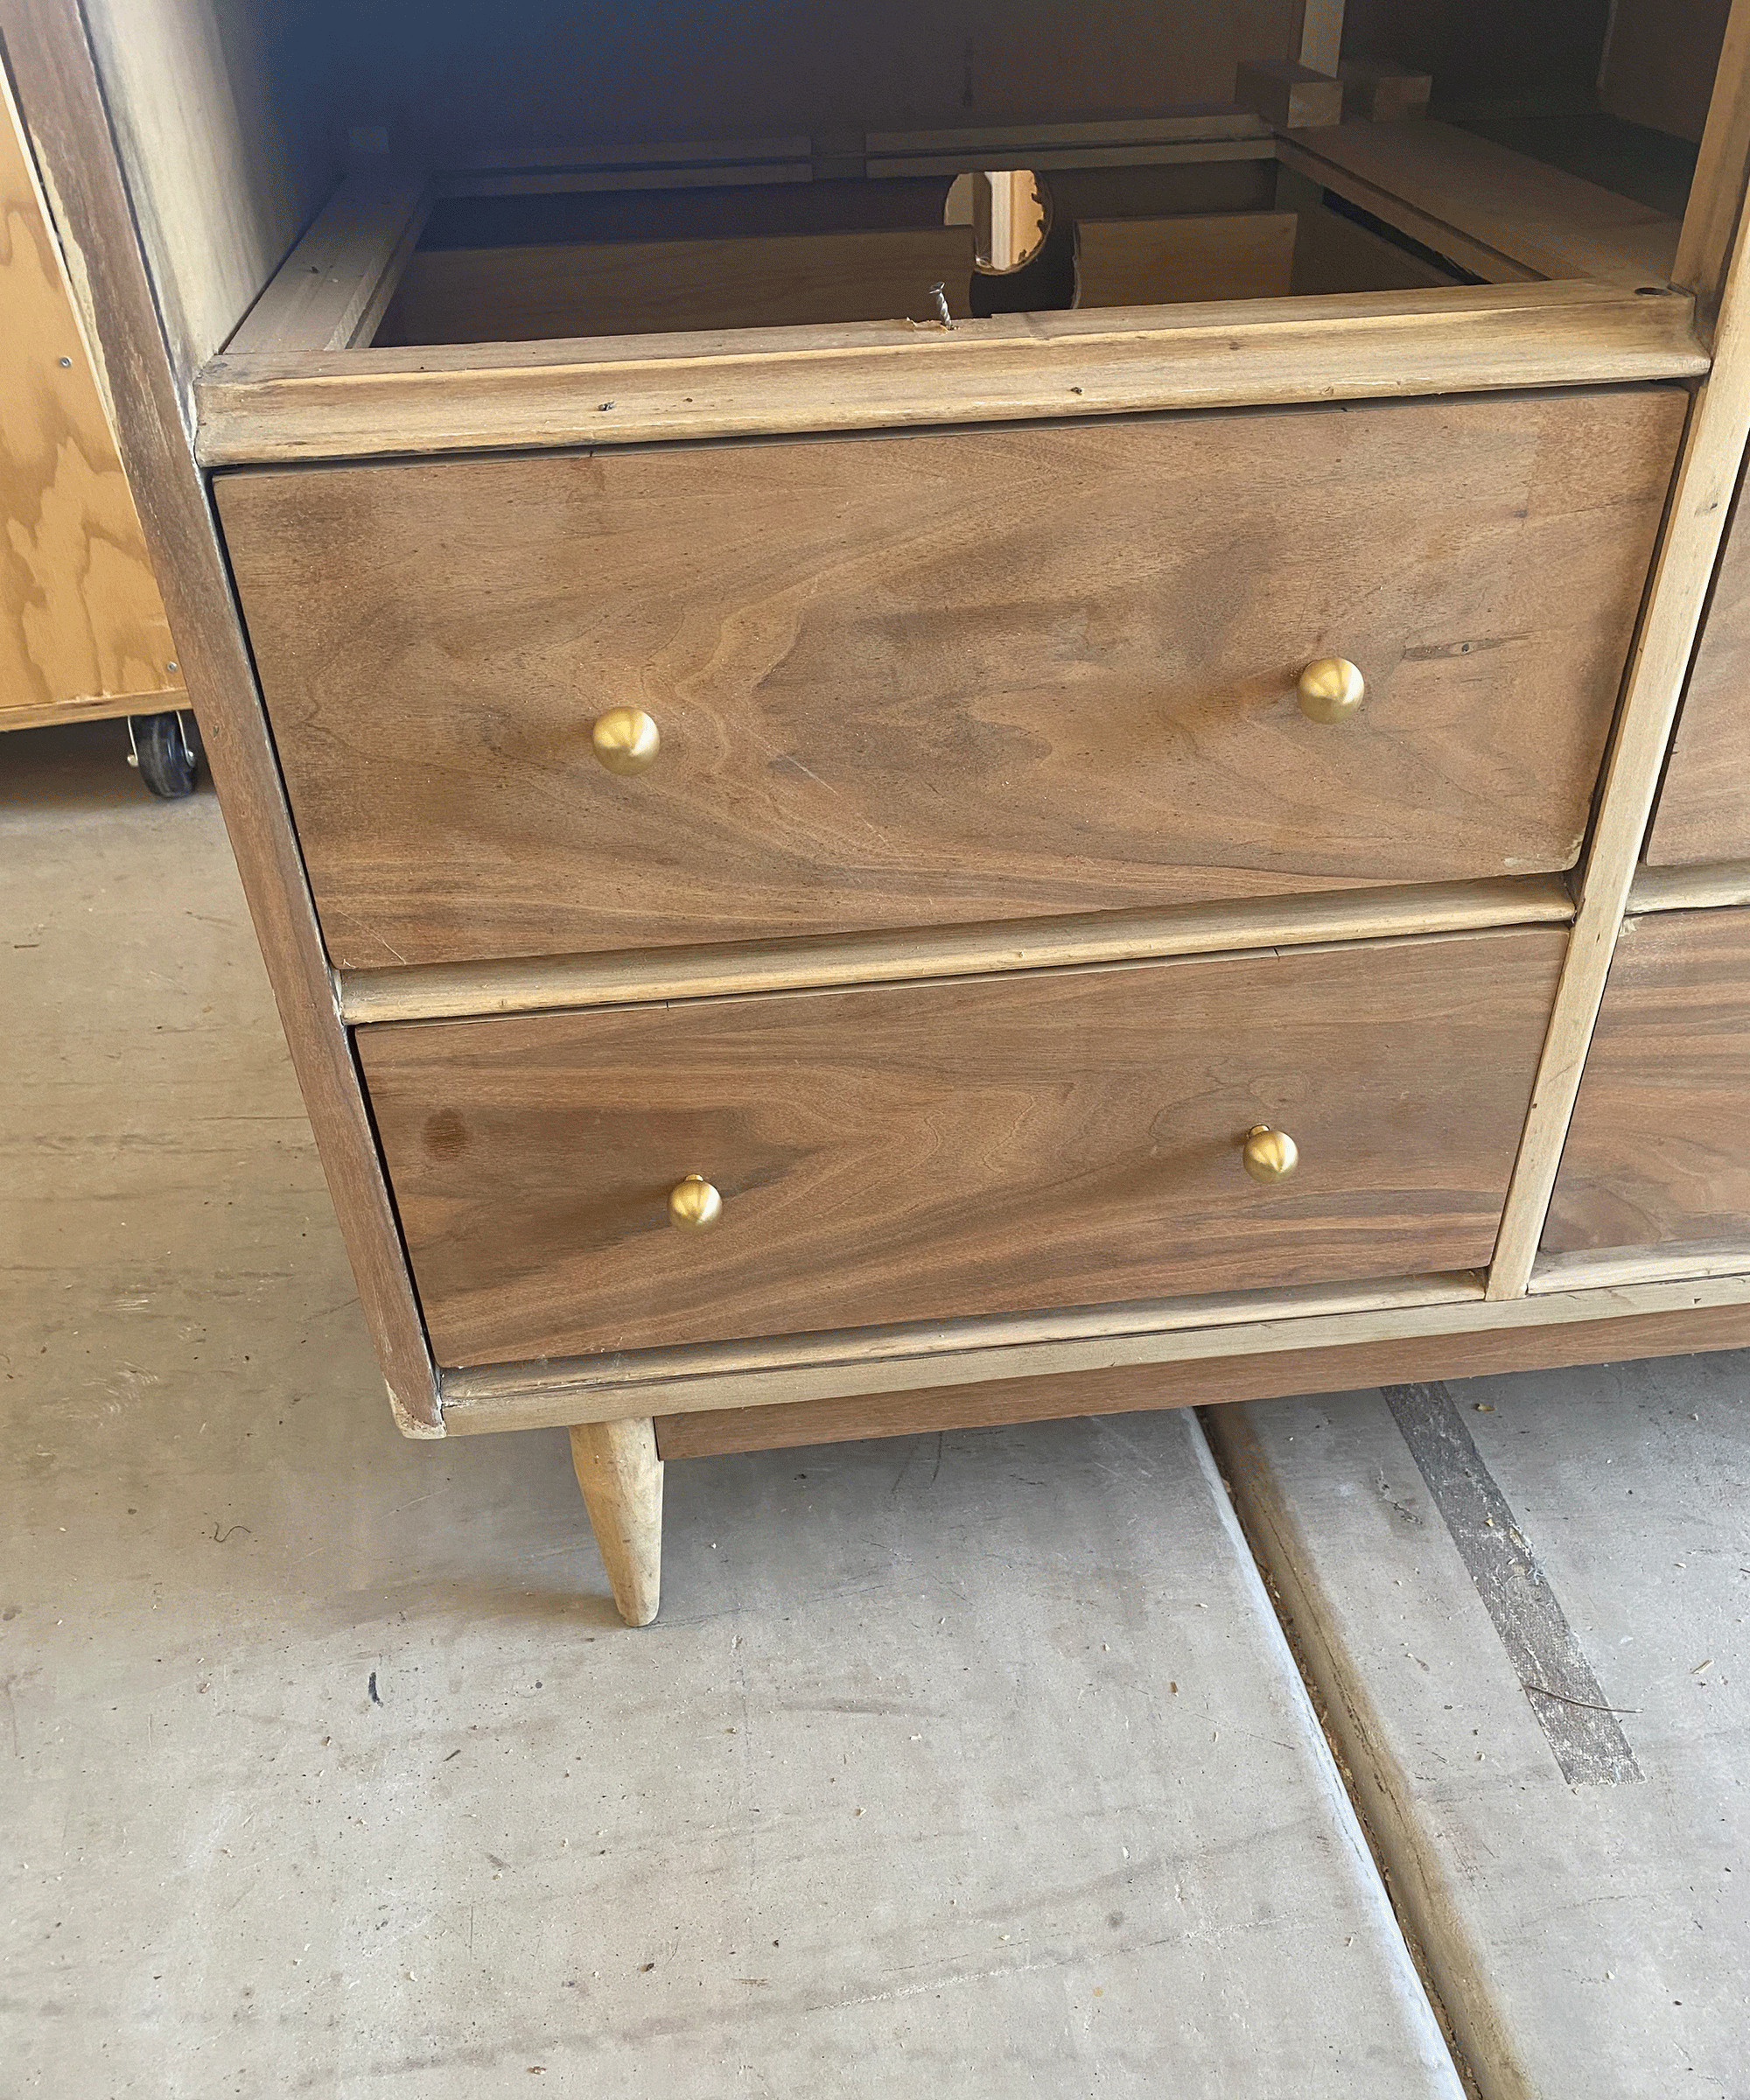
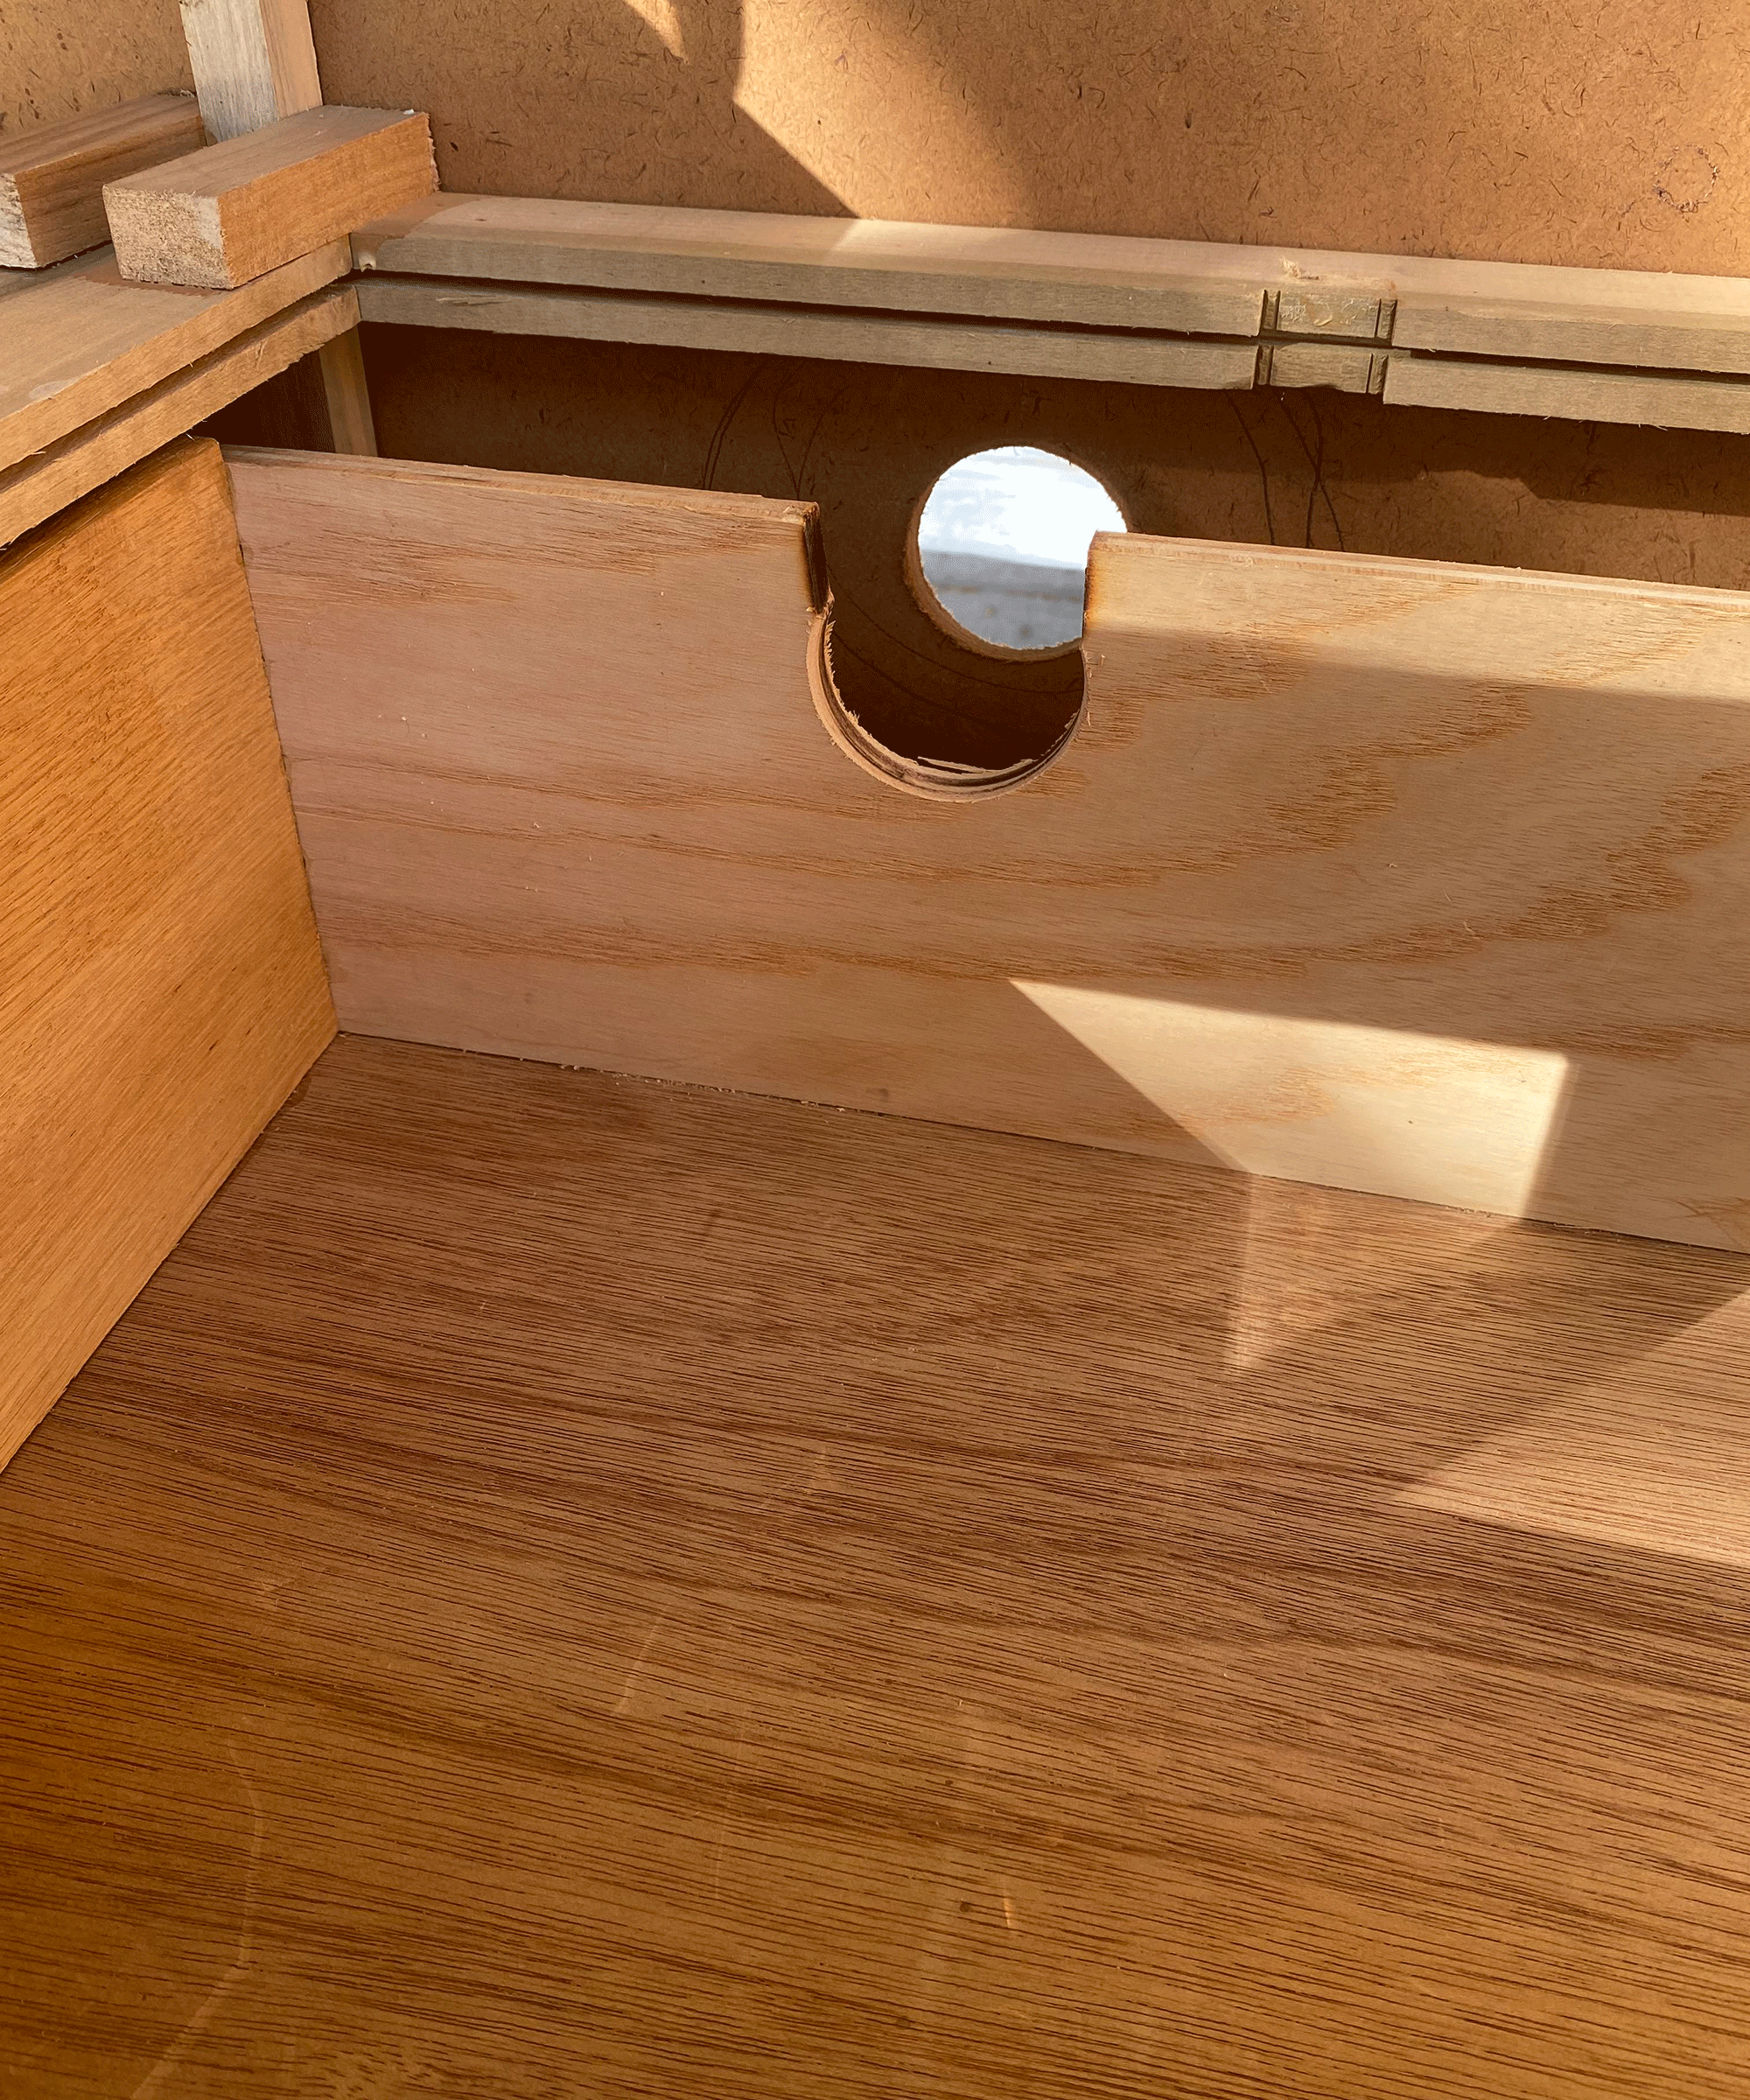
9. Make room for the p-trap
I also drilled a hole in the back of the dresser for the eventual p-trap and added cute brass knob hardware to each drawer.
10. Start staining
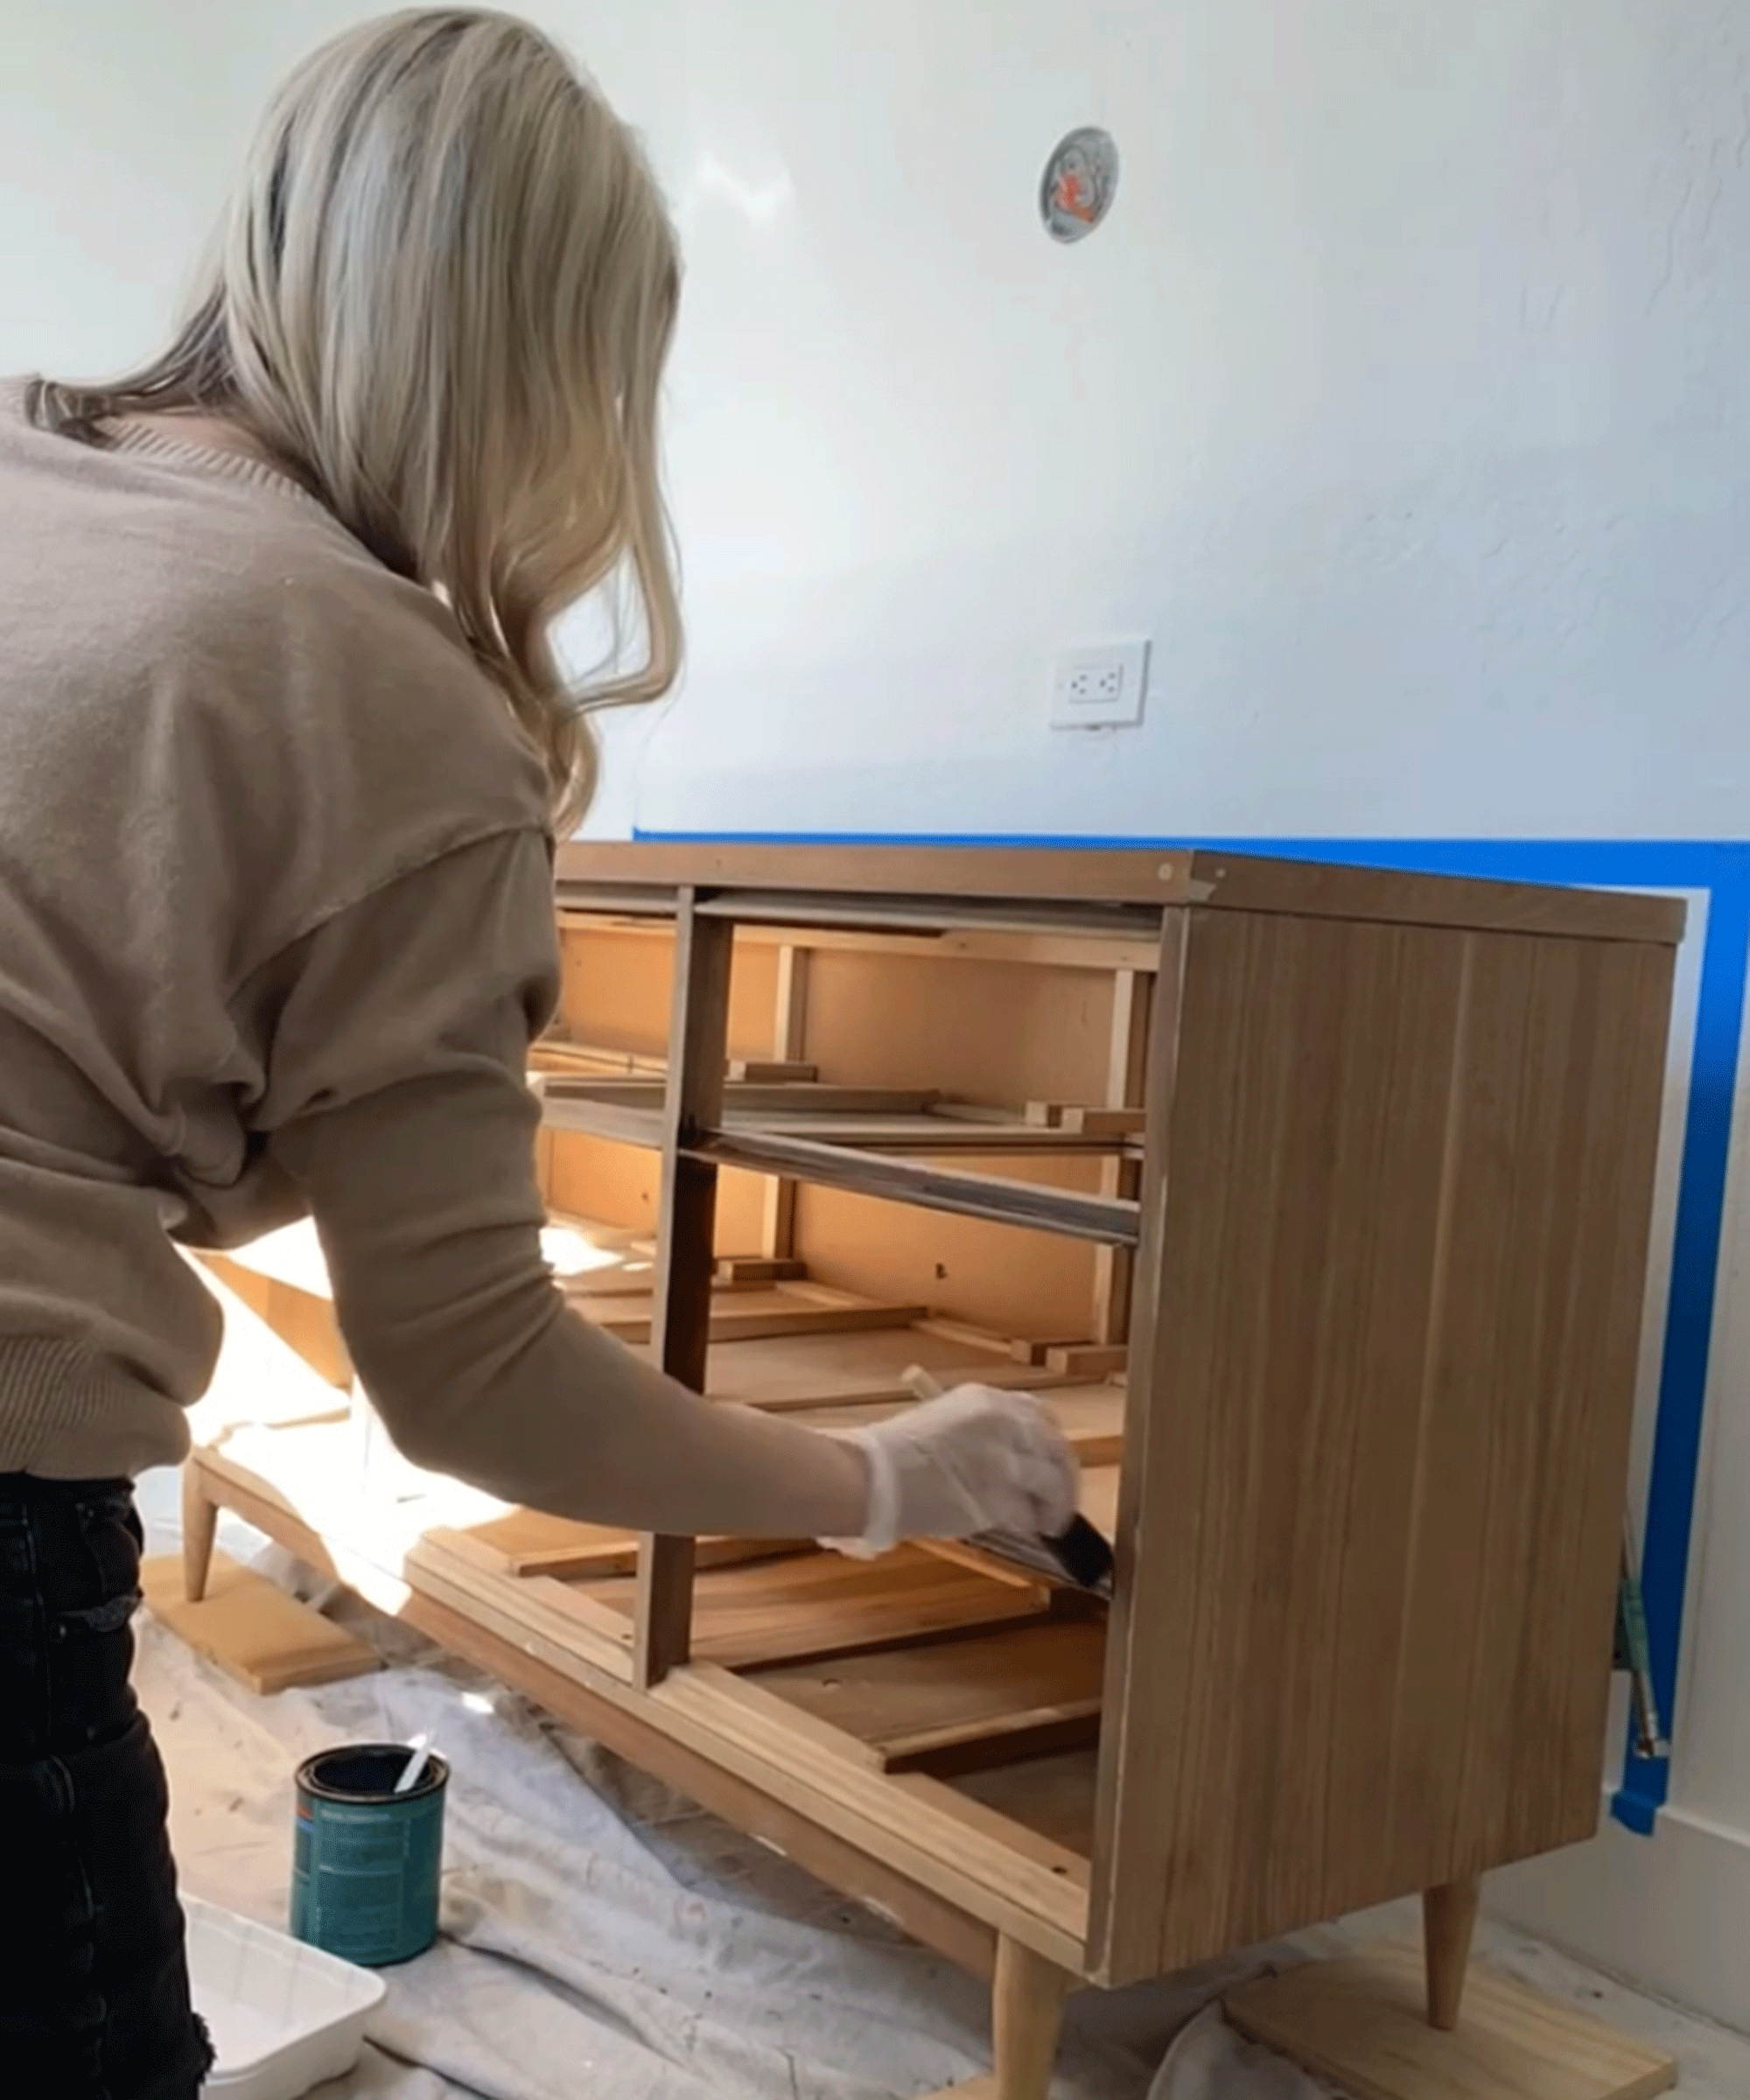
Once I had the dresser functional and prepared for plumbing I moved on to staining. I discovered that the veneer made it a little trickier to work with. I ended up using Minwax Gel Stain in Walnut for the front of the dresser where I was able to sand it to raw wood, and simply Polycrylic for the sides and drawer fronts.
I learned that the gel stain turned the veneer an orangey color so I avoided stain on those areas. After staining, I went over the entire dresser with two additional coats of polycrylic to protect it from any potential water stains.
11. Attaching the p-trap and fittings
This was all the work I could do up to this point. I hired a plumber to attach a p-trap and fittings to the sink, but before that I had a fabricator come out to measure for a quartz stone countertop.
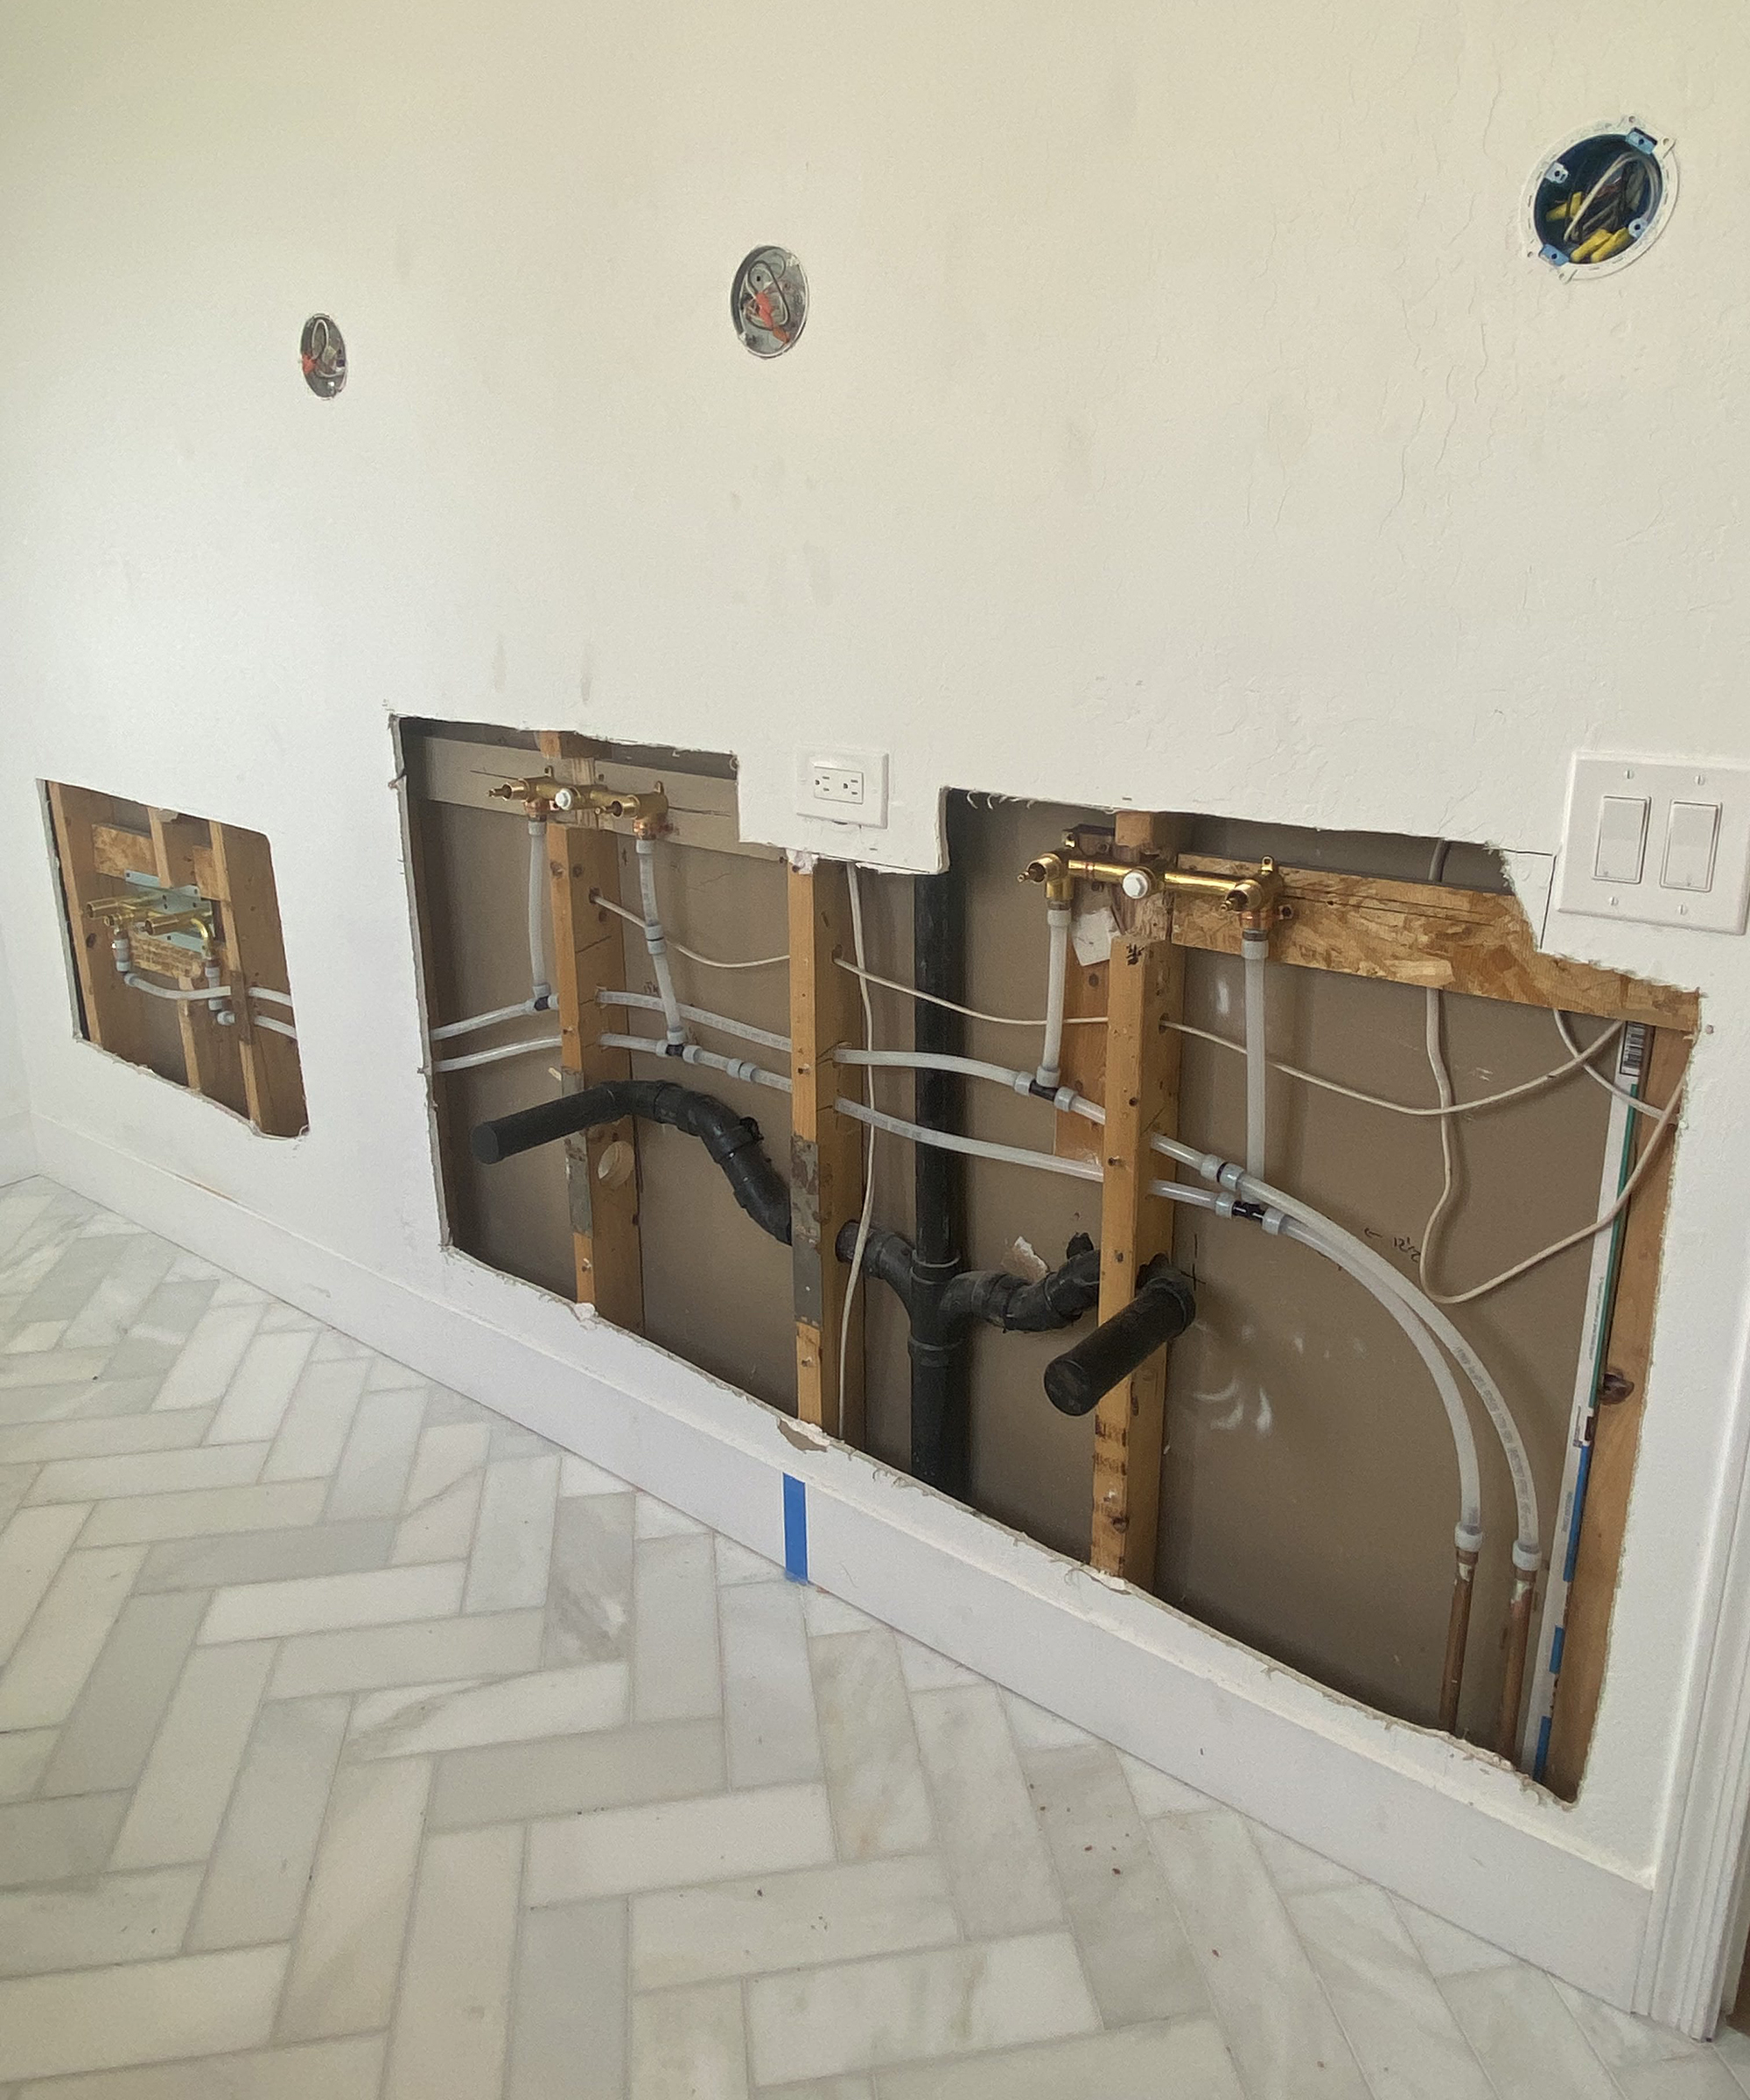
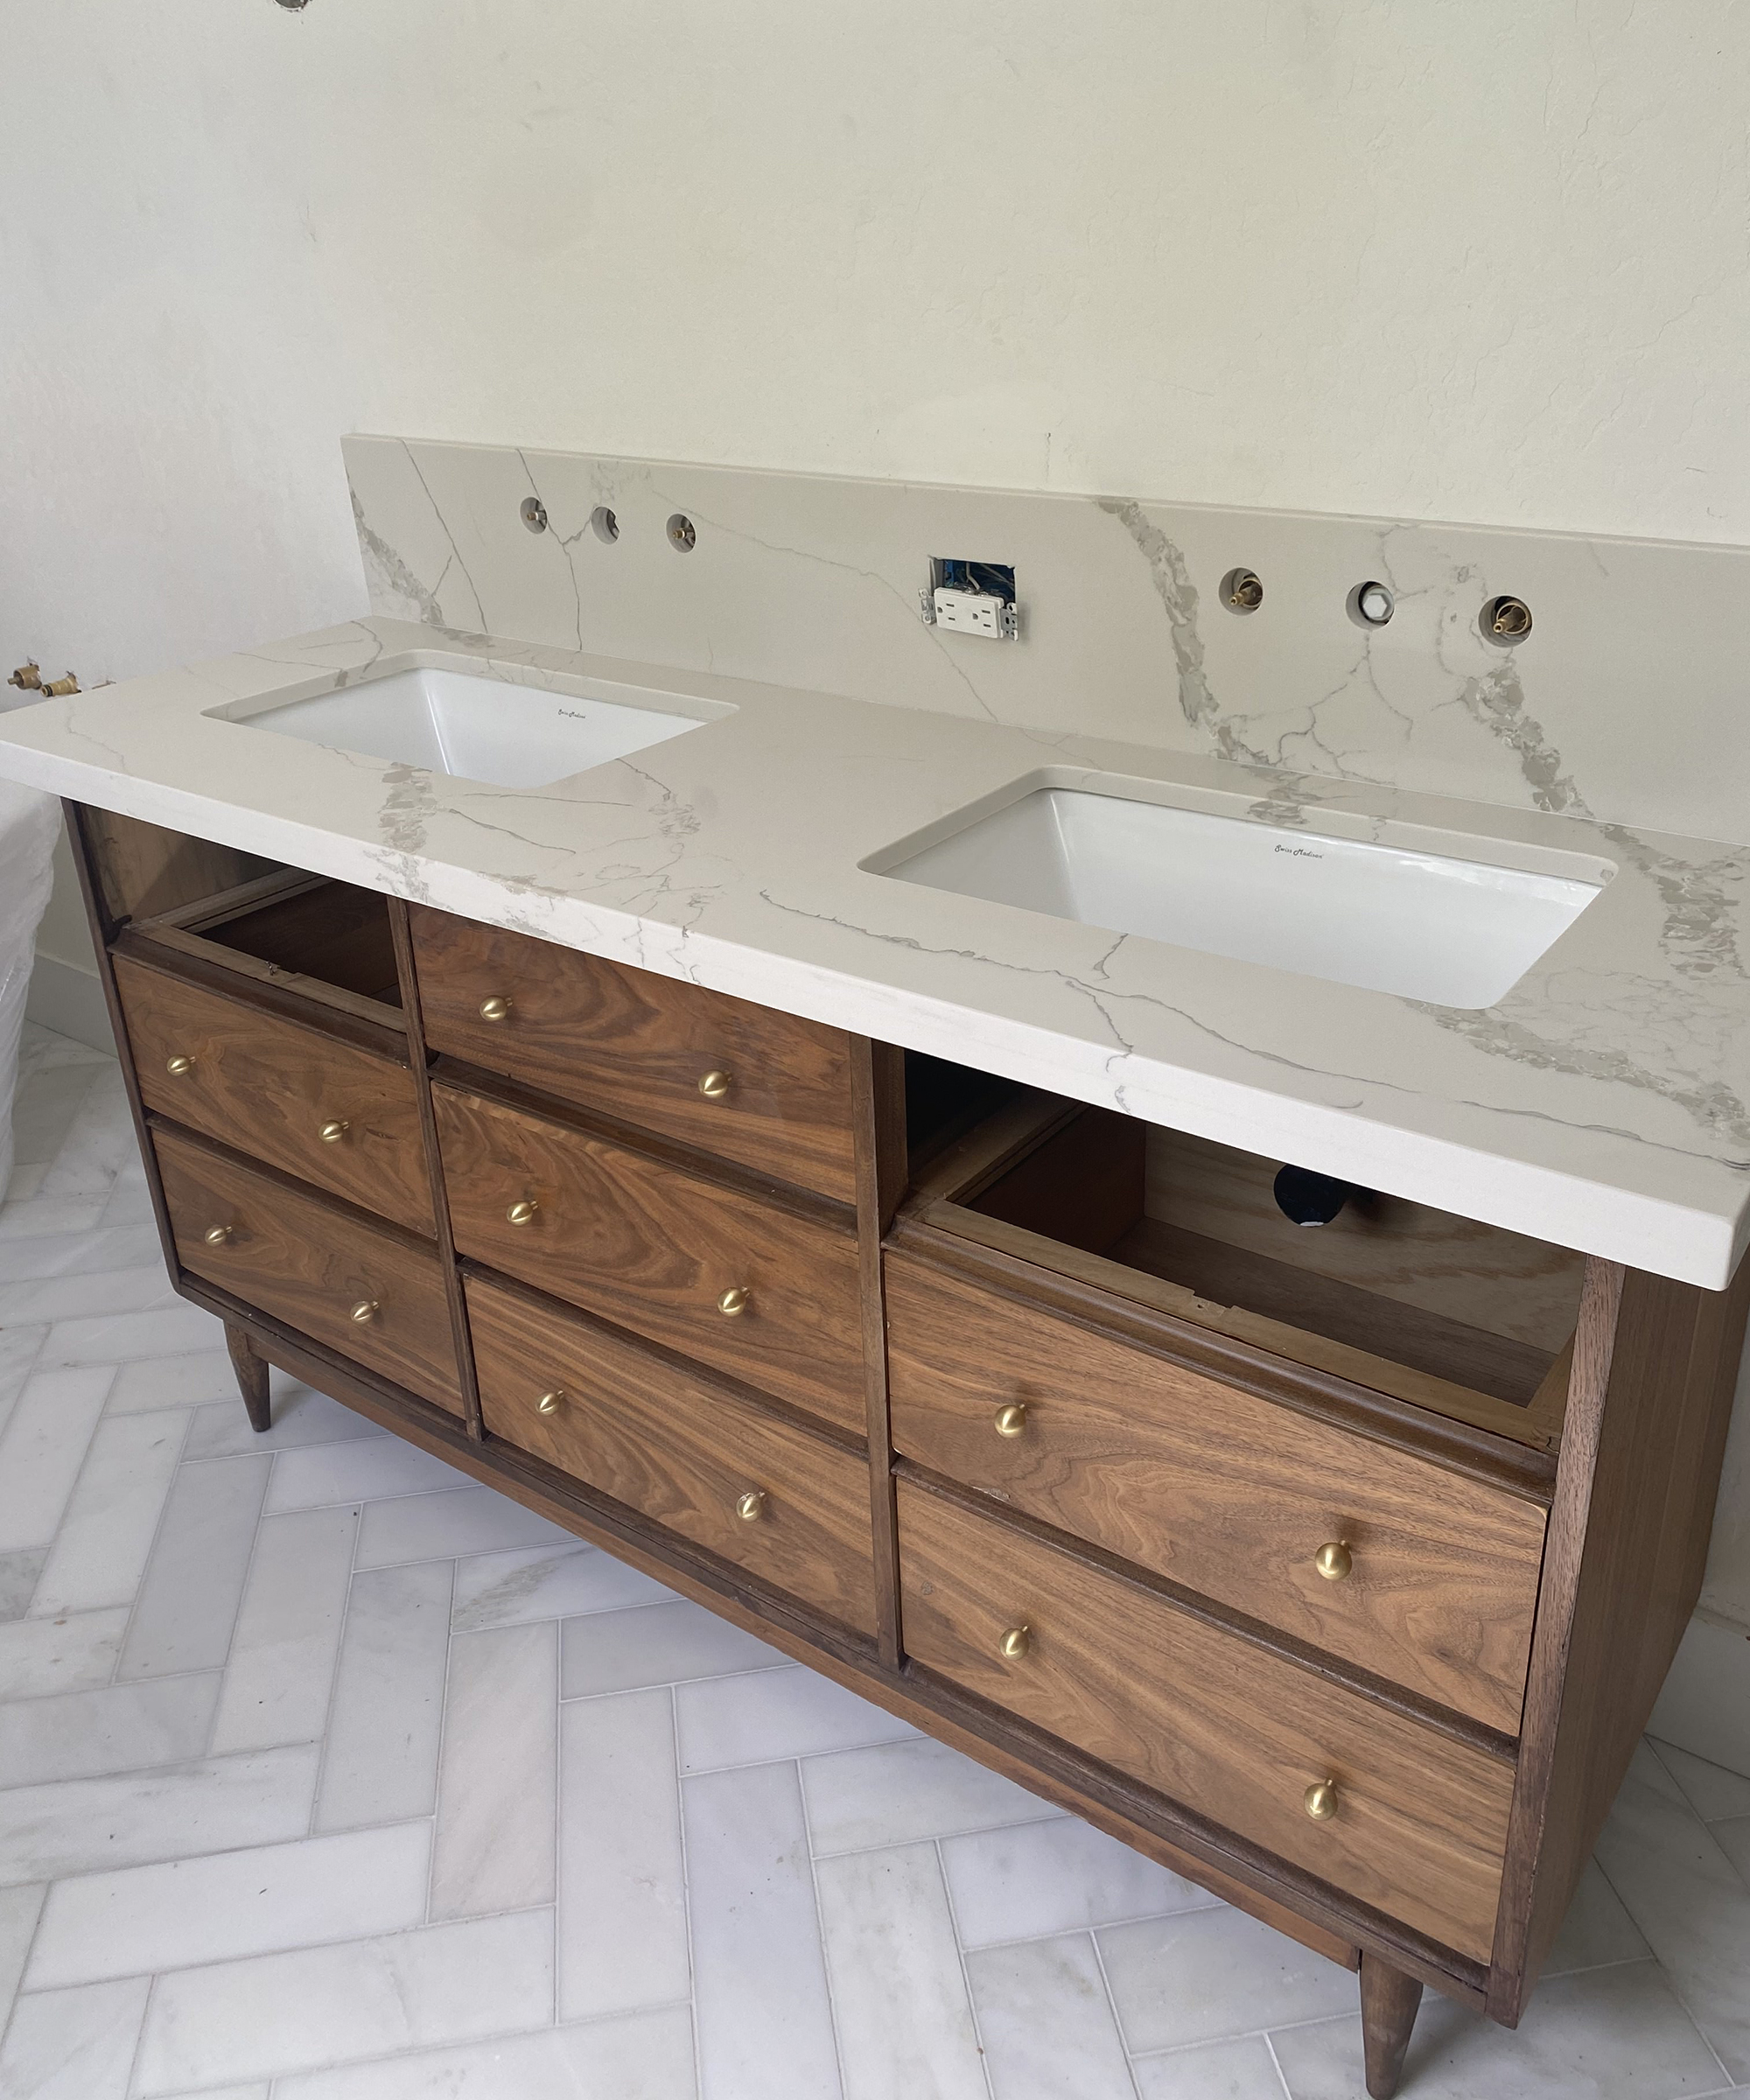
The fabricator attached the sinks to the underside of the quartz and drilled holes for the wall-mounted faucets.
Then I had our plumber come out to finish attaching all fittings to the sinks and install the faucets.
Final result
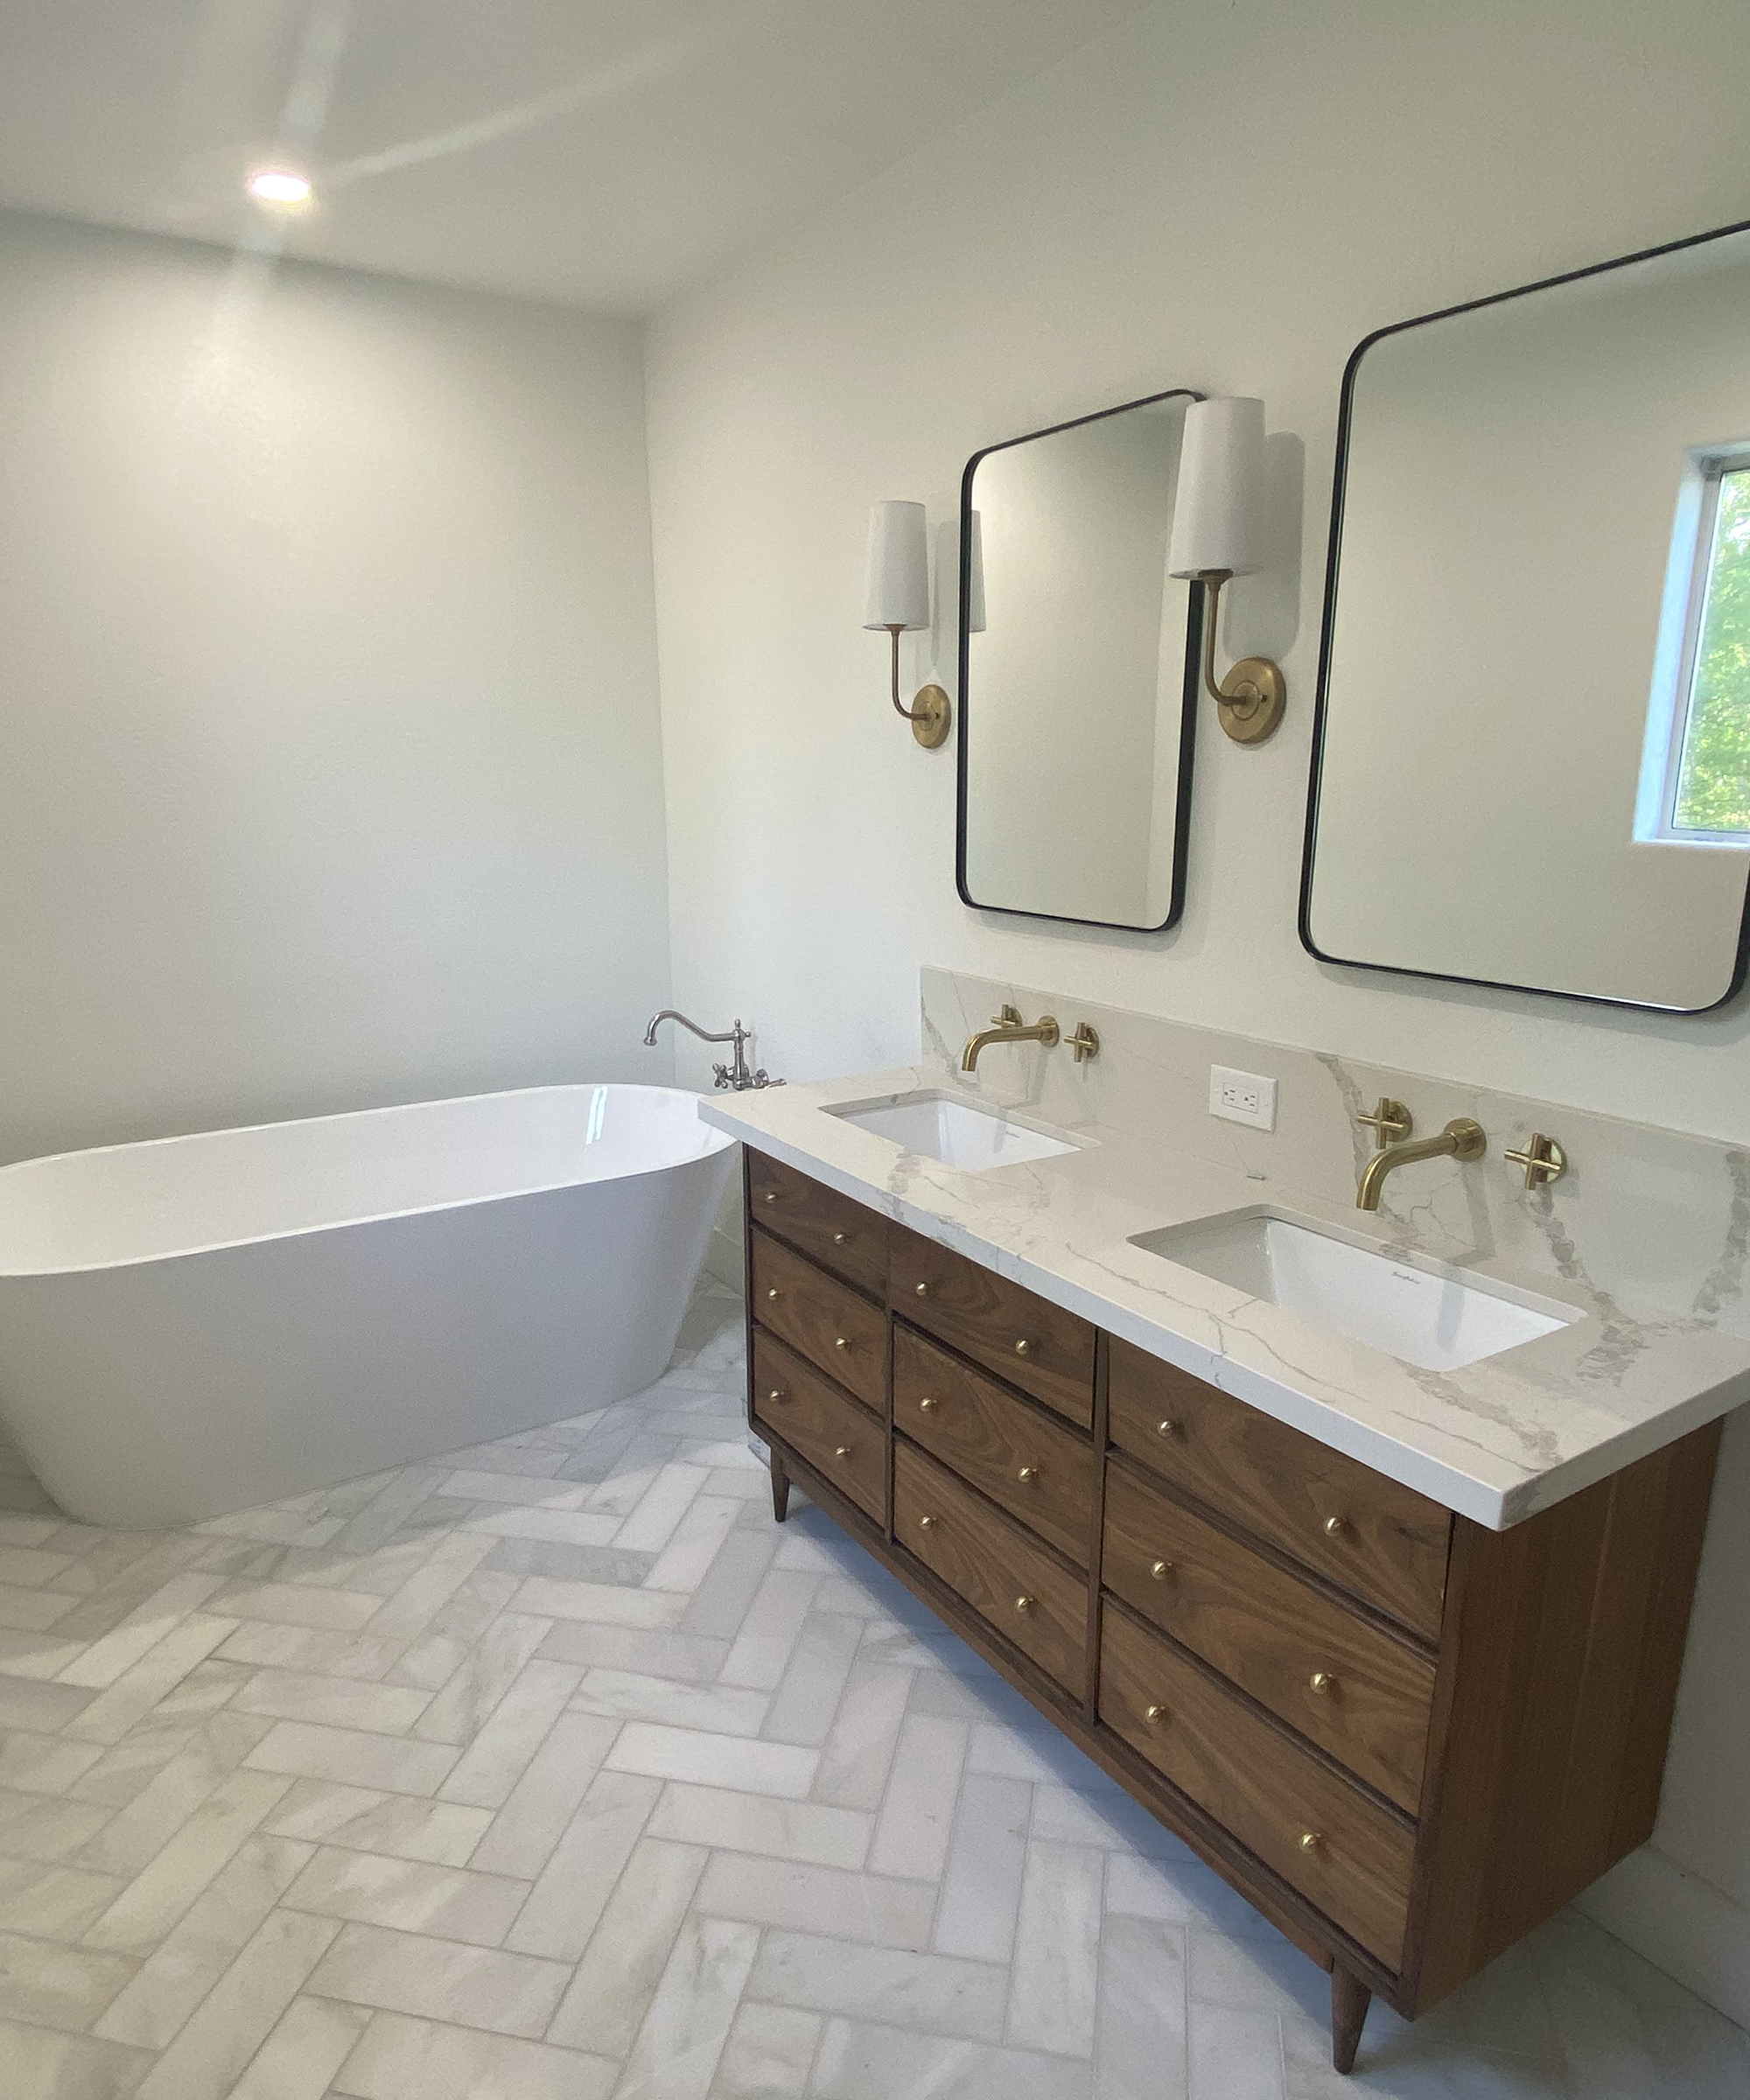
I ended up saving a couple thousand dollars by turning this dresser into a bathroom vanity DIY. I love how it turned out and how unique it looks in our bathroom. I’m not done with this bathroom though. I have plans to add more character soon. Stay tuned for those updates!
Full equipment list
1. Oribtal sander
2. Sandpaper
3. Spackle knife
4. Wood filler, I used ProBond stainable wood filler
5. Furniture stripper
6. Stripping pads
7. Tape measure
8. Sharpie marker
9. Circular saw
10. Drill
11. Hole saw blade
12. Wood glue
13. Wood stain
14. Wood sealer (polycrylic)
15. Staining pads
16. Cleaning rags
17. Gloves
I'm a mom of three with a passion for interior design and DIY! I am currently renovating a farmhouse along with my husband and running an Airbnb in our hometown. I would define my style as loving clean lines with a good mixture of old and new. I love a modern cottage look and have been very interested in vintage pieces as of late. When I’m not spending time with my family or dreaming up another home project, I love to read, eat good food, and binge-watch crime shows on Netflix!
