How to replace a broken staircase spindle in 30 minutes flat
Get your staircase looking ship shape again in four simple steps

Get small space home decor ideas, celeb inspiration, DIY tips and more, straight to your inbox!
You are now subscribed
Your newsletter sign-up was successful
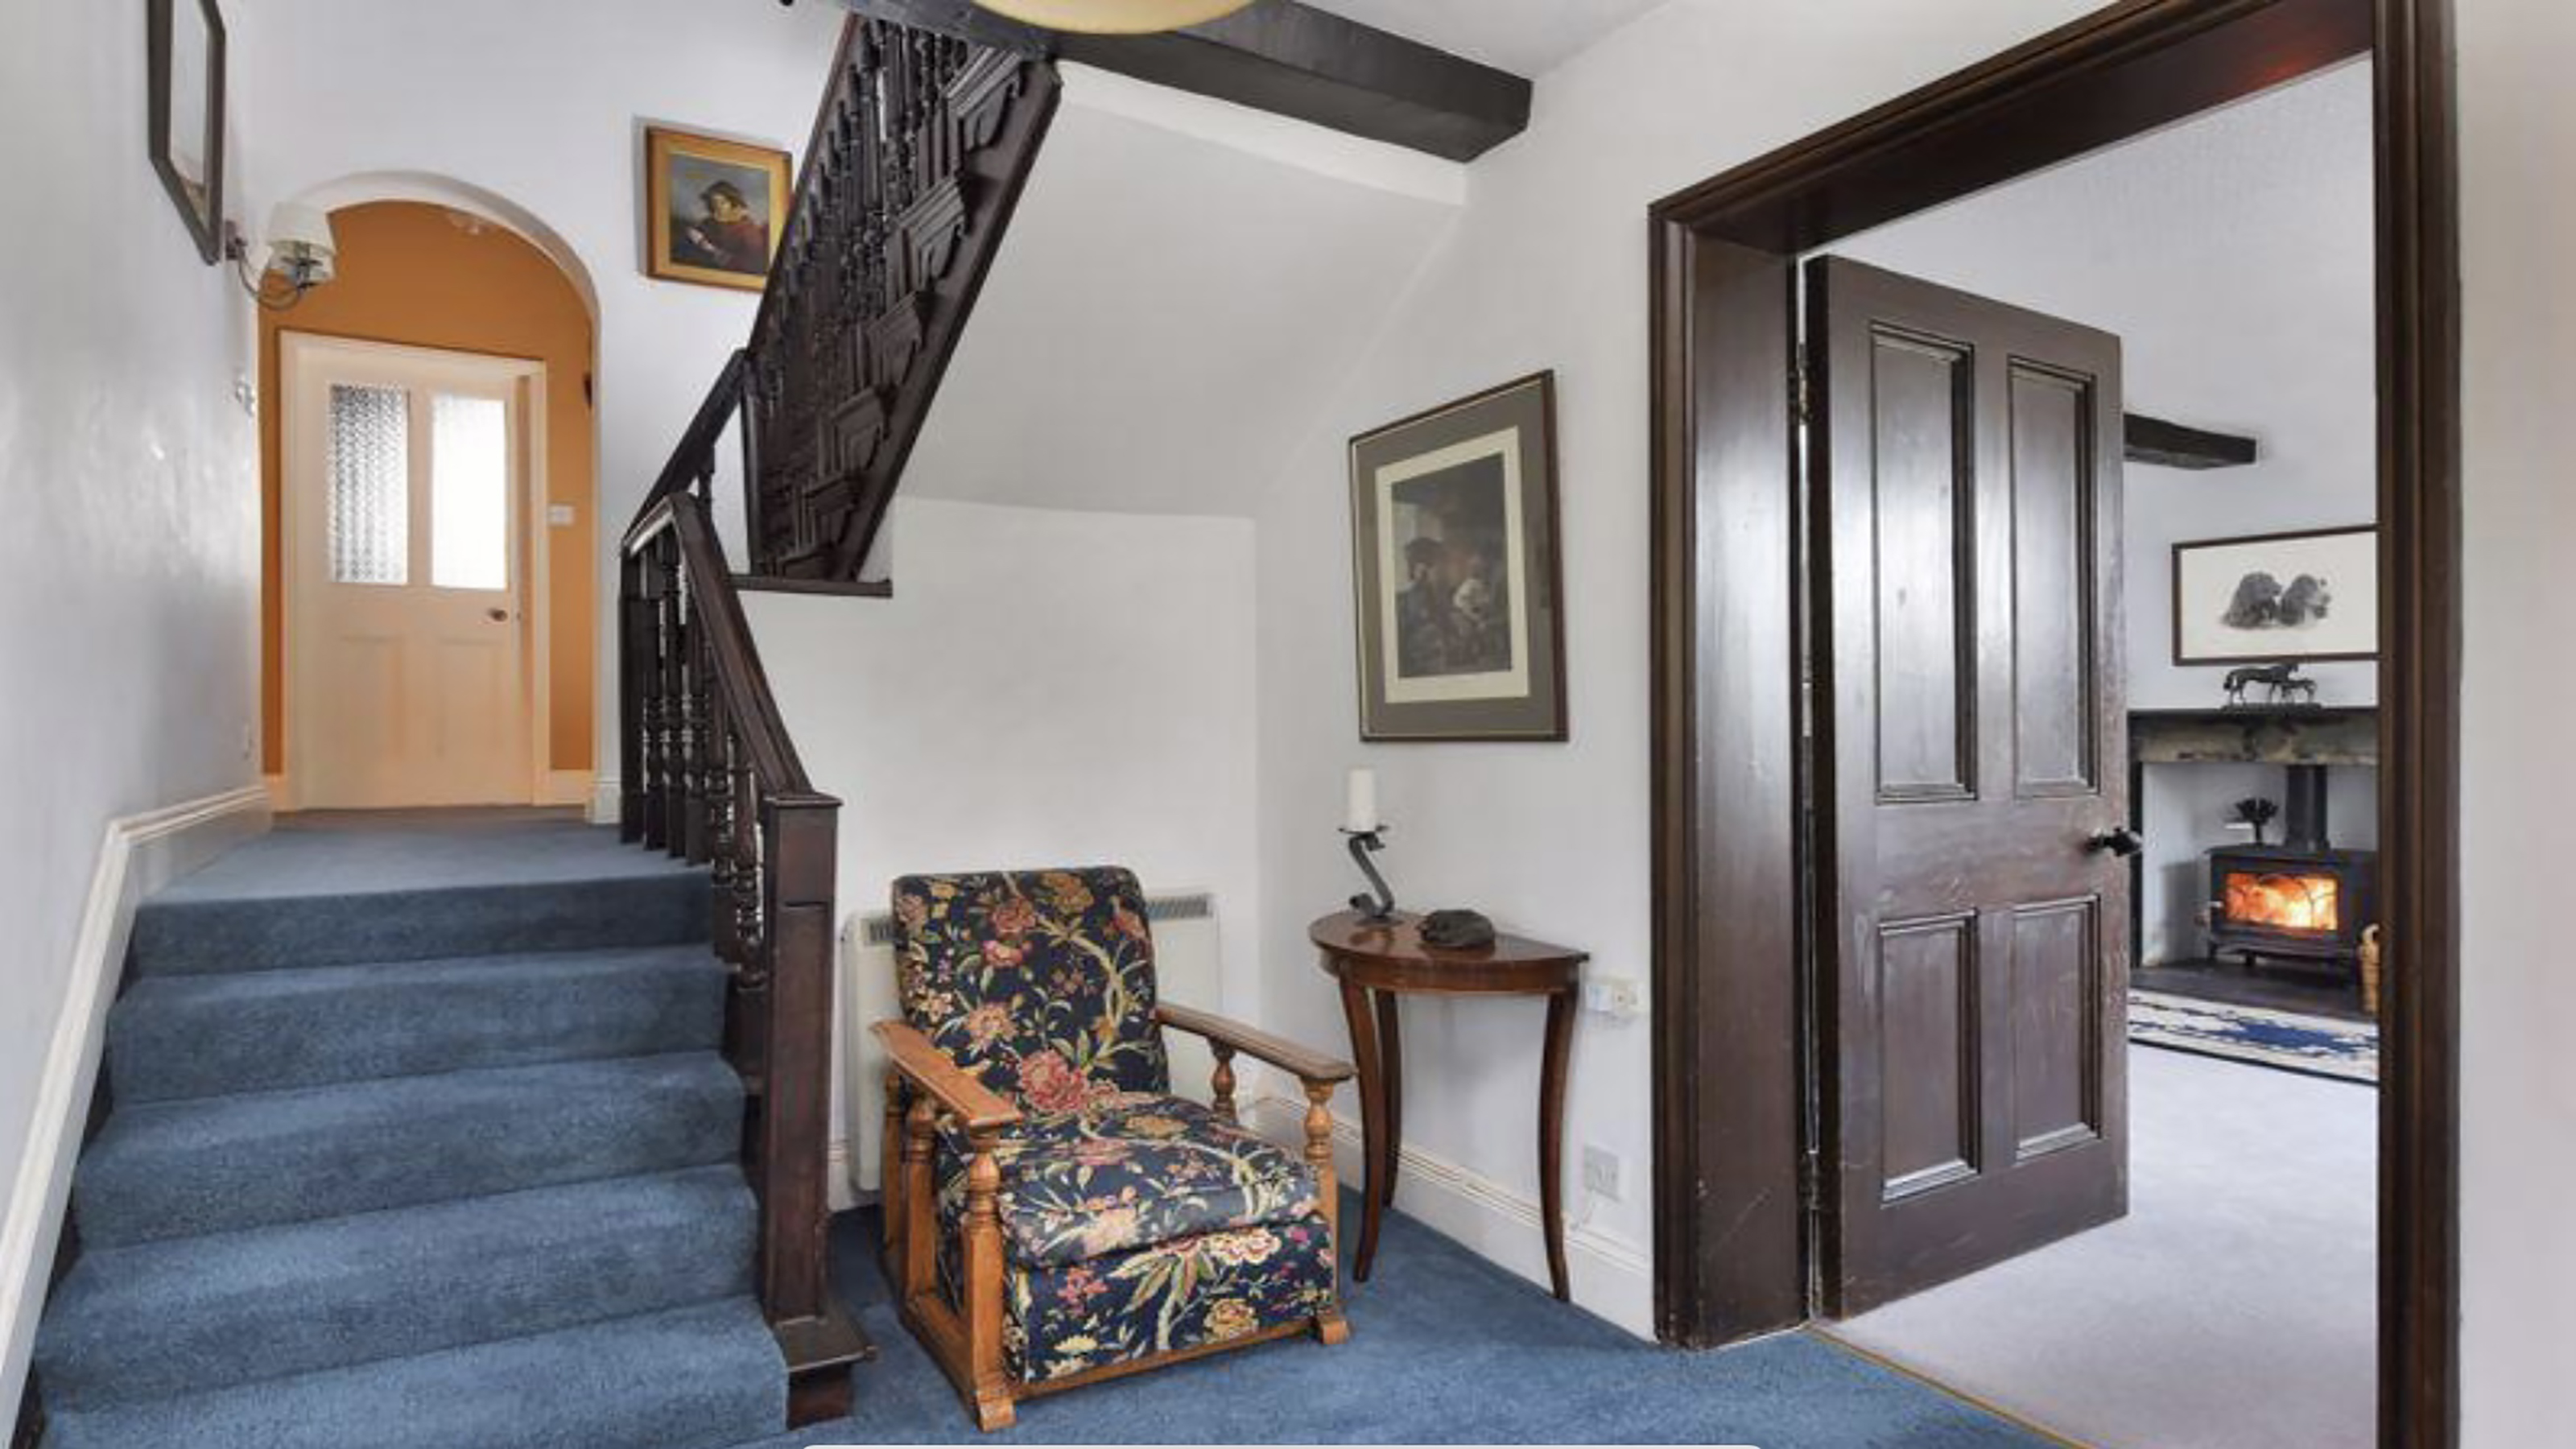
A missing or broken spindle on a staircase is less than ideal, not only does it look unsightly, but it’s also dangerous especially if you have small kids or pets that might fall through a gap. Or, if your stairs are looking a little tired then replacing the spindles, or entire balustrade, followed by a lick of paint is an awesome way to freshen them up! It sounds super tricky to replace them, but it doesn’t have to be and this is how you can get your stairs looking chic again ASAP.
DIY level: Intermediate (easy if you measure and cut carefully)
Cost: £/$20 a spindle
Time: 30 minutes
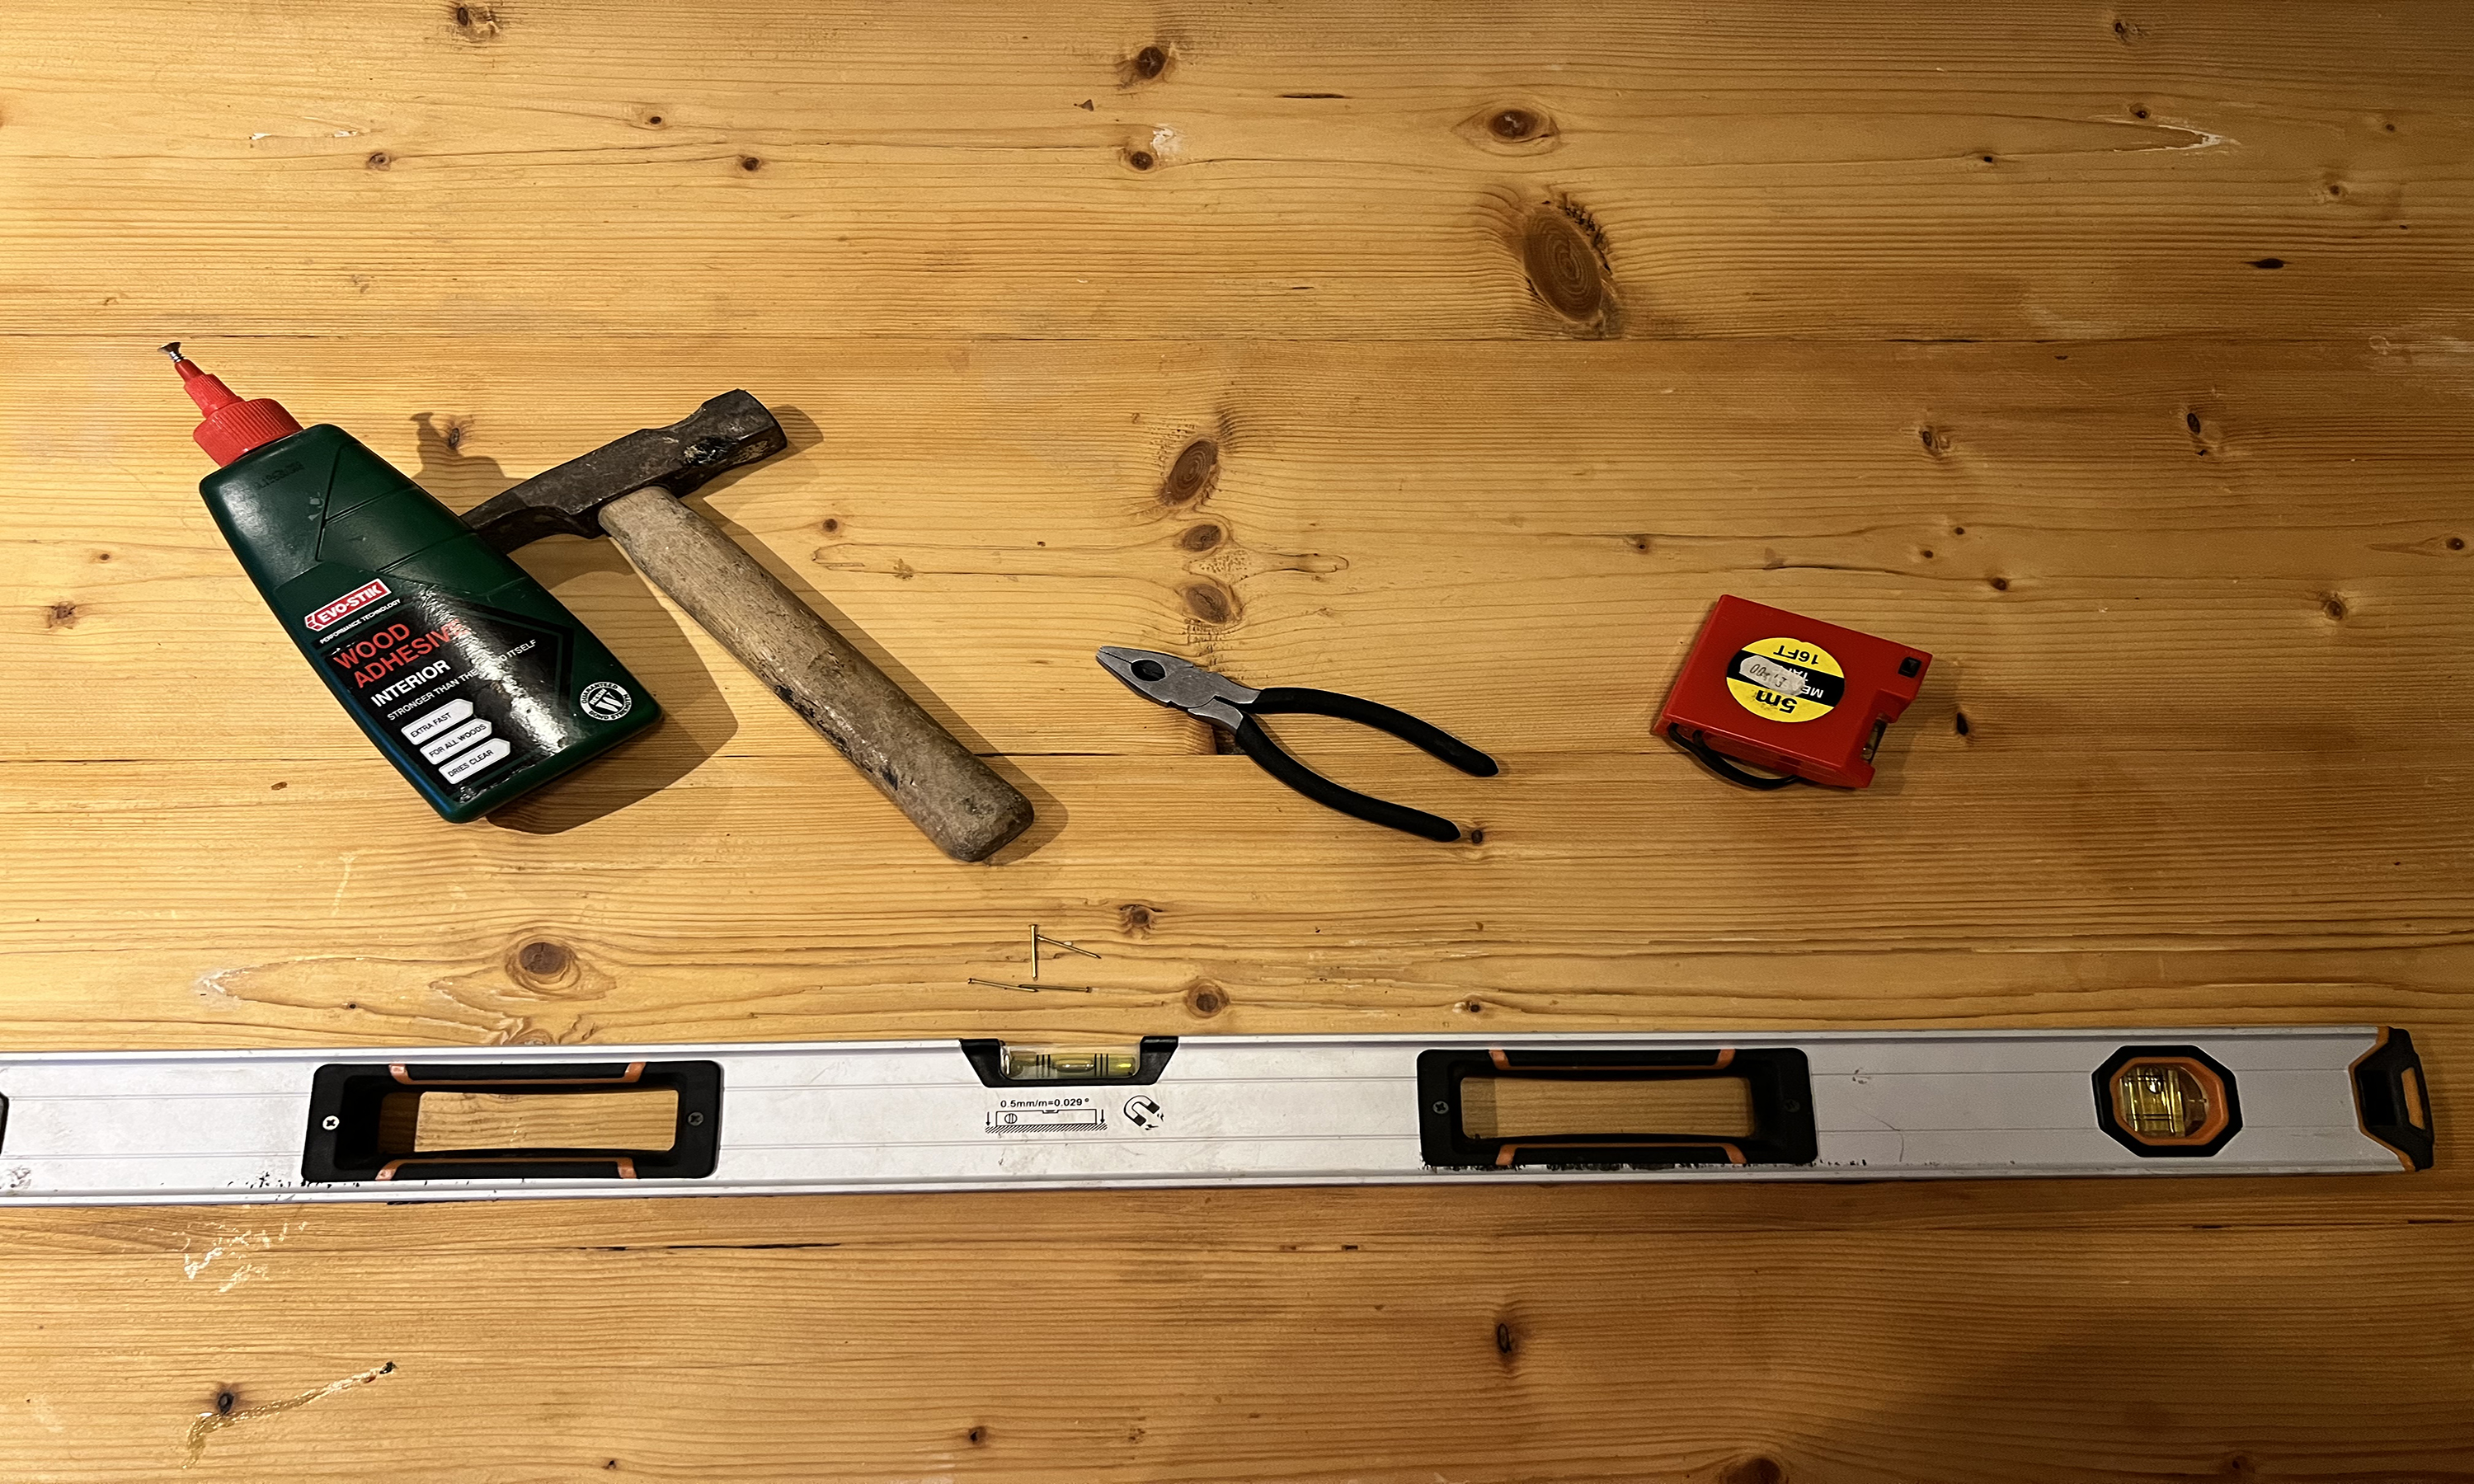
You will need:
An overview of staircase designs
Before we get stuck in, here’s a quick rundown of your staircase.
Treads: the top part of the stair you put your feet on
Risers: the front board of each individual stair
Get small space home decor ideas, celeb inspiration, DIY tips and more, straight to your inbox!
Base rail: the bottom rail that your spindles are fixed into
Handrail: the top of stairs, attached to the top of the spindles. This can be attached to the wall or standalone
Spindles: the vertical struts that connect the handrail to the base rail of your staircase
Newel post: the big upright post that fits at the beginning and the end of a staircase and supports the handrail of a stair banister
Newel cap: sits on top of the newel post to make them look pretty!
How to replace a broken spindle
Don’t forget to check whether your spindle can be repaired before replacing it. If it’s obviously irreplaceable then skip to step one but, for example, if it’s split along the grain then pop a bit of glue on to cover the split and fill any gap, tie it with string or painter's tape (provided it won’t take the glue off!) to let it set and then leave it 24 hours and once it’s dry, remove the string/tape and your spindle should be good to go!
1: Remove the broken spindle
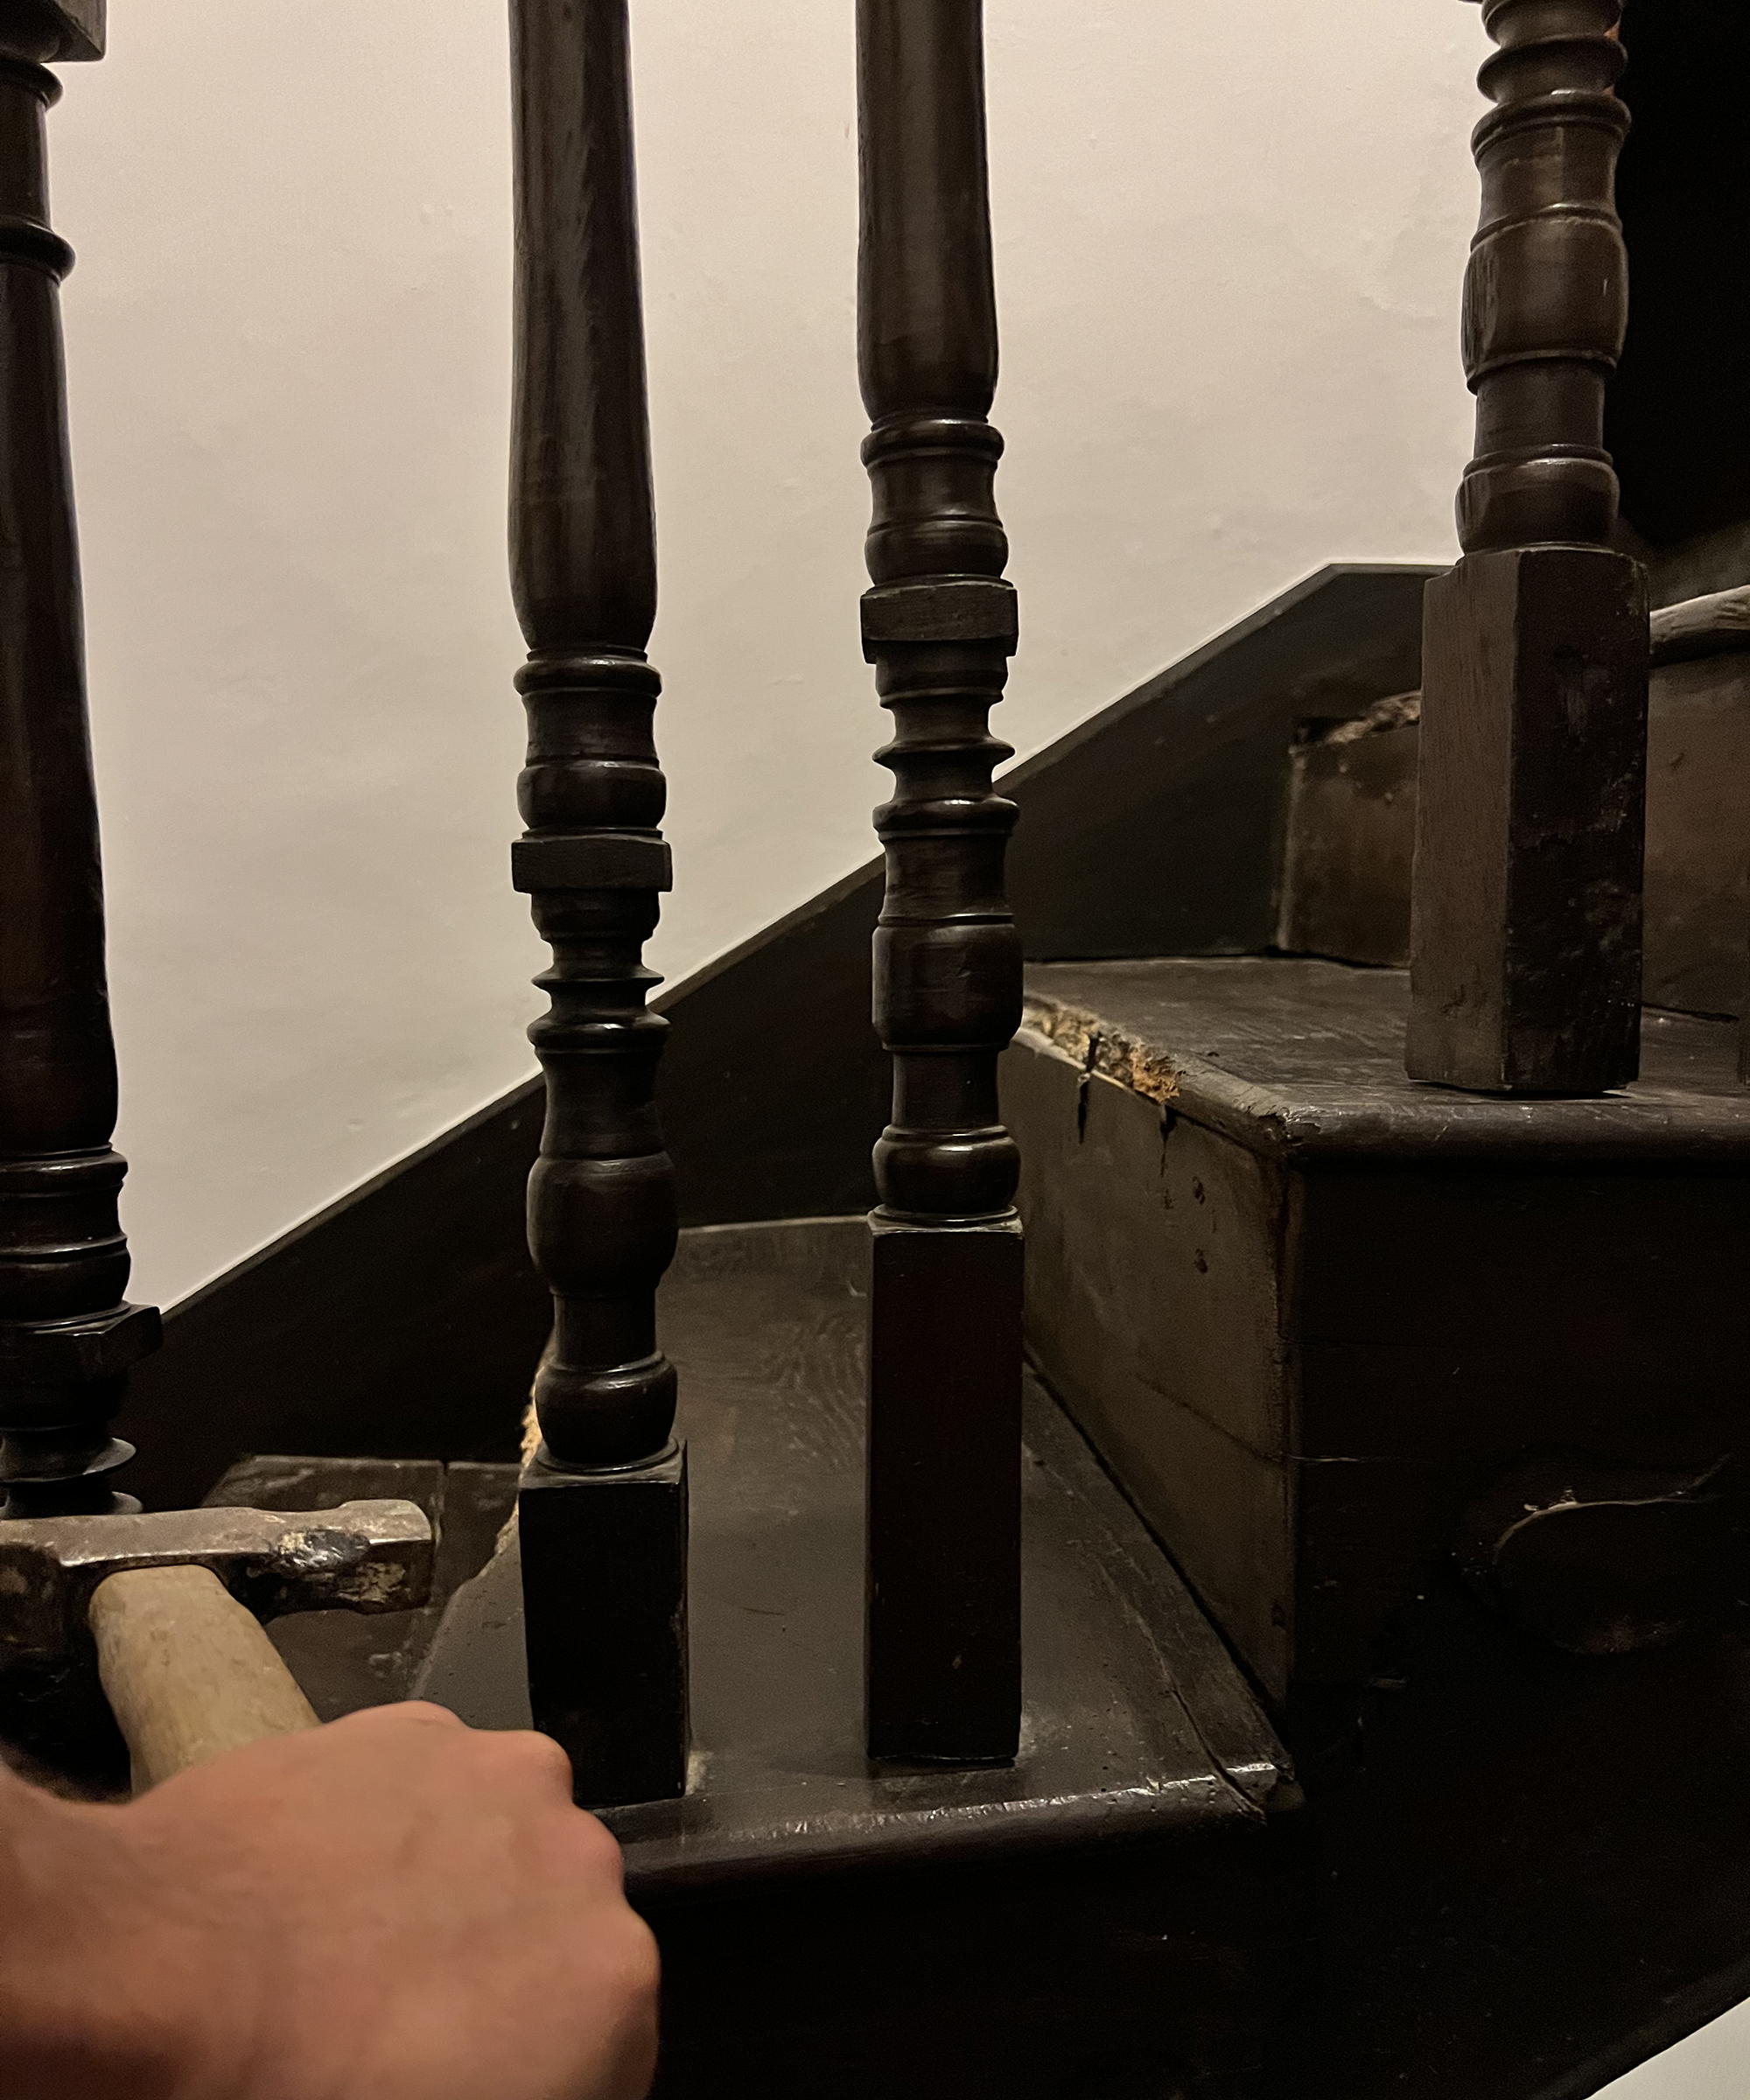
First up, it’s important to remove any part of the existing spindle that is remaining. You can do this in one of two ways. Option one is to cut through the shoulder line of the joint on the underside of the handrail, using a handsaw then pulling the spindle out by wobbling back and forth. Option two is to gently tap it with a hammer or rubber mallet, to make the nails holding it in place come loose so that it is easier to remove. Take care so that you don’t damage any other spindles in the process!
2: Tidy up the handrail and calculate spindles needed
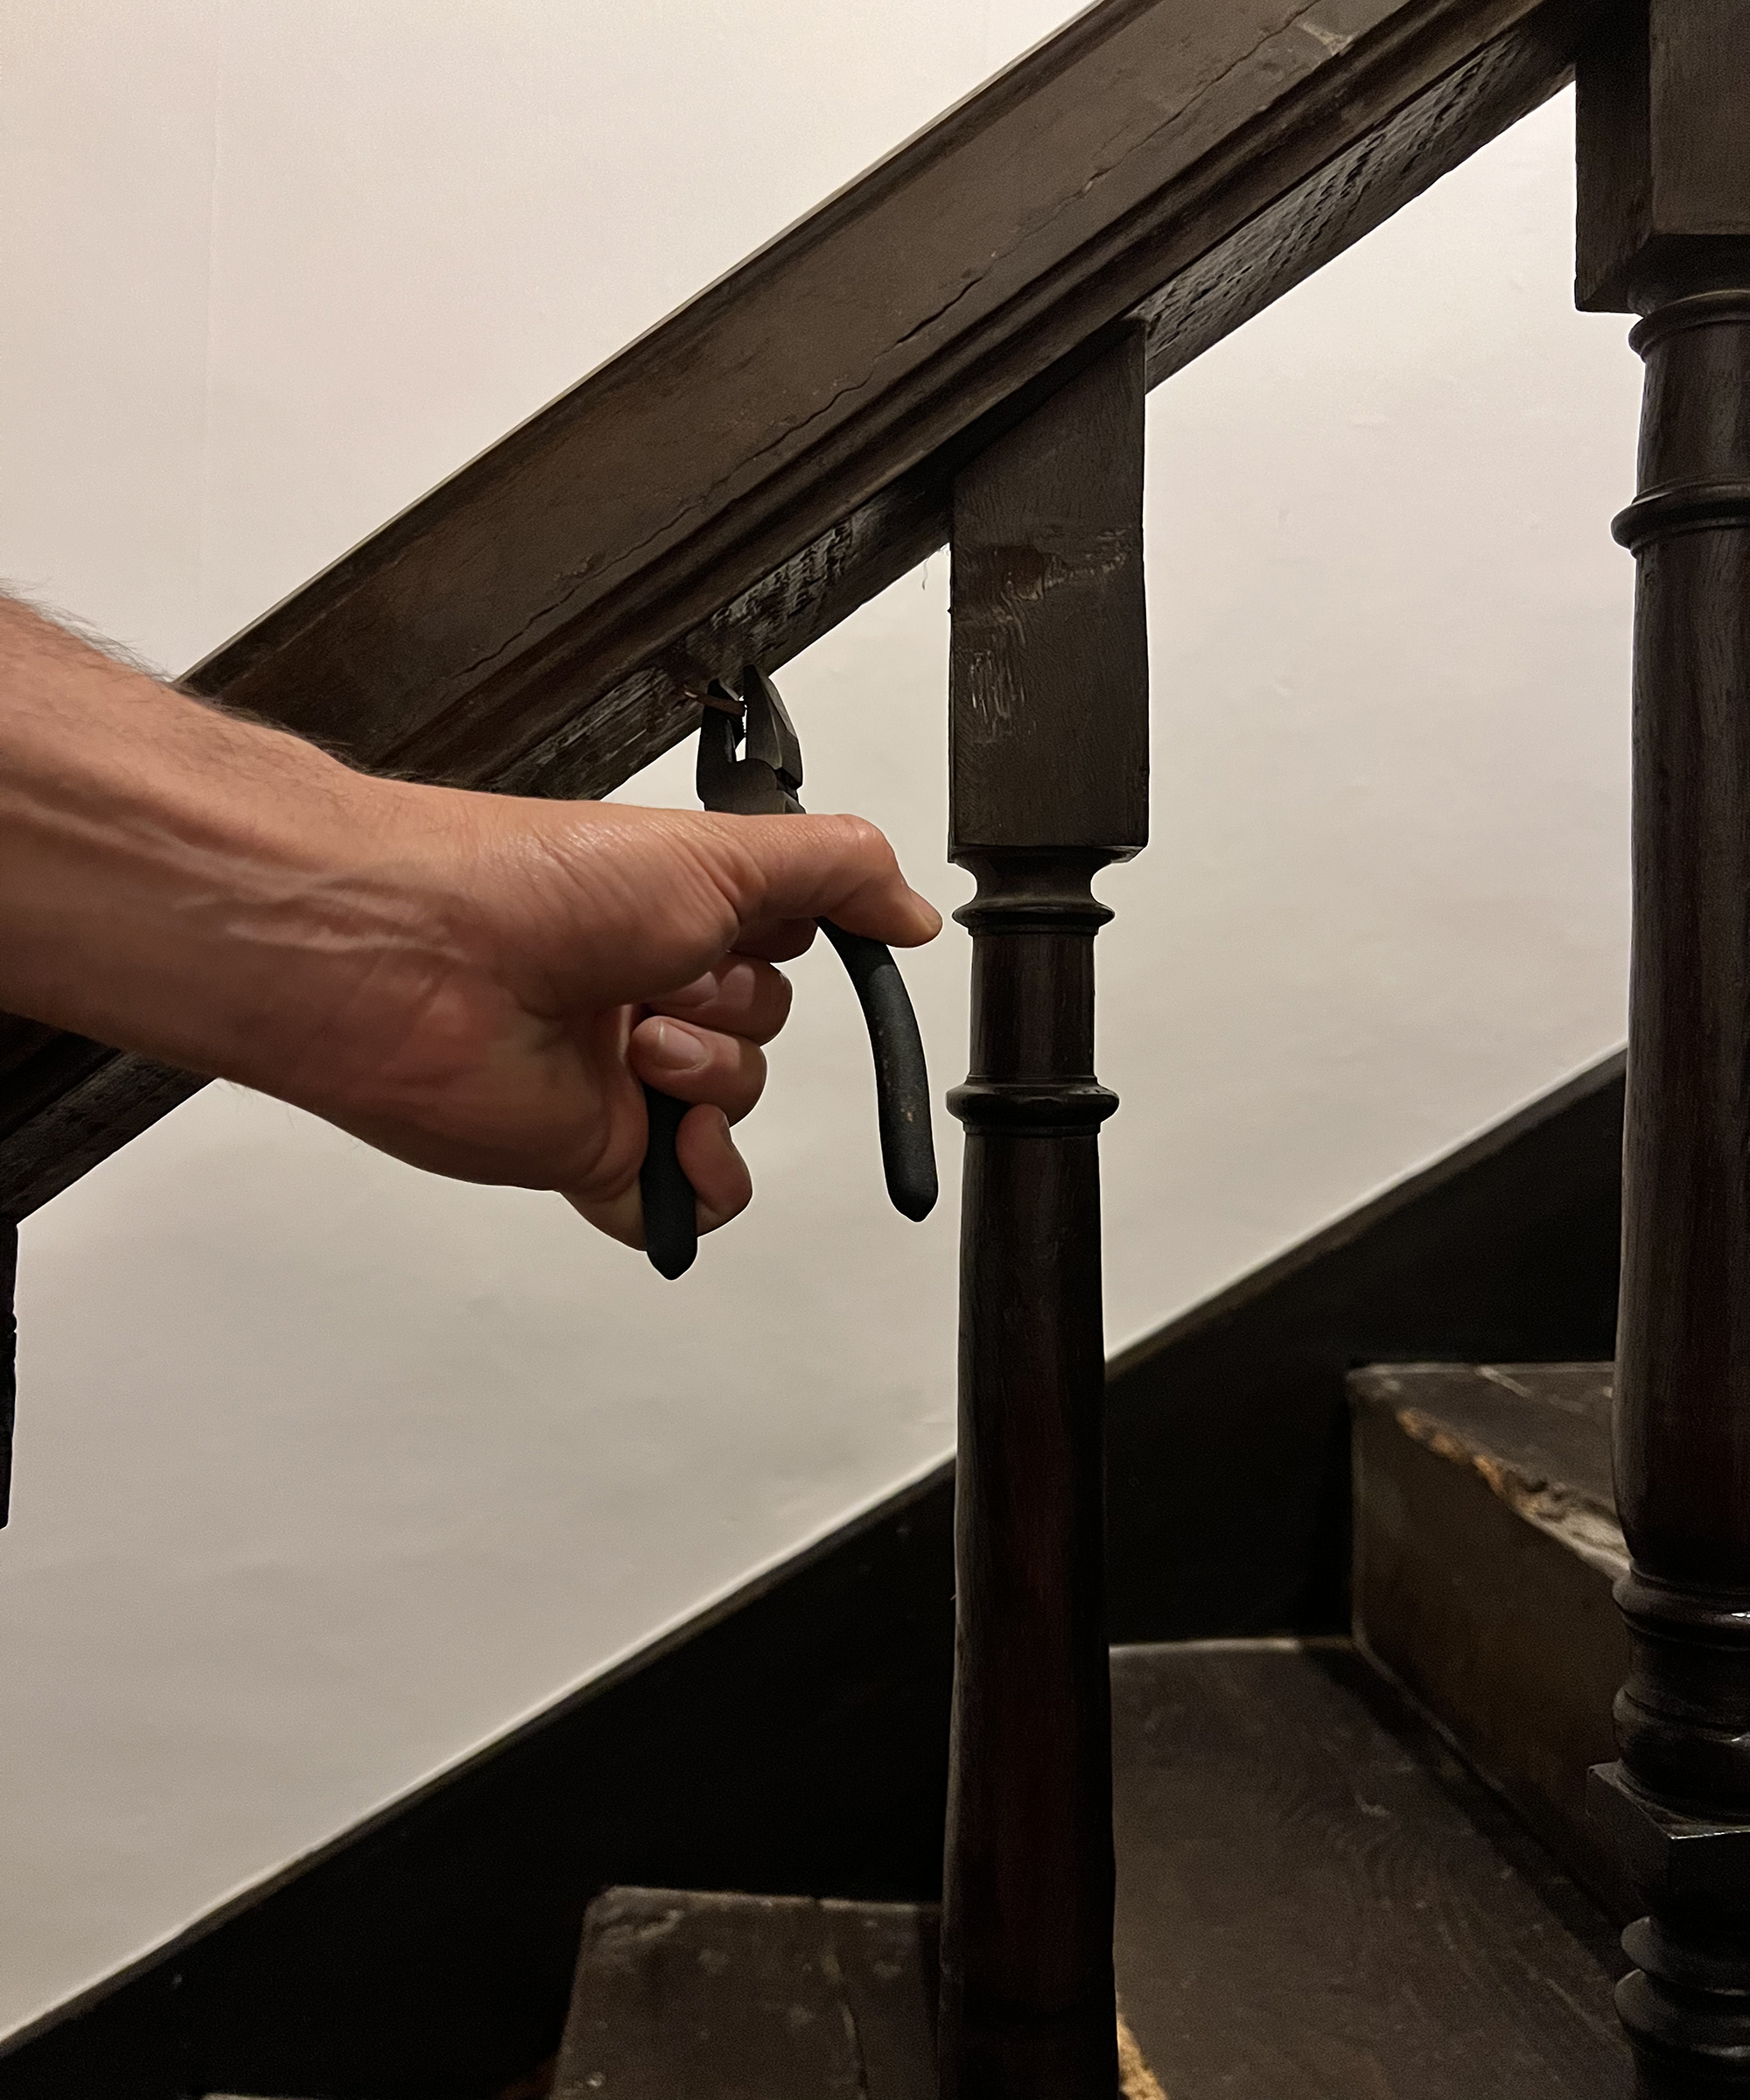
Once you have removed the spindle, tidy up the staircase, removing any loose nails with pliers and if needed, sanding any rough areas to smooth.
If you’re replacing broken spindles, this will be obvious but if it’s an update to existing spindles that you’re undertaking, then as a rule, you should place spindles a maximum of 10 centimeters apart. Aim for two per tread or one where you have a spindle adjacent to a newel post. You will also need fillers.
3. Measure up and check your fillers
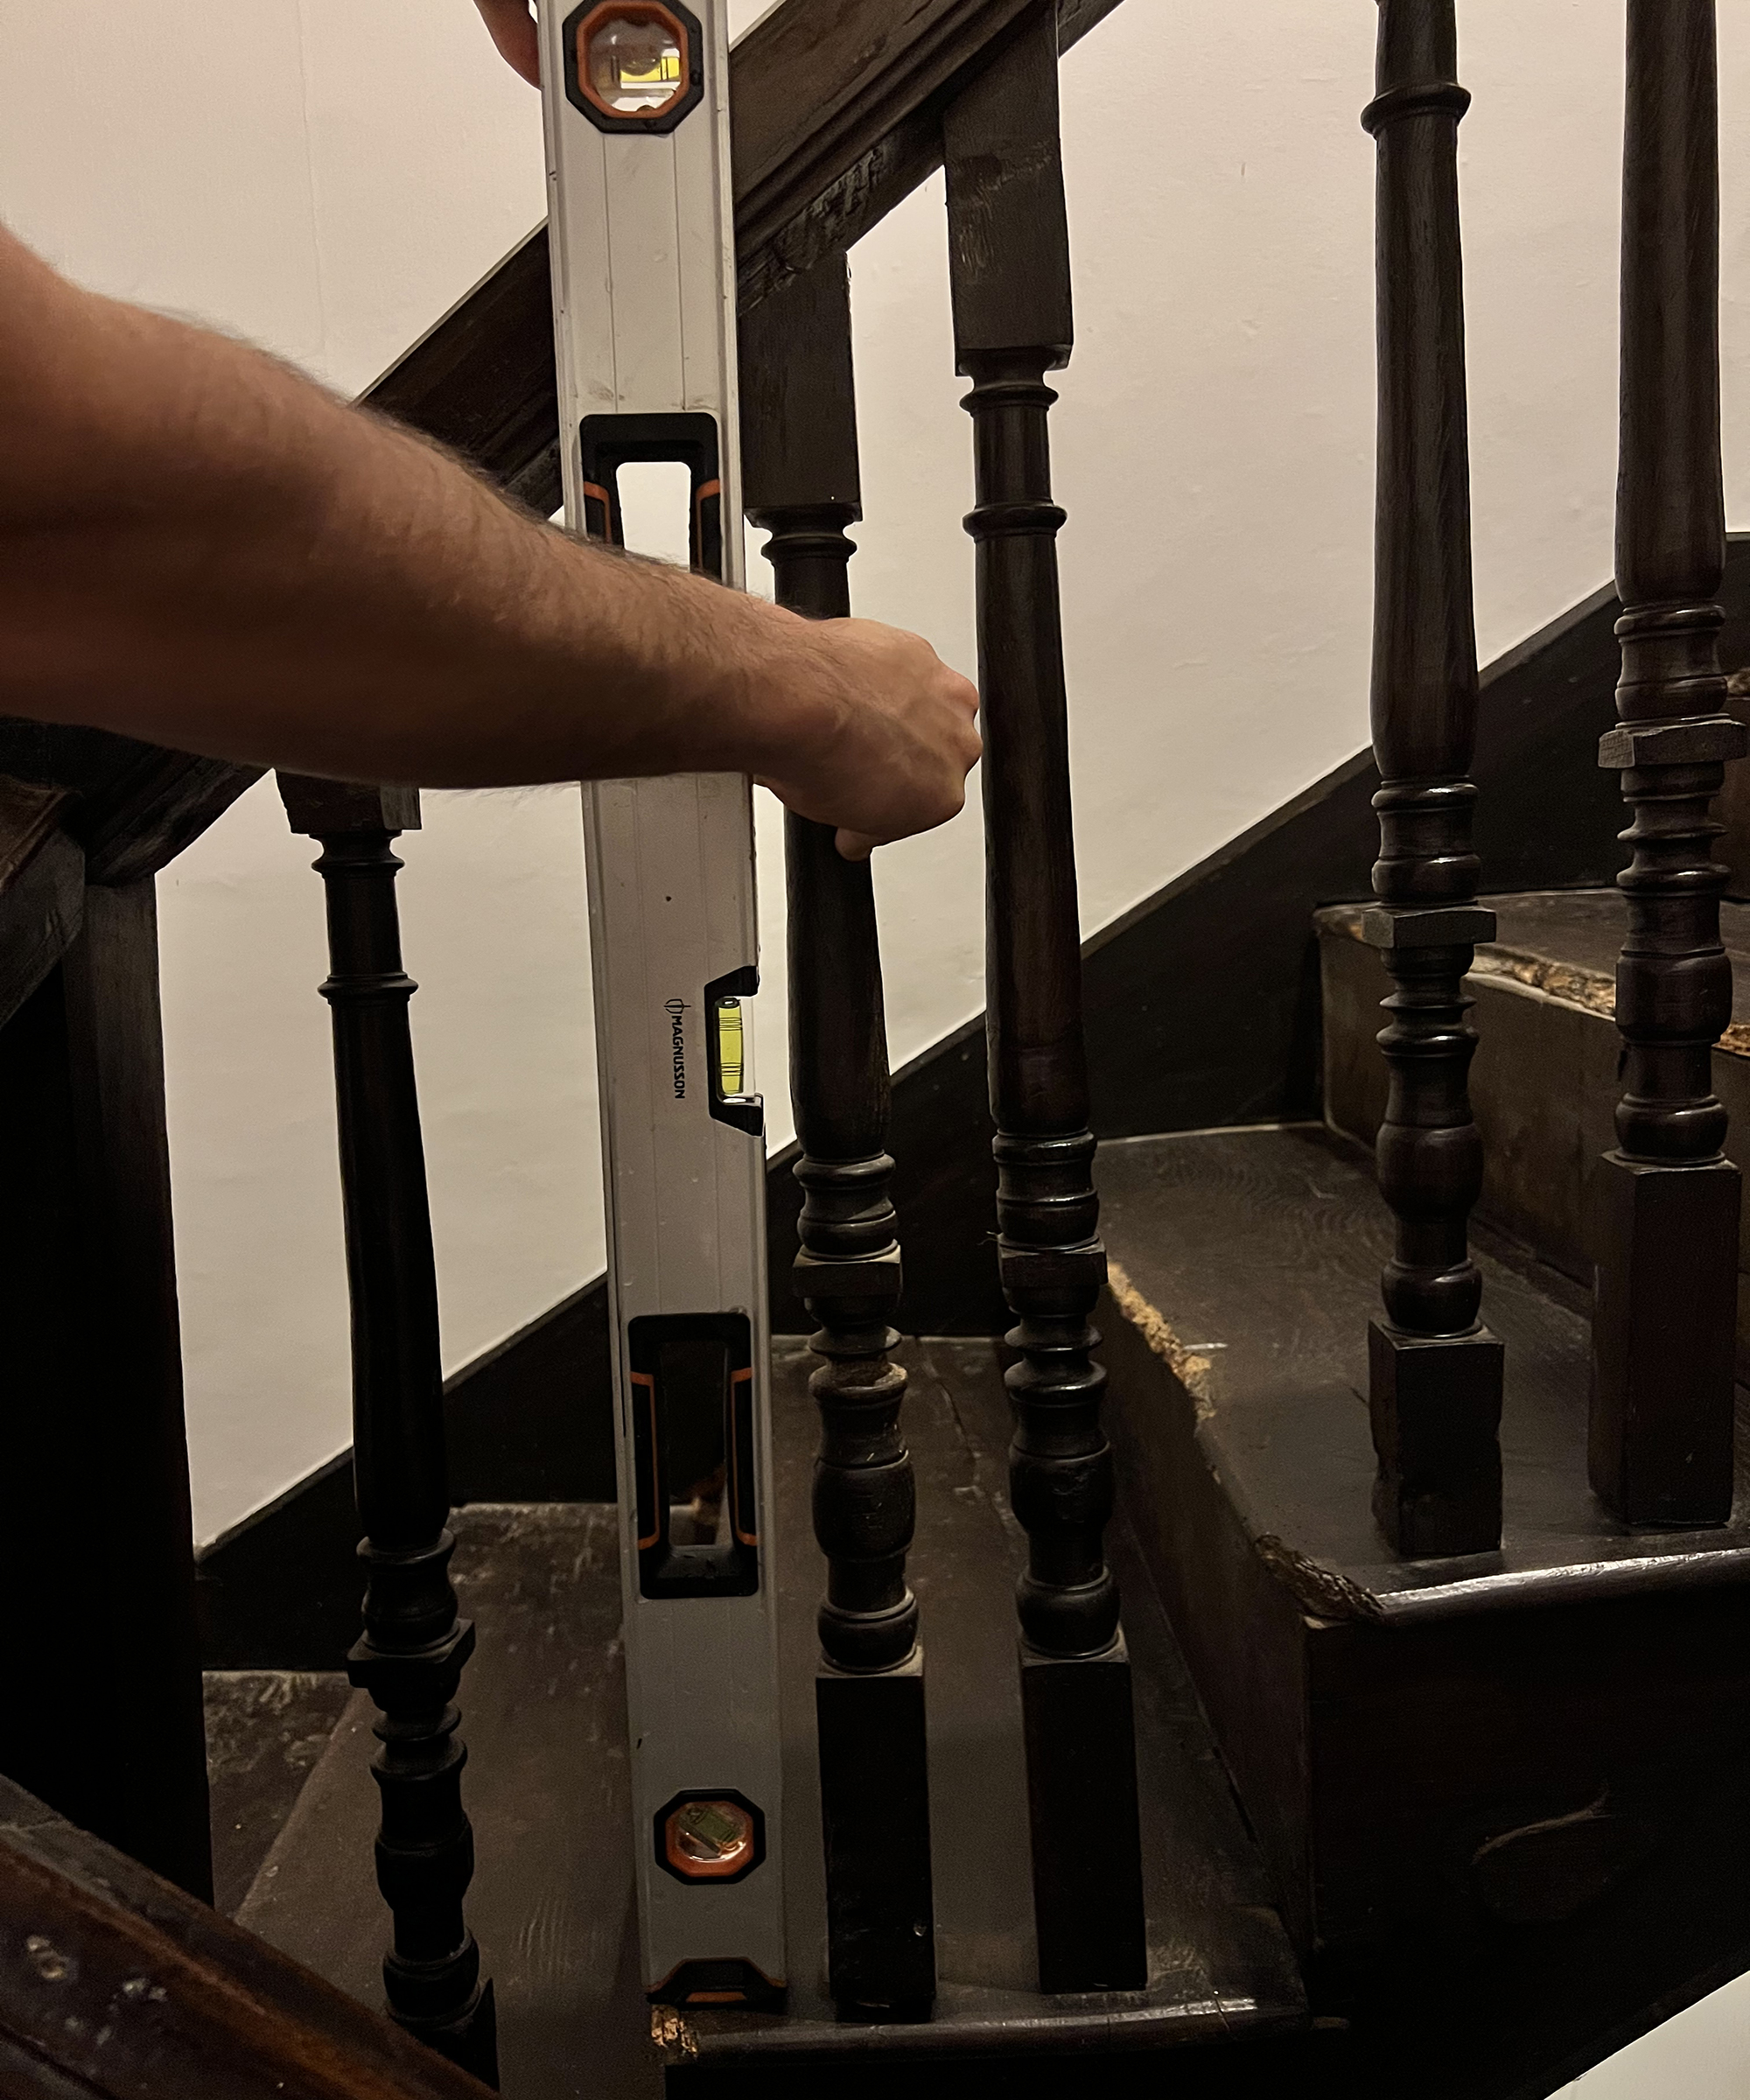
The spindles are spaced using fillers (a piece of wood that slots at the top and bottom to hold spindles in place). They need to be cut to the correct length. If you’re just replacing a spindle, then you may not need to replace your fillers so check them before you get started. If they do need replacing, then you can use the old fillers as a guide for cutting your new ones.
First things first, make sure your spindle is the right way up before you start, an easy mistake to make but not so easy to correct!
You can use the old spindle as a guide and mark out the required length on the new spindle, as well as marking out and cutting the ends but I like to measure it against the staircase too.
To do this, using a level, place the spindle vertically against the handrail and base rail and mark with a pencil. Then, measure the depth of the handrail slot, and mark the cutting line above by this amount. Measure the depth of the base rail slot and mark the bottom line down by this amount. Measure twice, cut once, so always do a final check and once you’re happy, cut with a saw (a mitre or handsaw will work well).
4. Install your spindle
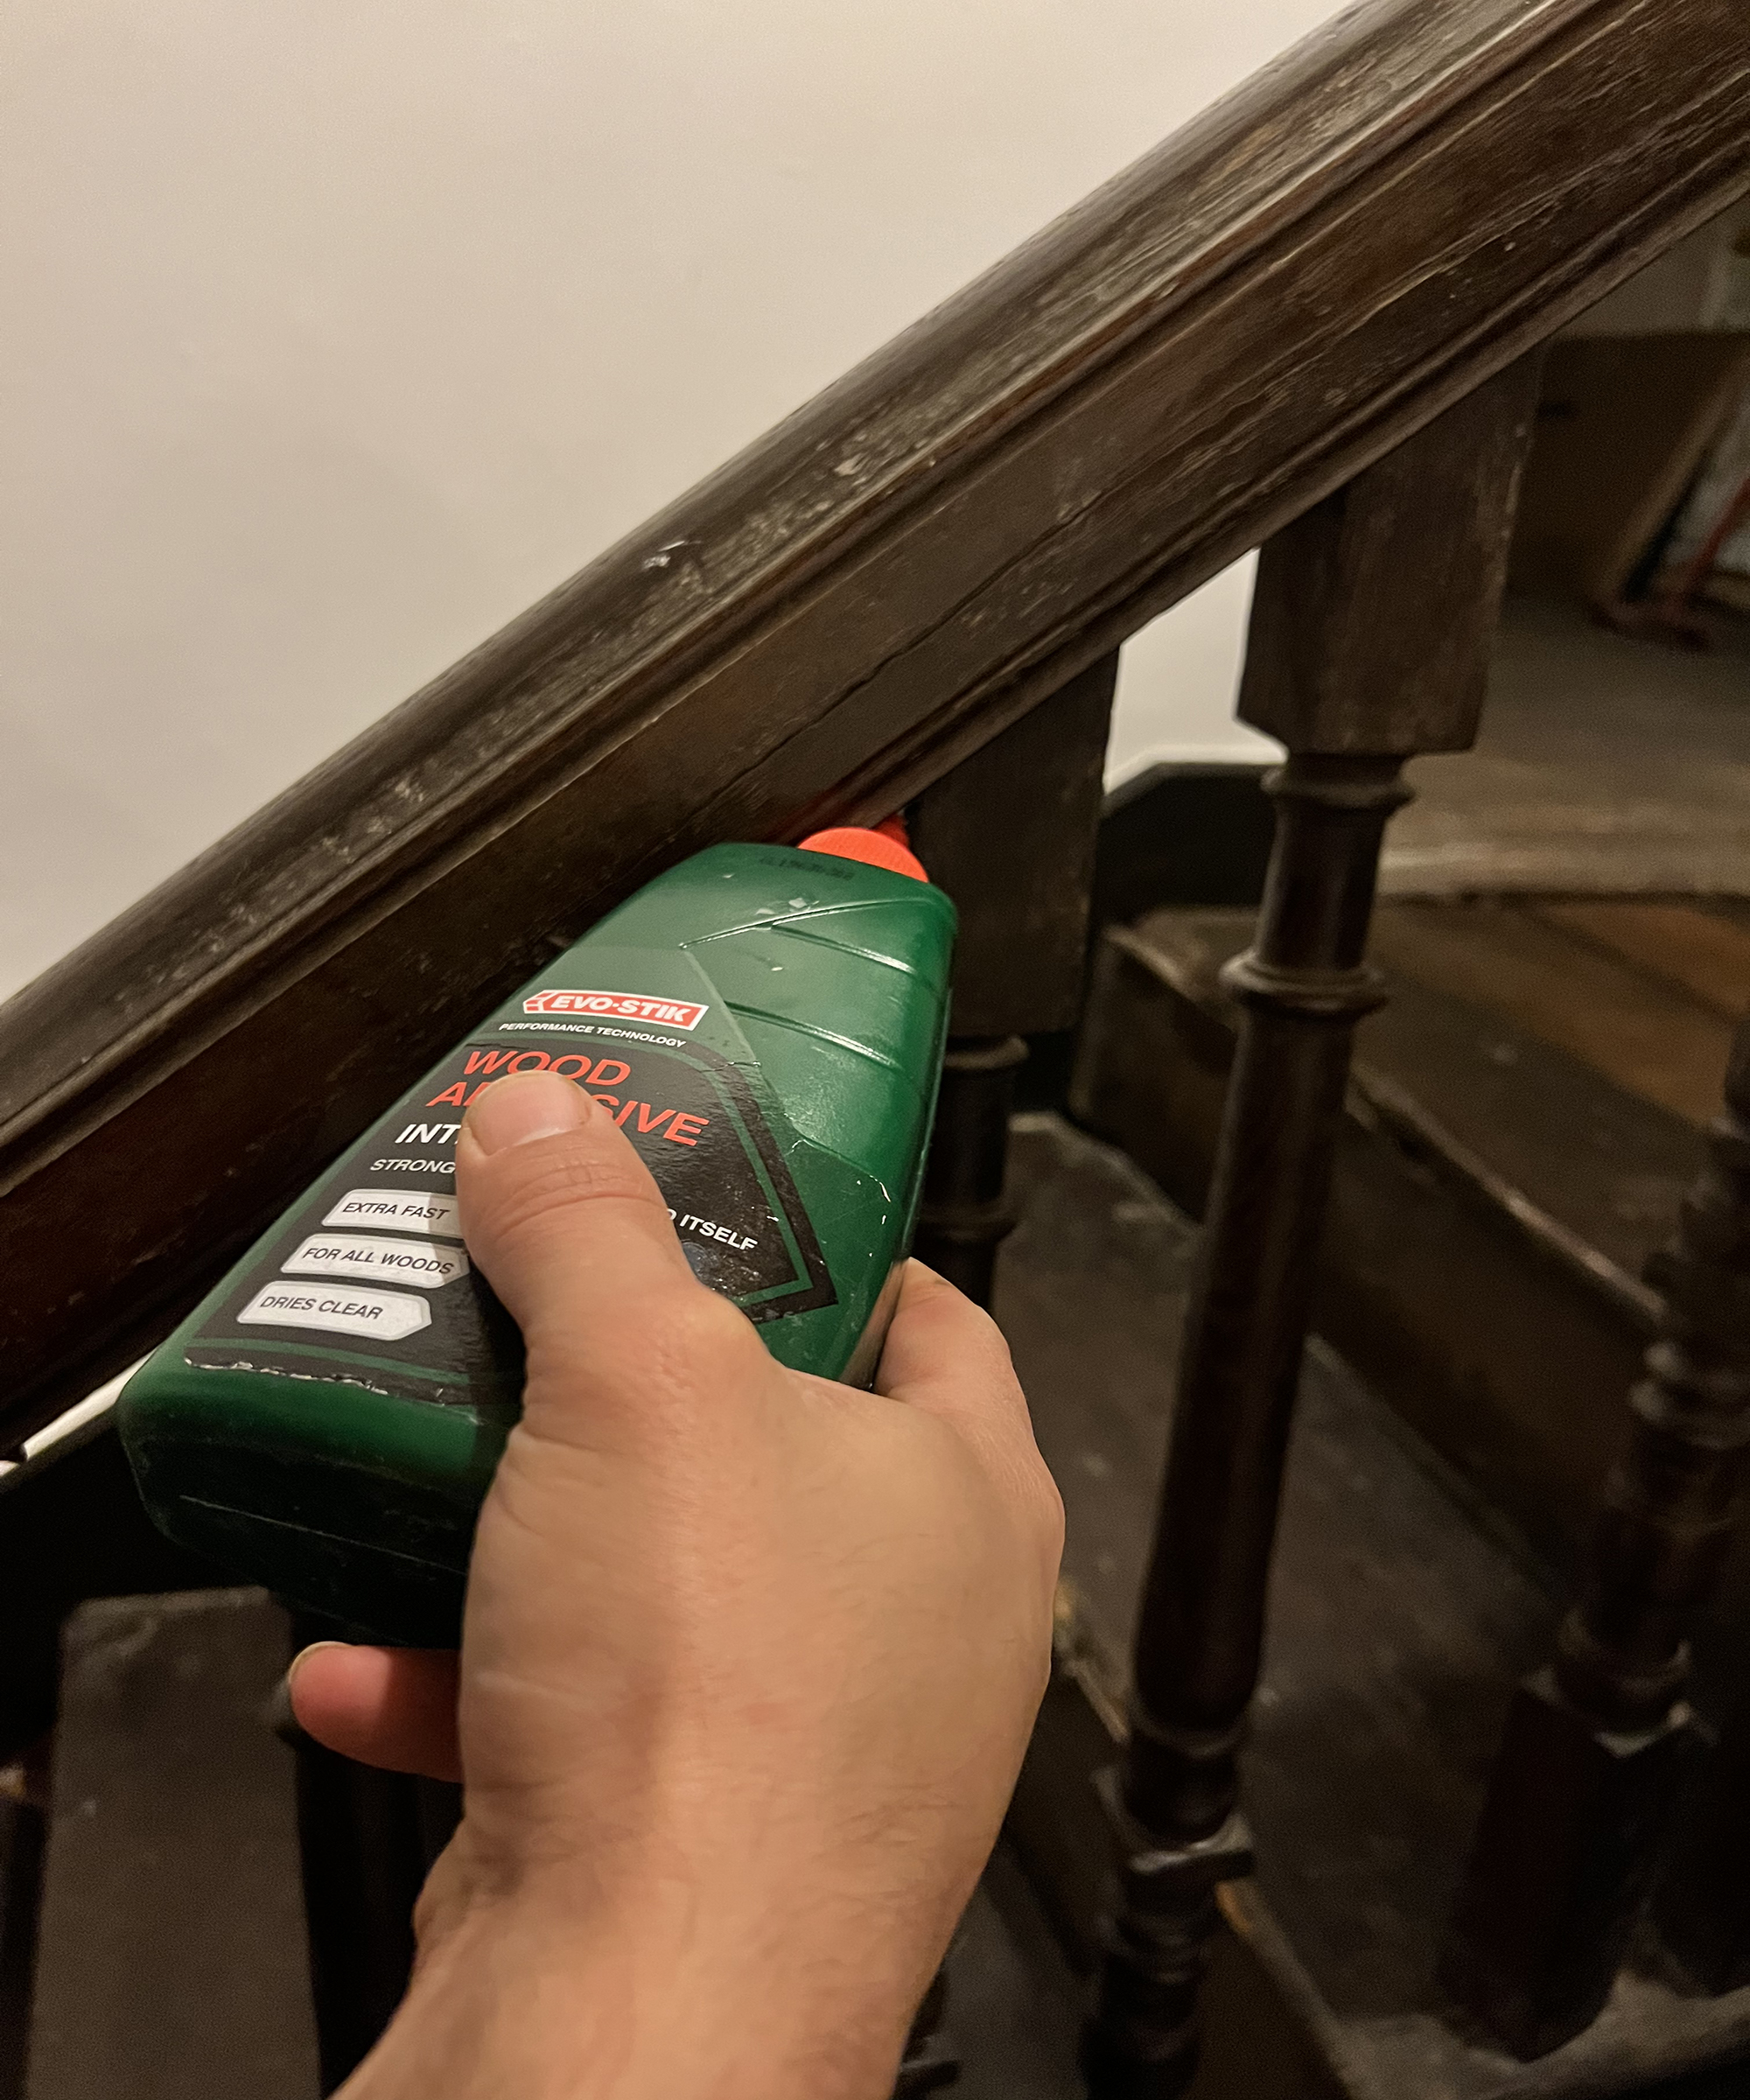
Firstly, do a dry run before you install anything properly. If you’ve had to replace your filler, then slot them into place on the base rail and handrail. Place the spindle tight up against these and check that the spindle is vertical. Once you’re happy with everything, nail the fillers into place if relevant then put some glue onto the ends of the spindle and fix with a nail into the handrail groove. The head of the nail should be placed so that it will be covered by the filler. Now, you’re all done! That wasn’t so hard, was it?

I’m a DIY and renovation expert from a family of renovators; it's in my blood! Renovation is my passion and I love sharing my knowledge, either through my Instagram renovation tips or my renovation course. I love seeing how it helps others build the confidence to create their dream home without it costing the earth!