How to remove an oven door
Puzzled about how to remove an oven door for cleaning or maintenance? Here's all the info you need.

Get small space home decor ideas, celeb inspiration, DIY tips and more, straight to your inbox!
You are now subscribed
Your newsletter sign-up was successful
At some point, every oven owner will likely need to know how to remove an oven door. Door removal can be a daunting prospect so we’ve pulled together this handy guide, with everything you need to know.
It’ll come as no surprise that oven doors operate on hinges, but how the hinges are secured varies from model to model. Some ovens have retaining brackets that are held in place with screws, some have hinge locks that operate with a catch-like motion, whereas some lift straight off without the need for any tools. Don’t panic, this sounds more confusing than it is and our handy guide below will tell you everything you need to know.
Do you actually need to remove your oven door?
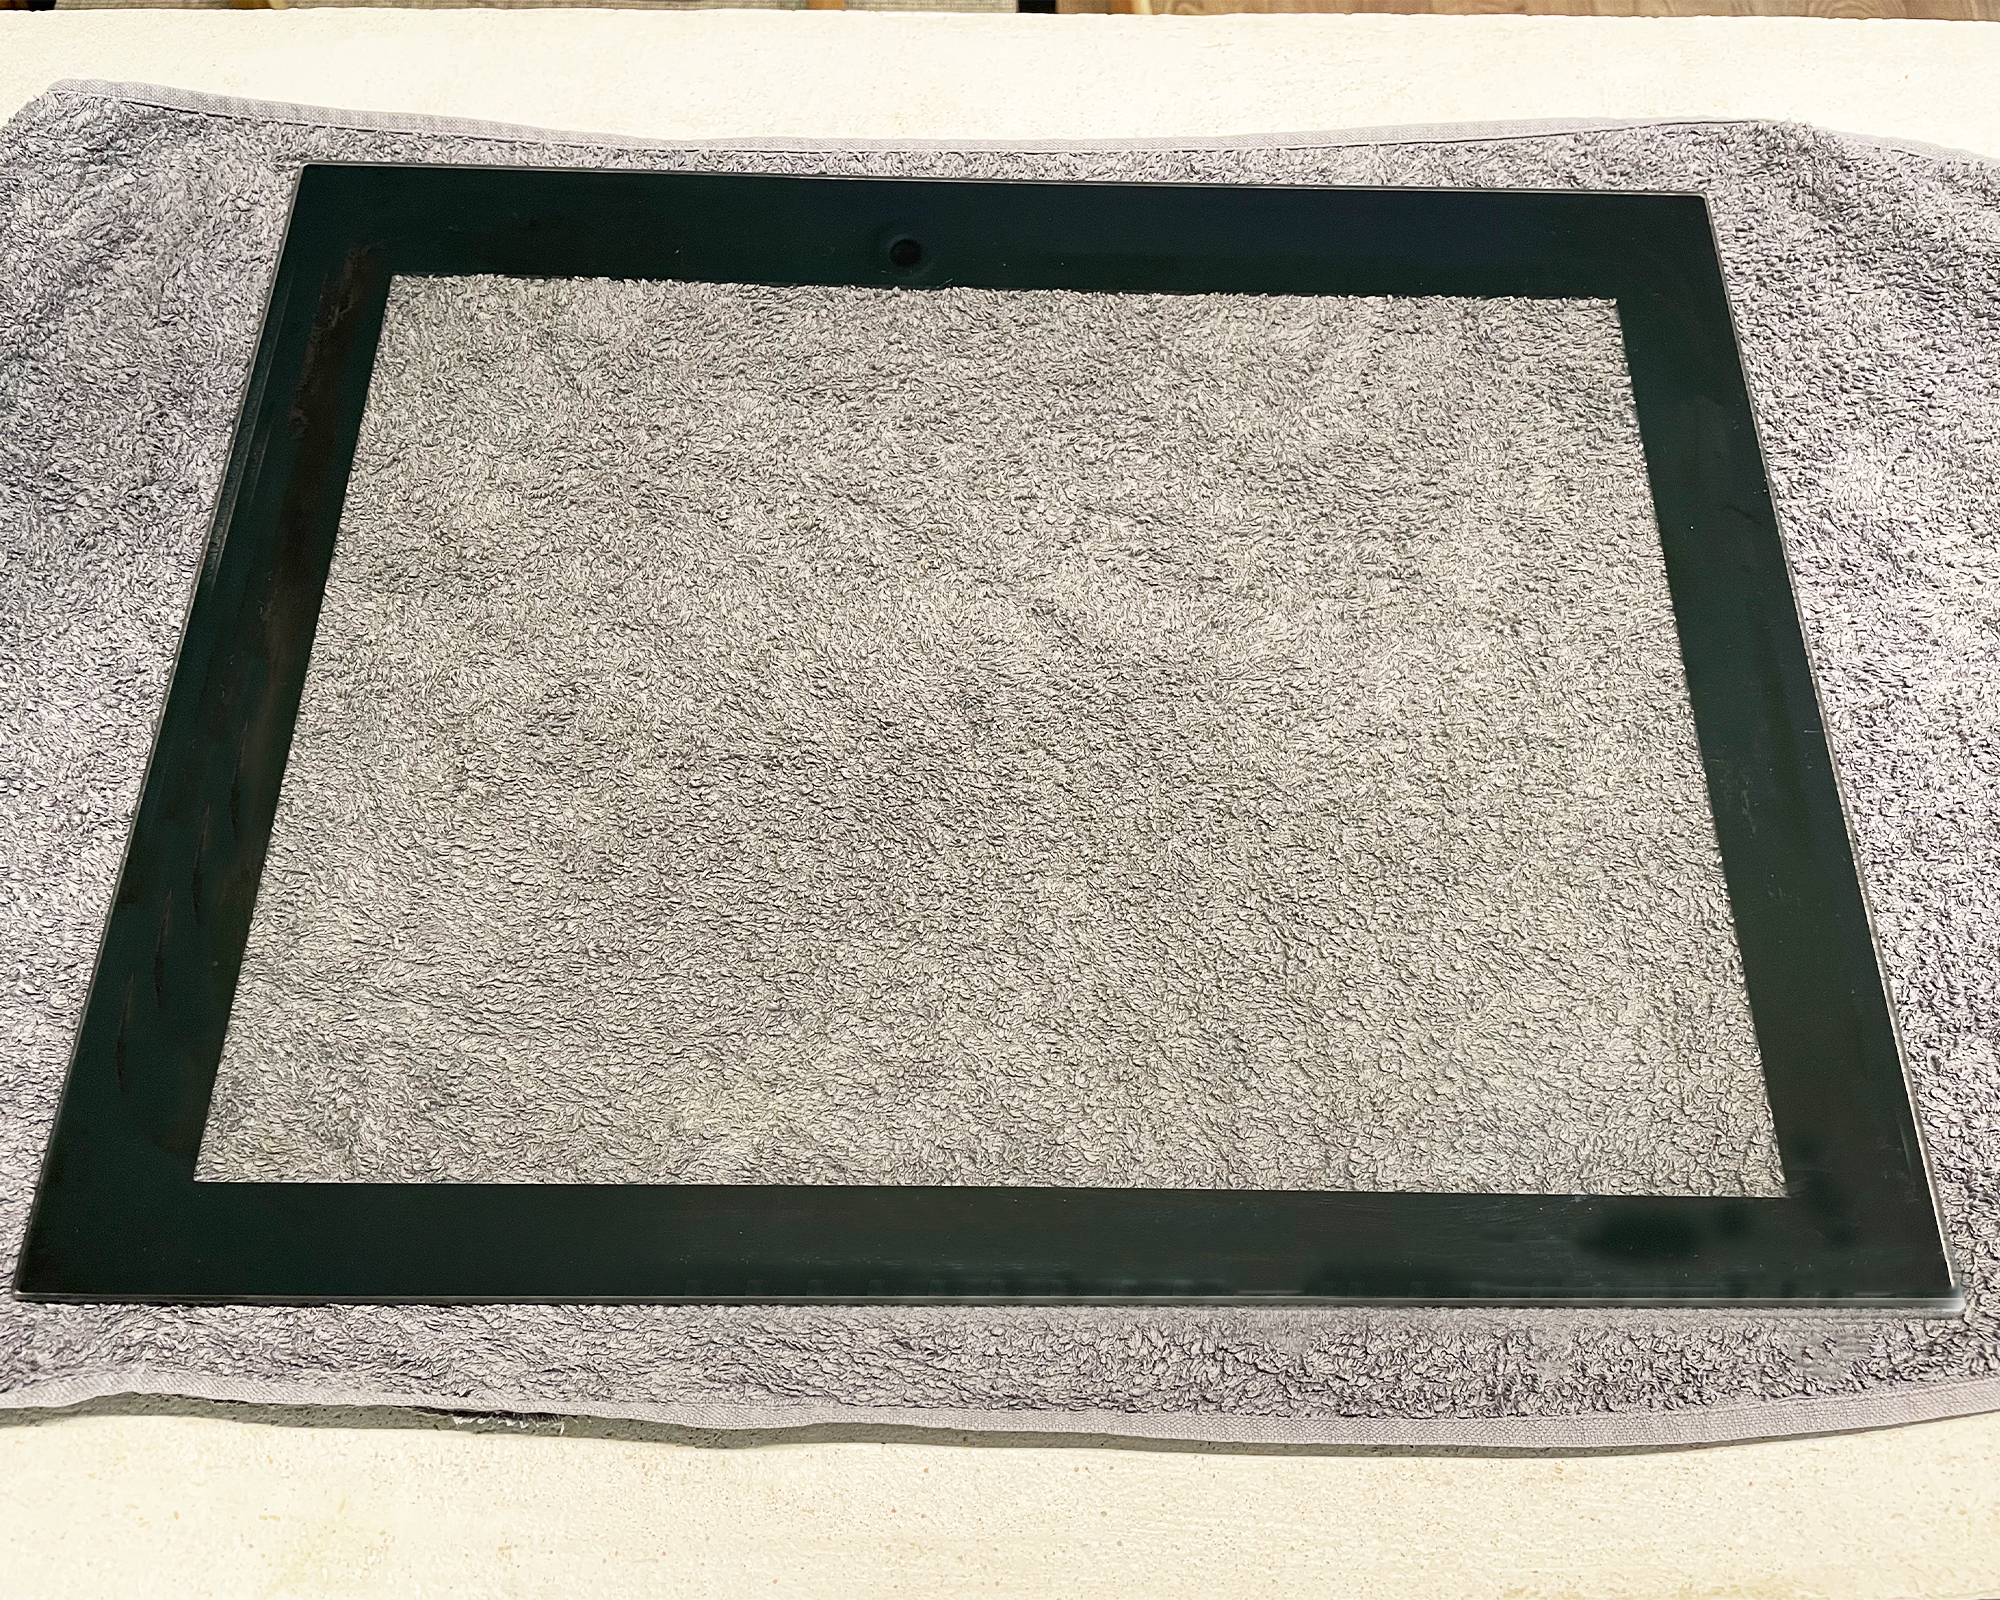
Before we start getting into the detail of hinge types, disengaging locks, and retaining brackets, it’s worth checking that you actually need to remove the door in the first place. Many oven doors are designed so that you can clean glass oven doors without the need to take the whole door off. Therefore, if cleaning is actually the reason behind your visit here today it’s worth checking if you can simply take the inner glass out before continuing with the steps below.
Removable inner door glass on an oven is sometimes seated on a spring-like mechanism which allows for the glass to be gently pushed down from the top, towards the base of the oven, to release the top of the inner glass door from the catch that secures it, at this point, you can lift the glass out and gently place on a towel or blanket.
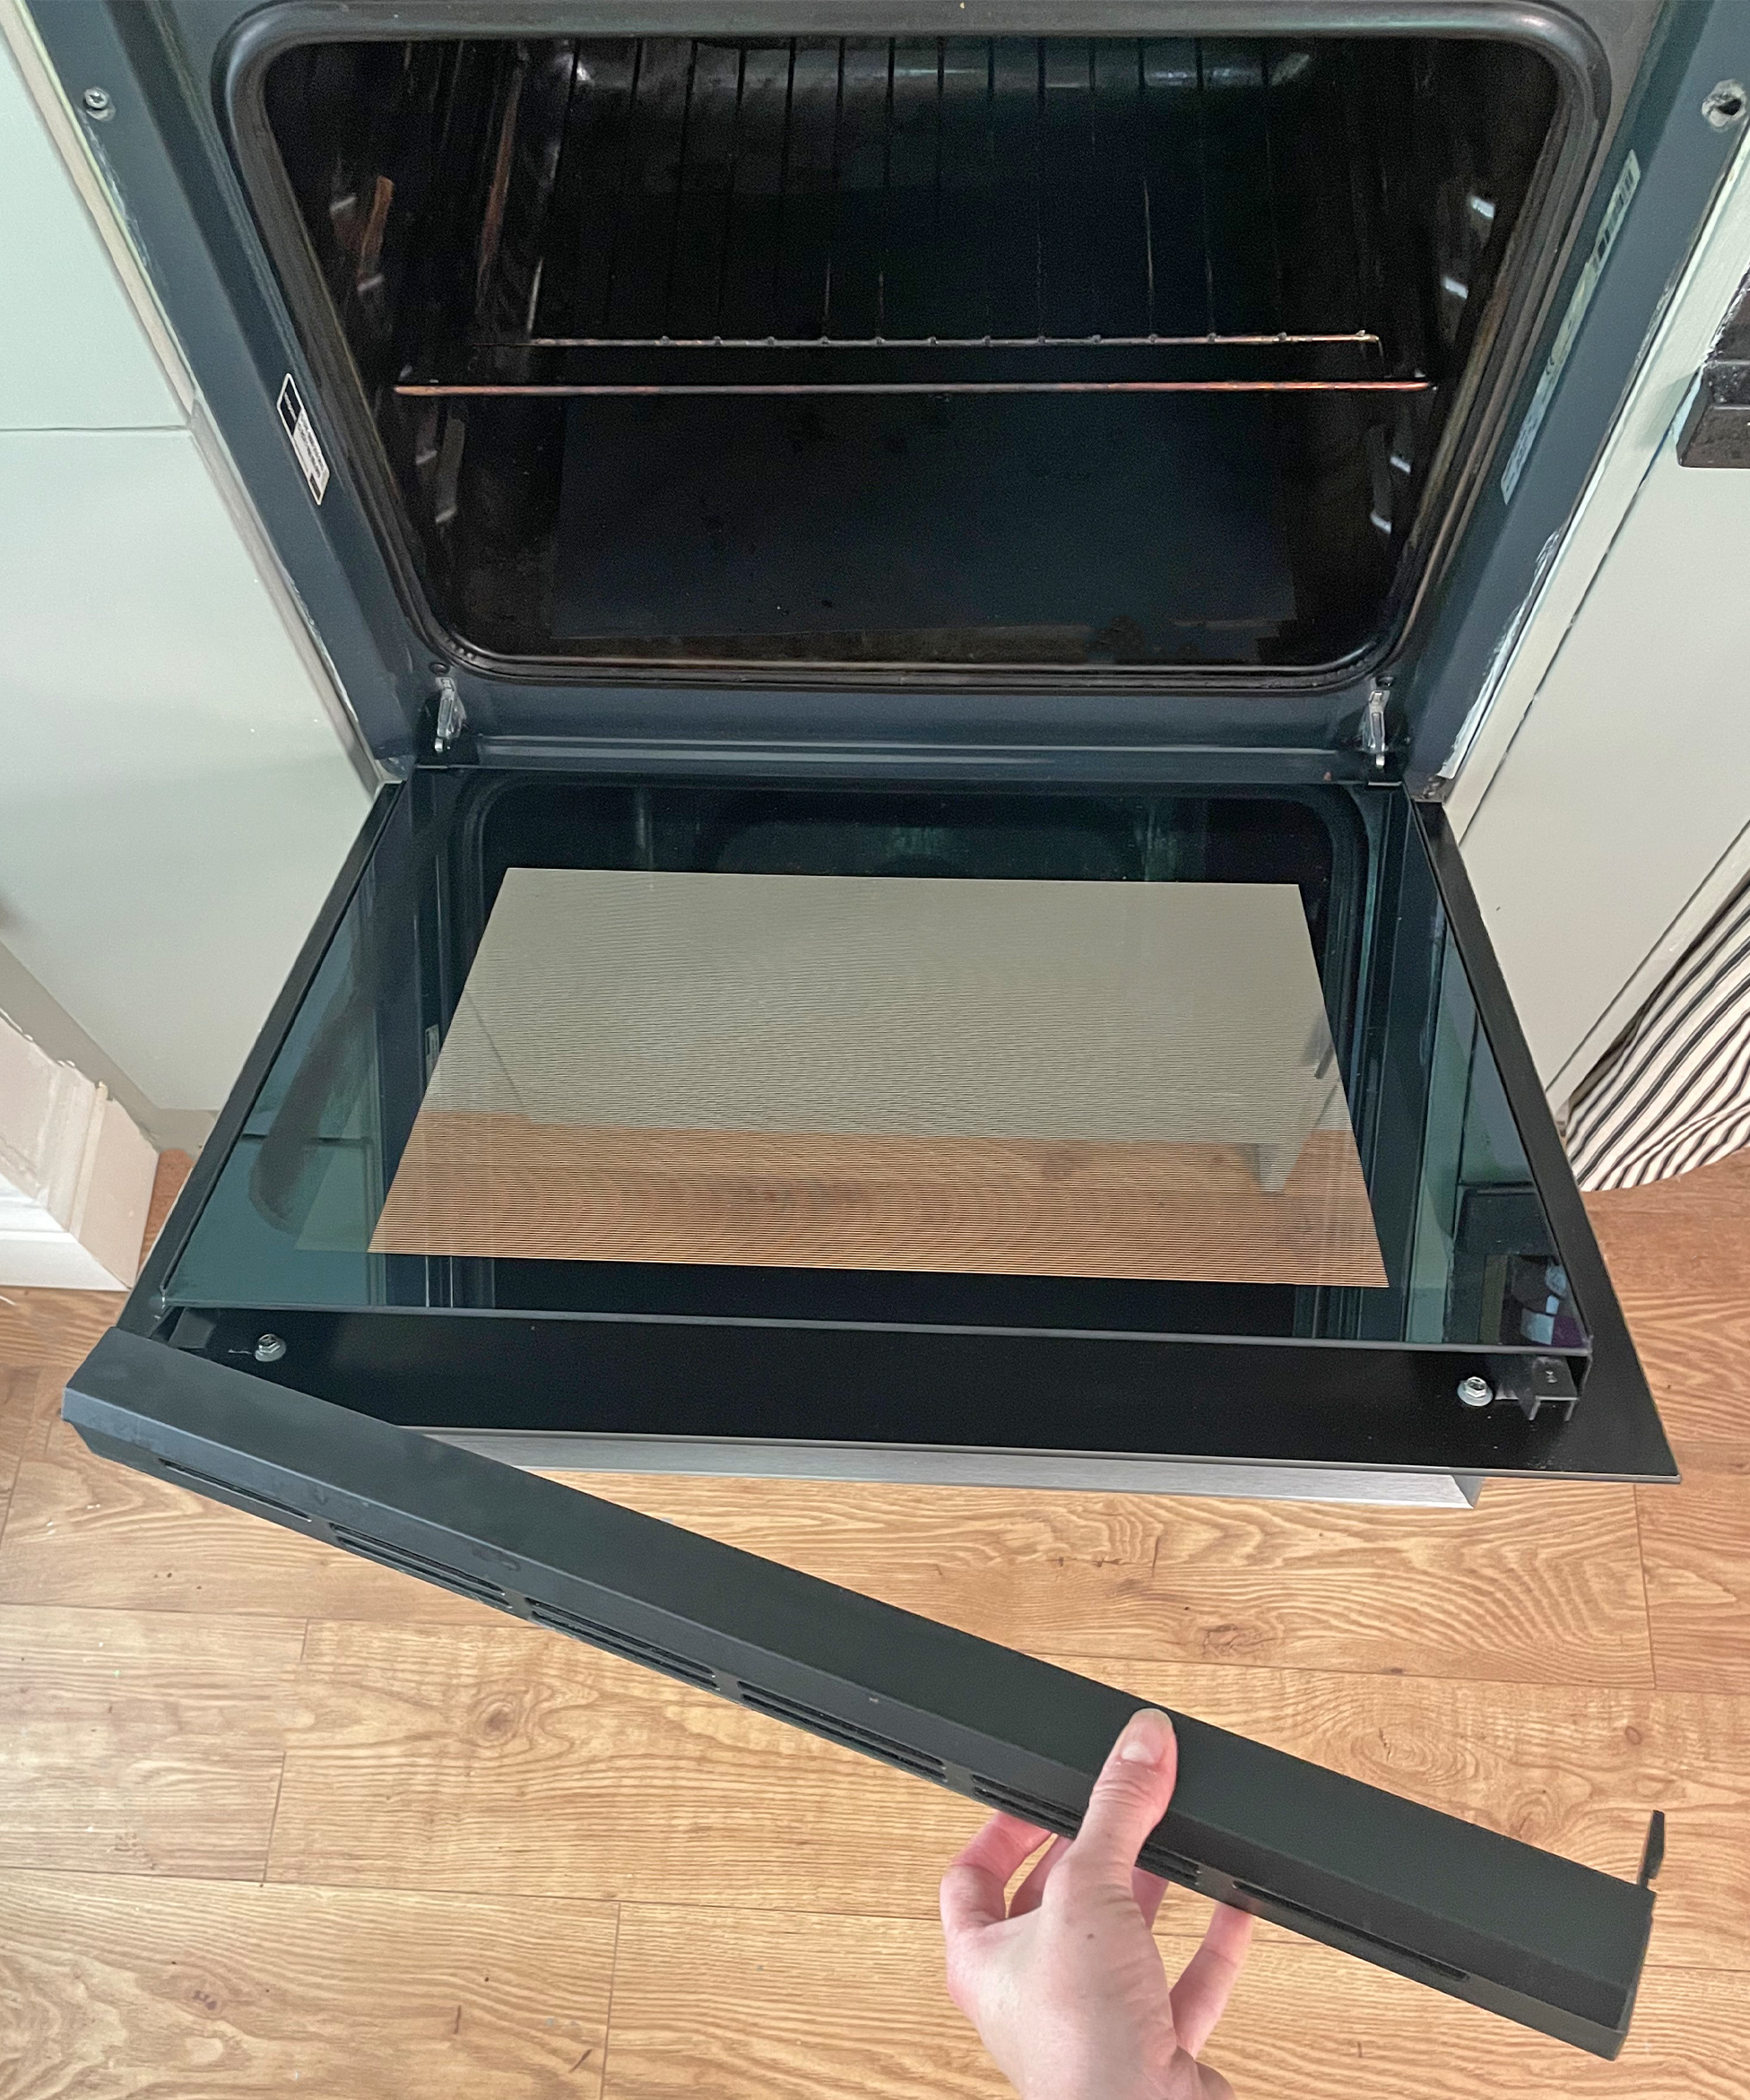
Alternatively, you might need to remove part of the top section of the door to free the glass as shown above. Once the glass is free, it can be lifted gently out.
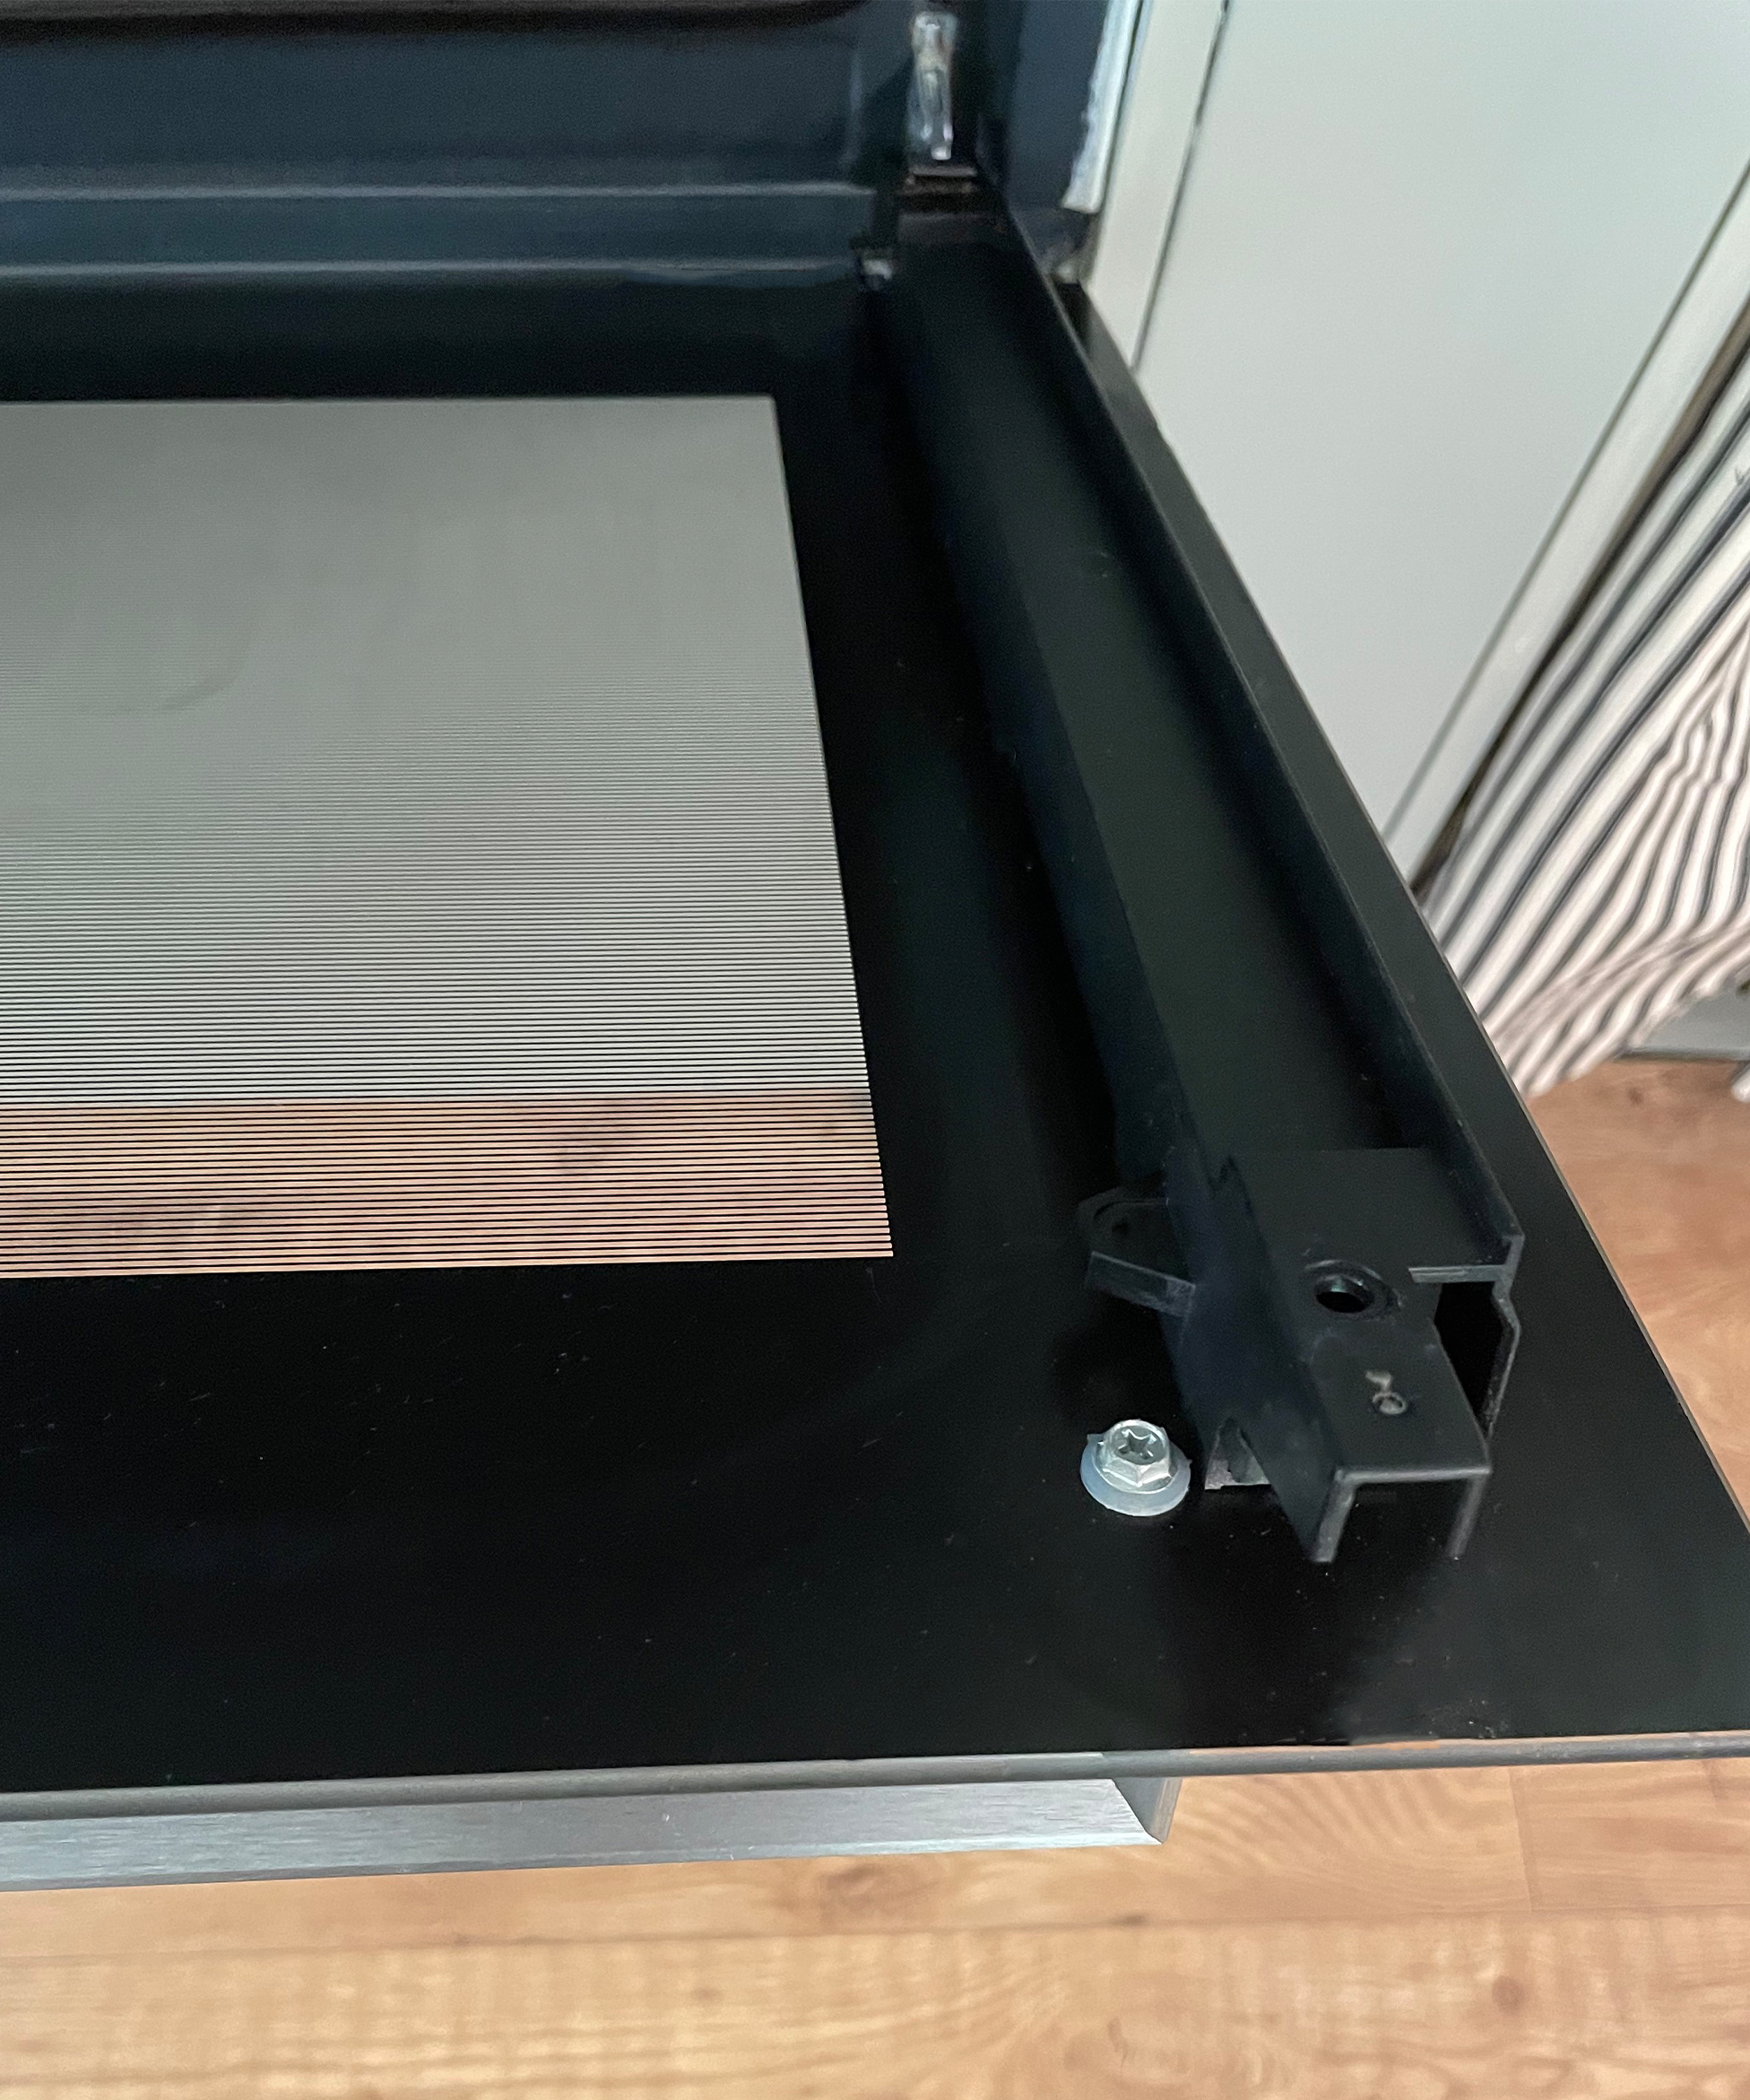
If your inner glass definitely doesn’t detach or your need for removal was not cleaning related then keep reading…
How is my oven door secured?
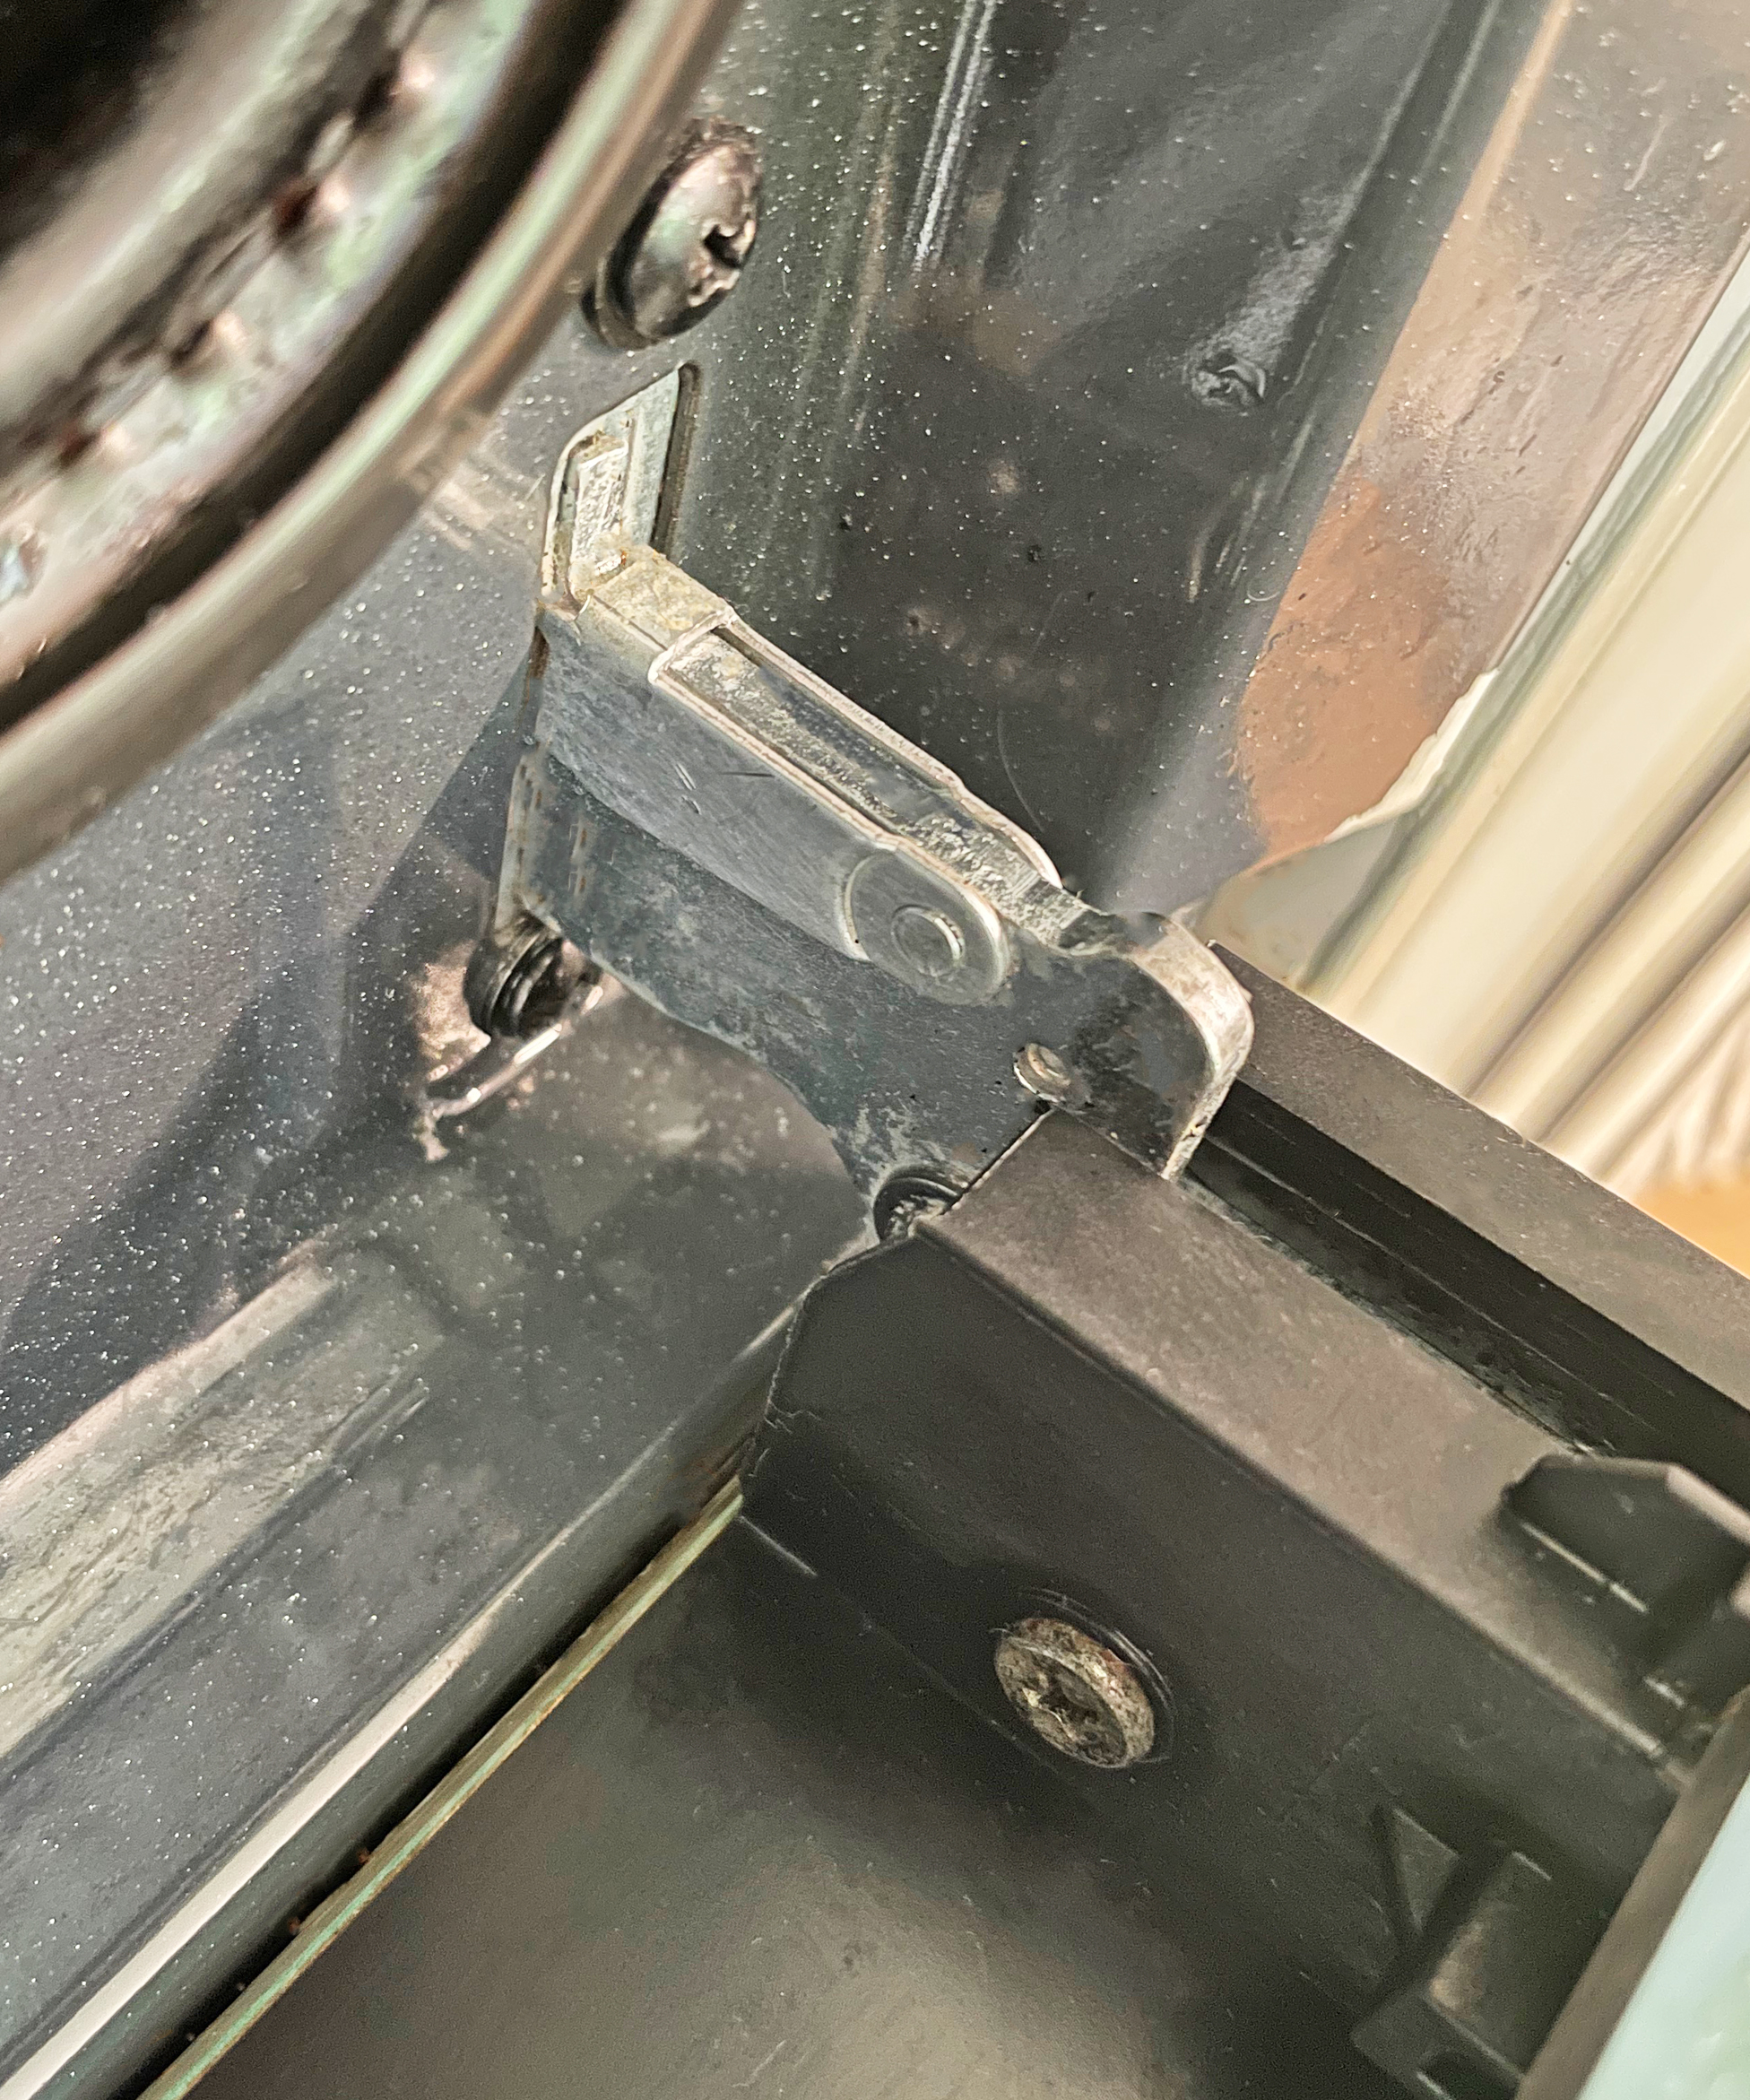
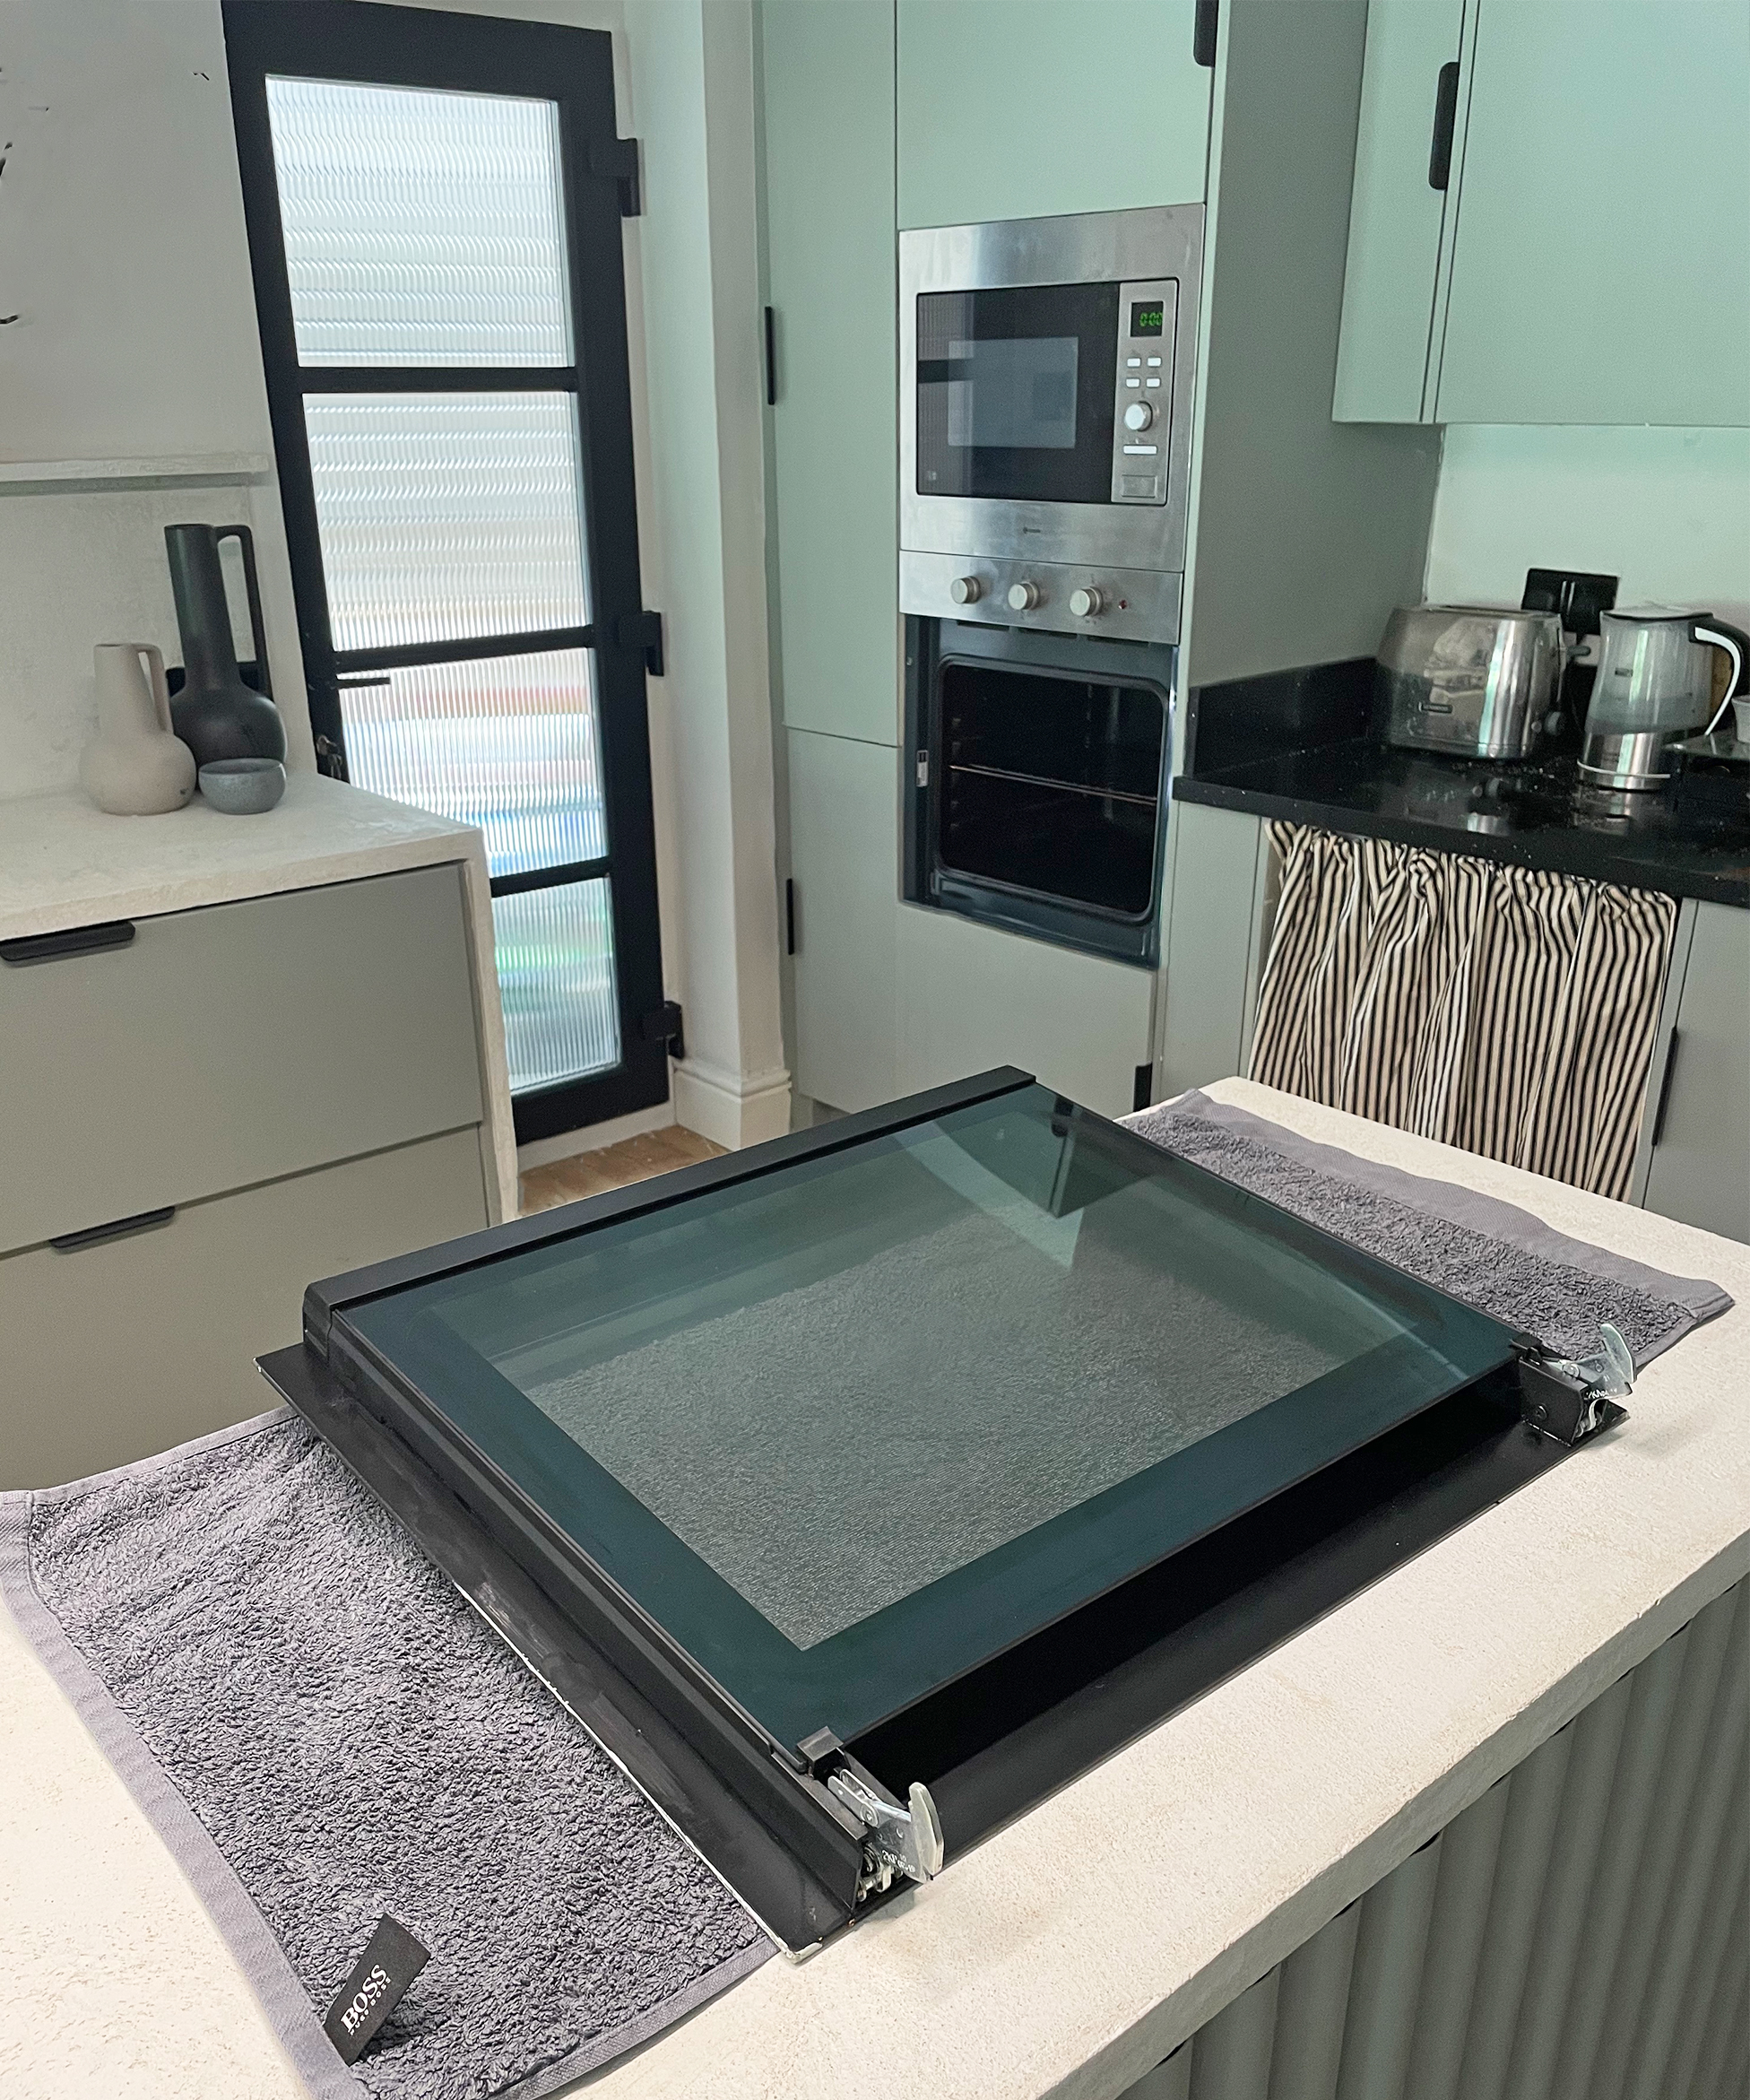
To be sure of the correct process for how to remove the door, first, you need to identify how yours is secured. To do this, fully open the door so it is parallel with the floor and examine the hinges at the bottom corner where the door meets the oven. Once you have assessed the type of hinge and any additional features choose the appropriate guide below. Before you start removing the door, prepare an area to safely store the door once removed. A countertop is ideal as long as you place a towel or blanket down first to protect the surface and the oven door.
Get small space home decor ideas, celeb inspiration, DIY tips and more, straight to your inbox!
Oven door hinges with rotating latches
These are extremely common and easy to spot. There is a metal lever/catch that rotates on a 180-degree path. The end of the latch will be clipped into position resting against the oven itself holding the hinge in place.
Ensure the oven door is fully open.
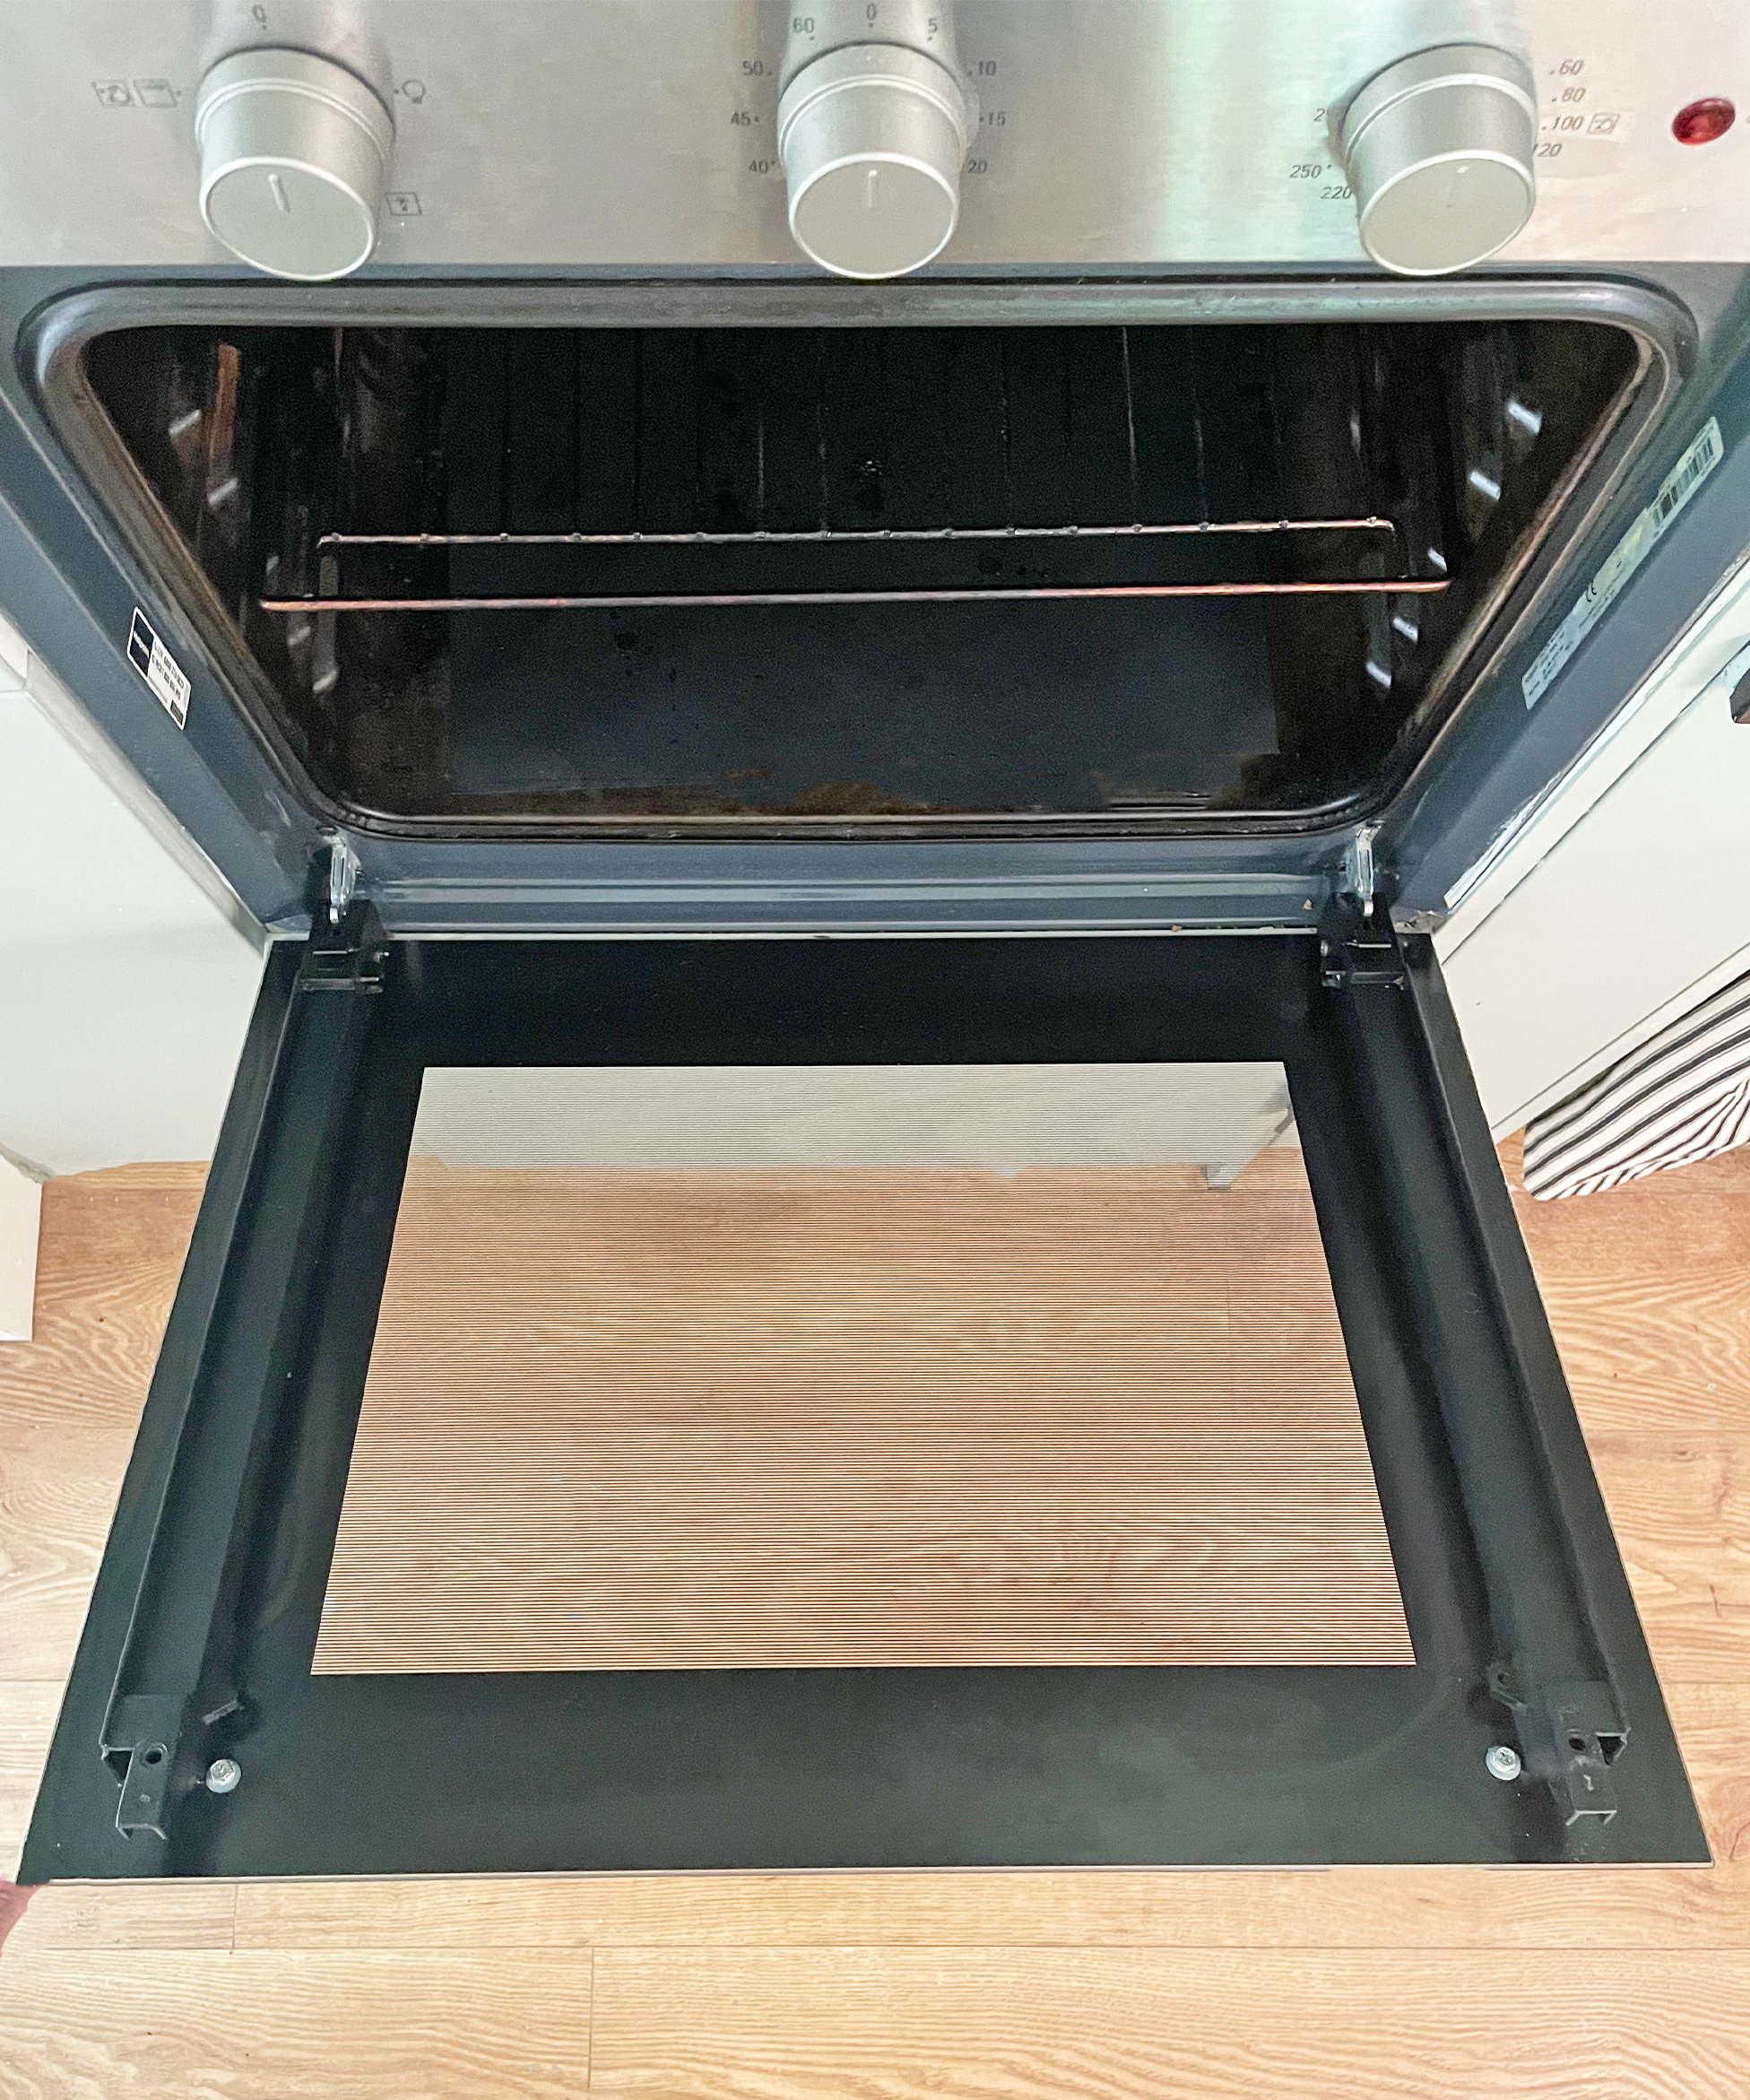
Lift the latch from the end furthest away from the central pivot point. It might be possible to lift the latch with your fingers, but you’ll likely benefit from the end of a slotted screwdriver.
Place the tip of the screwdriver under the latch and lever it upwards. Take care when handling tools over the open oven door, a dropped screwdriver from the right (or wrong) height could cause the oven door to crack.
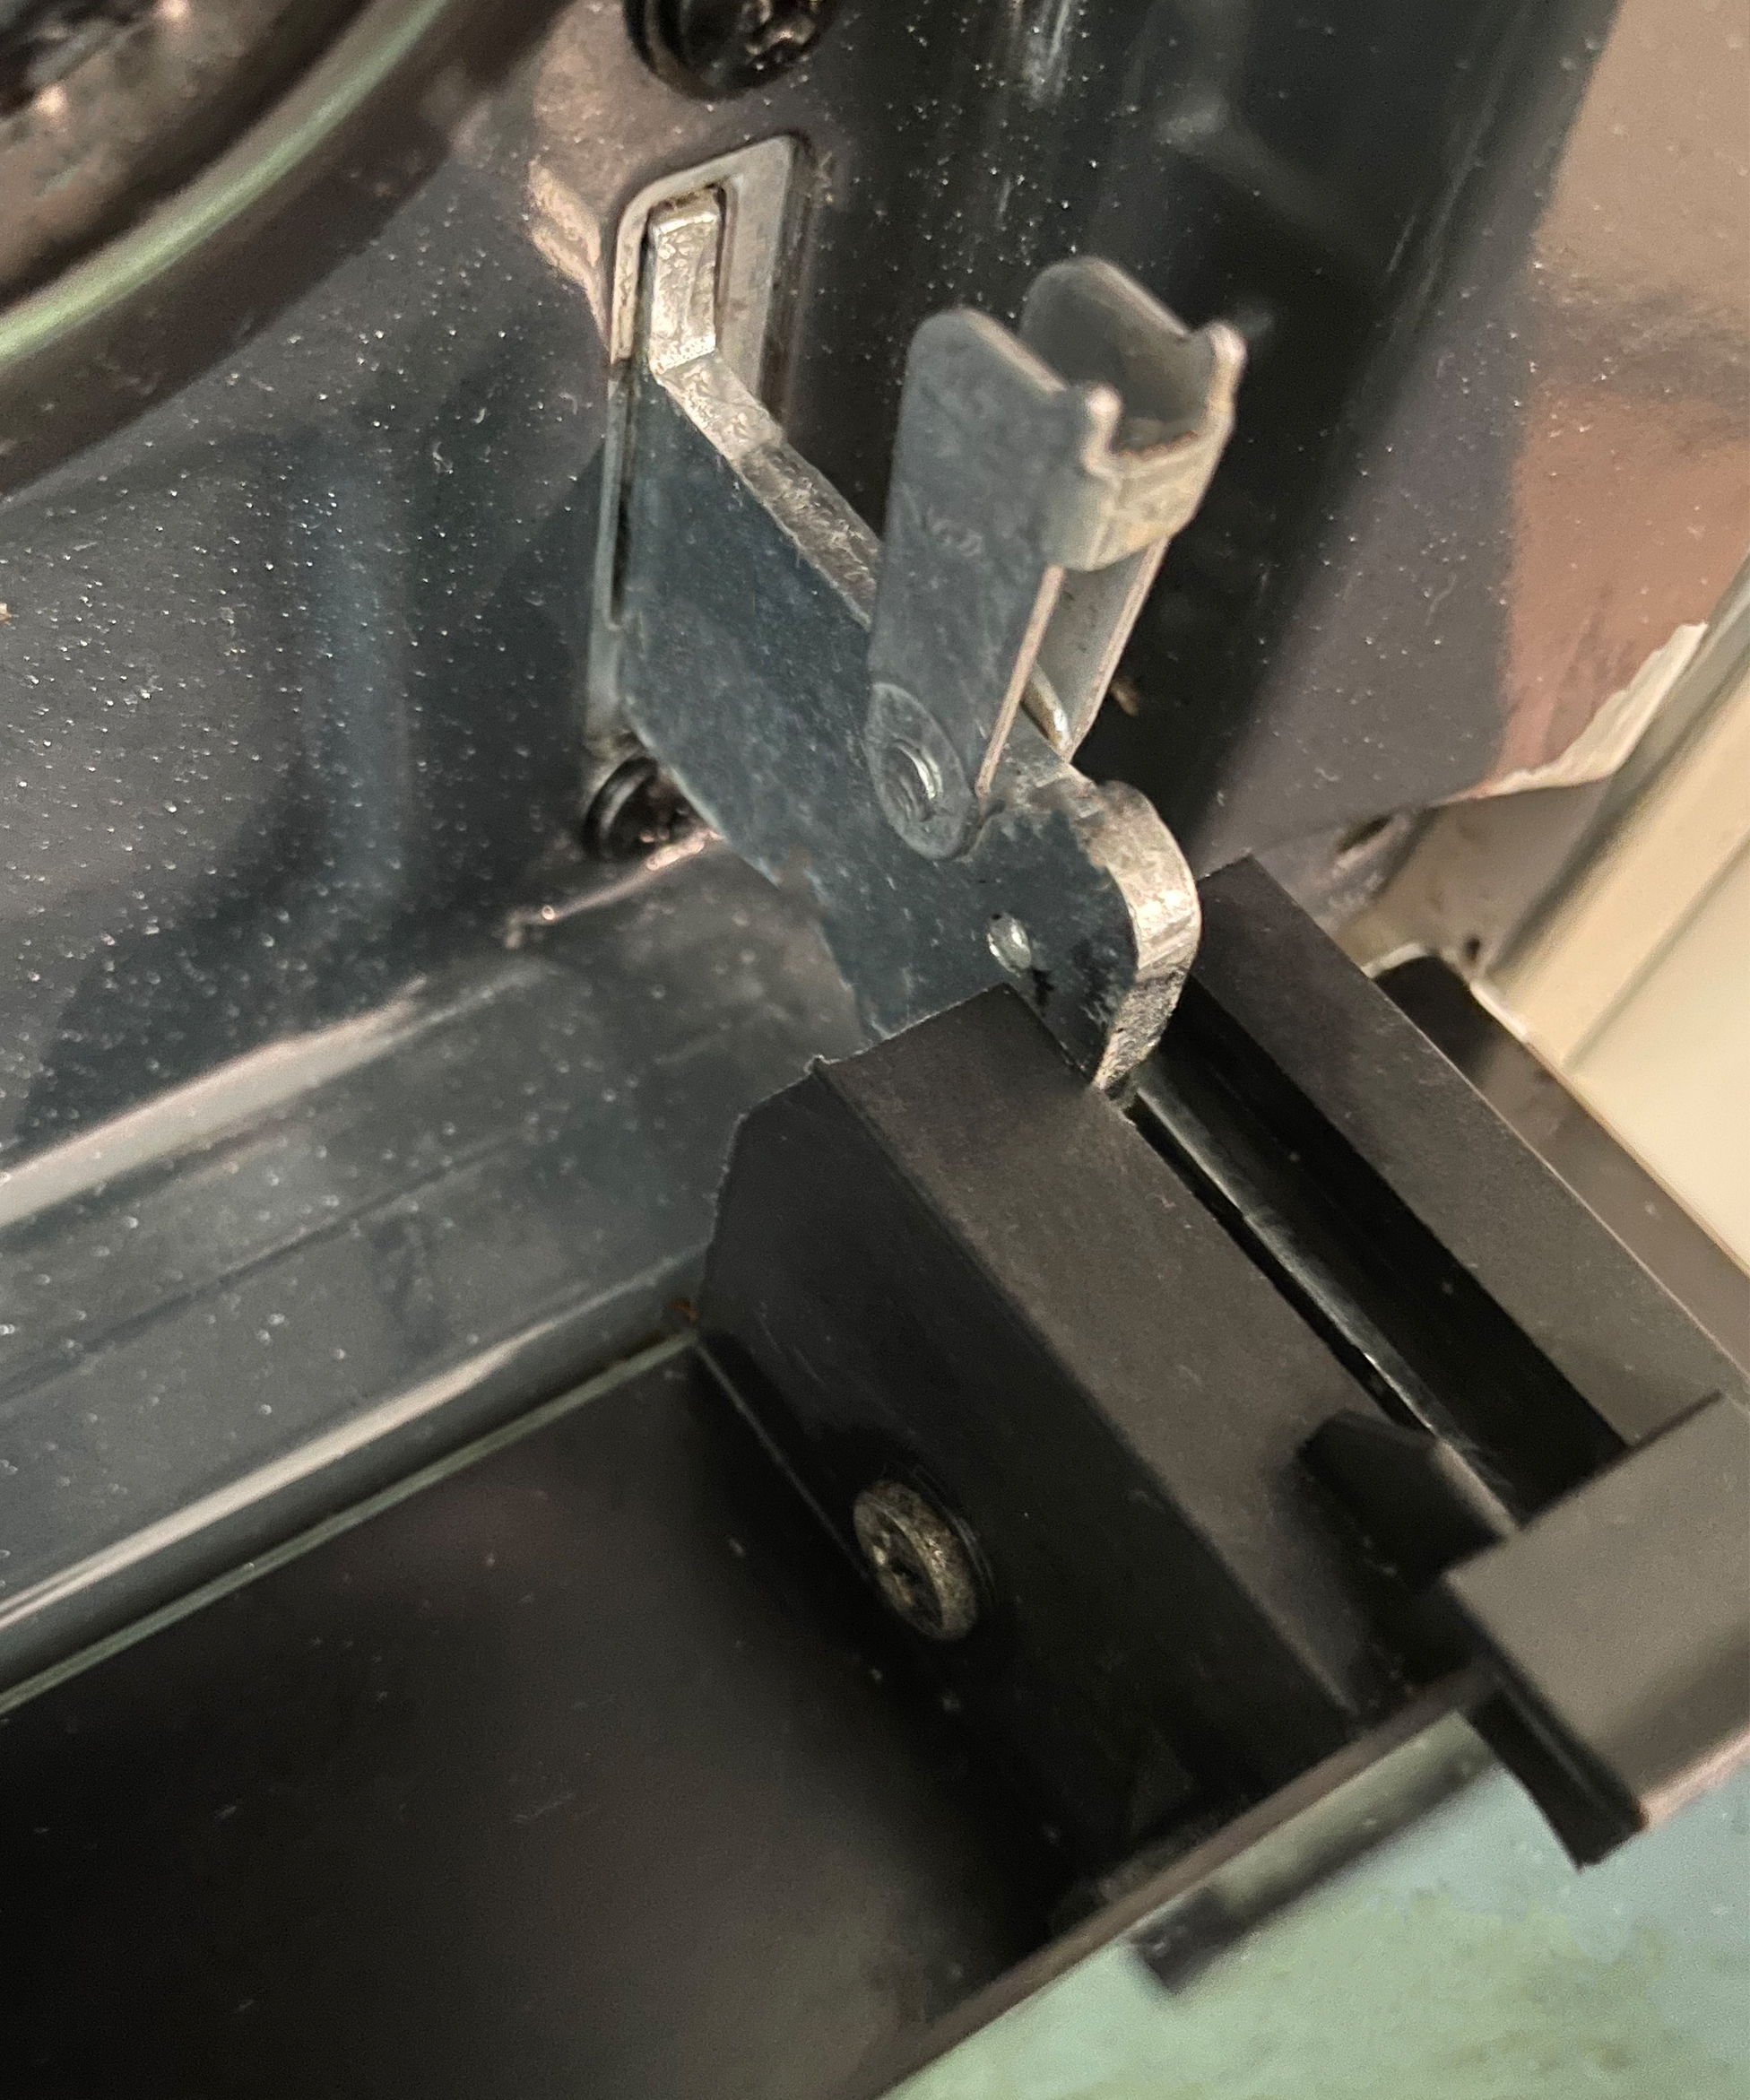
Once the latch becomes free, rotate it away from the oven door.
Do the same thing on the opposite side of the oven until both latches have become free.
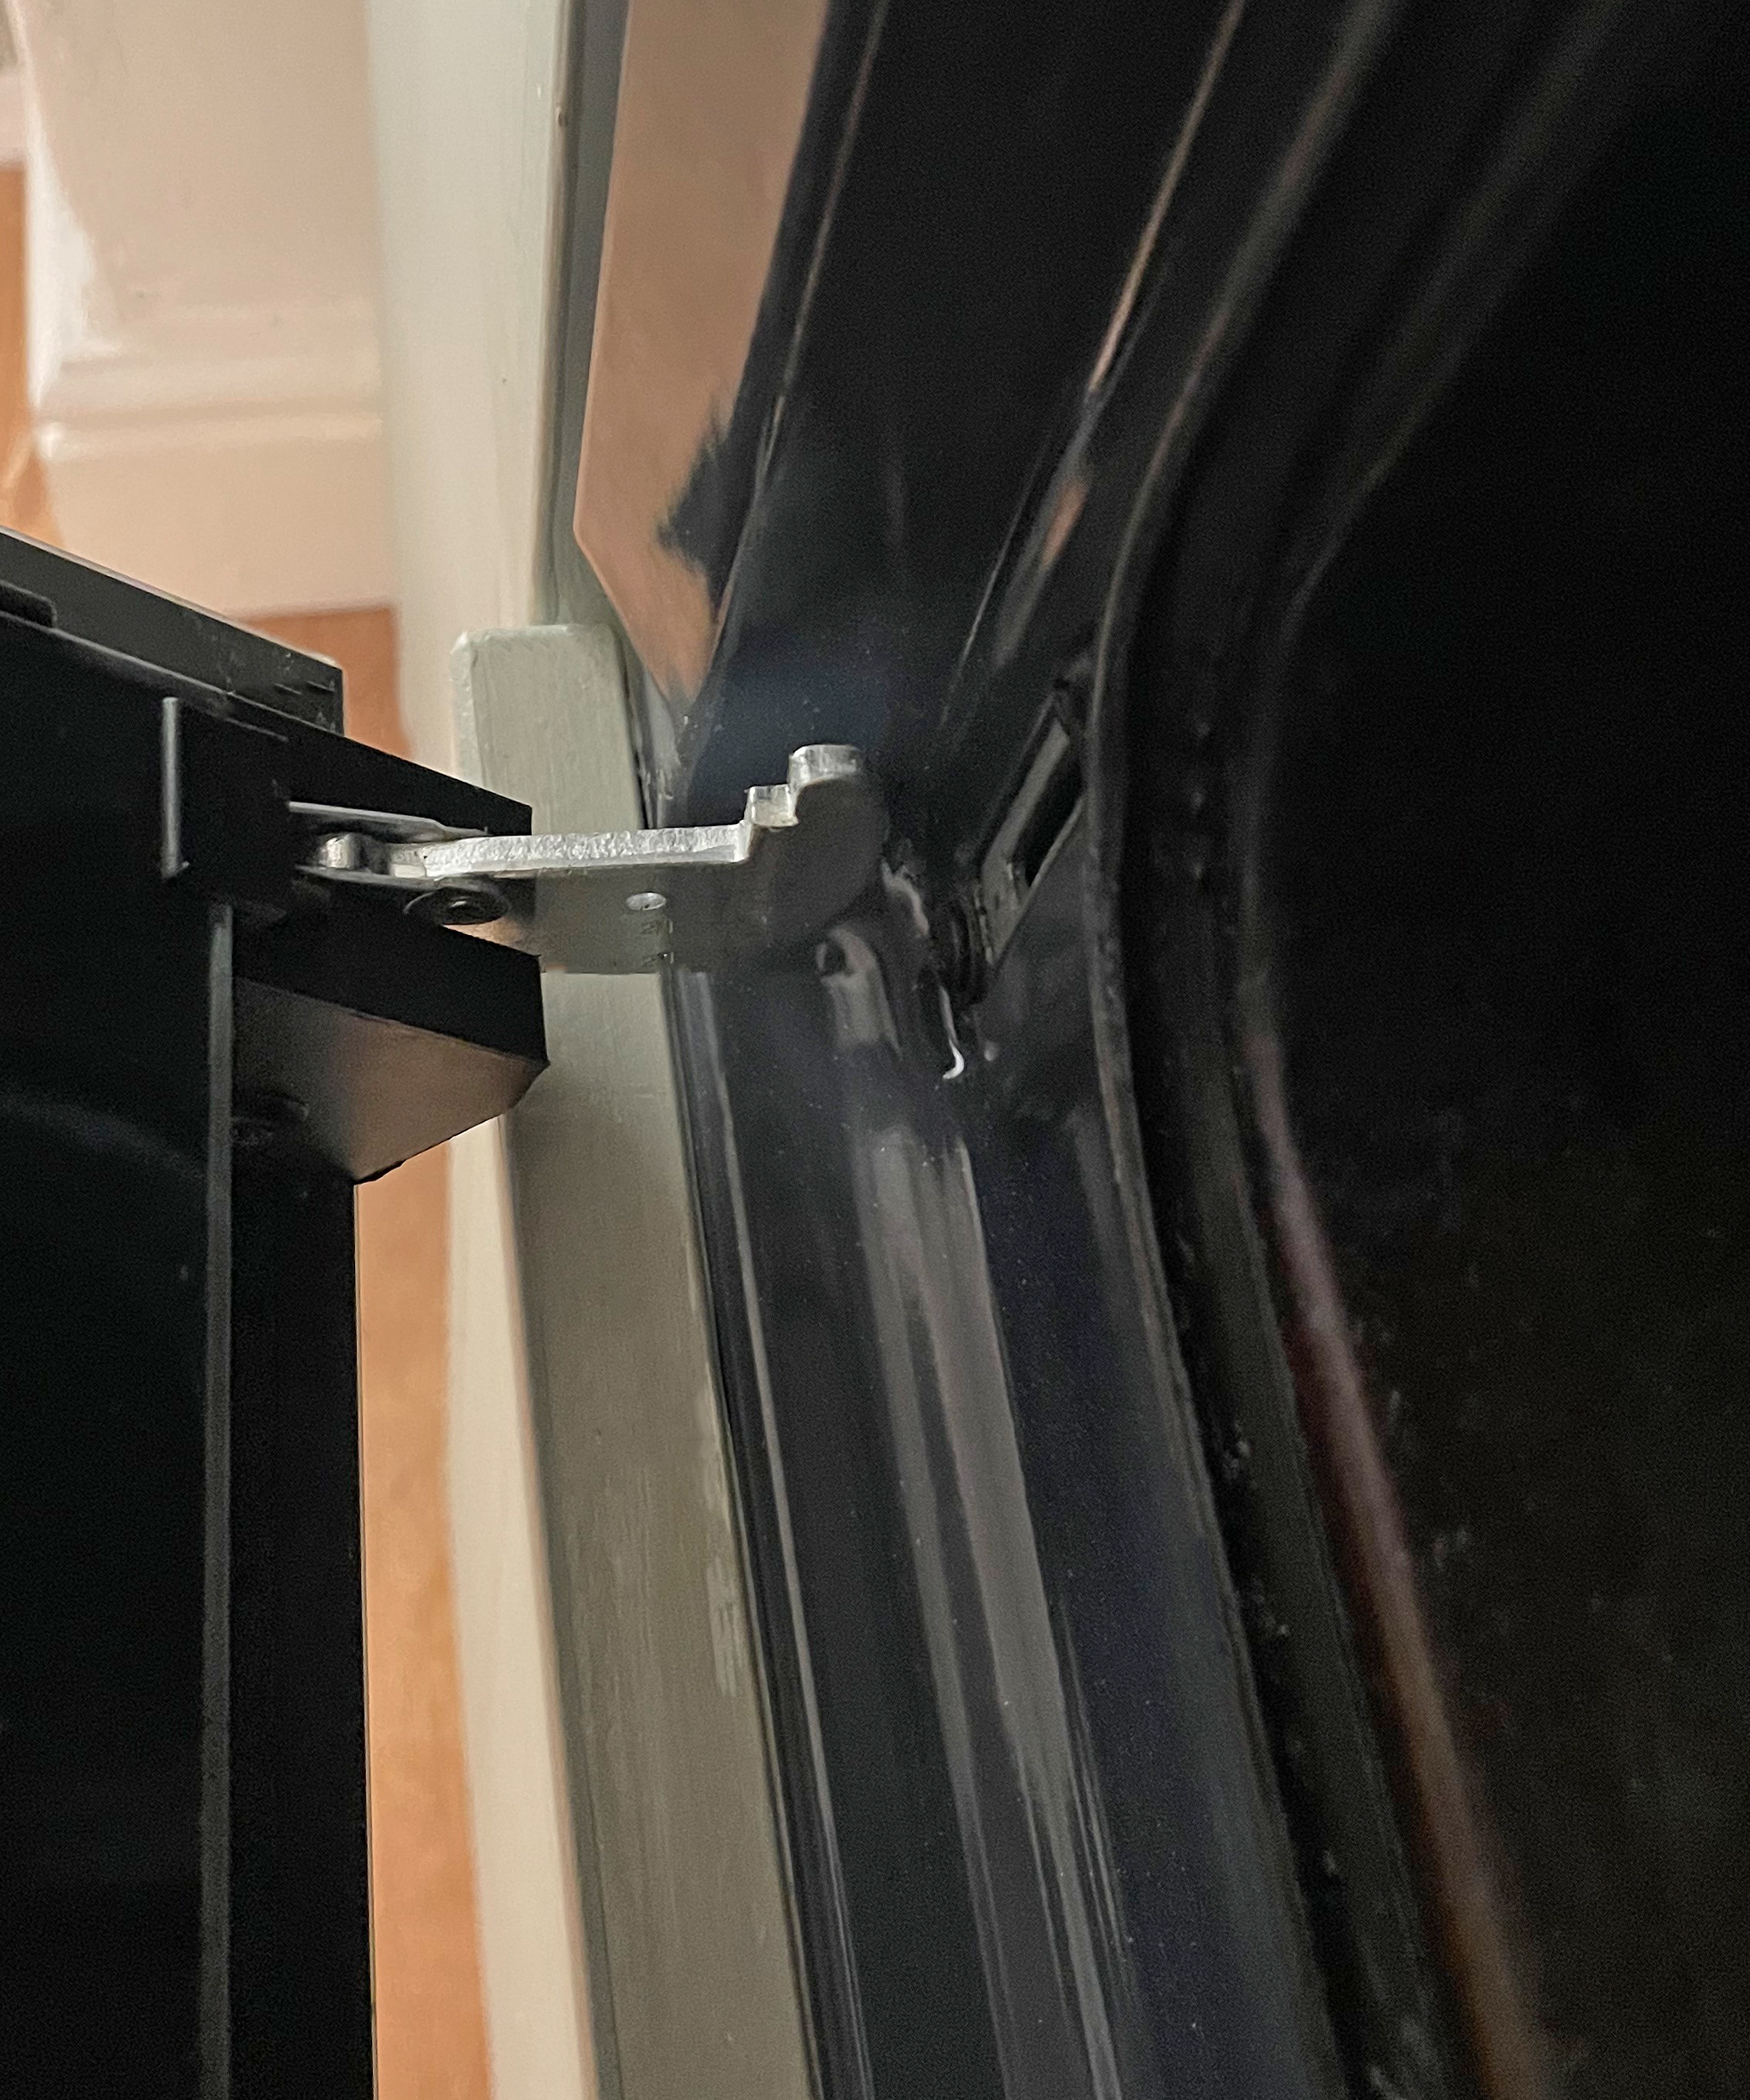
Close the oven door until almost fully closed.
Carefully lift the oven in an upwards motion, holding the sides of the door, not the front door handle, until the hinges become free.
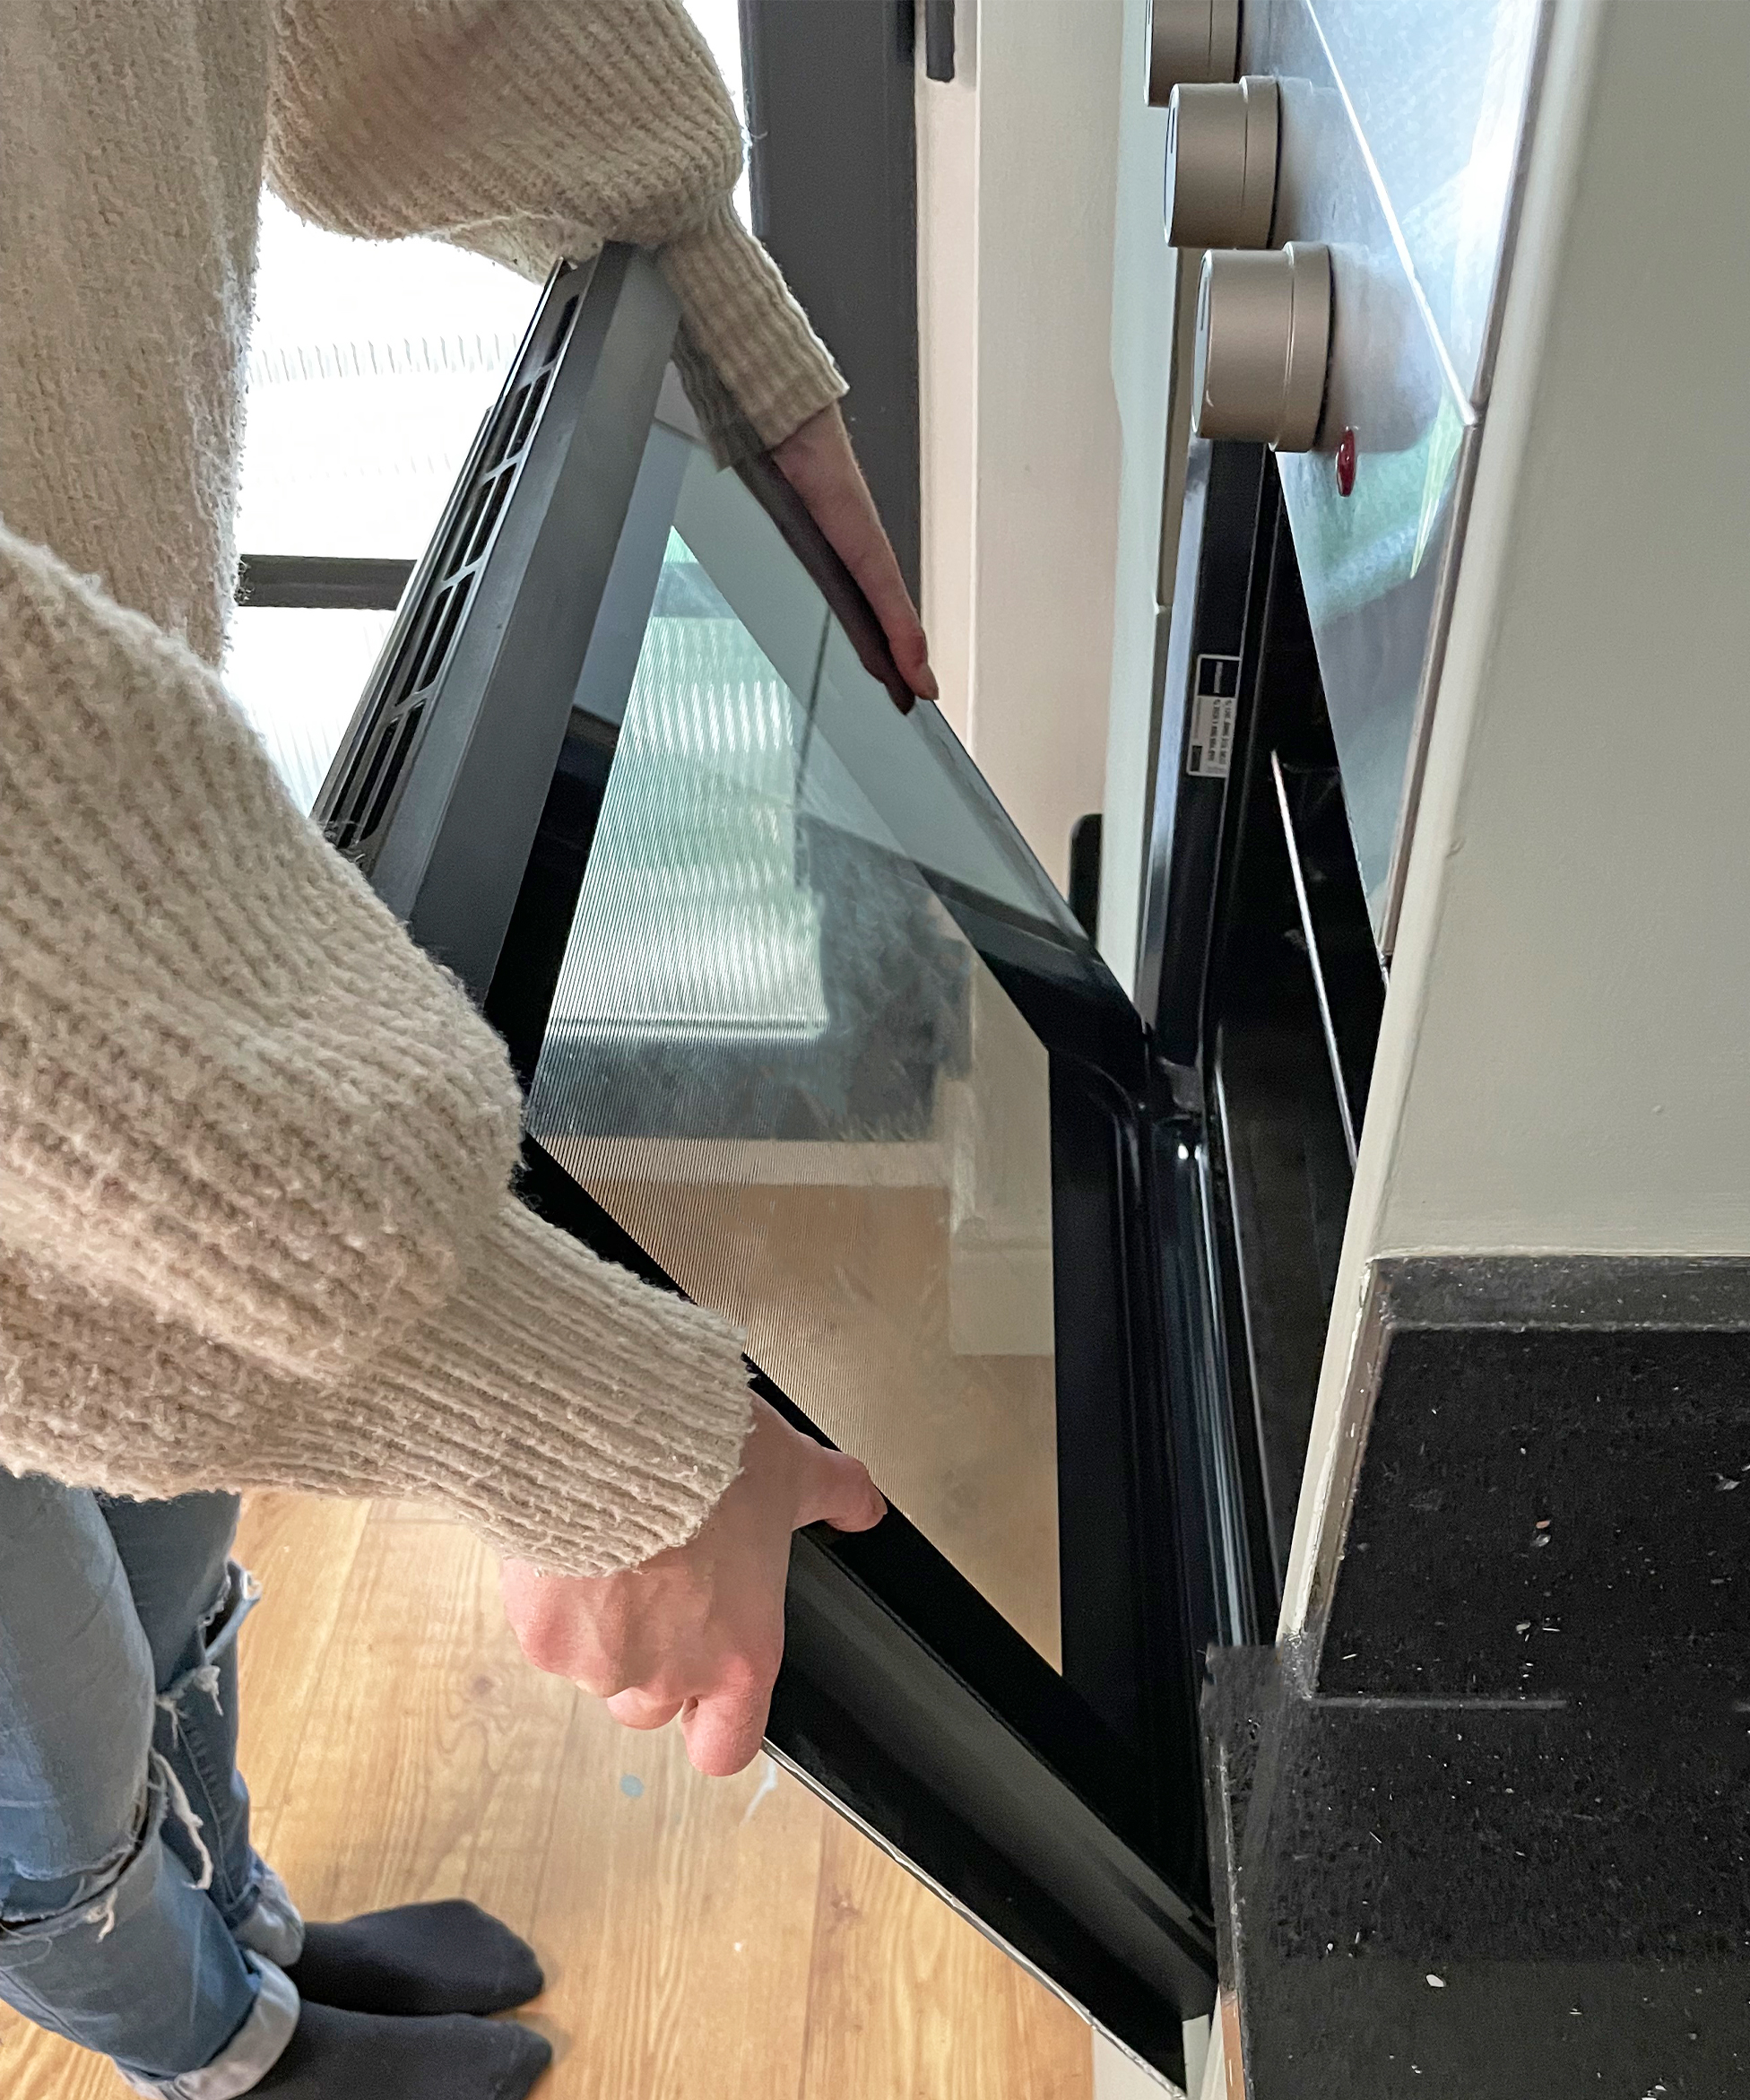
Carry the door over to the area you have prepared and gently place down on the towel or blanket.
Rotating latch hinges with additional retaining brackets
These are the same as rotating latch hinges but also have a bracket that is part of the door and is screwed onto the oven directly above the hinges. To remove a door of this design, follow the same steps as above but, additionally, loosen the screws on the retaining brackets on each side. Once the brackets have been loosened sufficiently, they can be removed (it’s a good idea to tape them to the oven door before taking the door off) and you are ready to lift the door up and off, as before.
Latchless hinges
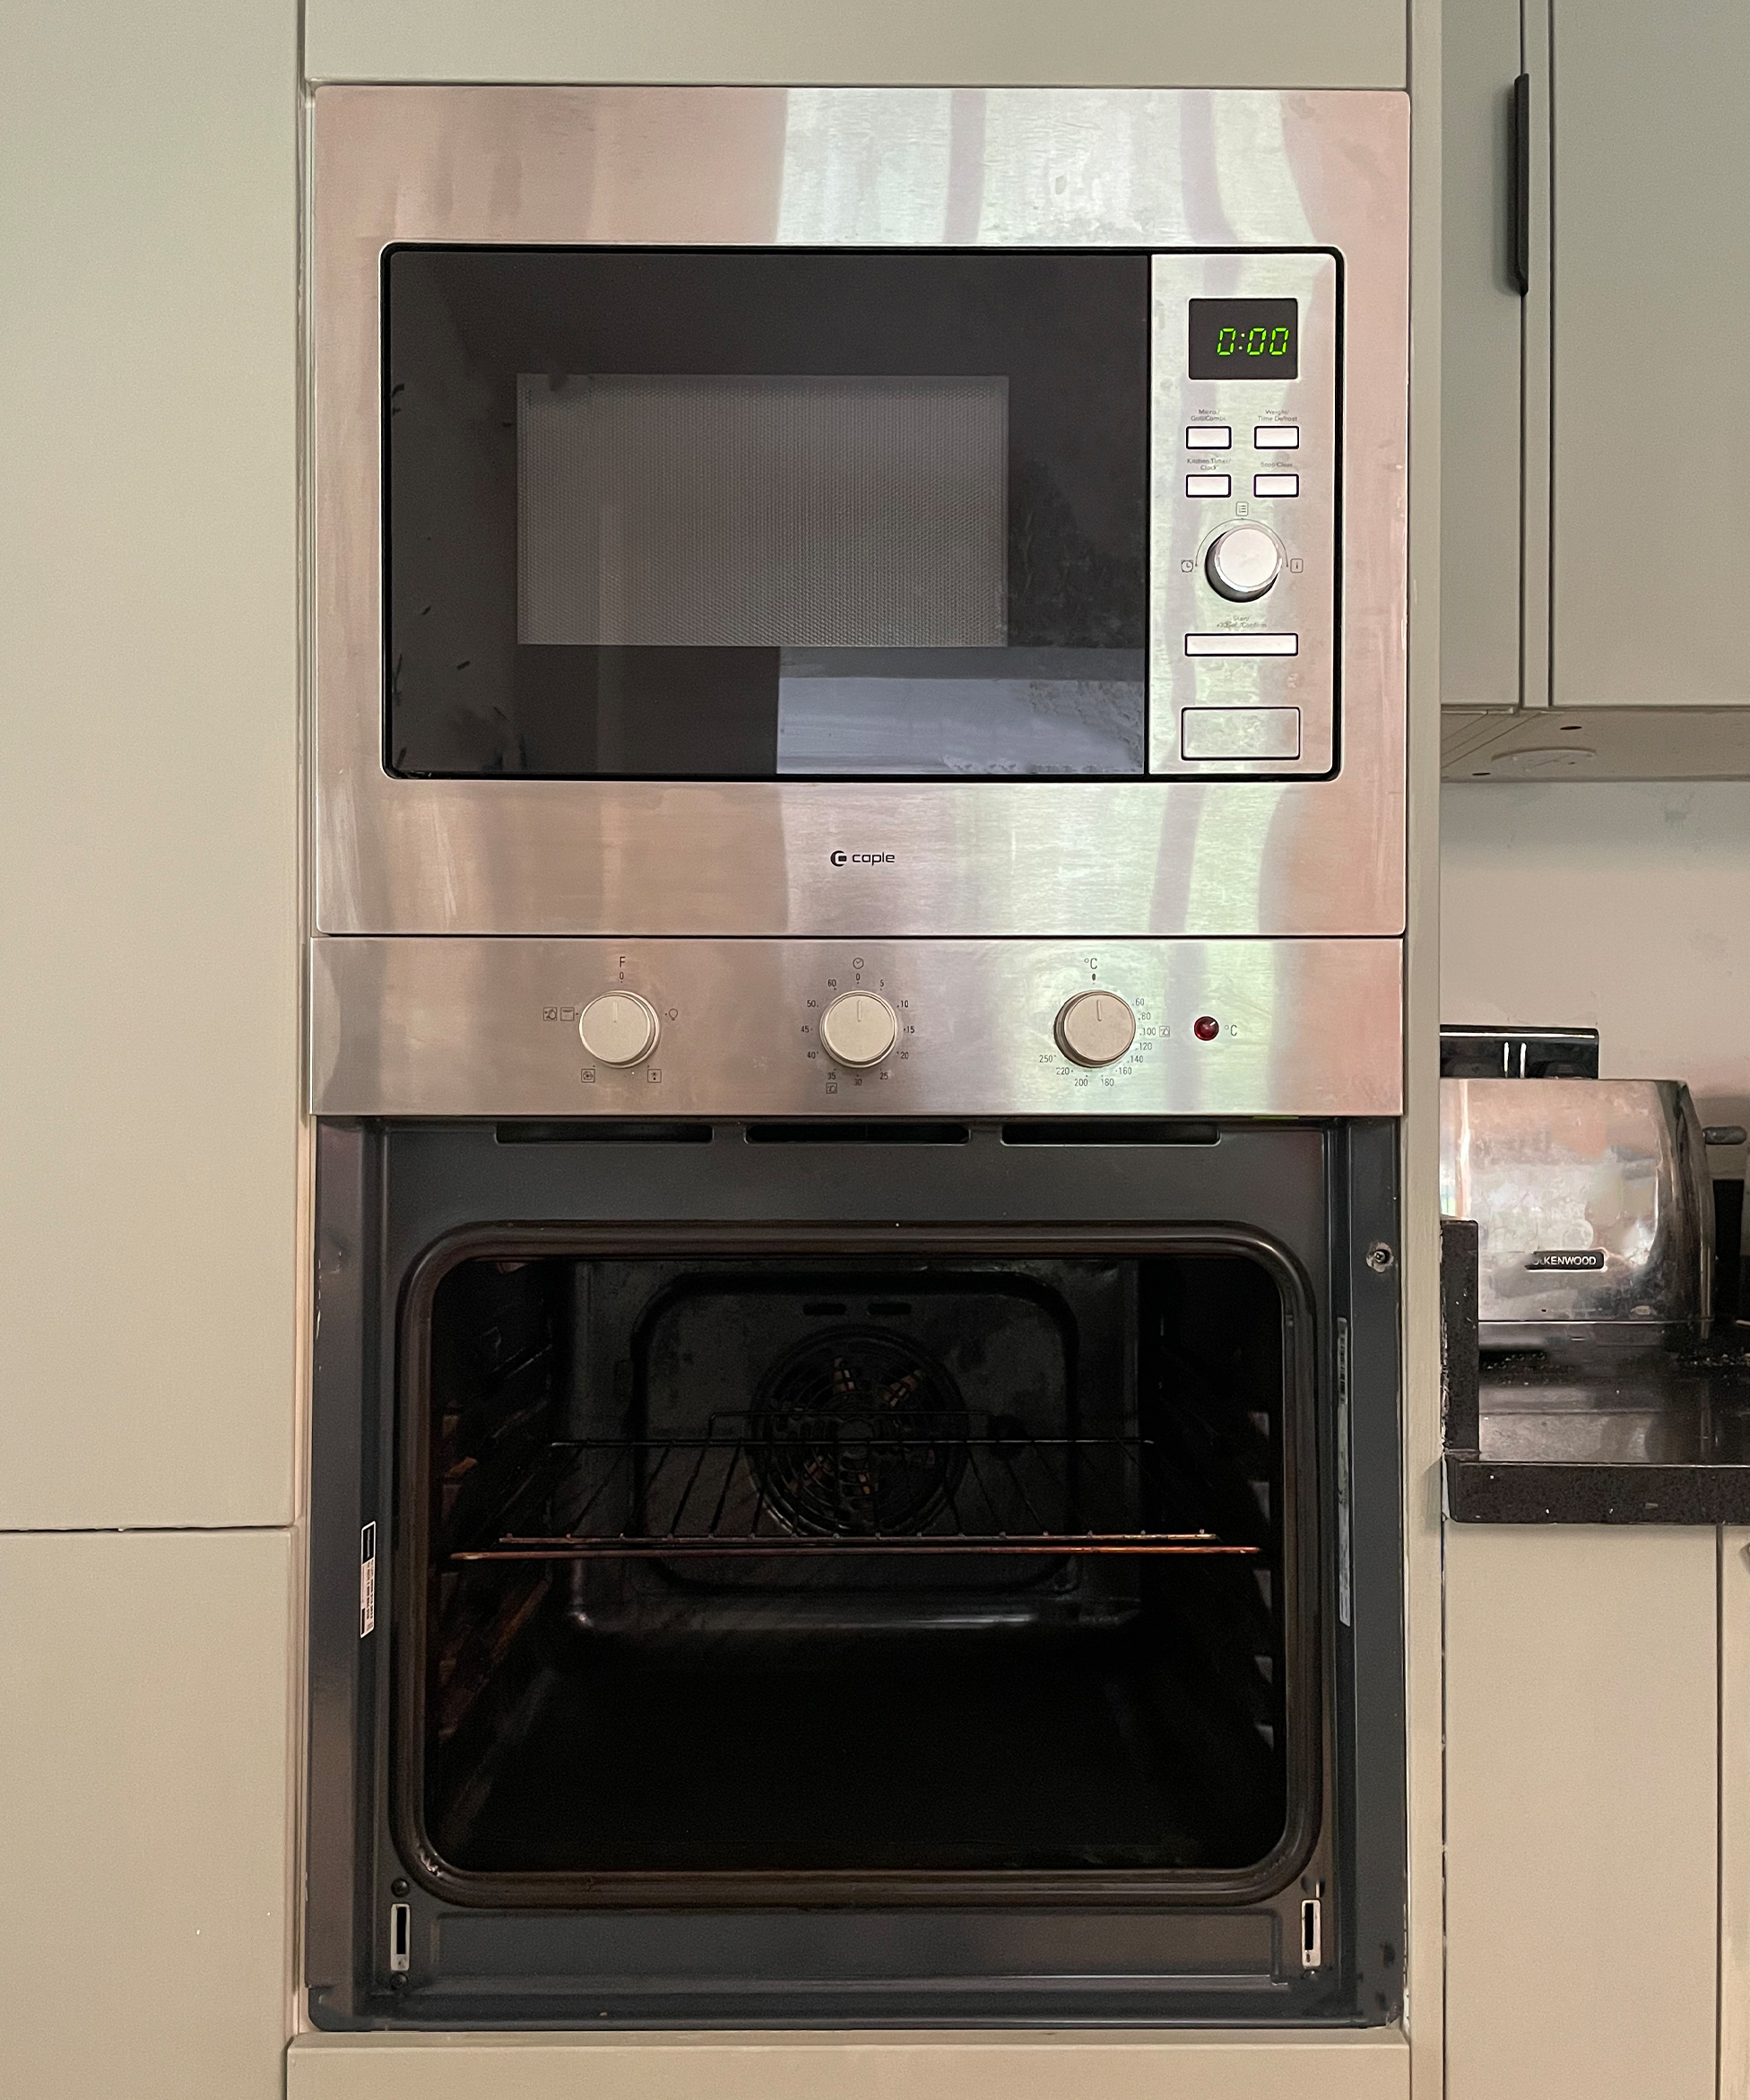
Hinges without a latch or locking mechanism go straight into the oven from the door with no additional security. These are the easiest to remove as you can simply lift them up and out of position. To do this, open the oven slightly, hold the sides of the oven door and lift the door up and off. Carefully place the oven door down in the area you have prepared.
Safety Note
It goes without saying that oven cleaning and maintenance of any kind must only be completed when the oven is cool. Parts of an oven can reach extremely high temperatures, so must be allowed to cool to avoid serious burns.
Always refer to the manufacturer’s specific instruction manual for your oven model. If you have lost the paper copy that came with the oven, it’s always worth Googling the model name as most manuals are available online.
Top tip: The photos of the key pages and email them to yourself with the model, serial number and date of purchase in the subject and always register your products to activate the warranties.
How to replace an oven door
Follow the above procedures in reverse to replace your oven door. Hold the sides of the doors, close to the base of the door to make the process of slotting the hinges back in easier. The door will need to be at the same angle for replacement as it was at removal and it will definitely help if you have someone to help at this point as it can take a couple of attempts to get it right.

I'm happiest when I have either a drill or paintbrush in my hand! I specialise in room transformations on a budget and love experimenting with different styles and techniques which I share on my Instagram. I believe that your imagination, not your budget, should be the limiting factor when transforming a room and I love thinking of creative ways to build custom and bespoke-looking furniture using flatpacks or upcycle finds.
I also love writing and my home improvement blog (ClaireDouglasStyling.co.uk) is my passion project where I share creative ideas for interior styling and DIY tips and tutorials.