How to mount a TV on the wall in 6 easy steps
Save floor space and keep your screen out of harm's way with our guide on how to mount a TV on the wall
Get small space home decor ideas, celeb inspiration, DIY tips and more, straight to your inbox!
You are now subscribed
Your newsletter sign-up was successful
There are several reasons it’s better to mount your TV on the wall rather than freestanding on a TV stand. With children’s sticky fingers and the risk of them tipping it over being at the forefront on many people’s minds – as well as wanting to declutter – mounting your TV is something lots of homeowners have on their DIY to do list.
But it can (understandably) be a daunting task. If you have invested top dollar in the best TV, the last thing you want is to get this wrong and risk ruining it and the wall in the process.
With these easy steps, I’ll teach you how to mount one yourself, so you’ll be reclining on your sofa with a cuppa watching Grand Designs on your wall-mounted TV in no time.
Choosing your TV wall mount
Choosing the right wall mount for your TV will make your viewing experience much more enjoyable. There is a range of mounts to choose from these days, offering different possibilities:
- Fixed: the TV is static on the wall and doesn't move
- Extending: you can pull it away from the wall and push it back
- Tilt & swivel: you can angle up and down and left to right
- Full motion: it can swivel, tilt and extend for a full range of movements
I always like a full-motion bracket as you’re not then limited to any one option. You can pull it out, tilt it and swivel it in any which direction you wish, adjusting for whoever’s watching it. With a fixed mount, where you put it is where it stays, meaning you’d need to mount it much lower than a movable mount.
Choosing the correct TV placement
Where you put your TV is also important. Too low or too high and it's uncomfortable to watch. This is why mounting a TV can often be better than using a TV stand, even if it is more challenging. Using the center point of your TV screen as your main point of reference, you can ignore any other ‘best practices’ you may see online about tv size and distance up the wall it should be. Making sure it is at a comfortable level for everyone who watches it is your ultimate goal.
Center it to eye level
The ideal placement for a fixed mounted TV is lining up the center of the screen to your eye level when sat on the sofa. You also want the whole screen within your field of view, so take that into account when buying a TV too. If you have a small space with not much distance between the sofa and the wall, you may not want to get such a large TV as this can cause eye strain and will be uncomfortable to watch. Likewise for a large space and a small TV, you don’t want to have to squint to watch it!
Get small space home decor ideas, celeb inspiration, DIY tips and more, straight to your inbox!
Distance from a fire or heat source
You also need to consider other things that may be on the wall that may impede your ability to place your TV at the optimum height, for example, a fireplace. TVs will need to be a minimum of four inches (10cm) from the top of an electric fire or six to 12 inches (15–30cm) above a mantle on a real woodburning fireplace. TVs are heat sensitive, so this is to stop it from getting damaged by the flames. Place your TV within these guidelines but as close to your comfortable viewing level as possible. If you’ve needed to move your TV higher, ensure you have a mount that can tilt downwards to aid in your viewing comfort.
Mark a point
To find out the optimum viewing height, mark this on the wall by sitting on the sofa and staring directly at the wall where you want the TV to go. Ensuring you are looking straight on and not tilting your head forward or backwards, fixate on that point and get someone to mark the wall. This is where the bracket will go and thus, the center of the screen. Check this height is comfortable for everyone else in the household and adjust lower, if necessary (there will have to be a bit of compromise between kids and adults).
Tip – Create a mock-up of your TV screen using wrapping paper and stick on the wall to ensure it’s at a comfortable level.
Center horizontally
You may also want your TV to be perfectly central to a wall or chimney breast, so using your tape measure, take the whole wall/area width and divide it by two. Mark this at the level you have placed your TV’s ‘center’ as this will be your new focus point.
How to mount a TV on the wall
What is the VESA standard on TV mounts?
The VESA standard is the set dimensions of the four-hole attachment on TV mounts. This means any TV or any brand will be compatible with the mounting fixture. The screws used are also dictated by the VESA standard and should fit into any TV.
Most TVs conform to a certain standard (the VESA standard) for wall-mounting meaning the mounting holes are always framing the centre of the TV and are 200mm apart width-ways and 100mm vertically in a rectangle. If you have an older TV and the mounting holes are more towards the top or bottom, you will need to adjust your mounting height to accommodate this, as well as ensure your mount will fit.
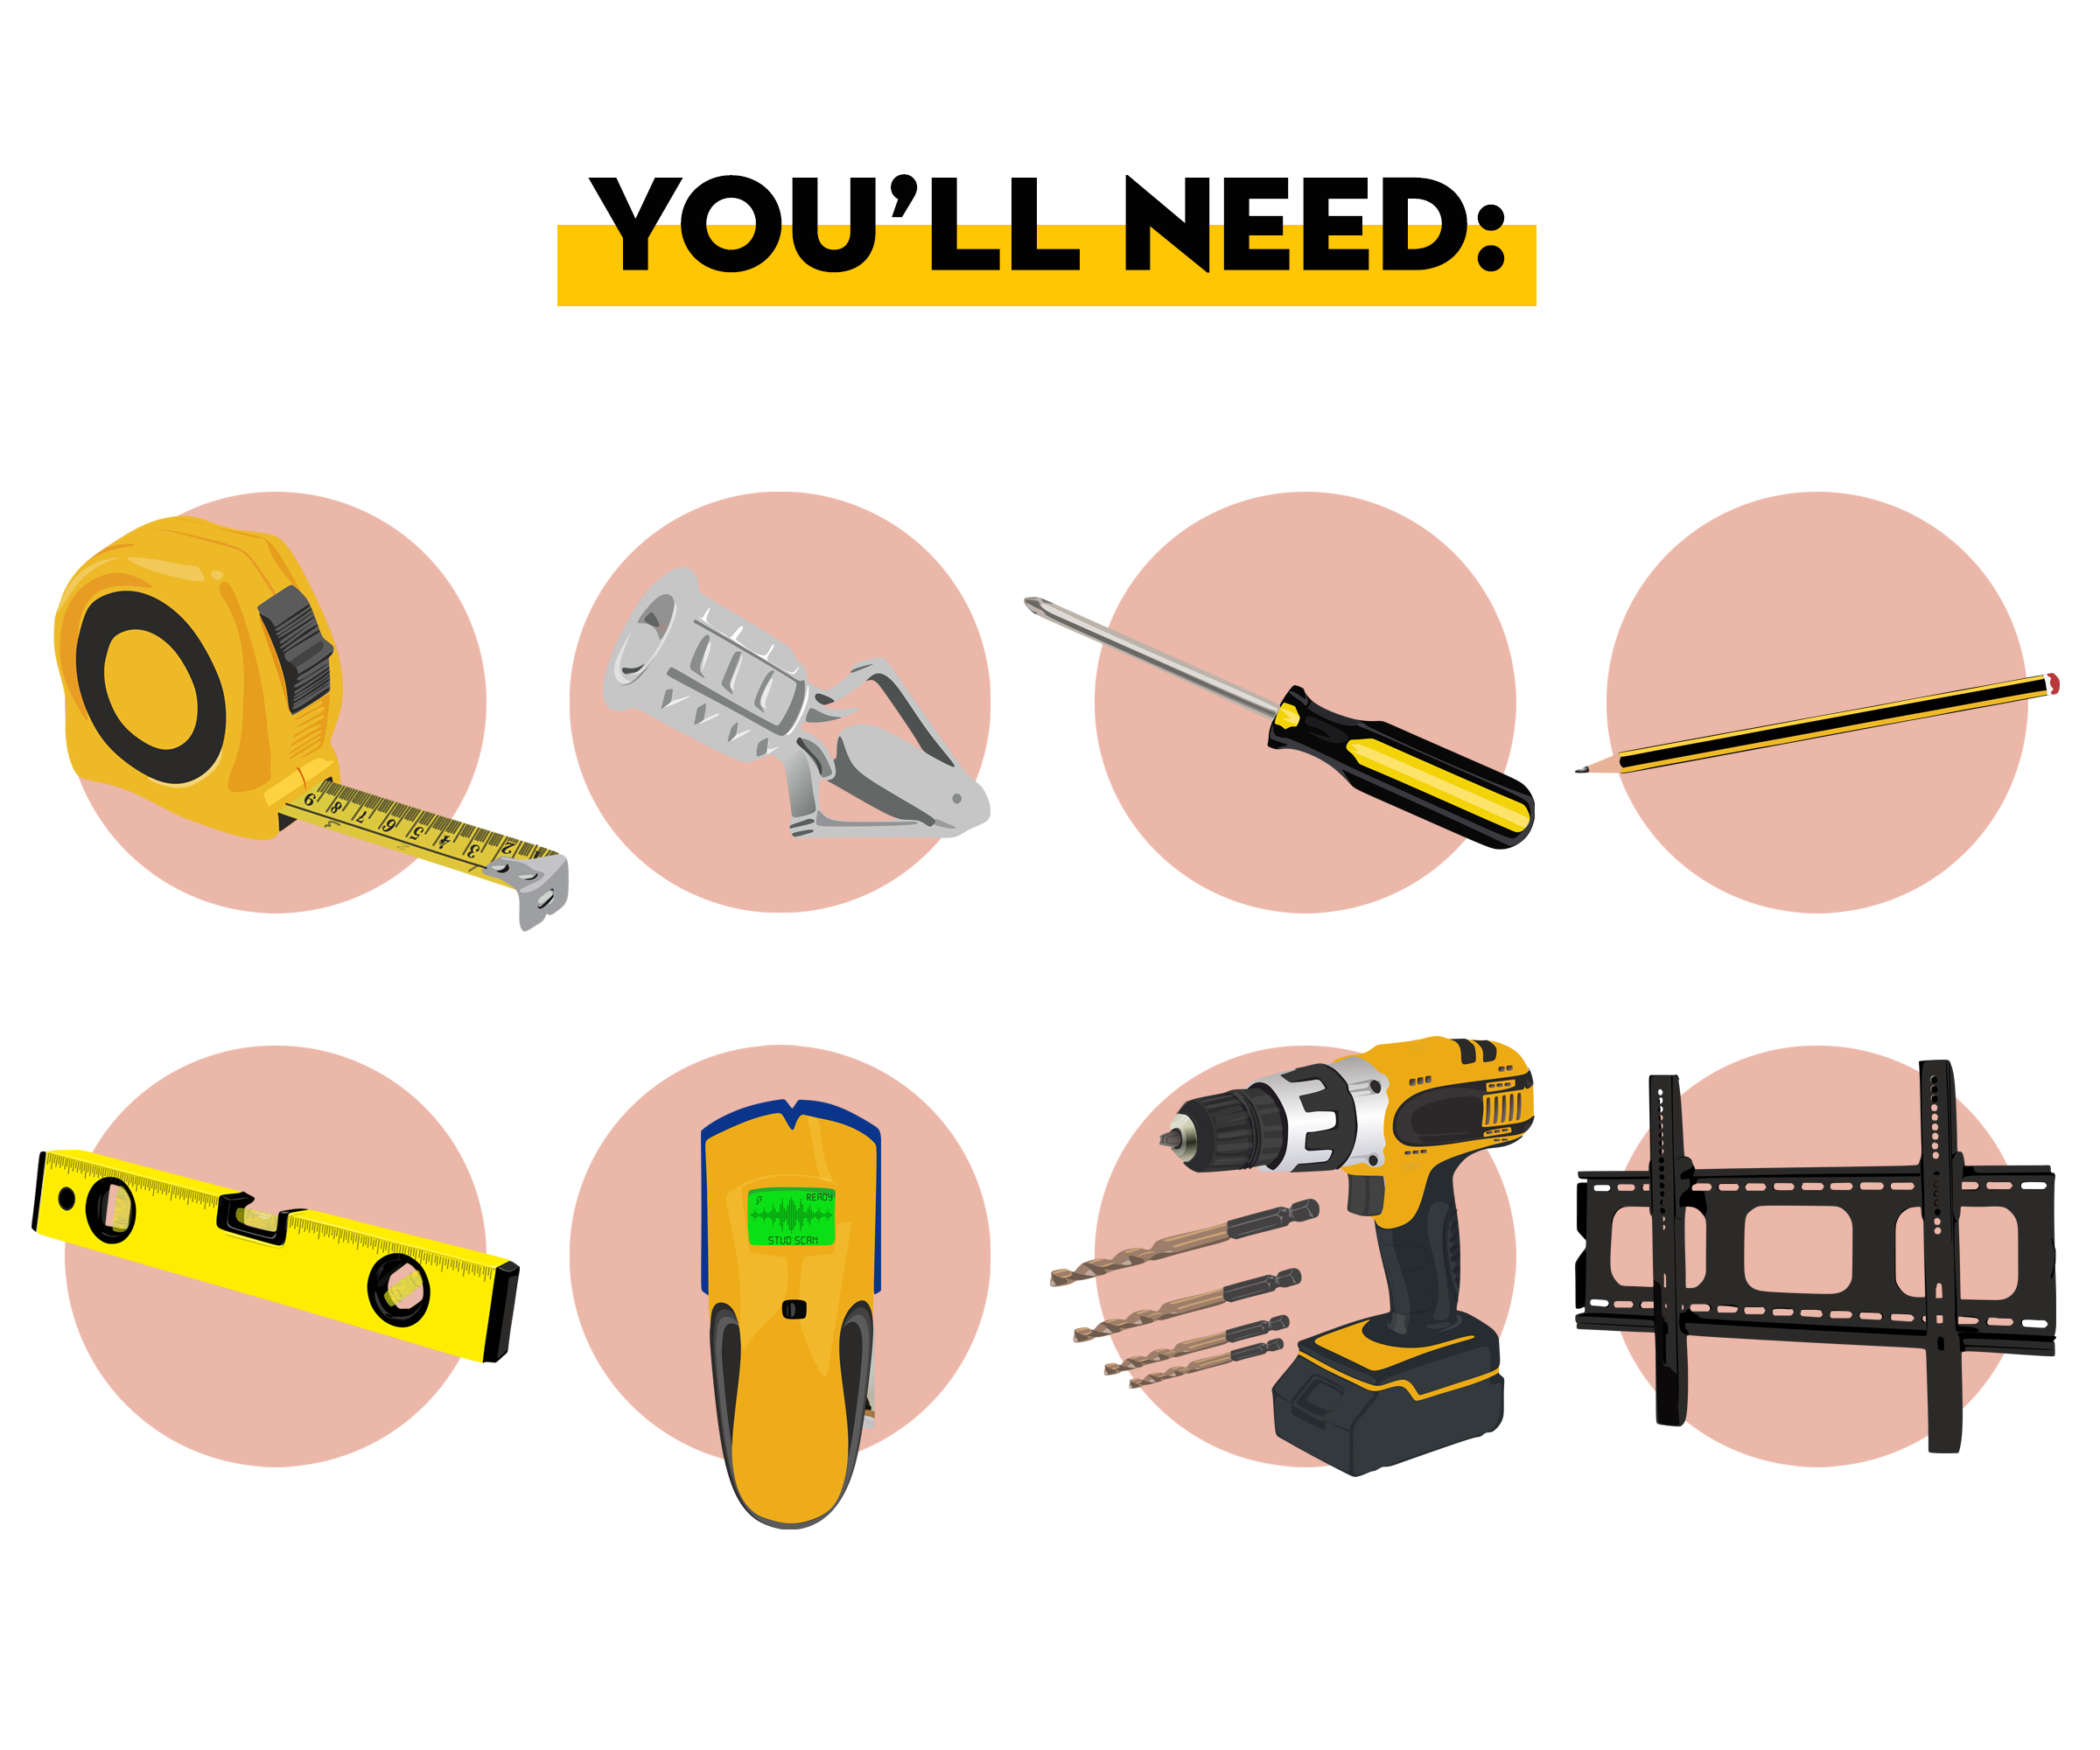
What you’ll need:
- Your chosen TV mount (browse a range at Amazon)
- Tape measure
- Stud finder
- Masonry rawl plugs/heavy duty drywall fixings
- Pencil/chalk
- Drill
- Spirit level
- Screwdrivers
1. Check for wires, pipes or obstructions
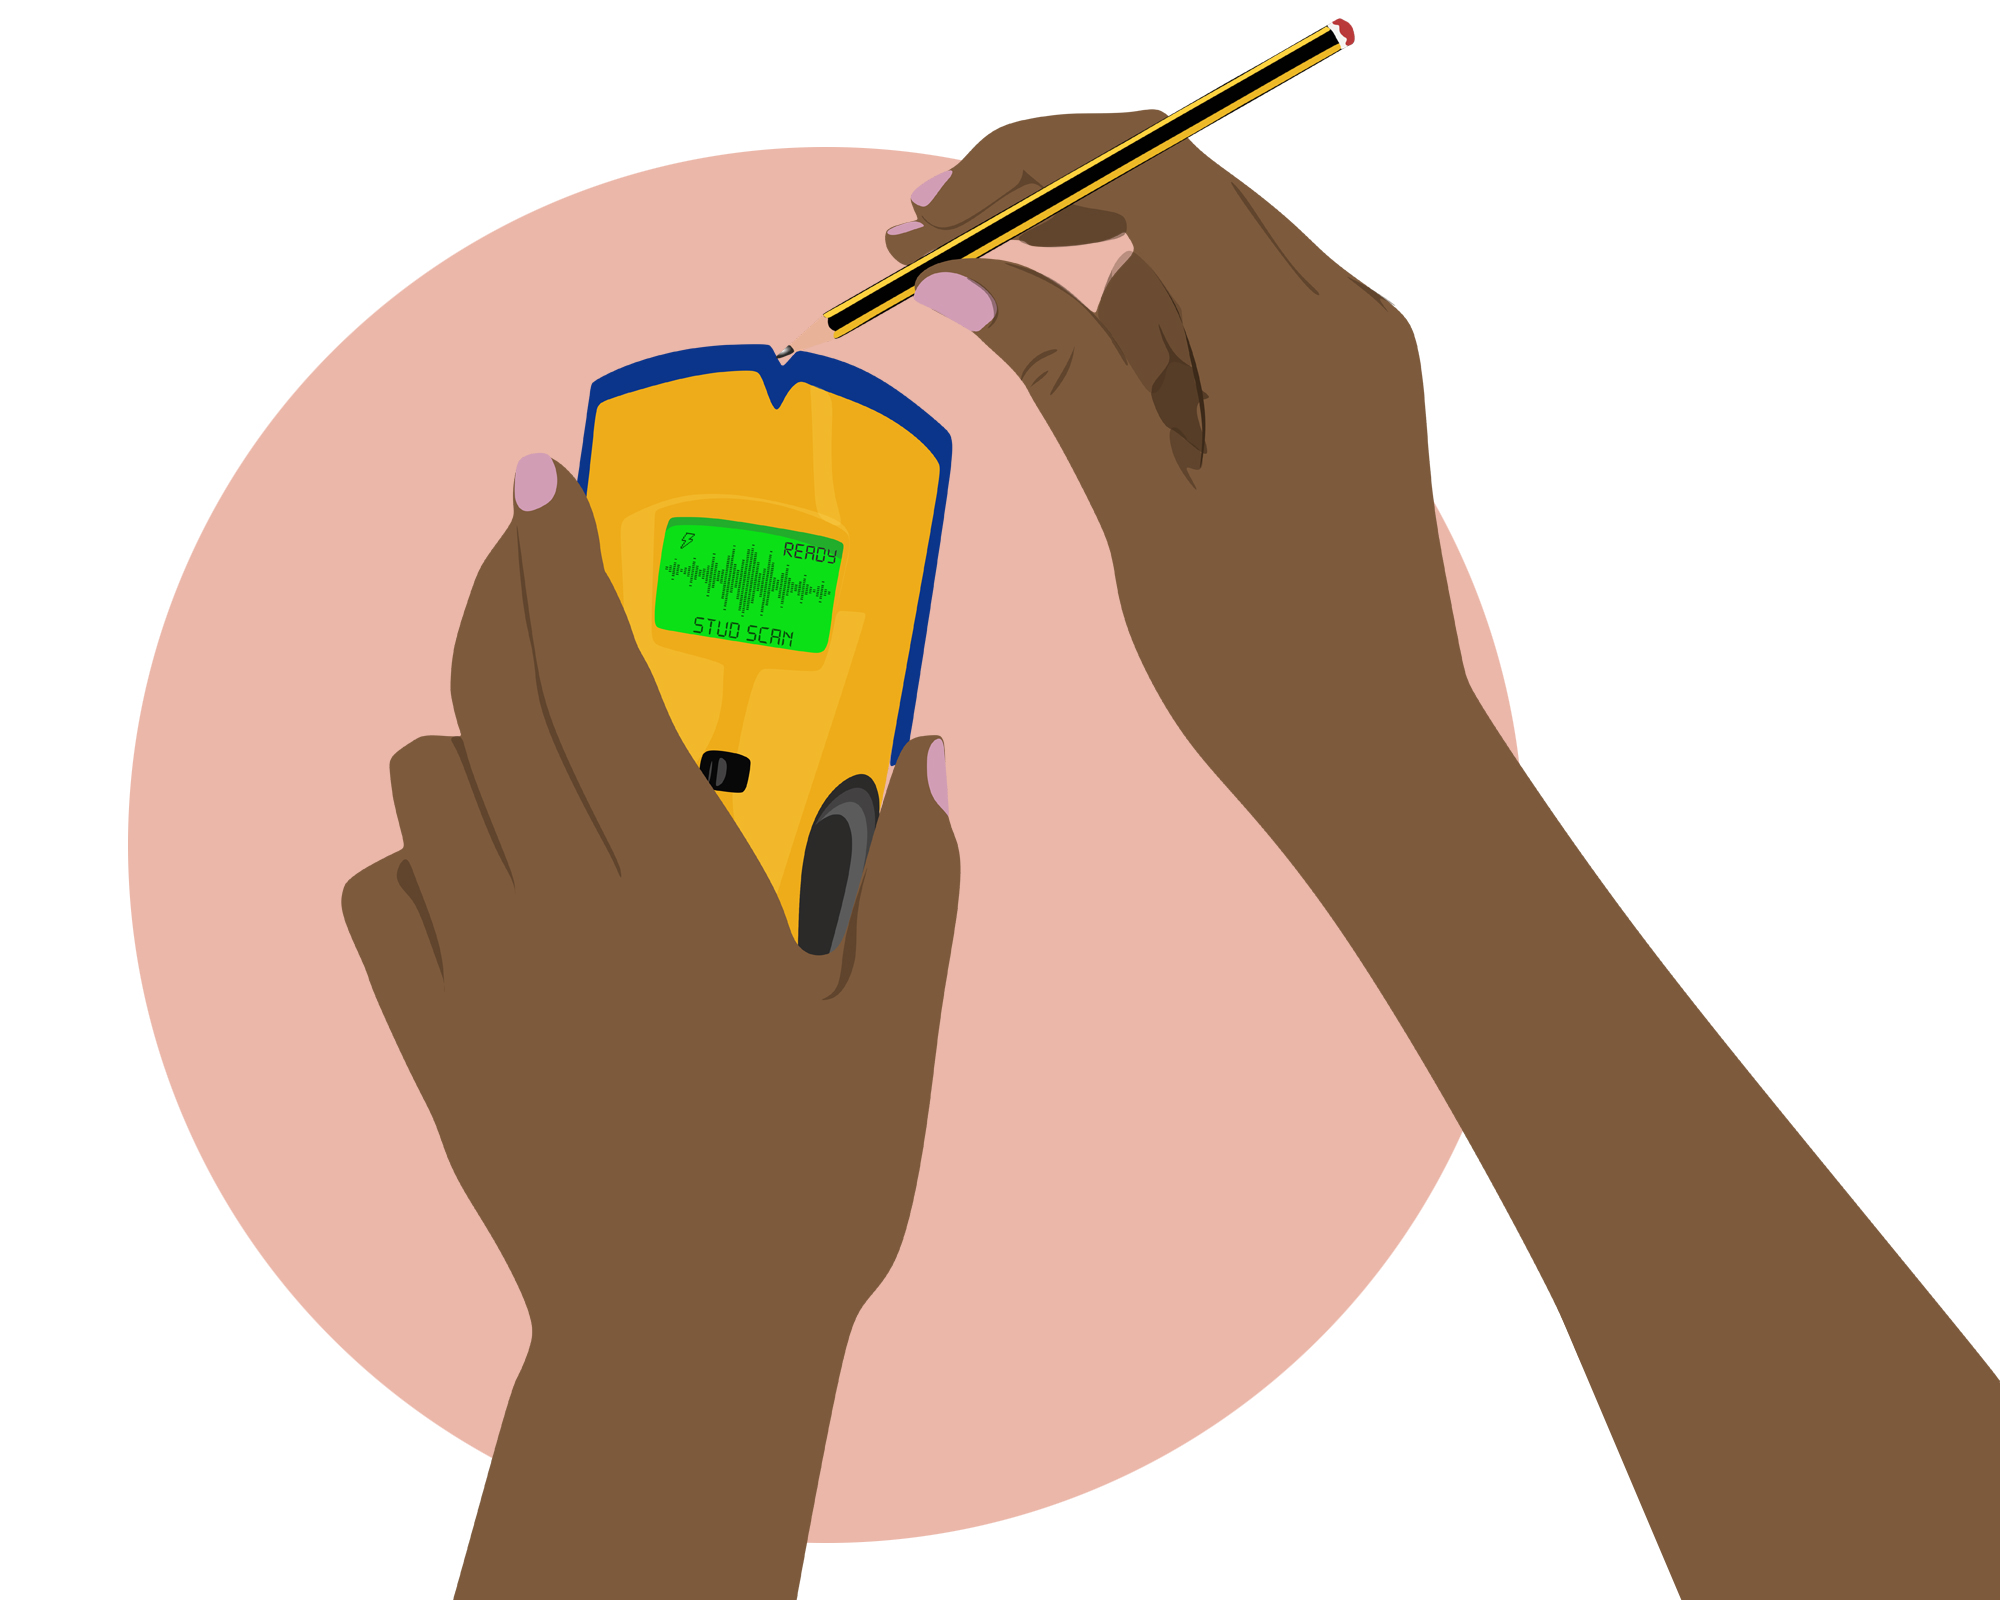
Your first step is to use your stud finder to check for any live wires, pipes, and studs behind where you want to mount your tv. If there are pipes or live wires, you’ll want to reconsider where you are placing your TV or be very careful to avoid those areas – turning the electric off before drilling just in case. Check out my video on how to use a stud finder.
2. Find and mark the right spot
If you are mounting your TV on drywall (plasterboard), you can use your stud finder and see if there are wooden studs where you can mount the TV. Studs provide a very strong hold and will not require any drilling or rawl plugs. If you have metal studs, or no studs where the TV is to be mounted, you will need heavy-duty plasterboard rawl plugs. Blue Grip It fixings are very good for this as they can hold up to 245lbs/113KG, perfect for TVs. If you only have a stud on one side of the mount, that’s okay too, just use rawl plugs for the other side.
If you are mounting the TV on a brick wall, for example a brick fireplace, you will need masonry rawl plugs (usually red or brown) and you’ll want the heavy-duty kind designed for heavy items. When marking, try to make sure you are drilling into the brick and not the mortar for a stronger hold.
Use these pointers to find the best position in relation to the mark you chose earlier.
3. Position and level the mount
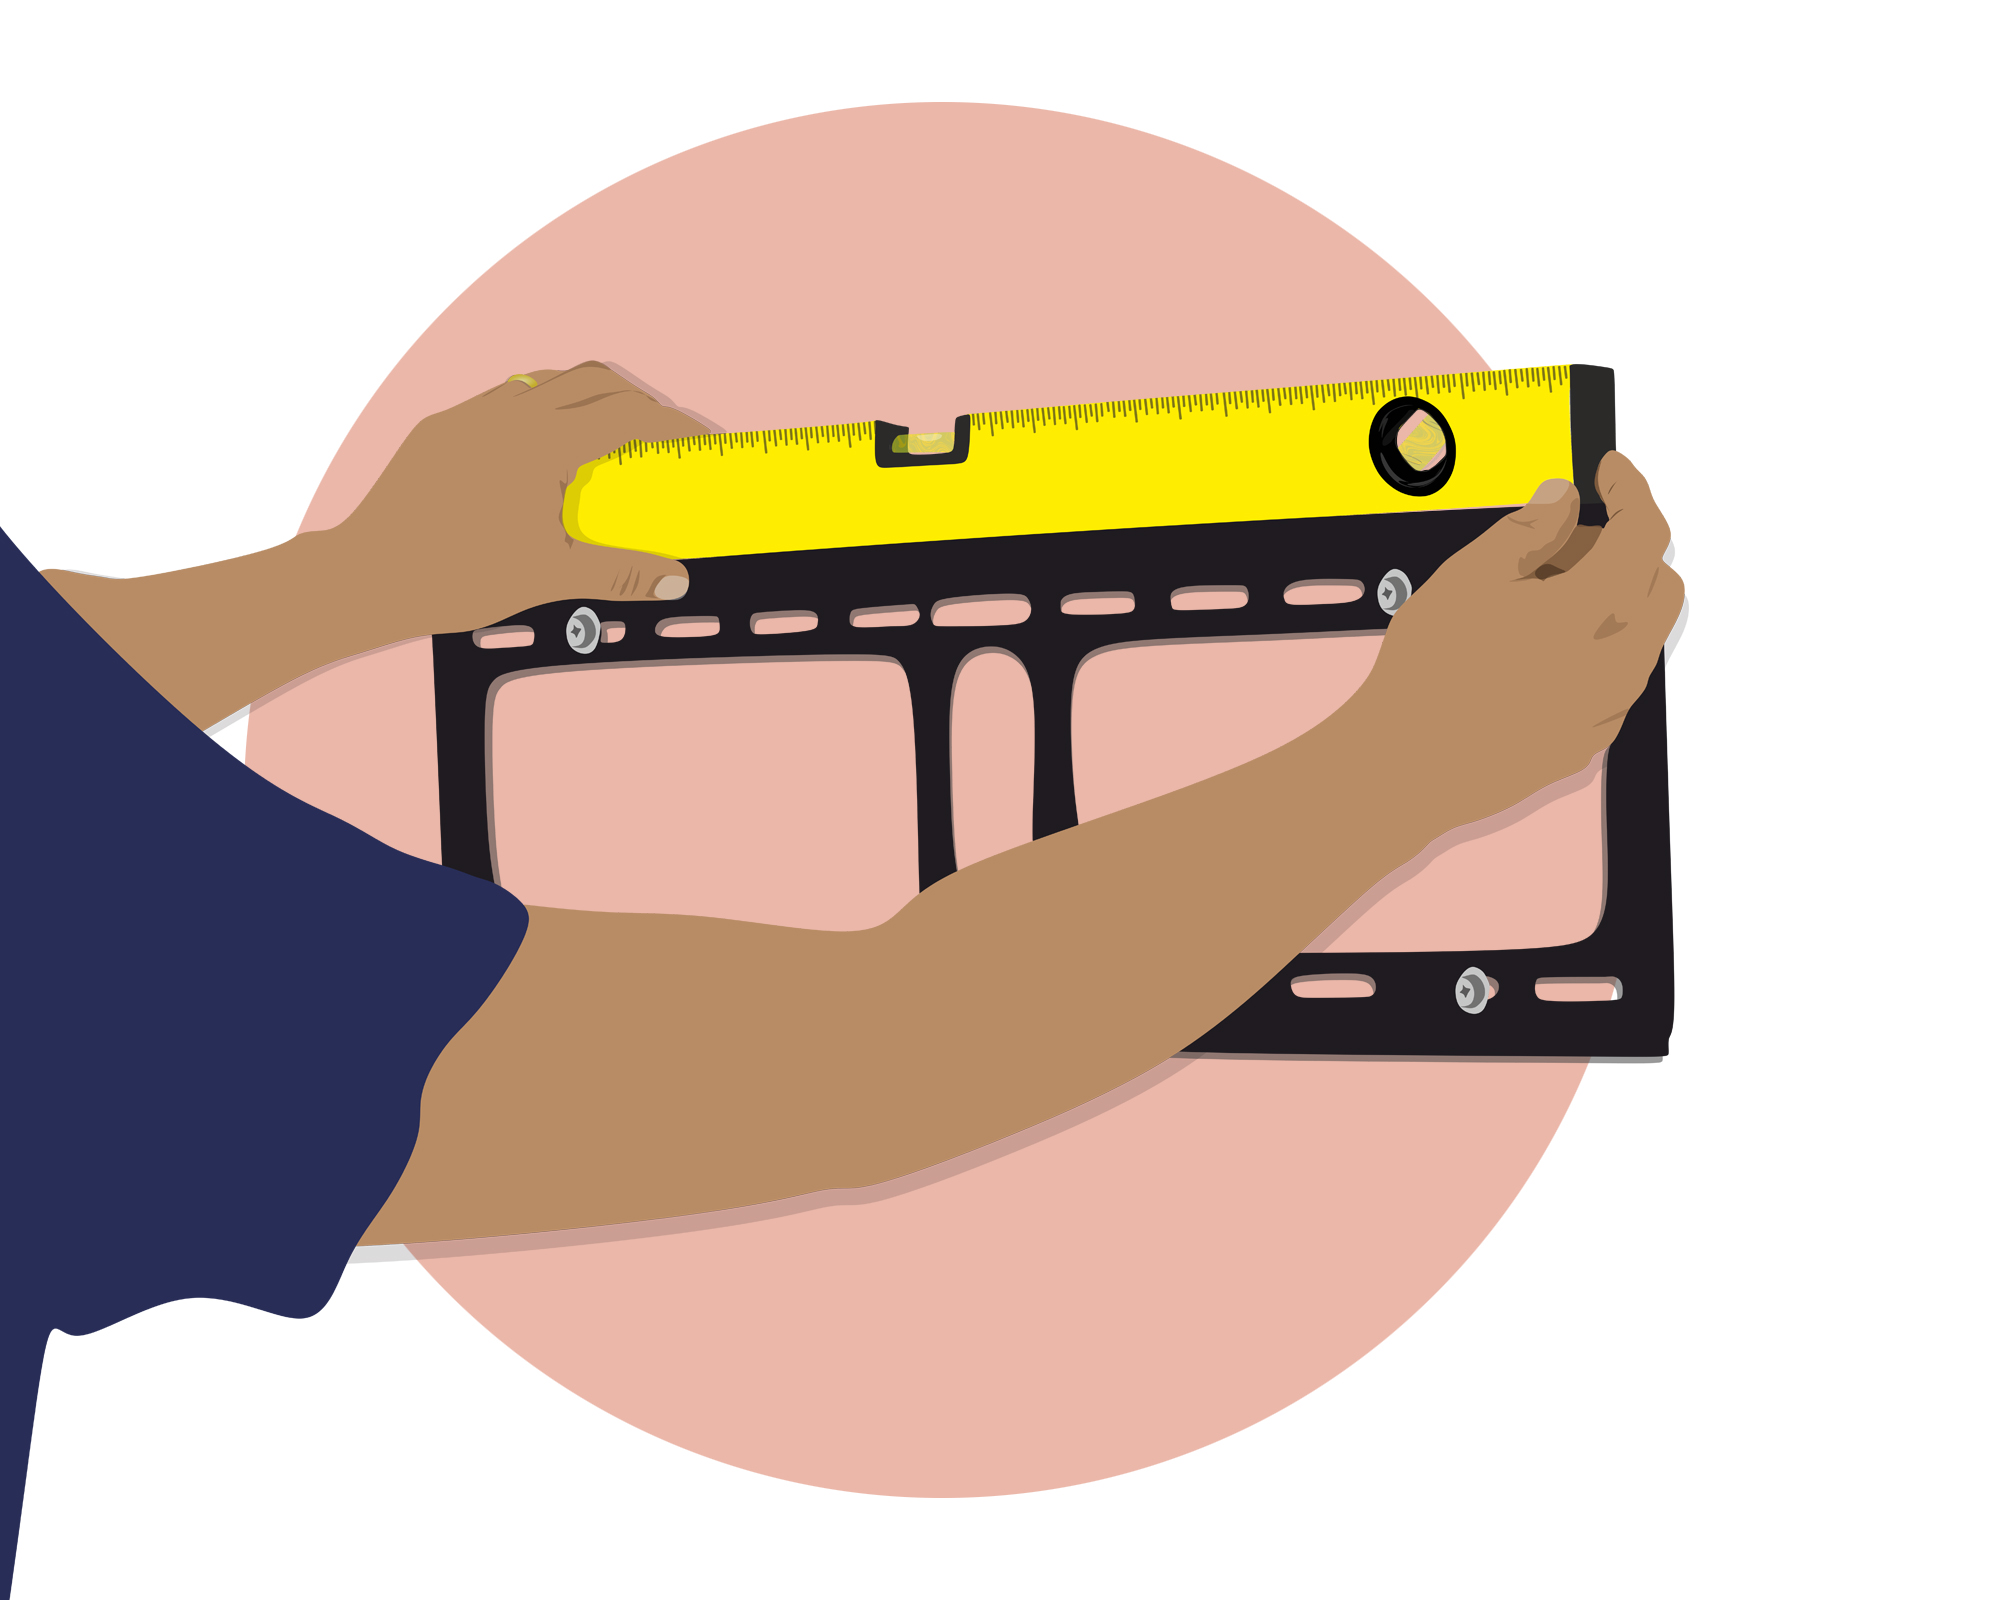
Using your spirit level, place your mount on the wall where you marked earlier. Place the spirit level on top and move until the bubble is in the center. Once level, mark your holes. This is where you need to drill or drive the screws in.
4. Drill and mount
Take the mount away from the wall and drill any holes needed. If you have a stud, leave those marks as you can drive a screw straight in, no drilling required. Pop your rawl plugs into the holes, if you went for the Grip Its, you’ll want to open up the wings at the back with a flathead screwdriver. And then it’s time to get the mount back against the wall so you can screw in the bolts and drive in any wood screws into the studs. Tighten, check it’s level one more time and get started on the TV bracket.
5. Add the bracket to the back of your TV
Your bracket will come with a variety of different fixings for different TVs. Find the right ones for your TV – you can do this by trying them in the holes on the back of your screen. You’ll need them to be able to screw right the way in. Once you’ve worked out which one, use the spacers and screws as per the mount instructions and secure with a handheld screwdriver. A drill is too powerful for this job and may break your TV.
Once the bracket is on, you can go ahead and secure it to the wall mount. Sometimes they just hook on, for some other types, you need to attach it with screws/bolts, some require hooking and tightening bolts. Once it is all secure, you will want to plug in your TV. Check out my other blog on how to hide wires behind the wall for tips on keeping your installation seamless.
6. Adjust the position (if possible)
If you have a moveable mount, you will now be ready to adjust the position. Just tilt or swivel into the optimum viewing position, sit back, relax and enjoy your favorite shows on your newly mounted TV!
Jasmine Gurney is a DIY pro, inspiring women with power tools via her home improvement blog Oh Abode and on Realhomes.com.