How to box in a boiler using IKEA's SEKTION cabinet — a stylish cover-up
Box in a boiler with this incredibly easy 3-step guide using the Scandi brand's SEKTION cabinet frame
Get small space home decor ideas, celeb inspiration, DIY tips and more, straight to your inbox!
You are now subscribed
Your newsletter sign-up was successful
Looking to box in a boiler to hide it from your guests? Boilers, as good as they are at heating our homes, are not beautiful to look at. Hence choosing to conceal it can be a wise move.
When central heating became popular in the 1900s boilers up and down the country were added to buildings that were never designed to house them. This meant new boilers were squeezed into wherever they could be often in kitchens, bathrooms, or even bedrooms.
It's common to see many older properties with boilers out on prominent display in rooms. When we purchased our 1930s semi-detached in Manchester in 2019 the boiler cupboard was in the corner of the kitchen. It was big, unsightly, and dominated the space. The service cover was loose and a previous owner had attempted to tidy it slightly by putting a hatch in front of the pipes that come out of the top and bottom of the boiler. I knew this had to be hidden as I couldn't stand looking at it!
Box in a boiler with this 3-step guide
Can you box in a boiler?
You certainly can. We had briefly considered moving the location of the boiler but we didn’t want to pay the cost of replacing a boiler and had limited locations to move it to. We had decided to move our kitchen to another room and reuse the existing kitchen as a utility room and so we were quite happy to keep the boiler in there. So I started to look into a DIY approach. There are a couple of safety considerations to take into account such as the space around the boiler for ventilation and you need to be able to access your boiler easily also for any repairs also.
According to Hunsbury Heating, a 'gap of 300 mm should be maintained between the top of the cupboard and the top of the boiler.' And, 'A gap of 100 mm must be maintained between the cabinet and the base of the boiler.'
So we took this on when coming up with the design.
How do you box in a boiler?
Most modern boilers are now sized so they can fit inside the width of a standard kitchen cupboard and so I decided to fit ours inside a DIY kitchen cabinet. I used an IKEA Metod cabinet as the rest of utility room was built using their kitchen cabinet system and they are and affordable and quality option.
Get small space home decor ideas, celeb inspiration, DIY tips and more, straight to your inbox!
The other great option was that you can easily install any of the many cupboard door options at IKEA that are easy to install. The pipework at the top and bottom of the boiler is quite prominent and some of the brickwork was exposed so I went with the tall cupboard to cover it all.
You will need
- A kitchen cabinet new/used – we used Ikea SEKTION Cabinet
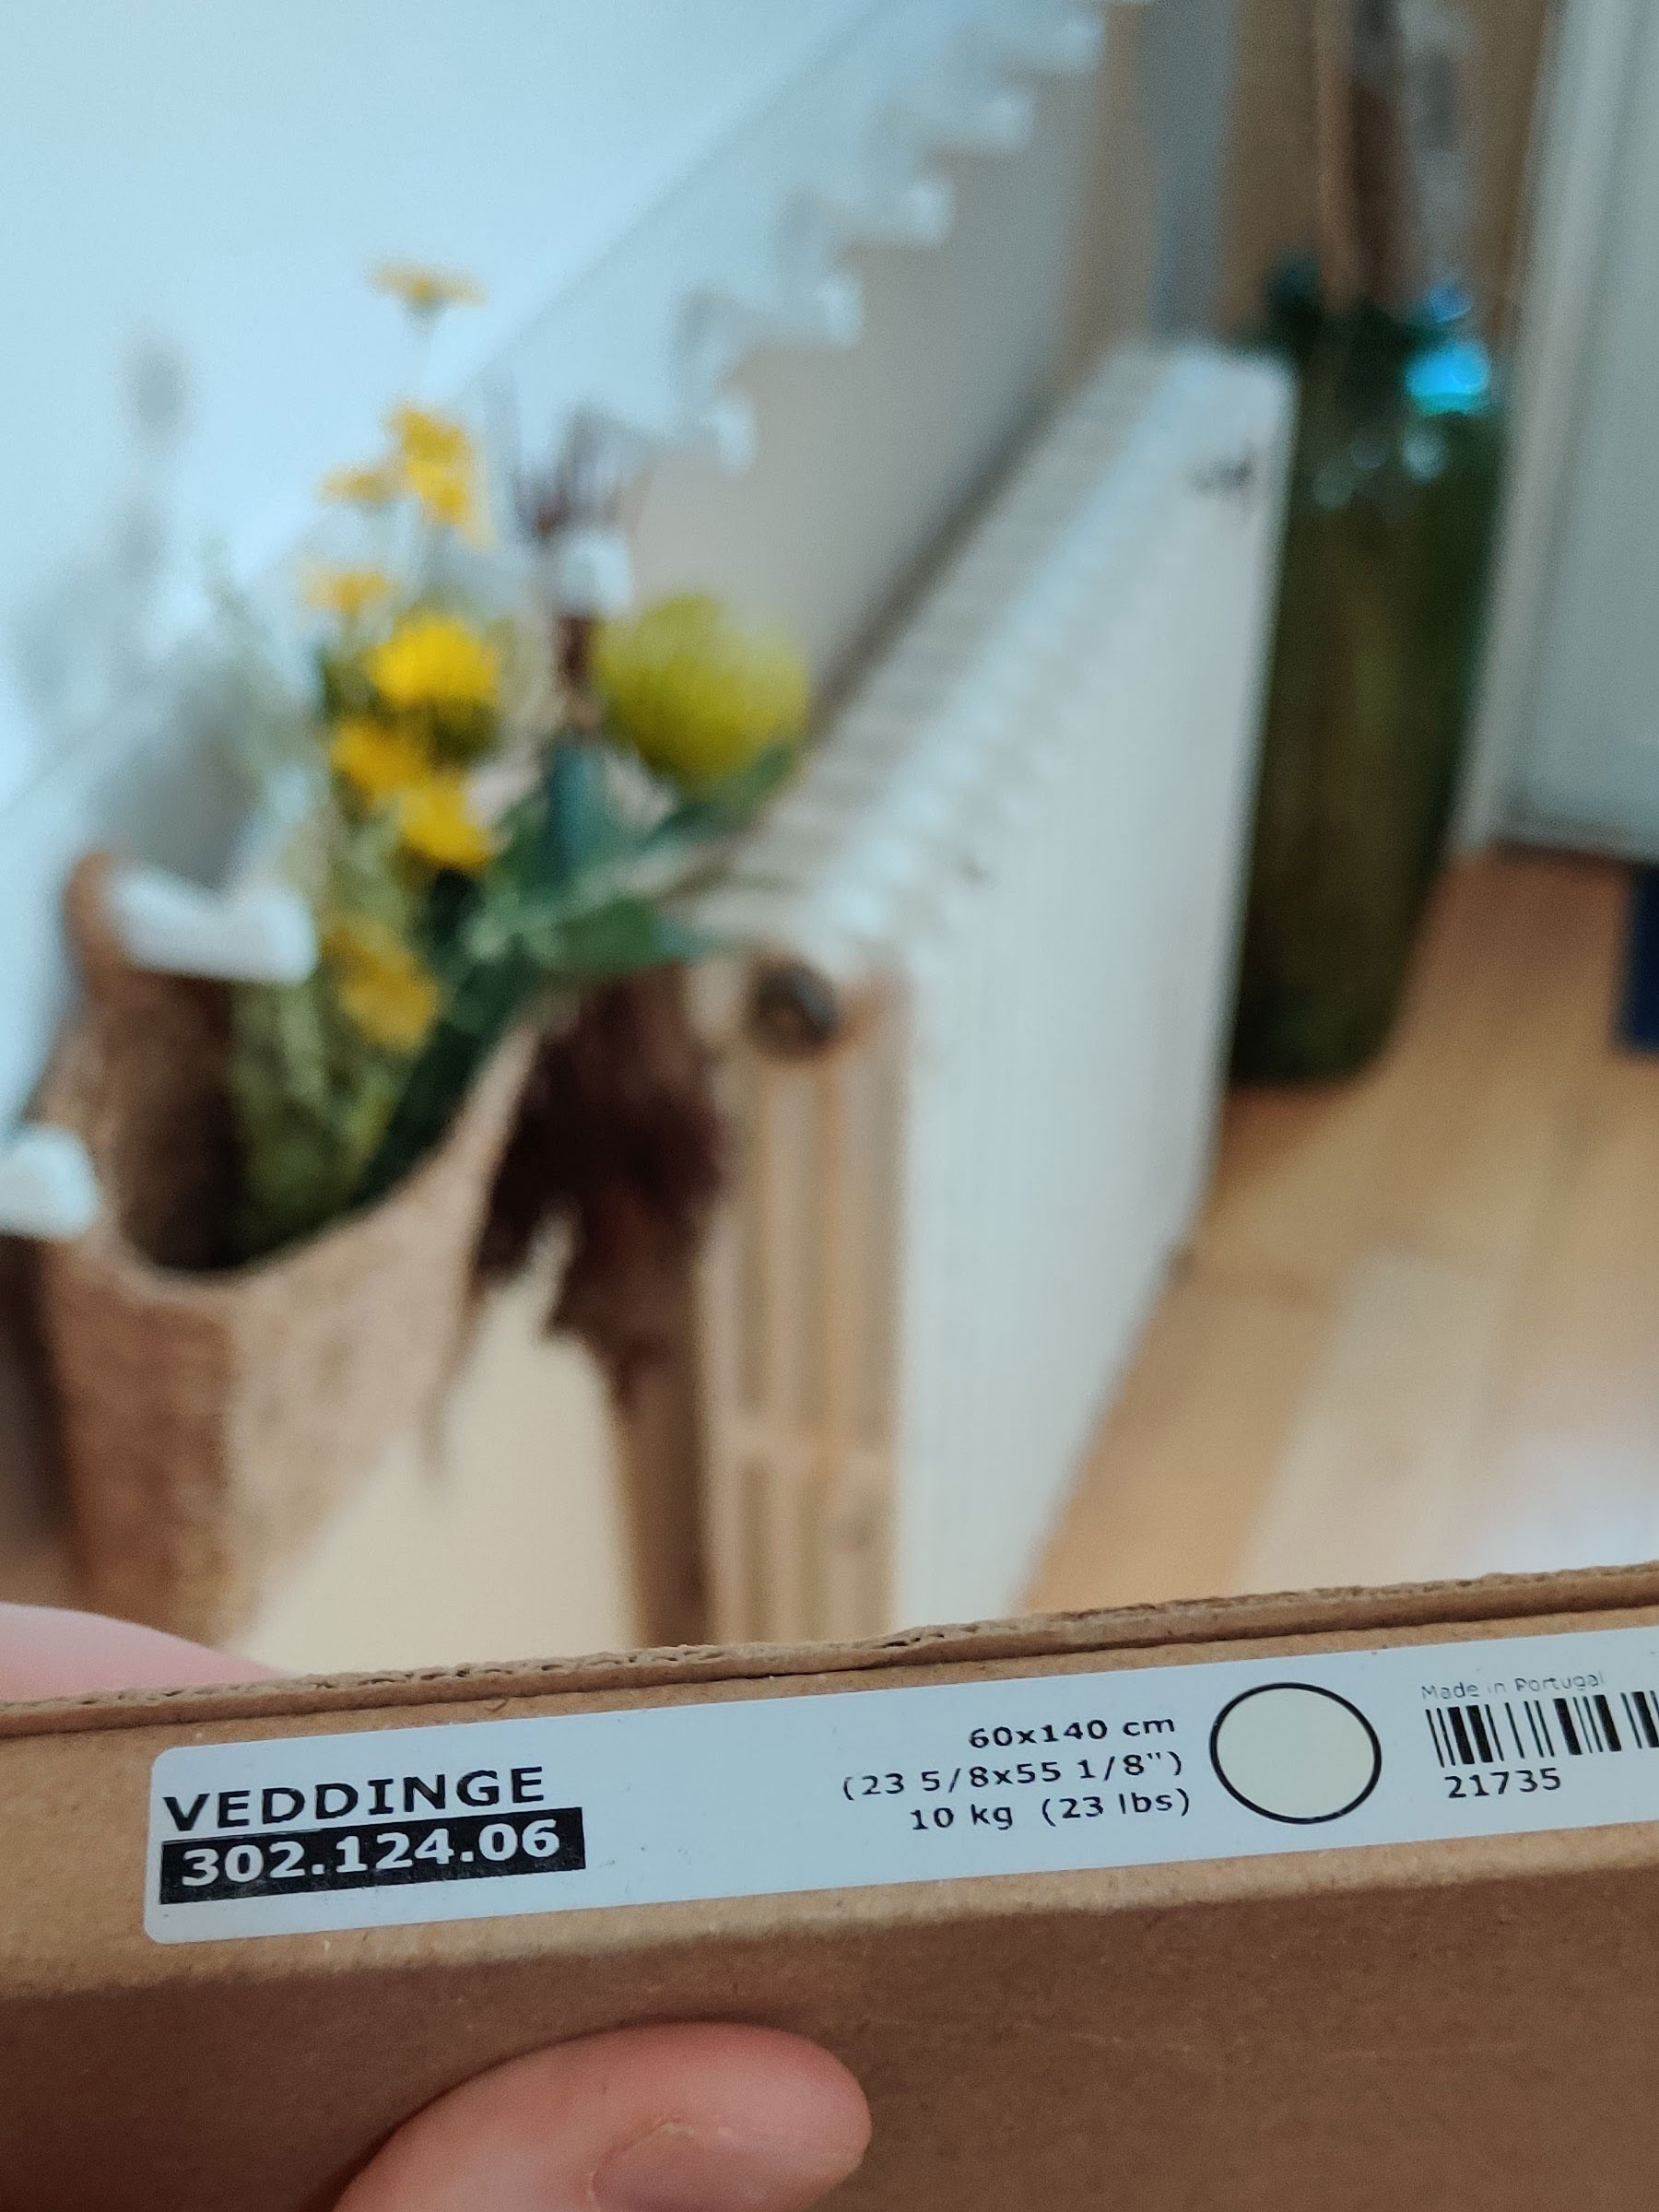
- For a cabinet door, we used Ikea Veddinge Door
- Door Hinges – we used Ikea hinges also
- Door handles of your choice
- Construction timber and fixings
1. Measure up your cabinet
When sizing your cabinet, you need to make sure you leave sufficient gap at top and bottom, you can check the manufacturer manual for the recommended distance however on modern boilers this is quite low.
Don’t forget to take into account any pipework as you may want to hide this also and remember that you want to make sure you have enough space for maintenance too and enough ventilation.
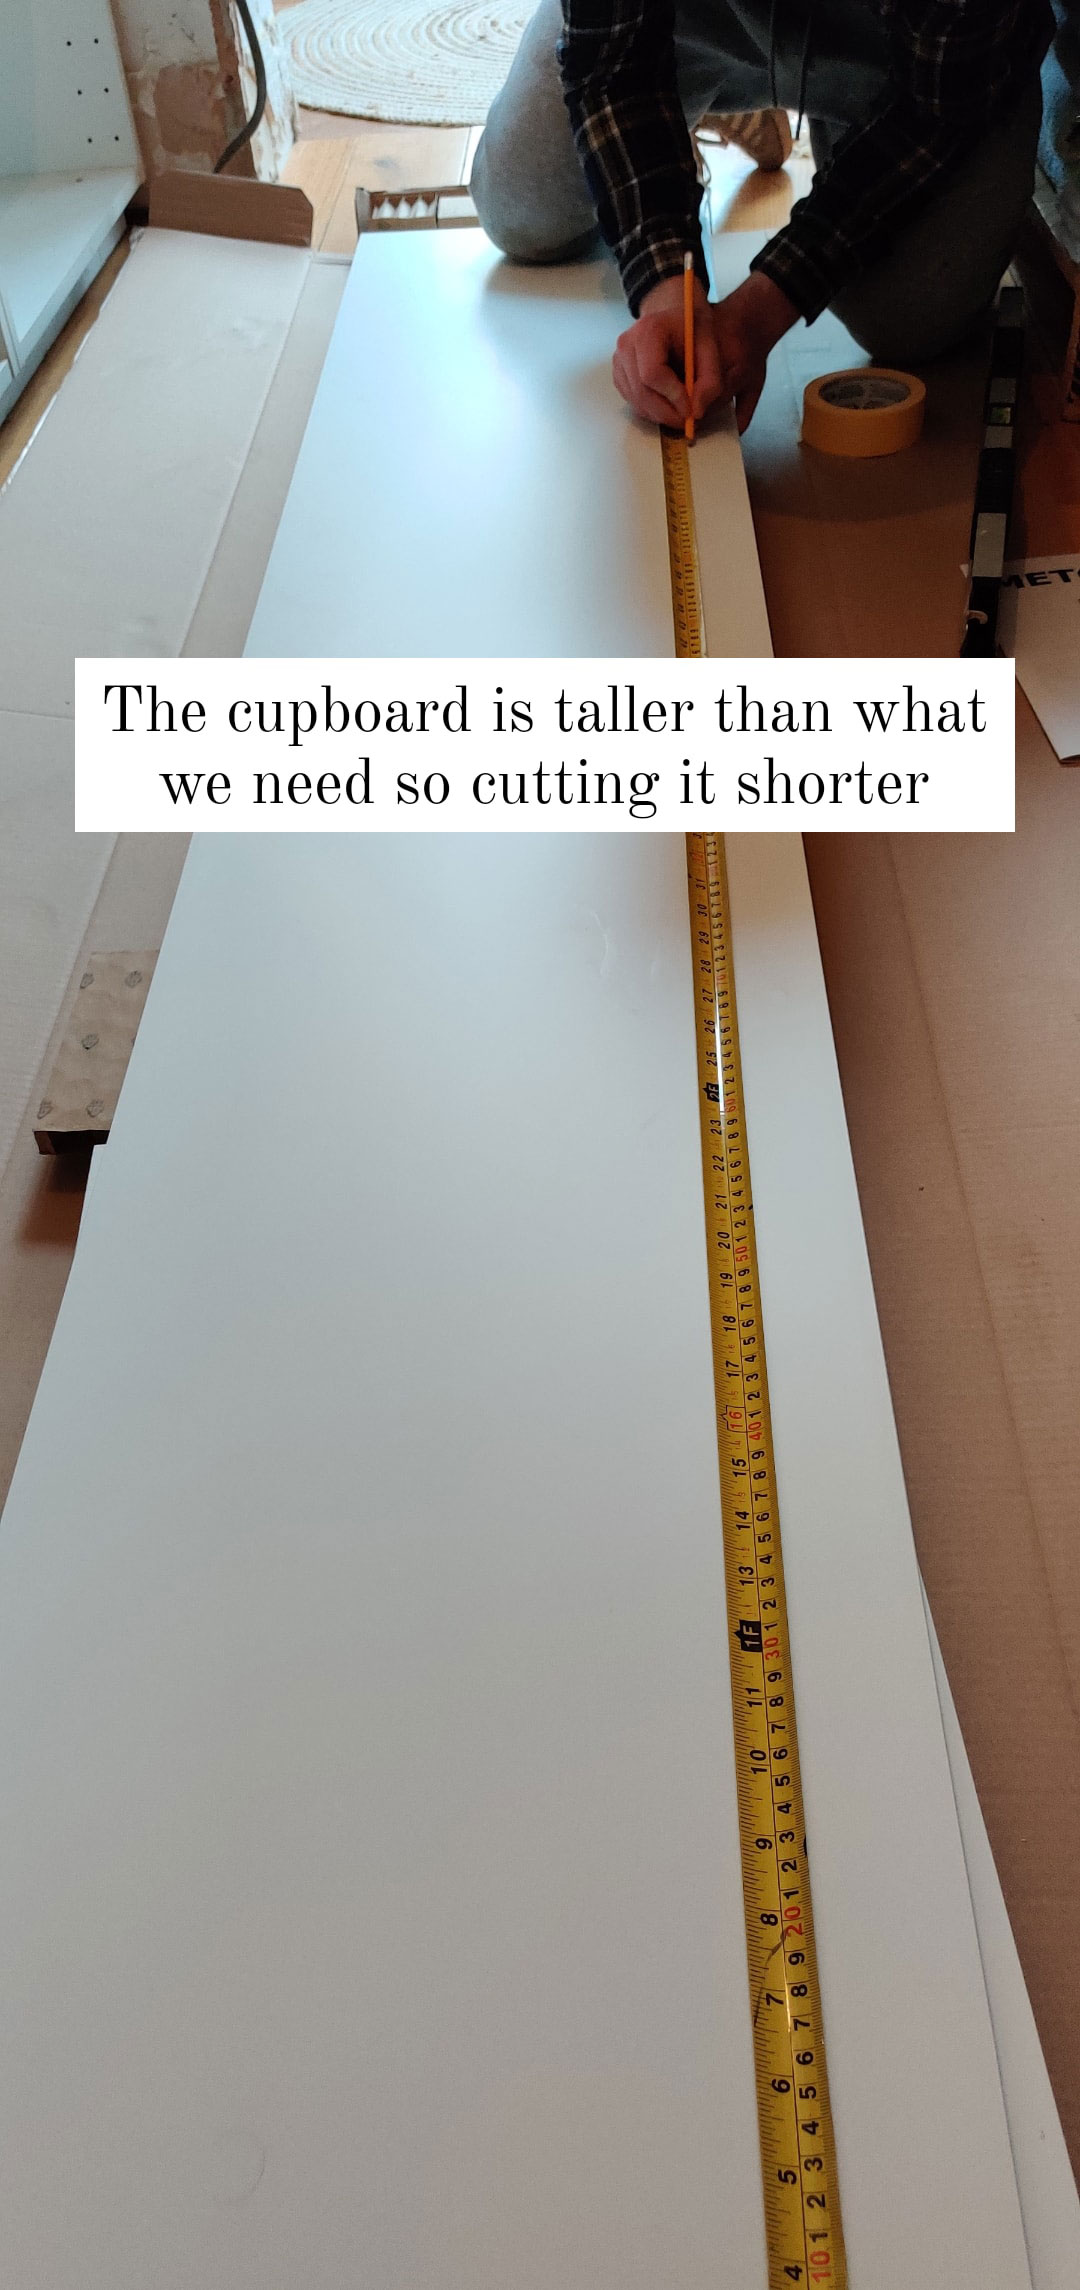
I used the 60x37x200cm base cabinet which is slightly less deep than a normal cupboard but still enough room to house the boiler. The cabinet was too tall for what I needed so I had to cut it down to size. IKEA has a lot of different cabinet sizes to choose from so hopefully you can buy one the correct sizes. If you are cutting the cabinet to fit I would recommend making it the size of one of their standard doors, it makes it much easier for fitting the door as the hinges will match up with the cabinet perfectly. I needed 135cm height to cover the boiler so I cut the cabinet 140cm which allowed me to use an Ikea standard 140x60cm door.
2. Cut your cabinets down to size
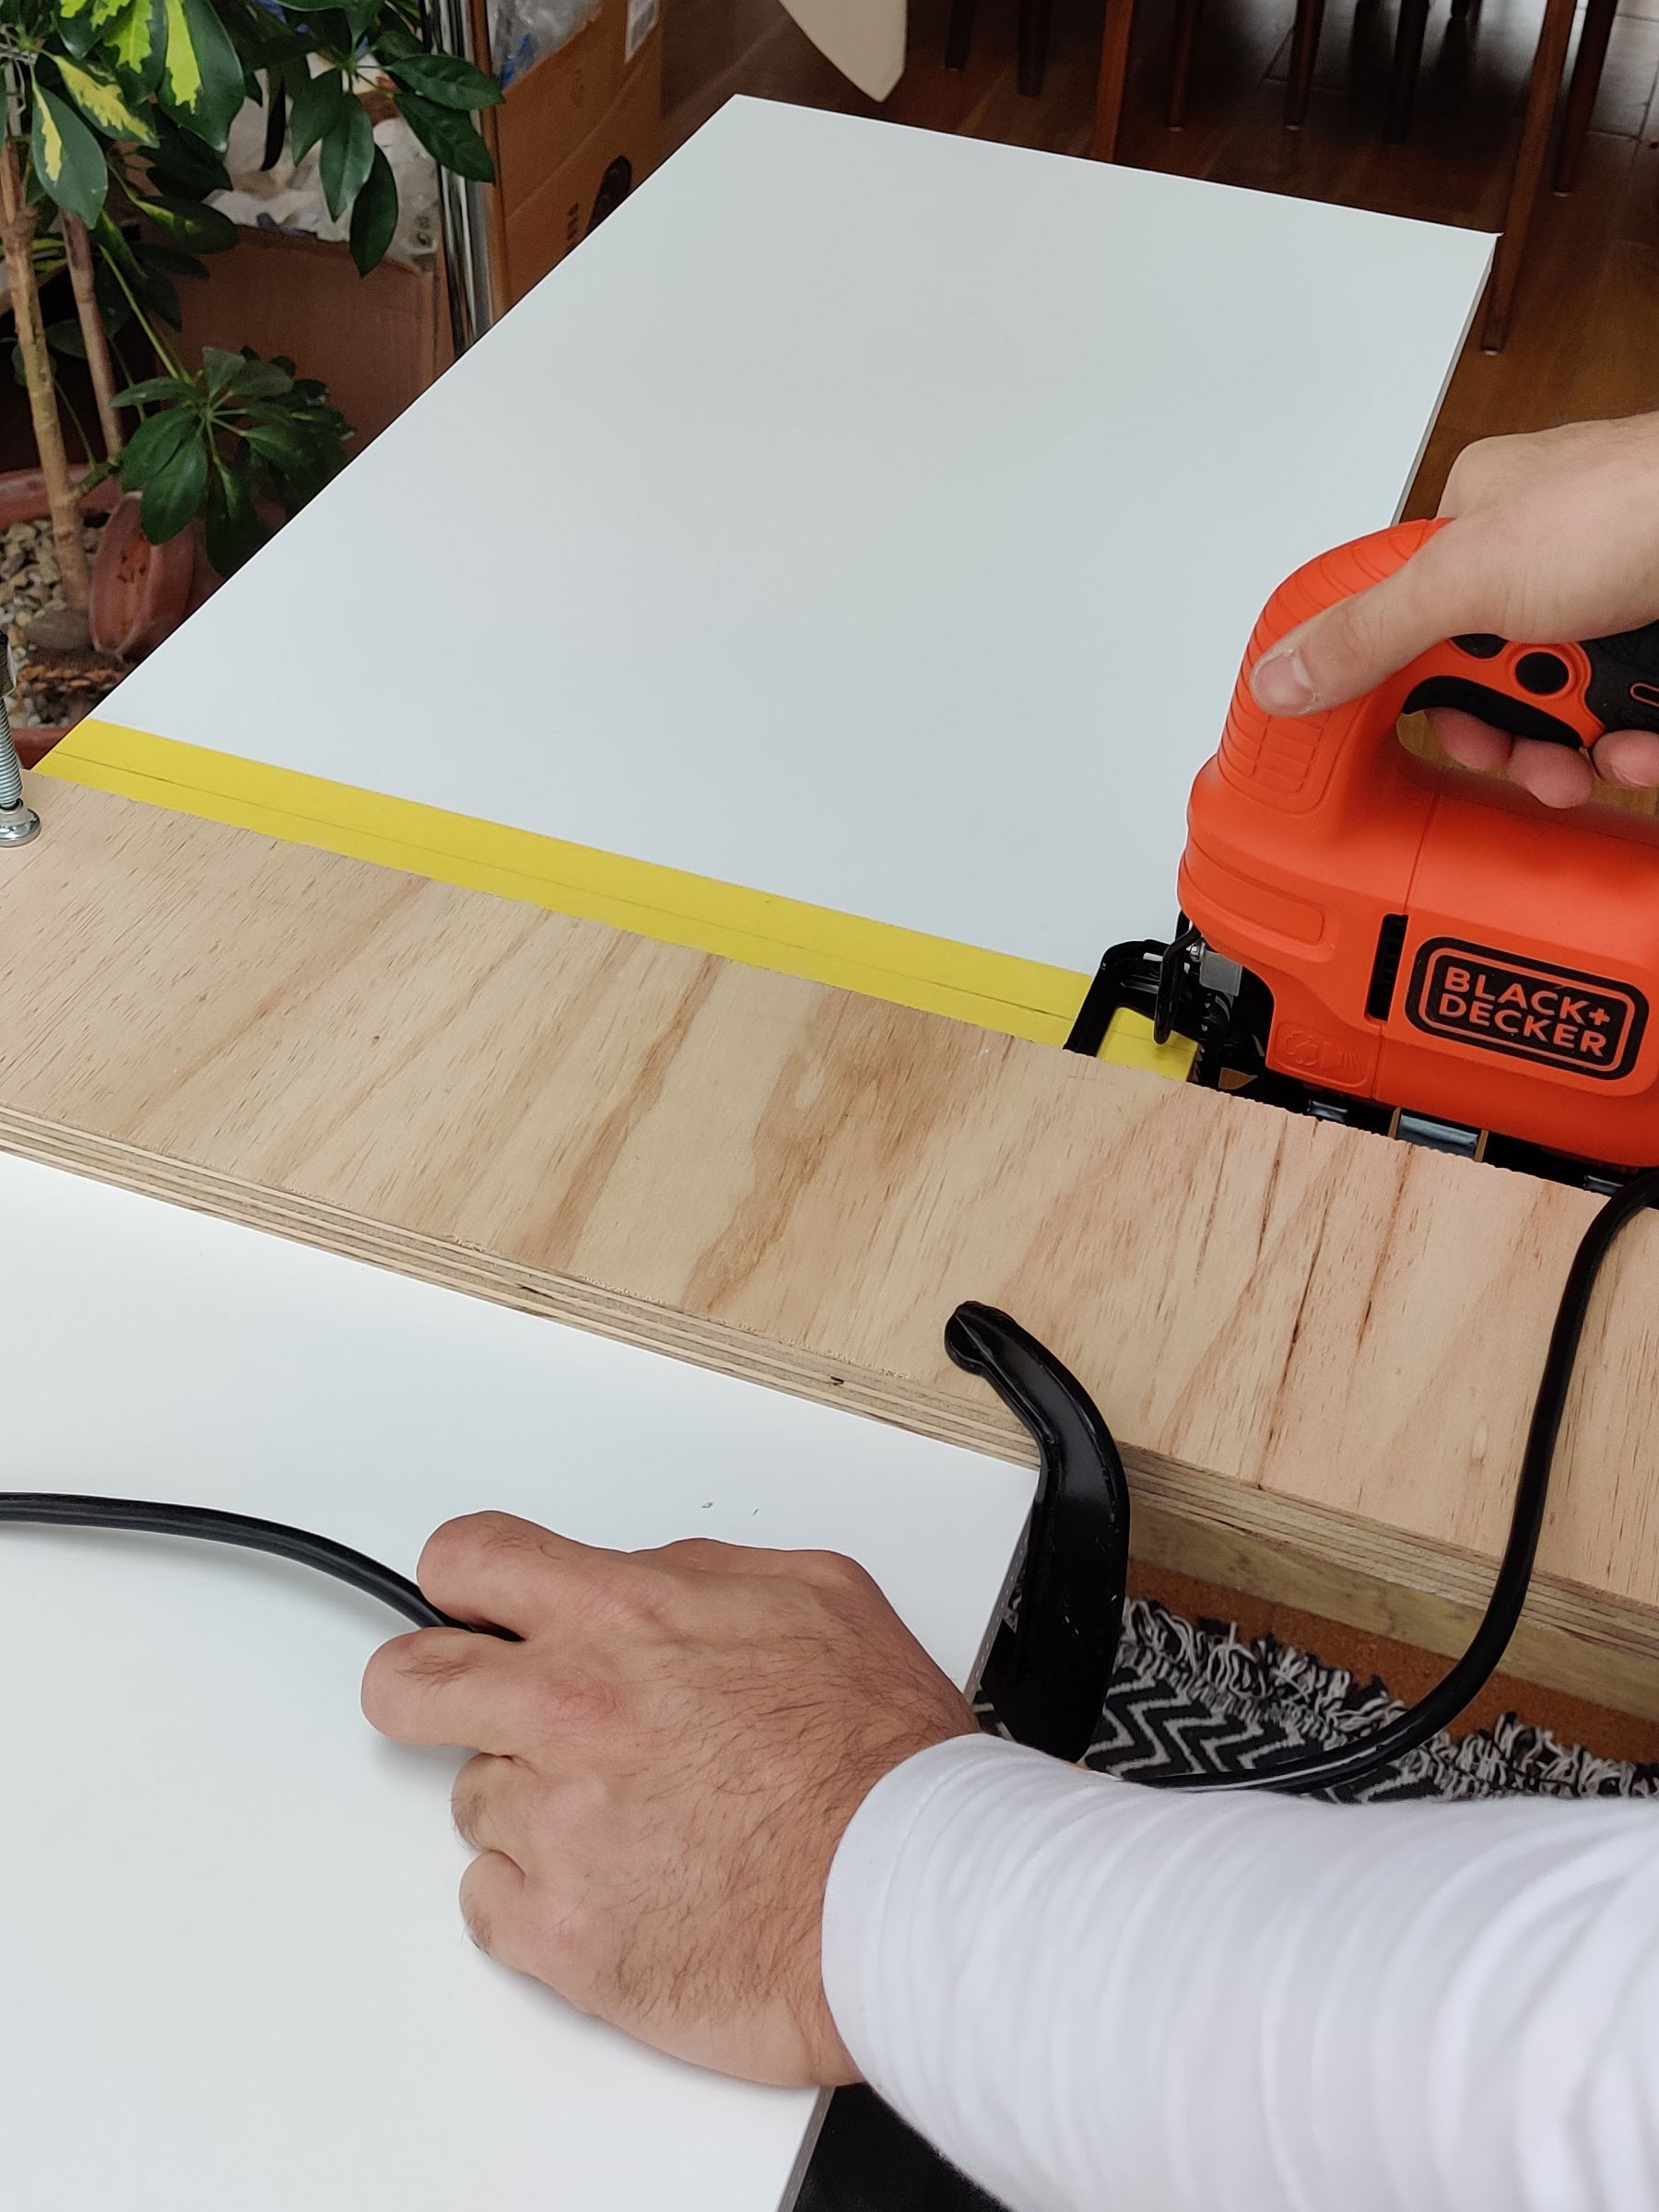
To ensure a clean cut without chipping the veneer I recommend applying masking tape to the section you are planning to cut. Cutting the cabinet will leave you with a raw edge so make sure it is in a place you can’t see i.e. above the boiler out of line sight. I cut using a jigsaw and ensured it was square by clamping a straight piece of wood to the cabinet to guide my jigsaw. You can do this with a handsaw or circular saw as well.
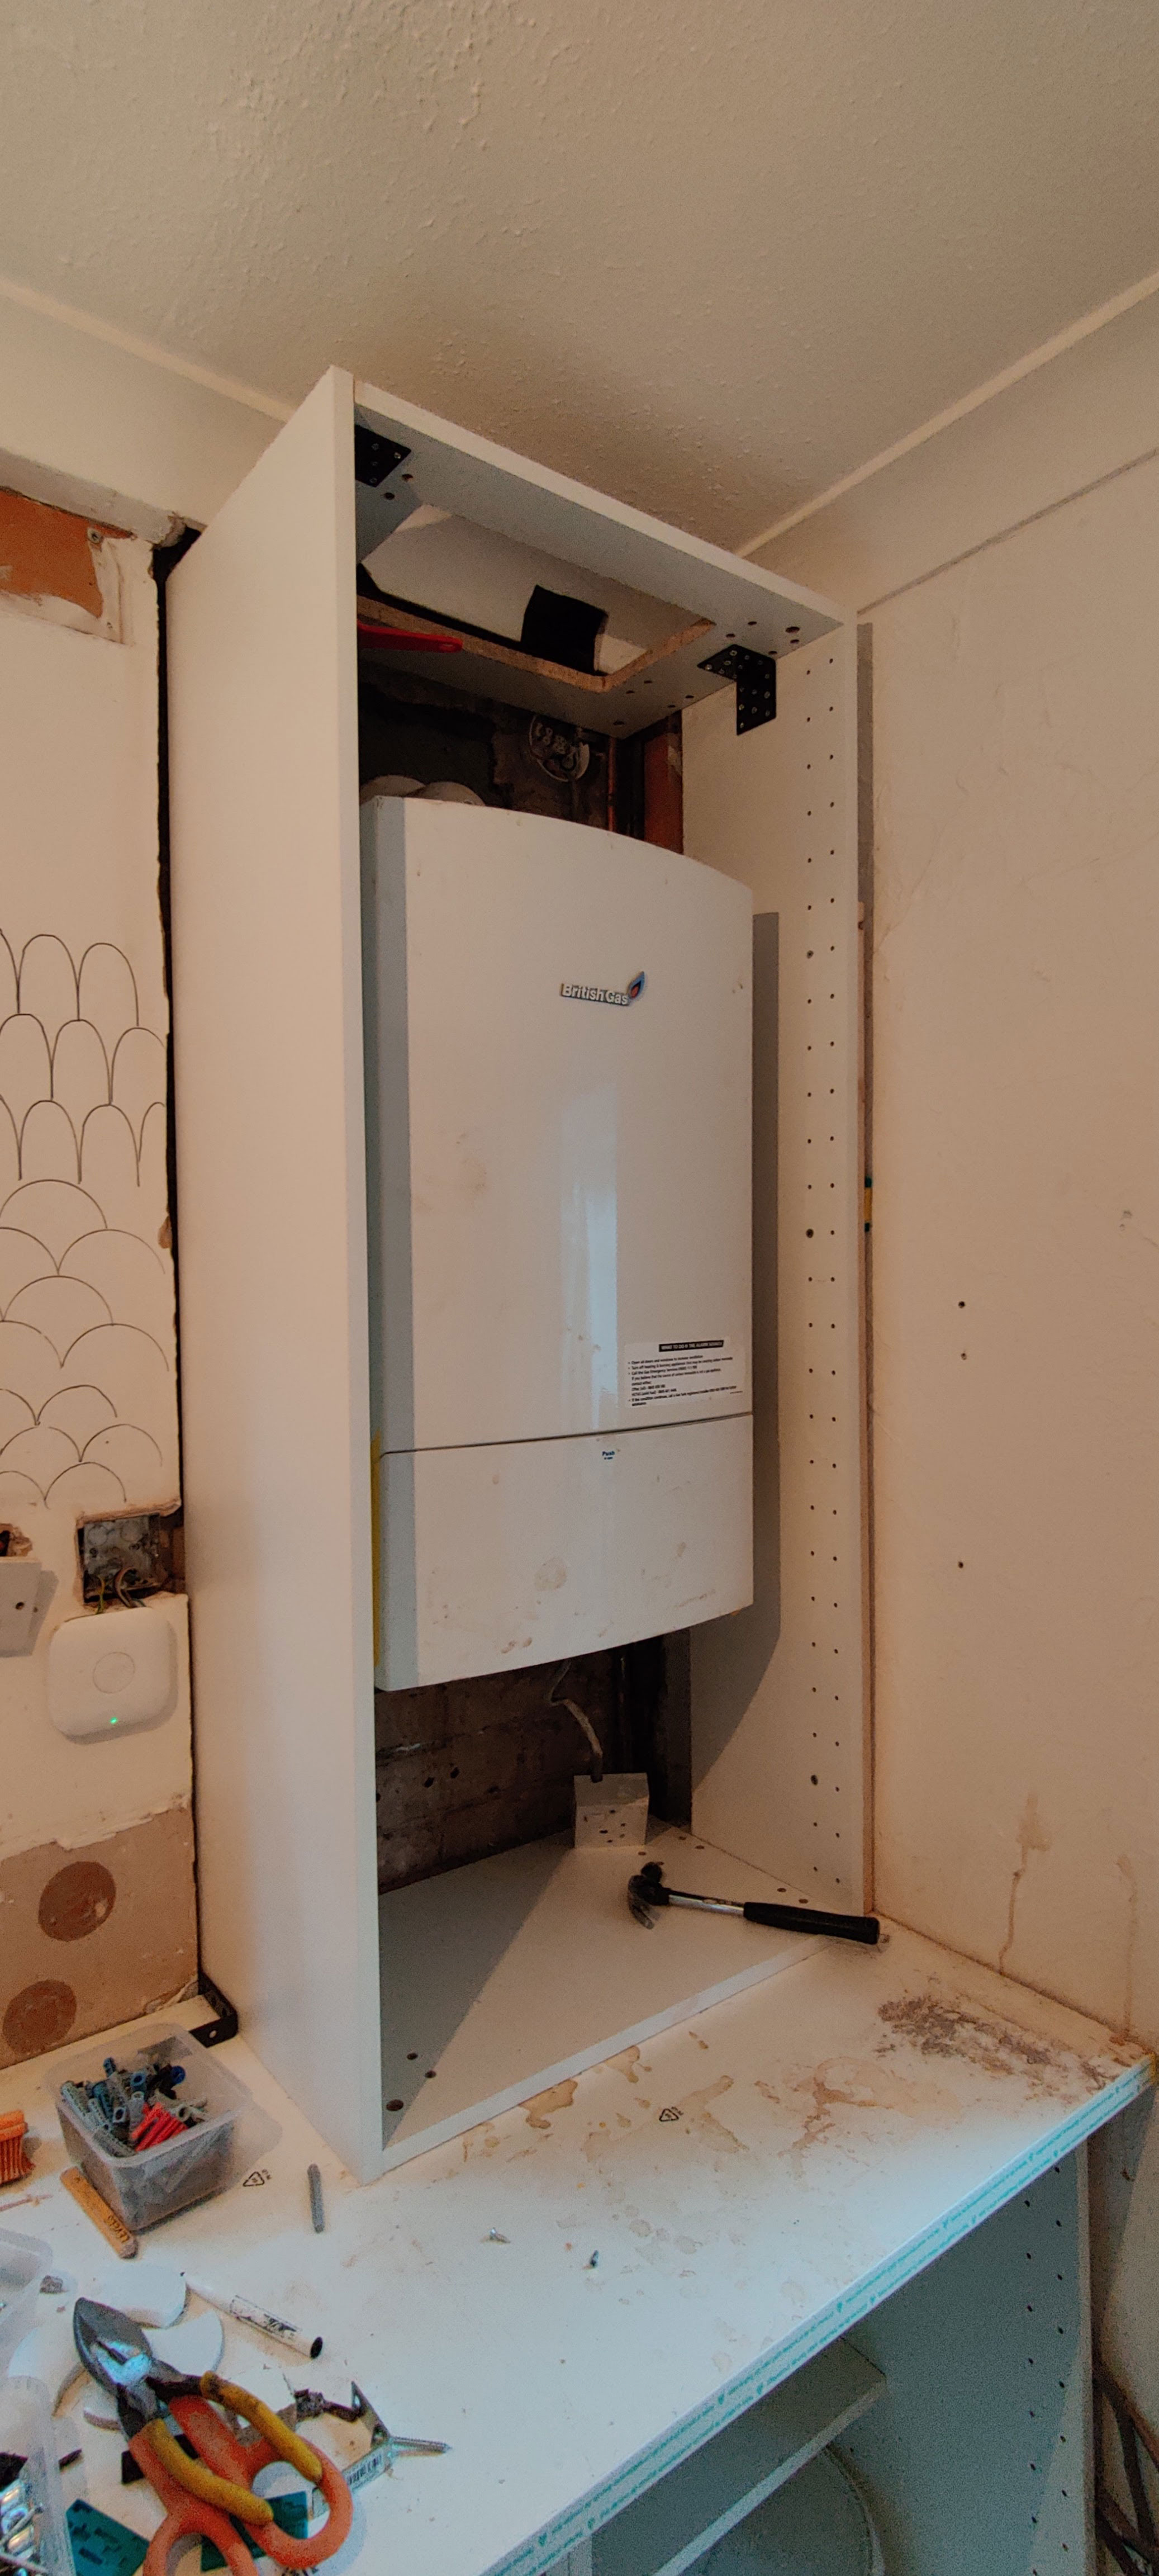
Ikea has really clear instructions for how to build and install your cabinets which are easy to follow. If you are having to modify your cabinet like ours then consider how you are going to hang your cabinet to the wall. For us it was a little easier as there was a lot of pipework under the boiler and it was easier to install the new cabinet on top of the worktop held in place with some brackets. I secured it to the wall behind and to the cabinets right by attaching some construction timber to the wall and screwing the cabinet into the construction timber. The convenience of using the construction timber is that it could be installed in advance and meant I could level out the walls so that the cabinet was square.
3. Attach the door
When the cabinet was in place I attached the IKEA Veddinge Door in white. The doors are pretty easy to install as Ikea has a hinge system which ensures the doors are hung correctly.
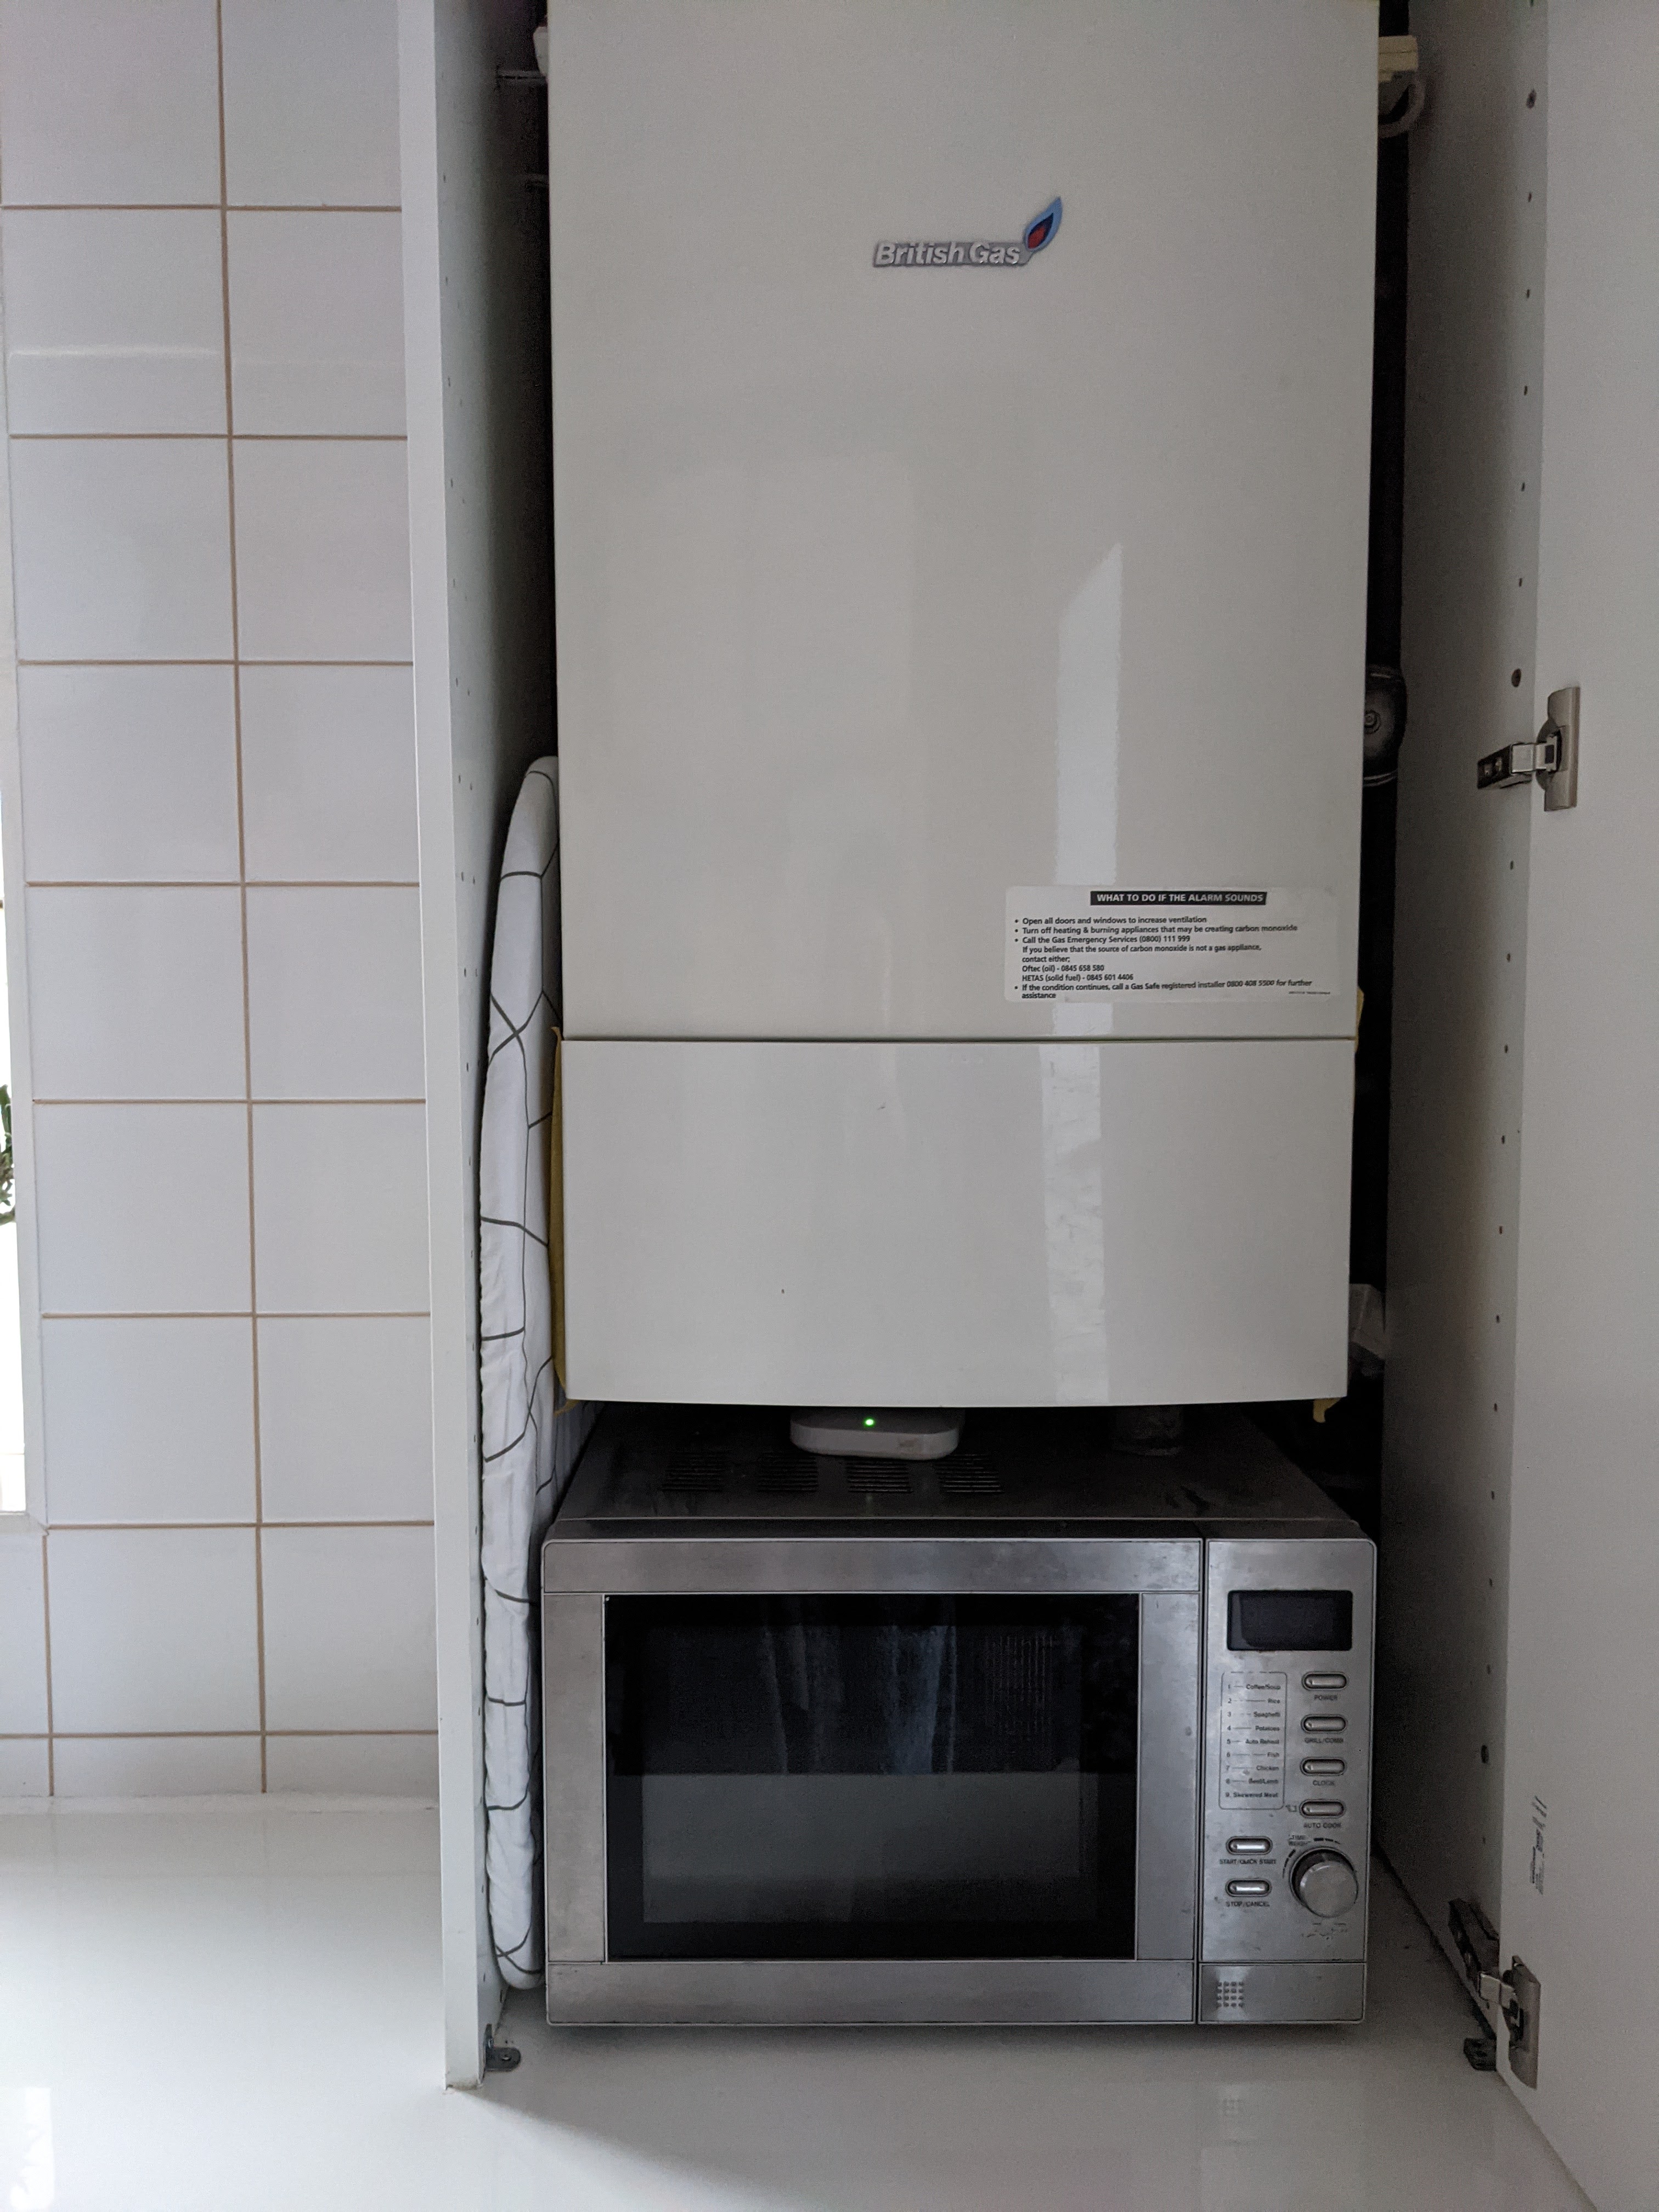
The best thing I love about this cupboard is that there was enough distance below the boiler for us to hide our microwave.
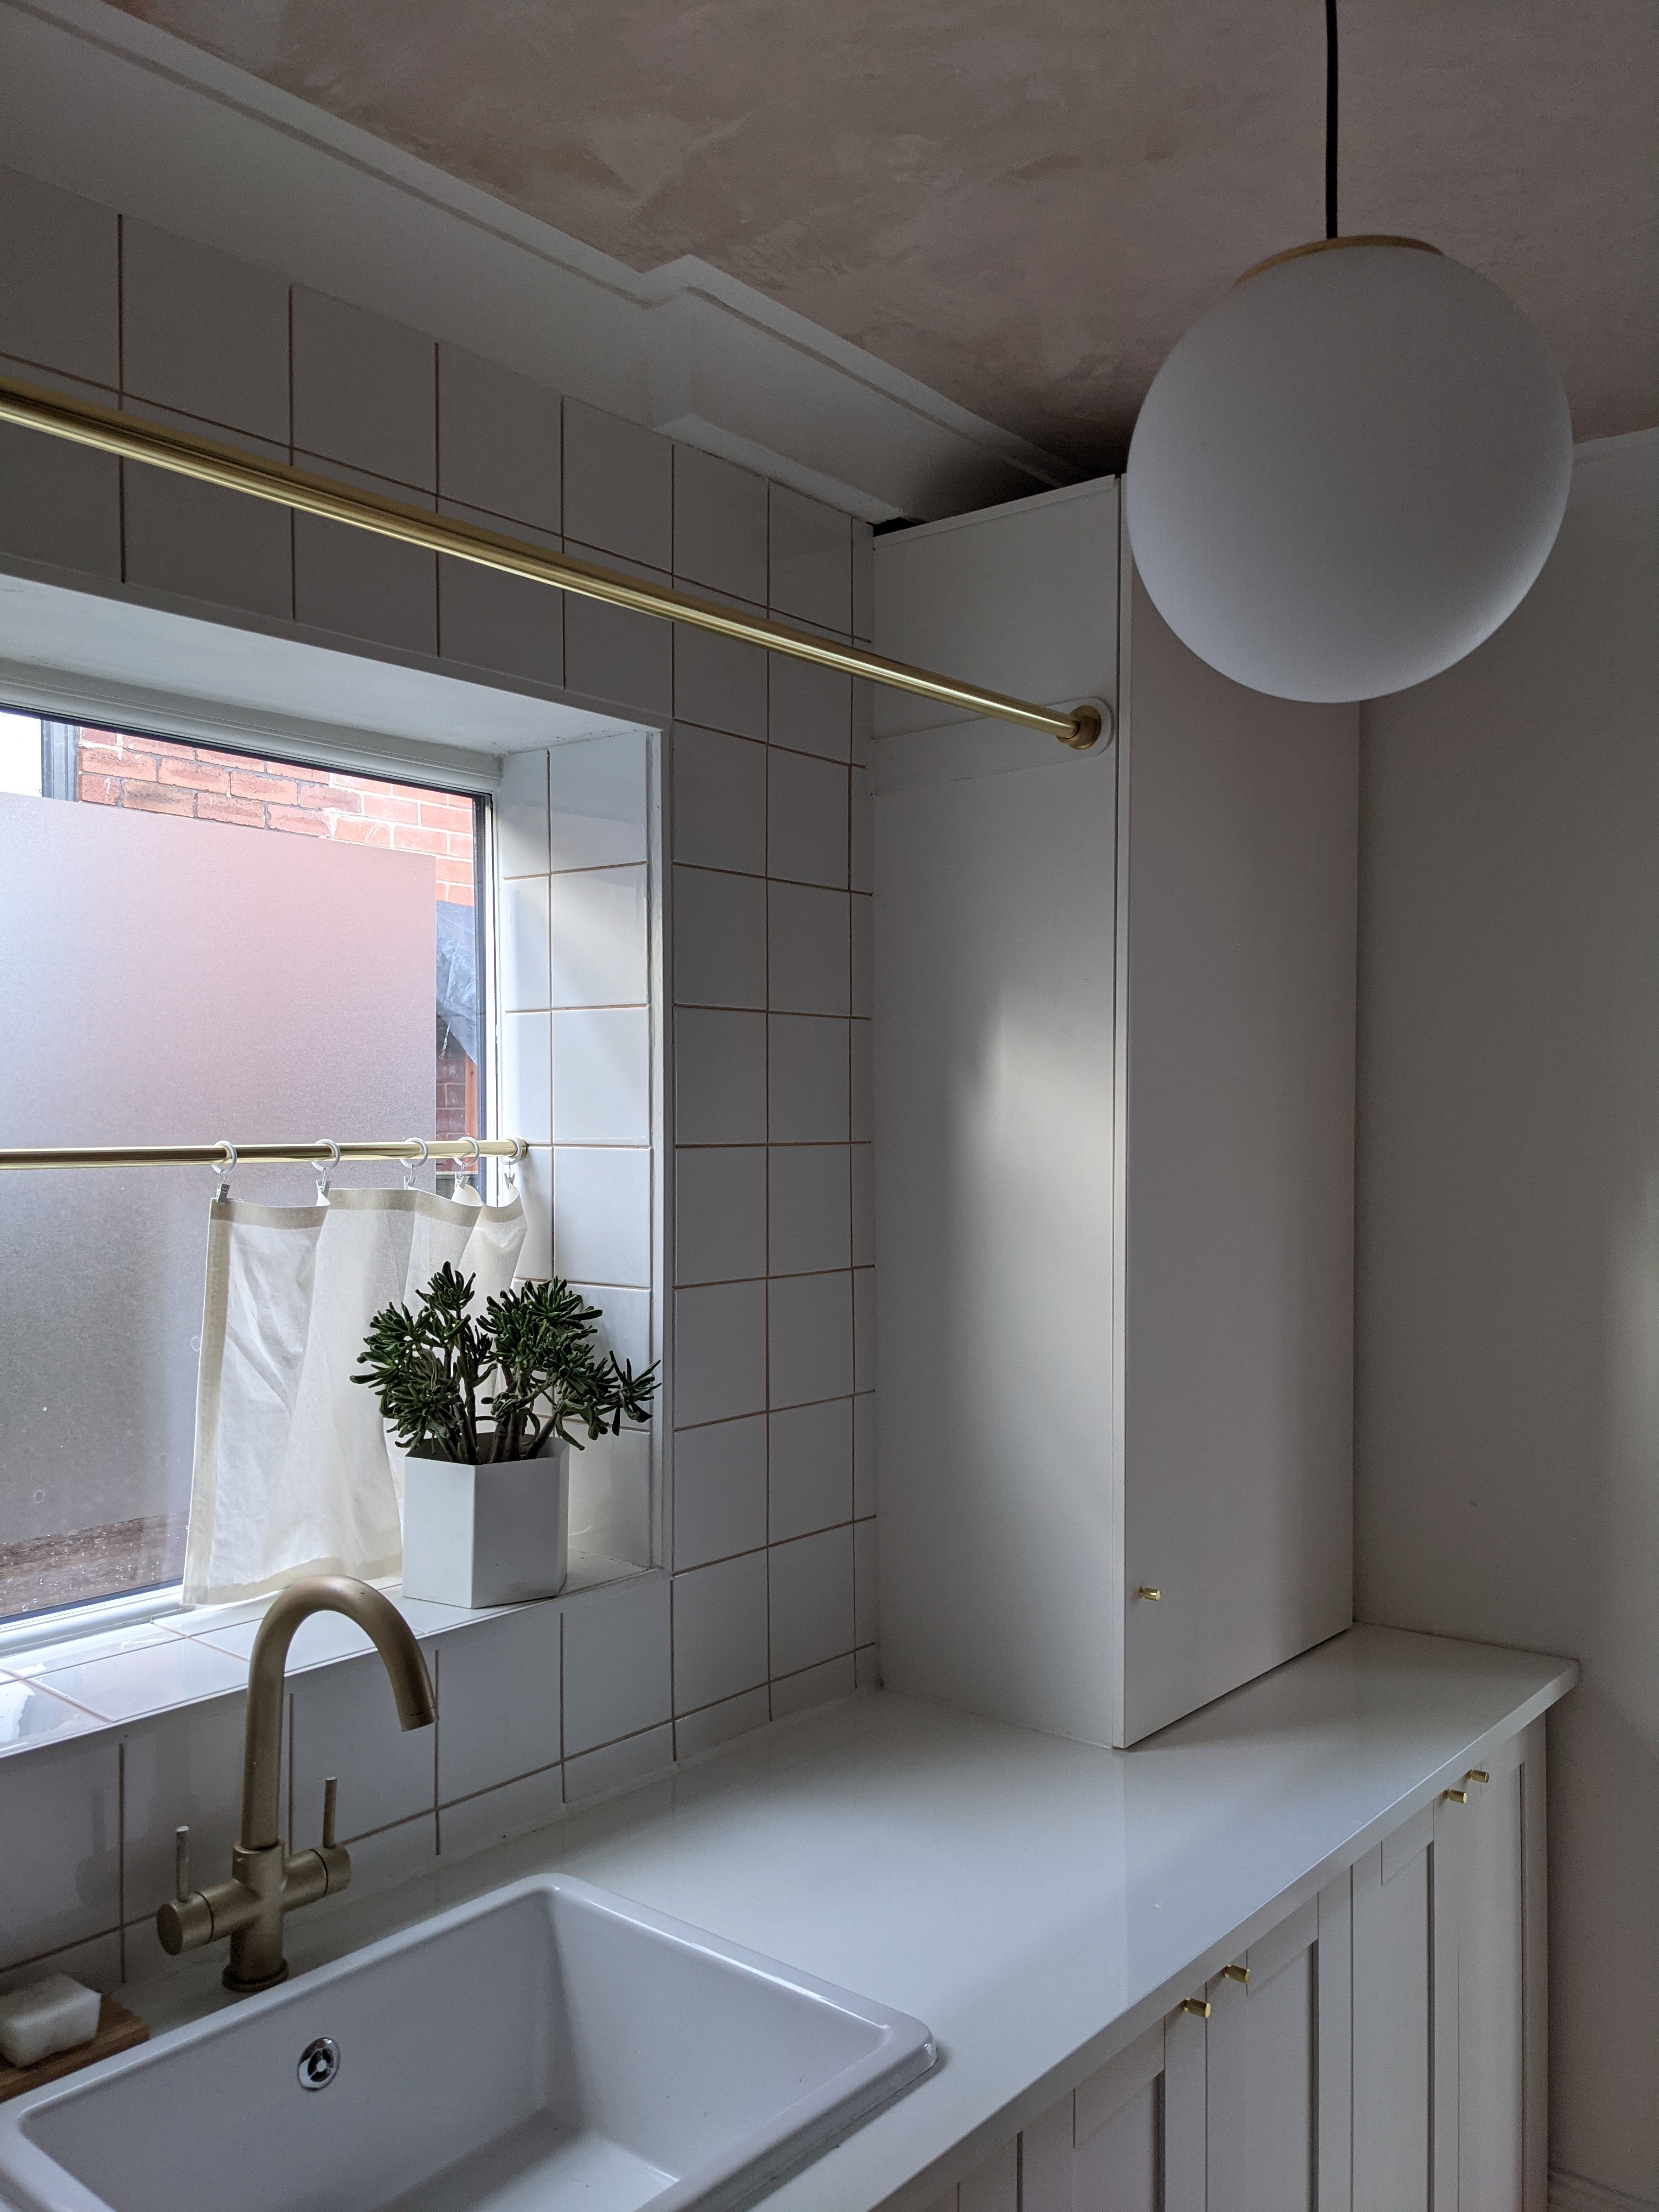
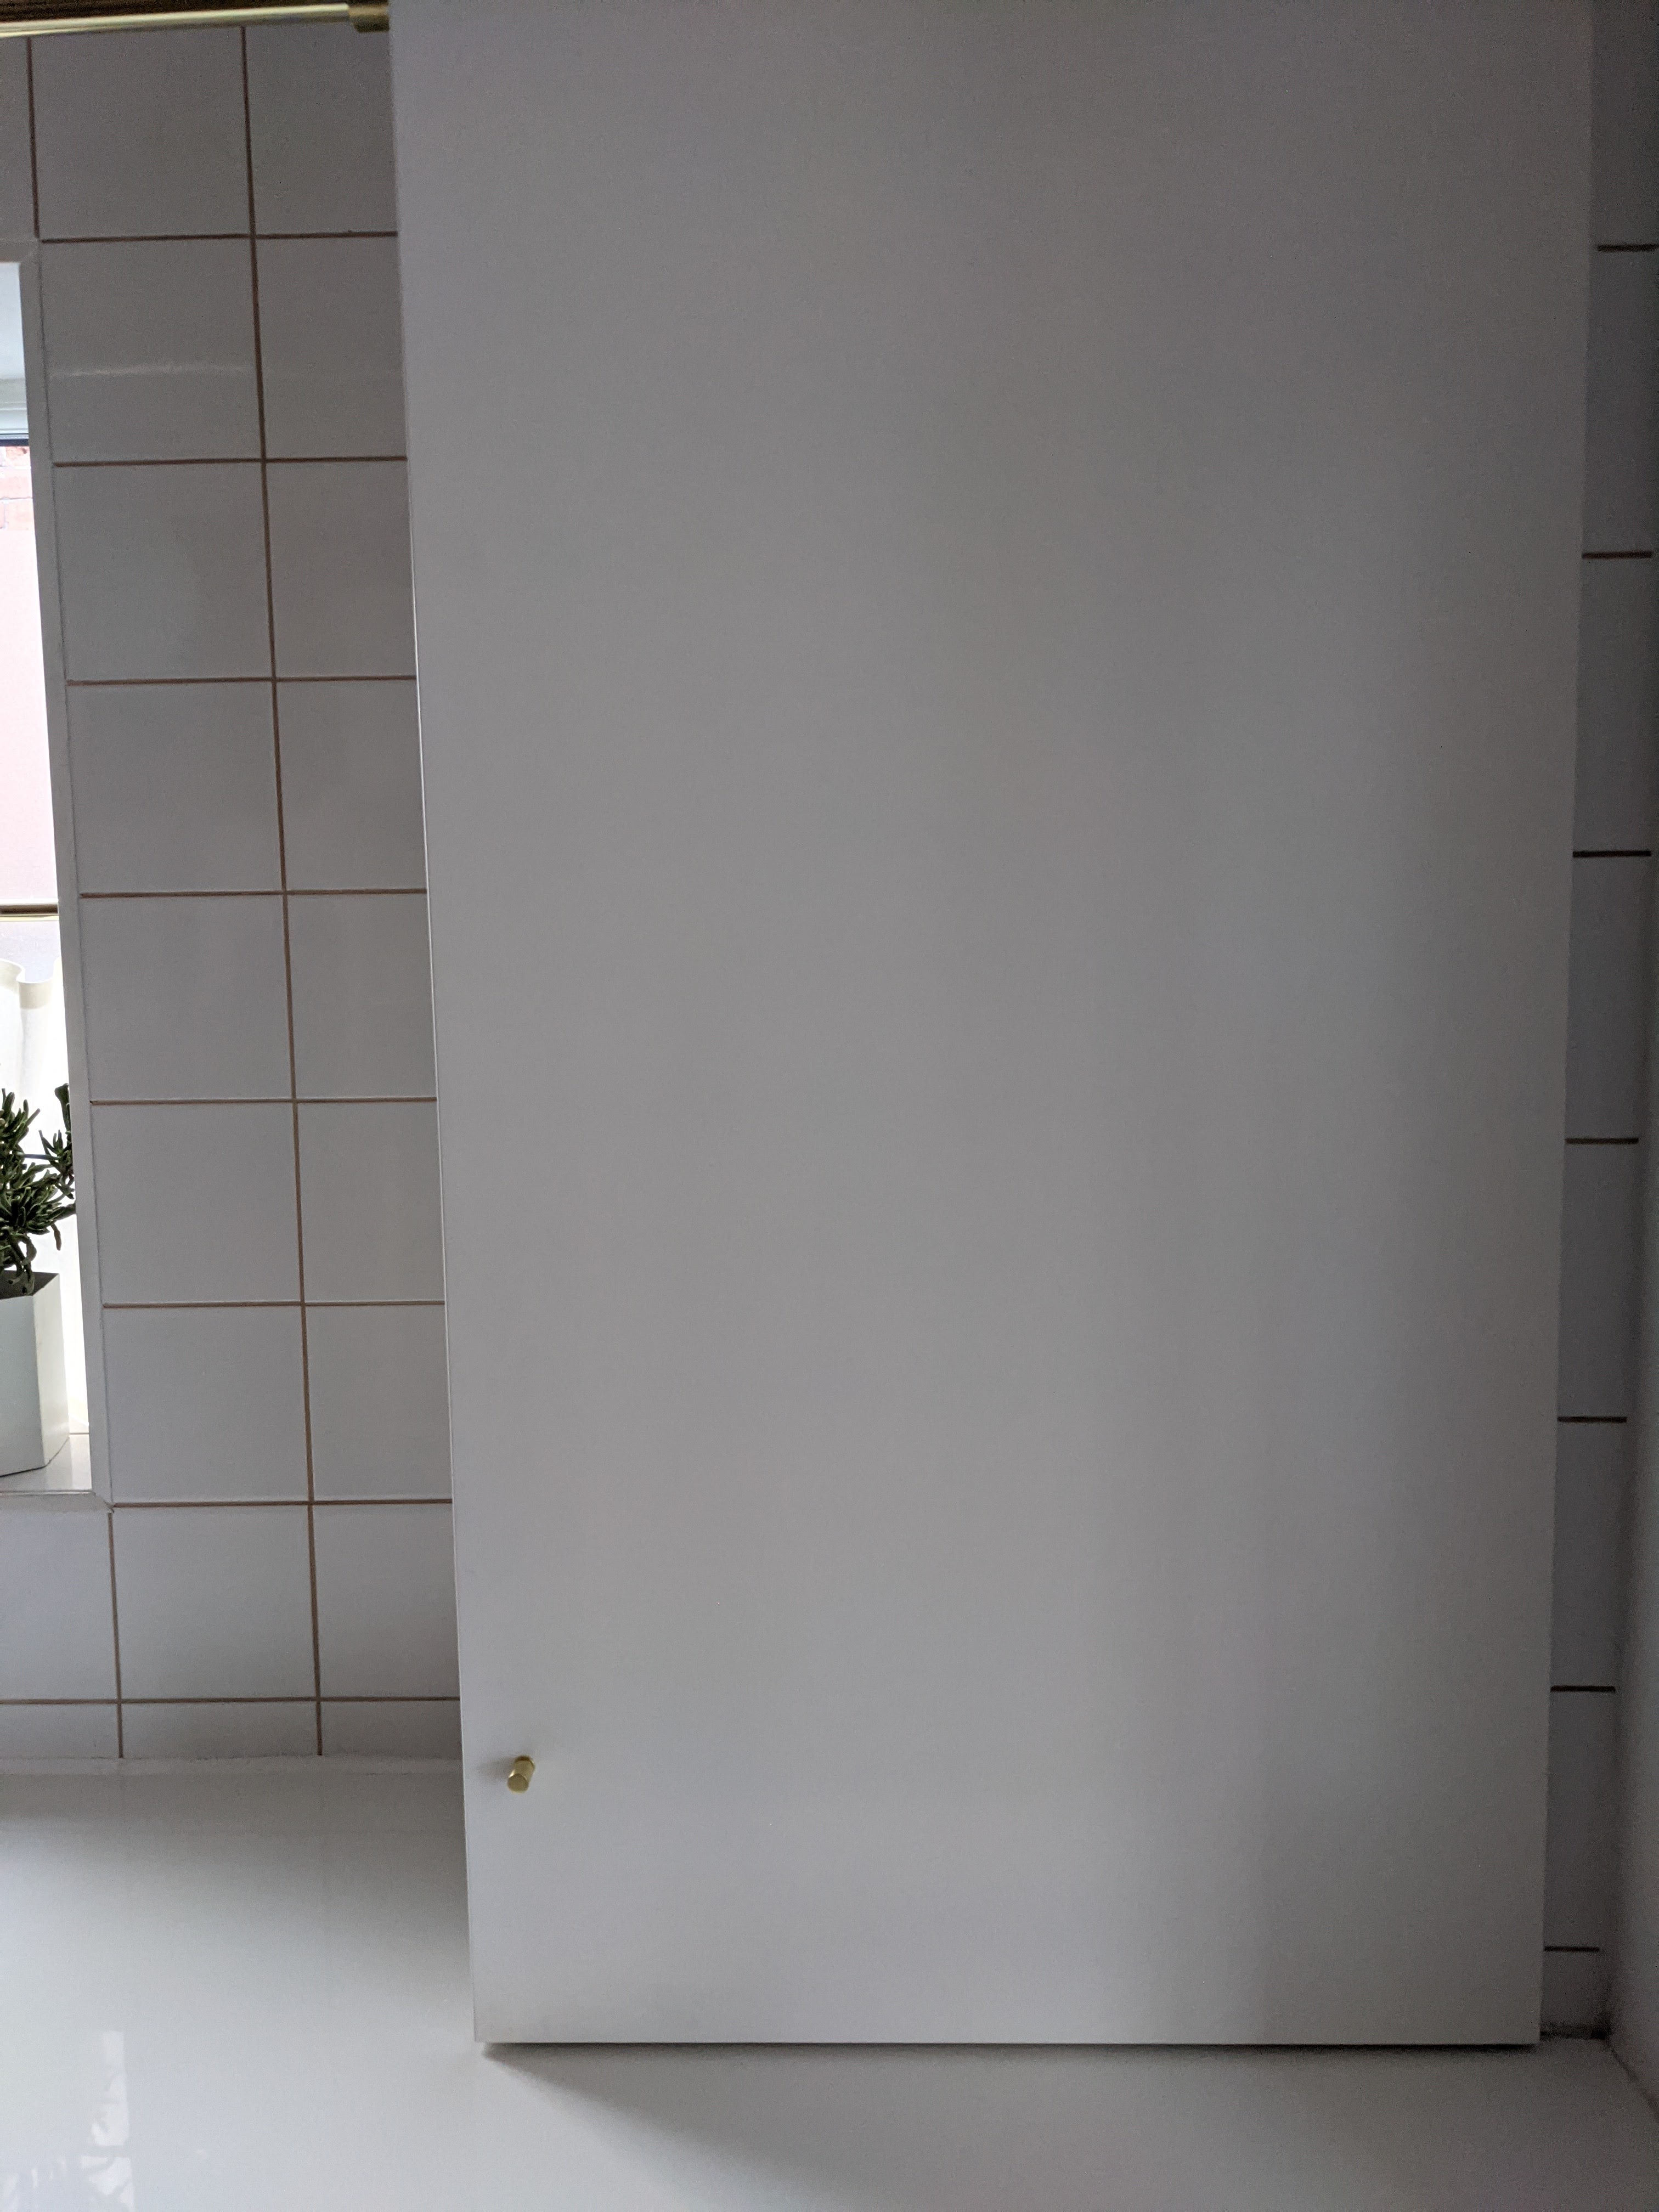
I finally added a small brass handle to match the rest in the utility room. And, we love the results!
How much does it cost to box in a boiler?
Making this a DIY job will definitely have saved us some cash. Here's a breakdown of what we spent in total:
- Ikea SEKTION Cabinet: $70
- Ikea Veddinge Door: $22
- Ikea Hinges: From $5
- B&Q Door Handle: Approx $3
- Construction Timber & Fixings: Approx $6
Total: $106
Jo Lemos is a DIYer and decorator who chronicles his projects on the popular Instagram account @two.men.and.a.semi. His DIY obsession began in childhood, when he used to help his parents redecorate the family house. Since then, he’s been developing his DIY skills for two decades, culminating in a full renovation of his current house alongside his partner, Chris. Currently the duo is restoring a 1930s semi-detached house in Manchester that had been badly renovated throughout the years. For Jo, sustainable and budget friendly design is the best way to renovate your house, and he considers his renovation motto to be: “Why pay someone when I can do it myself?!”

