A DIY concrete table for $186 - here's how one creative homeowner pulled it off
A Facebook Marketplace find became an outdoor statement piece with a high-end look, and it's all thanks to an inexpensive concrete DIY.

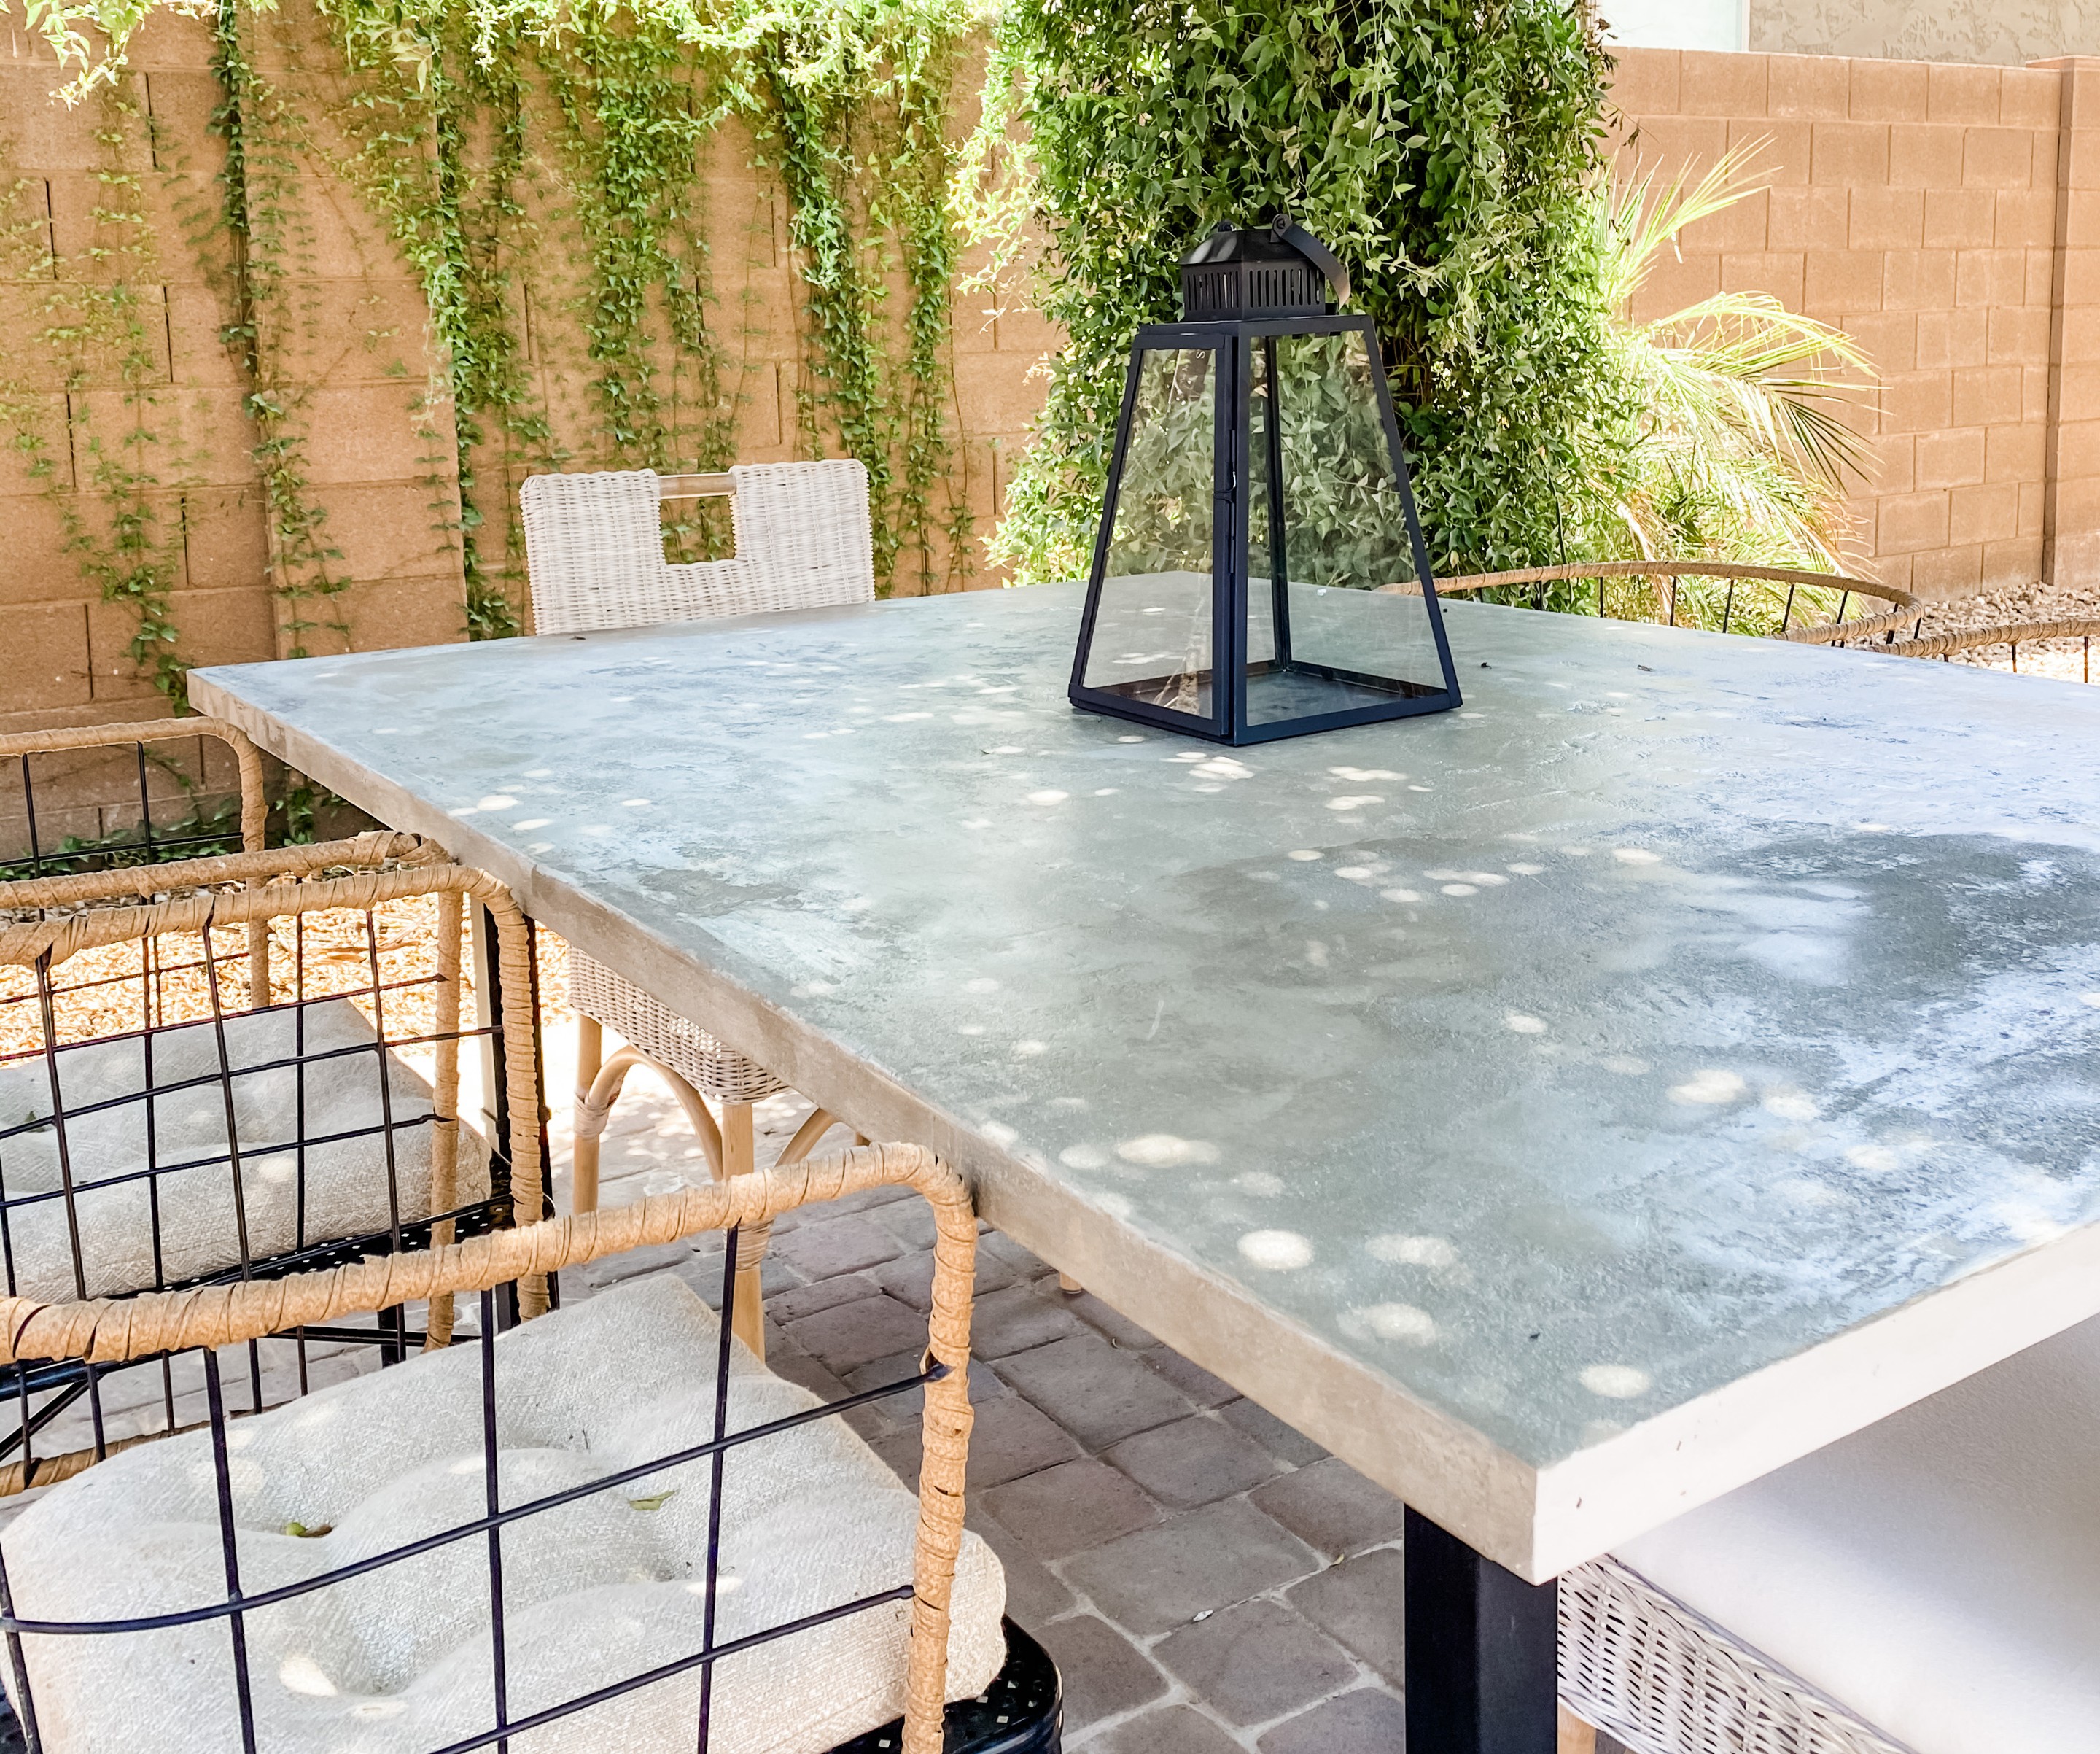
With summer in full swing, I was looking to update the area underneath our outdoor arbor. I had some beautiful chairs and a table that I’d found on Facebook Marketplace for $50. The table already had a clean base with minimal black metal legs but the glass tabletop always looked dirty. I wanted to build a new tabletop for the base that looked interesting and unique.
I'd been seeing concrete outdoor furniture (indoor, too!) for a few seasons now, and a concrete tabletop felt like the perfect solution. Once I settled on a direction for this DIY project, it was a fairly simply process to create the concrete tabletop.
Want to give it a shot? Keep reading to see how I did it.
- Looking for more ways to update your outdoor space? Check out our favorite backyard ideas.
DIY concrete table: What you'll need
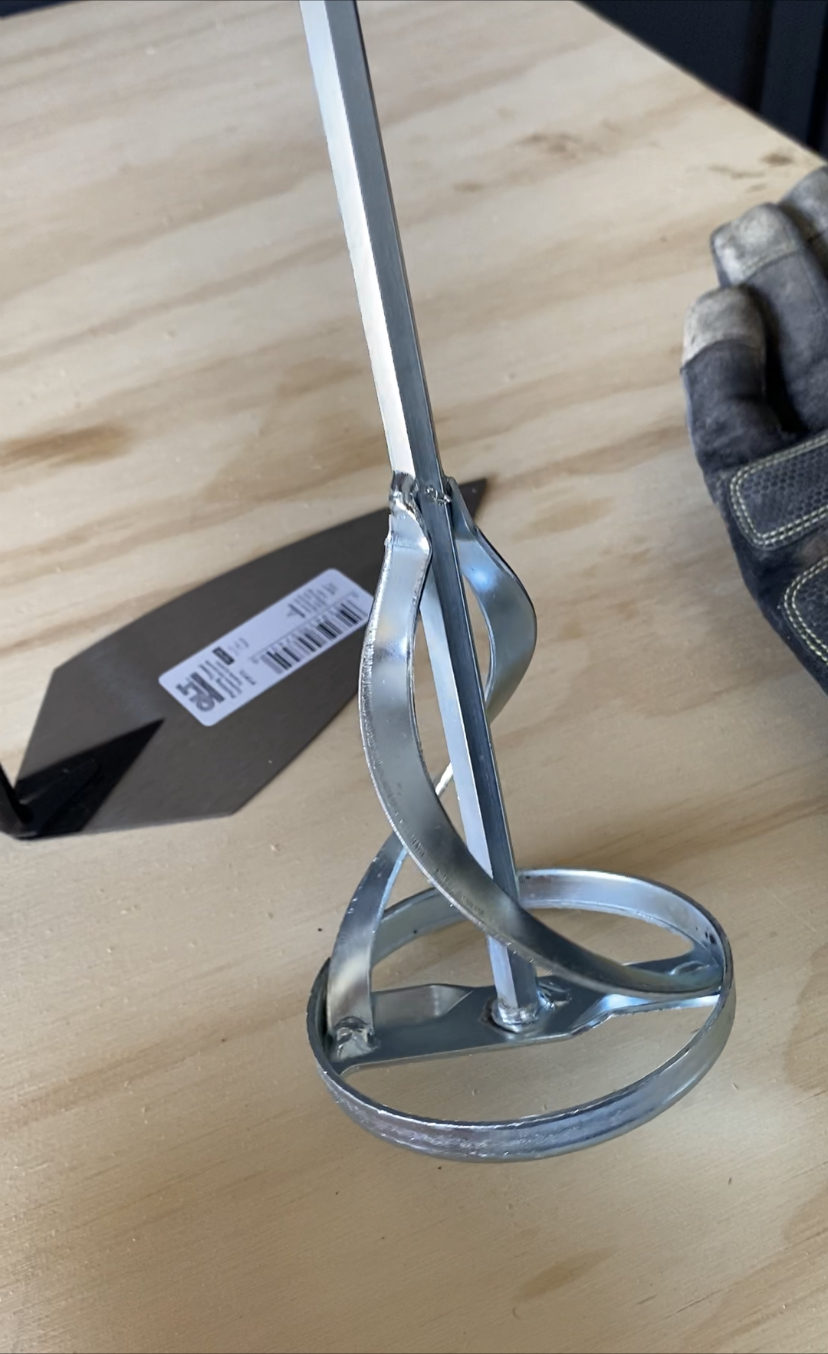
Use this concrete mixing attachment with your drill
- A sheet of plywood, cut to size
- Trim board
- Hand saw, tabletop saw, or miter saw
- Brad nailer or hammer and nails
- Trowel
- Self-leveling concrete
- Bucket
- Concrete mixing paddle attachment (for use in a drill)
- Concrete sealer
- Foam paint roller
DIY concrete table: How to do it
Here's the process I used to create this DIY concrete table top.
Step 1: Build a base for the tabletop
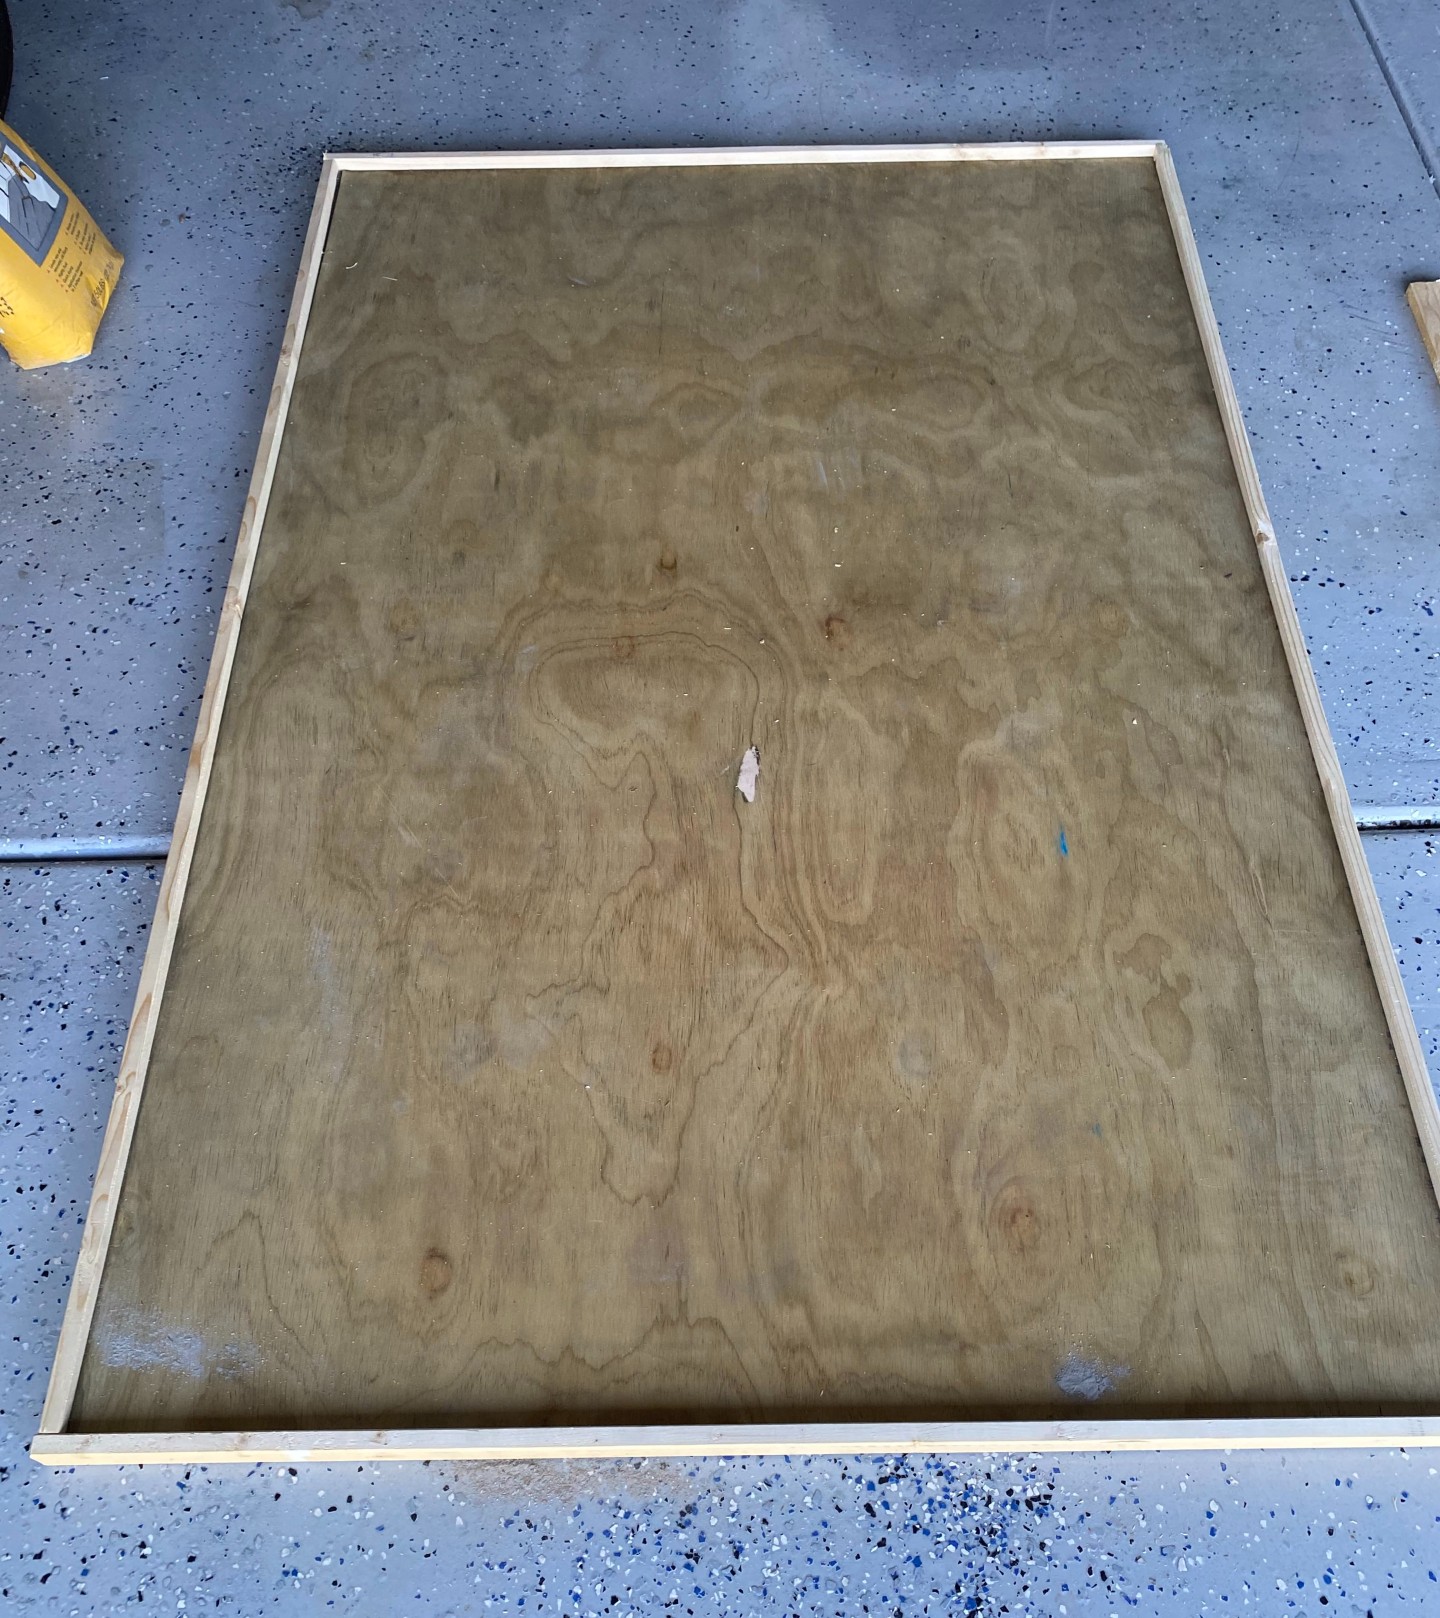
To start, I purchased a sheet of pressure treated ¾” plywood and cut it to the proper size for my table top (if you don't own a saw, you can often have your lumber yard or home improvement store cut the board for you).
To create a frame around the table I used common 1"x2" board and used my brad-nailer to secure at the edges for a seamless look. I wasn’t worried about using common wood because I knew that I would be covering it up with concrete.
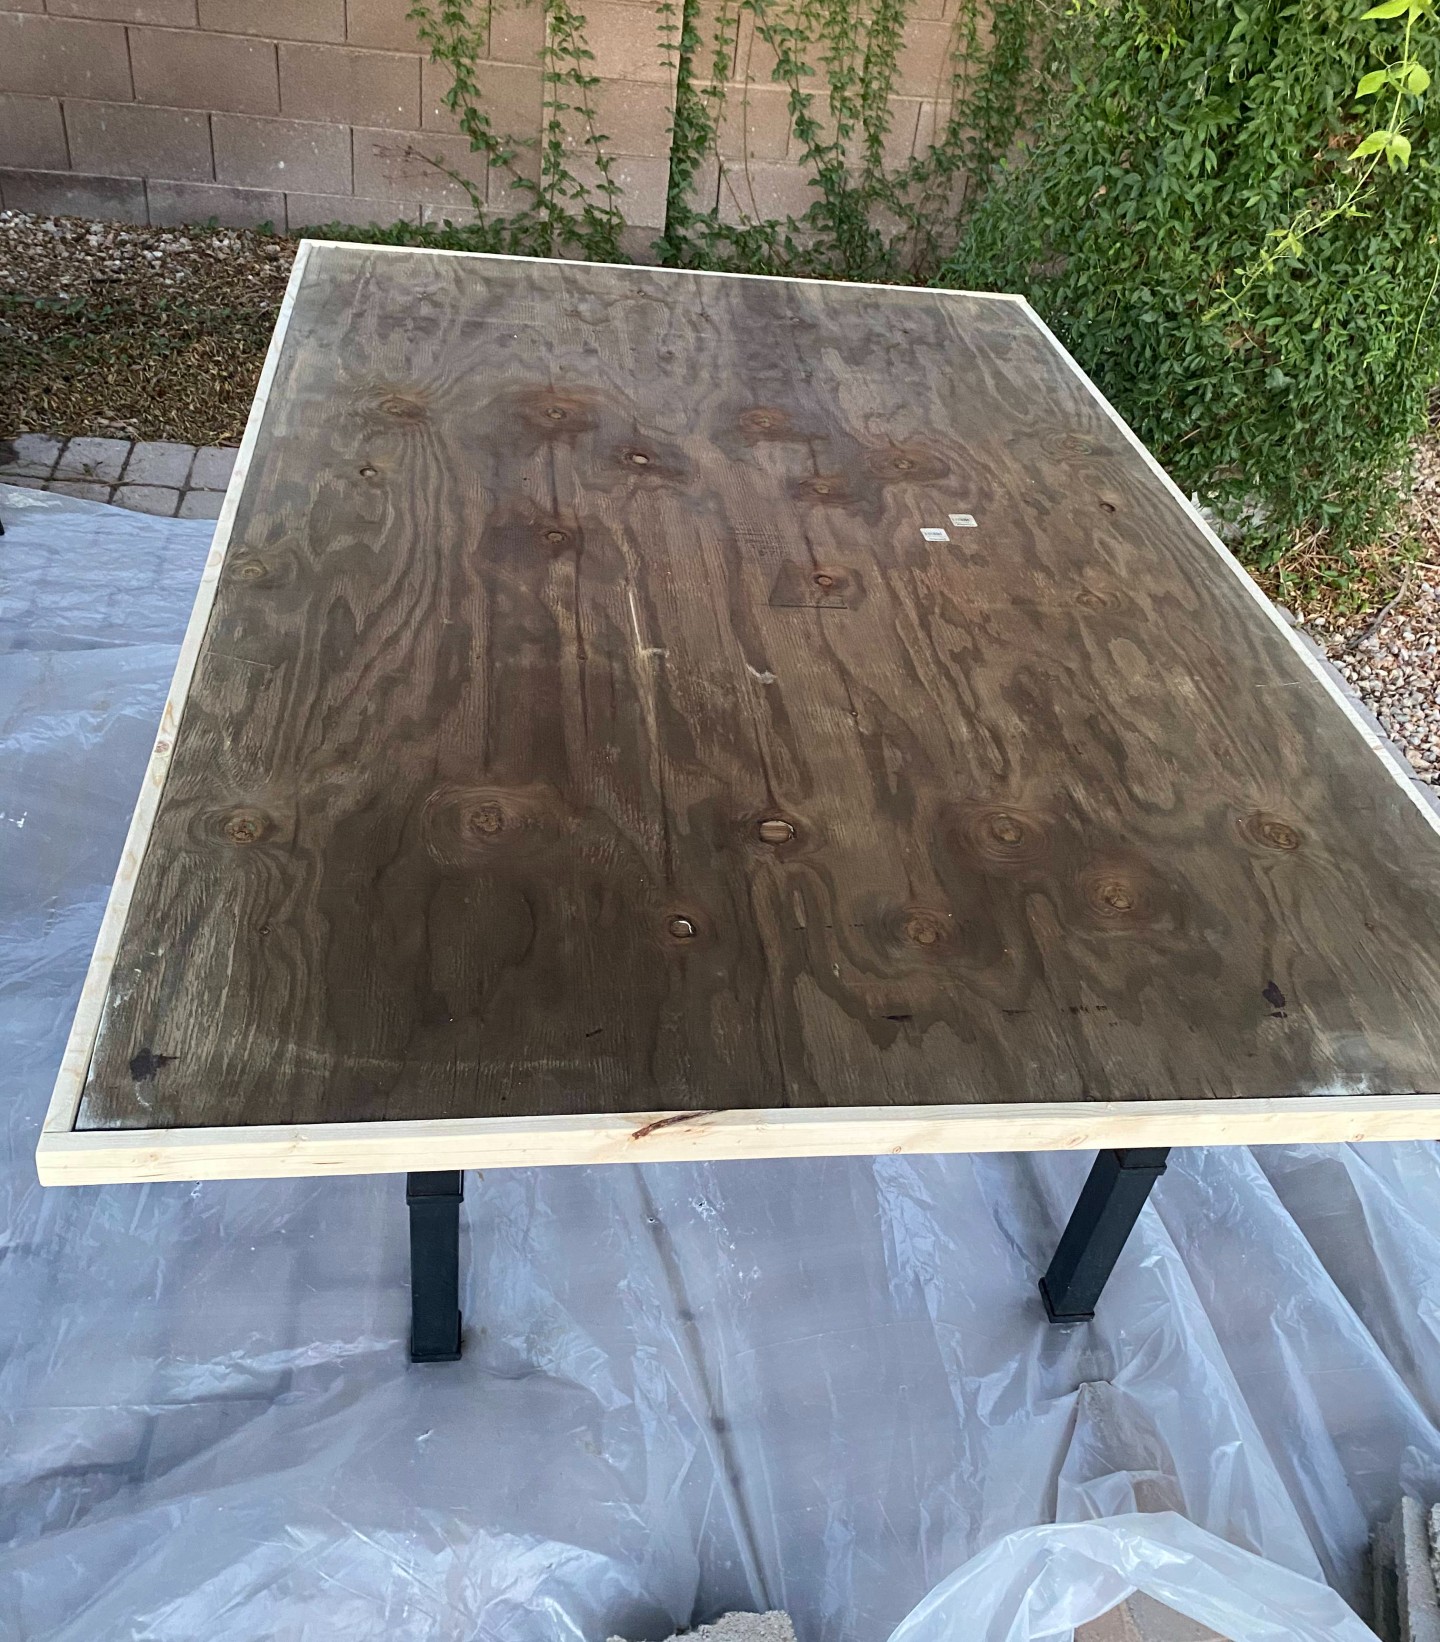
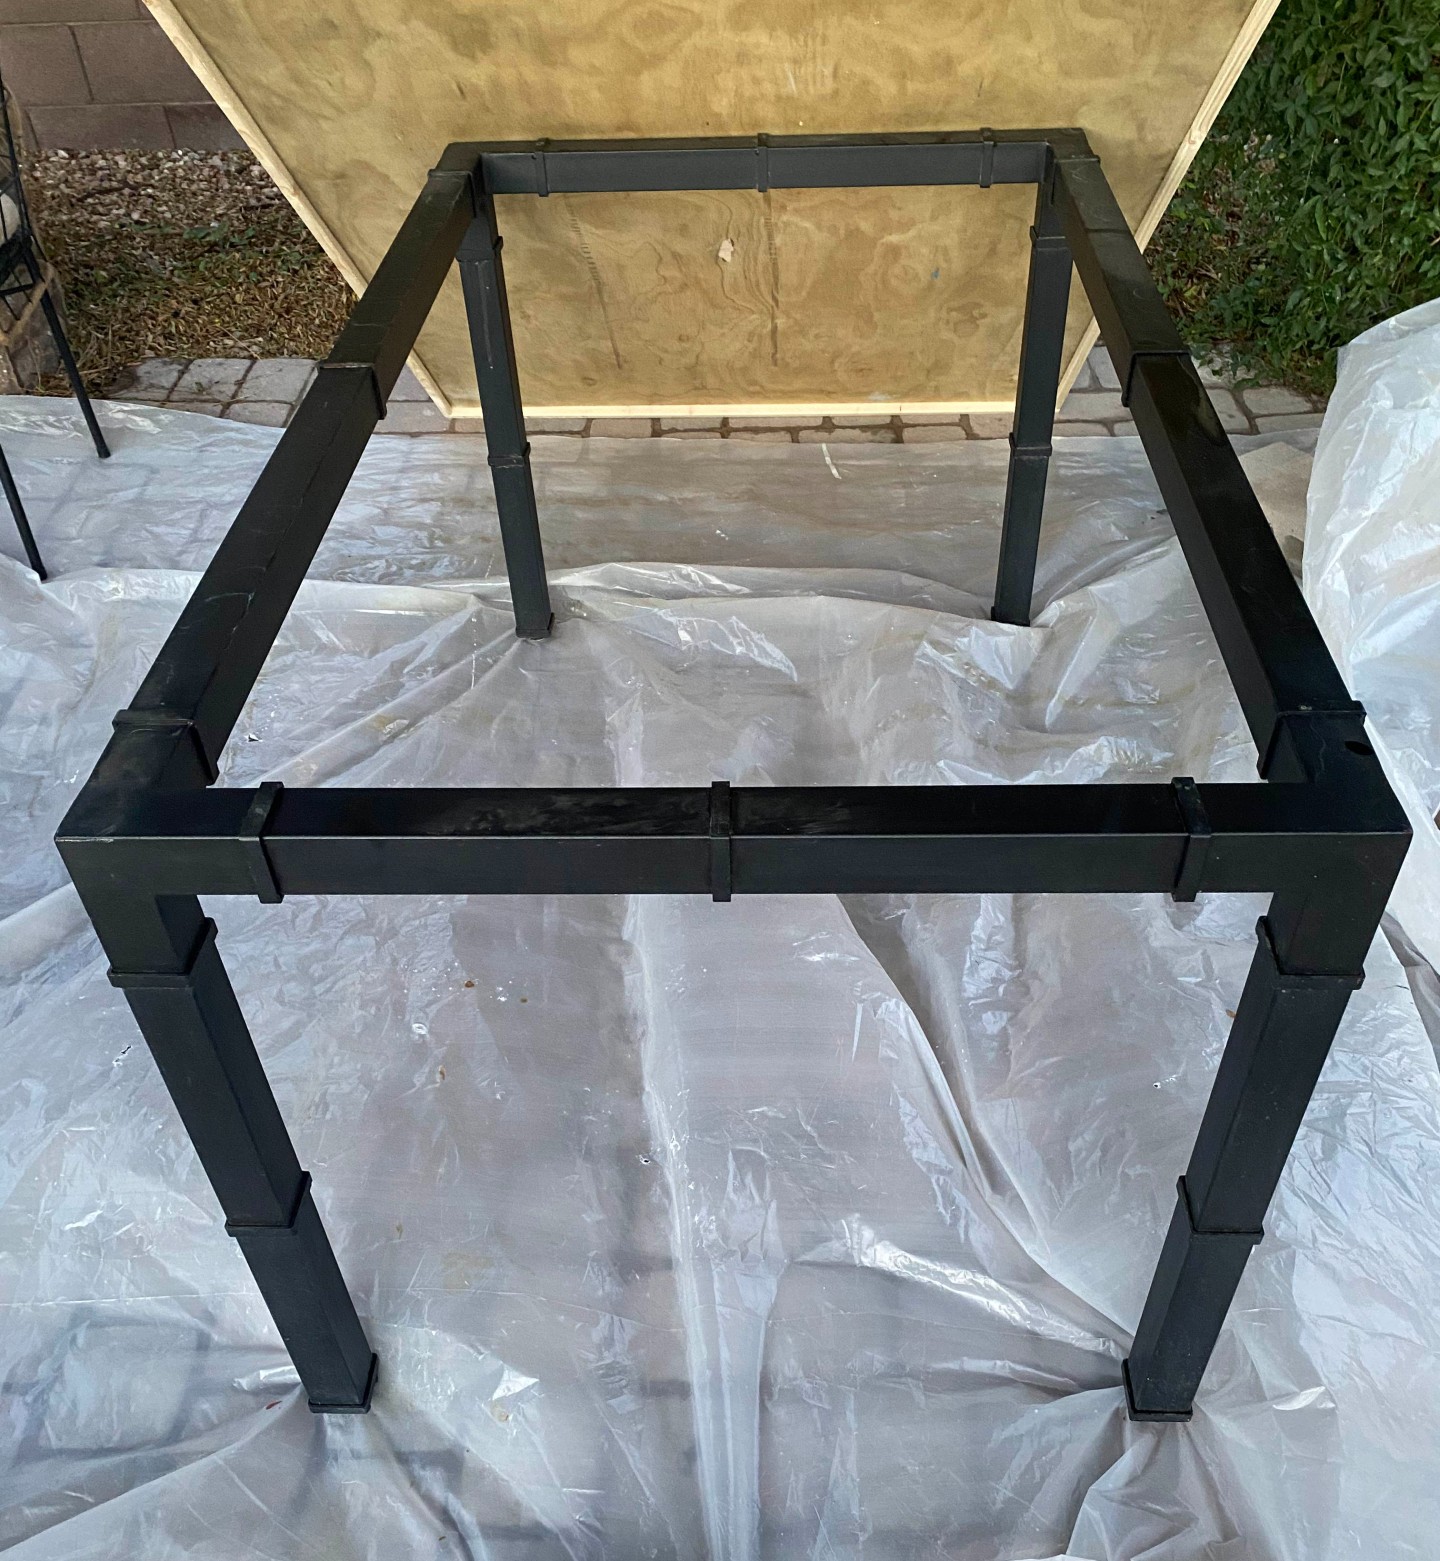
Then, I laid the tabletop on the base of the table.
Get small space home decor ideas, celeb inspiration, DIY tips and more, straight to your inbox!
Step 2: Mix and add the concrete
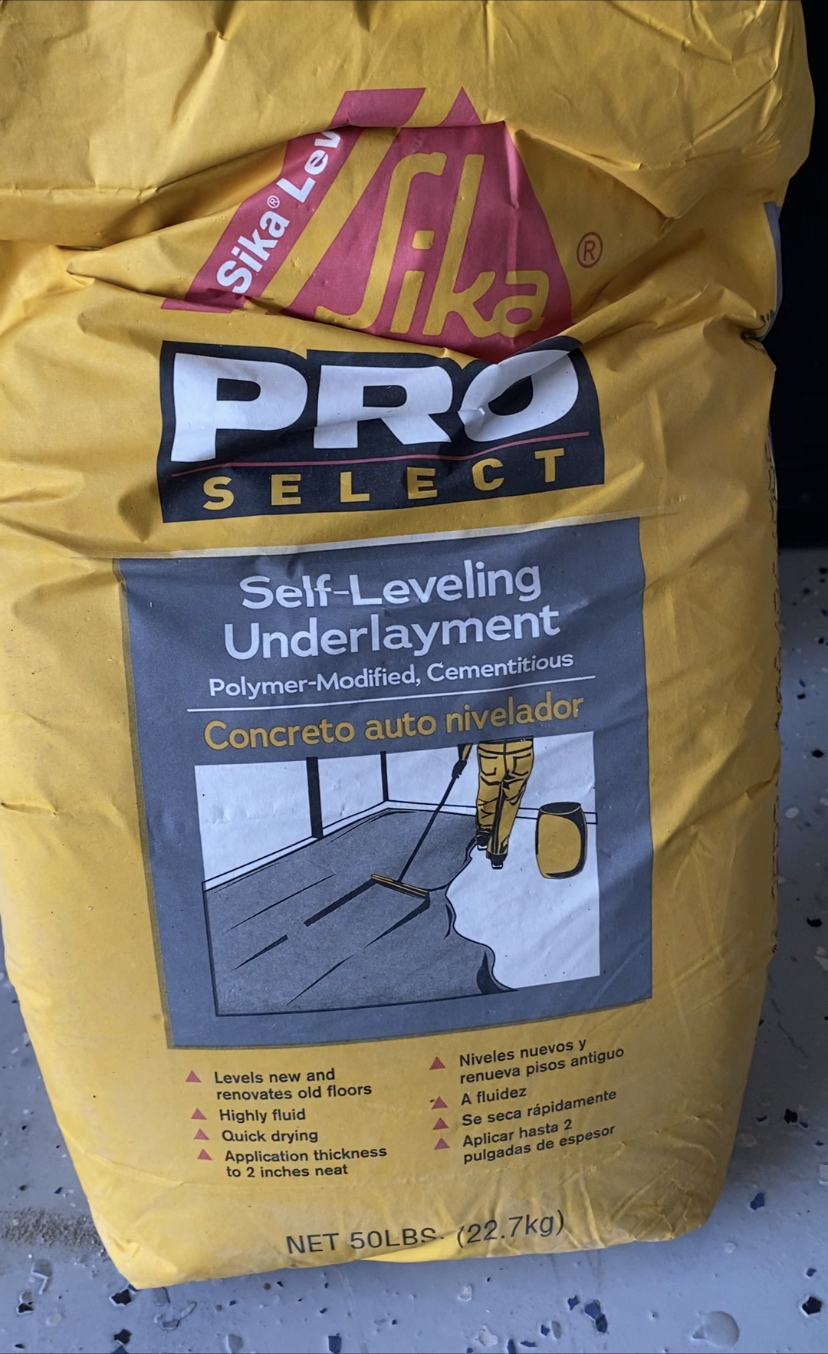
I mixed the self-leveling concrete according to package directions and mixed it well with a mixing attachment for my drill. I began applying with a trowel and found the mixture to be entirely too thick, so thinning it with more water made the concrete much easier to work with.
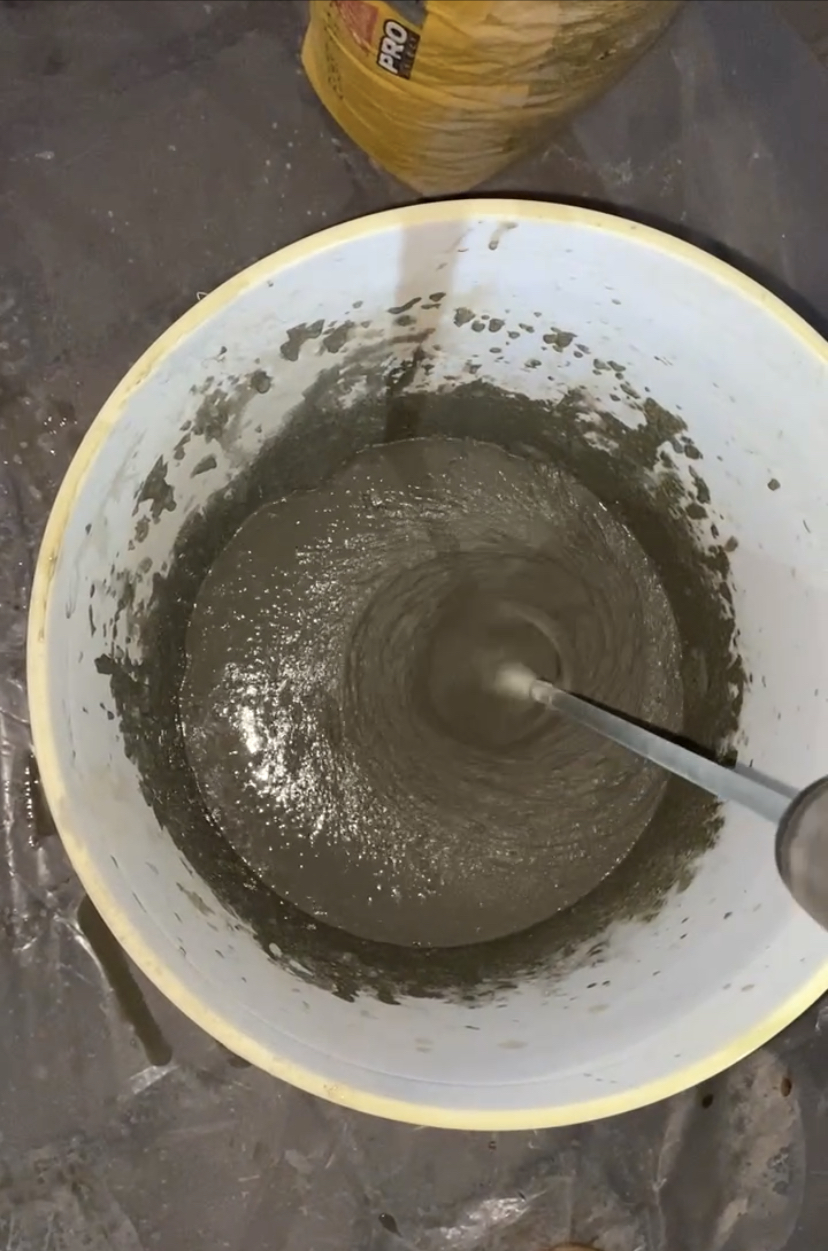
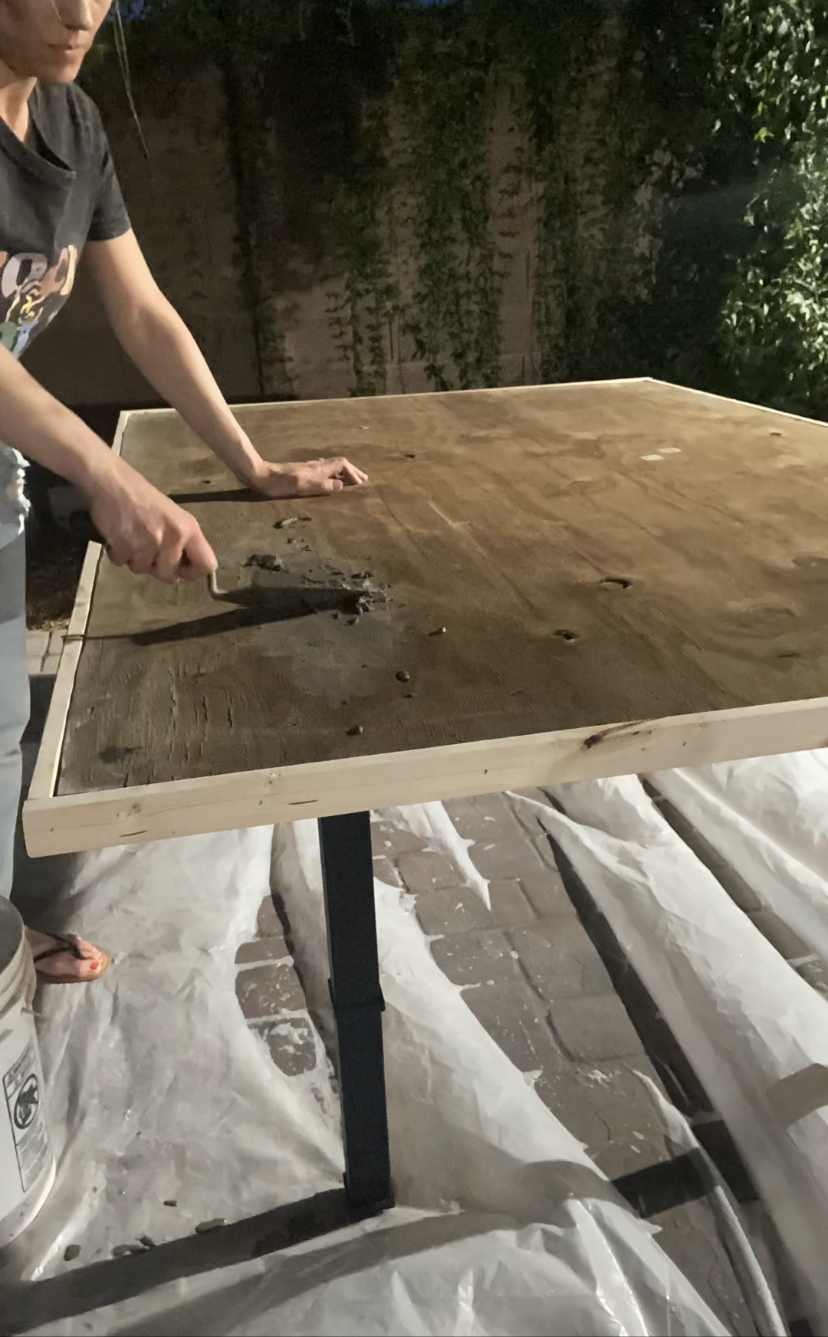
I would suggest the consistency of thin pancake batter! This way, you can pour the concrete and let it run over the edges of the plywood tabletop. I found that it looked more natural doing it this way rather than applying concrete to the edges with a trowel. I applied two coats of concrete, letting it dry in between which meant mixing a new batch of concrete for the second application. I did have to go back and touch-up a few areas where the concrete looked thin and I could see the plywood peeking through.
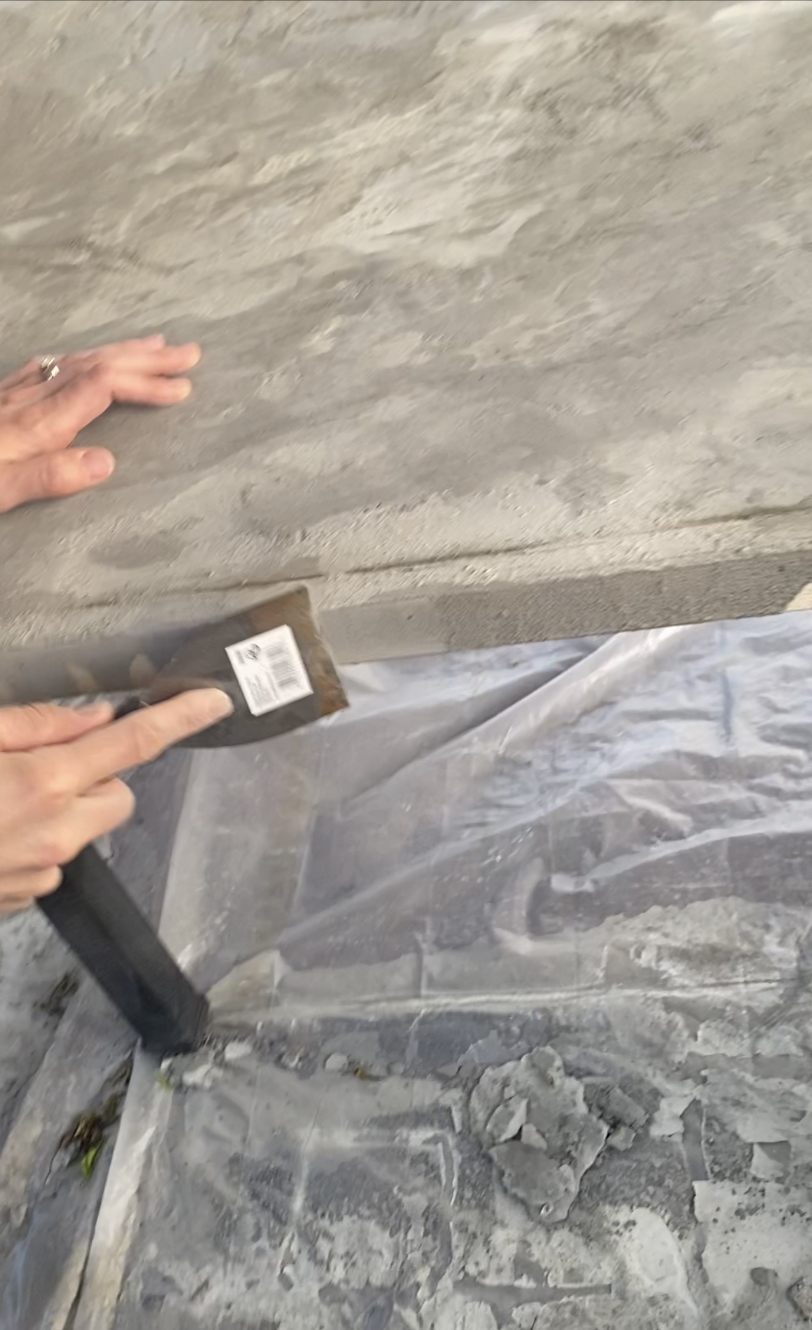
I applied two coats of concrete, letting it dry in between which meant mixing a new batch of concrete for the second application. I did have to go back and touch-up a few areas where the concrete looked thin and I could see the plywood peeking through.
- Want more upcycling ideas? Here's how to paint furniture.
Step 3: Sand and seal the tabletop
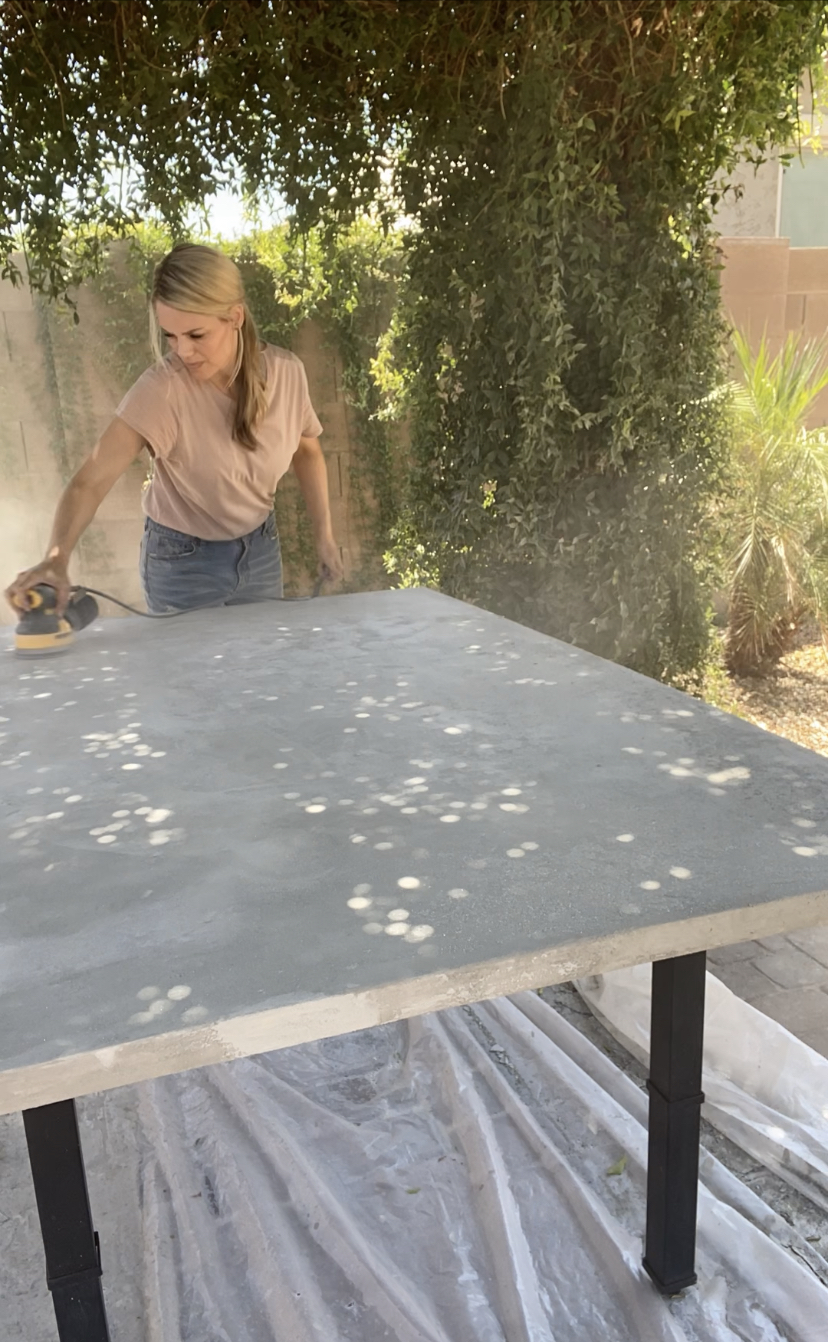
Once I was happy with how the concrete tabletop looked I used my orbital sander and a 60 grit sandpaper to smooth out the rough areas and give it a more even appearance.
I wiped the concrete down really well with a cloth and applied sealer meant for concrete to the tabletop. I used a matte finish sealer so it didn’t have much shine but enough of a low sheen to bring out the natural beauty of the concrete.
Step 4: Secure the tabletop to the base
Lastly, I used pipe clamps to secure the tabletop to the legs so this concrete tabletop wasn’t going anywhere! The method of securing the top to the legs will differ based on what your base looks like.
The great thing about only applying a thin layer of concrete to the plywood top is that you have the look of concrete without the weight of a full concrete piece. This will make the table much easier to move in the case that we need to do so in the future.
The end result
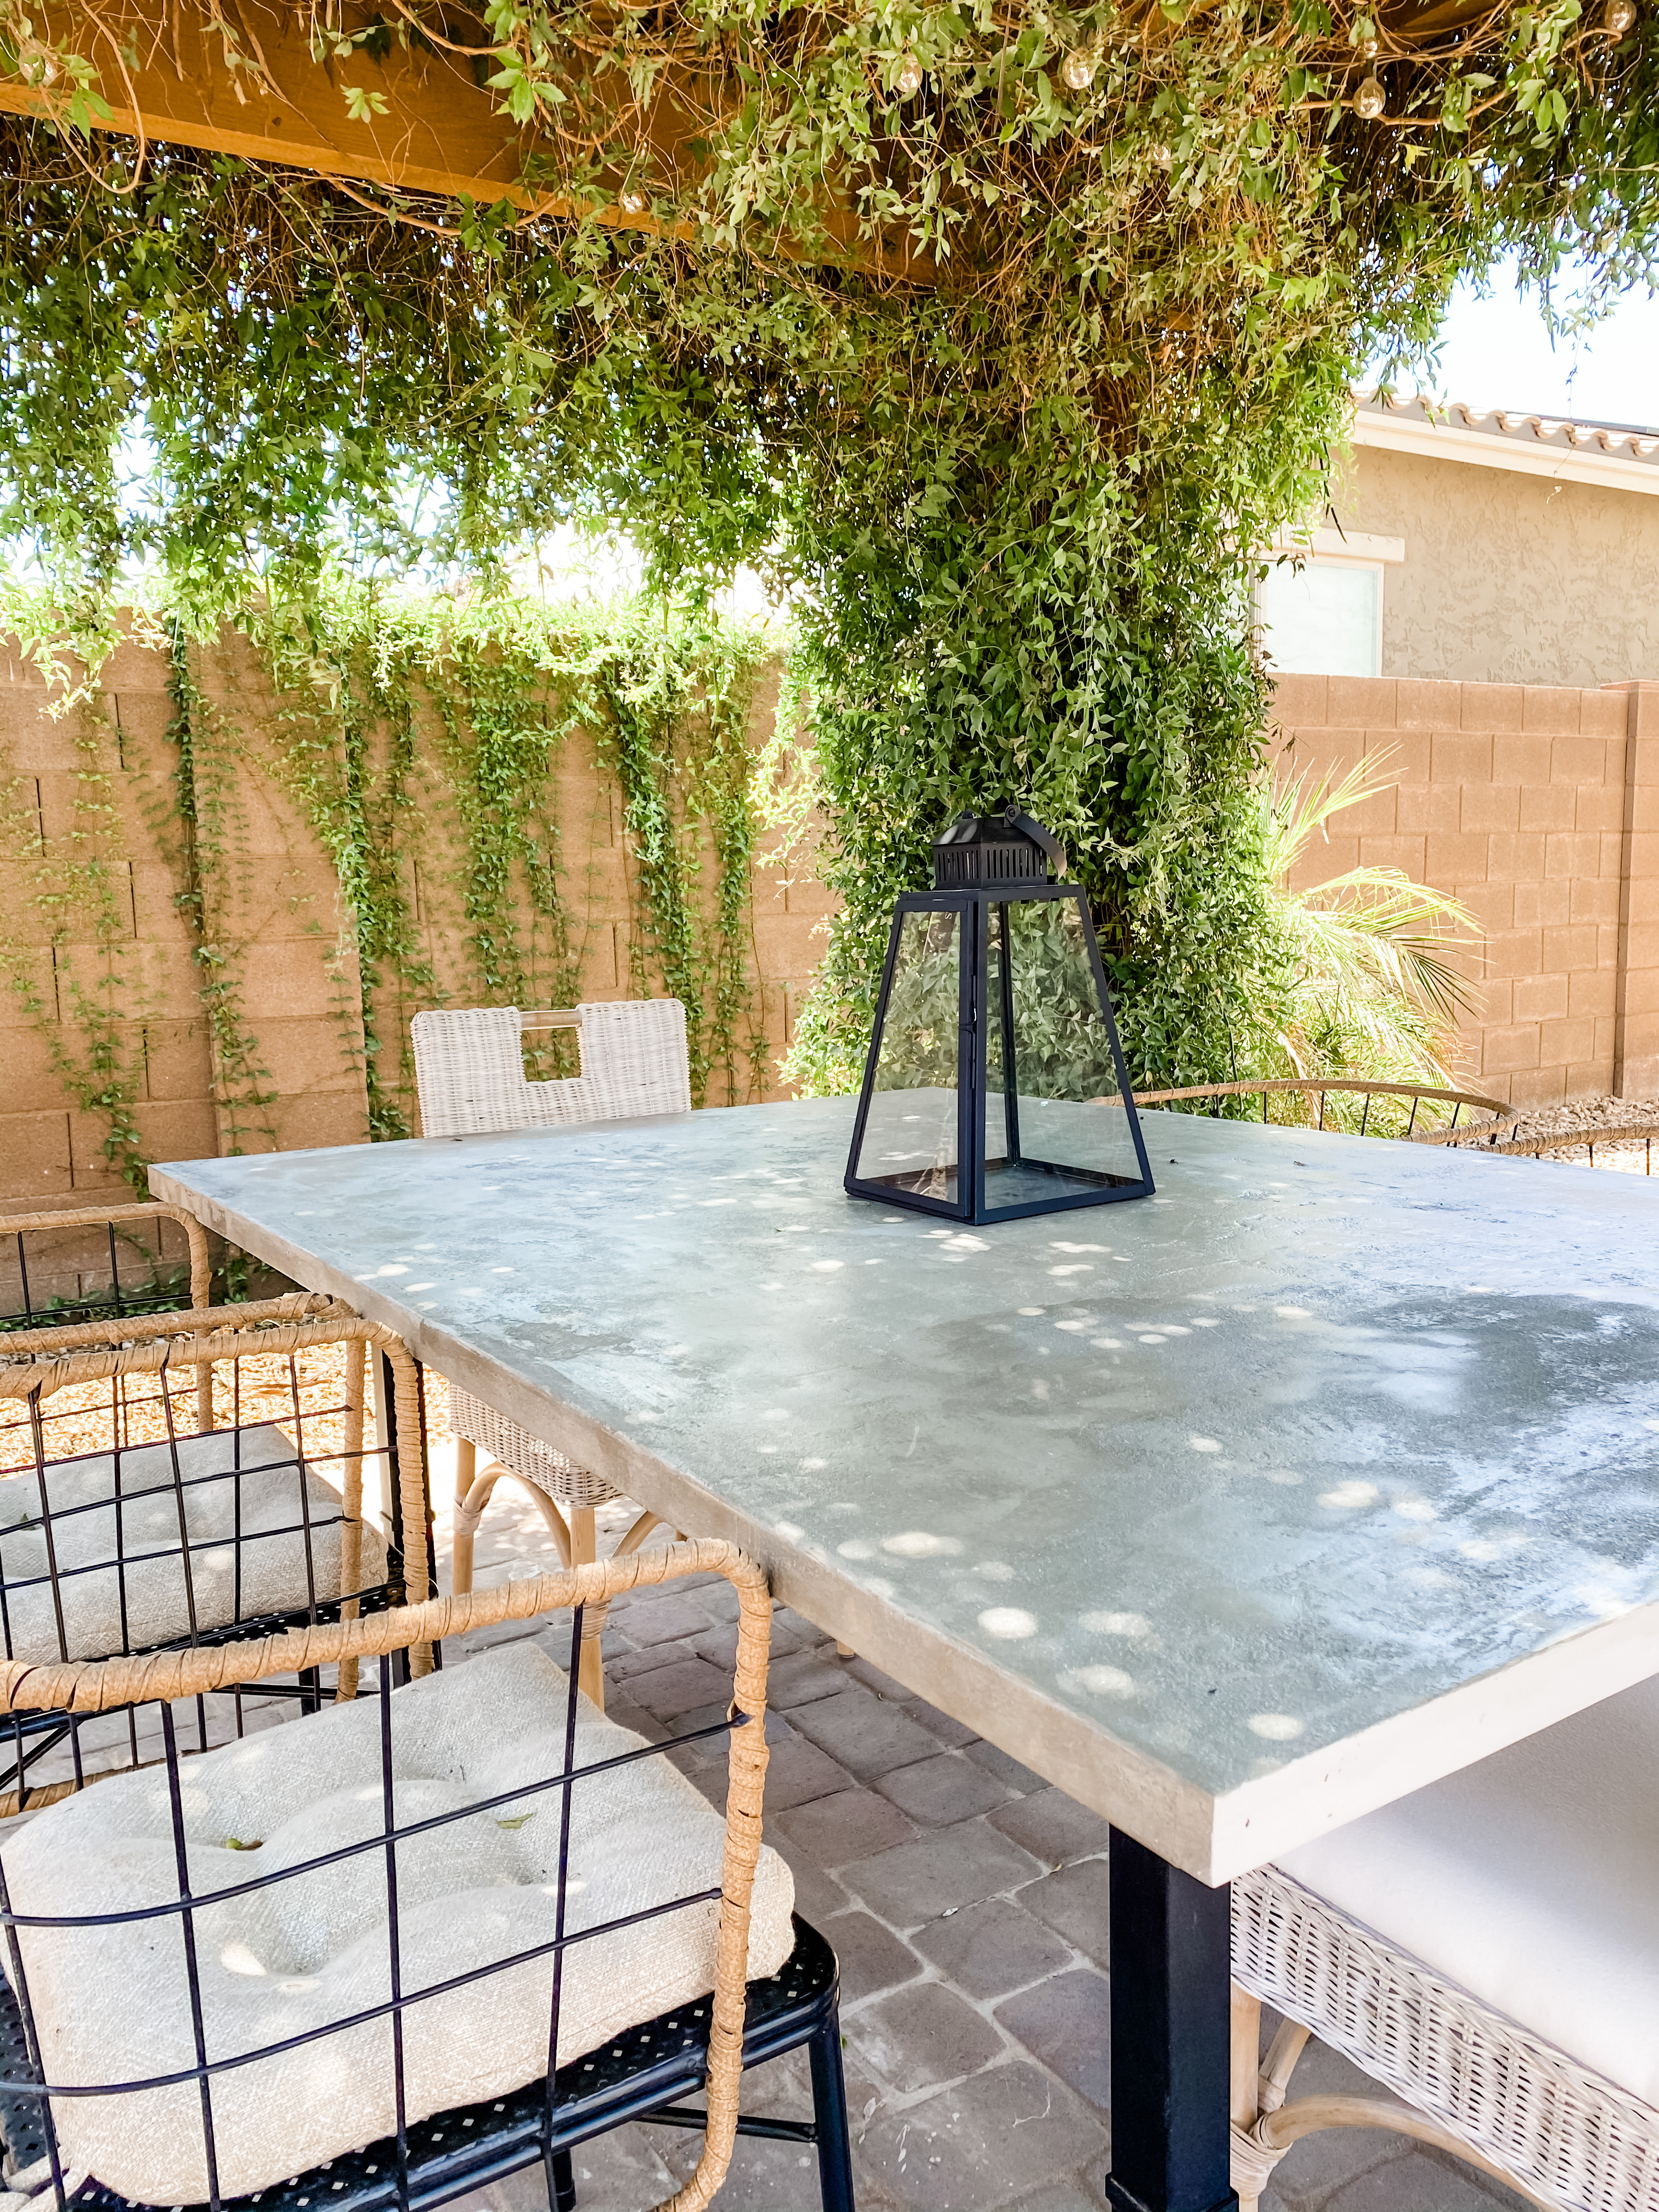
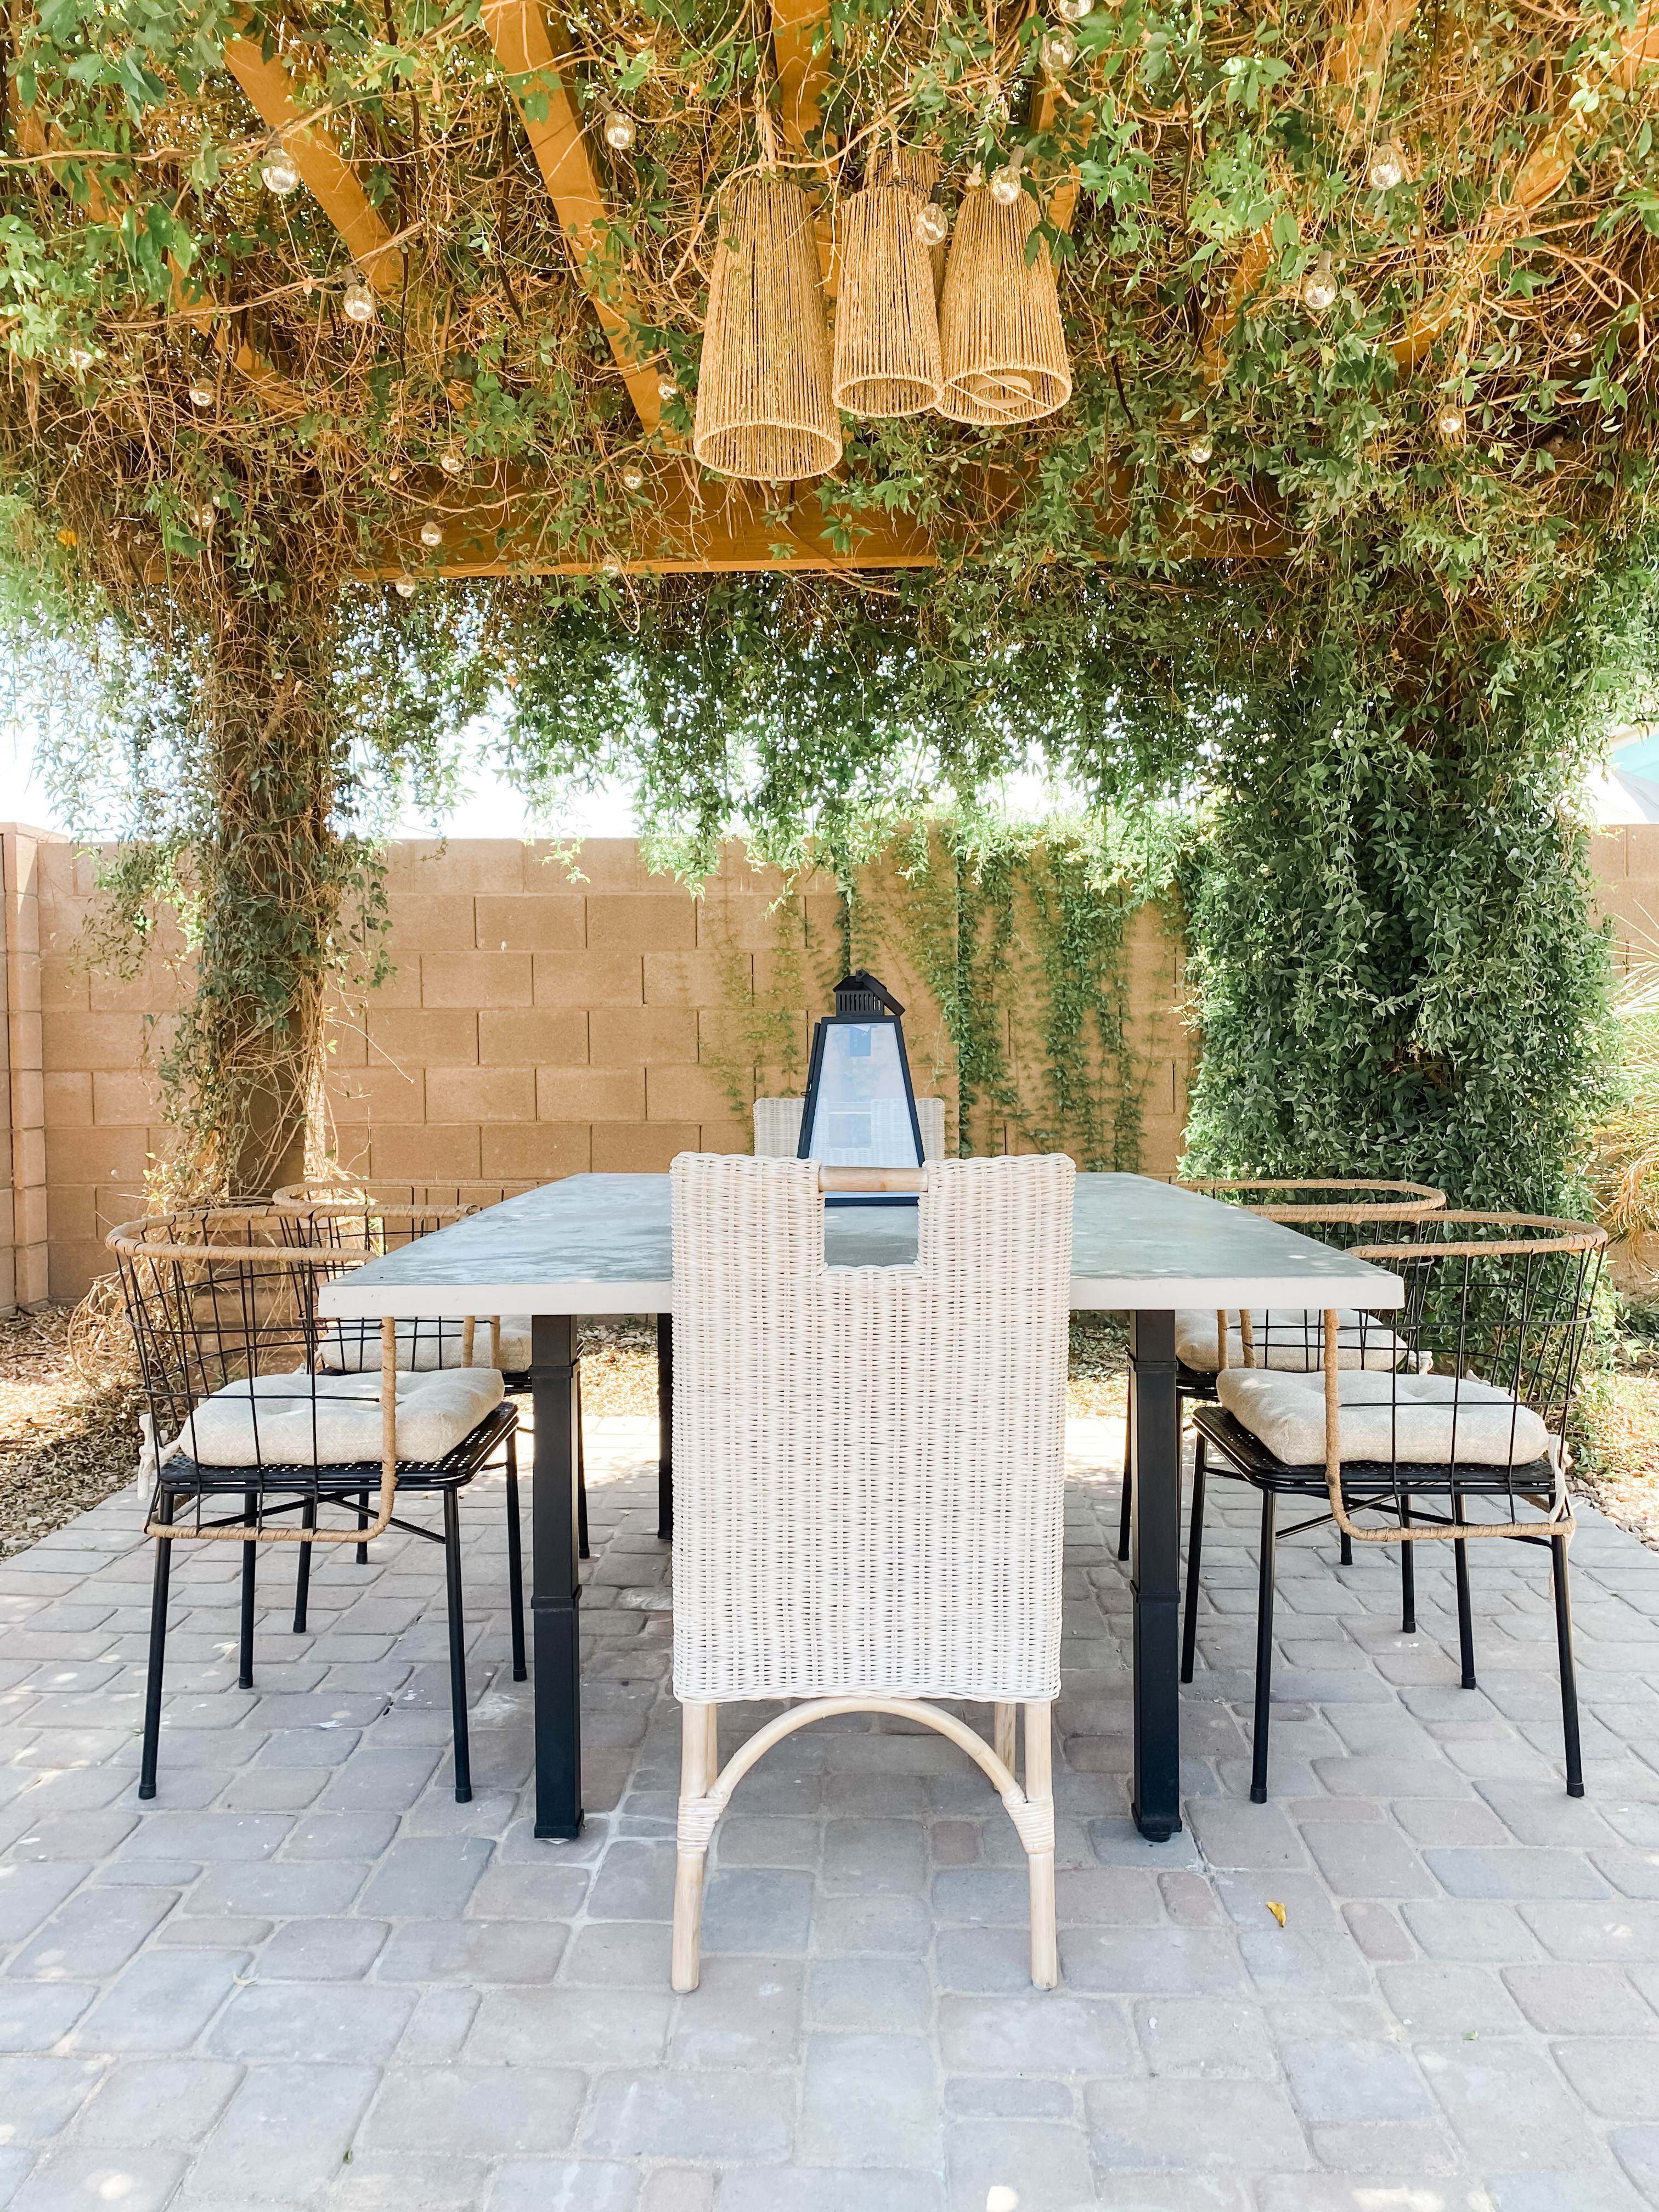
Again, DIY was the way to go! I saved hundreds of dollars by upcycling a piece I found second hand and in the end only spent about $186.00, including the cost of the table.
For more projects like this one be sure to follow my on Instagram @brookewaitehome.
I'm a mom of three with a passion for interior design and DIY! I am currently renovating a farmhouse along with my husband and running an Airbnb in our hometown. I would define my style as loving clean lines with a good mixture of old and new. I love a modern cottage look and have been very interested in vintage pieces as of late. When I’m not spending time with my family or dreaming up another home project, I love to read, eat good food, and binge-watch crime shows on Netflix!
