How to DIY a wood accent wall in a weekend
This DIY wood accent wall, painted in Behr's Equestrian Green, will add instant design interest to a space and can be easily completed over a weekend – for less than $200.


Looking to add character to your living room or bedroom? Adding a DIY wood accent wall will give your room more depth and design interest. Whether it’s painting the wall a different color, installing a feature like shiplap, or spicing it up with some decor, adding an accent wall will make the room pop.
When my daughter was ready to transition from a little girl's room to a more mature space the first thing we discussed was paint. She wanted more color for sure but we thought we'd go all out and decided to make the green wall even more of a feature by adding a wood grid pattern, similar to Shaker-style paneling. It was an inexpensive way to give that “wow” factor to her room and it only took a few materials to do it!
Project breakdown
For the job, we landed on a neutral cream almost blush color called Marshmallow by Behr for three of the walls. We went with a deep green called Equestrian Green by Behr available from Home Depot for the accent wall.
- DIY level: Novice
- Budget: About $200 (depending on existing materials available)
- Time: A couple of days (depending on paint drying times)
Here’s the breakdown of total supplies and costs:
- 10 unfinished pine 1x4 boards: $100
- Liquid Nails from Amazon: $3
- Finishing nails: $8
- Caulk: $3
- Paint: $79.98 (sub for a cheaper version if needed)
Total cost: $190.98
How to DIY a wood accent wall step-by-step
We could have actually made this DIY project even cheaper had we used MDF board instead, so that’s an option to look into if you’re wanting to do this project for even less!

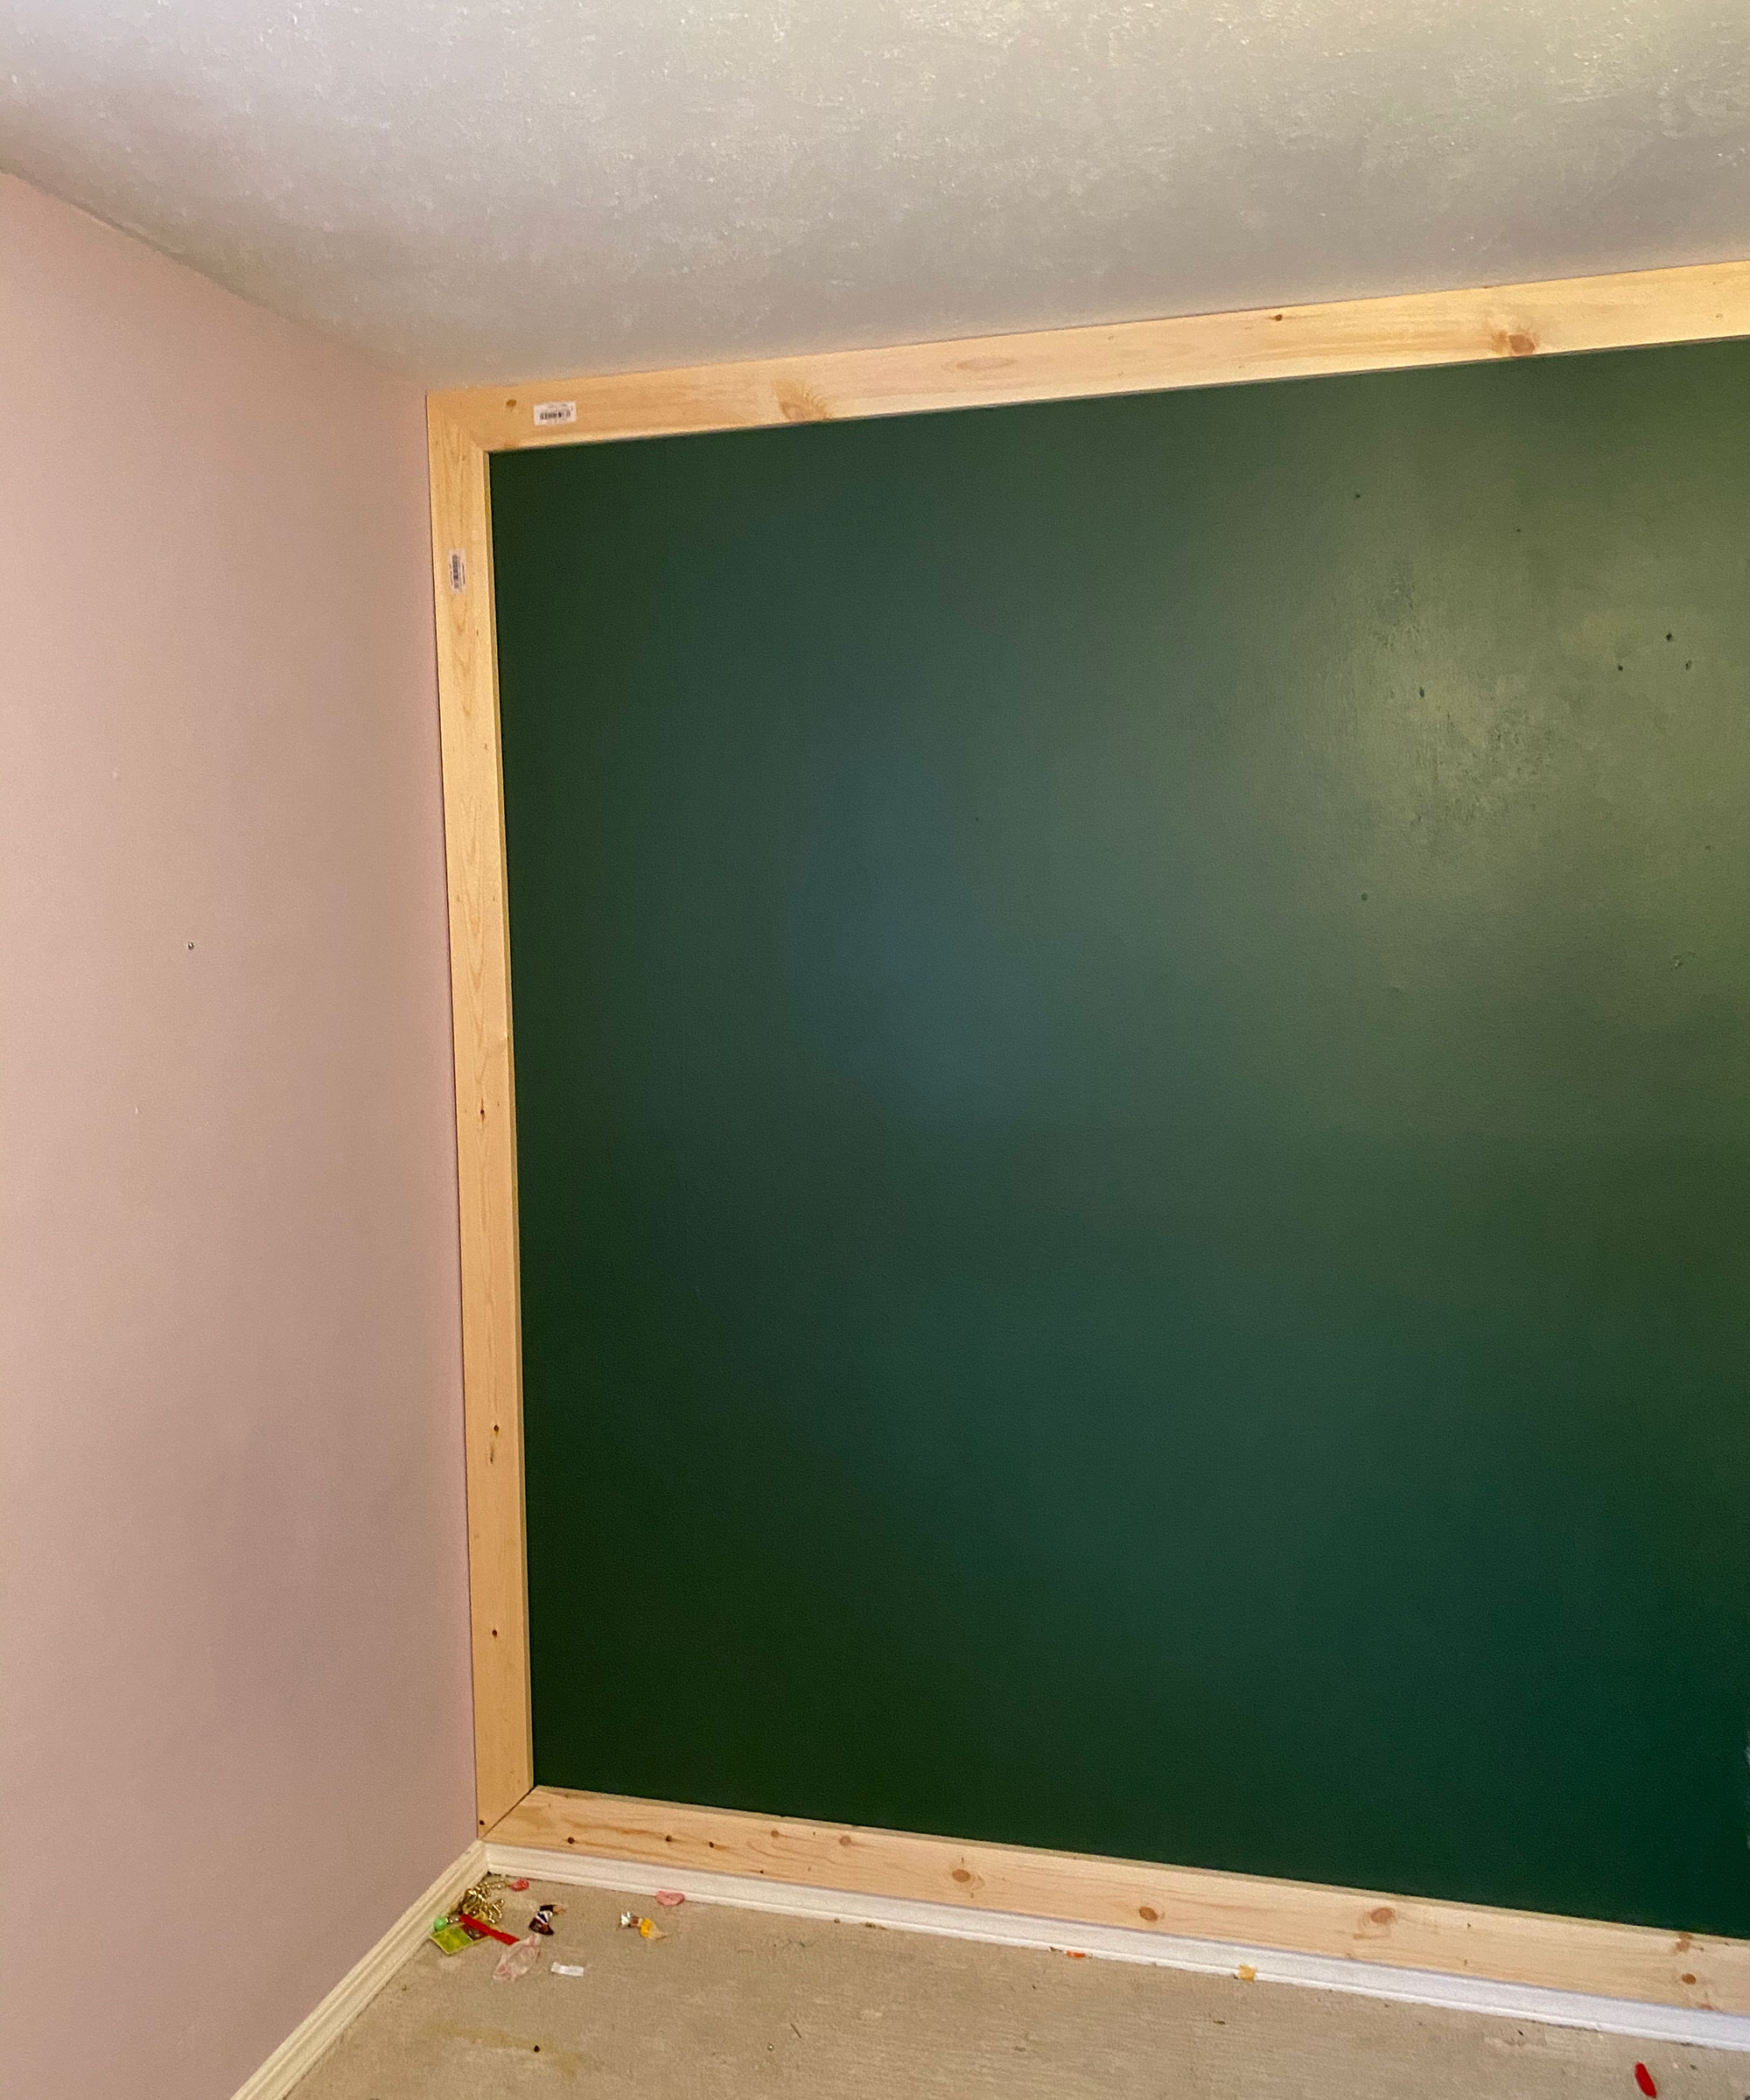
Top tip: As you can see, we actually painted the base of the wall before adding the wood trim pieces so we wouldn’t have to paint around them! Make sure you are clued up on how to paint a wall properly for pristine results.
Get small space home decor ideas, celeb inspiration, DIY tips and more, straight to your inbox!
1. Measure up for supplies
Start by measuring your wall so you know how much wood to purchase. It’s also helpful to sketch the pattern out on a piece of paper so you know exactly how you want it to look.
2. Cut your panel boards
Once you’ve measured the wall and you have the pattern set you’re ready to start cutting.
I recommend starting with the four boards that will frame out the wall. We used a miter saw to make 45 degree angle cuts on either end of each piece starting with the vertical piece on the left side of the wall. We applied v to the back of the board and placed it on the wall and then secured it with a finishing nail on each end. From there you can do the same with the top, bottom and right piece to complete the square.

3. Install the inside pieces
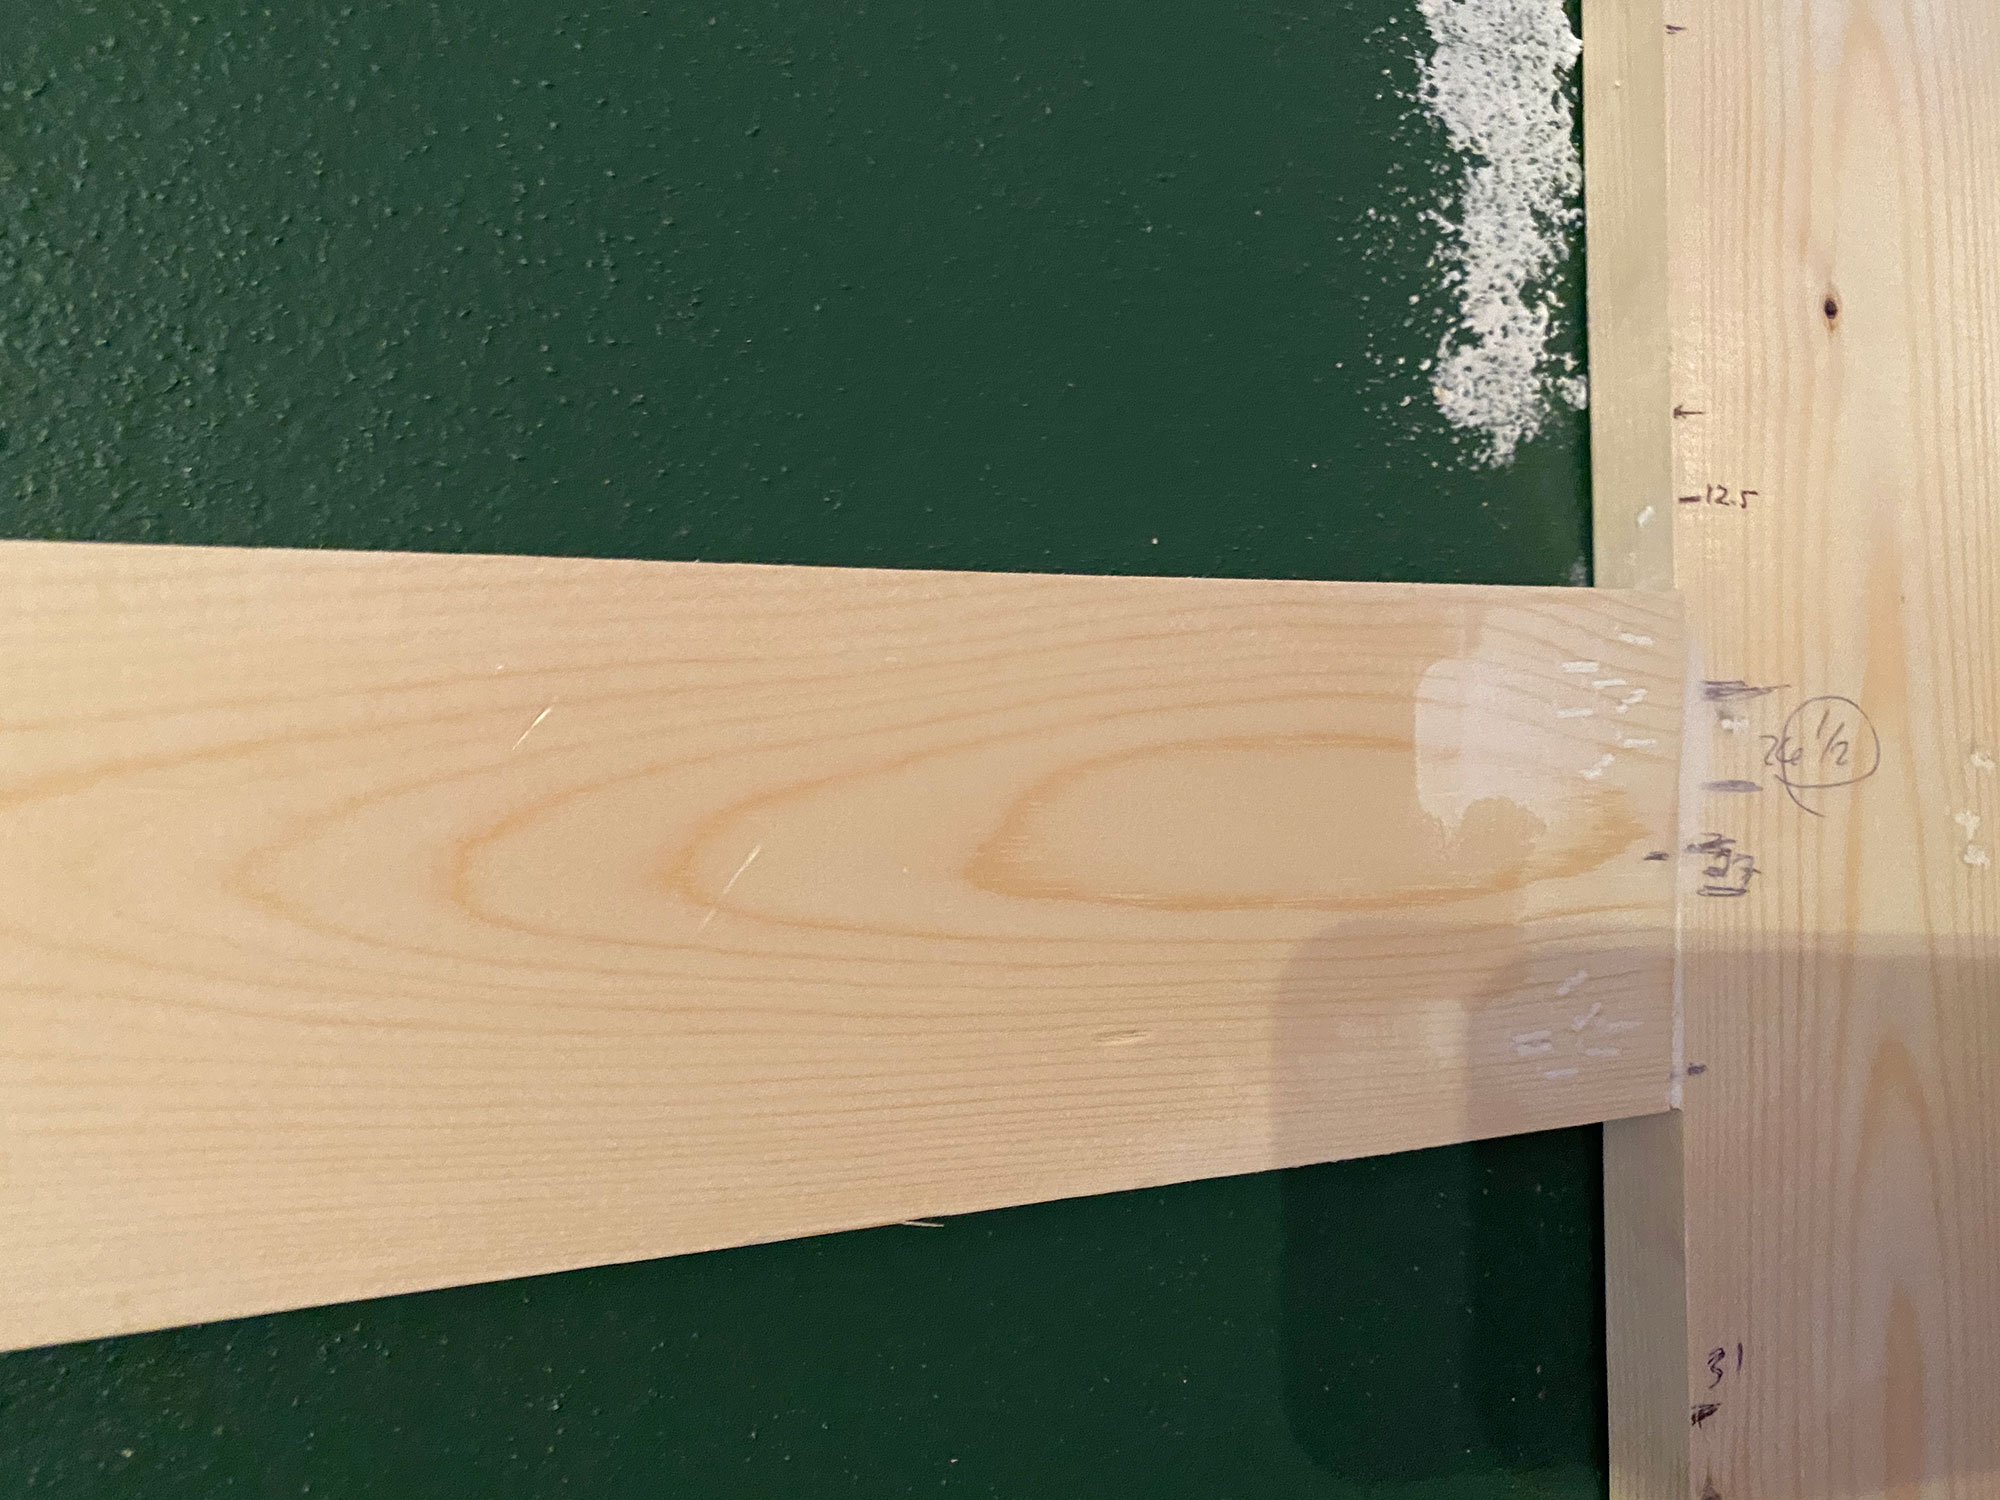
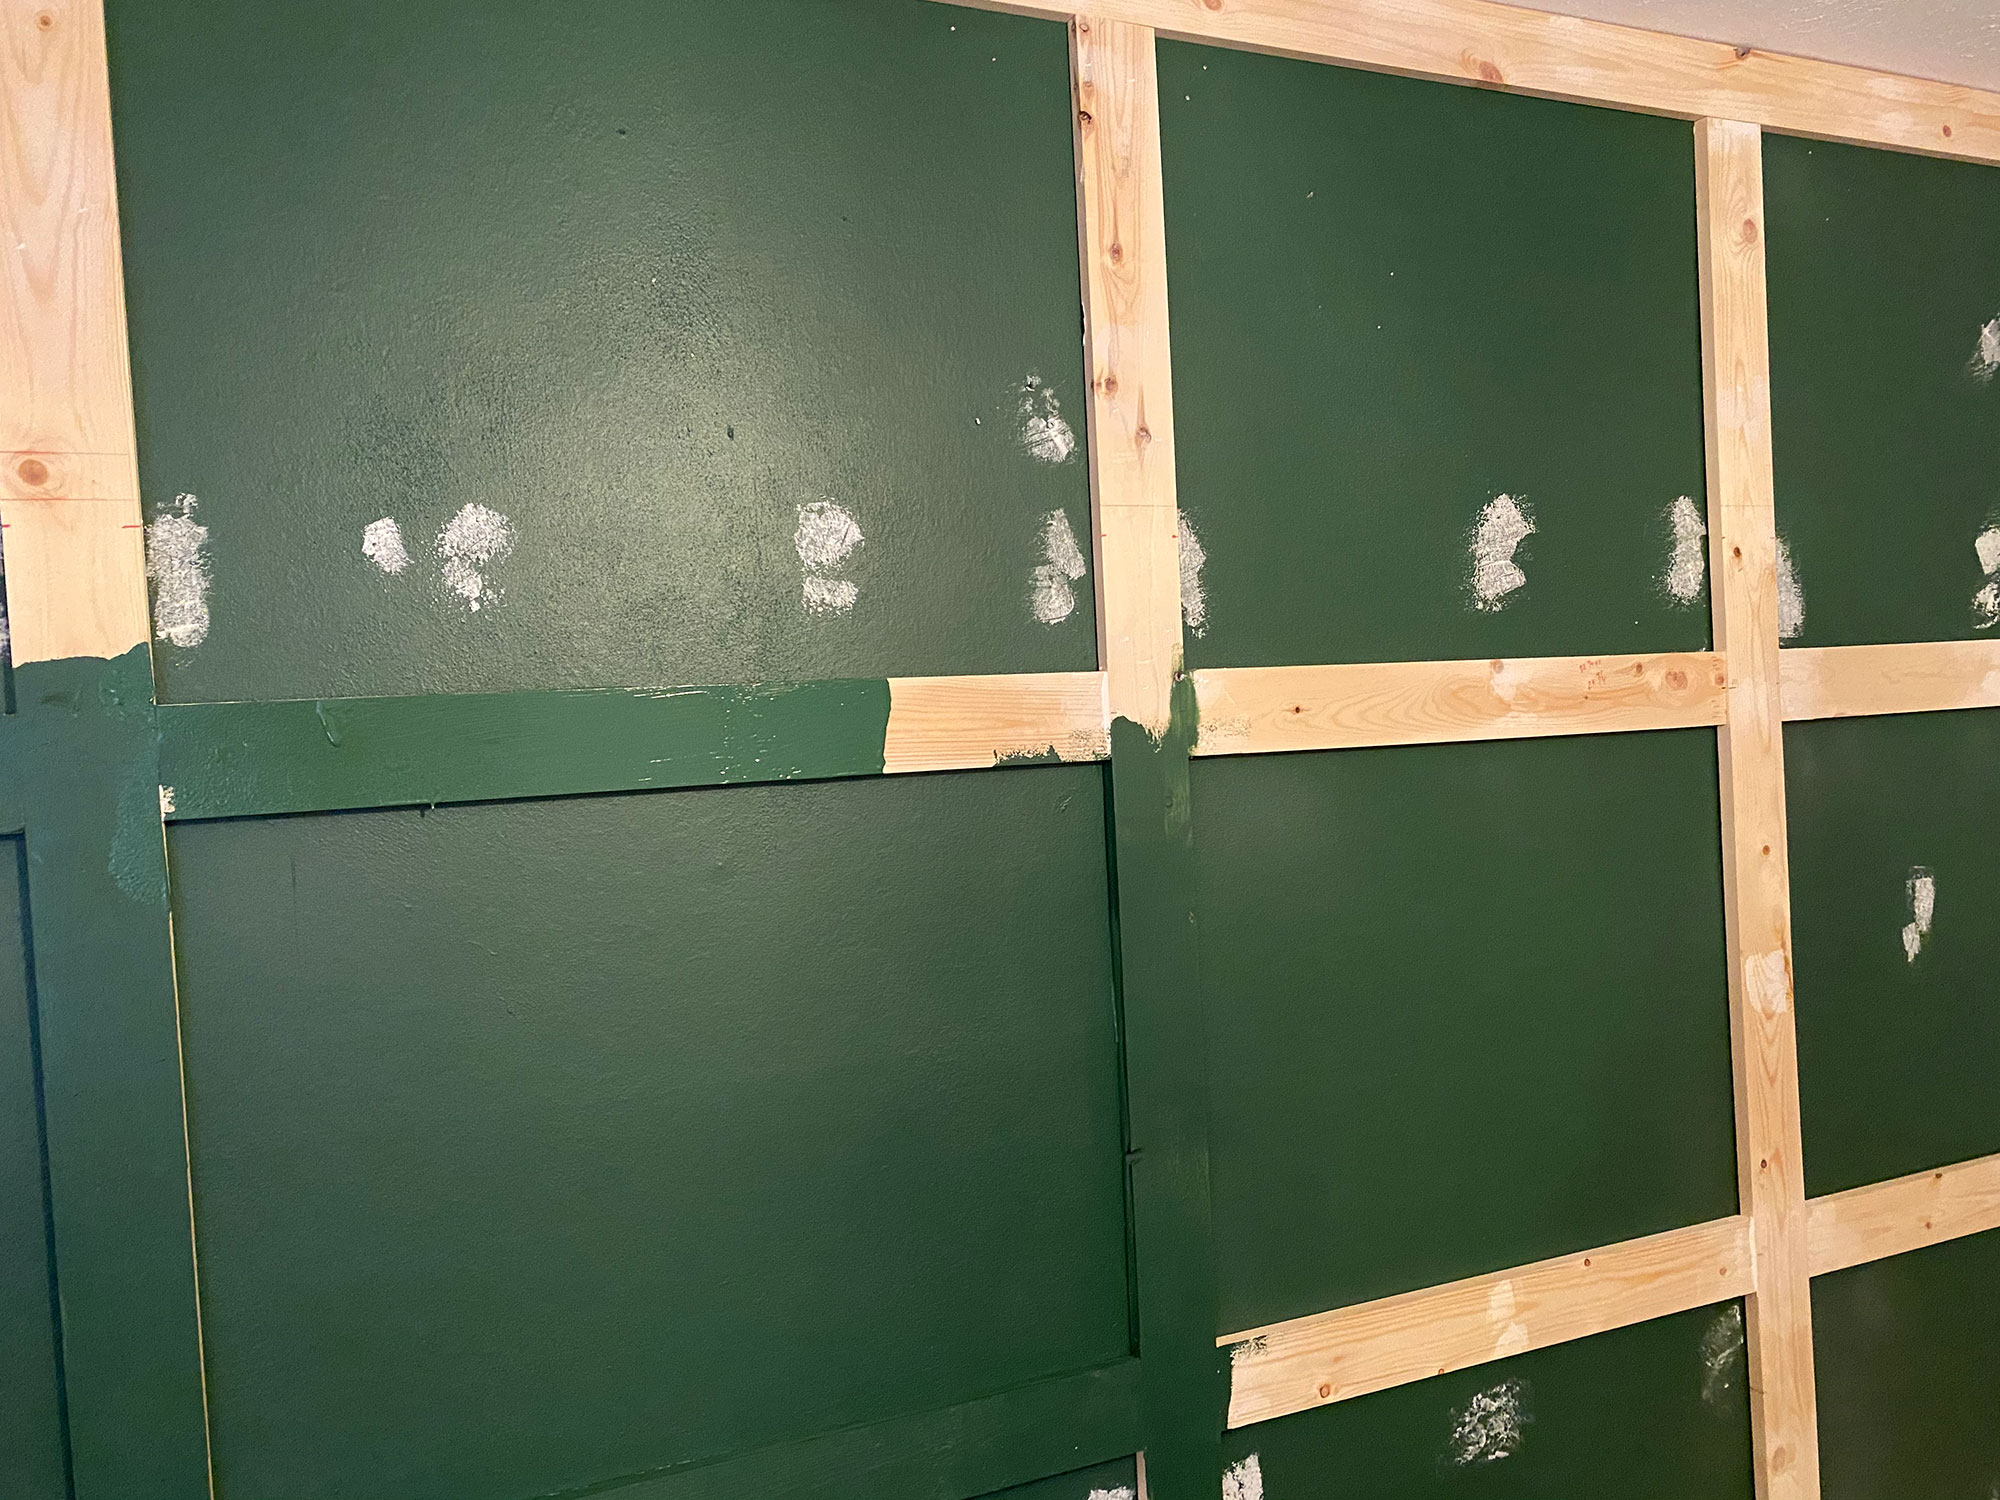
Now you’re ready for the inside pieces. We installed a piece vertically down the center of the wall and then installed another board on either side of the center board evenly split between the middle and end boards. This created four equal sections. From there we cut horizontal pieces to fit in between the vertical boards to create a grid.

4. Define the design
Once the grid pattern is complete, you’re ready to add the finishing touches. We filled the nail holes with spackle and allowed it to dry before sanding it down smooth with the wood. We filled the gaps between the wood pieces and the wall with caulk and smoothed it out for a finished look.
5. Add the final coat of paint
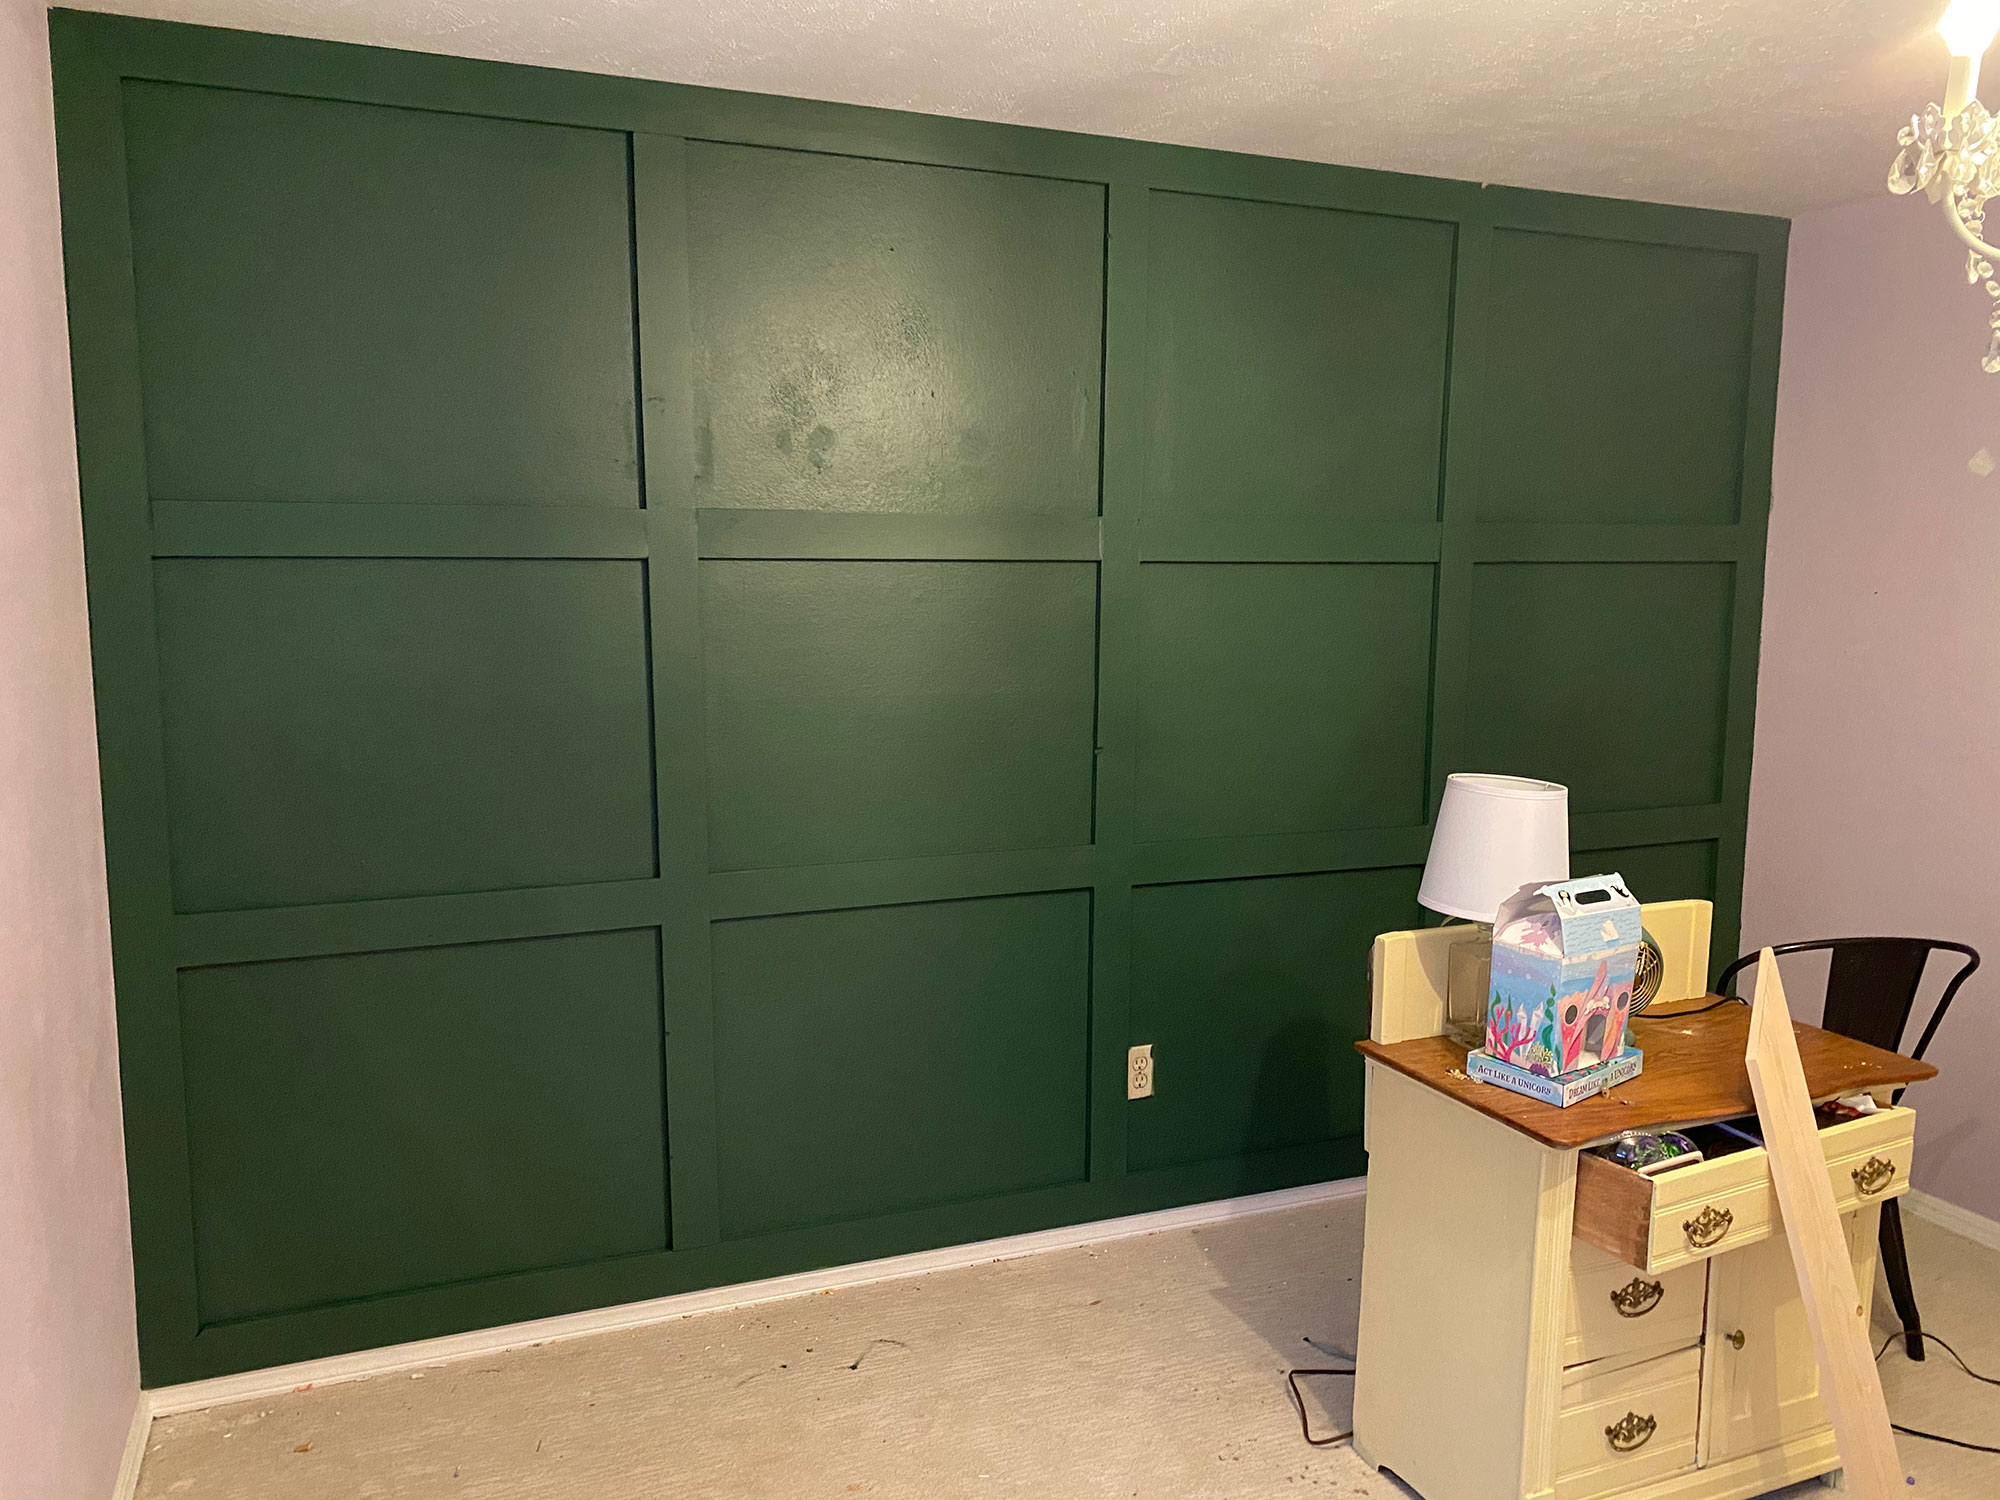
Once everything was dry it was time for paint. We gave it two coats of the same green paint we used for the base of the wall.

The DIY wood accent wall turned out better than I imagined! It added depth and interest to the room and the deep green gave it a little drama. It was a simple and affordable project that added so much to our daughter’s space and she loved how it turned out.

It would also look beautiful in a dining room or living room space! We’ve received so many compliments on this project and the best part is with the right tools and just a few materials, you can do it in a weekend.

Dori Turner writes blog posts and feature articles on affordable design and DIY from her home in the heart of Oklahoma. She has a passion for teaching others how they can transform their home on a budget.