This mini pantry addition to a dining room is a total game changer
Ideal if you can't fit the real deal into your home.
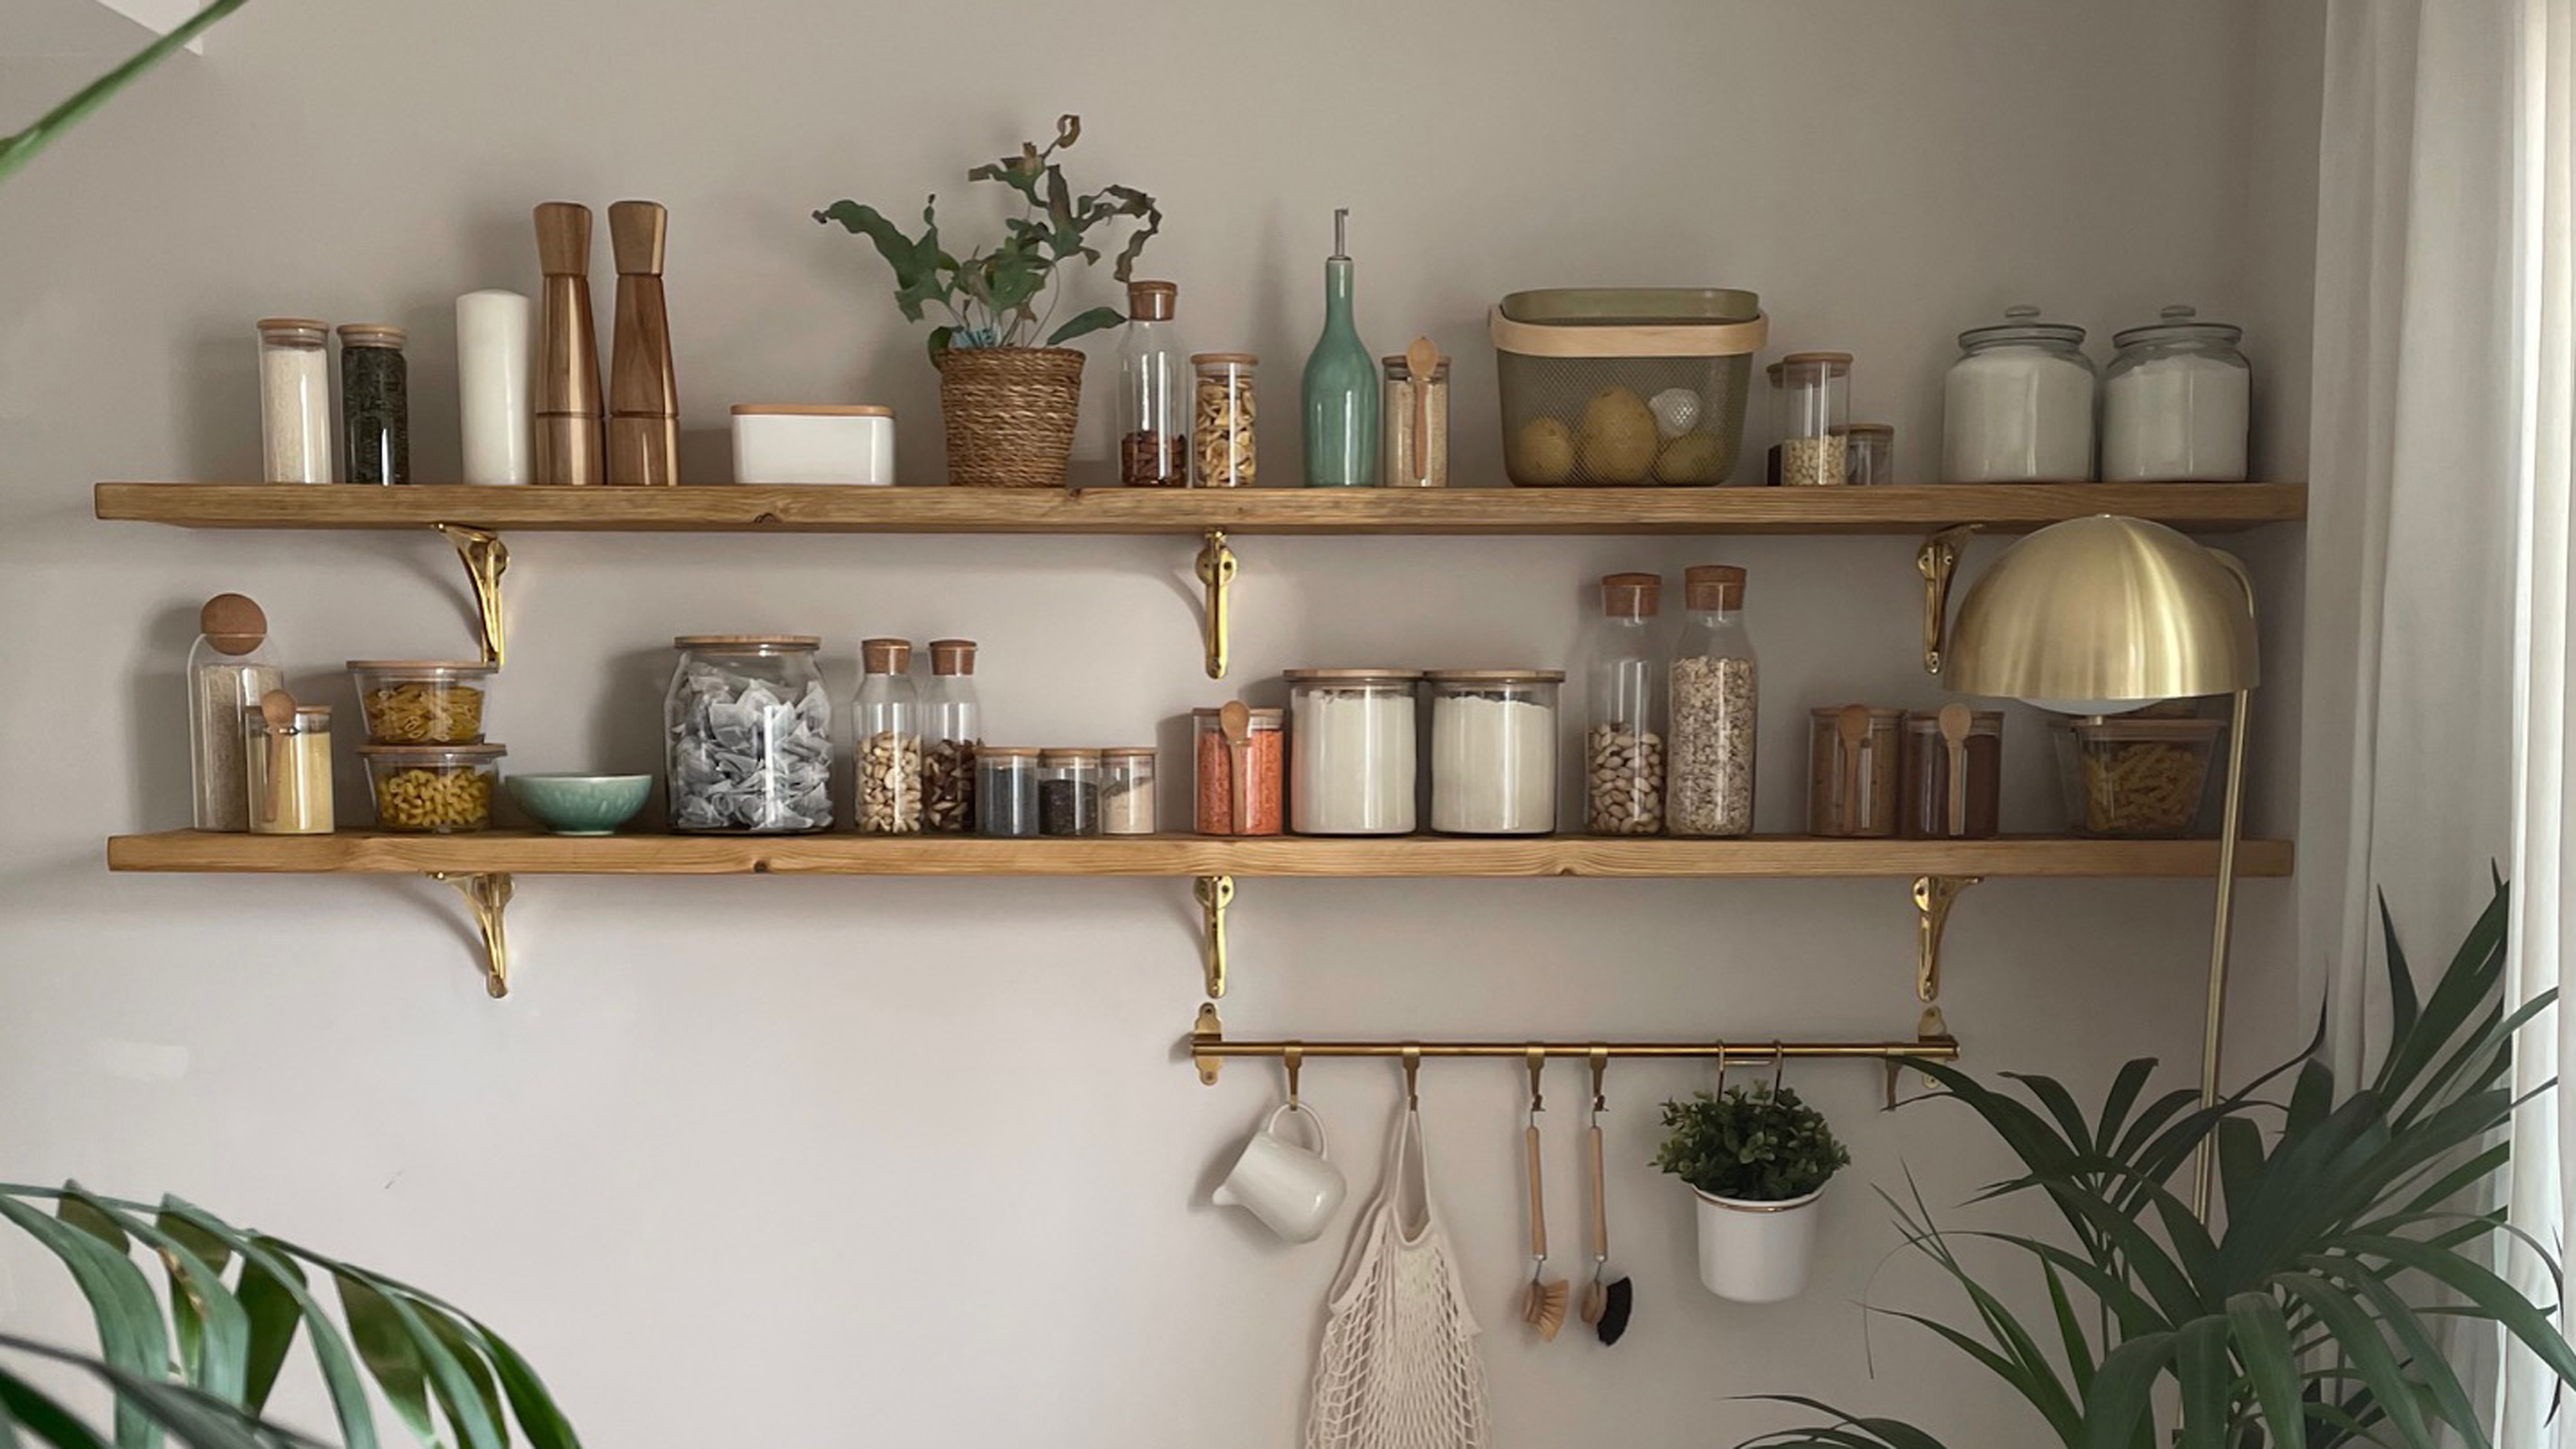
If you're short on storage, and can't quite squeeze a pantry into your home, then adding a mini pantry to your dining room is one DIY you should definitely consider.
We’ve all seen photos and the occasional video of super organised pantries. The ones with perfectly spaced shelving and storage solutions that make everything that much easier to find. I can imagine that a lot of them just started out as empty spaces needing a purpose, before being arranged and filled up.
Pantries are a great way of freeing up space in your kitchen and other areas of your home. They allow you to stock up on items like food, drinks, and even cleaning supplies. Even if yours isn’t completely organised, it’s a way to hide things away from prying eyes.
Well, what do you do if you don’t have a pantry, or the space to create one? This is the issue we currently have in our home. We have a modest sized semi-detached house, which doesn’t yet have the extension we planned to have.
When we moved in, we had a separate dining room and a small kitchen. We knocked down the wall between the two rooms which resulted in one larger space. Even though we had much more room than when we first moved in, we still didn’t have any room for a pantry.
This is when I had the idea for our dining room shelving. A way to have the feel of a pantry, but on a much smaller scale, and also having everything on display.
How to build a mini pantry
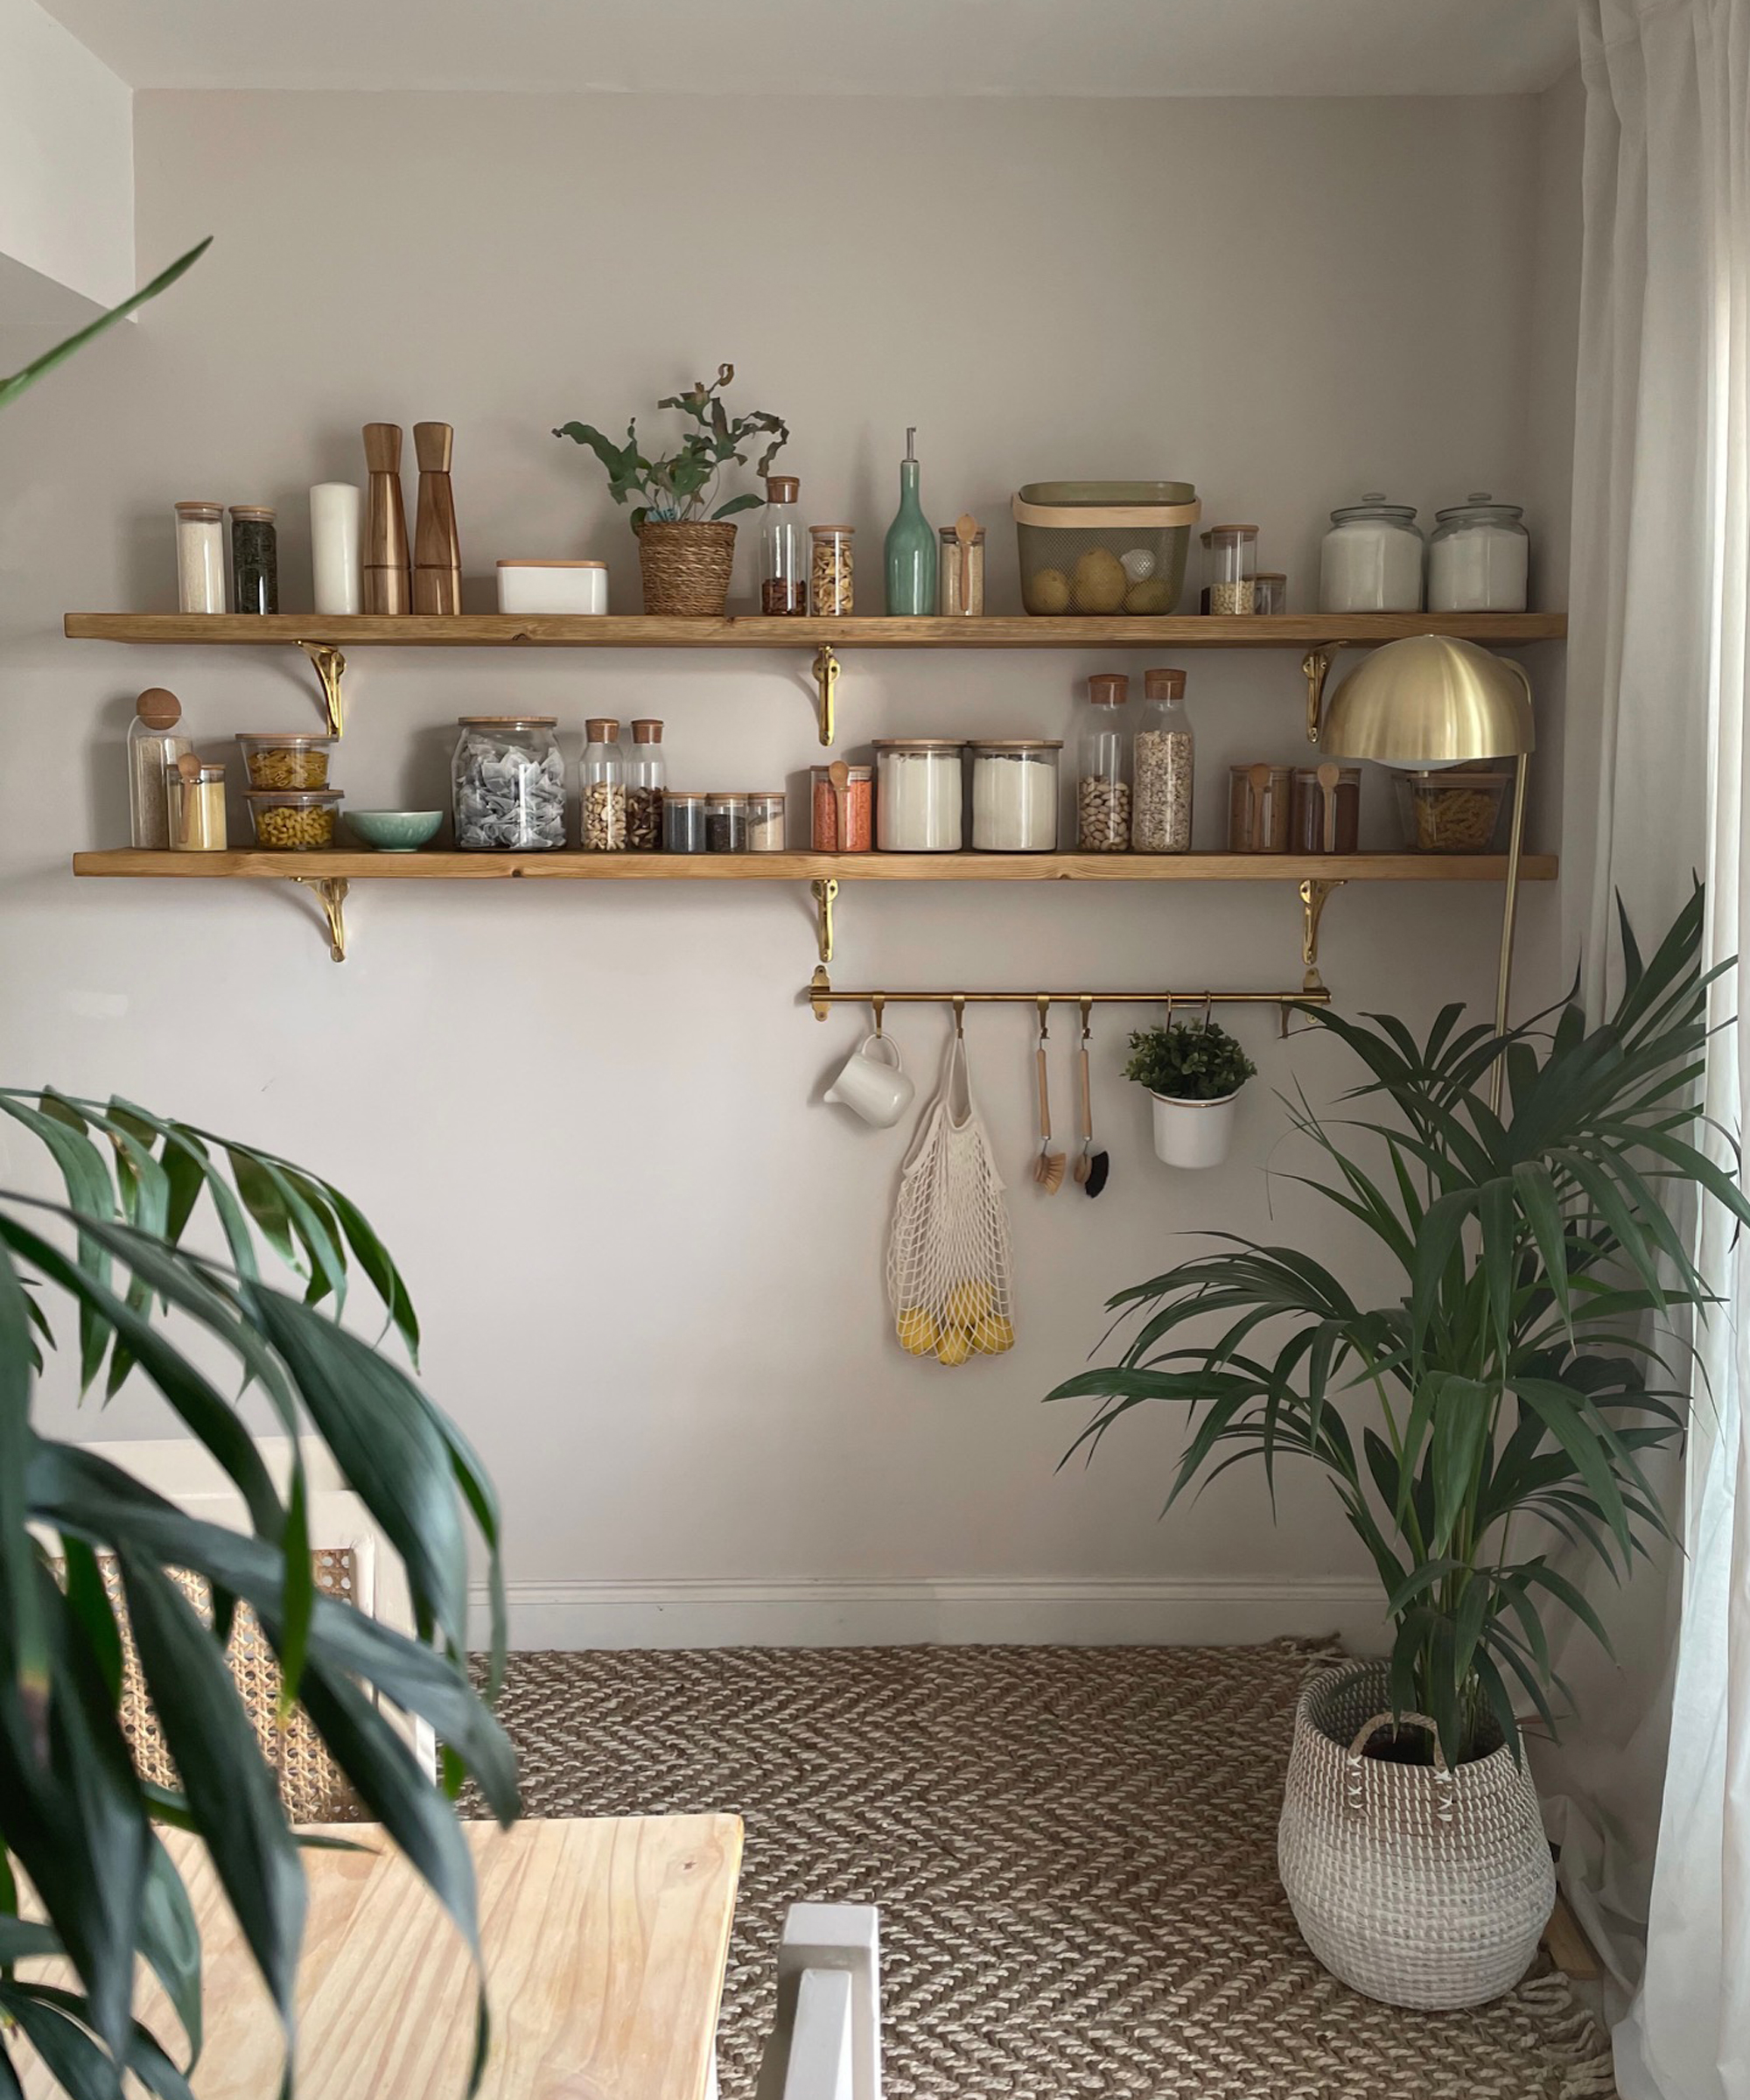
What you'll need
- Reclaimed scaffold boards
- Shelving brackets
- A laser level
- Drill
- 100mm screws
- Brown wall plugs
- Food containers, jars and baskets
1. Choose shelving for your mini pantry
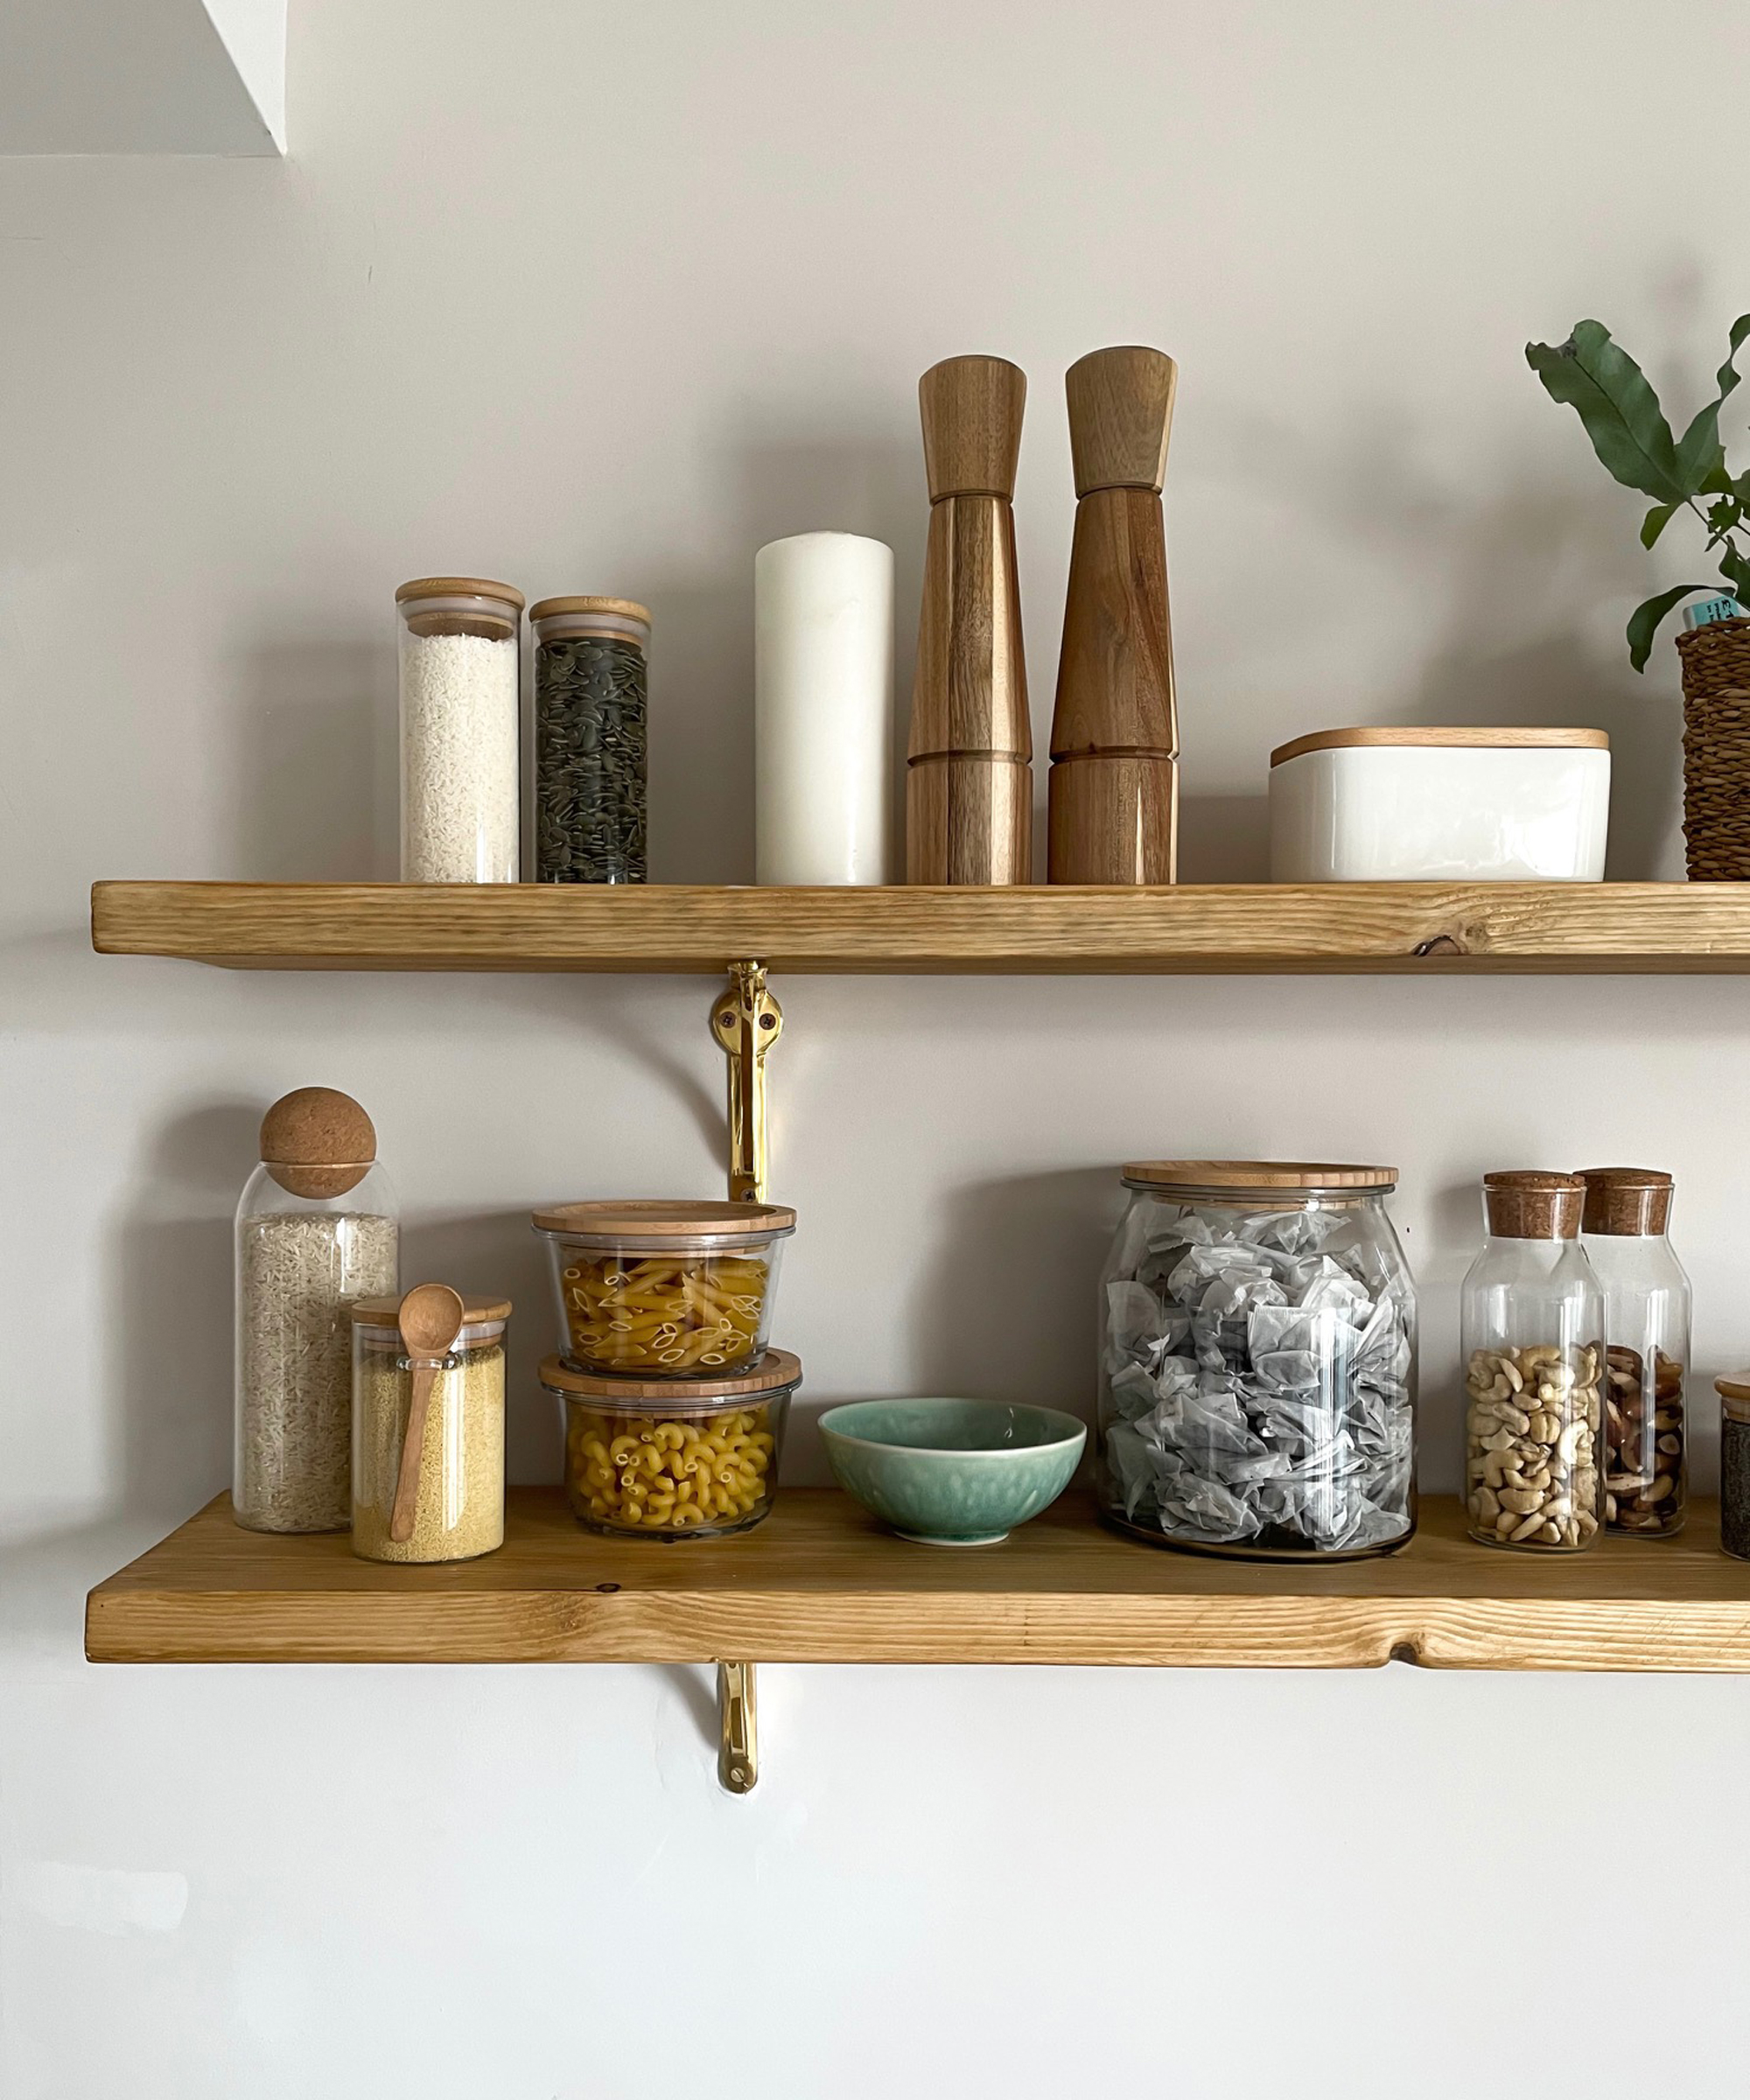
The type of shelving that you choose will depend on the style of your home and decor that you have and love. I was determined to have wooden shelves, but also wanted them to have a rustic look.
Get small space home decor ideas, celeb inspiration, DIY tips and more, straight to your inbox!
In the end we went for scaffold boards, which were restored and finished with an oak varnish. You may want to go for painted wooden shelves, metal shelves or even shelves wrapped in a vinyl to get your desired look.
2. Mark out the wall placement
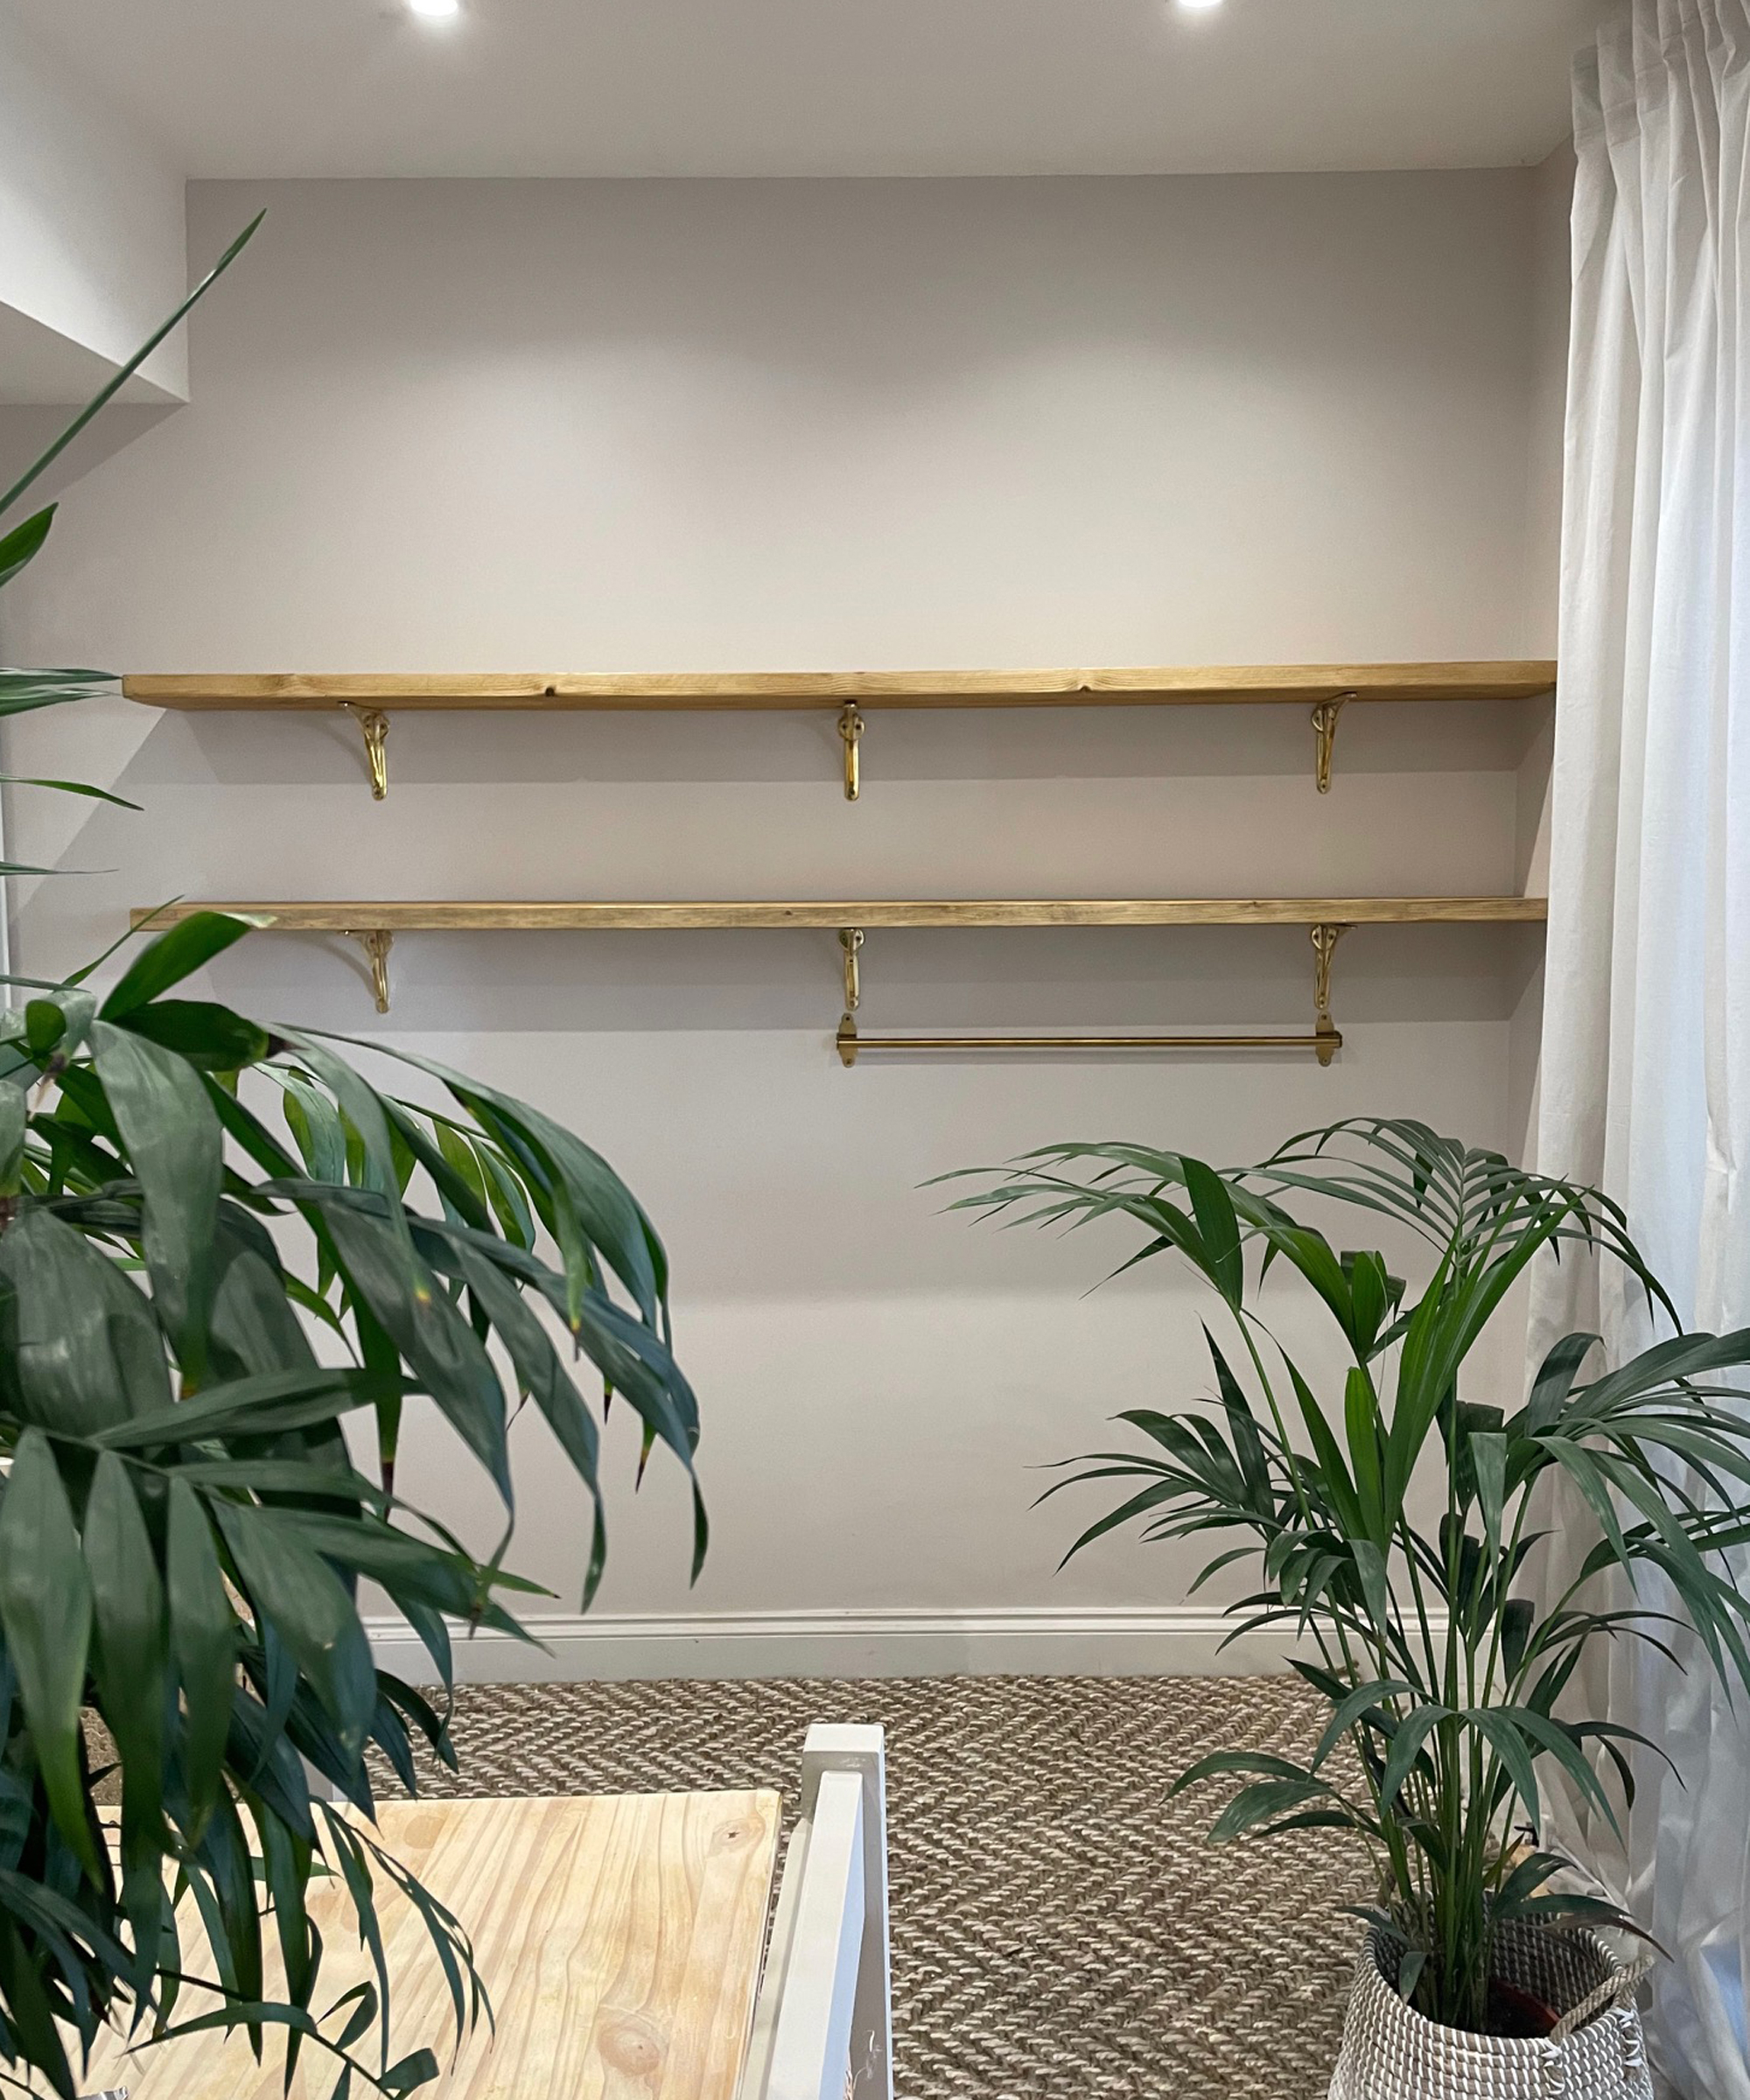
Once you have picked out your shelving and brackets, you'll need to work out where you’ll put up the shelves – ensuring you get the spacing right. We had a little advantage, because we have very strong brick walls in our home which I knew would be able to take the weight of the shelves.
I used a laser level to mark out where I wanted them to be, as I needed to ensure that they were perfectly straight. The thought of jars rolling off the shelf was honestly haunting me! I also acted out taking invisible jars from an invisible shelf, just to make sure I would be able to reach.
Thankfully, the plan for our shelves was for them to be flush against one wall, so I didn’t have to worry about making them symmetrical in the middle of a wall. If you need to do this, a laser level with a self-level function will help you out immensely. One other thing to test out is the spacing between each shelf, you want to make sure your jars, containers, or anything you place on the shelves will fit comfortably.
3. Mount the shelves
This part of the DIY project proved a little more complicated than I had originally imagined, as I realised after drilling a hole that we had a dot and dab wall. This is where plasterboard is joined to a solid wall by using random dabs of adhesive (or timber battens). This causes a small gap between the plasterboard and the solid wall.
This meant that the screws that came with the brackets wouldn’t be suitable, and I had to purchase longer 100mm screws which would bypass the gap and secure into the brick wall behind the plaster.
It is important to work out what kind of walls you have, so that you can get the correct fixings. It is possible to have shelving on plasterboard walls, but you have to make sure you have fixings which are suitable and strong enough to hold everything up securely. I was able to use 100mm screws and brown wall plugs.
4. Fill up your shelves
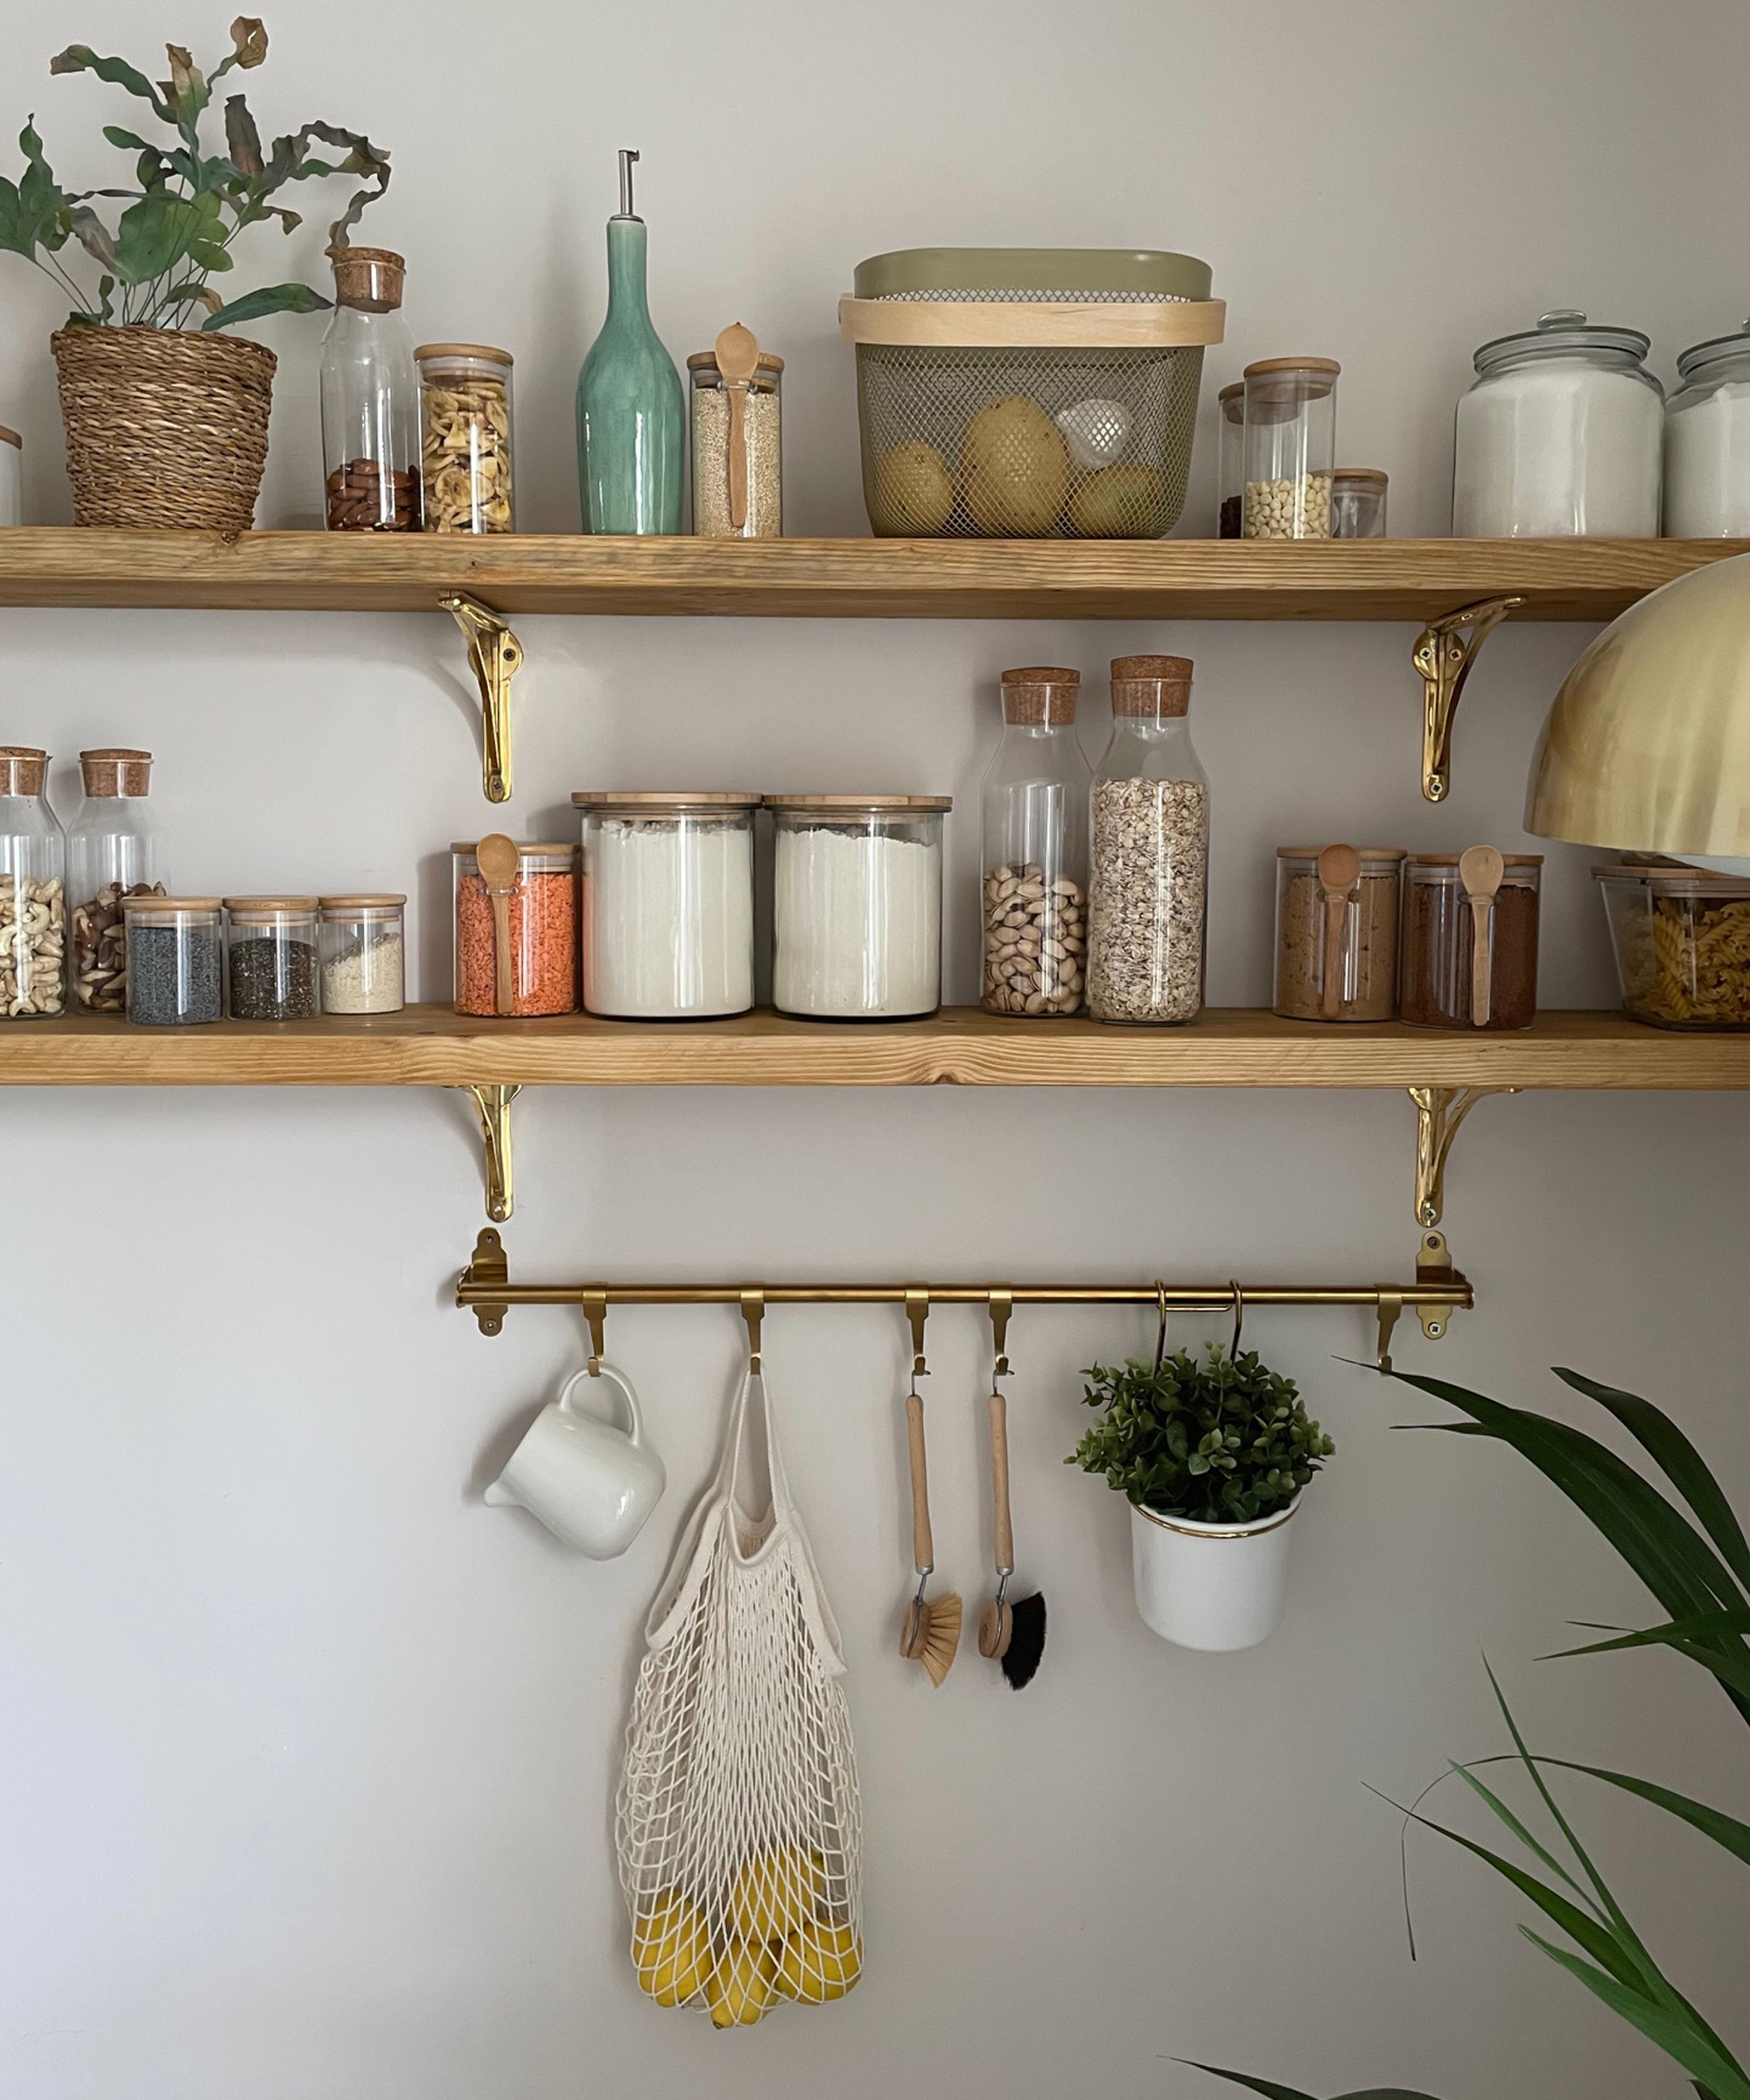
Once your shelves are up and secure, you can get to the fun part. Filling my jars and styling my shelves was honestly so rewarding. You can style your shelves with anything you want, but unlike pantry shelves hidden behind a door, remember everything is on display.
This is where your personal style comes into play. You may prefer a more symmetrical and uniformed row of jars, or you may want to be a little more free with your styling.
5. Style your shelving
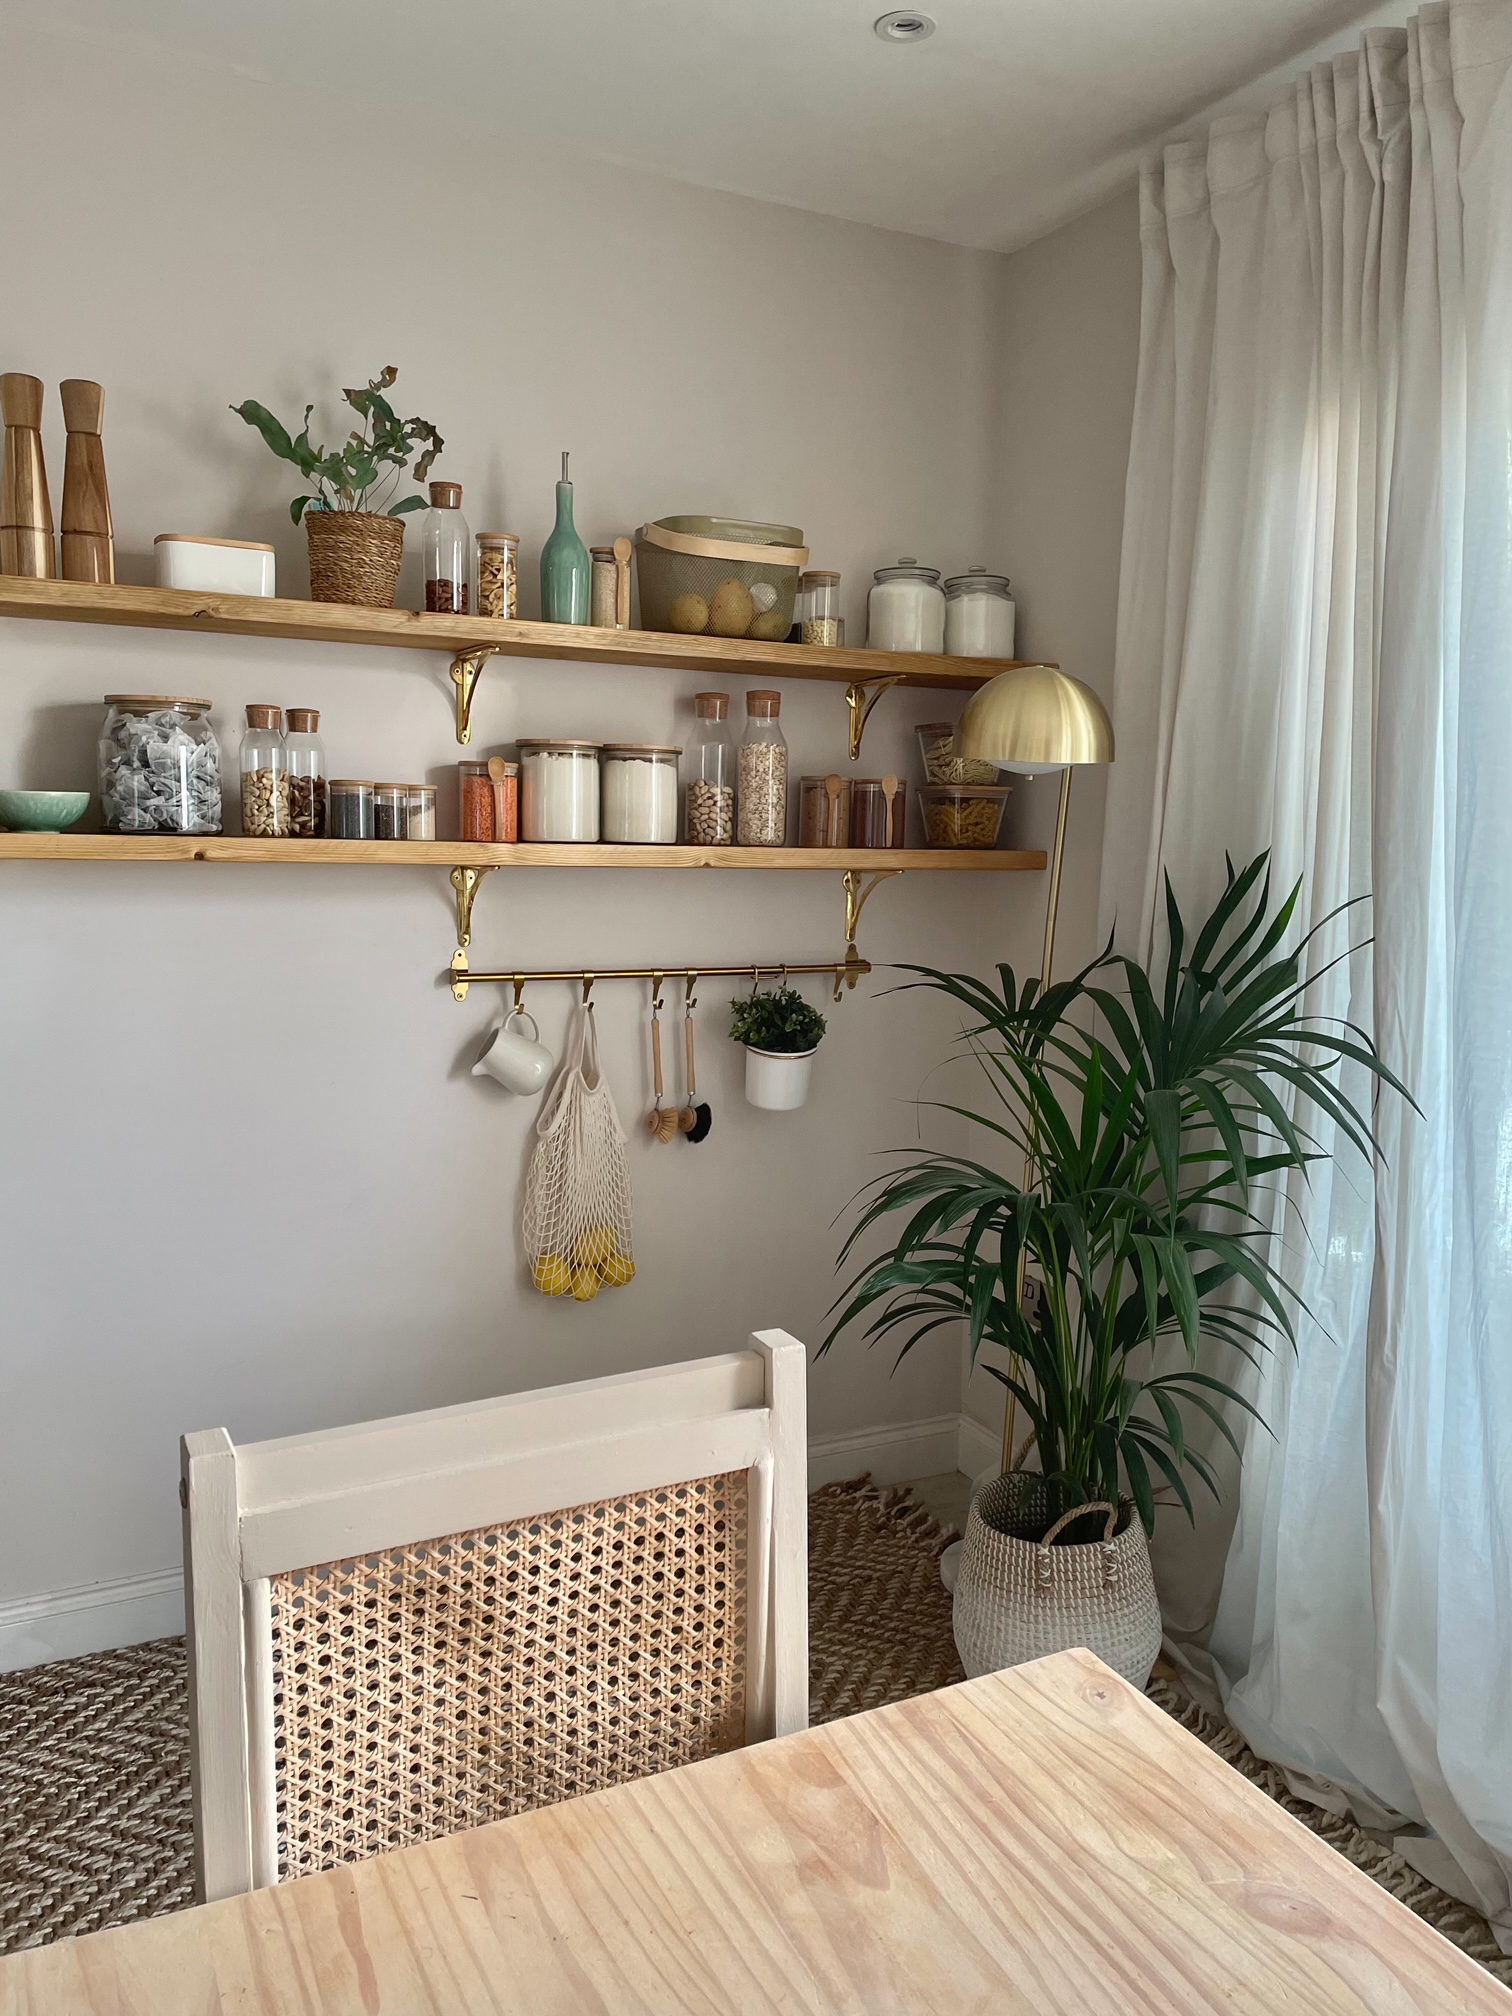
Why not try and add a little character to a bare wall with a few pantry style shelves, and make the most of the space you have? You could personalise with your favourite accessories like your favourite china, storage boxes, candles and indoor plants, or install a hanging rail.
Jess Grizzle is a multi-award winning content creator and home interiors influencer. Her social media platforms include her Instagram @grizzle_abode which she started in May 2019. Here she shares the joys and trials of living in a home during a renovation and her many DIY projects.
Although she has always been creative, she really found her love for DIY once she and her husband became homeowners. She realised quite quickly out of the two of them, she was the one with the desire to buy power tools and learn new DIY skills.
She found her passion of championing women to do DIY and take on their own challenges. This led her to become a co-founder of the @femalediycollective, a growing female DIY community celebrating projects from women all around the world.