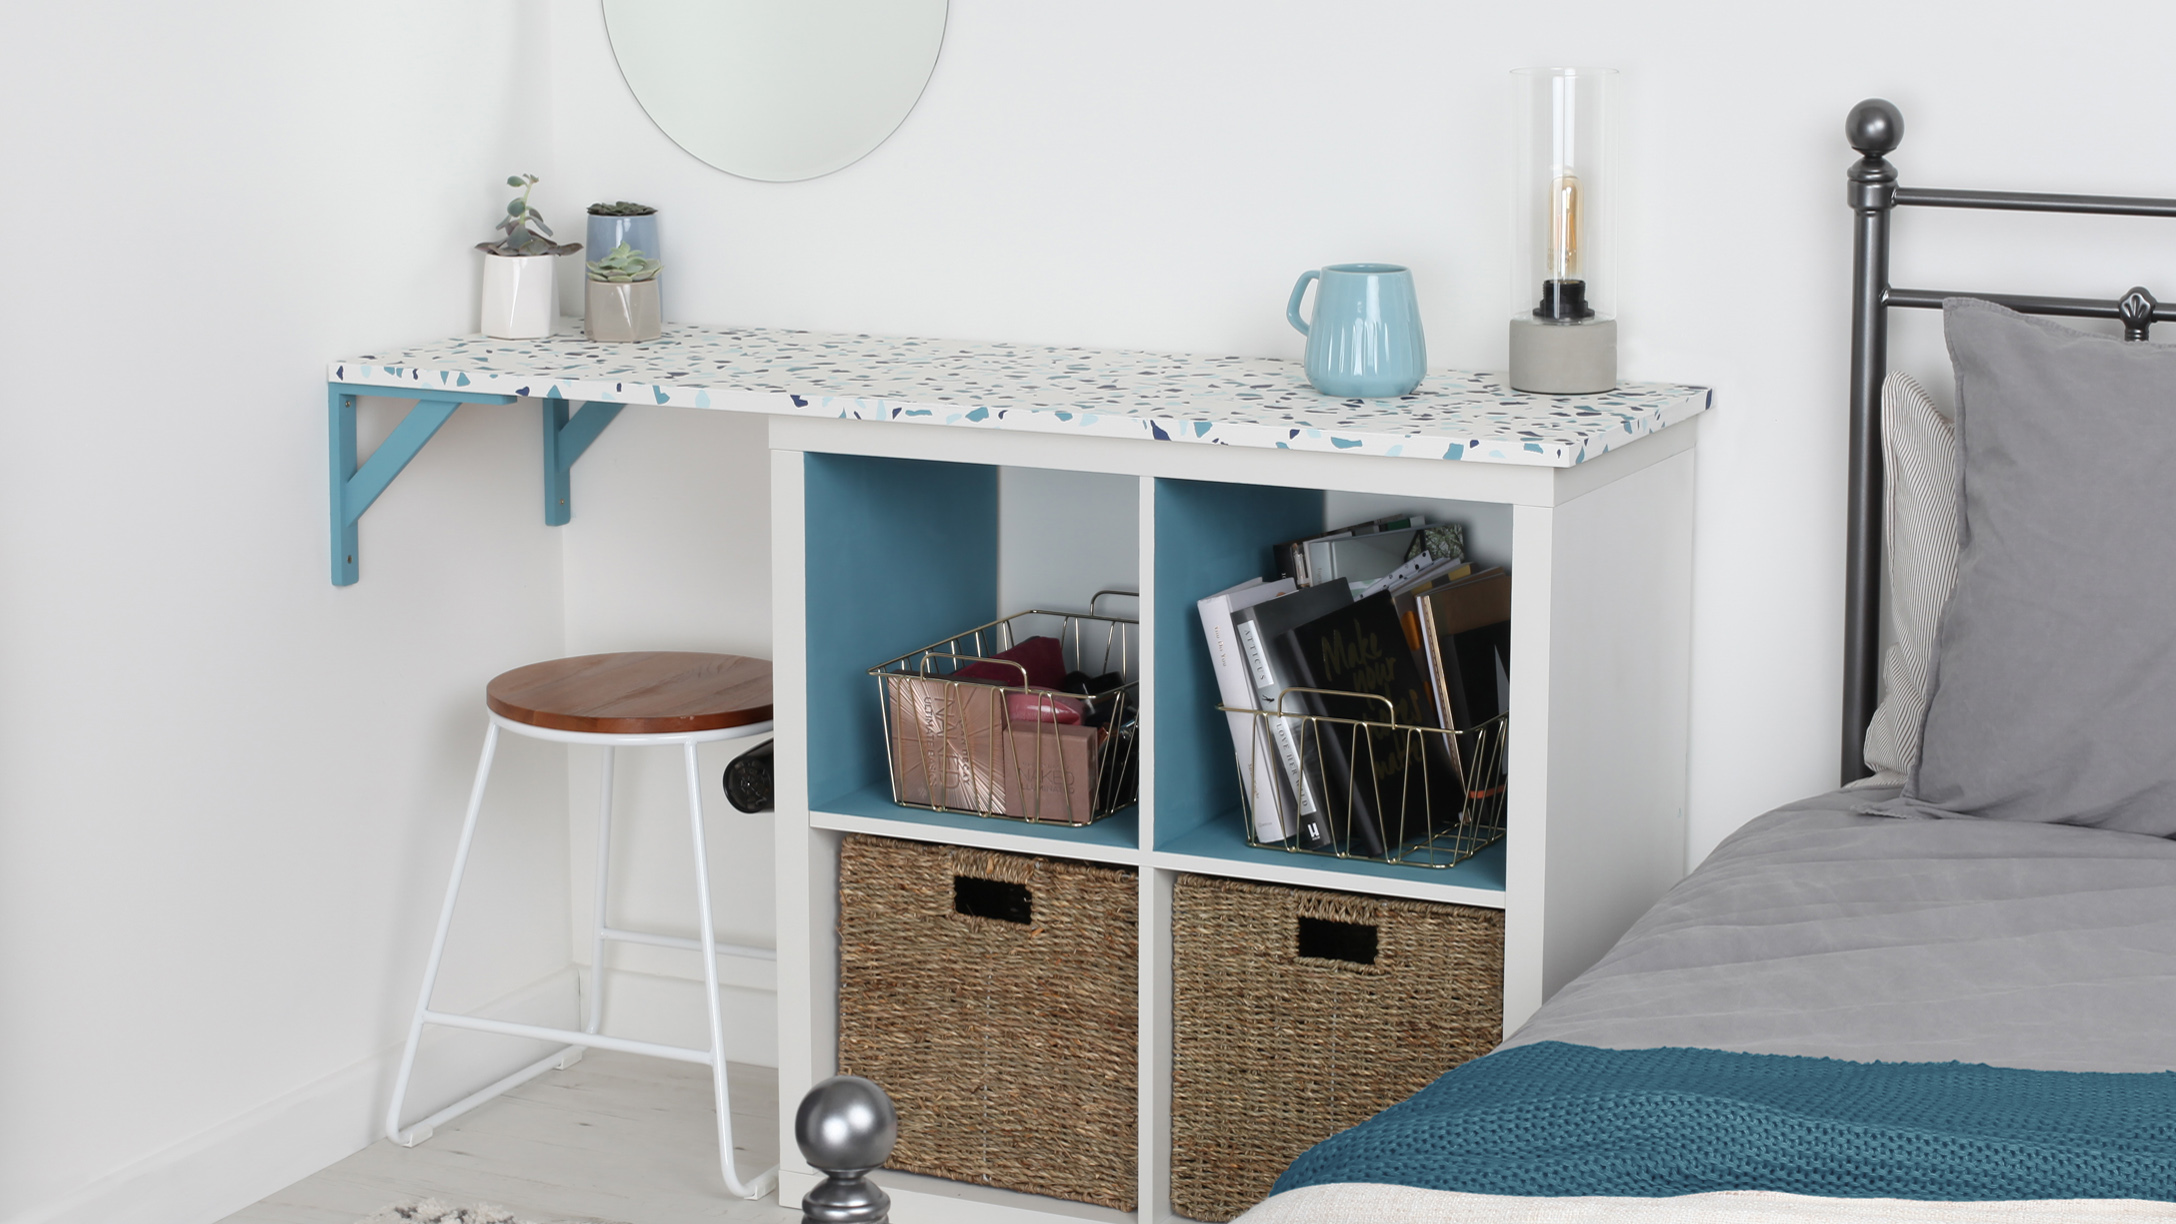
This DIY dressing table with a terrazzo top can be yours in 6 easy steps
Need a dressing table but on a budget? This DIY dressing table with its on trend terrazzo top is so easy to make. Here's how

Get small space home decor ideas, celeb inspiration, DIY tips and more, straight to your inbox!
You are now subscribed
Your newsletter sign-up was successful
This stylish DIY dressing table hack is bang on trend with its terrazzo top, and we're loving how a quick weekend project can turn an uninspiring storage unit into an eye-catching dressing table that's perfect for the corner of a bedroom.
With a bit of creativity, some sticky back plastic and furniture paint, you can use this clever hack from Rust-Oleum to add a stunning tabletop to a basic storage unit (that costs less than £35), creating a fun dressing table space any teen would love.
If you want to try your hand at more DIY hacks, check out our other weekend projects.
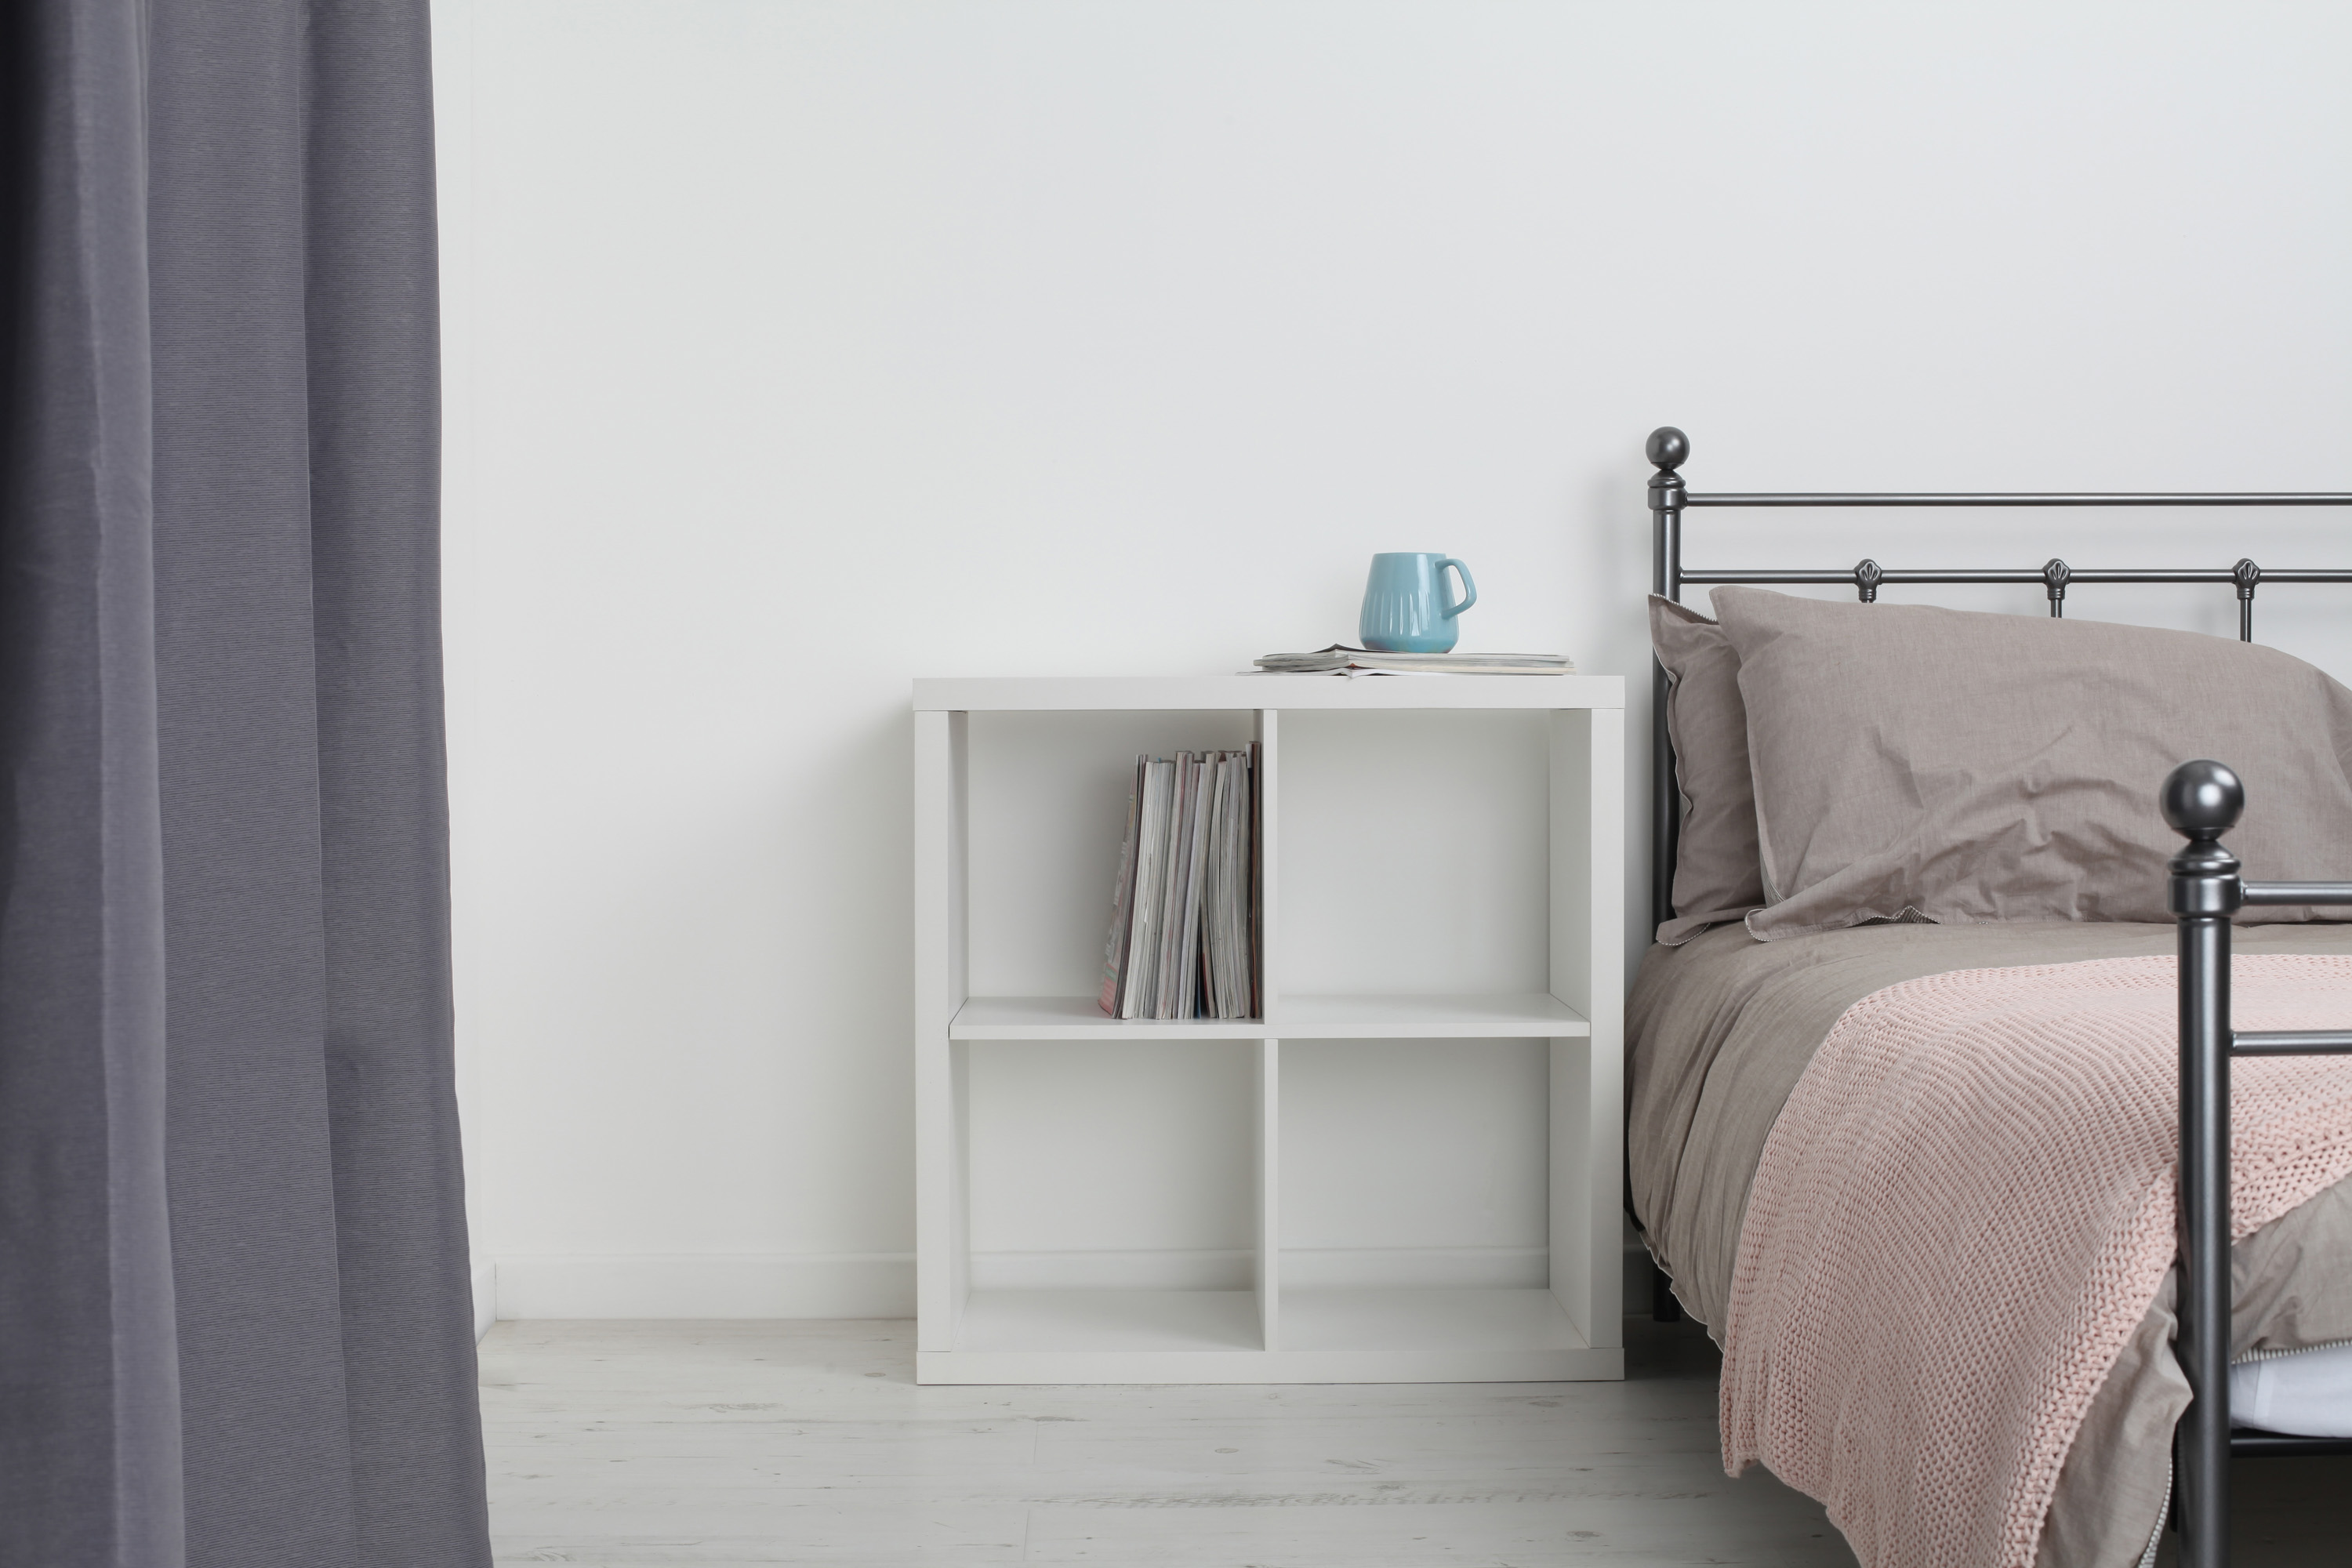
With a few simple steps, you can transform this Clever Cube storage unit from Homebase, £32, into a unique dressing table
You will need:
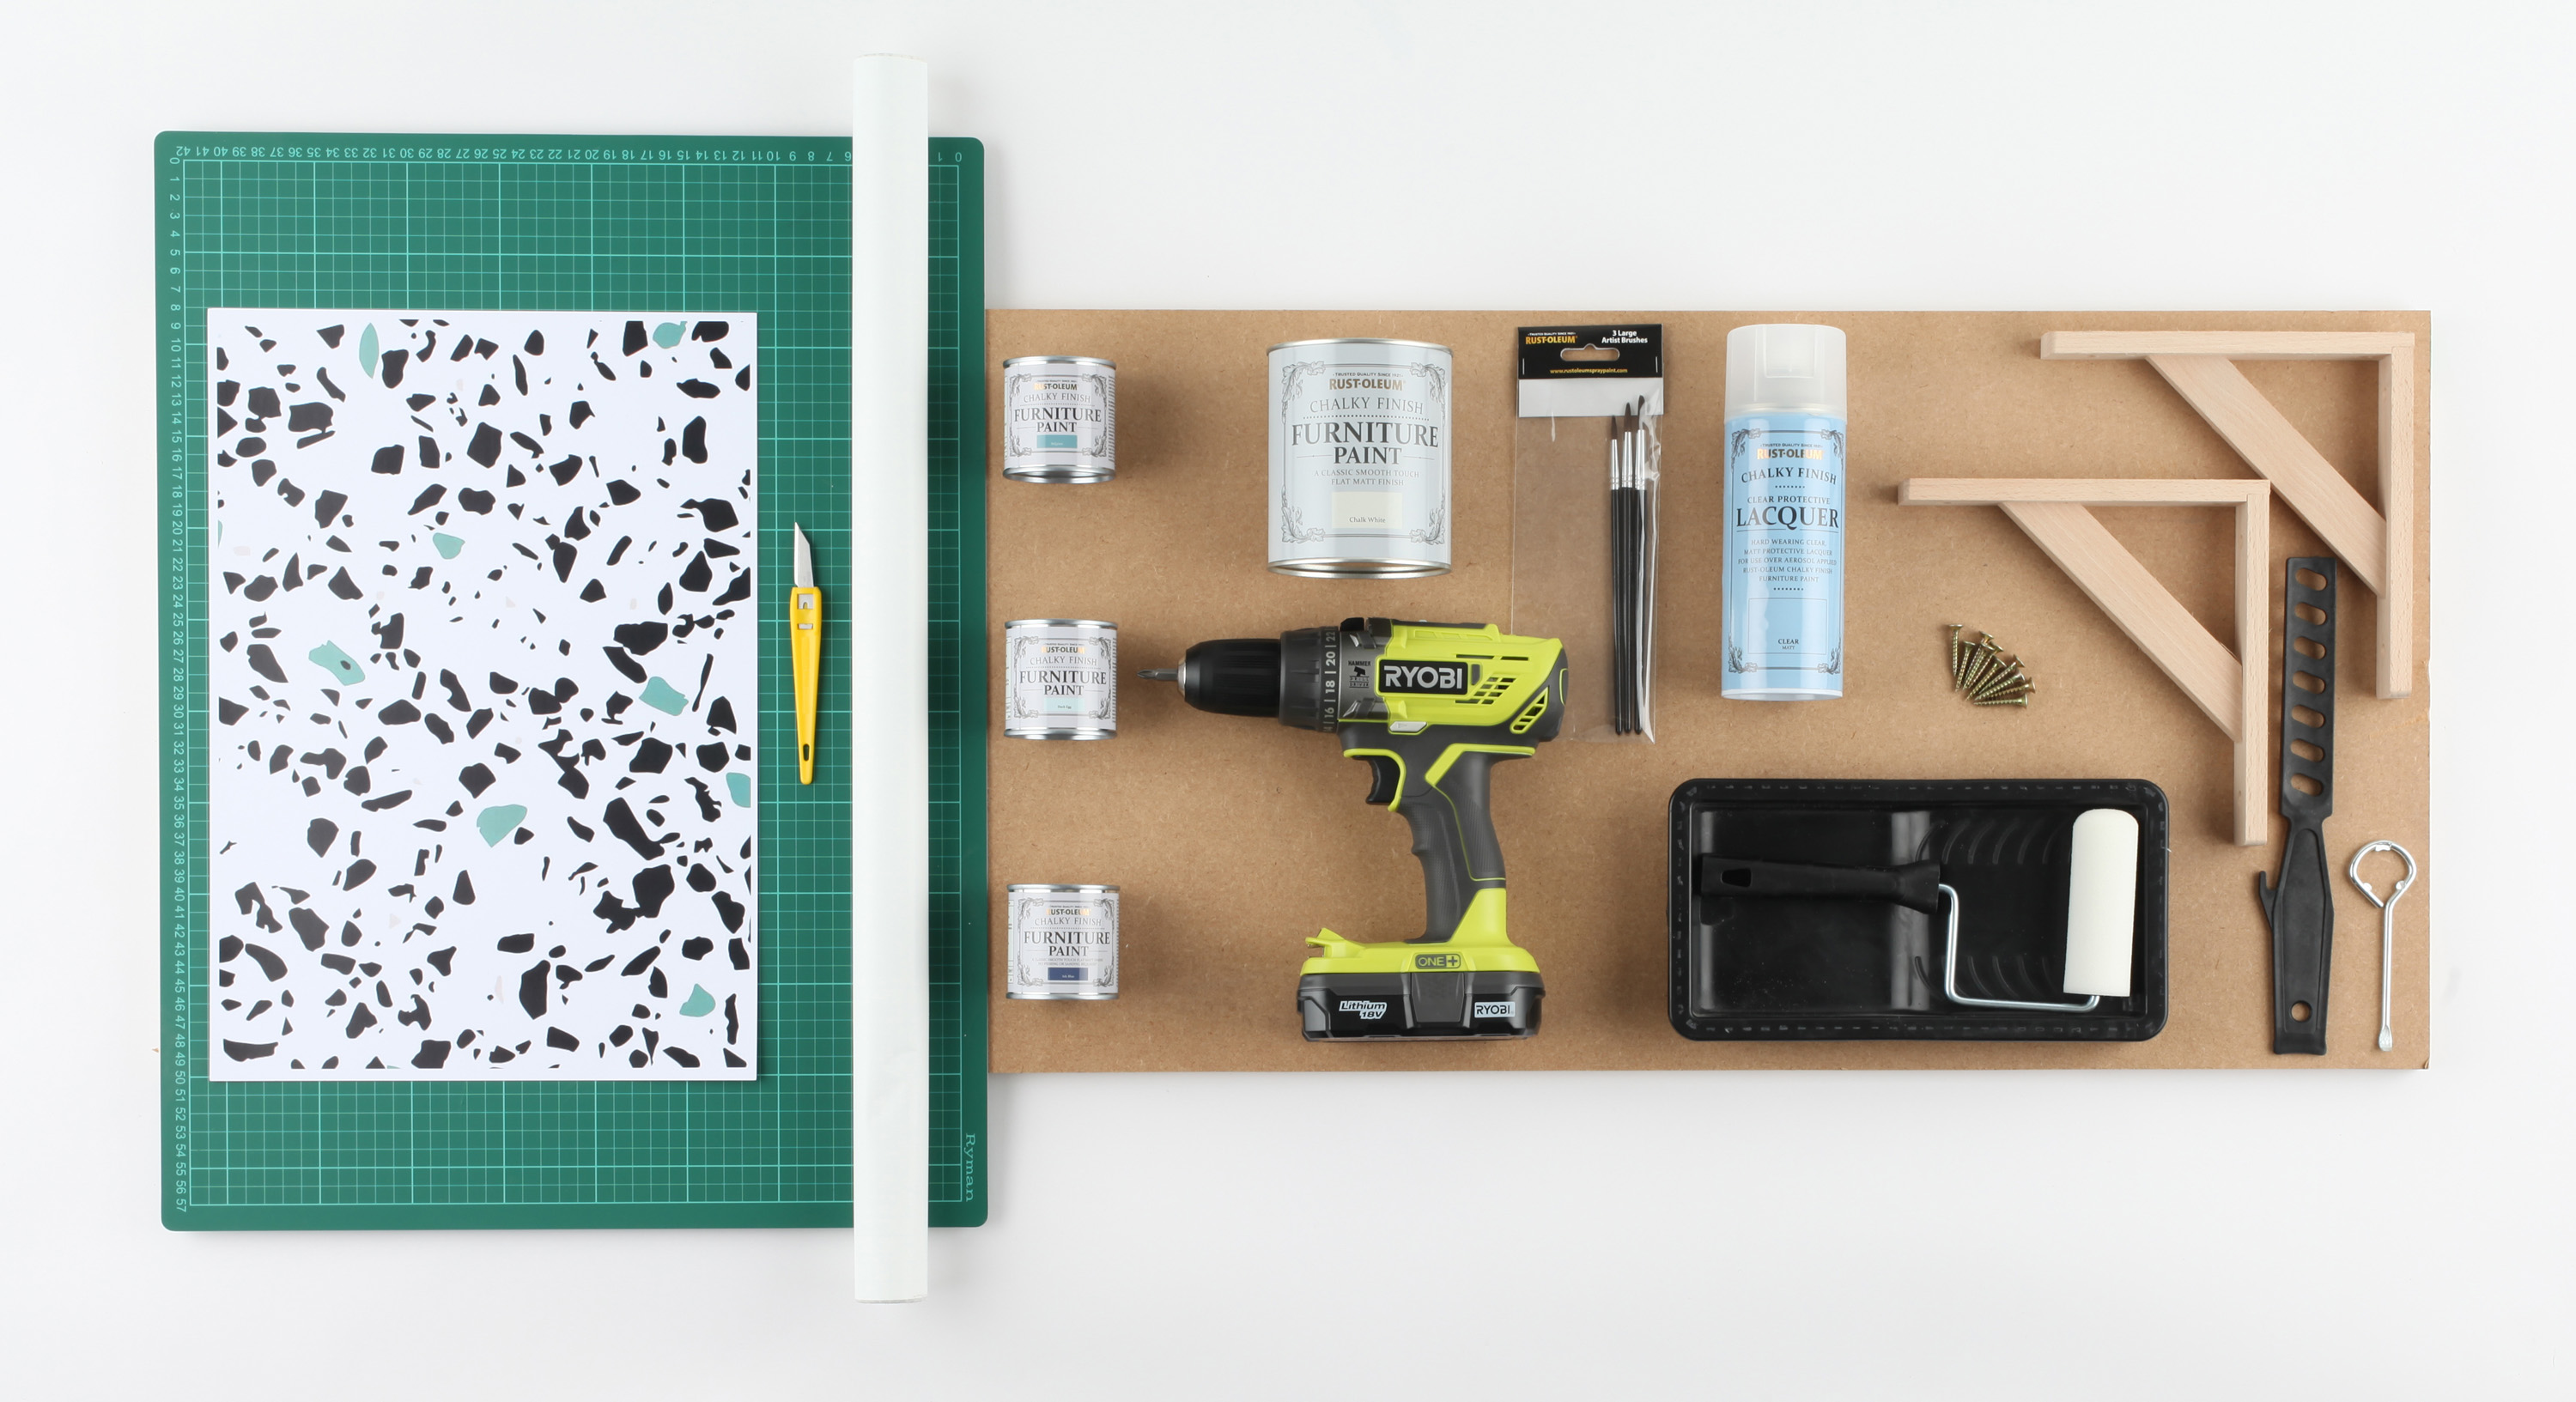
- Rust-Oleum Chalky Finish Furniture Paint
- Rust-Oleum Chalky Finish Furniture Lacquer (spray)
- Homebase Clever Cube storage
- MDF sheet (cut to size)
- Cutting mat
- Sticky back plastic
- Stanley knife
- Drill and screws
- Rust-Oleum Artist Brushes
- Roller and tray
- Brackets
- Paint opener & stirrer
Step one: paint your MDF sheet
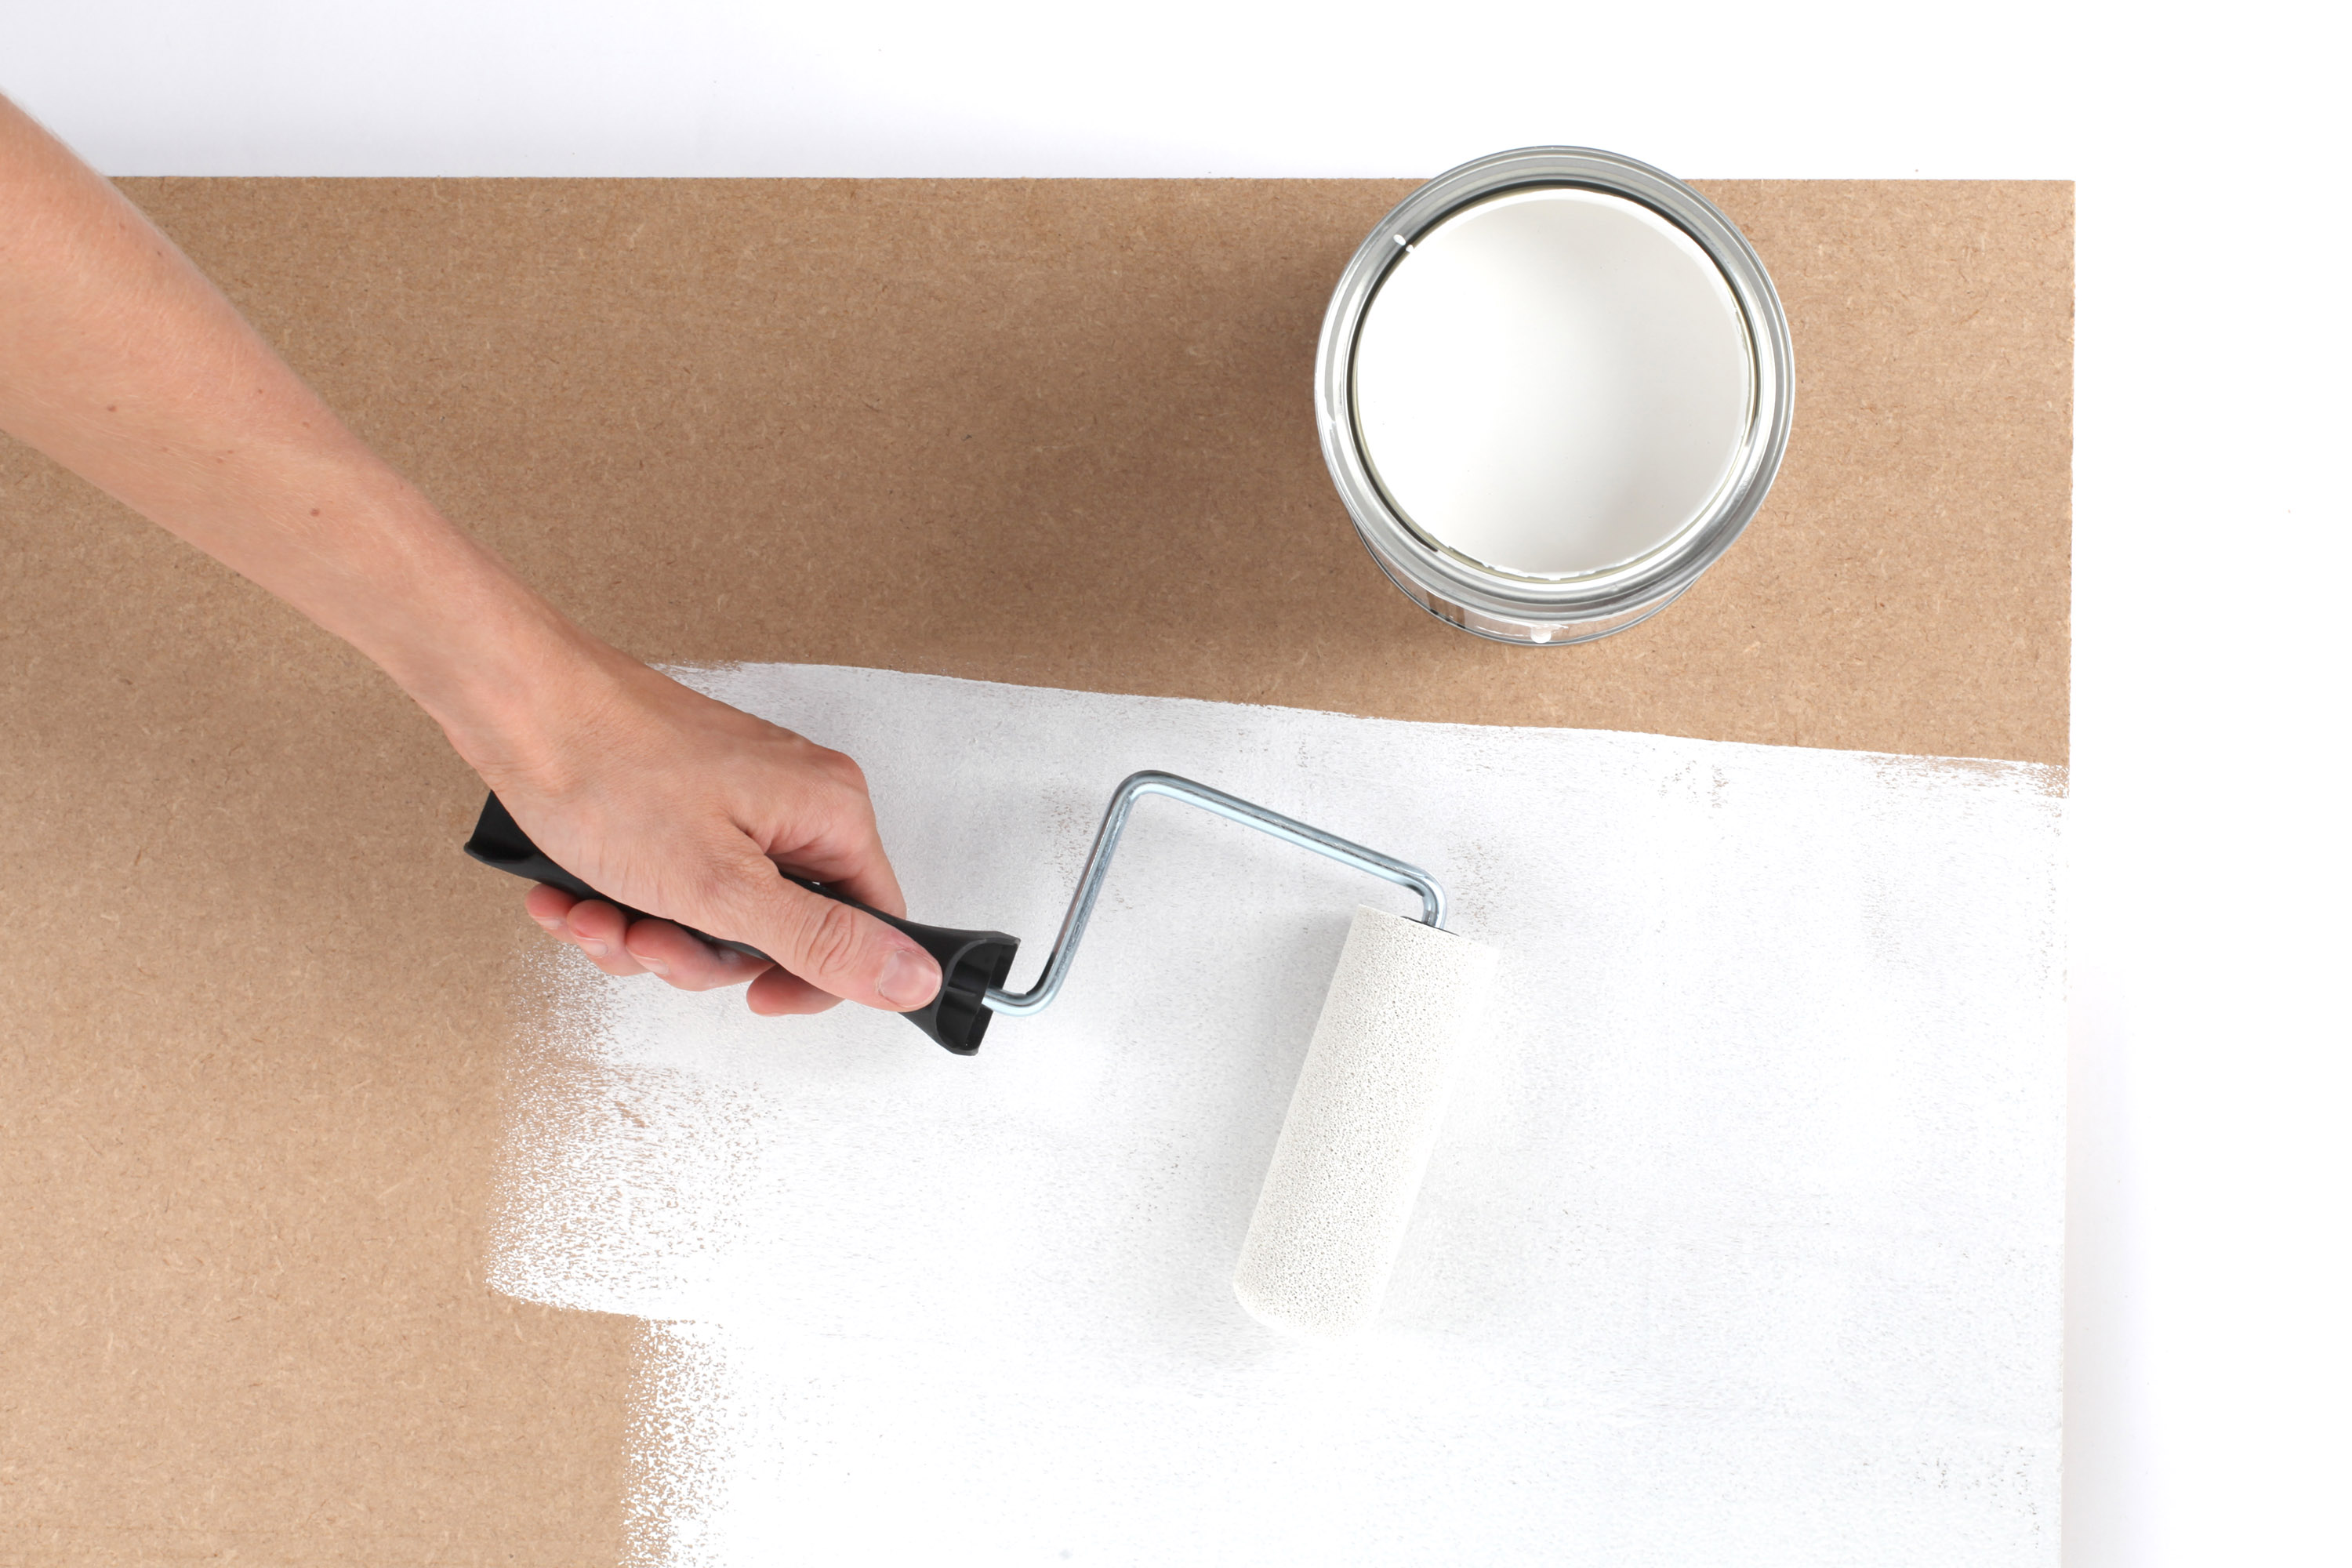
Take your chosen shade of Rust-Oleum Chalky Finish Furniture Paint for the base (Chalk White is used here). Paint the top, sides and front of the MDF with a roller and leave to dry. There's no need to prime the surface first, although you may require a second coat for better coverage.
Step two: cut out your stencil
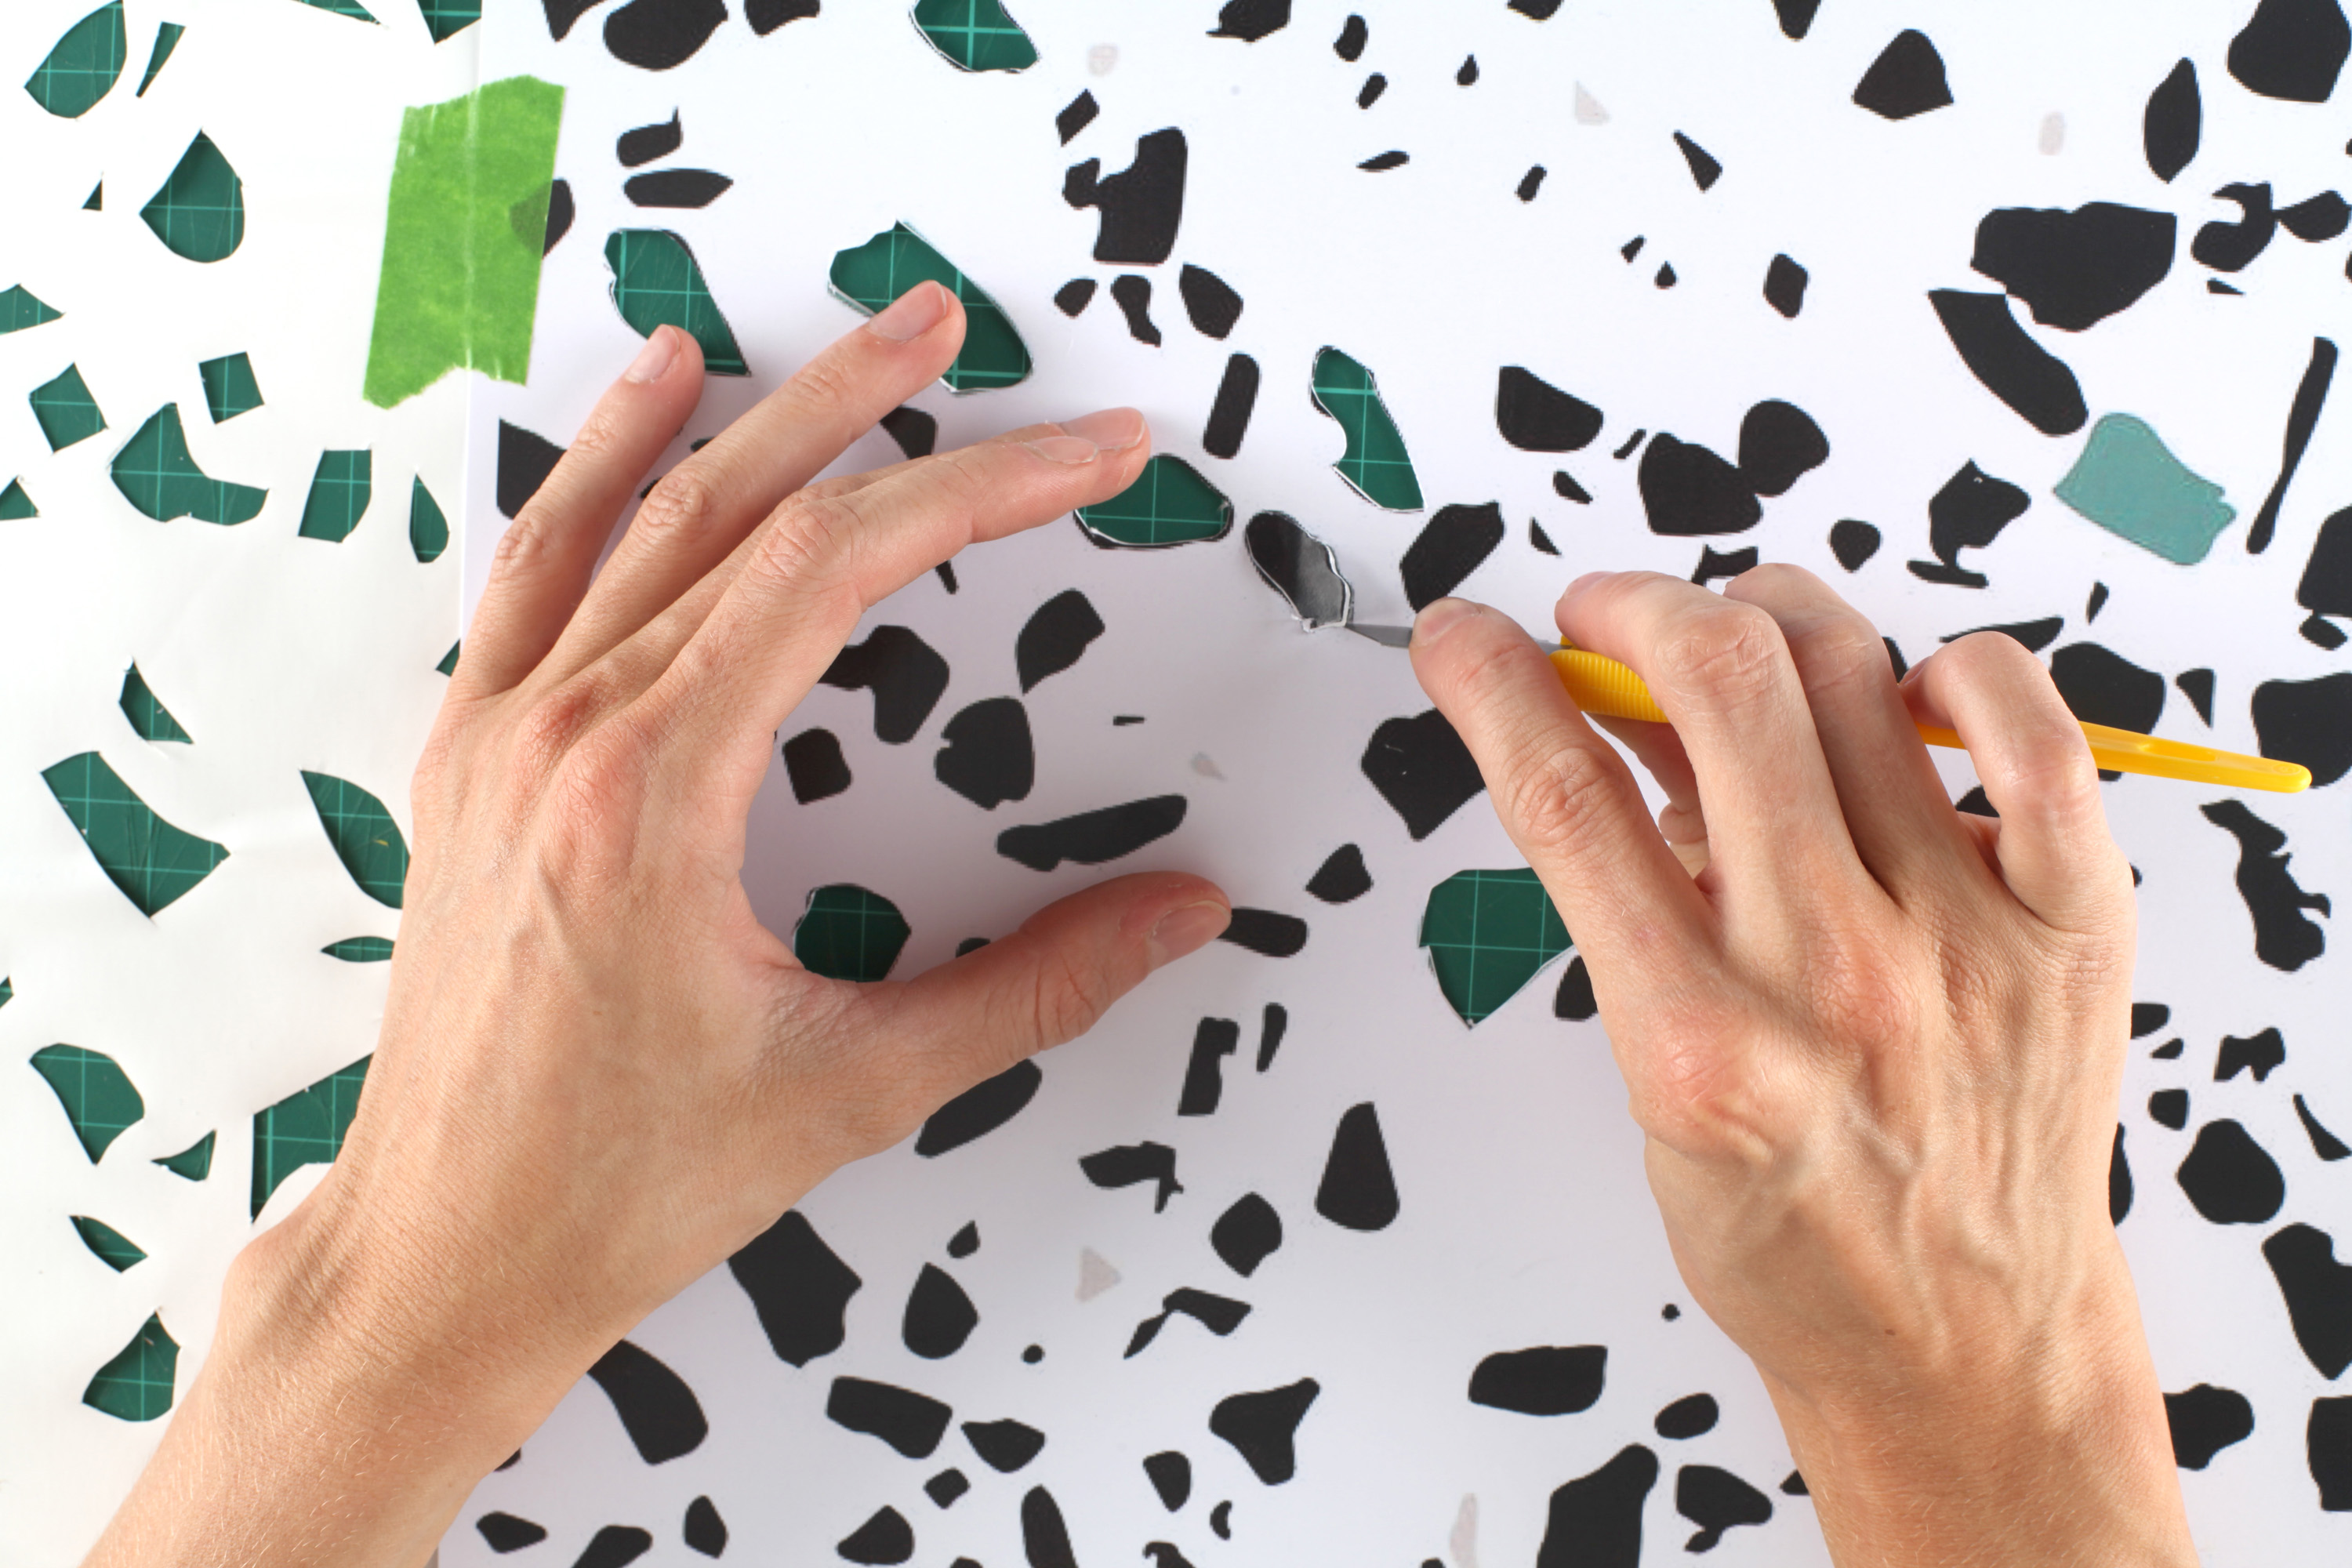
To create your stencil, place the sticky back plastic on the cutting mat and begin to cut out a terrazzo design with a Stanley knife. There are no set rules for this, just get creative and cut out holes in a range of shapes and sizes.
Step 3: paint your design
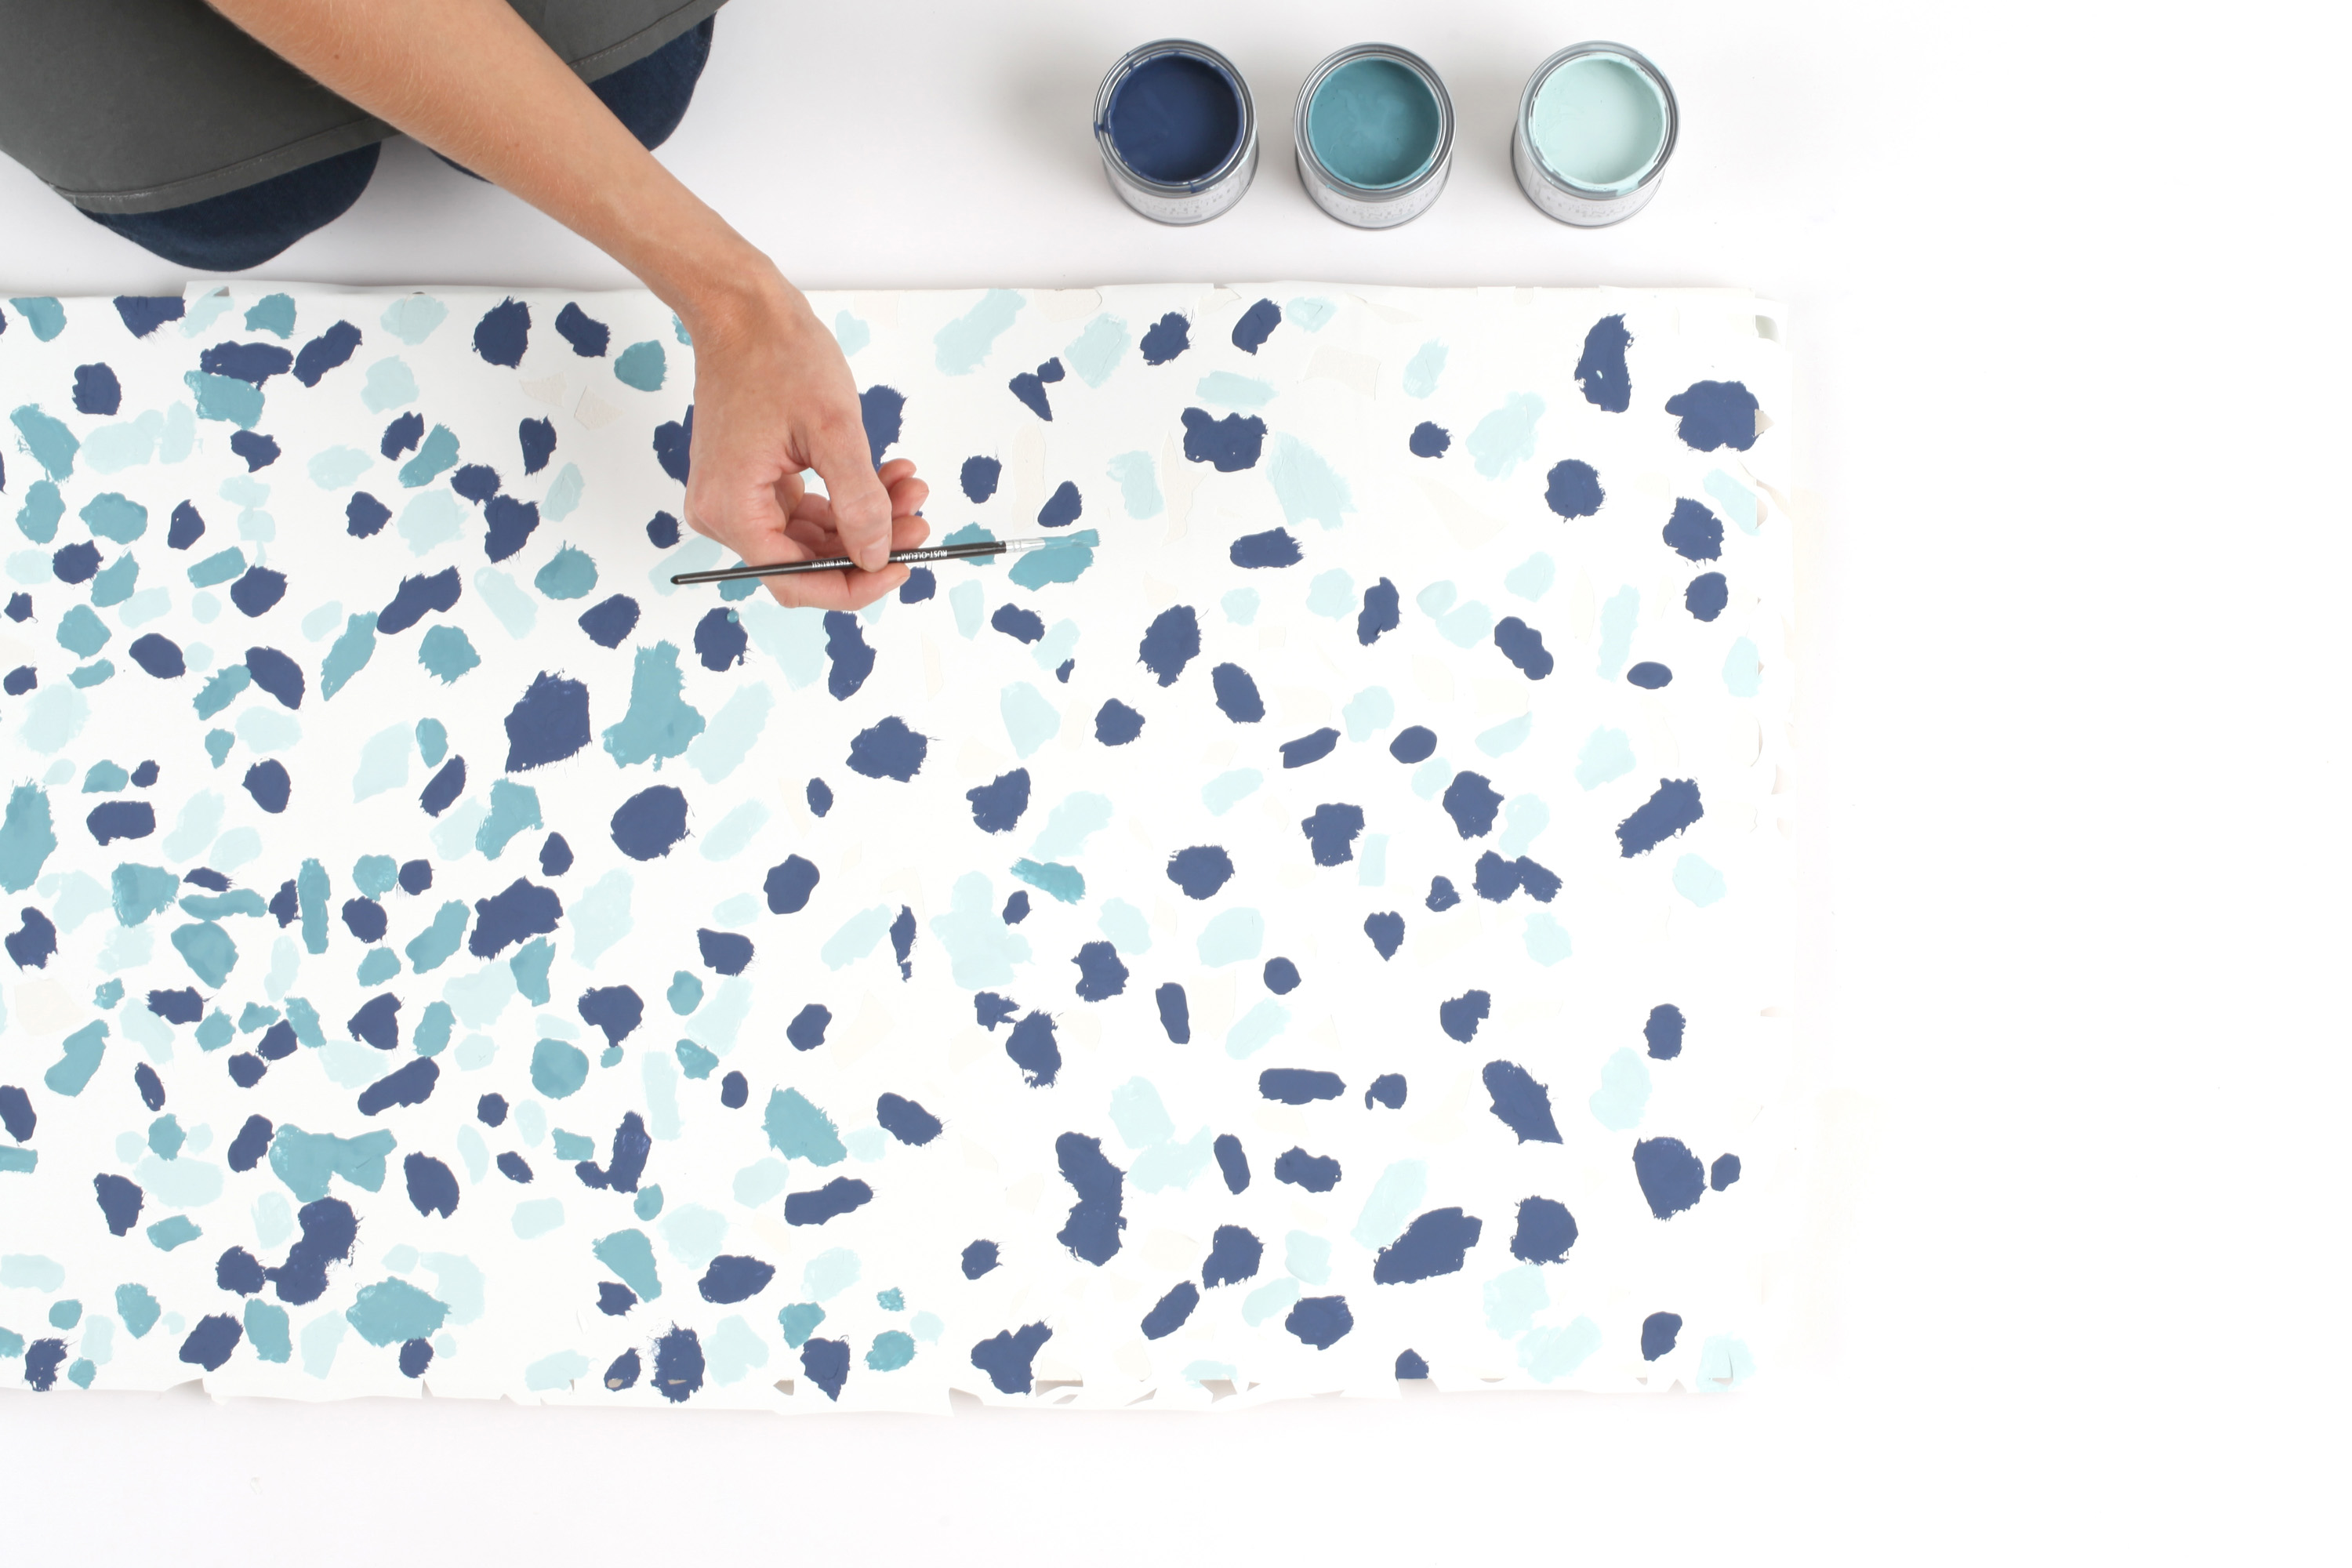
Stick your stencil to the MDF, then paint in your design using your chosen furniture paint. Opt for a few different shades and keep the placement of colours as random as possible for the most authentic terrazzo effect. This design has been painted with Rust-Oleum Chalky Finish Furniture Paint shades in Ink Blue, Belgrave and Duck Egg.
Step four: introduce some colour to your storage unit
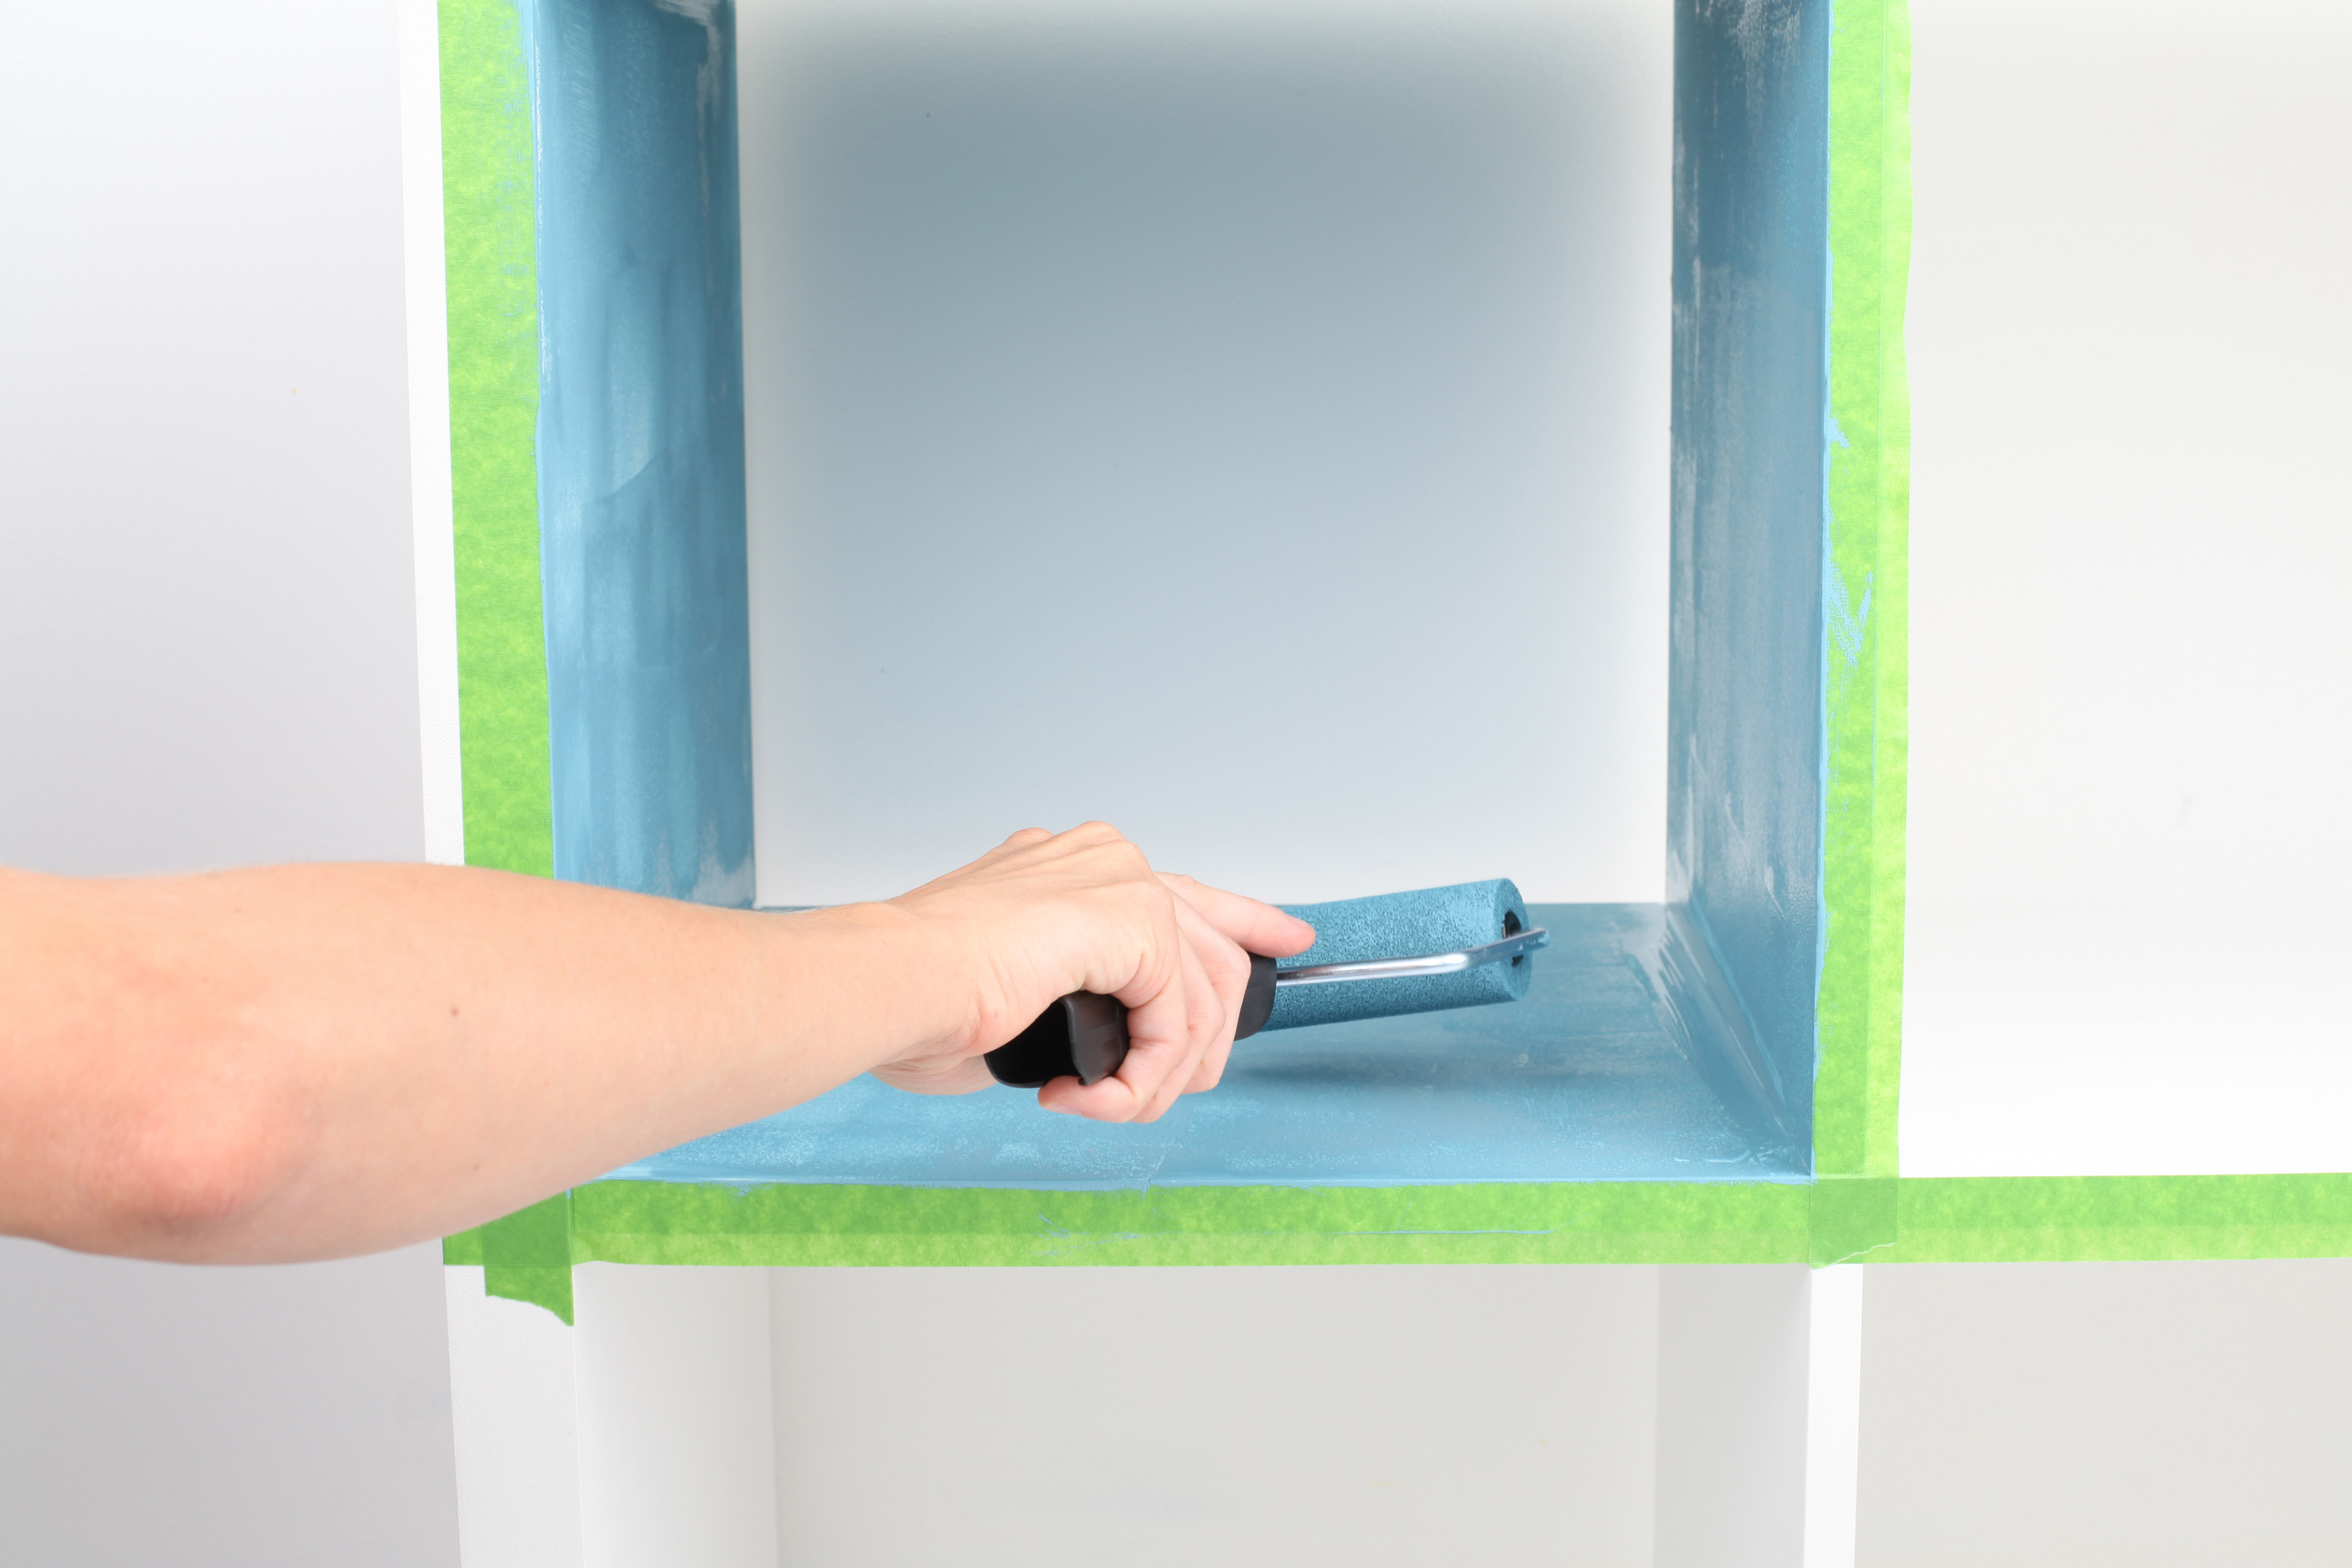
Give your white storage unit a lift by by painting the inside of the top two sections in a vibrant shade. For a cohesive look, it's a good idea to use one of the shades you've already used in your terrazzo tabletop. Then paint the wall brackets in the same shade to tie the design together.
Get small space home decor ideas, celeb inspiration, DIY tips and more, straight to your inbox!
Step five: add the finishing touches
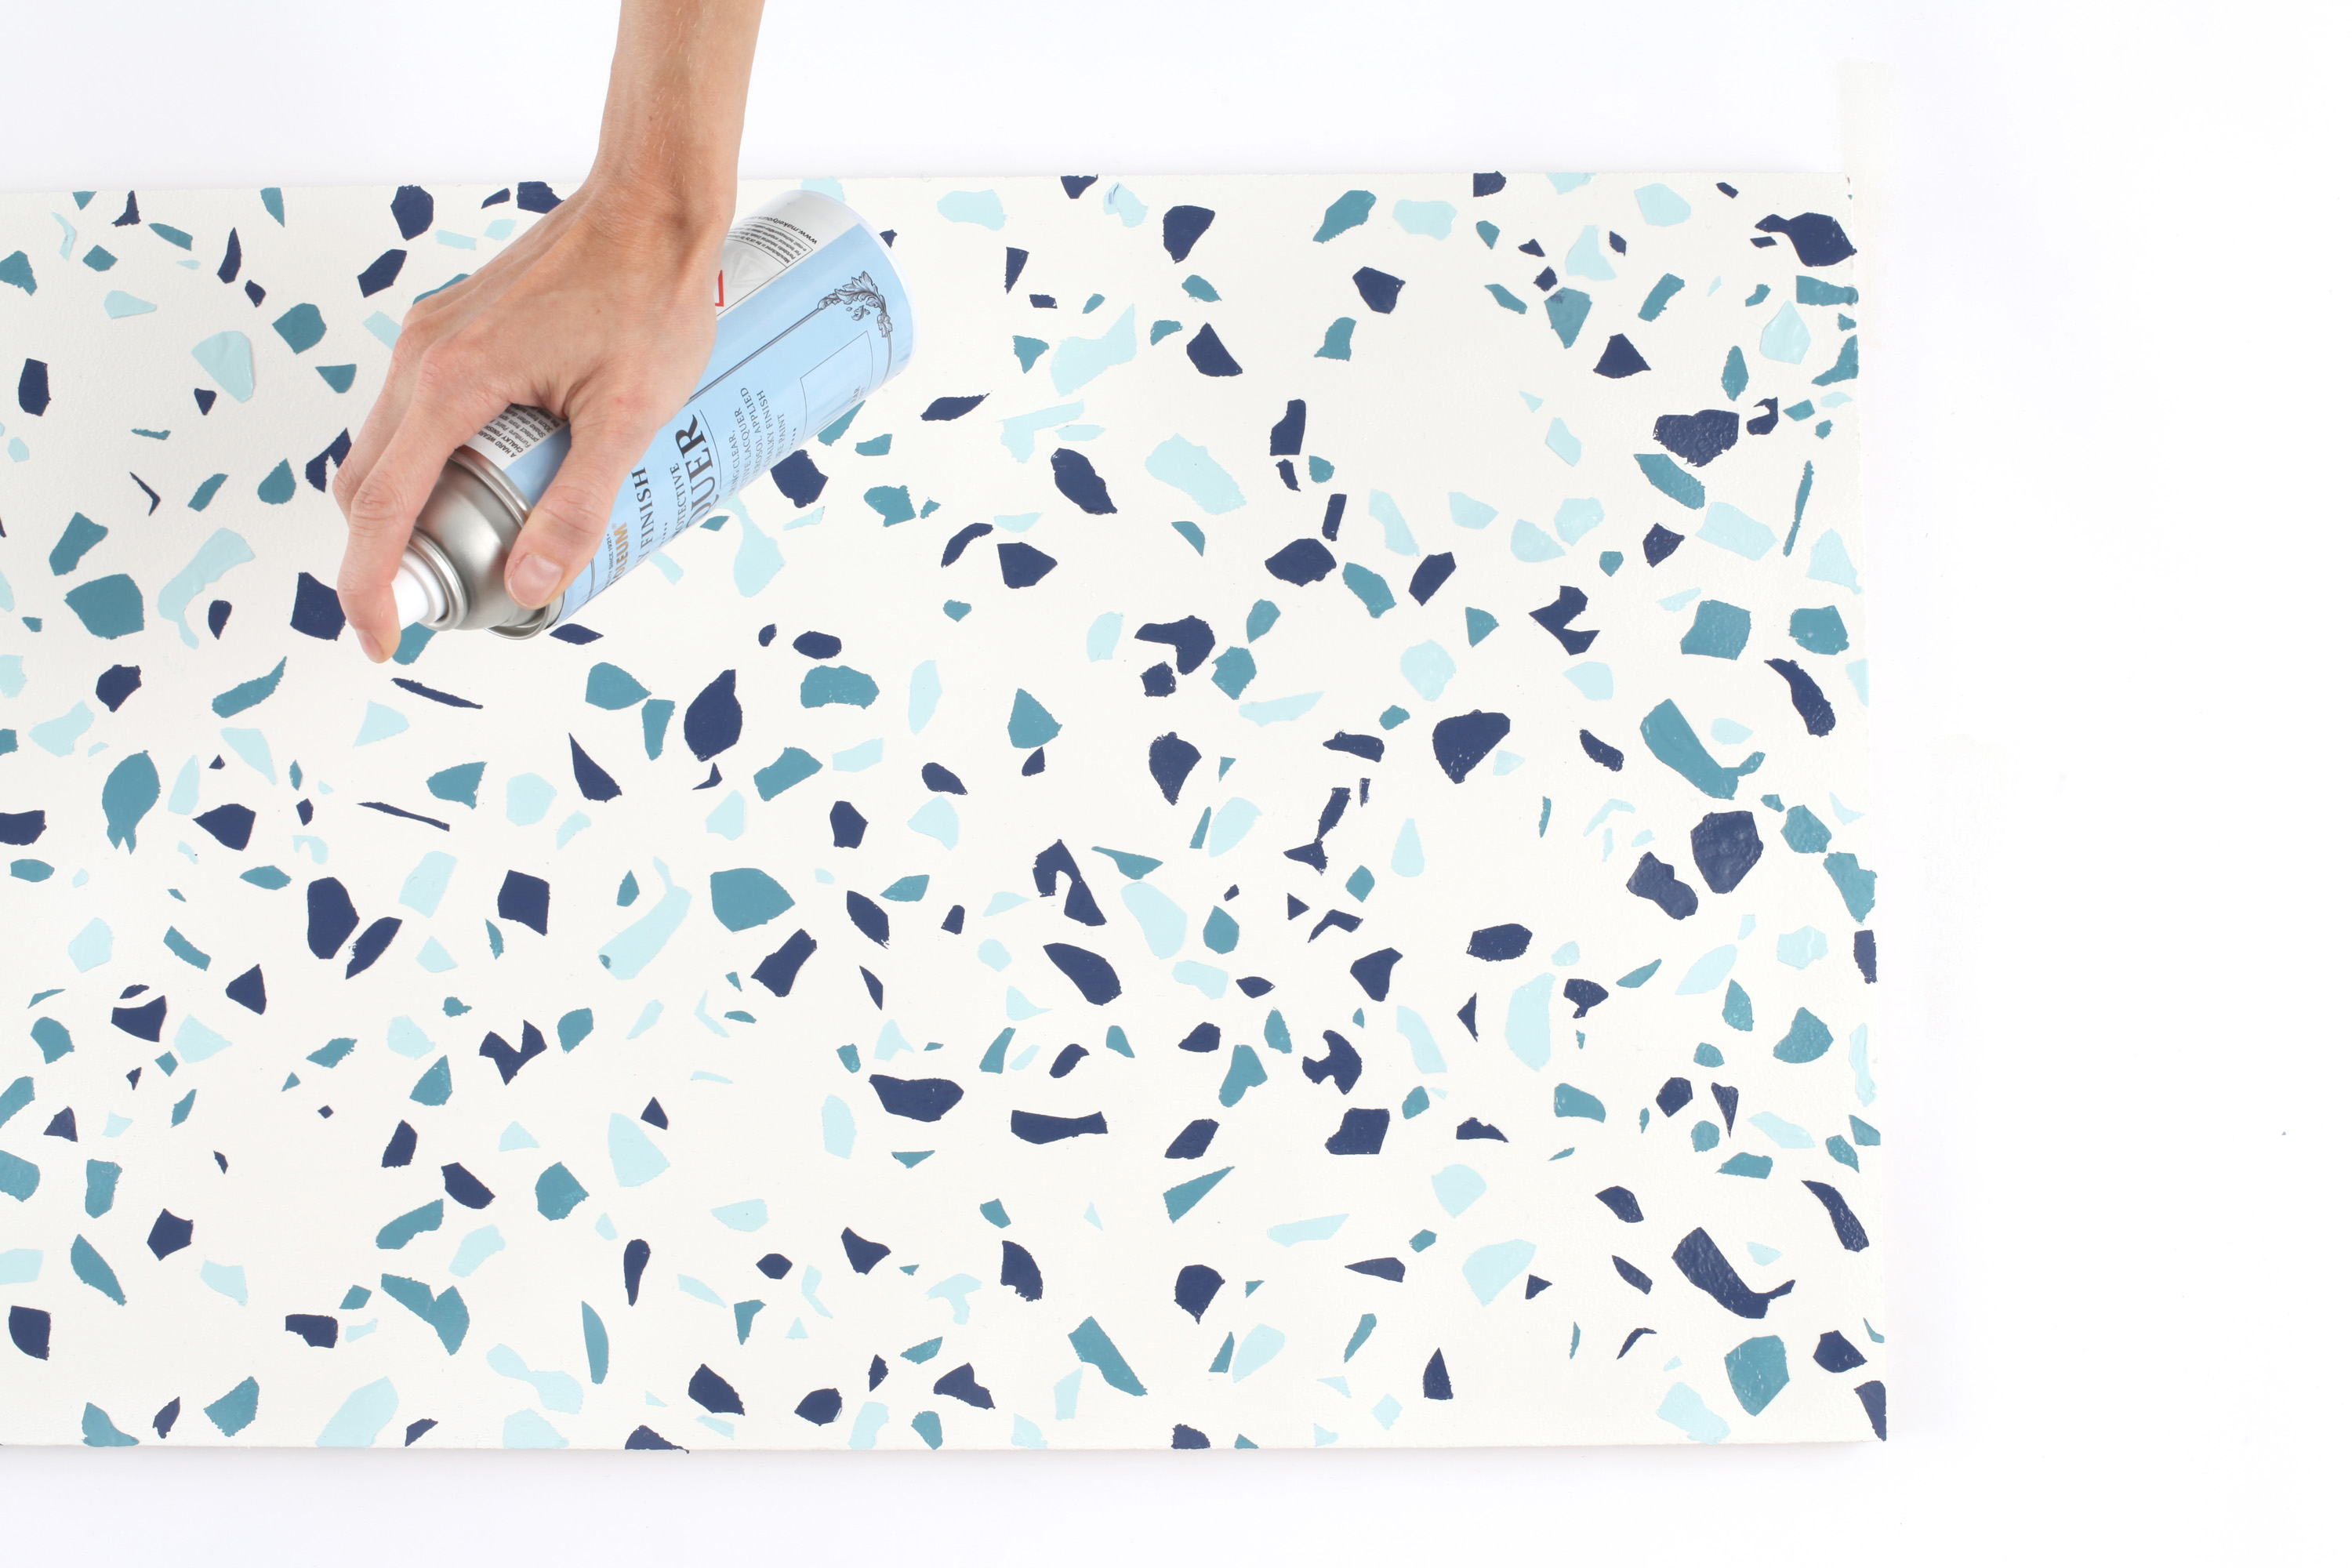
Once the paint on the tabletop is dry, you should seal it to ensure it's protected from any spills or stains, which let's face it are inevitable if you're doing this for a teen bedroom. Try Rust-Oleum Furniture Finishing Lacquer.
Step six: assemble your design
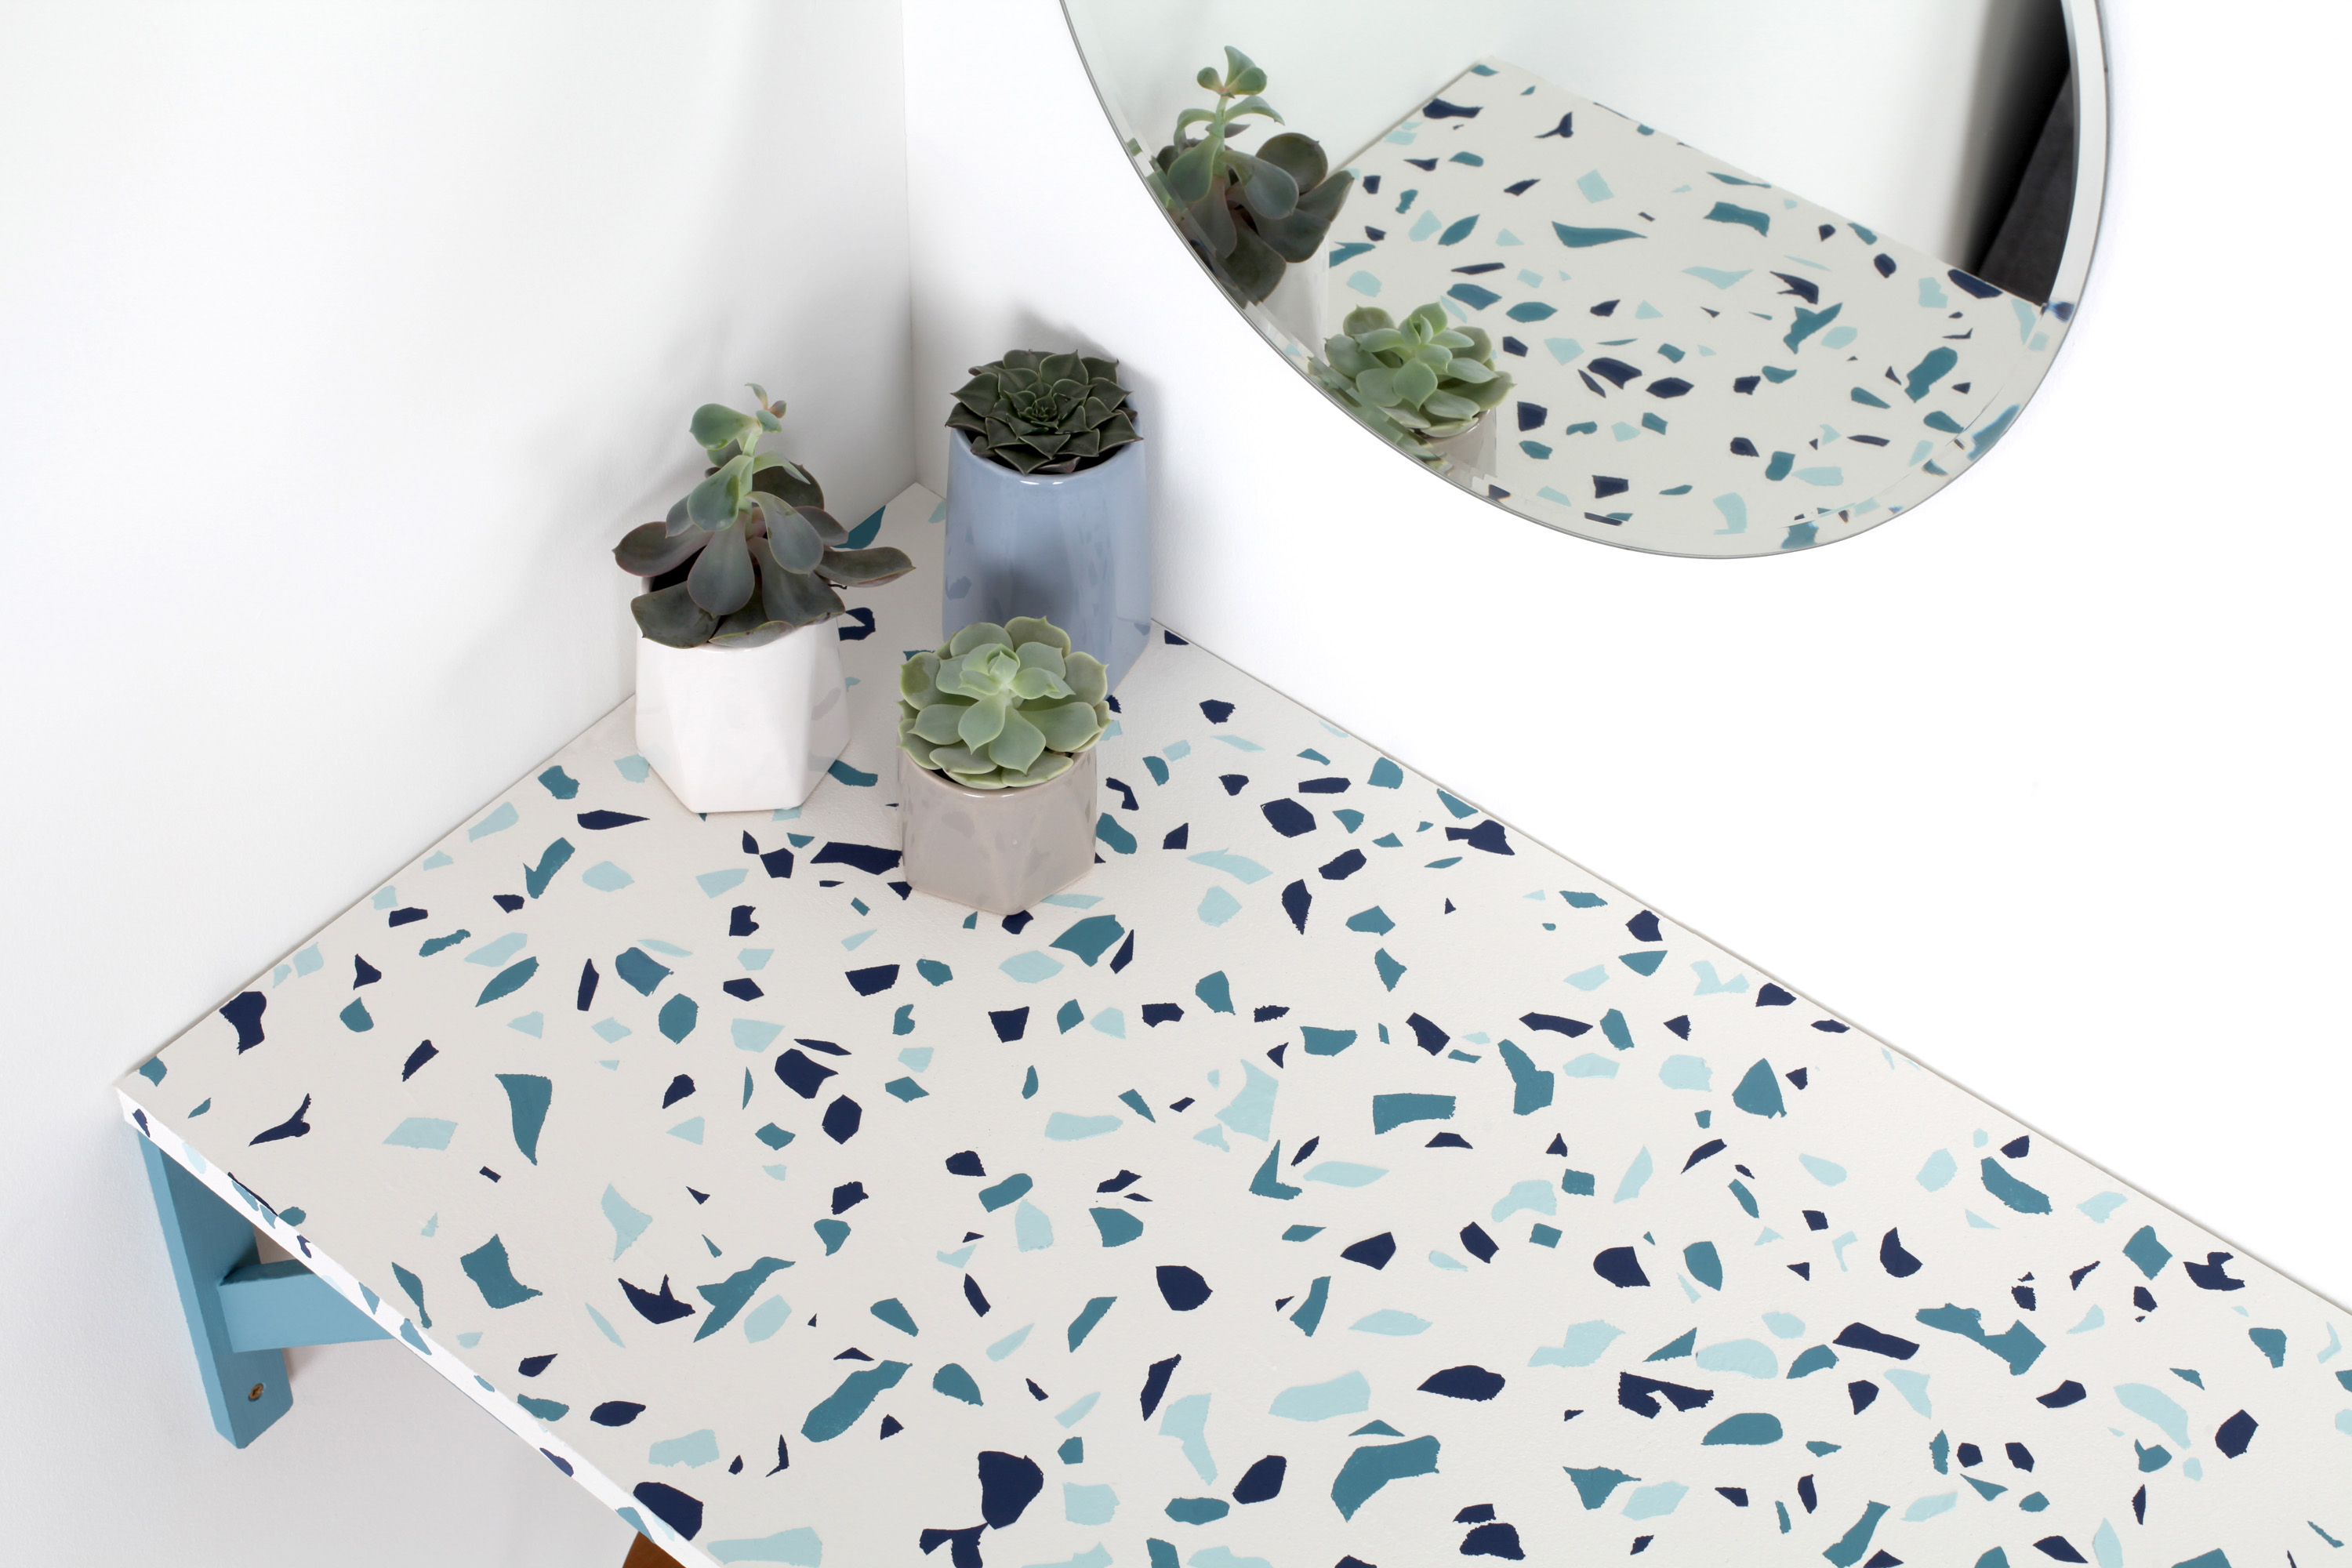
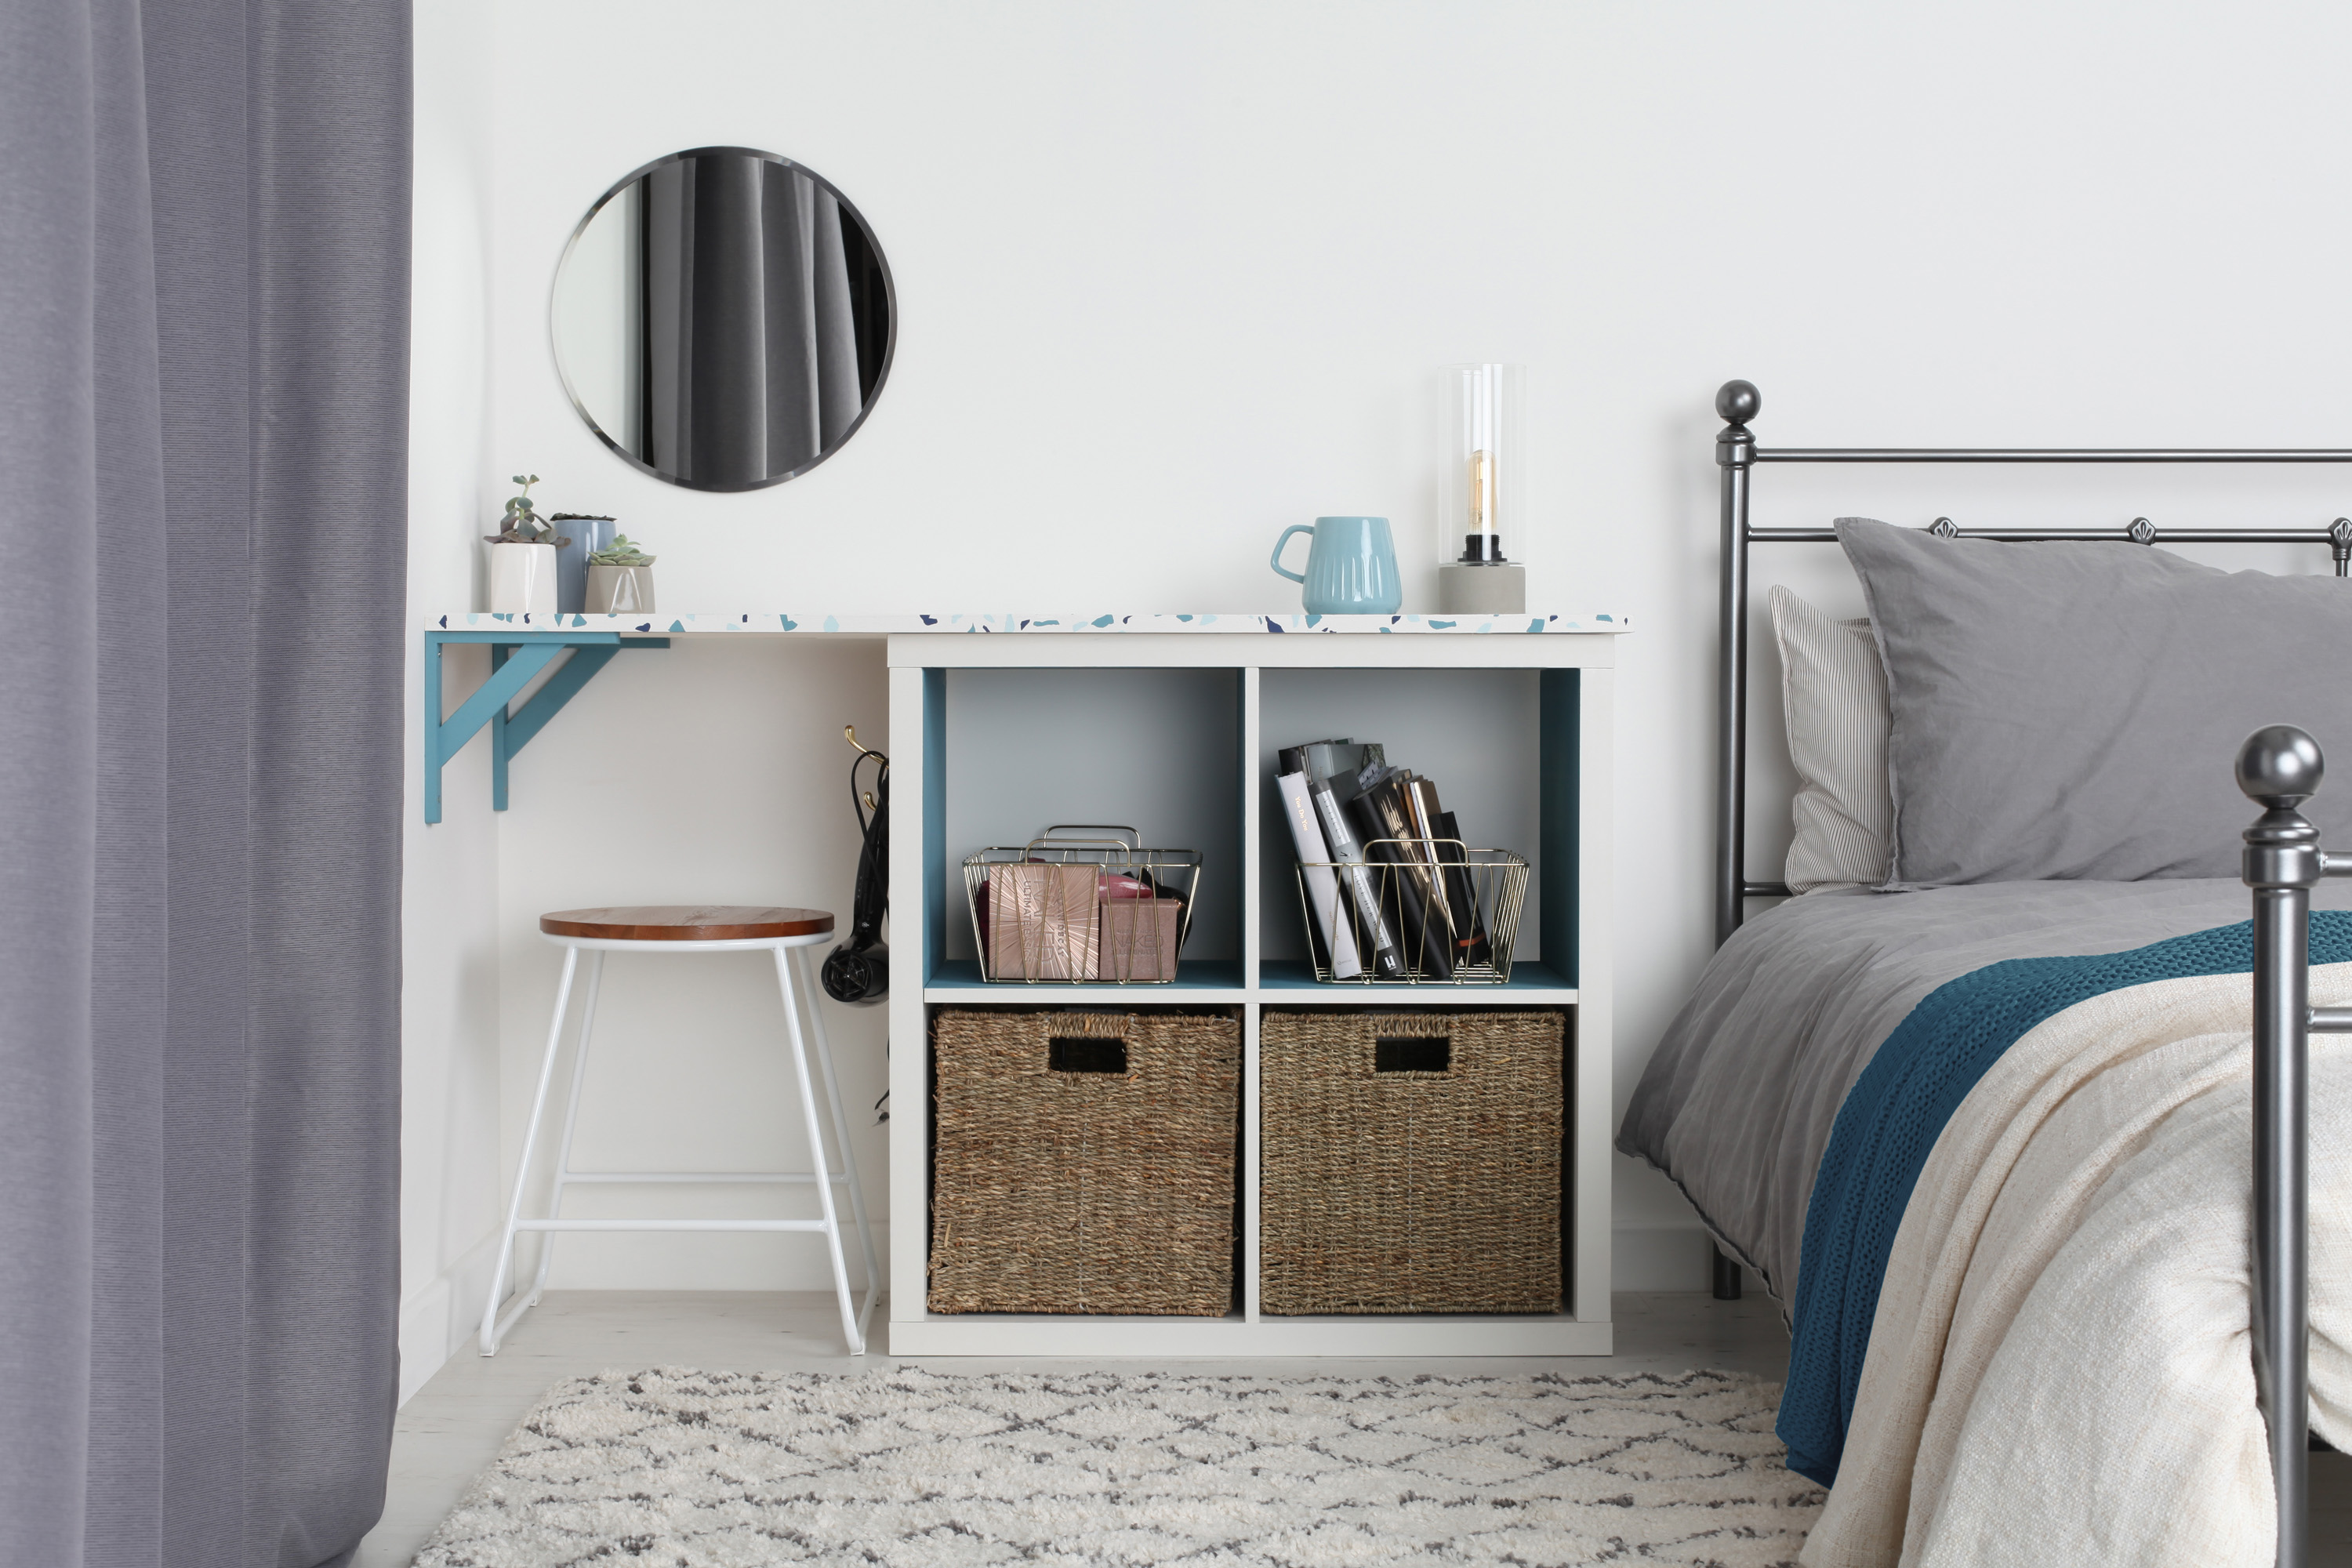
Using a drill and screws, attach the brackets to the wall and secure the terrazzo top. The painted storage unit goes beneath the table at the other end to support it. Add a dressing table stool, a mirror and some pretty accessories, and your DIY terrazzo dressing table is good to go!
Subscribe to Real Homes magazine
Want even more great ideas for your home from the team at Real Homes magazine? Subscribe to Real Homes magazine and get great content delivered straight to your door. From inspiring completed projects to the latest decorating trends and expert advice, you'll find everything you need to create your dream home inside each issue.

