This DIY ombré textured wall paint is better than wallpaper
Forget wallpaper: This DIY ombré wall technique is the perfect way to create a statement in any space
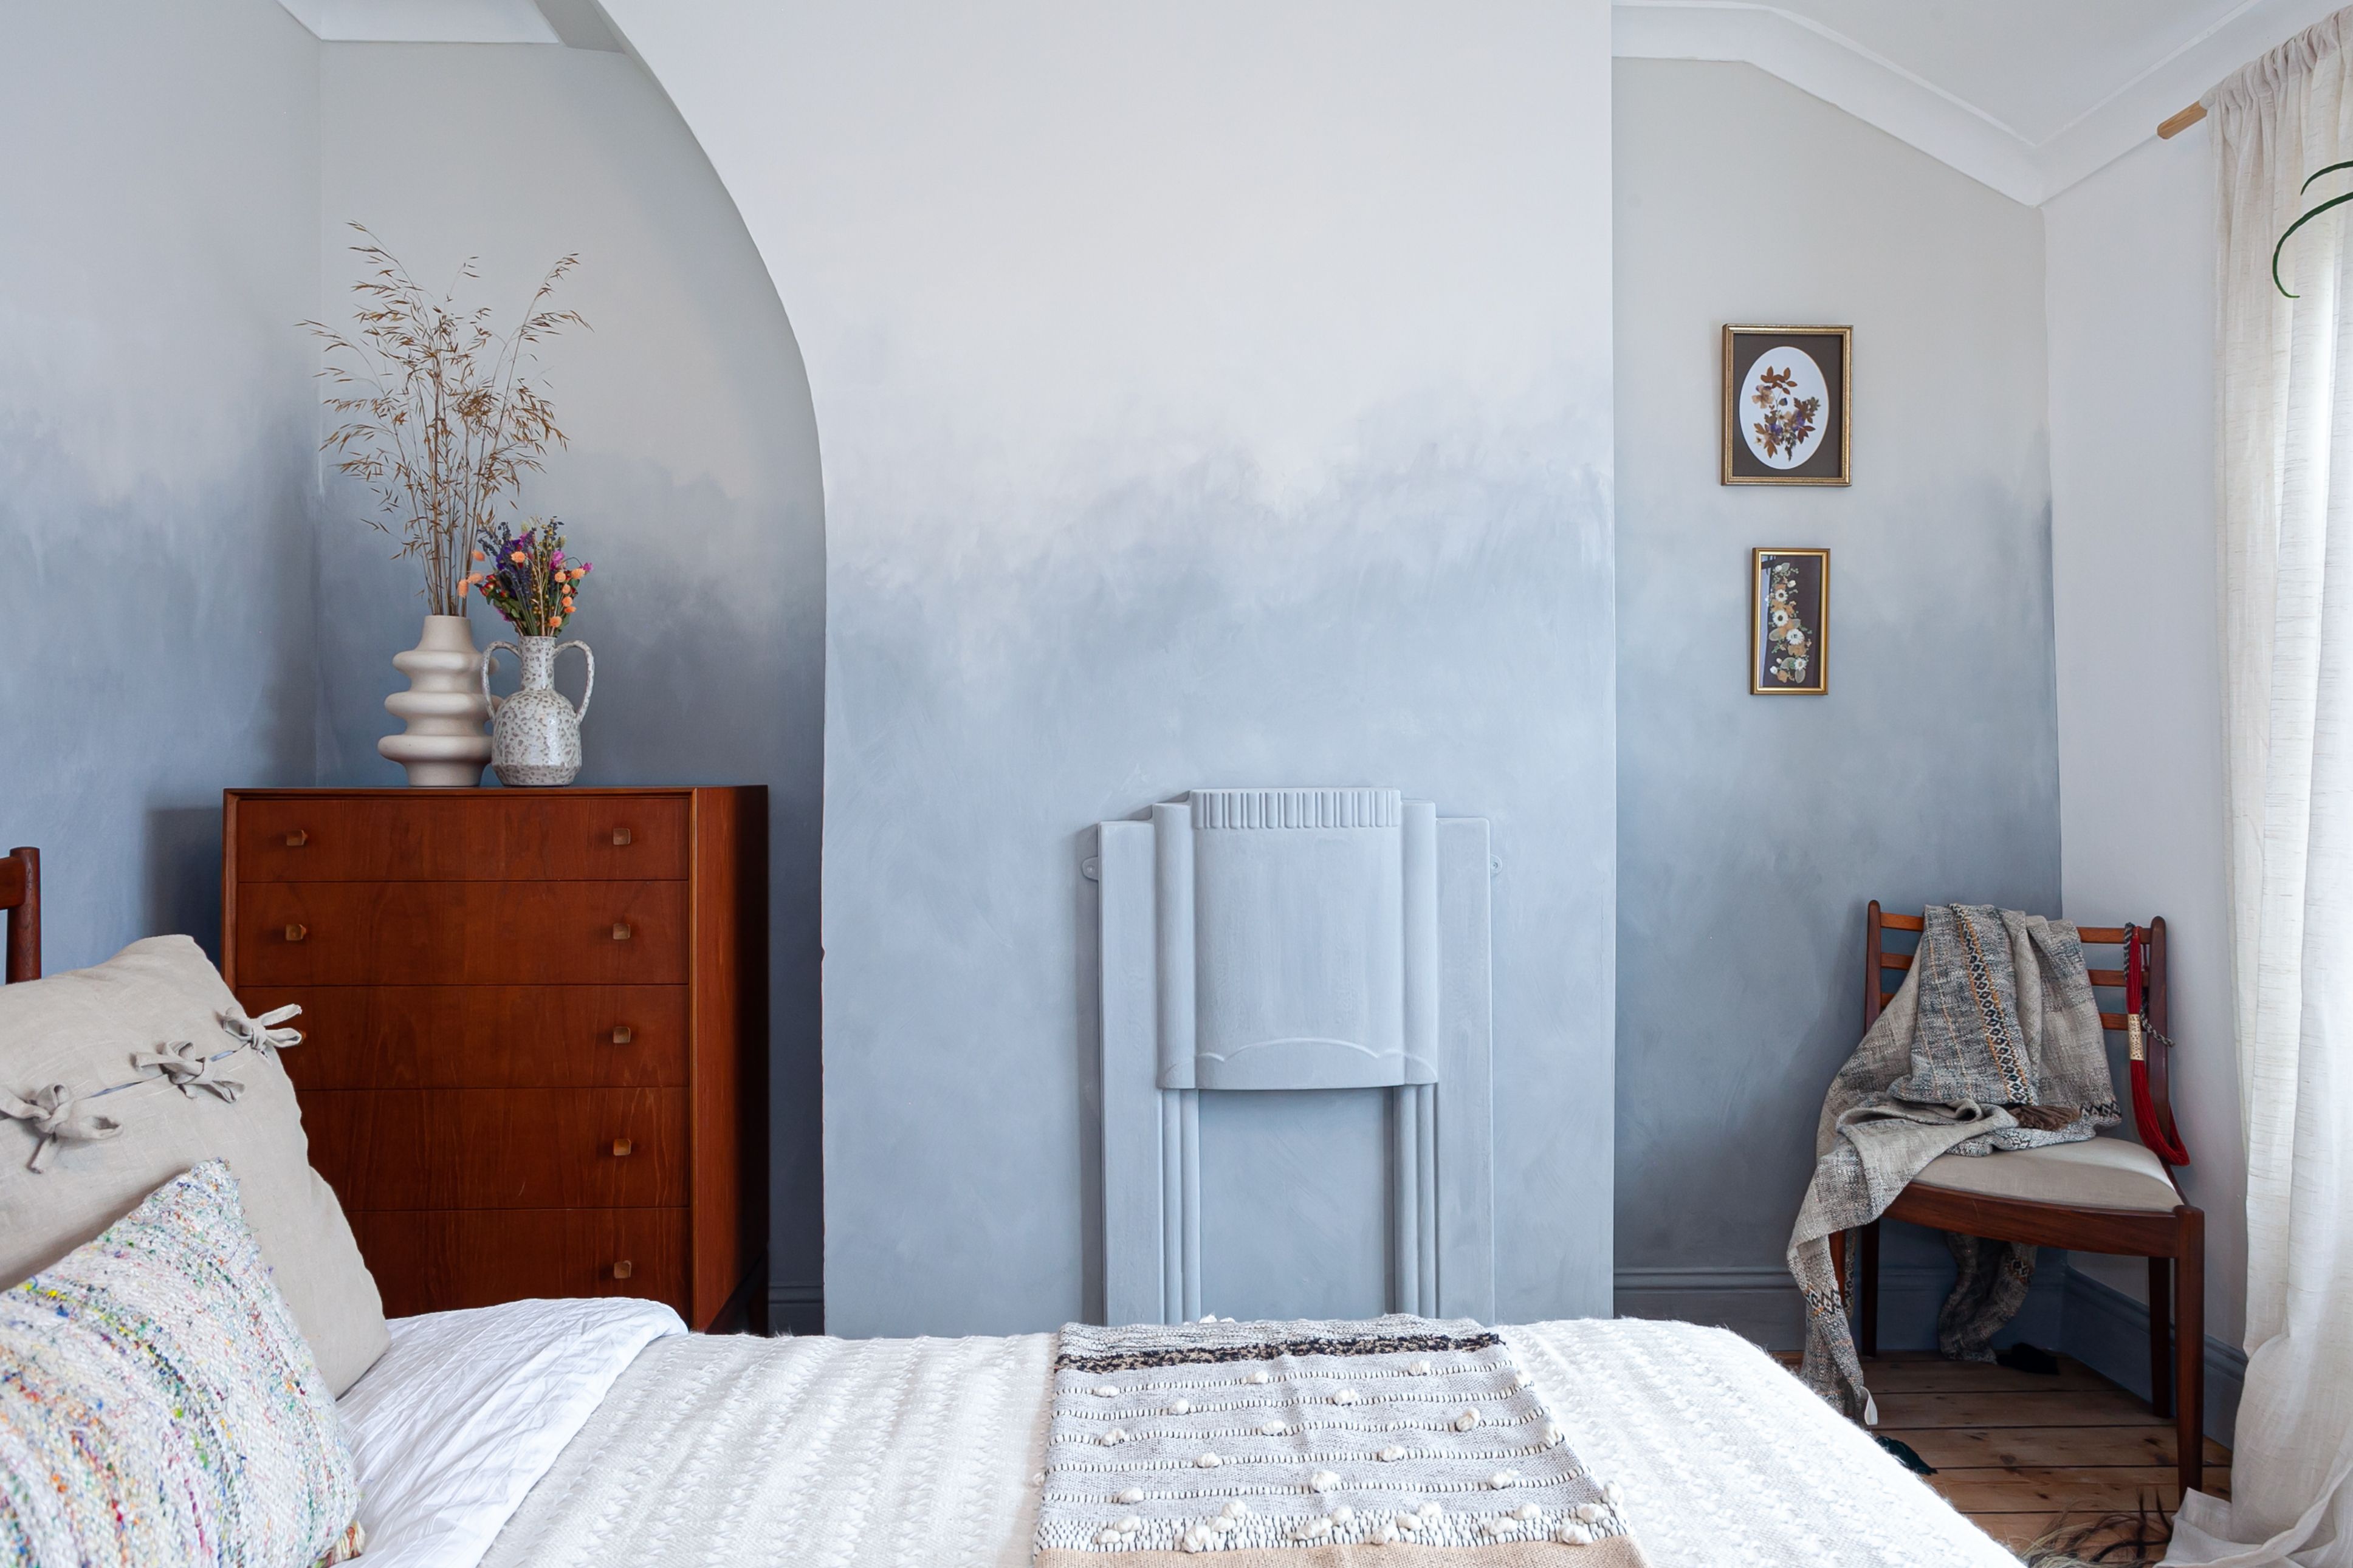
A new trend within minimalist interior design is the use of textured walls. It is a fantastic way to add warmth and intertest whilst keeping the pallet simple and neutral. Textured walls can be created in a number of ways such as painting rough plaster (think Greek beach house), limewash paint or new products that add an aggregate to the paint for the textured effect. These are all great ways of achieving the textured wall look but are not solutions that are easily reversible. If you change your mind in the future there will be a fair amount of remedial work involved.
For a less permanent take on the style, I recently decided to create a textured look in a spare bedroom using nothing but paint. The result was not only a beautiful finish, but something that could easily be painted over if we wanted to change the décor down the line.
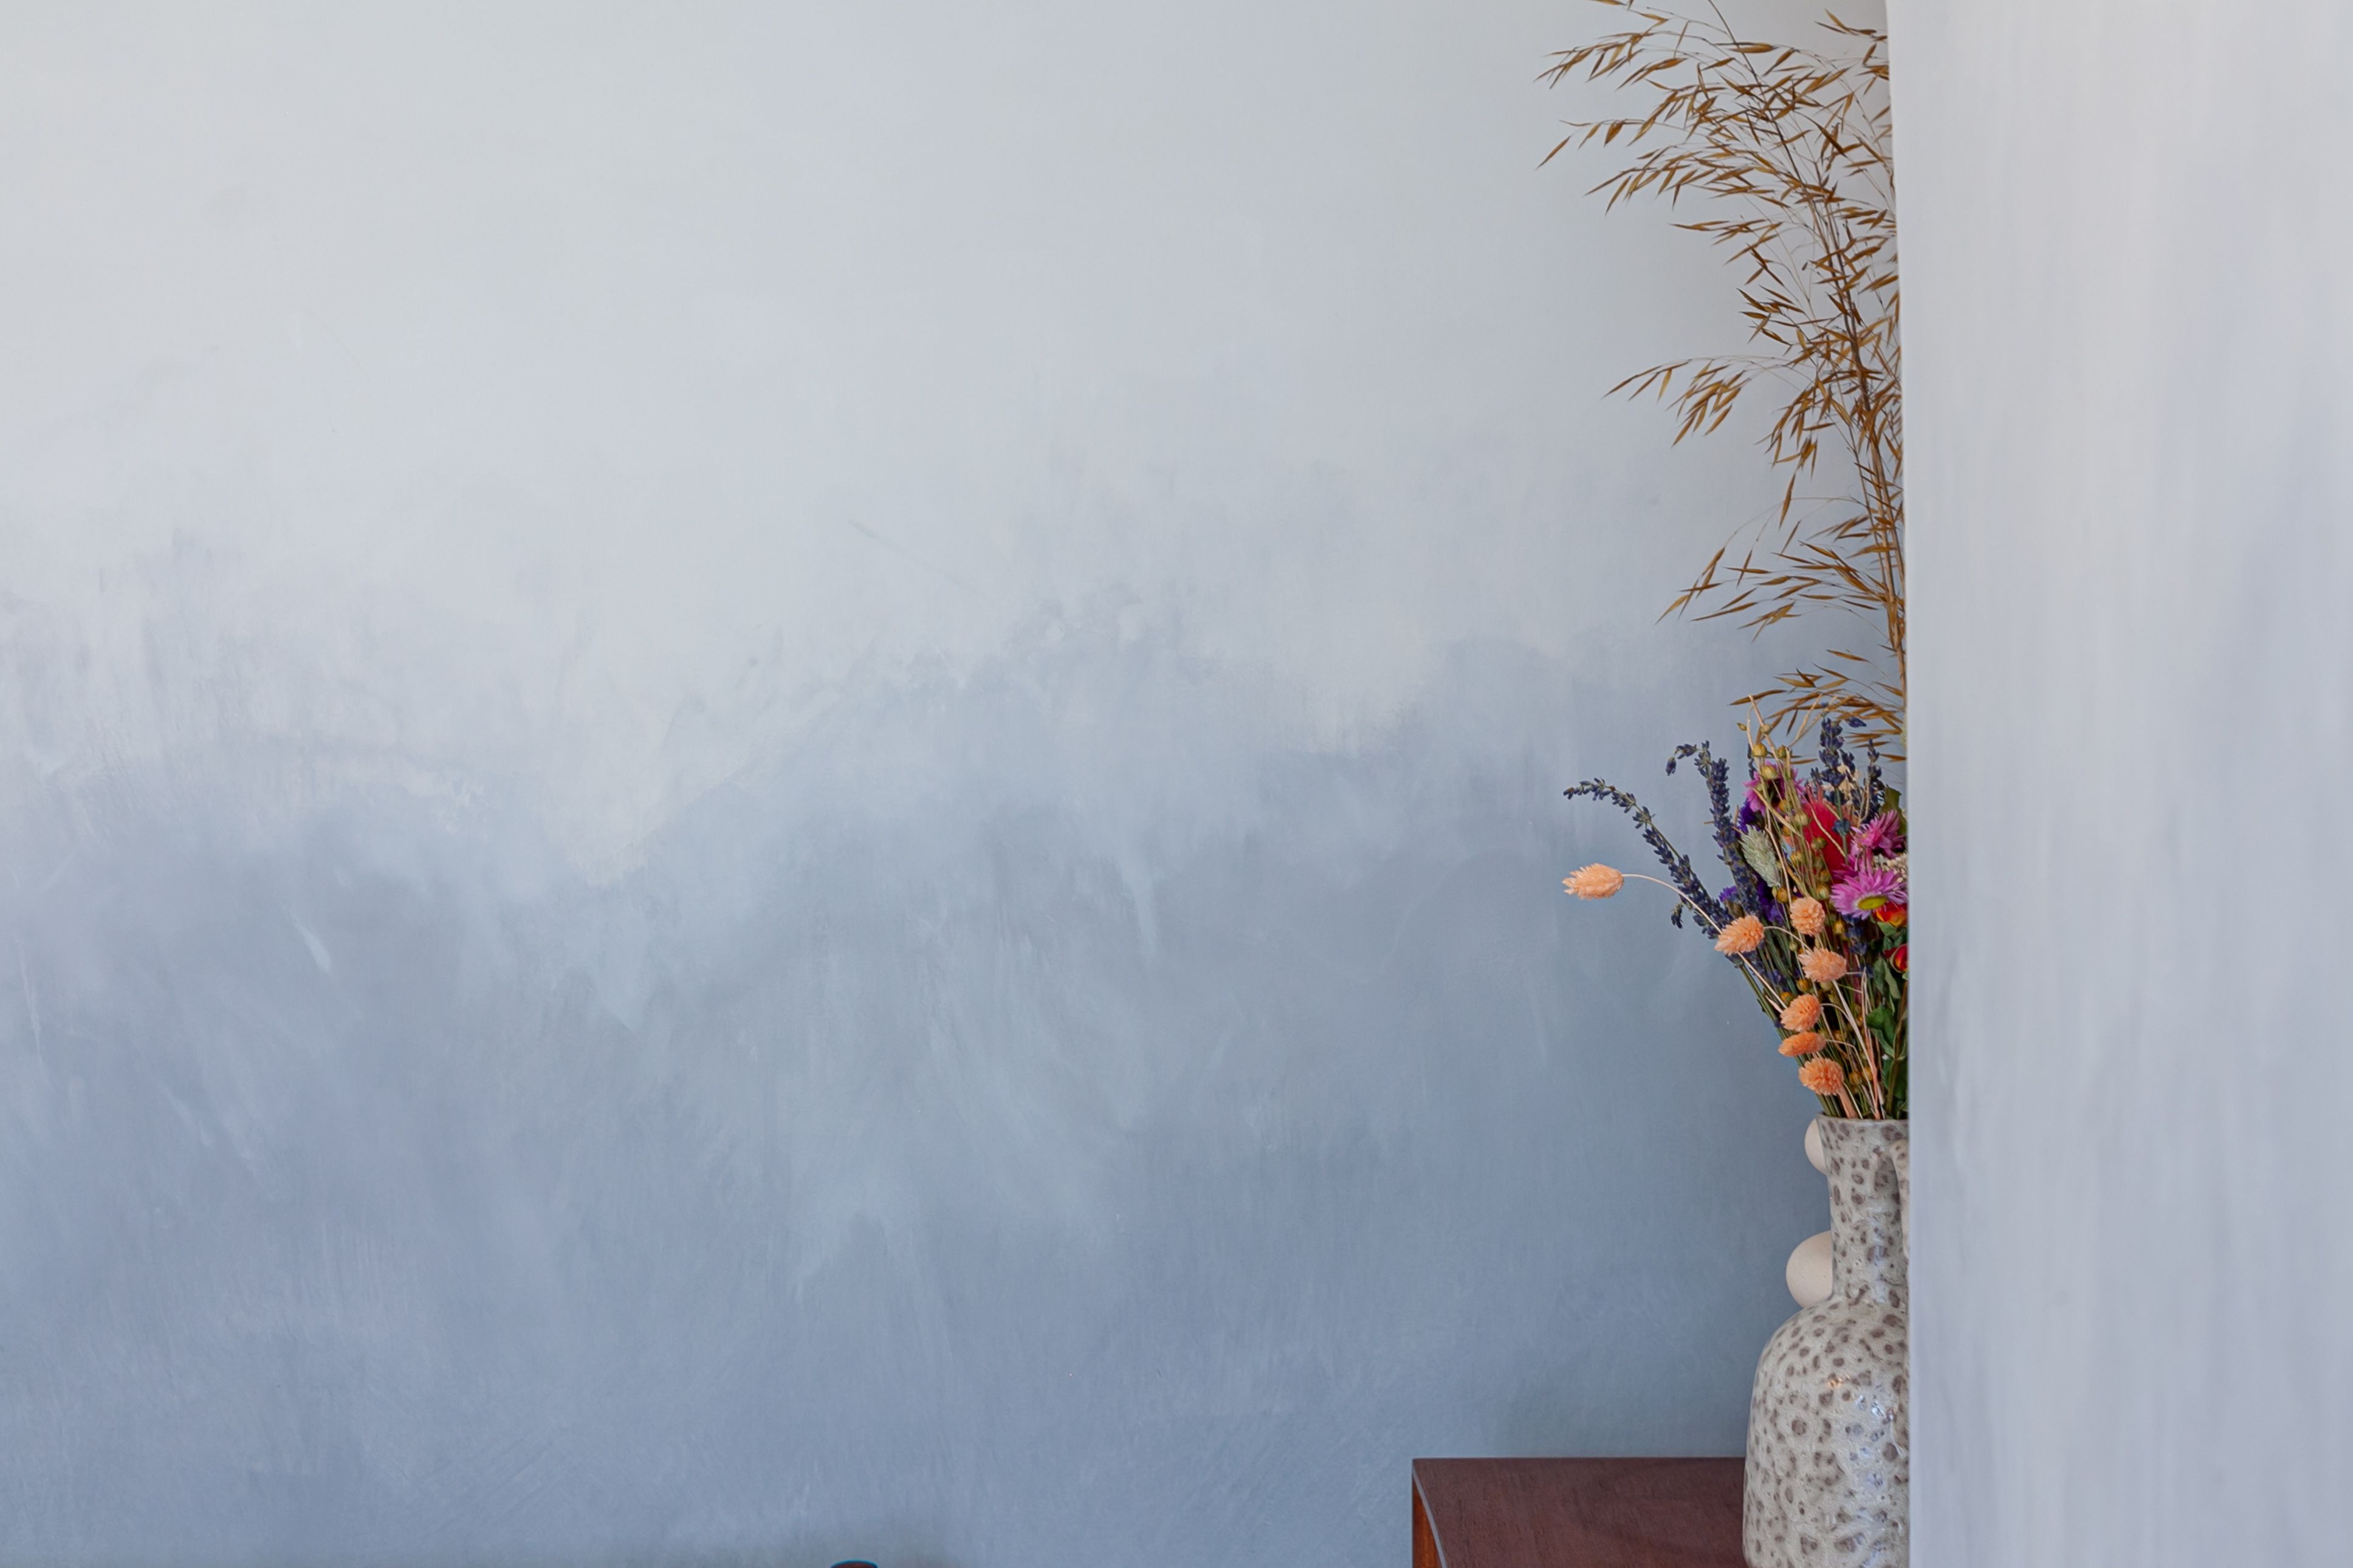
For my spare room I decided to do DIY ombré walls to make the most of the textured effect. I used Rustoleum’s “Light Concrete” Chalkwash paint and ombréd it with Rustoleum’s off white “Steamed Milk” Chalky wall paint.
Want to try it out? Here's the full how-to, below.
- Keep reading: 51 bedroom ideas, trends and styling tips to create your dream space
How to paint a DIY ombré wall
Step 1 – Prepare your walls
Prepare your walls as you would normally do when you are painting. Remove any wallpaper, fill in any cracks and sand if required. It's best to paint the walls white first especially if the new colour is vastly different from before. This is what I had to do with our spare bedroom which was affectionately known as the “Cabbage Cave” due to its vivid green walls and ceiling. Two coats of brilliant white matt paint was enough give me a blank canvas to start my ombré.
- Keep reading: How to paint a room--Everything you need to know
Step 2 – Prepare your paint
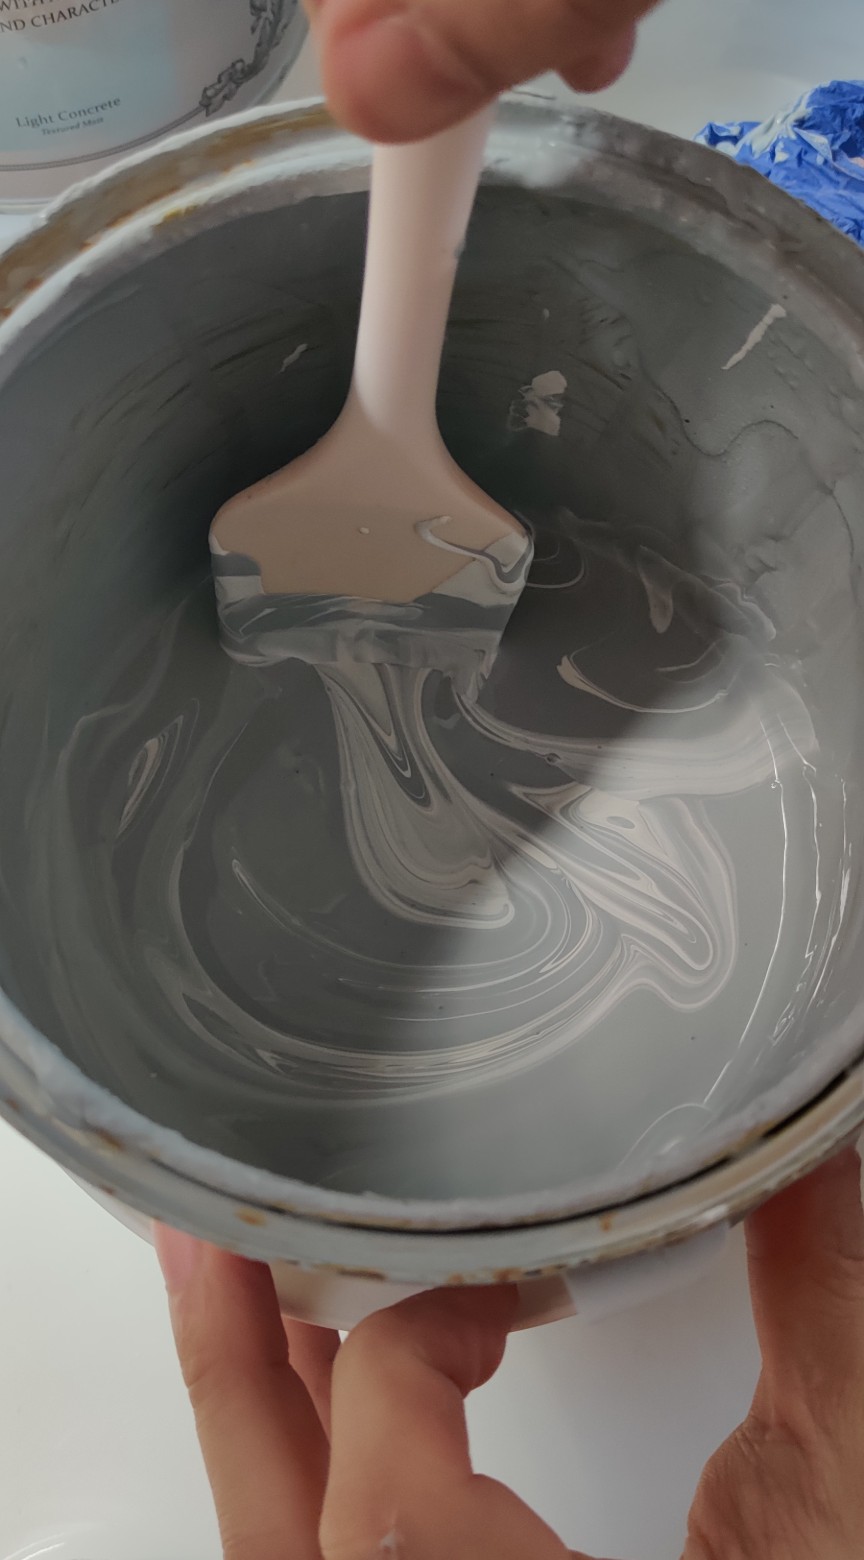
The ombré in my spare bedroom starts as medium grey to an off white. To have a more elongated gradient change I mixed the two colours together to get an intermediate colour. To do this I poured two parts of the “Light Concrete” chalkwash grey paint to 1 part “Steamed Milk” chalky off white. I made around 1 litre of the new colour and this was more than enough for the intermediate layer on 3 large walls.
Step 3 – First coat of paint
For this you need to decide what type of ombré you want. Your colour gradient can change in a linear fashion horizontally, vertically or even diagonally. I decided to go with more of a freeform approach to my ombré where I imagined the walls were more like a rugged mountain scape hidden under a cluster of clouds. My ombré has peaks and troughs and the great thing about doing it more freeform is you can easily change it as you go along. I decided to use the darker colour first to get the basic outline for my ombré.
Get small space home decor ideas, celeb inspiration, DIY tips and more, straight to your inbox!
The first coat the Chalkwash paint went on like any other paint using a roller. The chalkwash paint is more ‘runny’ than standard paint but don’t let this put you off, the coverage is really good and in my opinion the second layer of paint is where the magic happens. Using the roller I painted the darkest colour in my ombré in the shape I wanted. The first coat of the intermediate layer was around 50cm above the dark layer and the off white colour was then extended up to the ceiling. Allow this to dry and top up any patchy areas.
Step 4 – Textured paint
To create the textured look using the Chalkwash paint you need to apply the second coat using a brush. Using a wide brush (4 inch or above) paint in a crisscross fashion to create the textured effect. Have some fun with this part. You can make the walls look like whatever you wish so if you want some swirls and circles then paint some swirls and circles. In my experience the paint dries quickly and any area can be easily touched up to add to the textured effect you are going for. I painted up to the edge of my first coat before starting on the ombré.
Step 5 – Ombré your heart out
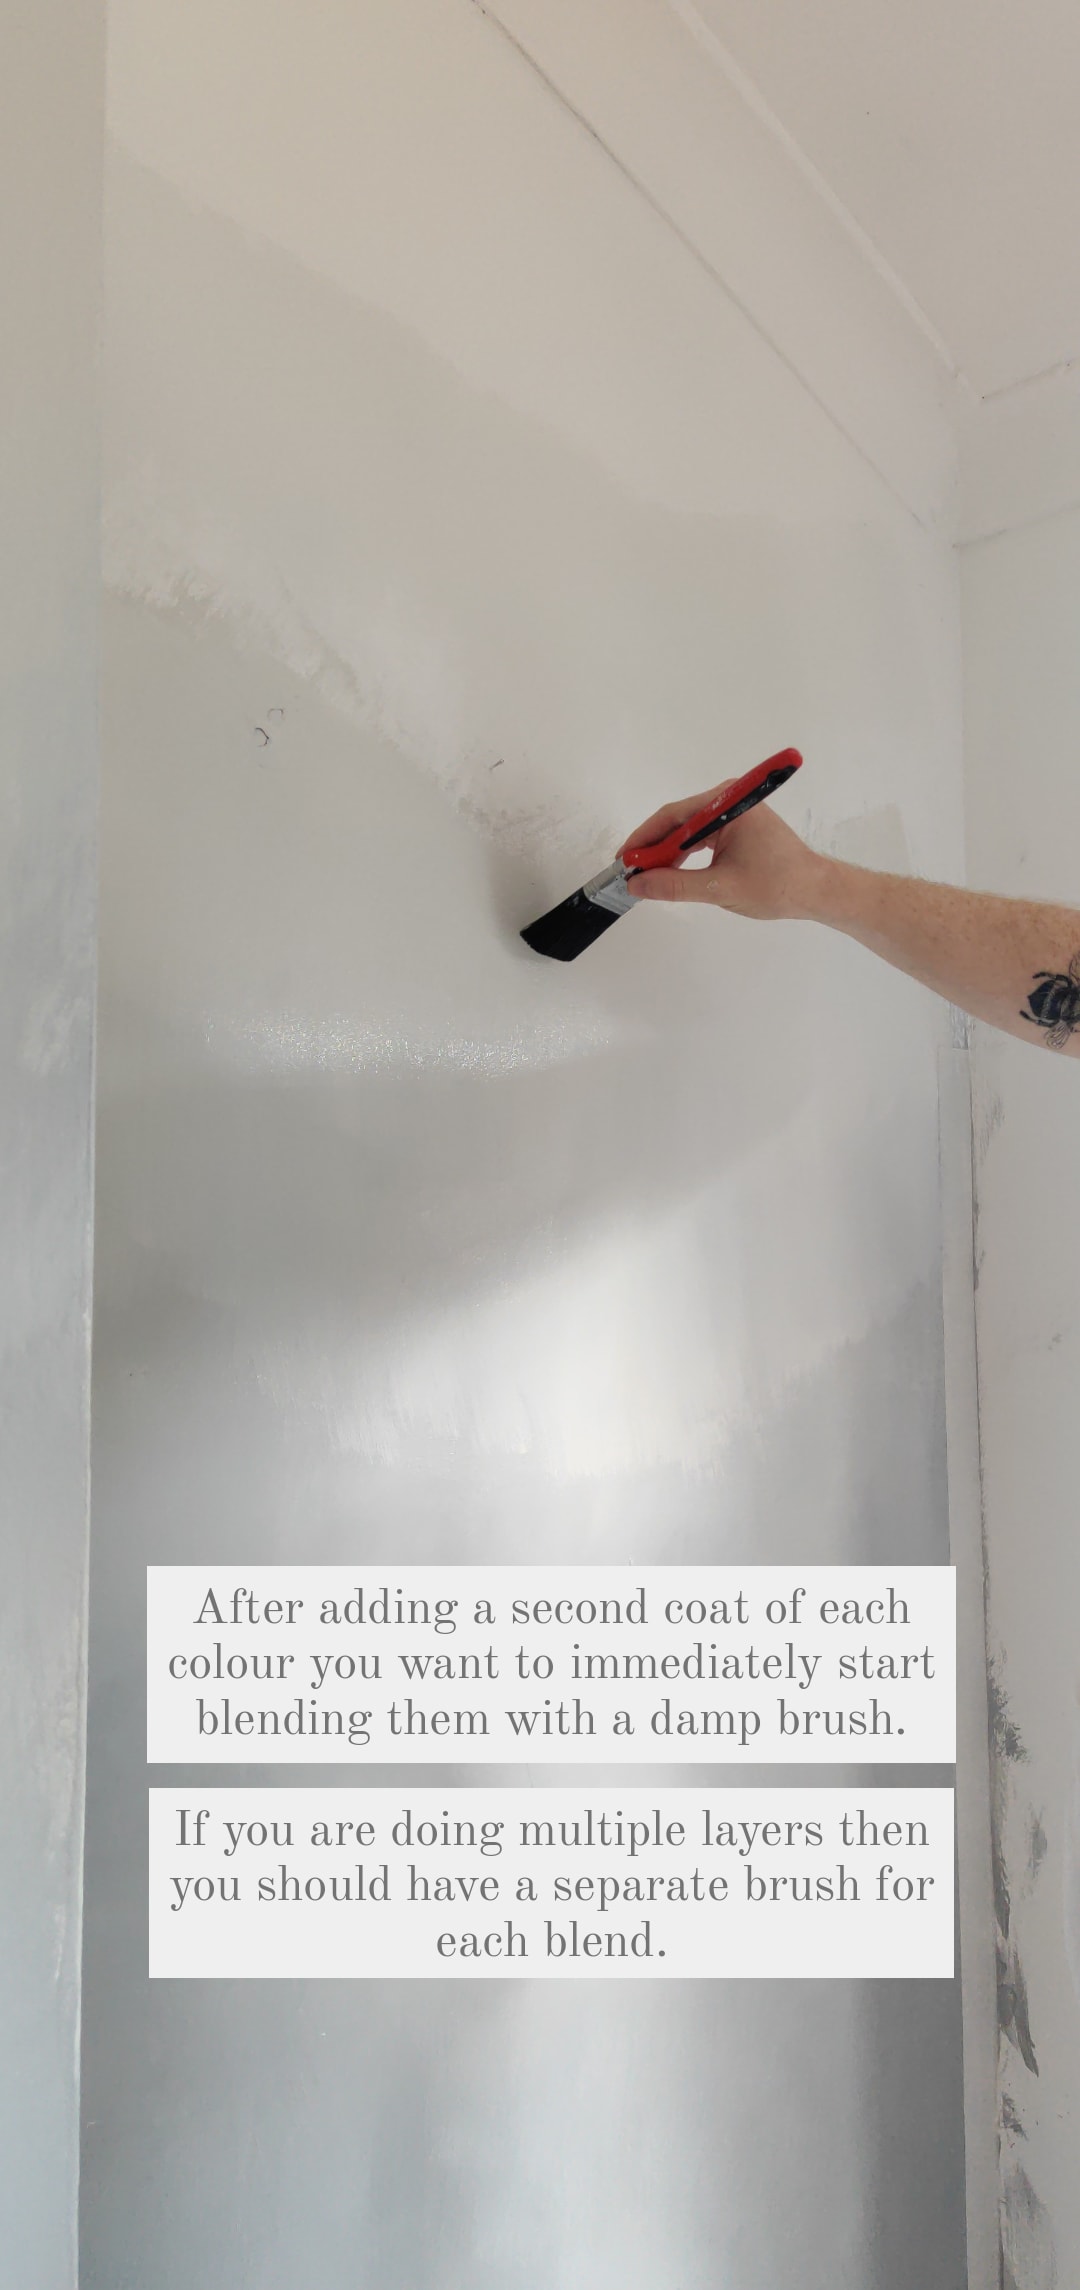
To achieve your ombré you will need a clean brush and some water. While your different paint colours are still wet dip your brush into the water and shake off any excess. Using the damp clean brush start to blend the two colours together using broad brush strokes. You will see the two colours starting to mix and add more water if needed. I found it useful to have the main colours near you with their own separate brushes if you ever need a top up. The ombré will not work if the paint has already dried. Only do a small area at a time and my top tip is to stand back every once in a while to make sure you are happen with the gradient.
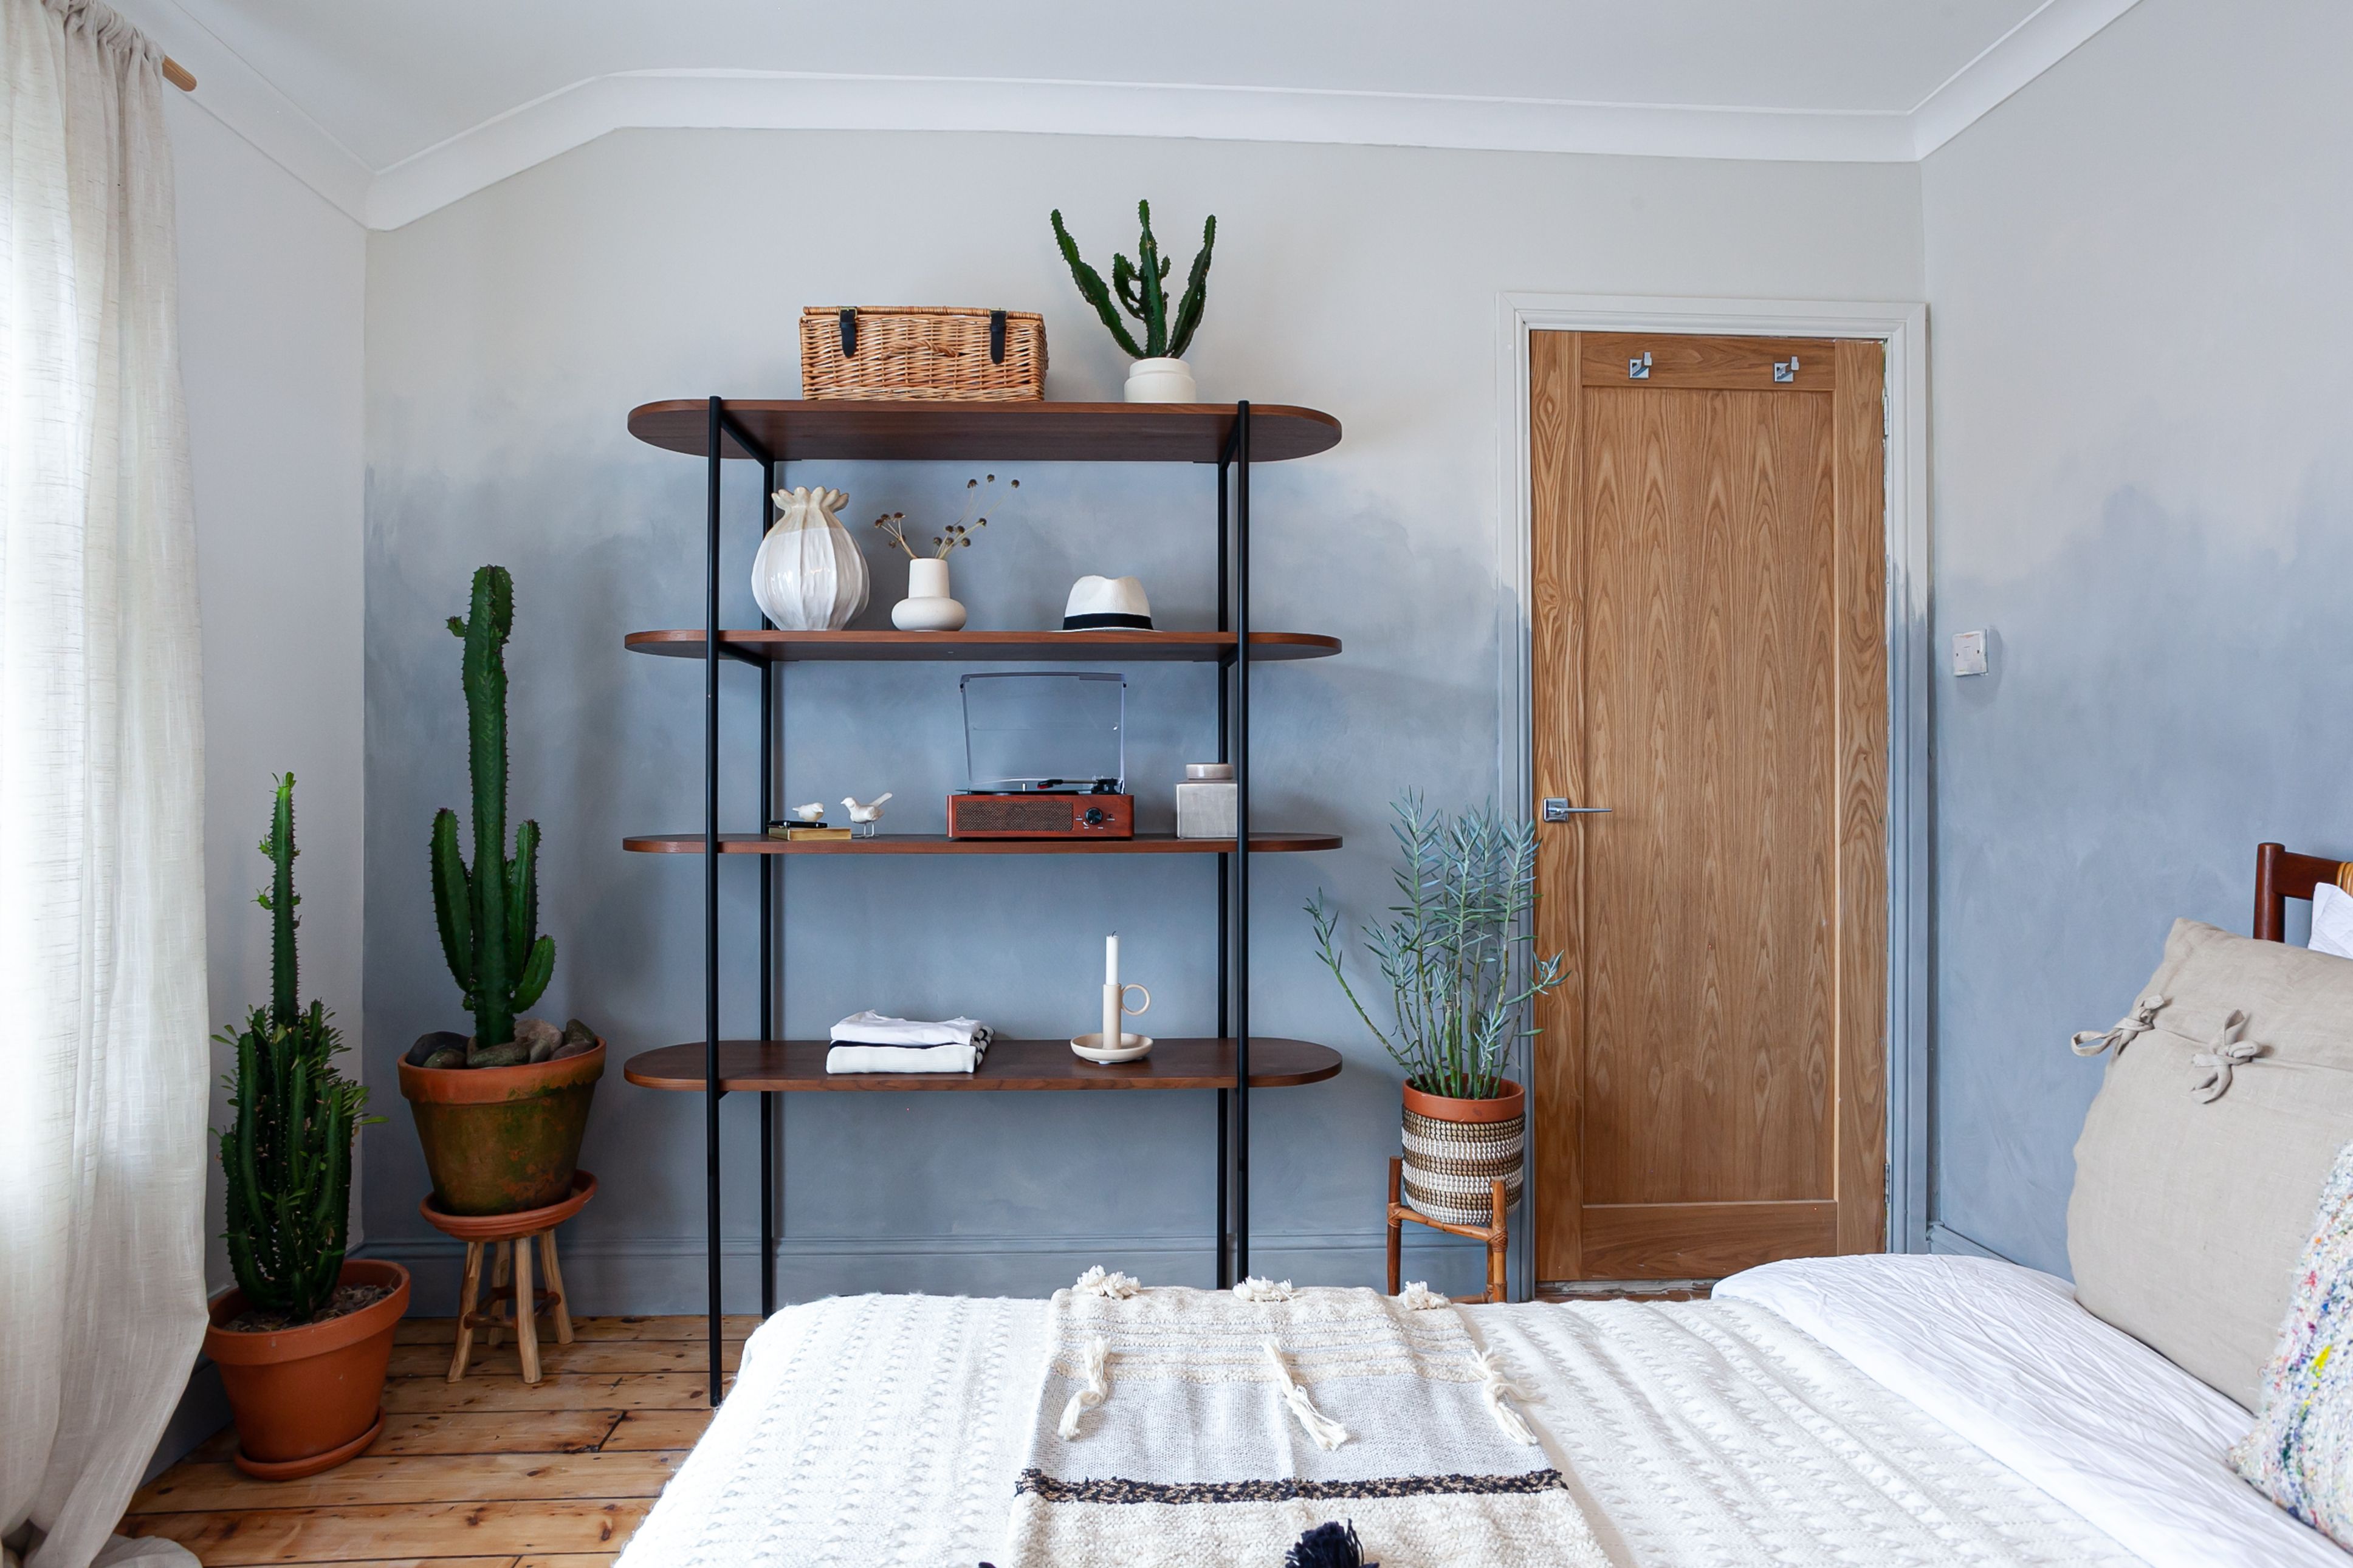
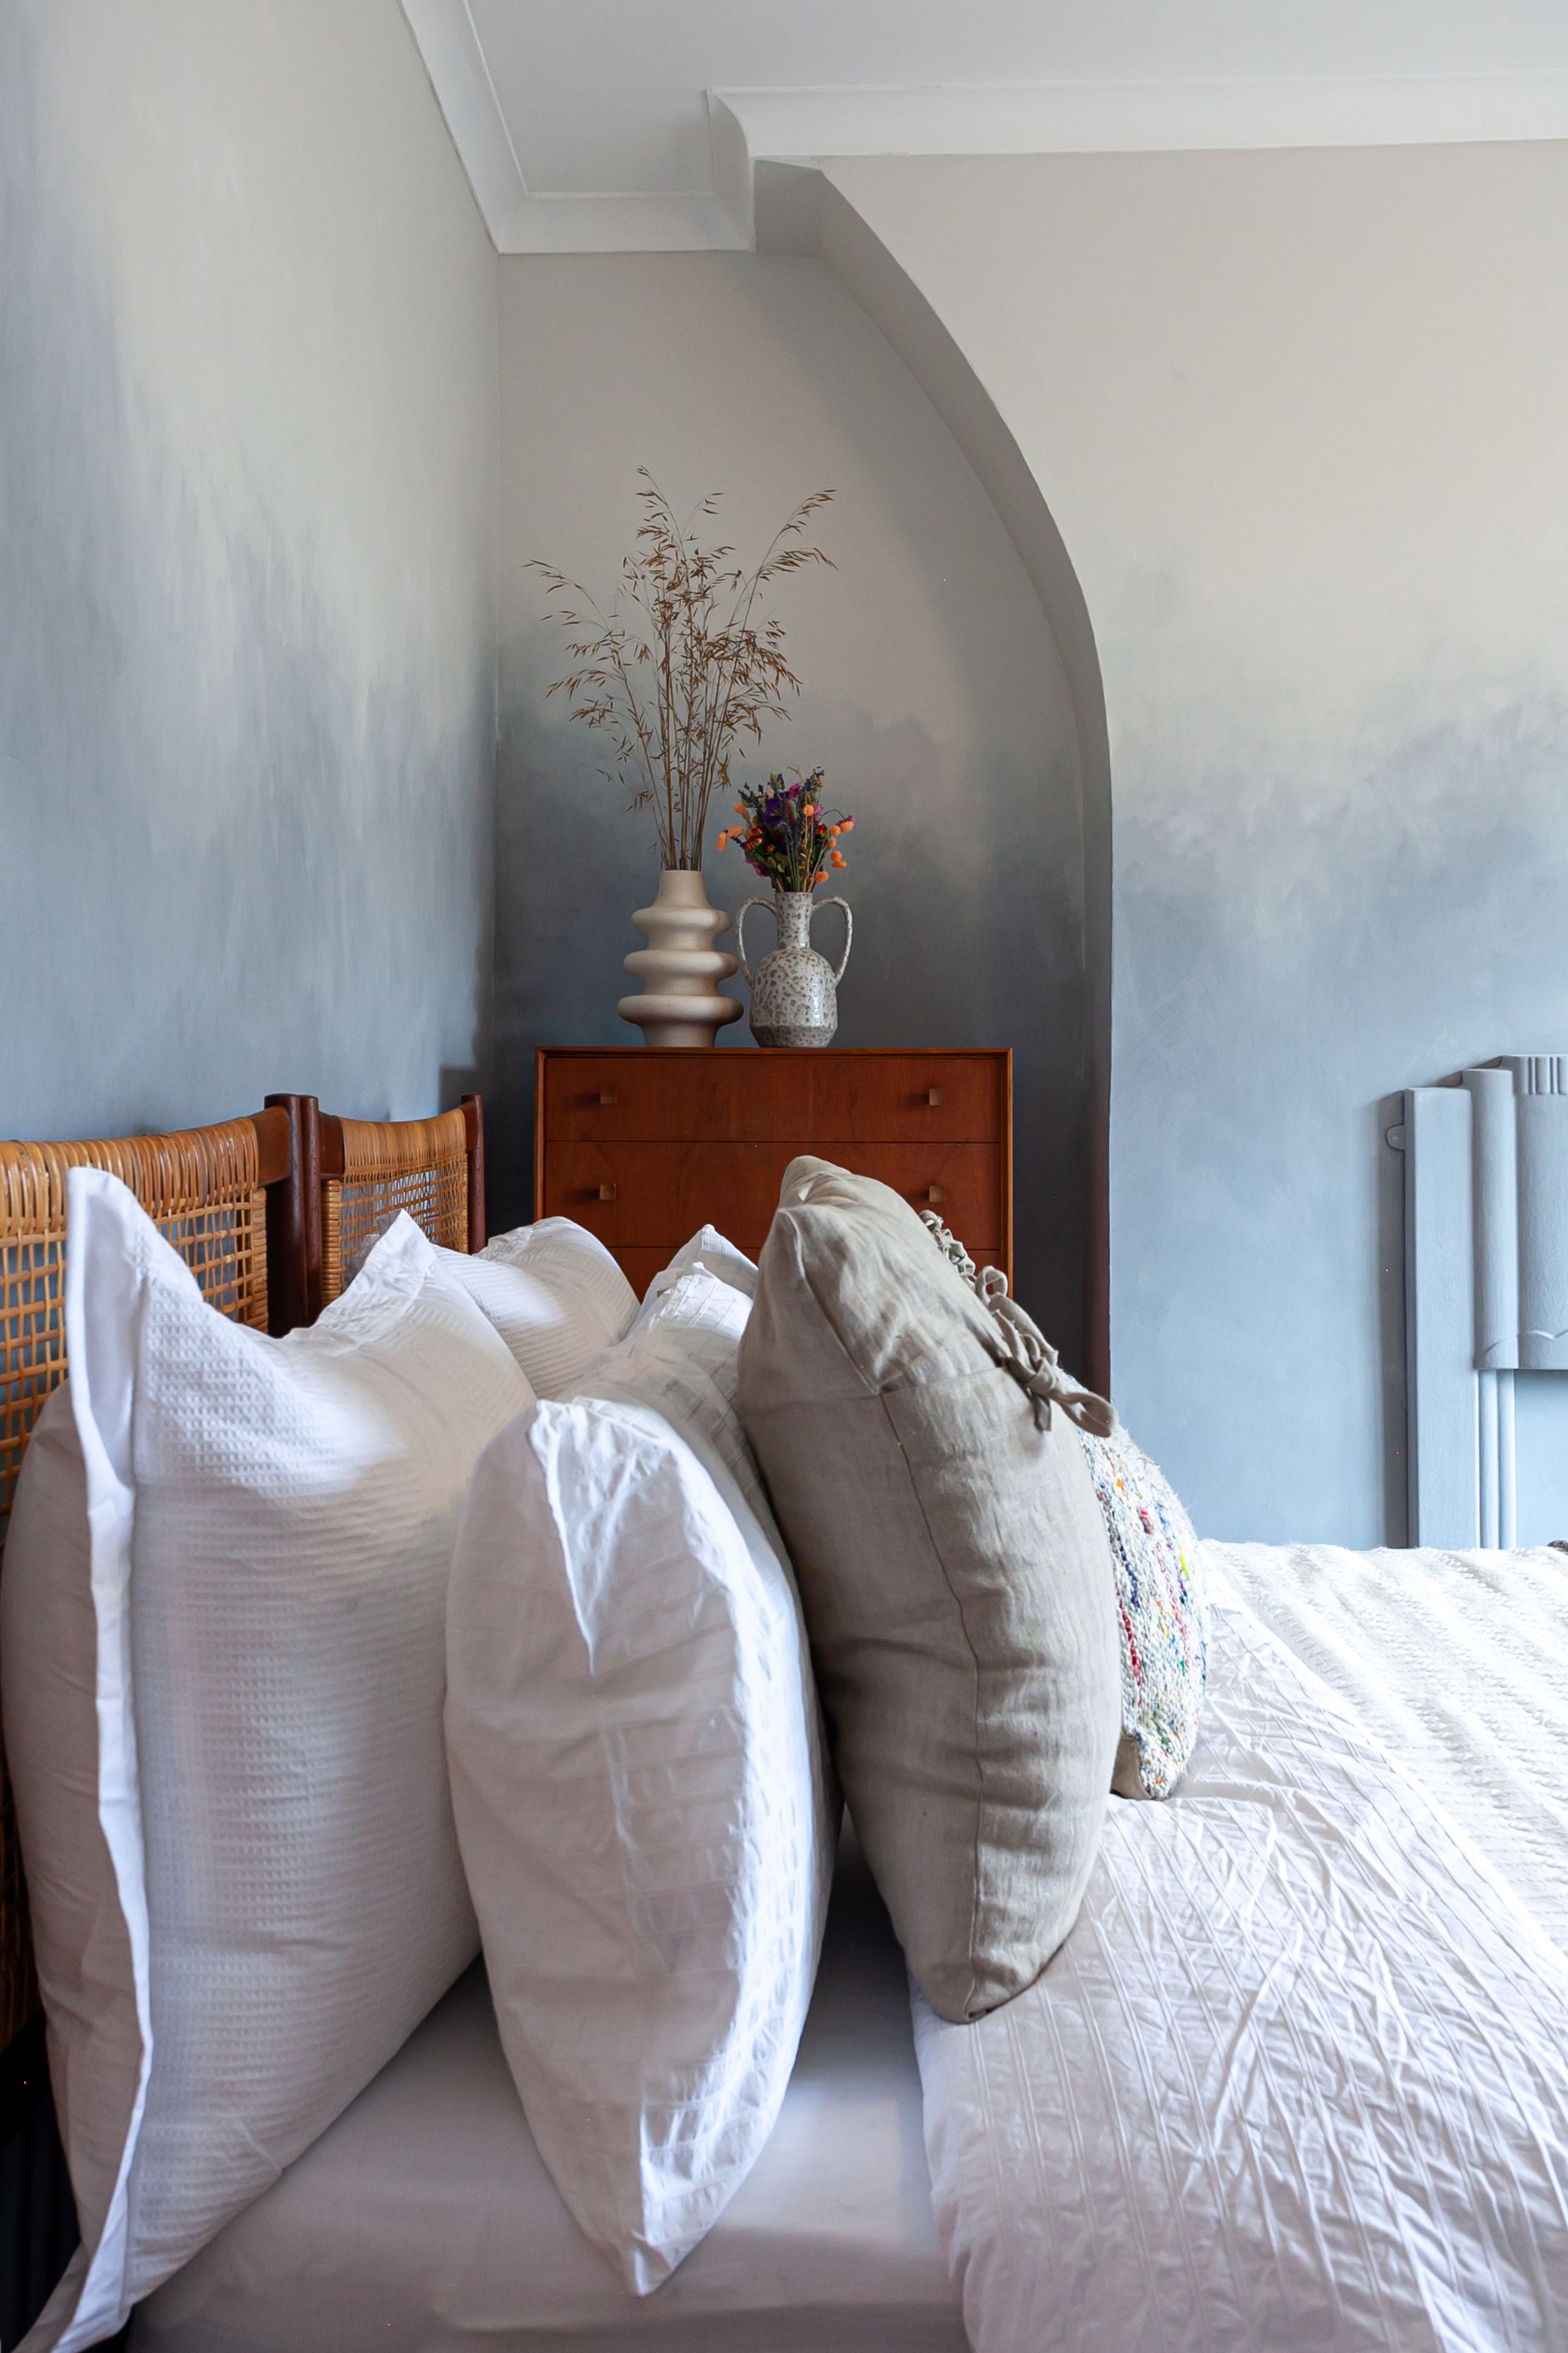
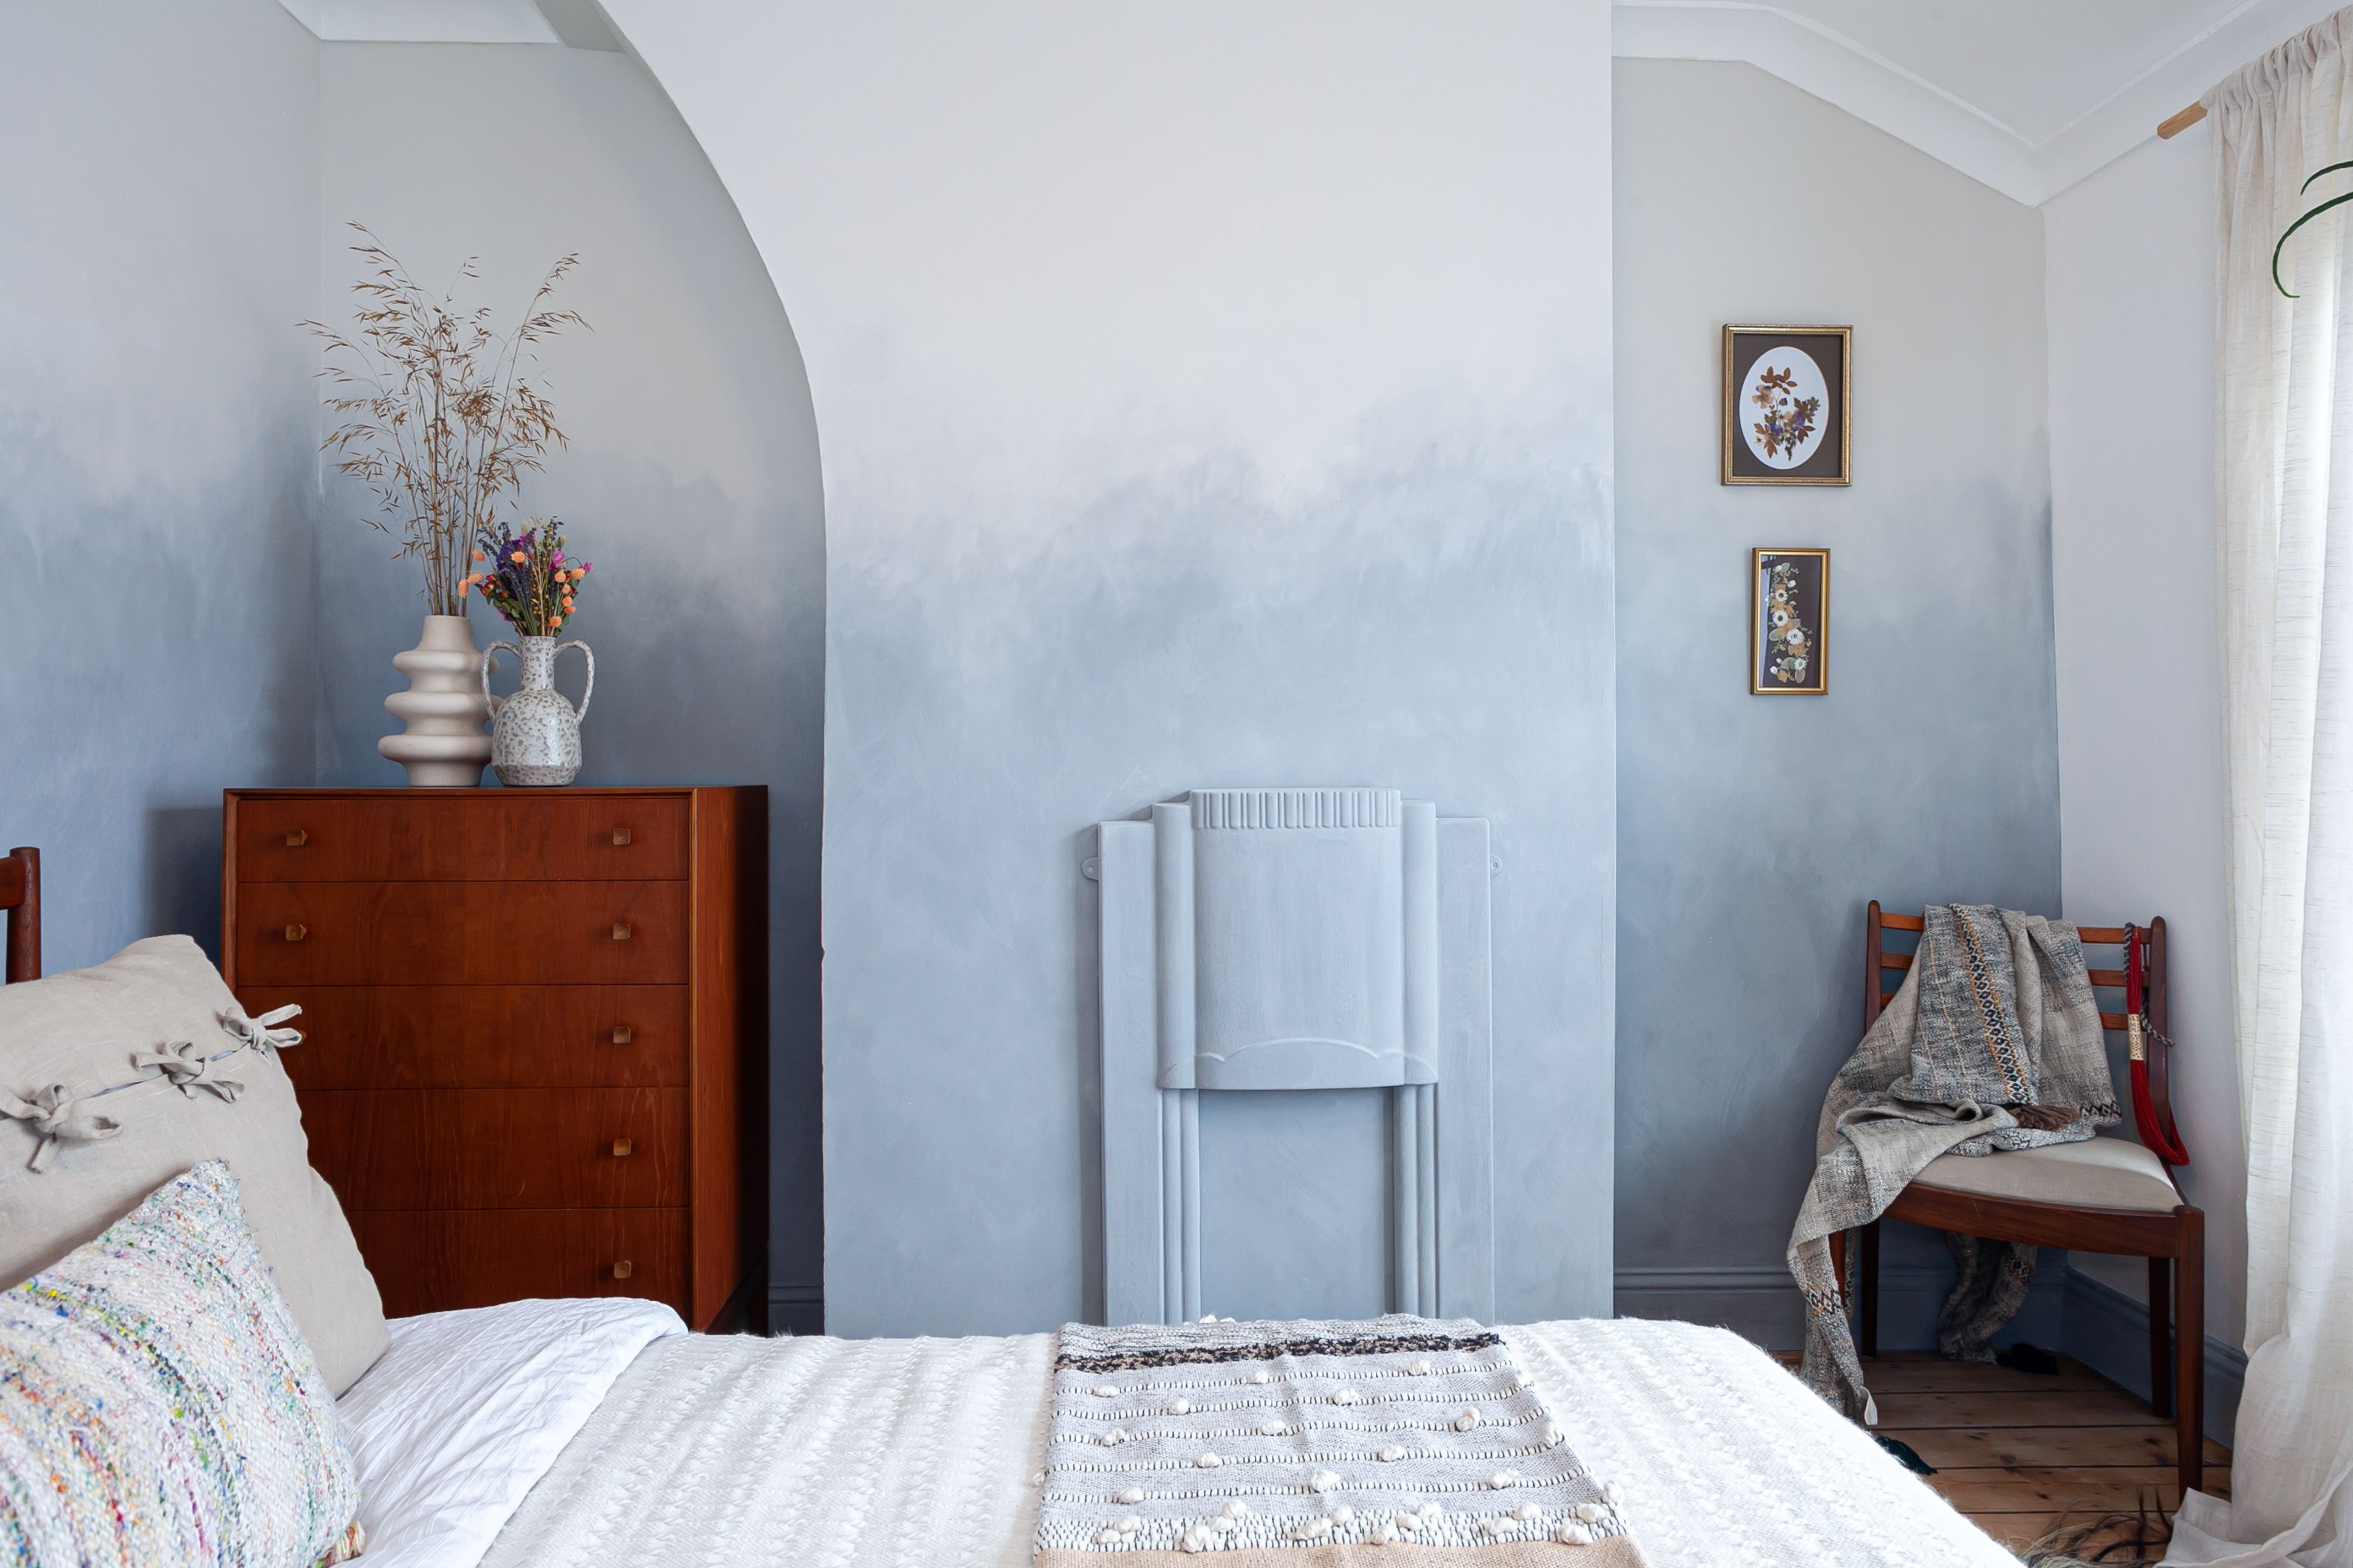
I really love how the walls have turned out. The textured chalkwash paint catches the light and looks different from different angles while remaining flat on the walls. The ombré effect looks like a cloud and artwork in its own right.
Check out more of the finished product:
About the author
Jo Lemos is a proud dog dad, and DIY renovator. His current project: his unloved 1930s semi, which he tackles with his partner, Chris. Find him at @two.men.and.a.semi.
Jo Lemos is a DIYer and decorator who chronicles his projects on the popular Instagram account @two.men.and.a.semi. His DIY obsession began in childhood, when he used to help his parents redecorate the family house. Since then, he’s been developing his DIY skills for two decades, culminating in a full renovation of his current house alongside his partner, Chris. Currently the duo is restoring a 1930s semi-detached house in Manchester that had been badly renovated throughout the years. For Jo, sustainable and budget friendly design is the best way to renovate your house, and he considers his renovation motto to be: “Why pay someone when I can do it myself?!”

