Real Costs: A tiny galley kitchen becomes an airy utility room for less than £1k
One DIY pro turned his tiny galley into a light and air utility room with heaps of storage. And it only cost this much...

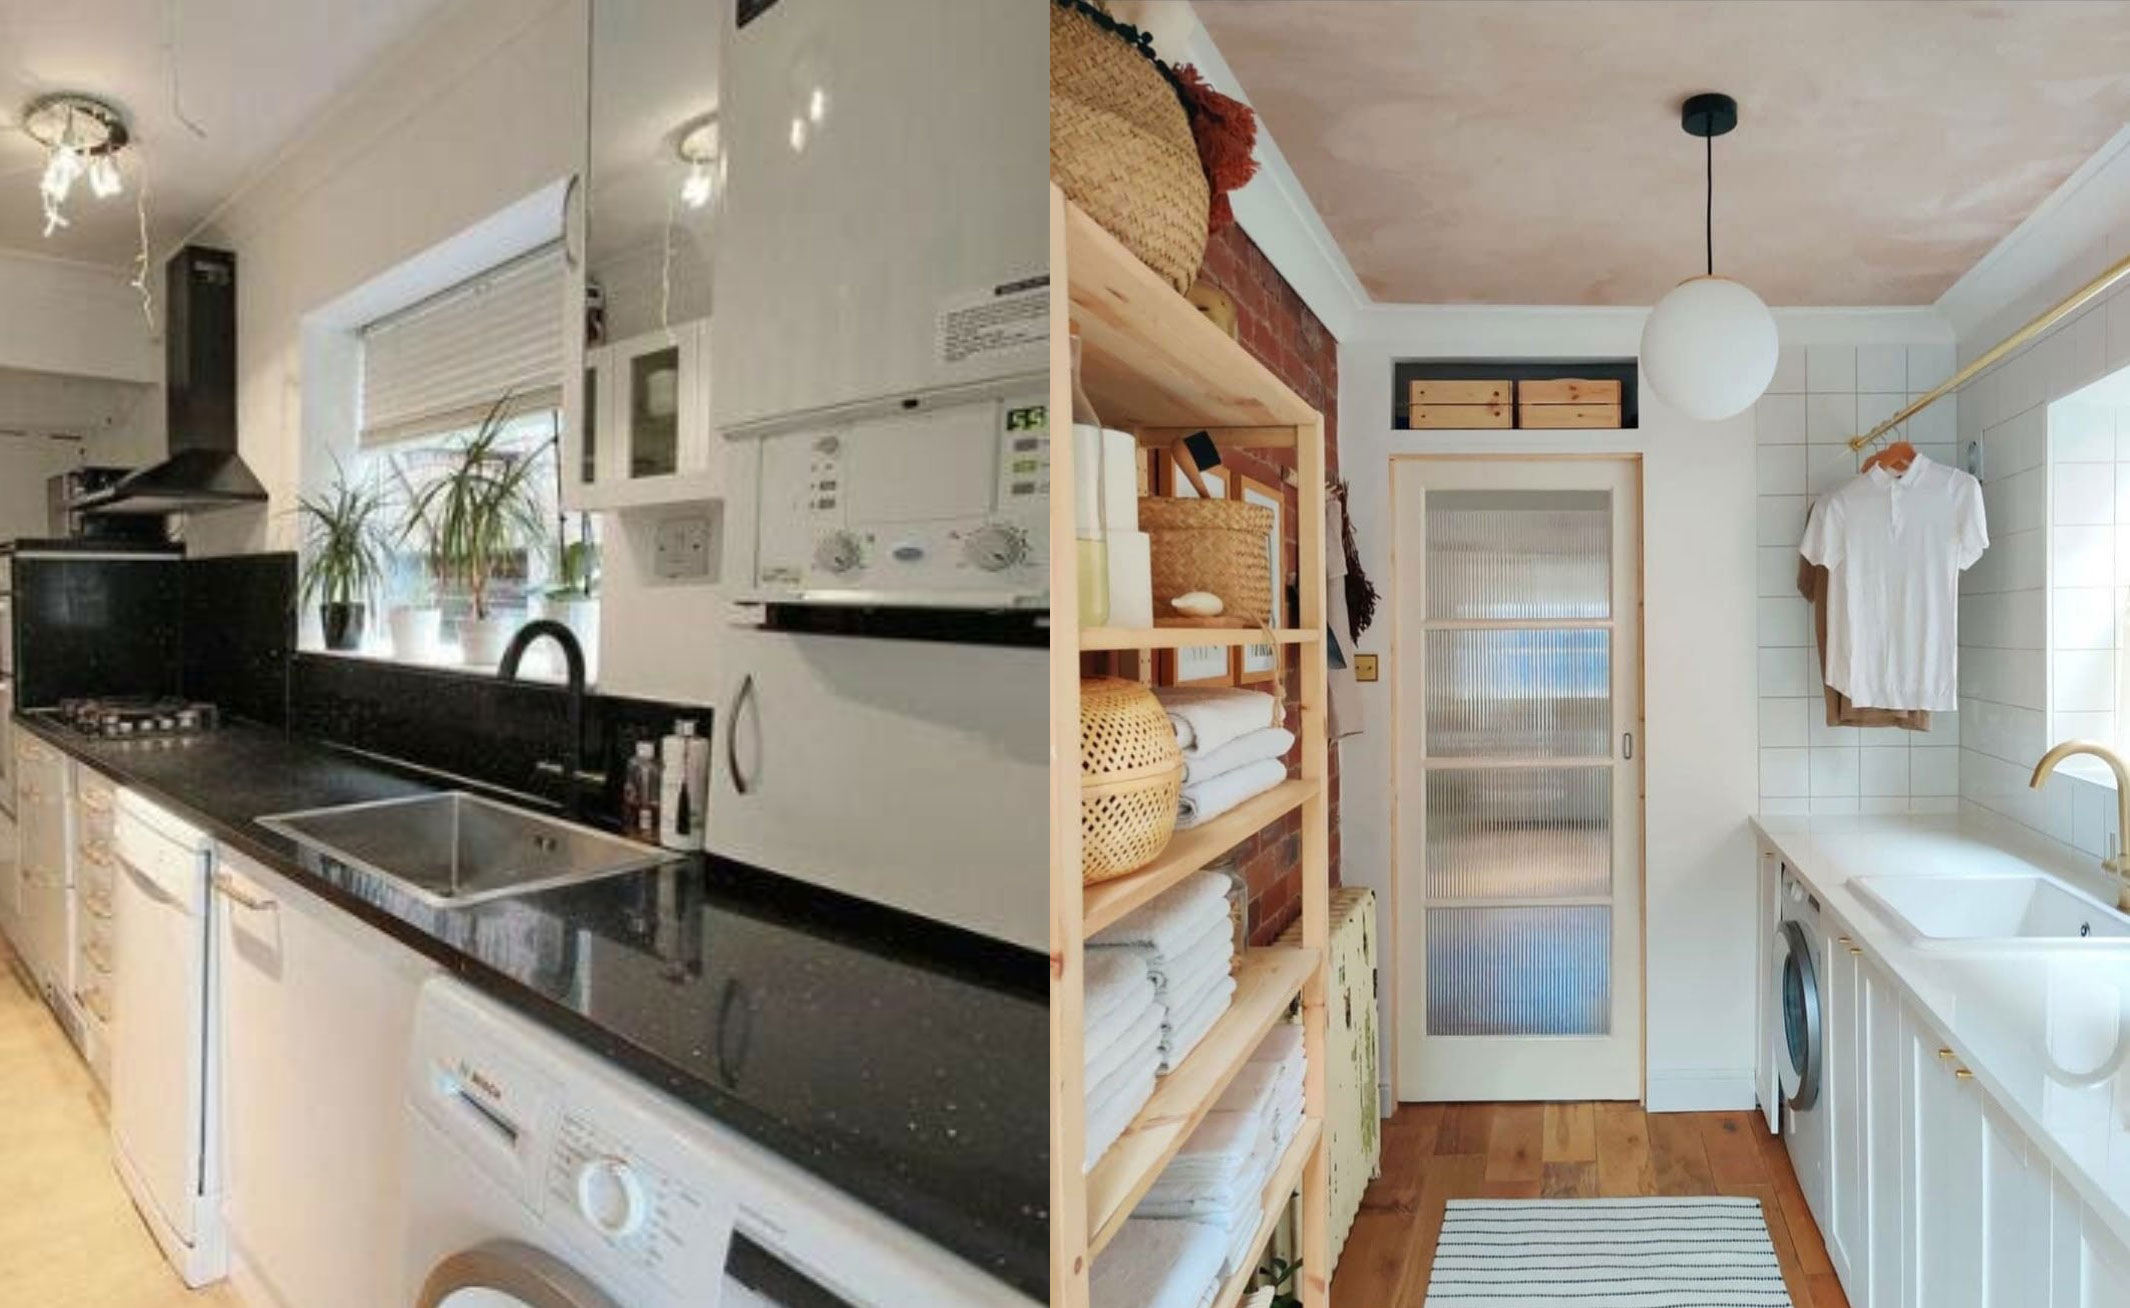
When I moved into my 1930s semi 18 months ago I knew immediately that I wanted to move the kitchen. The kitchen, like many 1930s buildings, was a small galley that doesn’t suit today's open plan living ideal. The house came with two connected reception rooms so I decided to change one of them to the new kitchen but then left me with what to do with the old galley kitchen. I decided to use the space as a utility room and a downstairs toilet.
The utility room design was an easy change as the plumbing for the sink and washing machine was already in place. Most of the work involved in this was to remove the old kitchen and install new cabinets and worktop. As a keen DIY household I knew this would be a job to do with my partner.
Removing the old kitchen
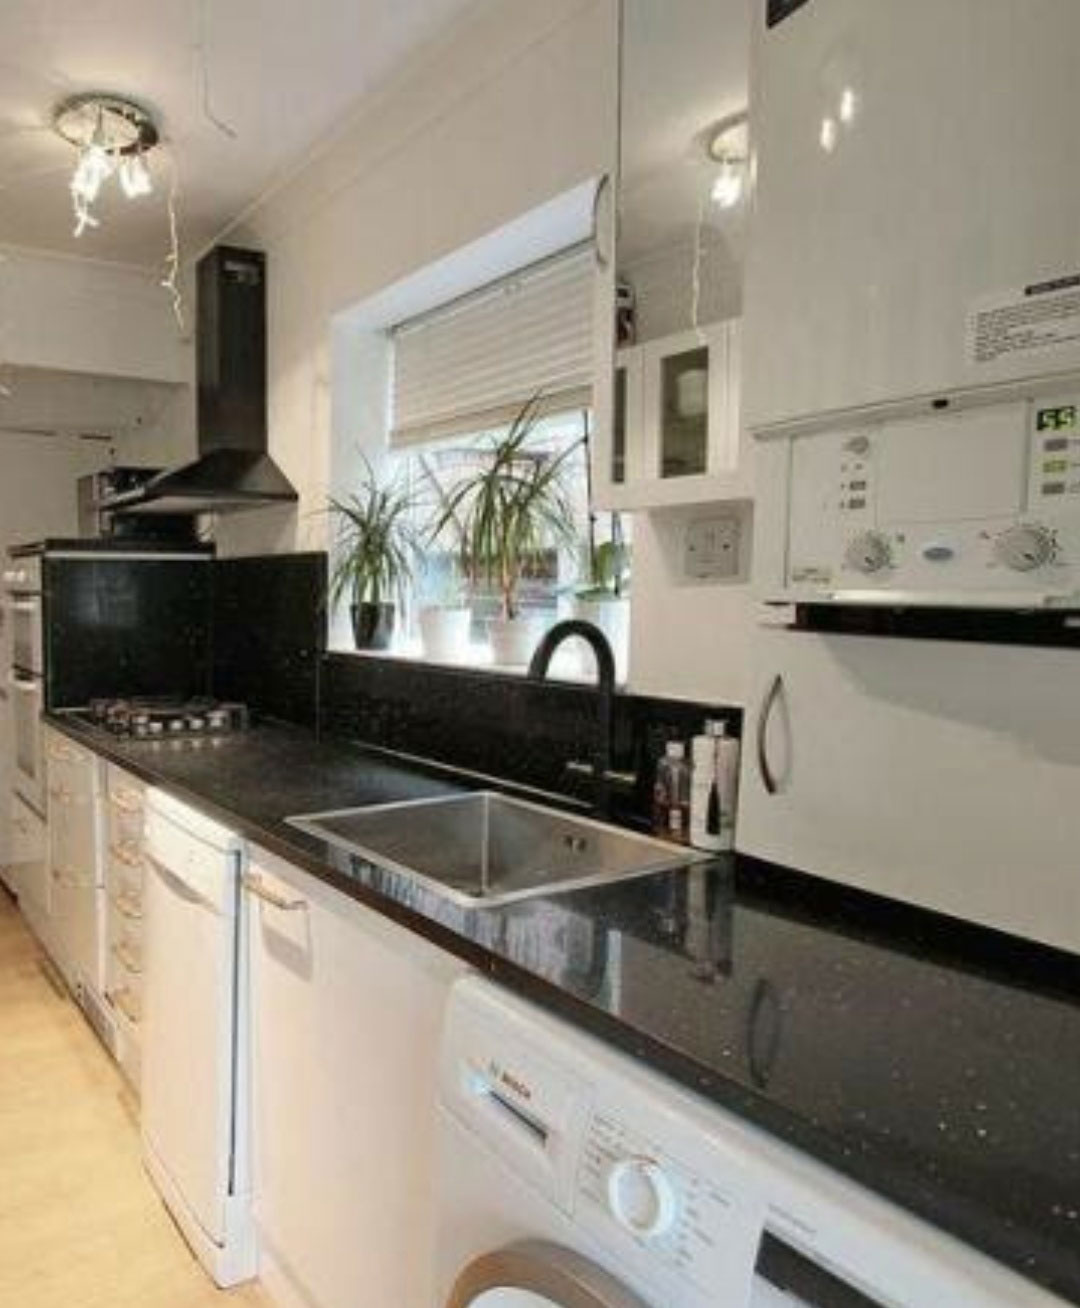
The old galley kitchen from Ikea was looking tired but many of the units were in a perfectly usable condition. I upcycled three of the wall cabinets to make a sideboard in a recent project and, the other cabinets, worktop and appliances we put on Facebook Marketplace to either sell or give away for free to prevent them ending up in landfill.
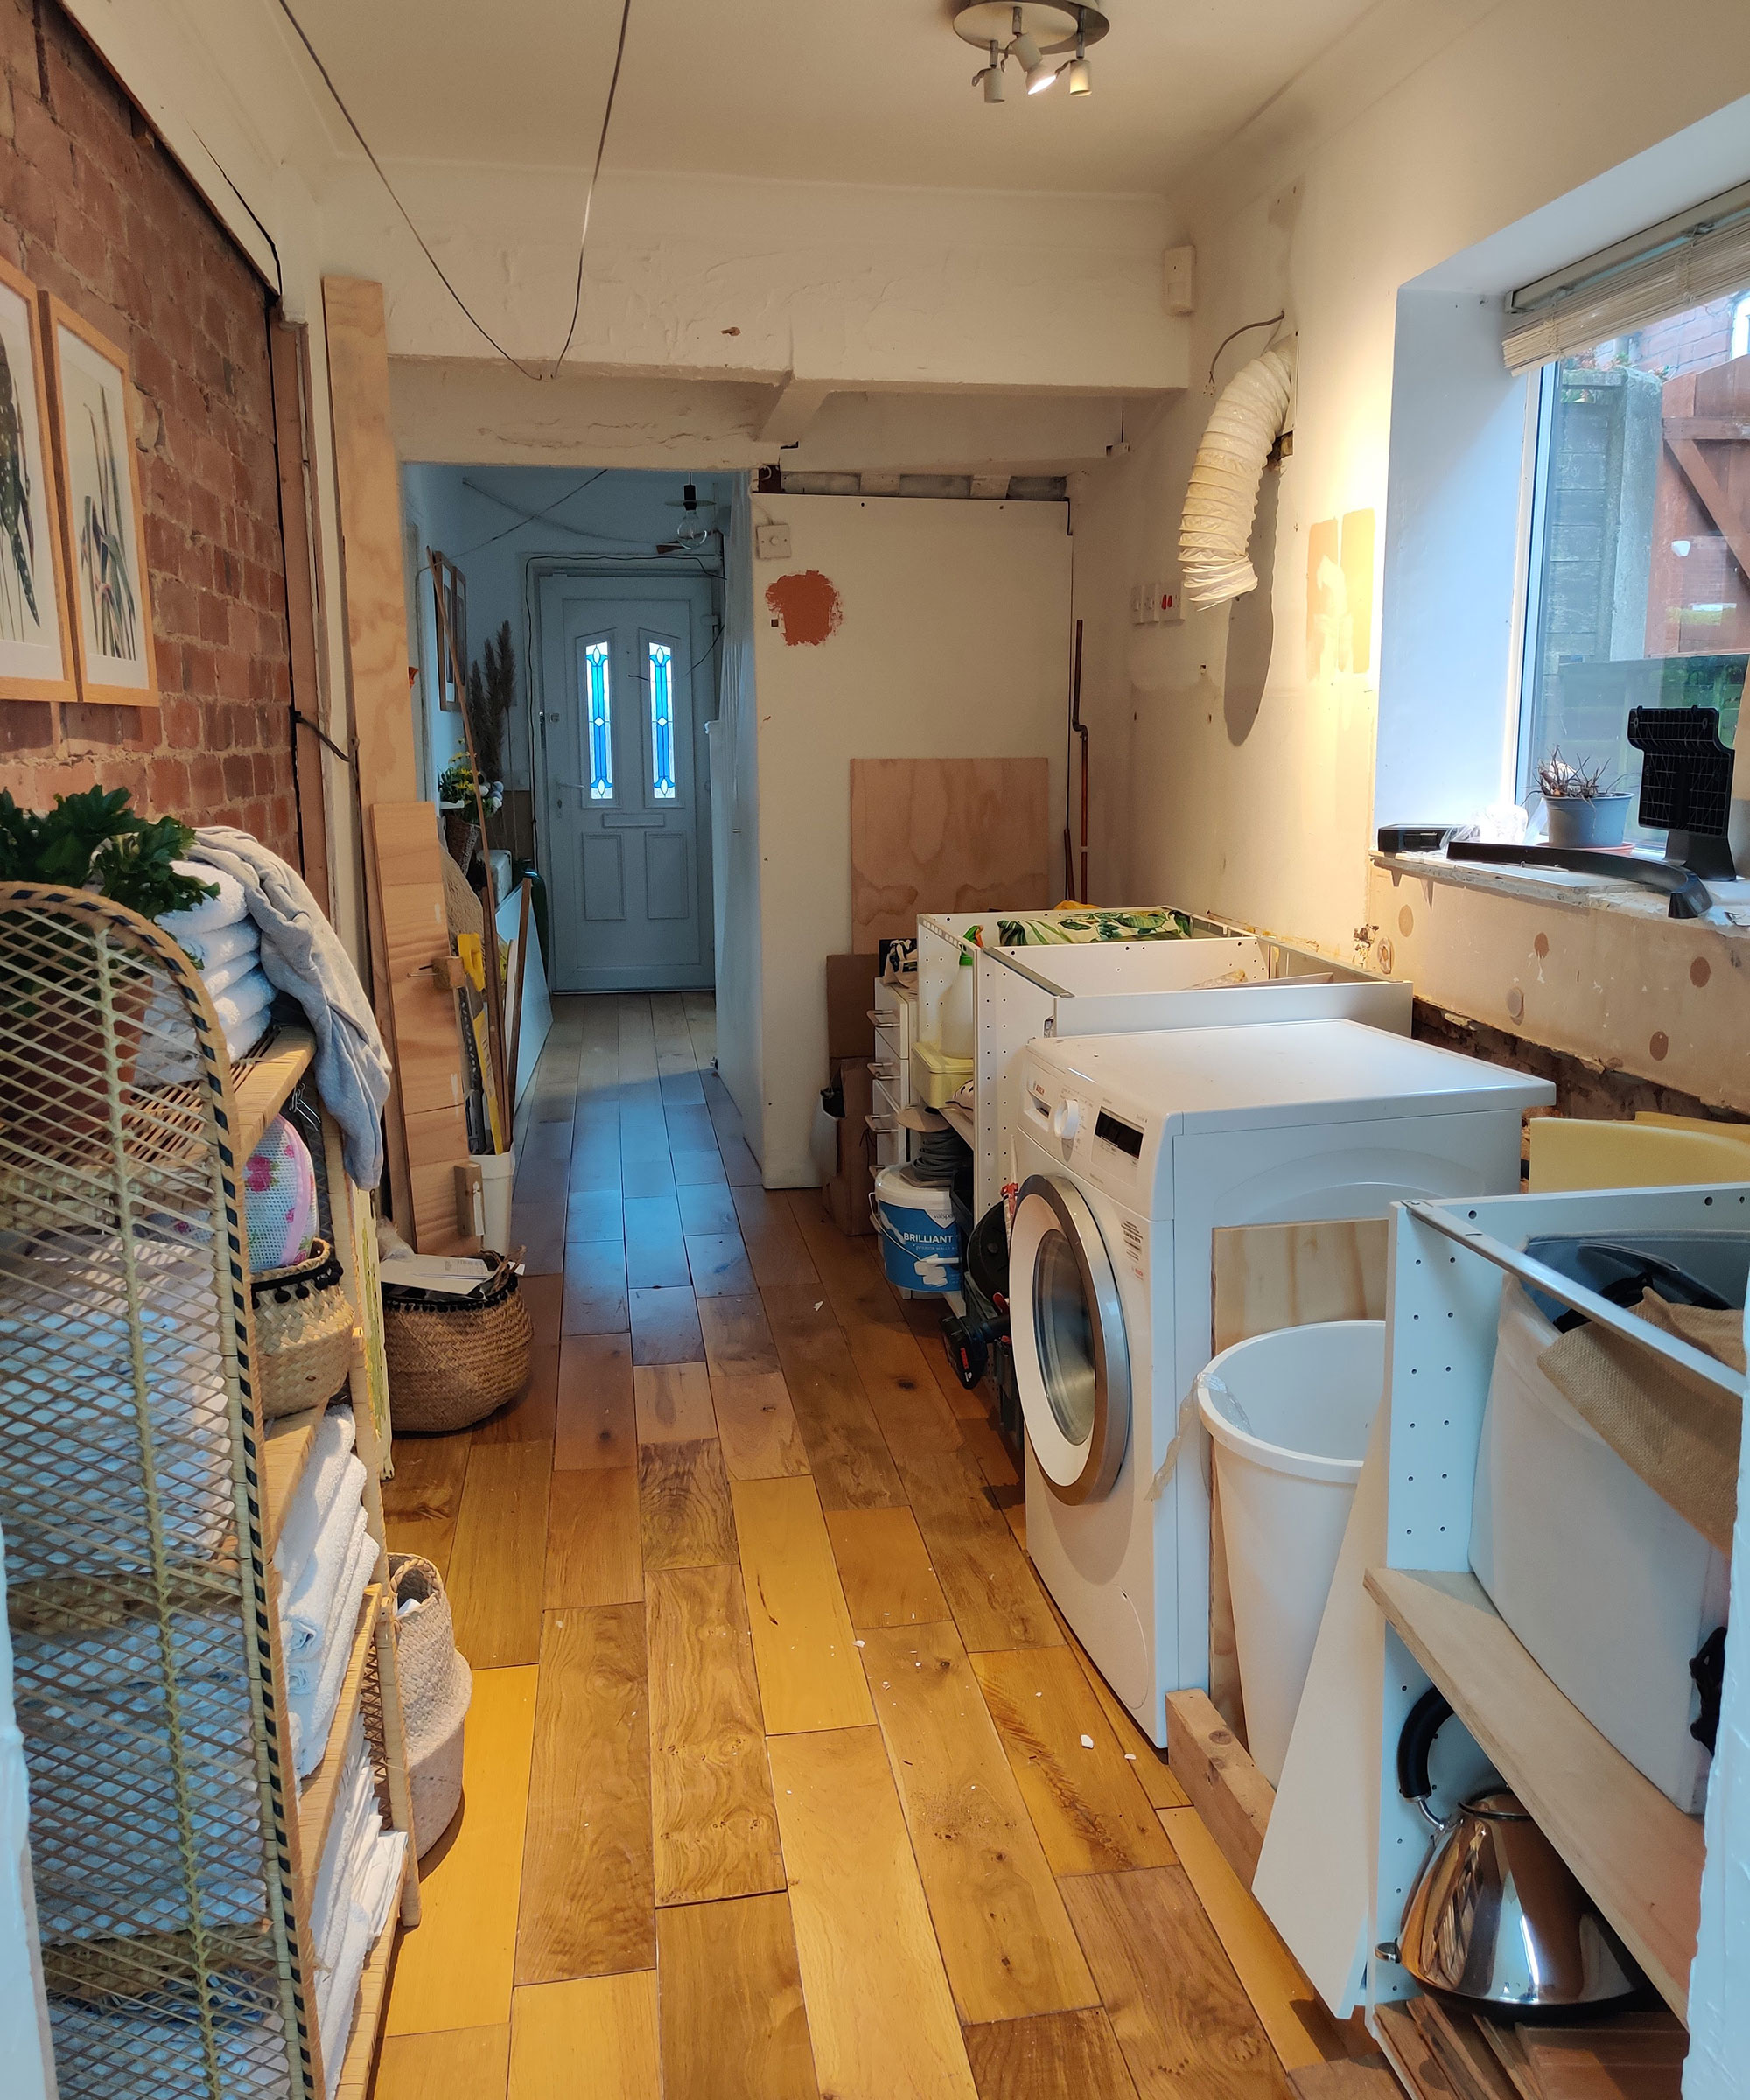
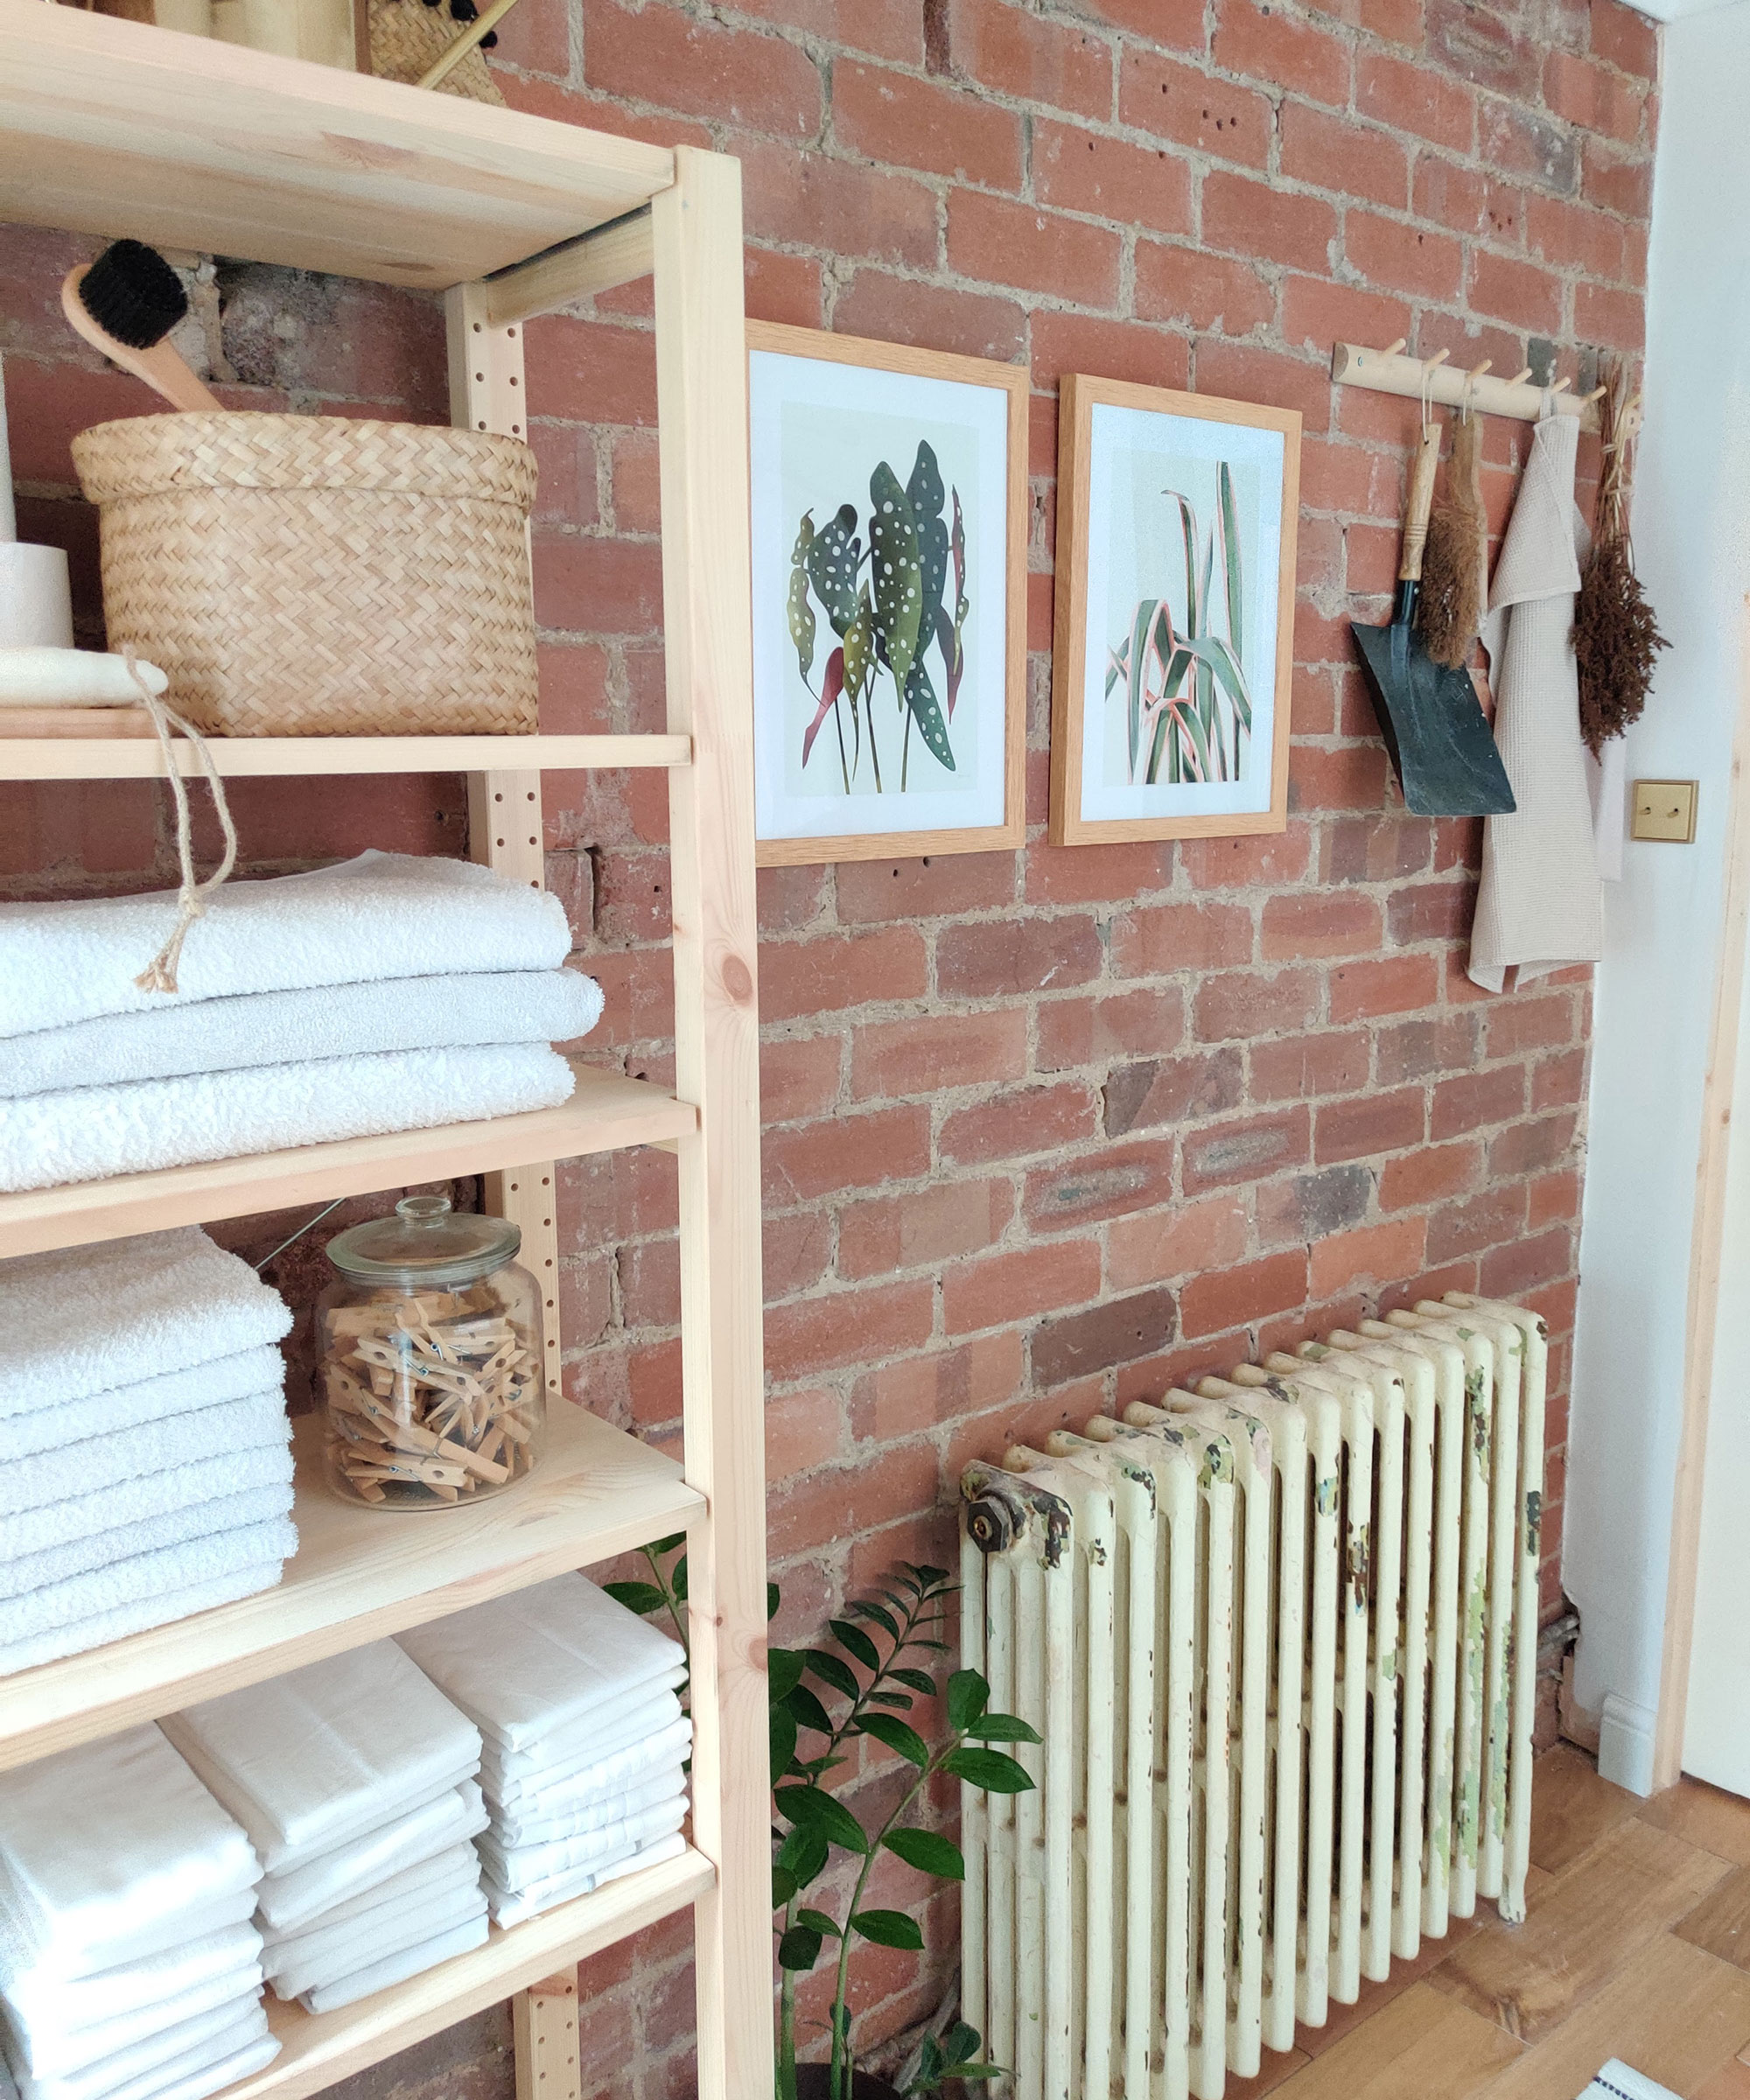
Everything was stripped back to its bare bones which revealed a lovely red brick wall which we decided to keep exposed on one wall. Again, to keep costs down we reused the hardwood floor from the main bedroom. This also means that the downstairs floors now all match! We had some small structural works to do to split the room into a WC and utility room. We built a stud wall and then plastered the new wall and ceiling. We also added a radiator to the room which previously didn’t have one.
Finalising the design
I am a big advocate of the high-street kitchen and there are lots of little things that can be done to made it feel a bit more custom. The best utility room ideas do not need to be massive to be functional. I decided to put cabinets on one side only and had enough space for three Ikea 60cm x 60cm base cabinets and a washing machine. At the side of the washing machine is 30cm gap which is too small for a cabinet and instead it is used as a hamper space. I also added a tall wall cupboard to hide the boiler.
We used Saloon doors for the base cabinets as they are great in a tight space for access. Saloon doors tended to be slightly more expensive than a single door and you will need two handles instead of one but it was worth it for the space. I found some inexpensive but simple designed brass handles in B&Q at the cost of 2 for £5. On top I used a white high gloss worktop from Ikea and there were two reasons for this. The first is that the window in this room is on side of the house so I wanted to reflect as much light into the room as possible; secondly, it was a very inexpensive option.
The results
A big standout feature in the utility room is the brass rail that is used for drying clothes. As well as looking nice this is so functional and I find clothes dry within 6 hours in this room. The brass rail was purchased from Ironmongery.com and was cut down to the correct size. I could not find matching fixings for either end of the rail rail so I spray painted the fixings in a metallic brass colour.
Get small space home decor ideas, celeb inspiration, DIY tips and more, straight to your inbox!
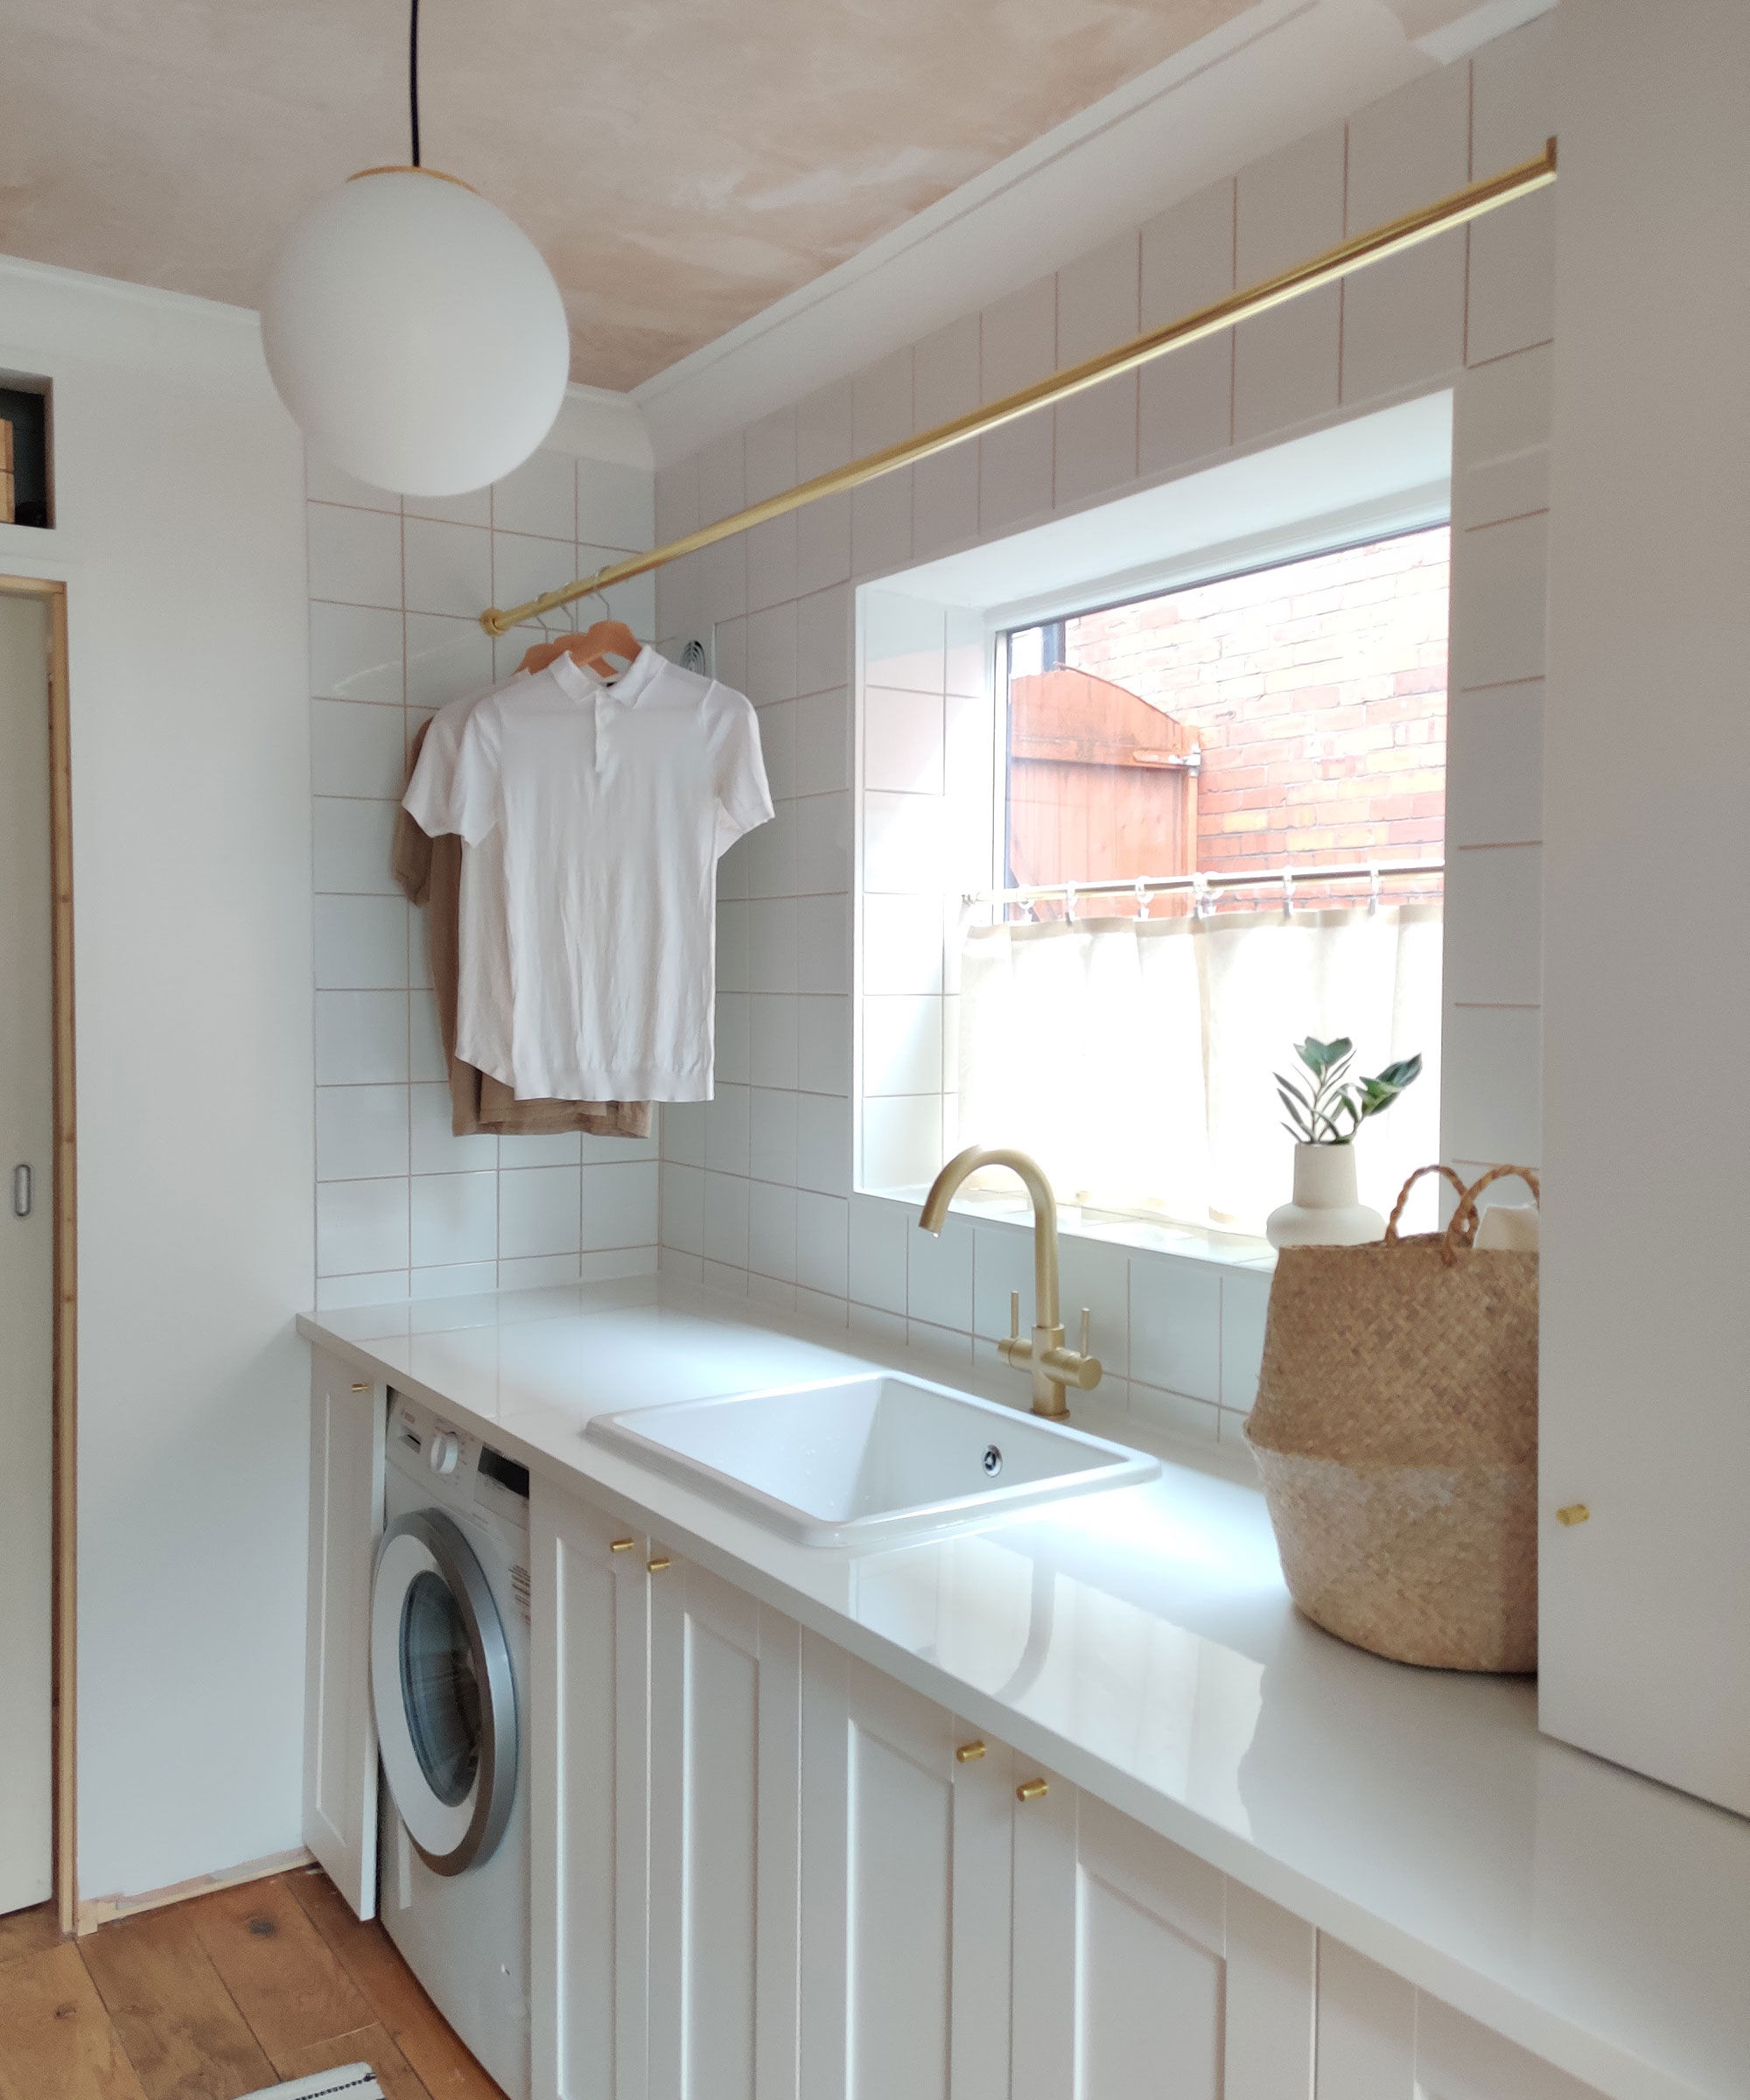
The sink was purchased on Facebook Marketplace for £60 which matches the one we have in the kitchen but was a saving of £70 from the cost of a new one. Another cost saving was with the tap. The existing kitchen tap was in perfect condition but in matt black which did not go with the white and brass features of the new utility room. So I also spray painted the tap in a metallic brass colour which after eight months of using has no durability issues.
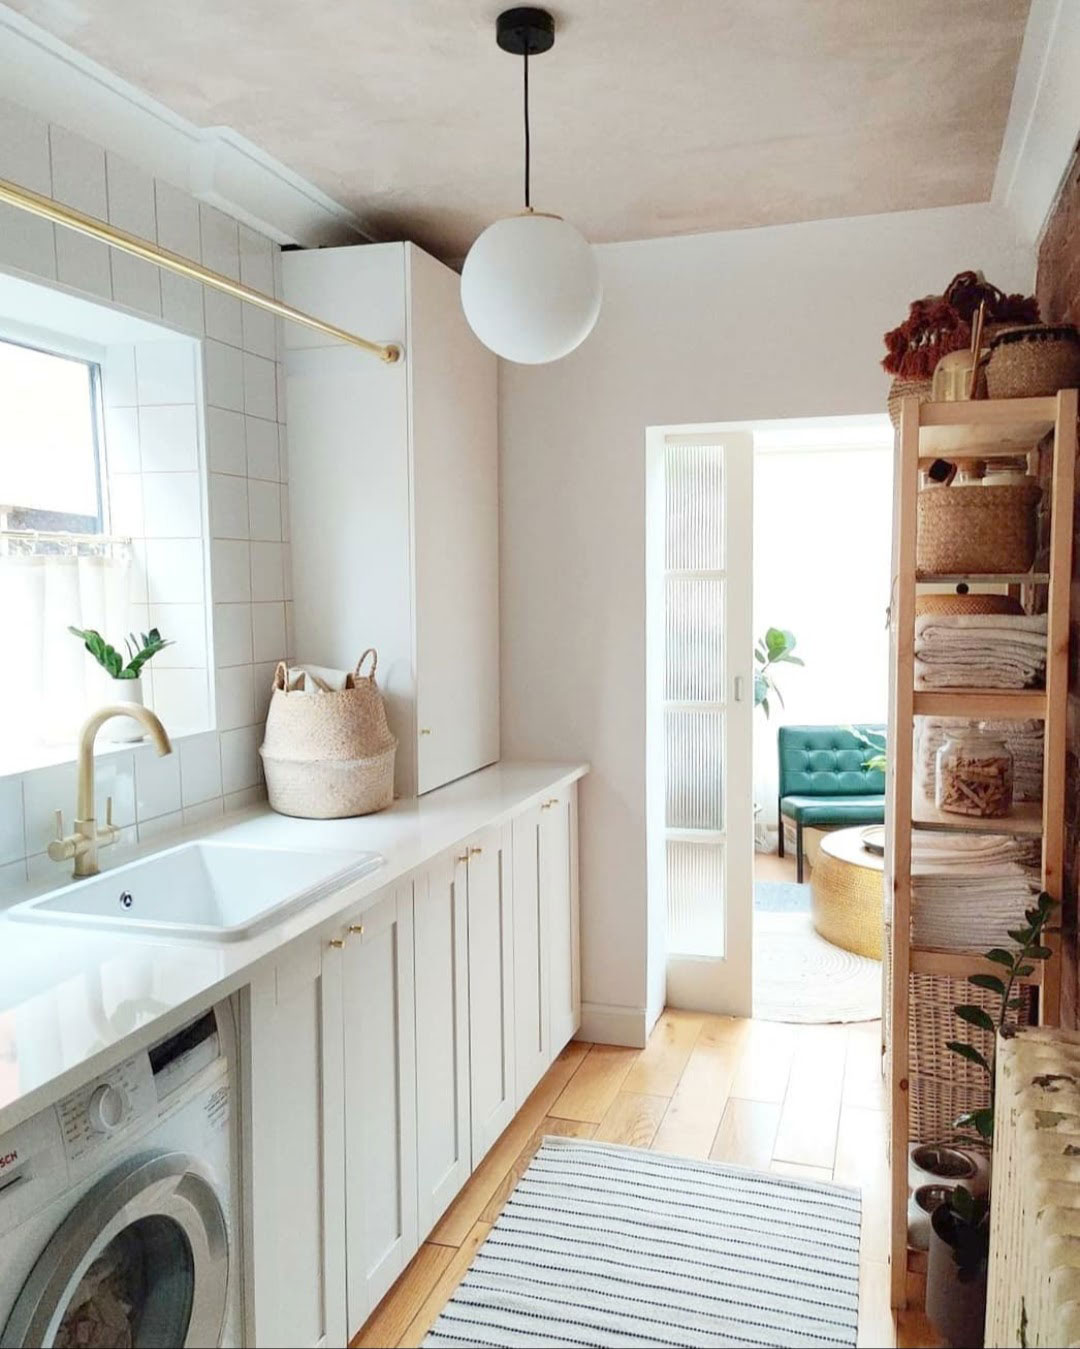
To complete the room we tiled the wall and added new doors. I am a massive fan of grid tiling as I love the simplicity and believe it is a design classic. It was a no brainer for me to add grid tiling to the utility room and this matches the kitchen also. White square tiles are very inexpensive at £6 per m2 and finished it with Unibond Beige grout. I found some beautiful reeded glass doors on Facebook Marketplace at the price of £10 for 3 doors (absolute bargain!). To finish off the space and for some extra utility room storage I added an Ikea IVAR unit from Facebook Marketplace to put all our best linens on display.
Real Costs: A breakdown of materials
The labour was free as we DIYed everything. Luckily the plumbing was already in place so there was no extra costs associated with that.
- Ikea Cabinets x3 – £78
- Ikea Doors & Hinges – £147
- Ikea Ekbacken Worktop –£120
- Sink – £60
- Tap Spray Paint – £5
- Boiler Cupboard & Door – £70
- Brass Dry Pole – £40
- Tiles (4m2) & Adhesive – £44
- Shelving (Ikea IVAR) – £30
- Reeded Glass Doors – £10
Total cost = £620
There were some additional costs due to some of the structural work we had to do to create the downstairs WC and utility room which are unique to our position. The stud wall materials cost £200 for us to do DIY and plastering costs us £300.
Jo Lemos is a DIYer and decorator who chronicles his projects on the popular Instagram account @two.men.and.a.semi. His DIY obsession began in childhood, when he used to help his parents redecorate the family house. Since then, he’s been developing his DIY skills for two decades, culminating in a full renovation of his current house alongside his partner, Chris. Currently the duo is restoring a 1930s semi-detached house in Manchester that had been badly renovated throughout the years. For Jo, sustainable and budget friendly design is the best way to renovate your house, and he considers his renovation motto to be: “Why pay someone when I can do it myself?!”
