An easy IKEA dresser makeover using jute and trim
The MALM gets a transformation once again
Get small space home decor ideas, celeb inspiration, DIY tips and more, straight to your inbox!
You are now subscribed
Your newsletter sign-up was successful
While working on the nursery a few months’ back and upcycling my IKEA Kallax unit into a jute-doored wardrobe, I really wanted to do another IKEA dresser makeover to match, so I bought some thin 9mm mdf and some jute fabric and gold handles to make my upcycled IKEA Malm idea a reality. This is such an easy DIY and needs just a few tools, wood glue, a staple gun and some paint.
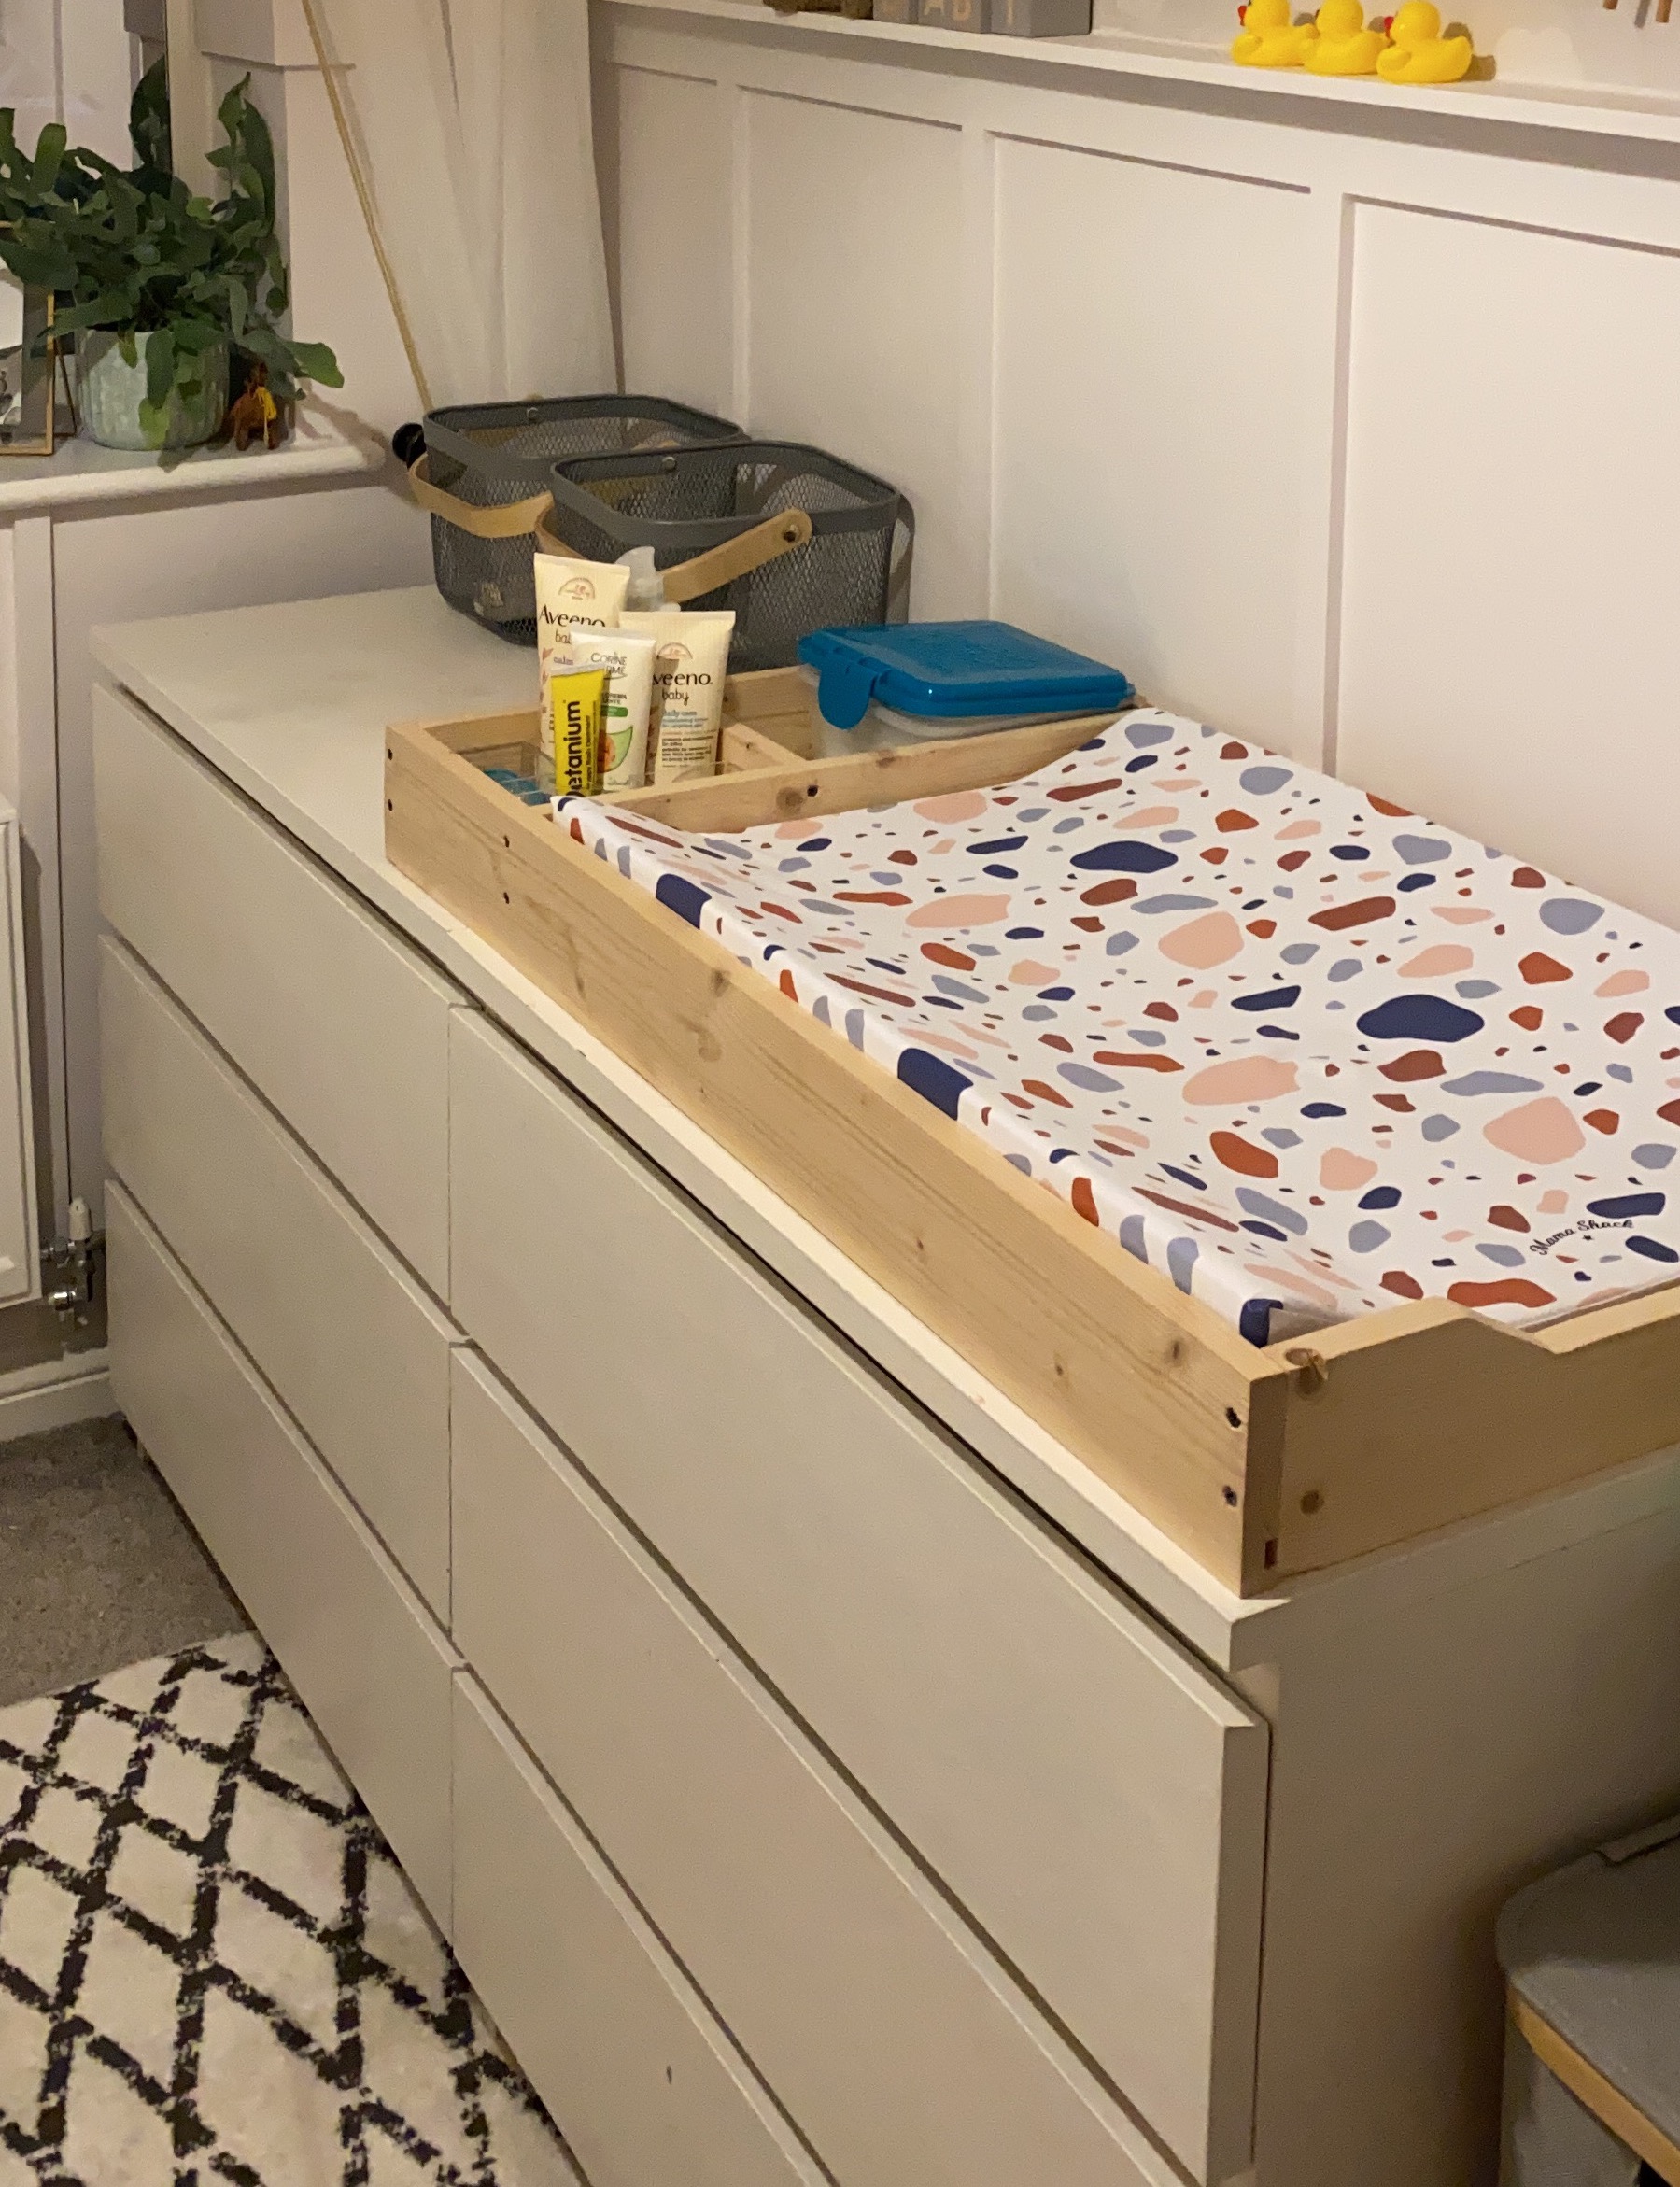
The IKEA Malm dresser drawers before:
Before we get into the how of this simple IKEA hack, here’s a list of what you’ll need for the project and the cuts you’ll need to make to achieve that shaker style trim.
Tools and materials needed:
- Mini Saw/Table Saw
- Jigsaw
- Staple Gun & 18mm Staples
- Brad Nailer & 15mm 18 guage Brad nails
- Wood Glue/ No More Nails
- Drill & Countersink Drill Bit Set
- Wood Filler
- Sandpaper – 100 & 120 grit
- Wood Primer
- Wood Paint
- Painters Tape
- Jute Fabric
- Drawer Pulls
- 9mm MDF sheet
Cuts:
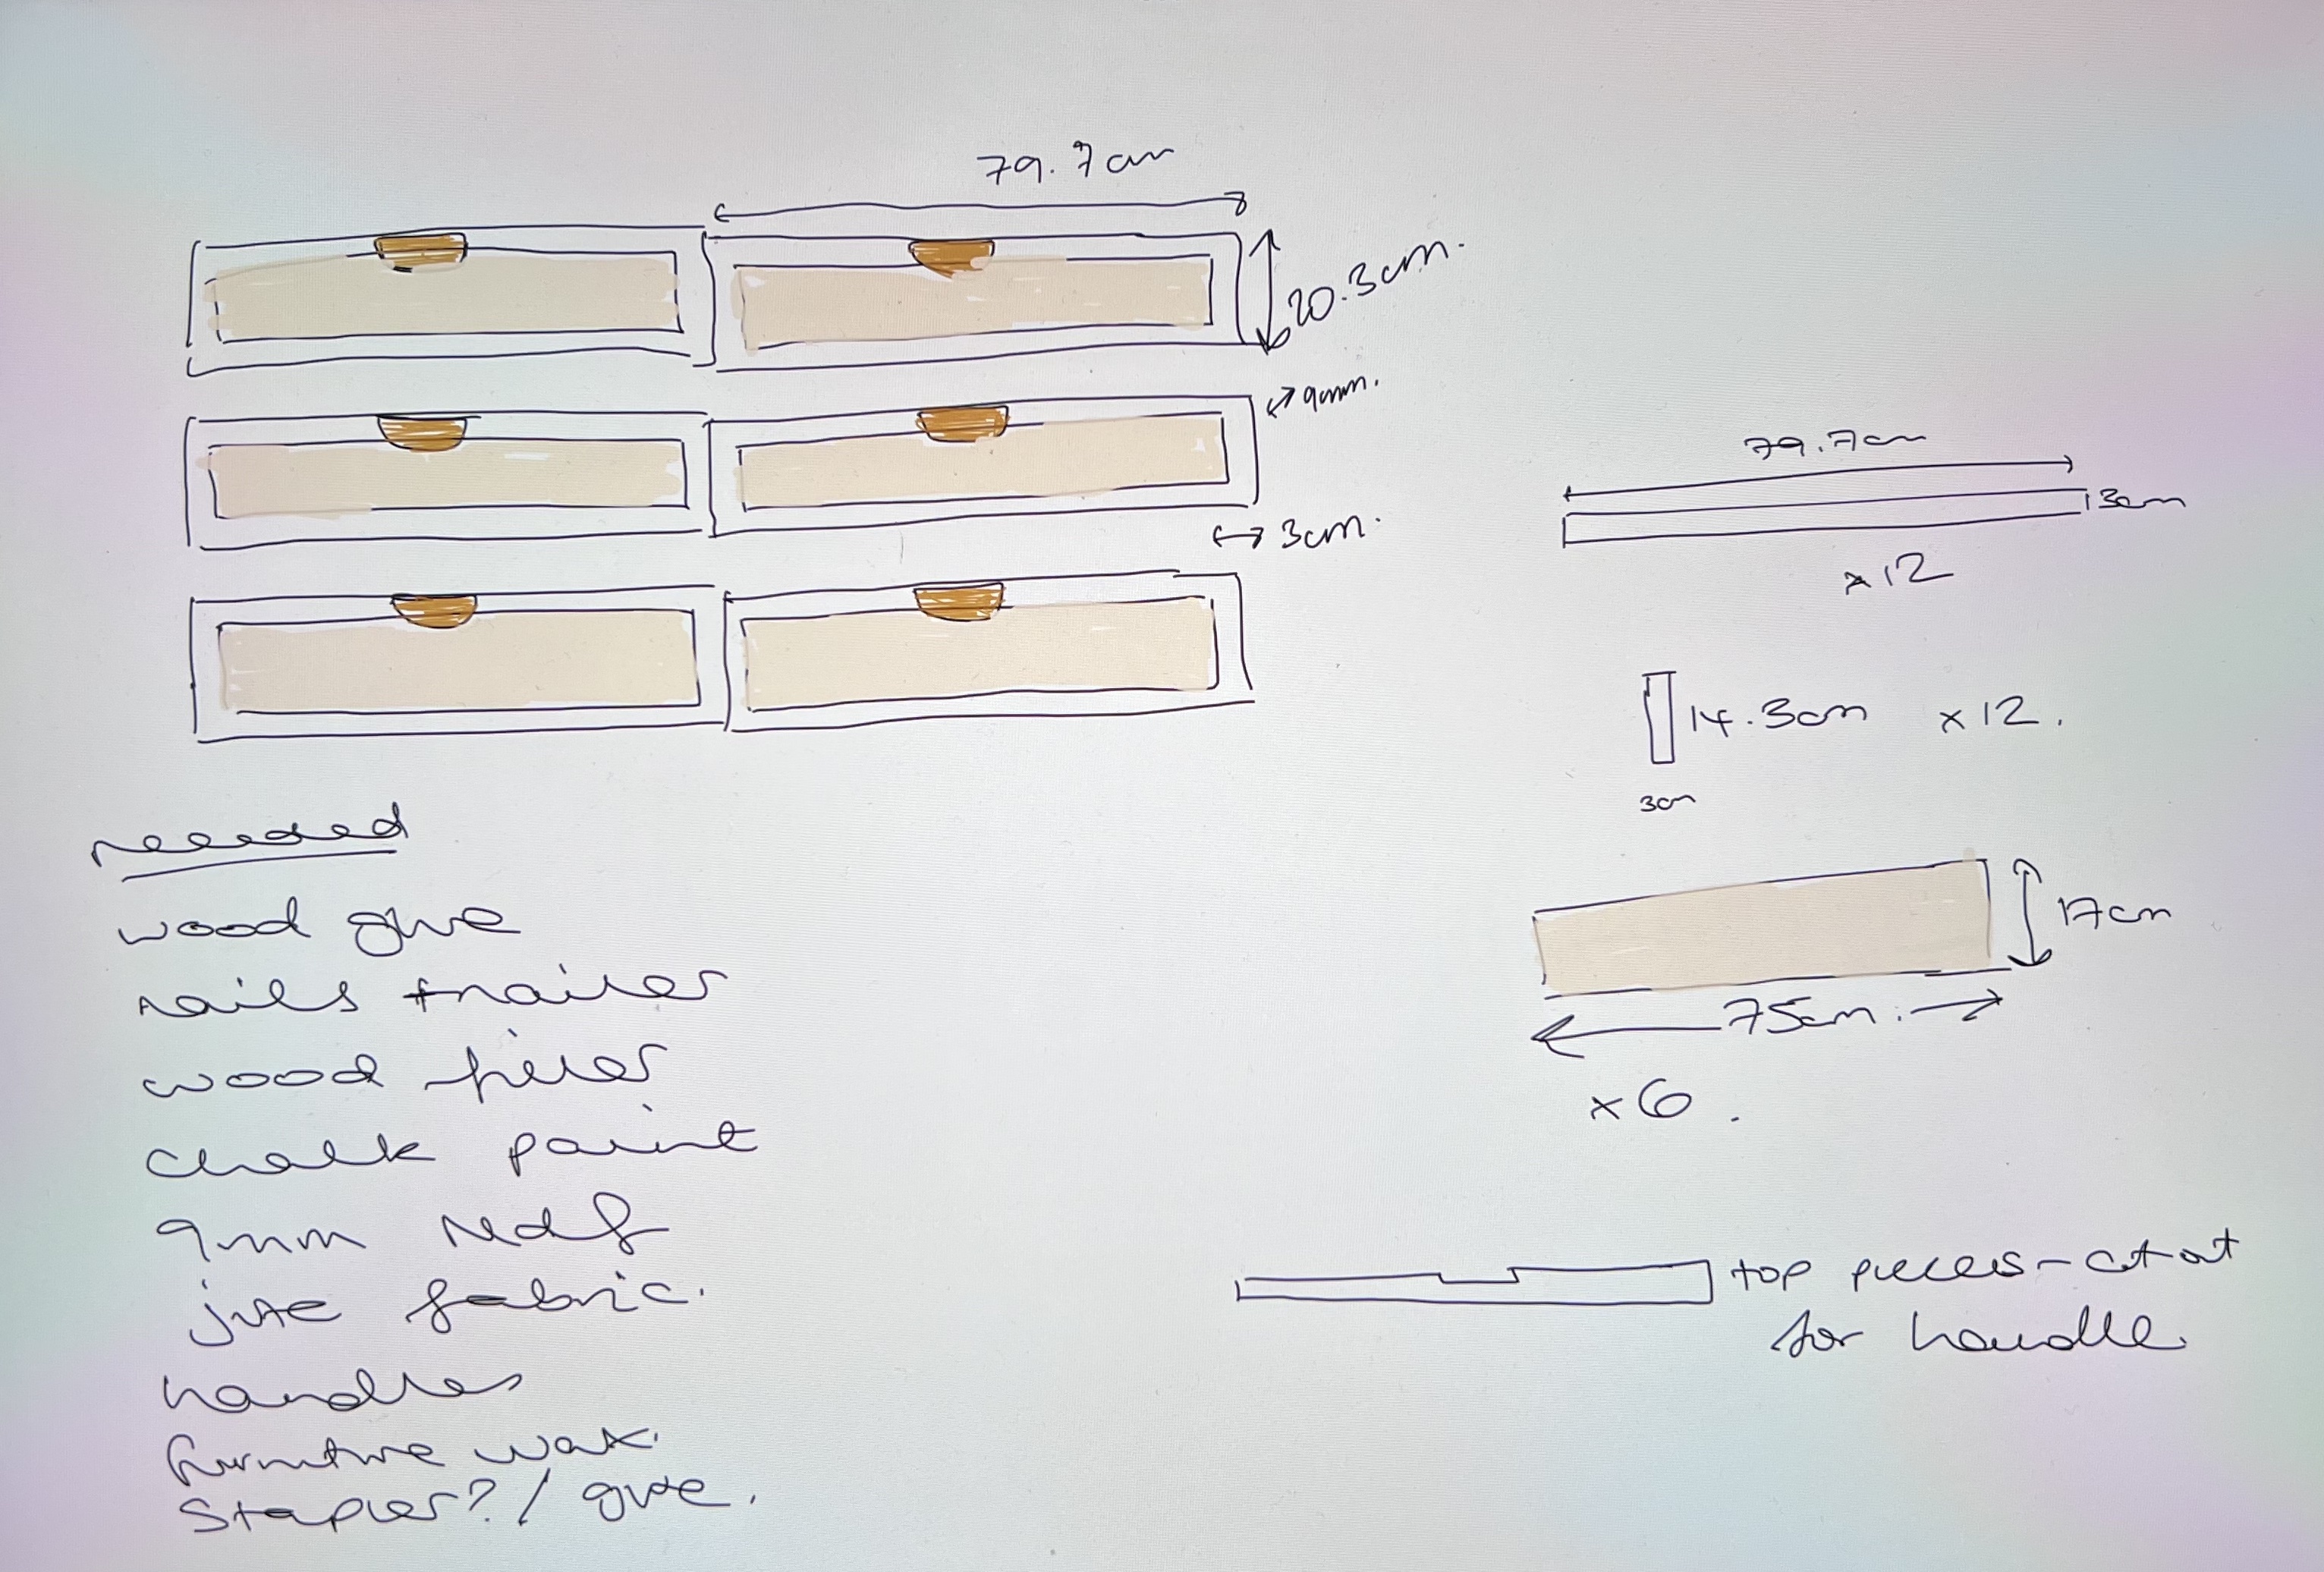
- 12x MDF 79.7cmx3cm
- 12x MDF 3cmx14.3cm
- 6x Jute 75cmx17cm
- 10cmx1cm notches in long pieces for handles (optional)
IKEA dresser makeover: step-by-step
First thing’s first – as with all successful DIY projects – planning is everything! I sketched my POA on my iPad, took measurements of my IKEA dresser, planned out the cuts and got all my tools ready to go. If you’re upcycling IKEA Malm dresser drawers, you can use these same measurements. If you’re upcycling another piece of furniture, you’ll need to measure the drawers/doors and work out the cuts for yourself. Just remember to subtract the height of the top and bottom trim pieces from the side piece lengths. You don’t need to cut the notch out for the handles as I have, I just wanted to reduce the amount they stuck out from the drawers.
1. Cut your lengths
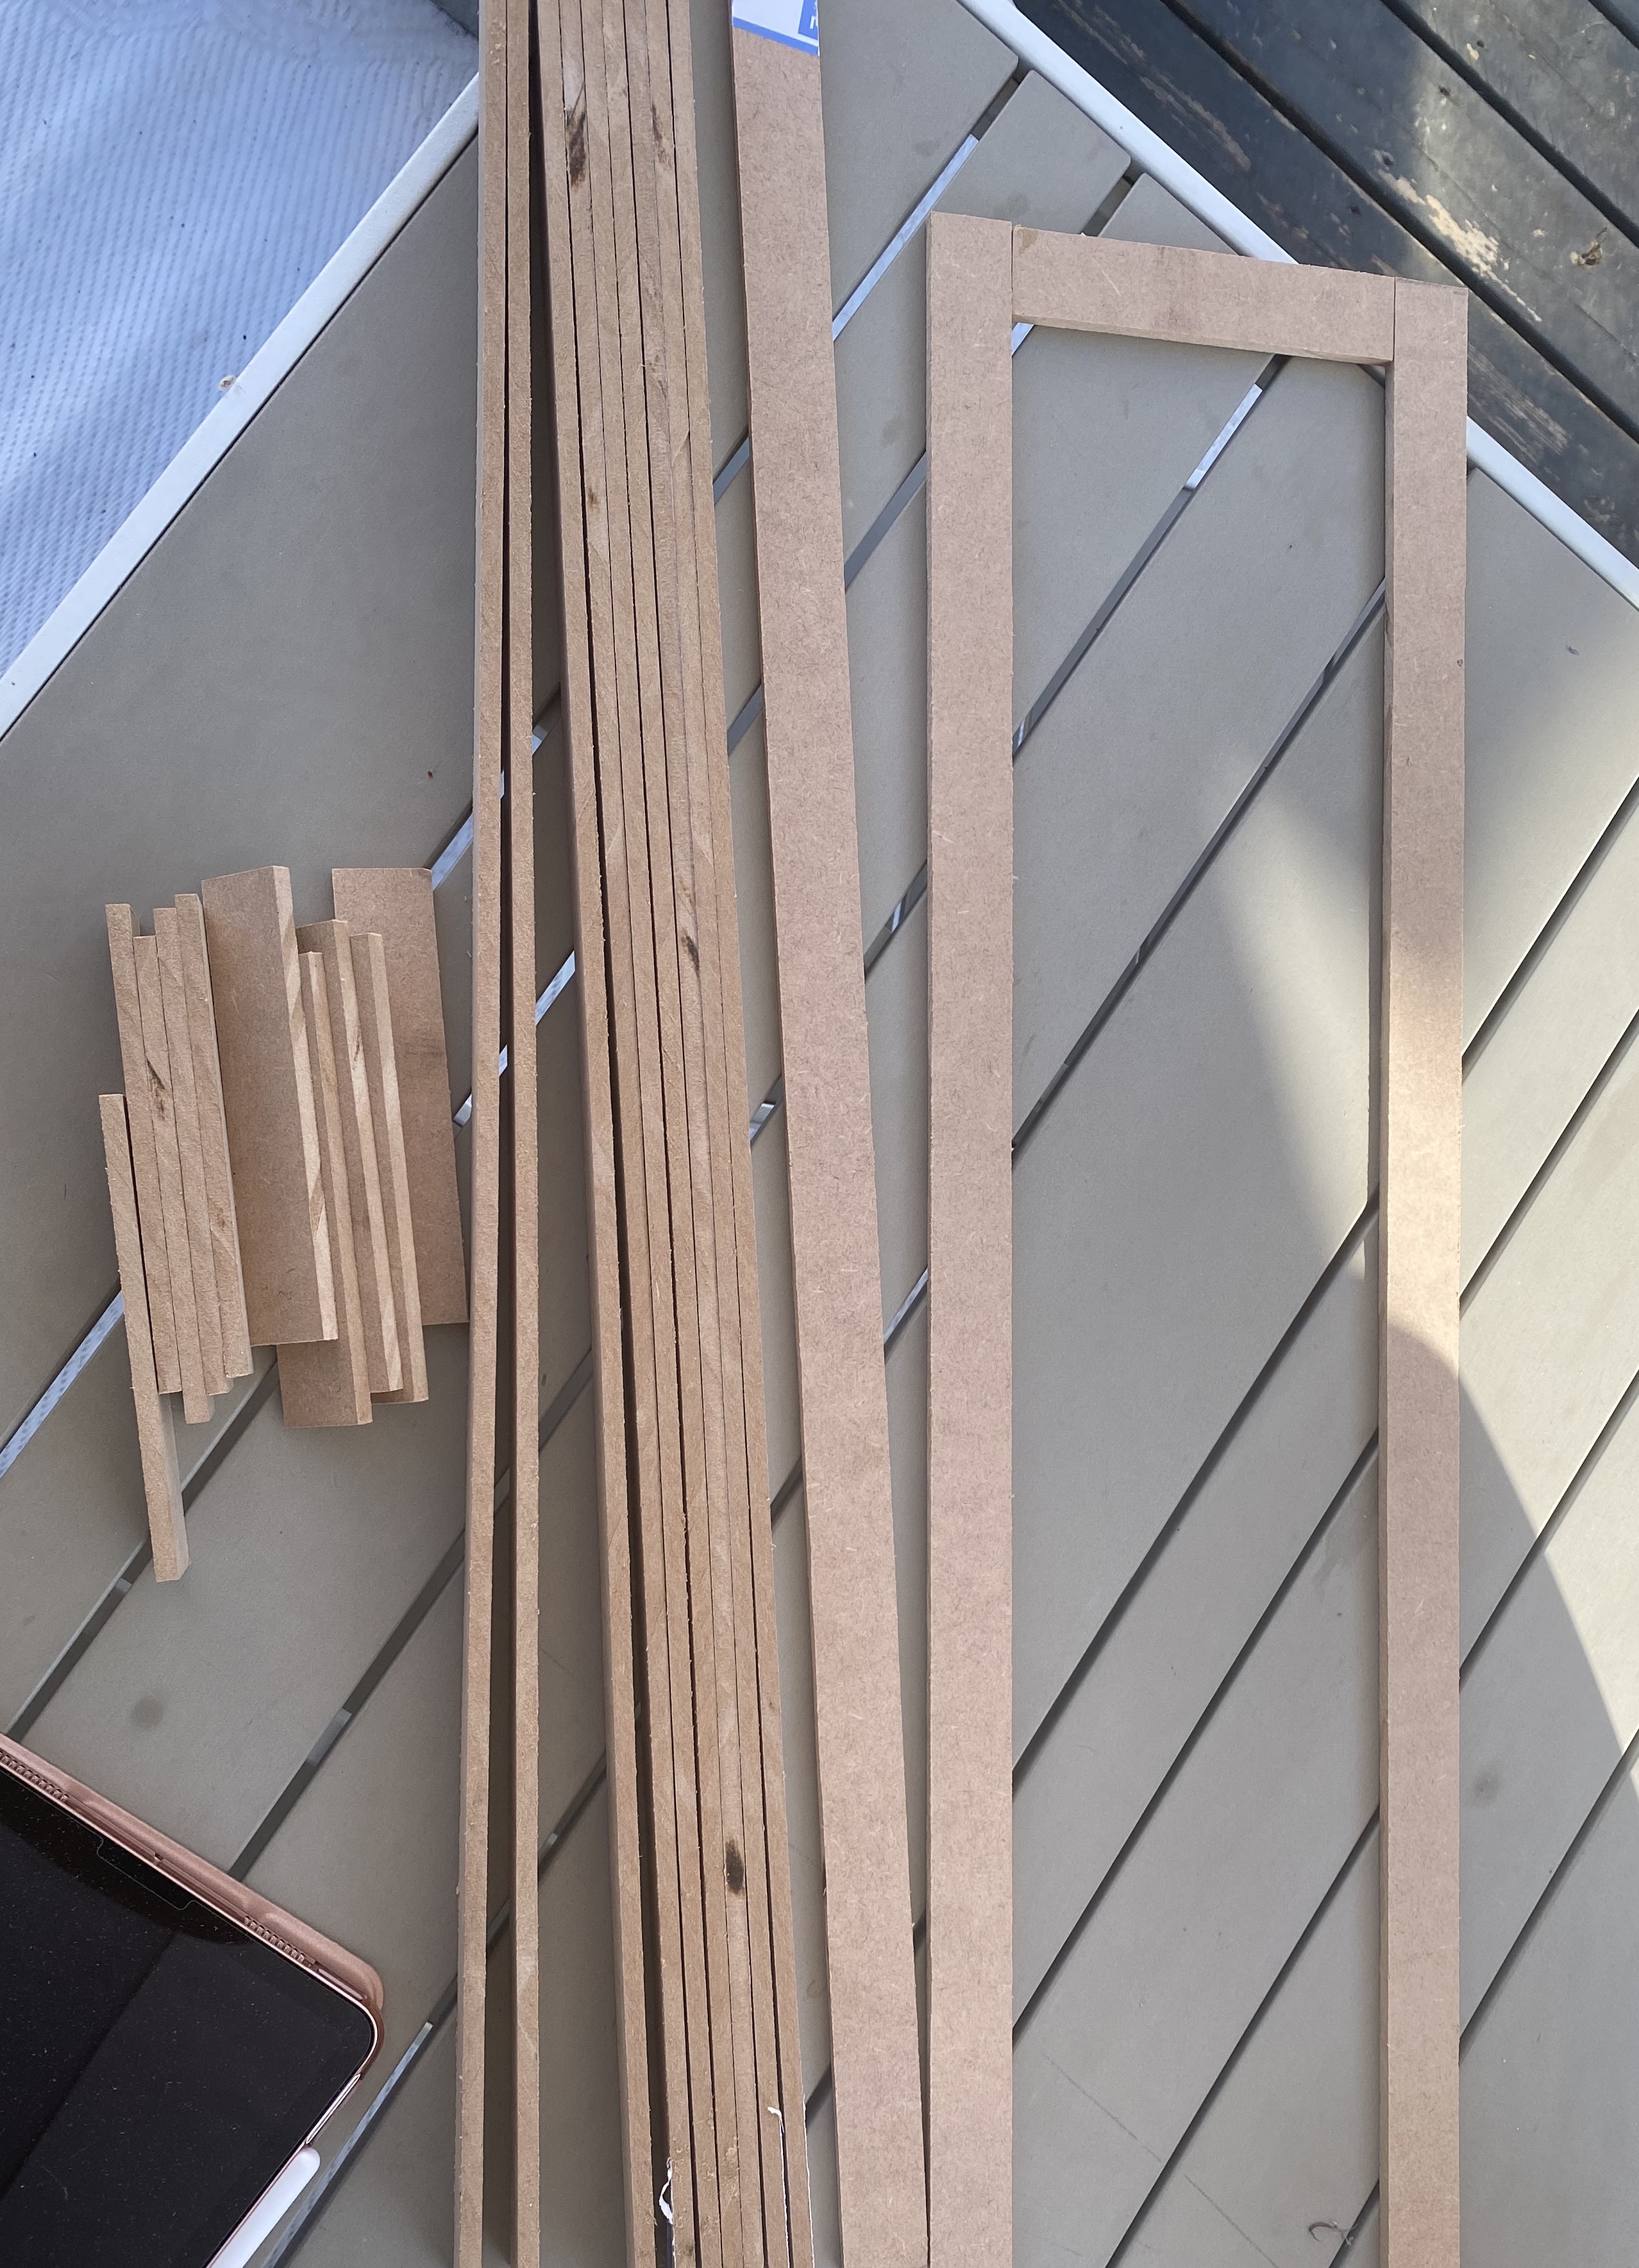
Using your table saw or mini saw (or even a circular saw!) cut the lengths of mdf for your drawer trim. My tip would be to cut them to length first, and then cut into the strips. Sand the cut edges to ensure the mdf edge fibres are smooth.
2. Cut the jute to size
Cut your jute fabric to size. I bought 3 30cmX2m rolls which you can buy online pretty easily now via Amazon or even Etsy, so I was able to get 2 pieces per roll. Iron them to release any creases and ensure they’re completely flat.
Optional: If you’re cutting the notch out for the handles to be inset, you’ll want to mark the centre on 6 of the long mdf strips and mark out how big the handles are. The handles I chose were 10cmx1cm, so I marked 5cm either side of this centre mark. I then marked the height of the handle and drew out the cut lines on each of the strips.
4. Cut each notch
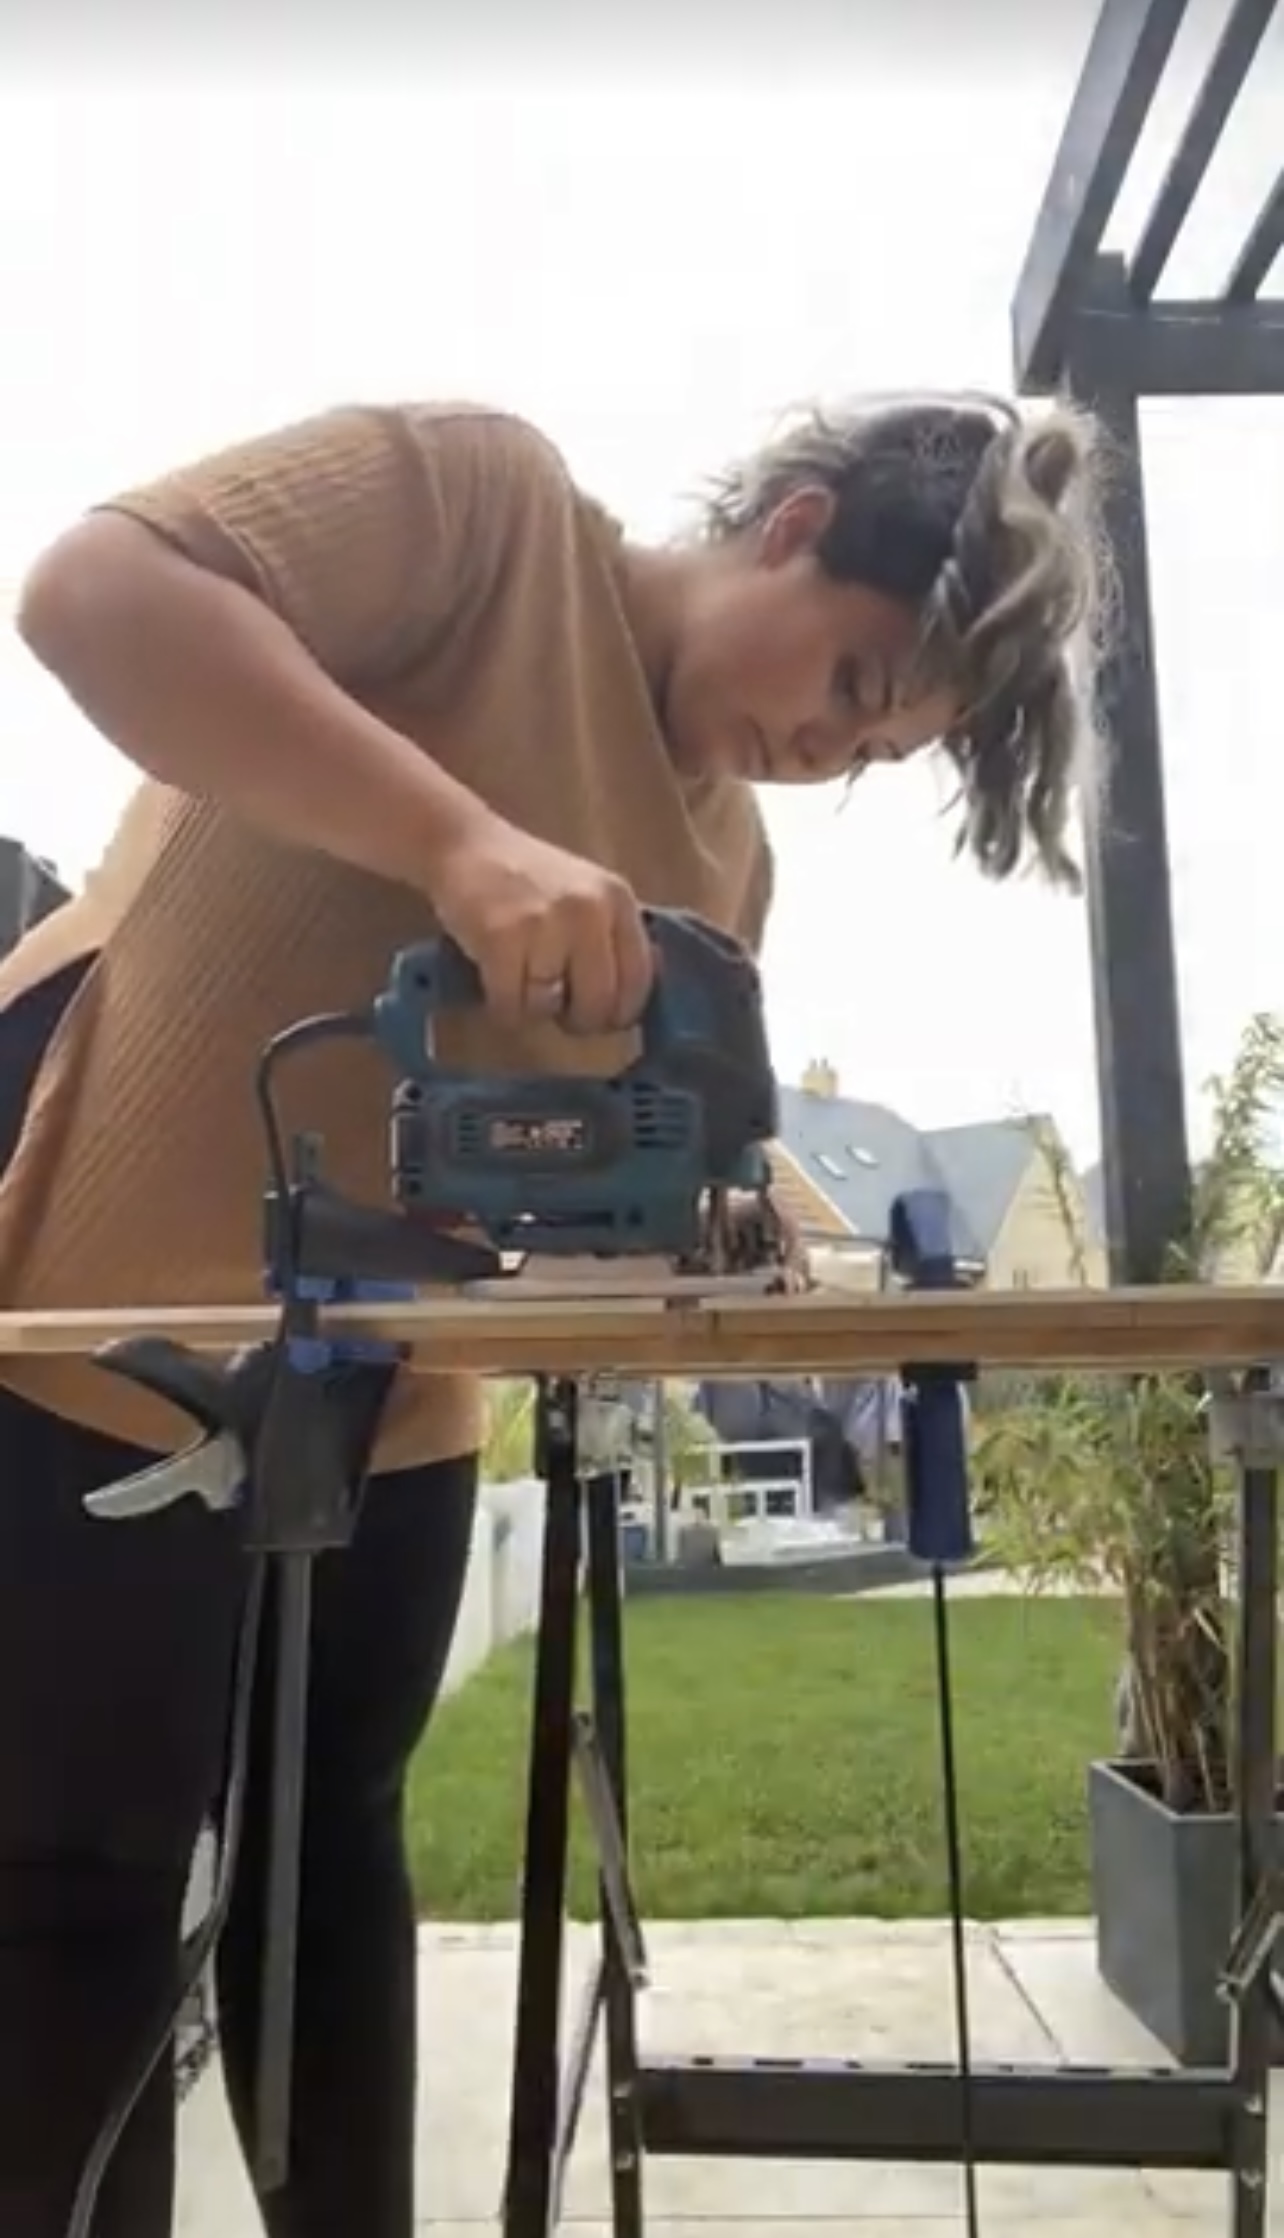
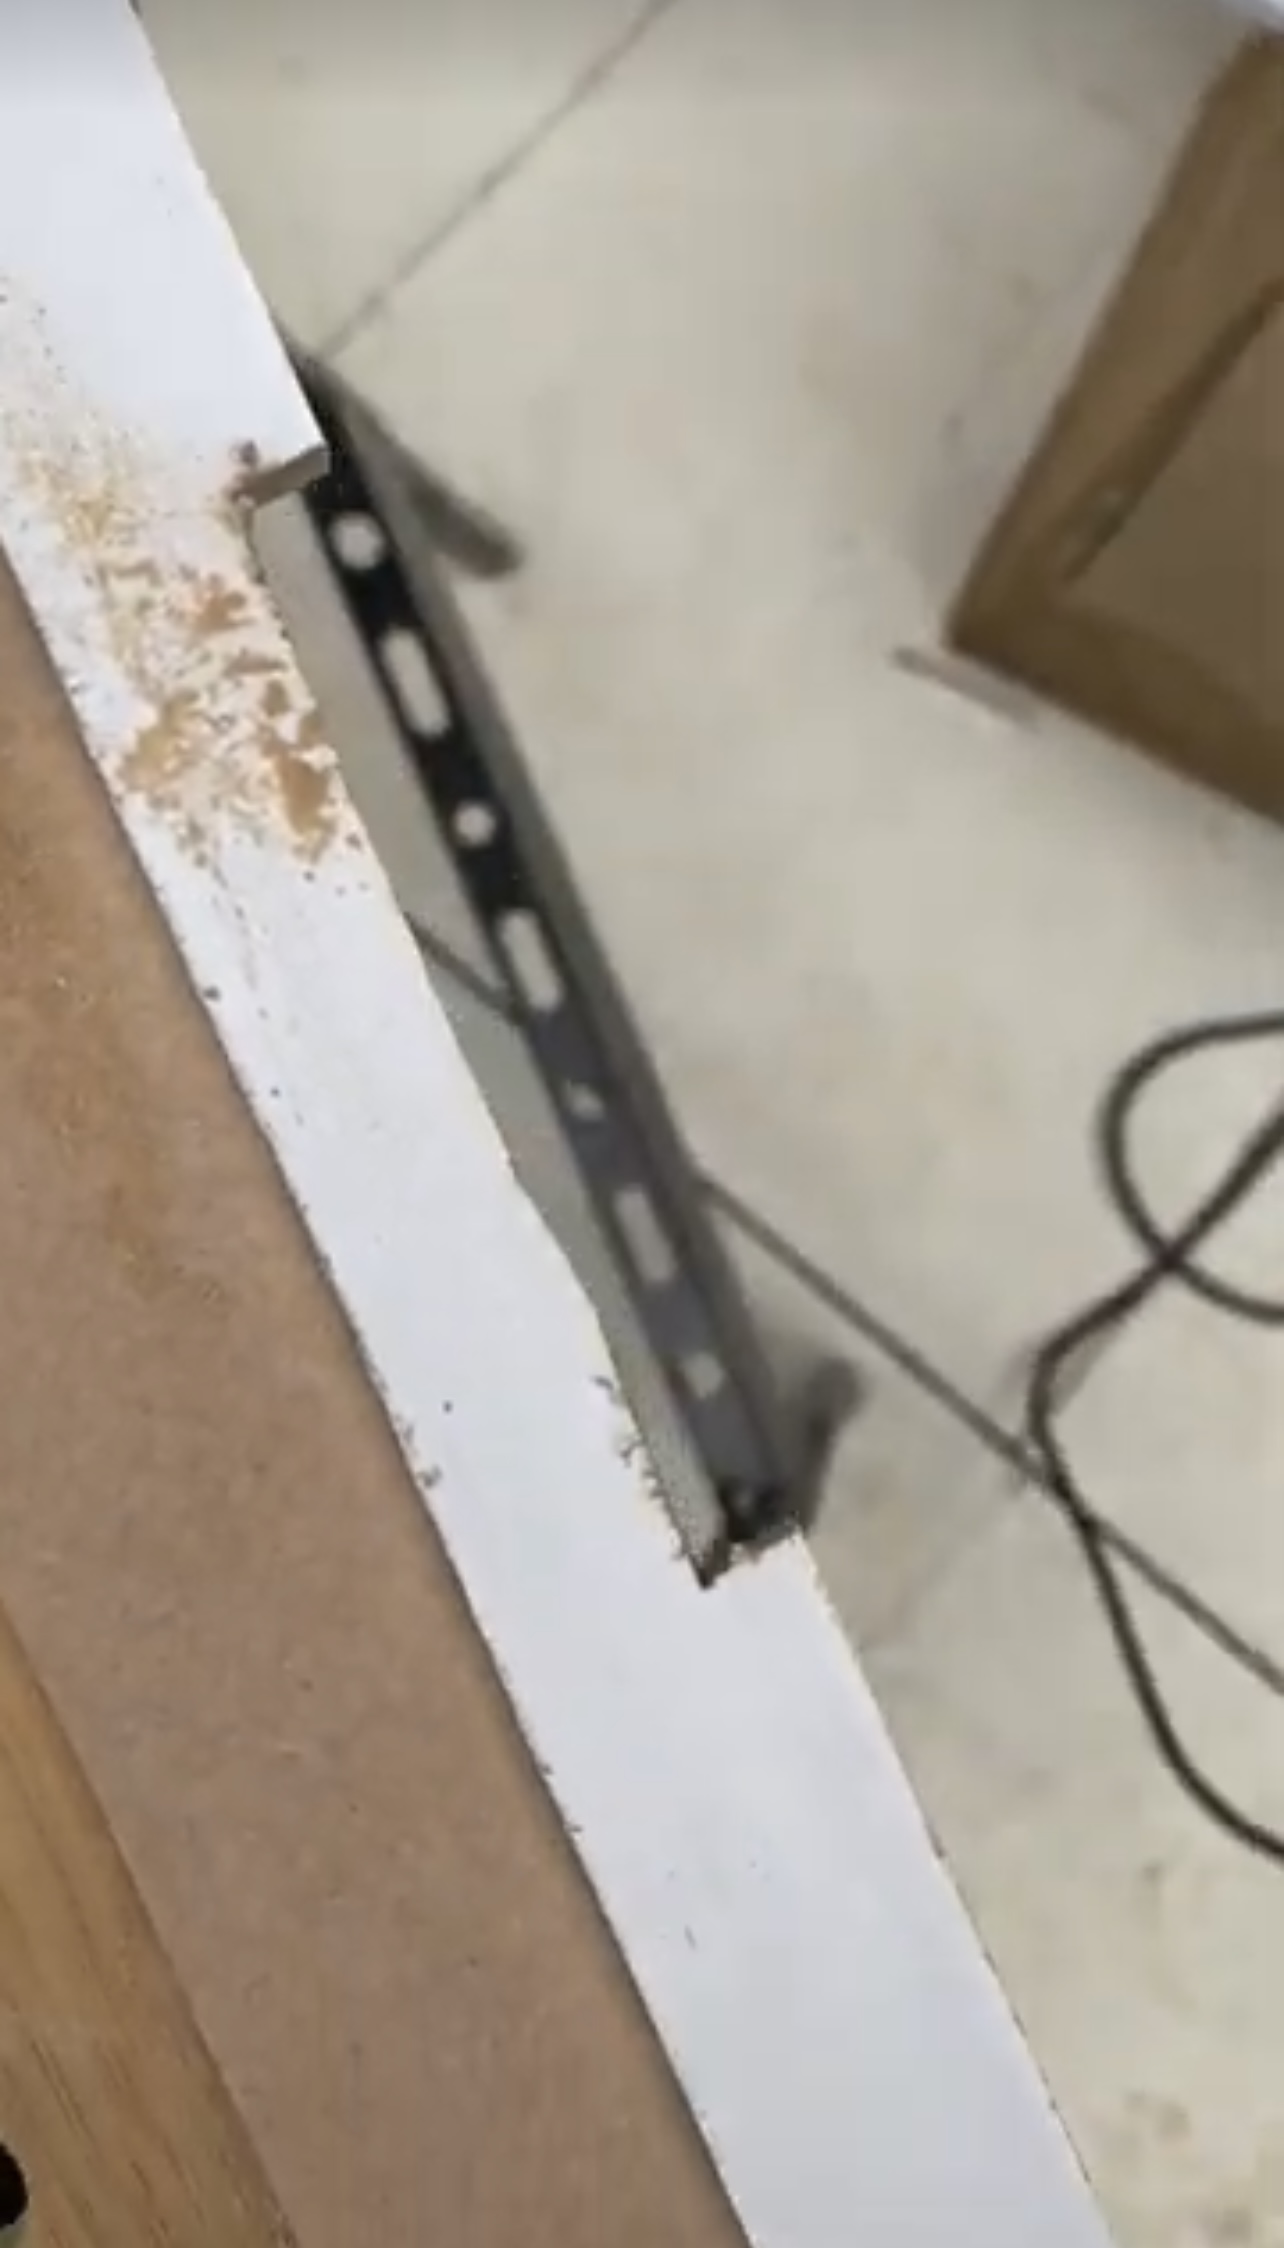
Grab your jigsaw and some clamps. Clamp your strip on a workbench and use your jigsaw to cut each notch, cutting down each side, then angle cut into one corner and use that corner as a space to cut along the final line
Get small space home decor ideas, celeb inspiration, DIY tips and more, straight to your inbox!
5. Paint the trim
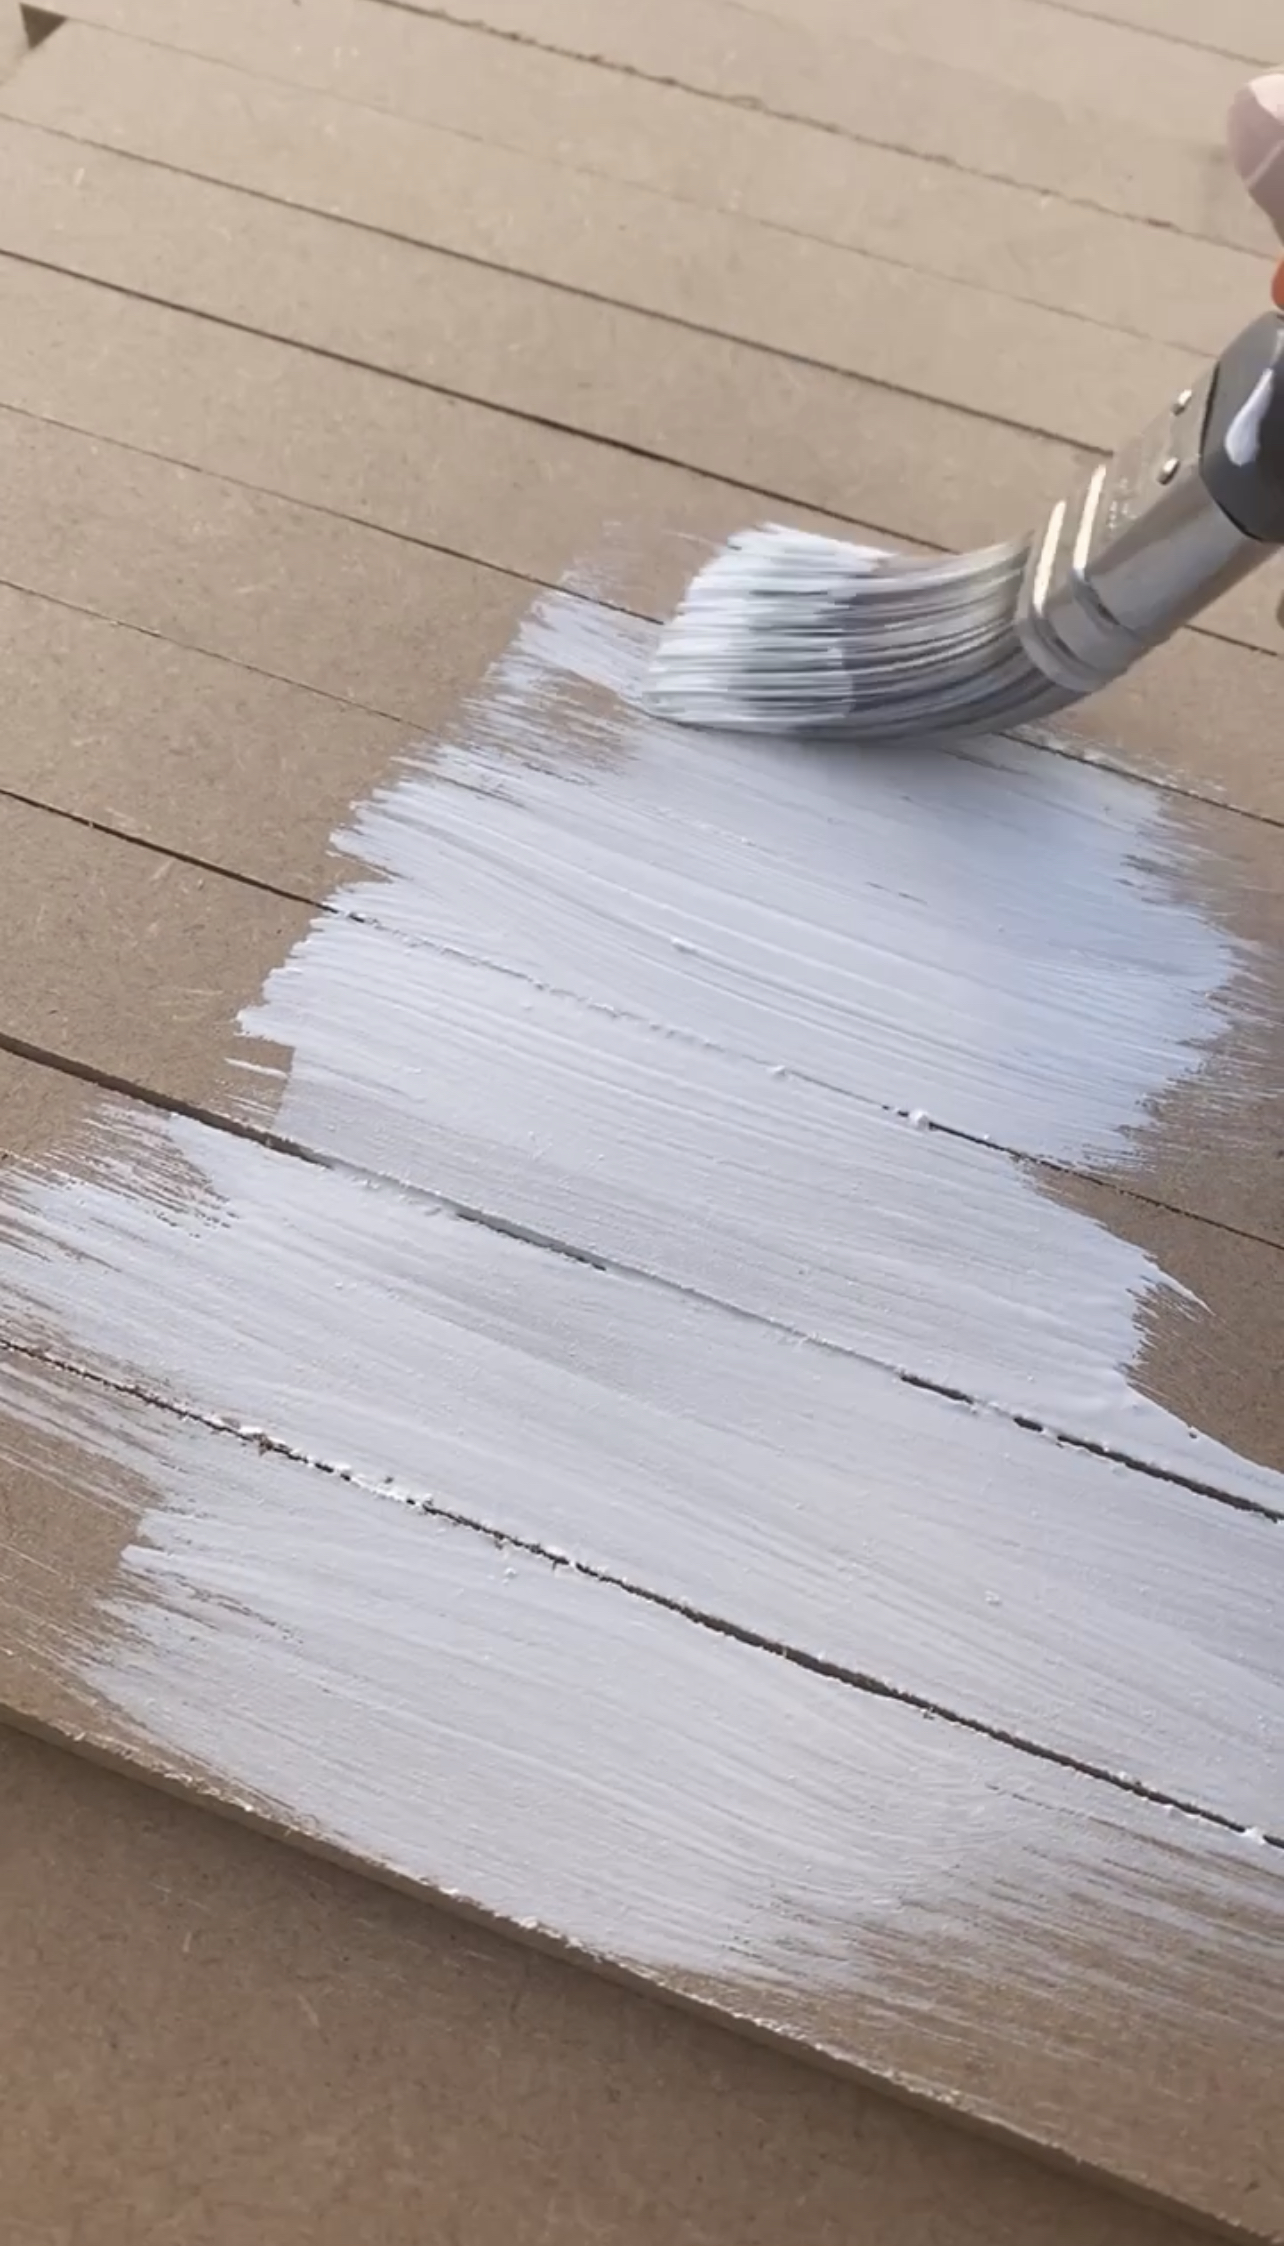
Once your trim is cut, lay the MDF out and paint it with a good wood primer. I used Valspar Wood Primer & Undercoat available at B&Q or you can find similar quality wood primers on Amazon.
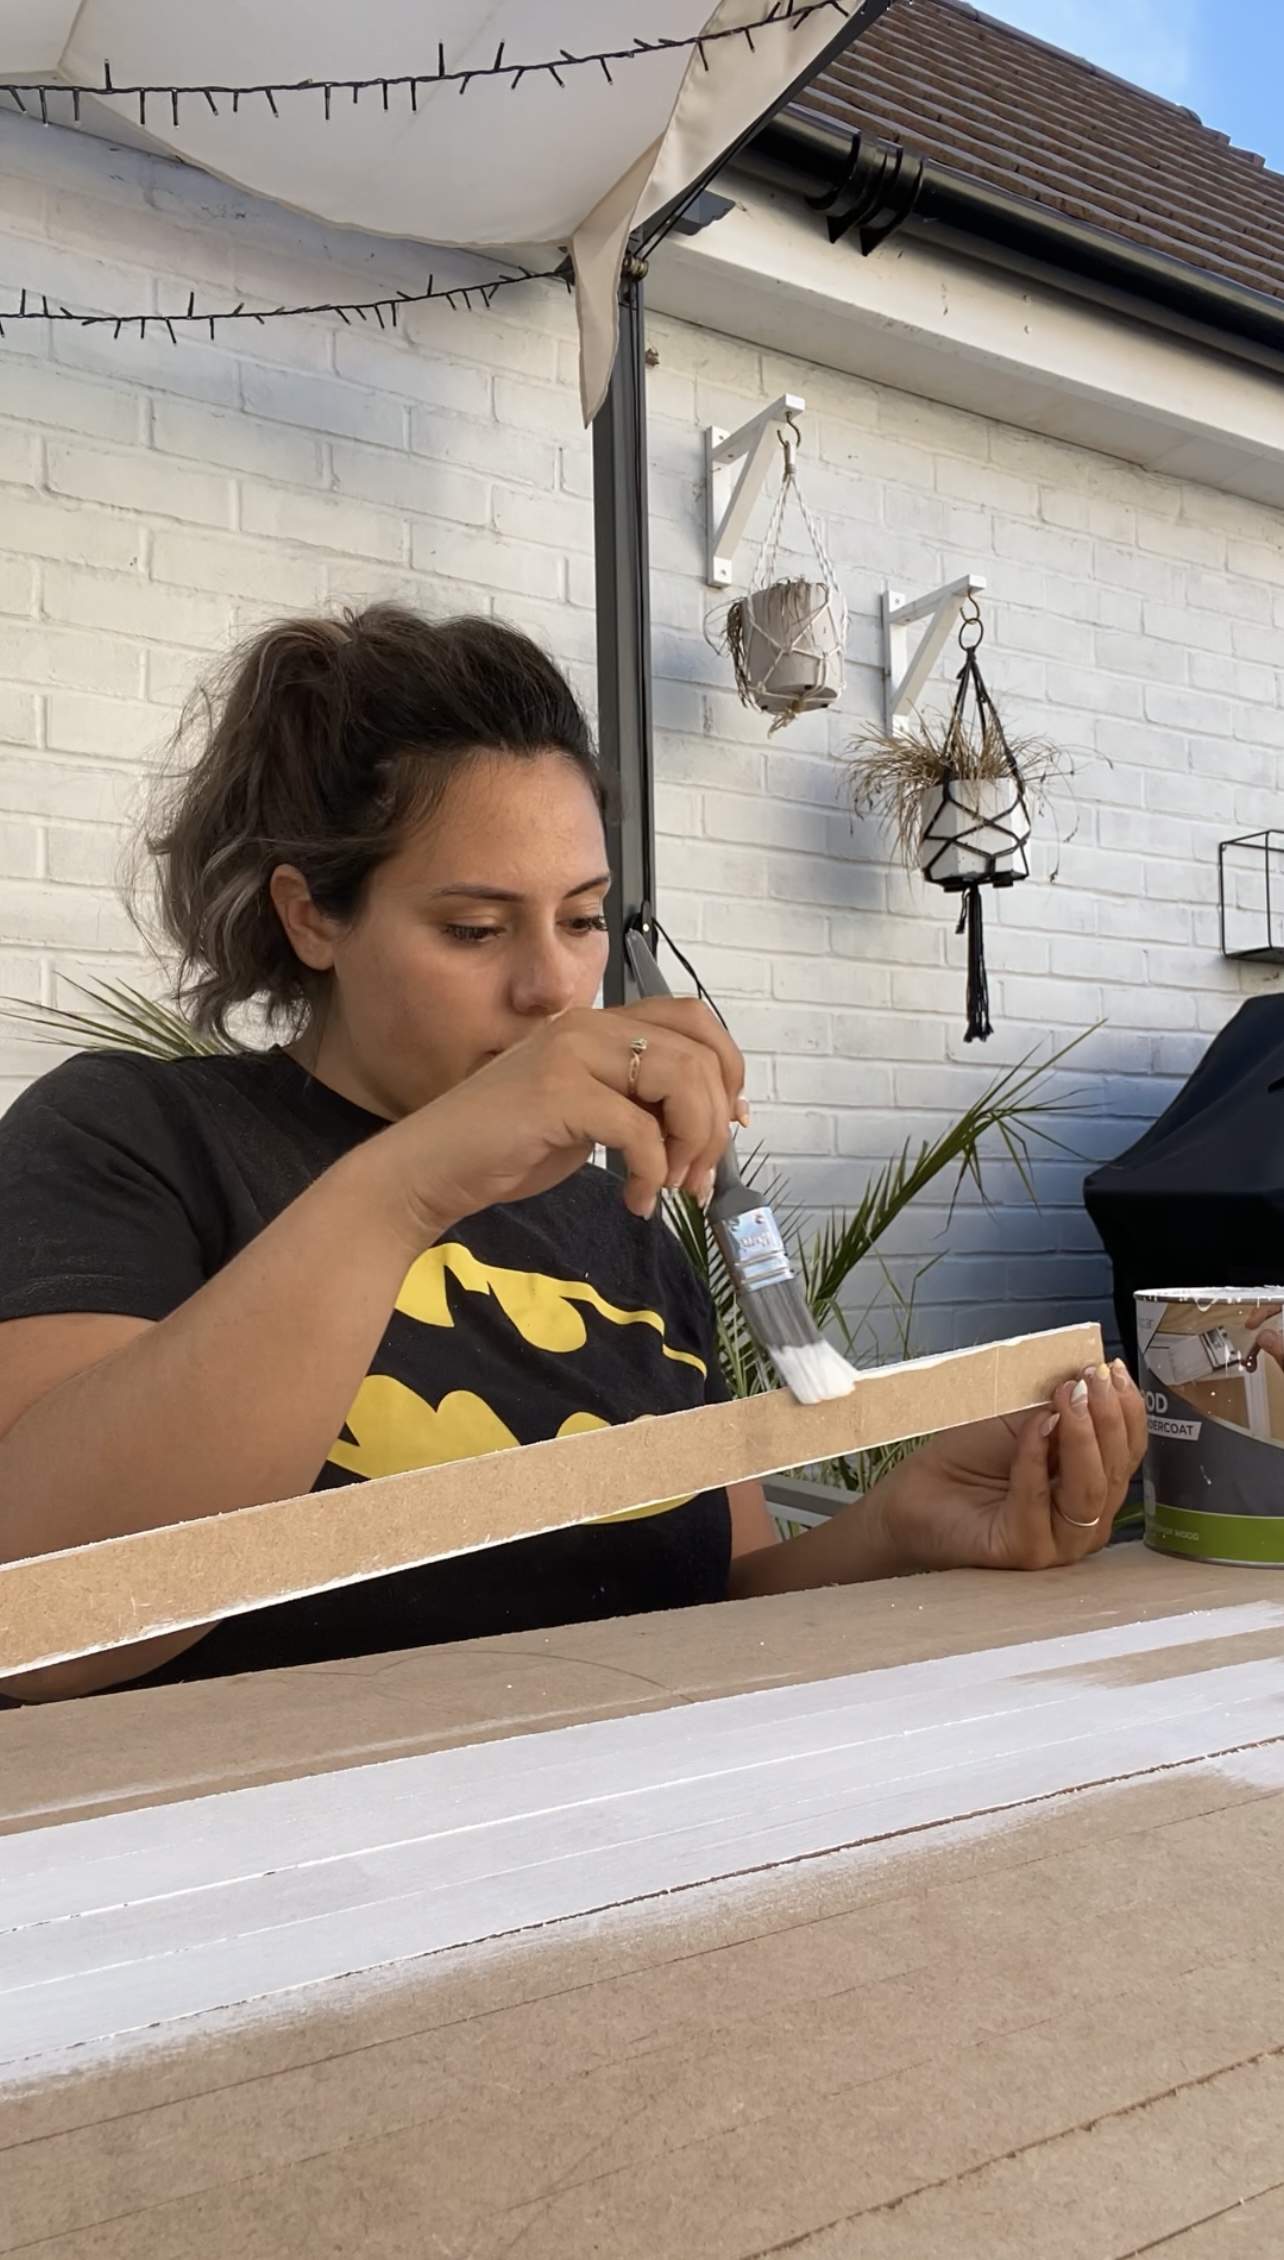
Pro tip: Group all of your trim pieces together and paint as if it were one big piece. Leave them to dry and then turn them over and paint the reverse side, not forgetting the edges. MDF if very porous so painting both sides is essential for the perfect painted finish. You’ll want about two coats of primer.
- DIY: How to paint trim around the home for pro results.
6. Mark out the jute strip placement
Once your strips have dried, it’s time to get everything stuck to the drawer front. Place the strips on the drawer and using a pencil, mark out very lightly where the strips will come to. This will help you know where to put the staples that hold the fabric down so that you can't see them once you’ve stuck the strips over the top.
7. Secure the jute
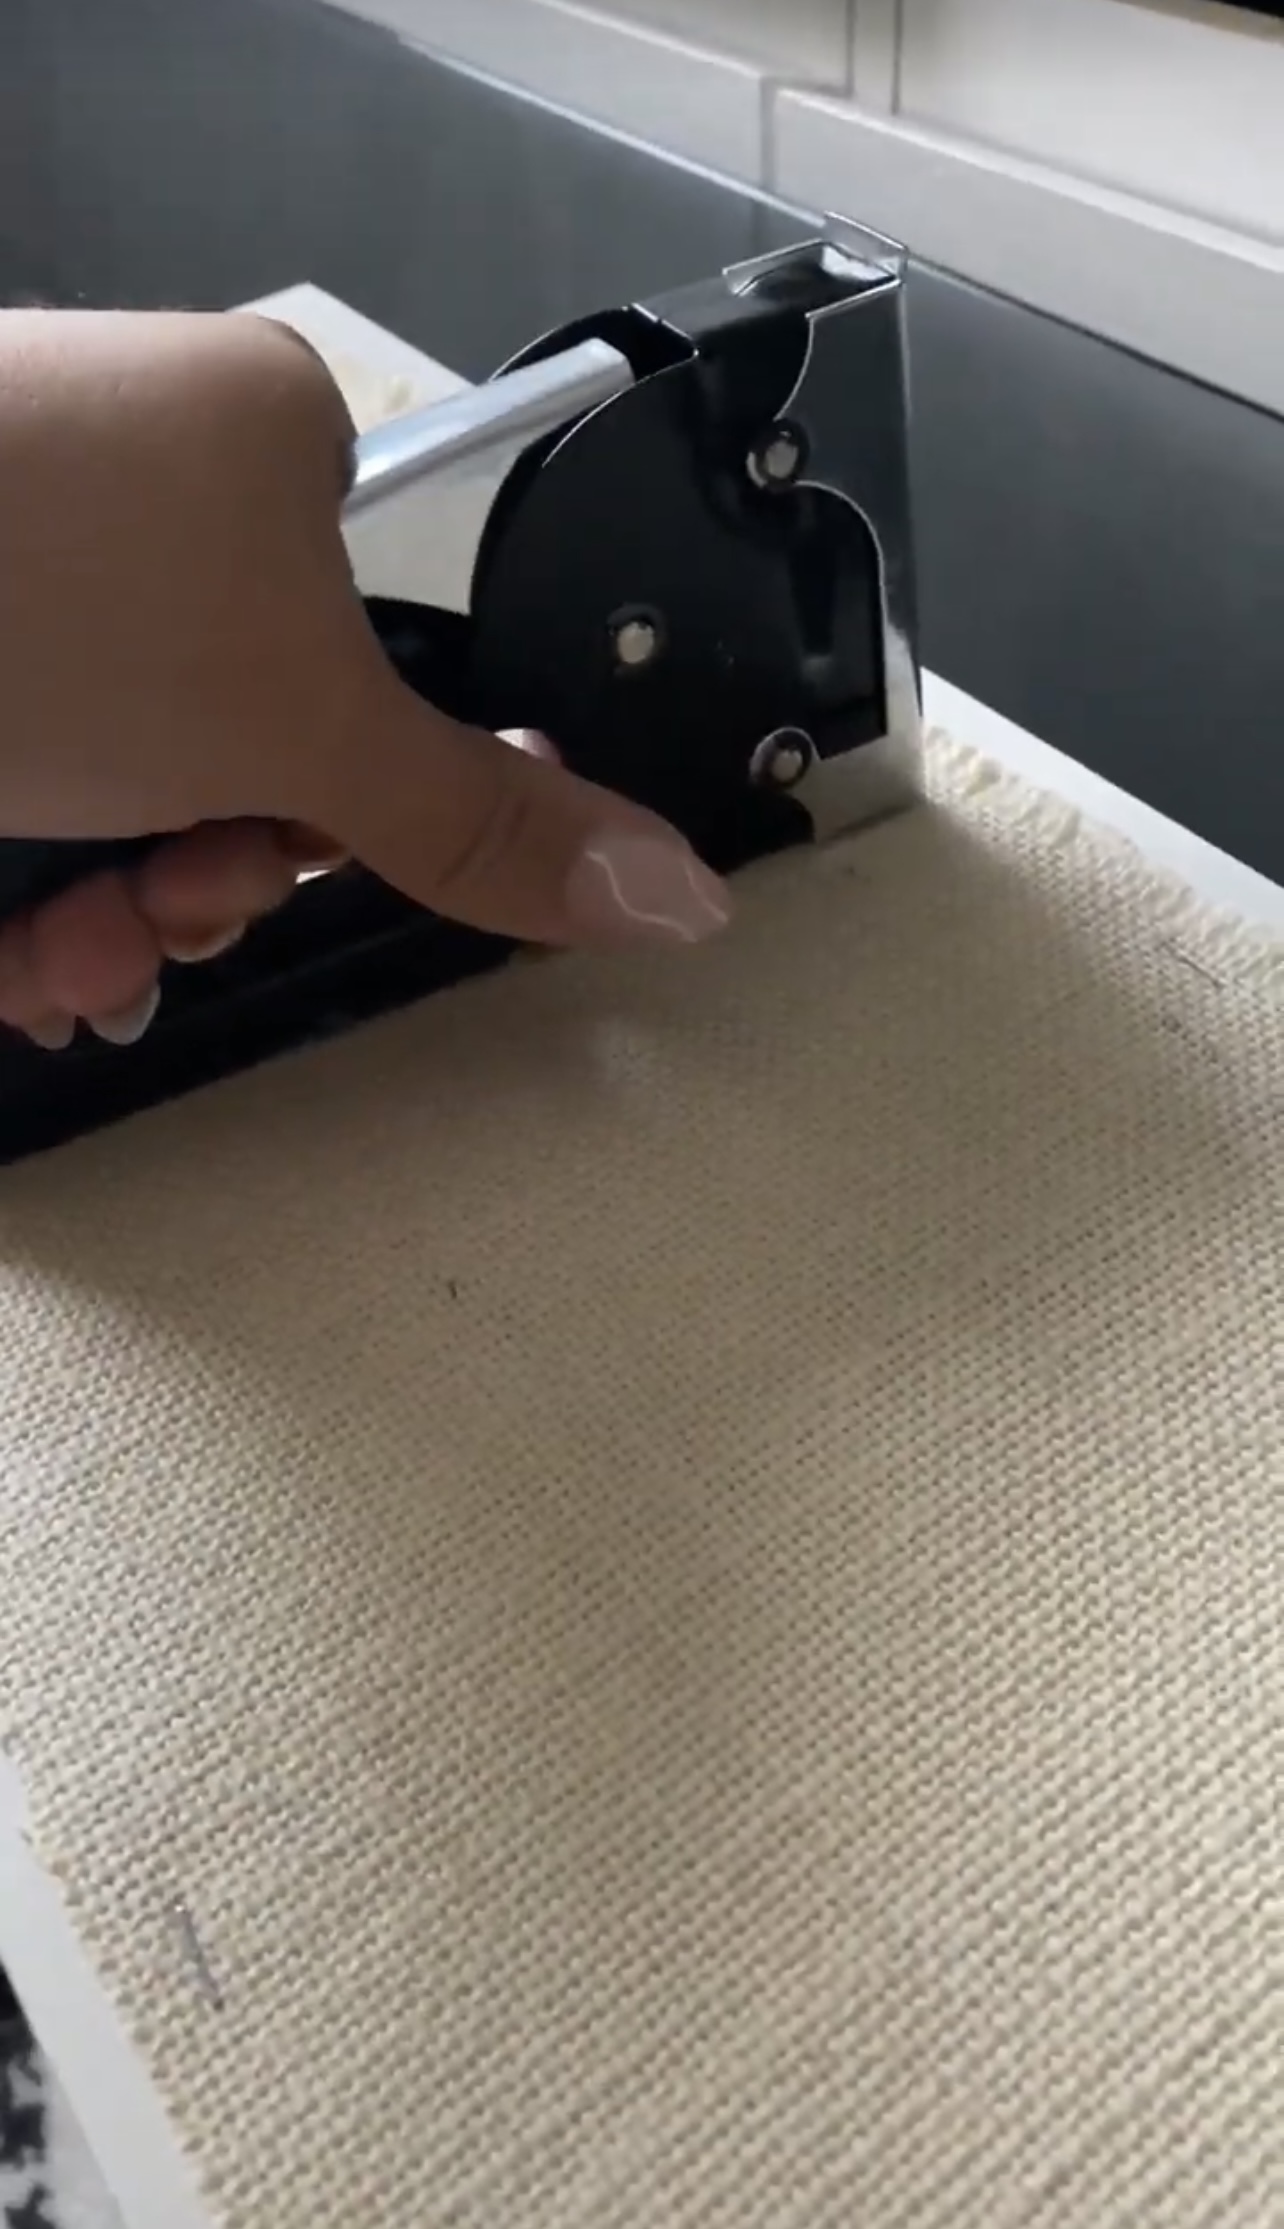
Using your staple gun, secure each piece of jute fabric to the front of each drawer – taking care not to go outside of the trim lines you’ve just drawn. Hammer these staples if any aren’t quite flush.
8. Stick down the trim
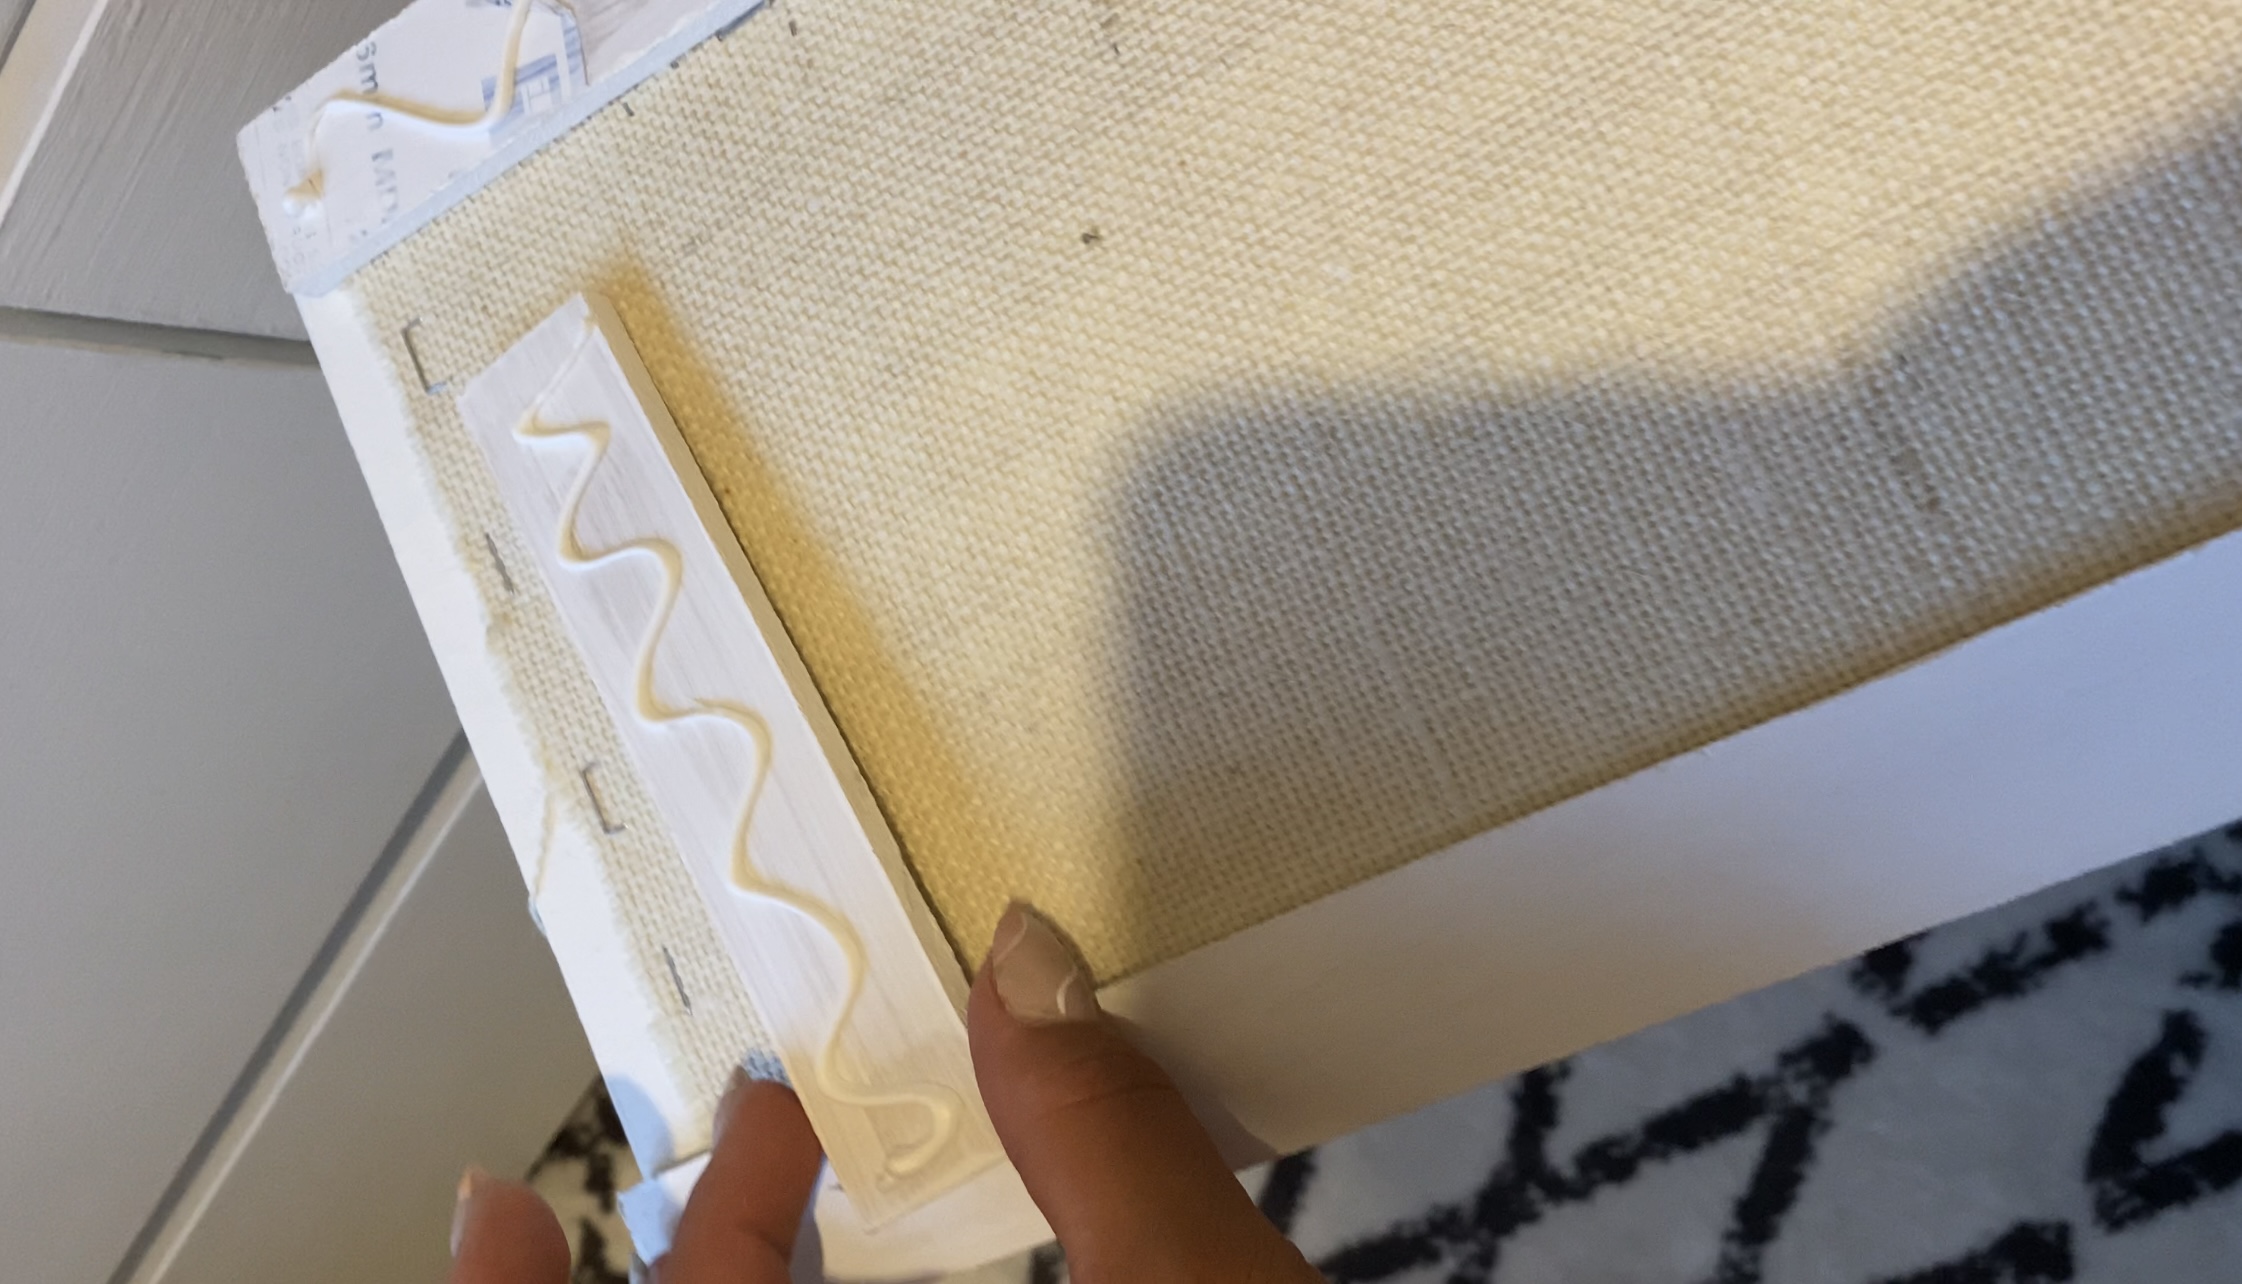
I used No More Nails which is my go-to (you can find it on Amazon like most things!) on the back of each piece of trim and stuck them down, being careful to line them up with the edges and with each other to ensure they were all aligned.
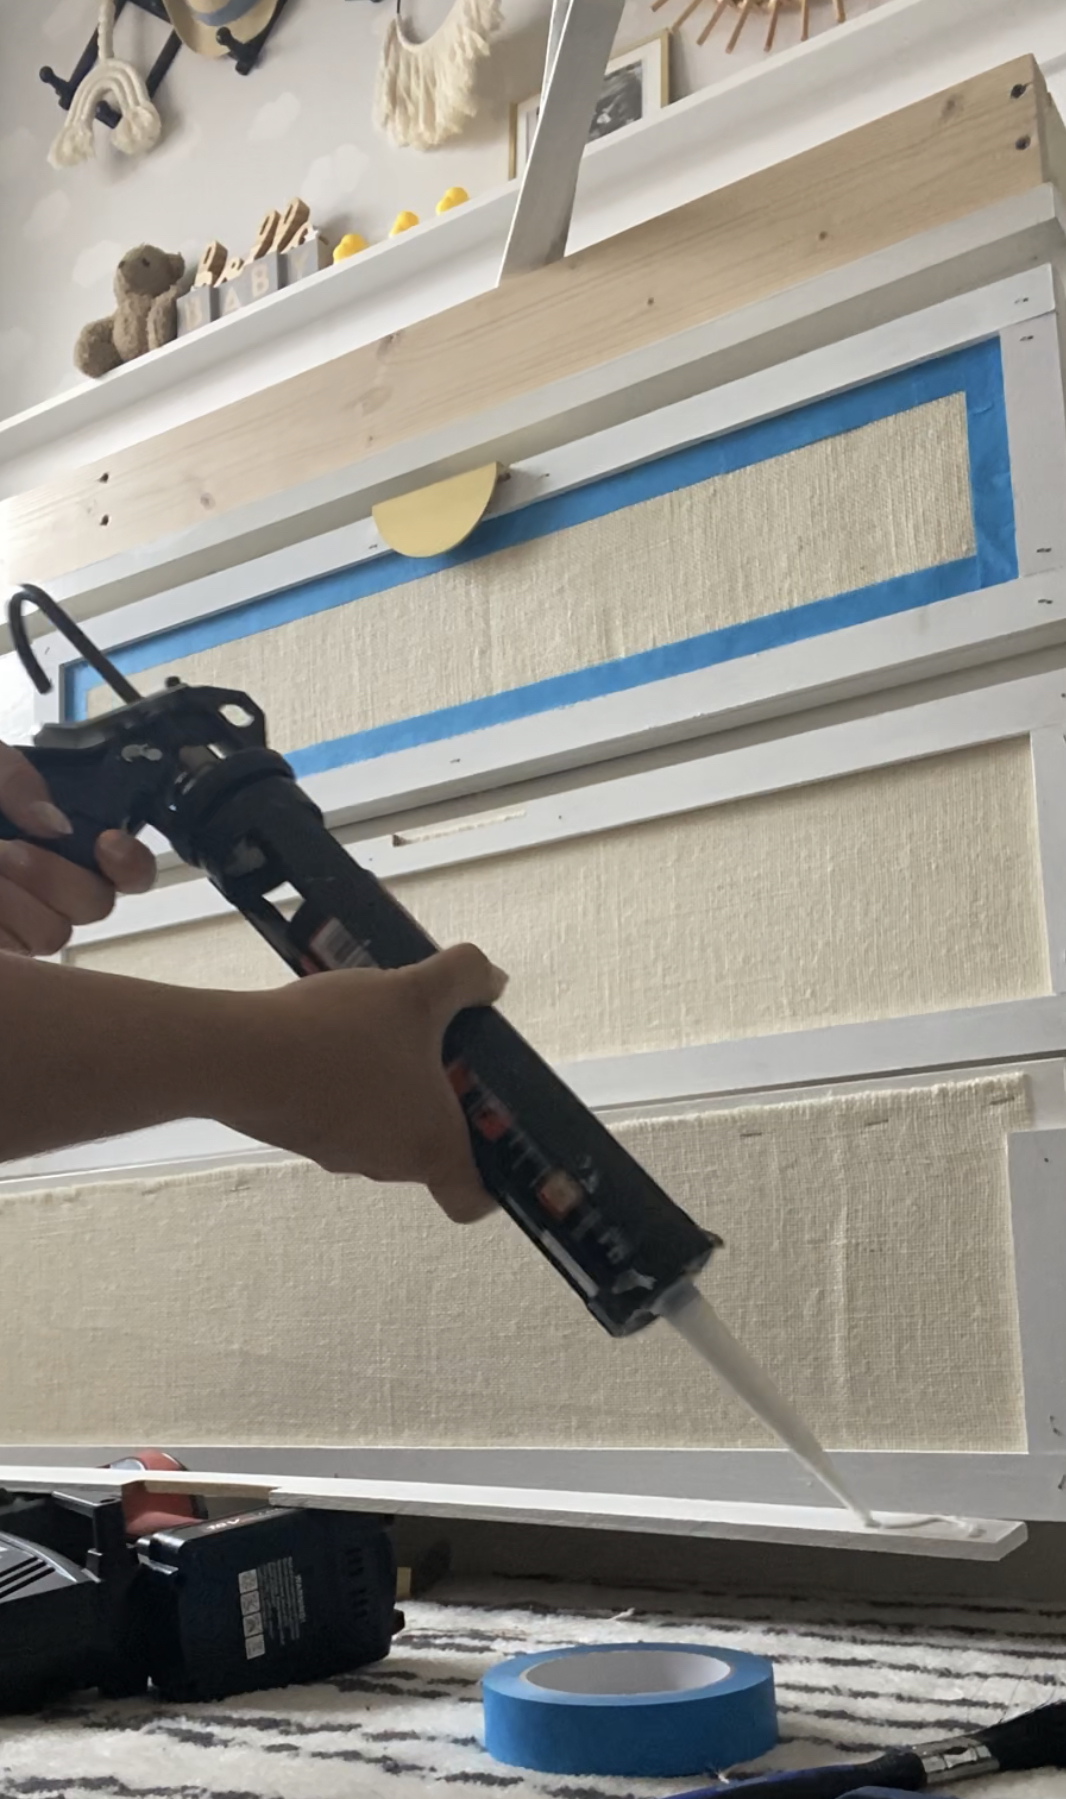
Be sure to wipe off any excess glue. You can clamp these in place or hold them until they are dry, but to save time, I used my brad nailer to drive a few nails into the trim and secure it in place. Make sure you don’t use nails longer than the drawer front depth
9. Fill any joins and holes
Repeat this on all your drawers, then go back in with some wood filler and fill the joins and any nail holes. Leave this to dry then sand it down smooth, touching up with more primer paint.
- This would look great in a walk-in closet.
10. Attach the handles
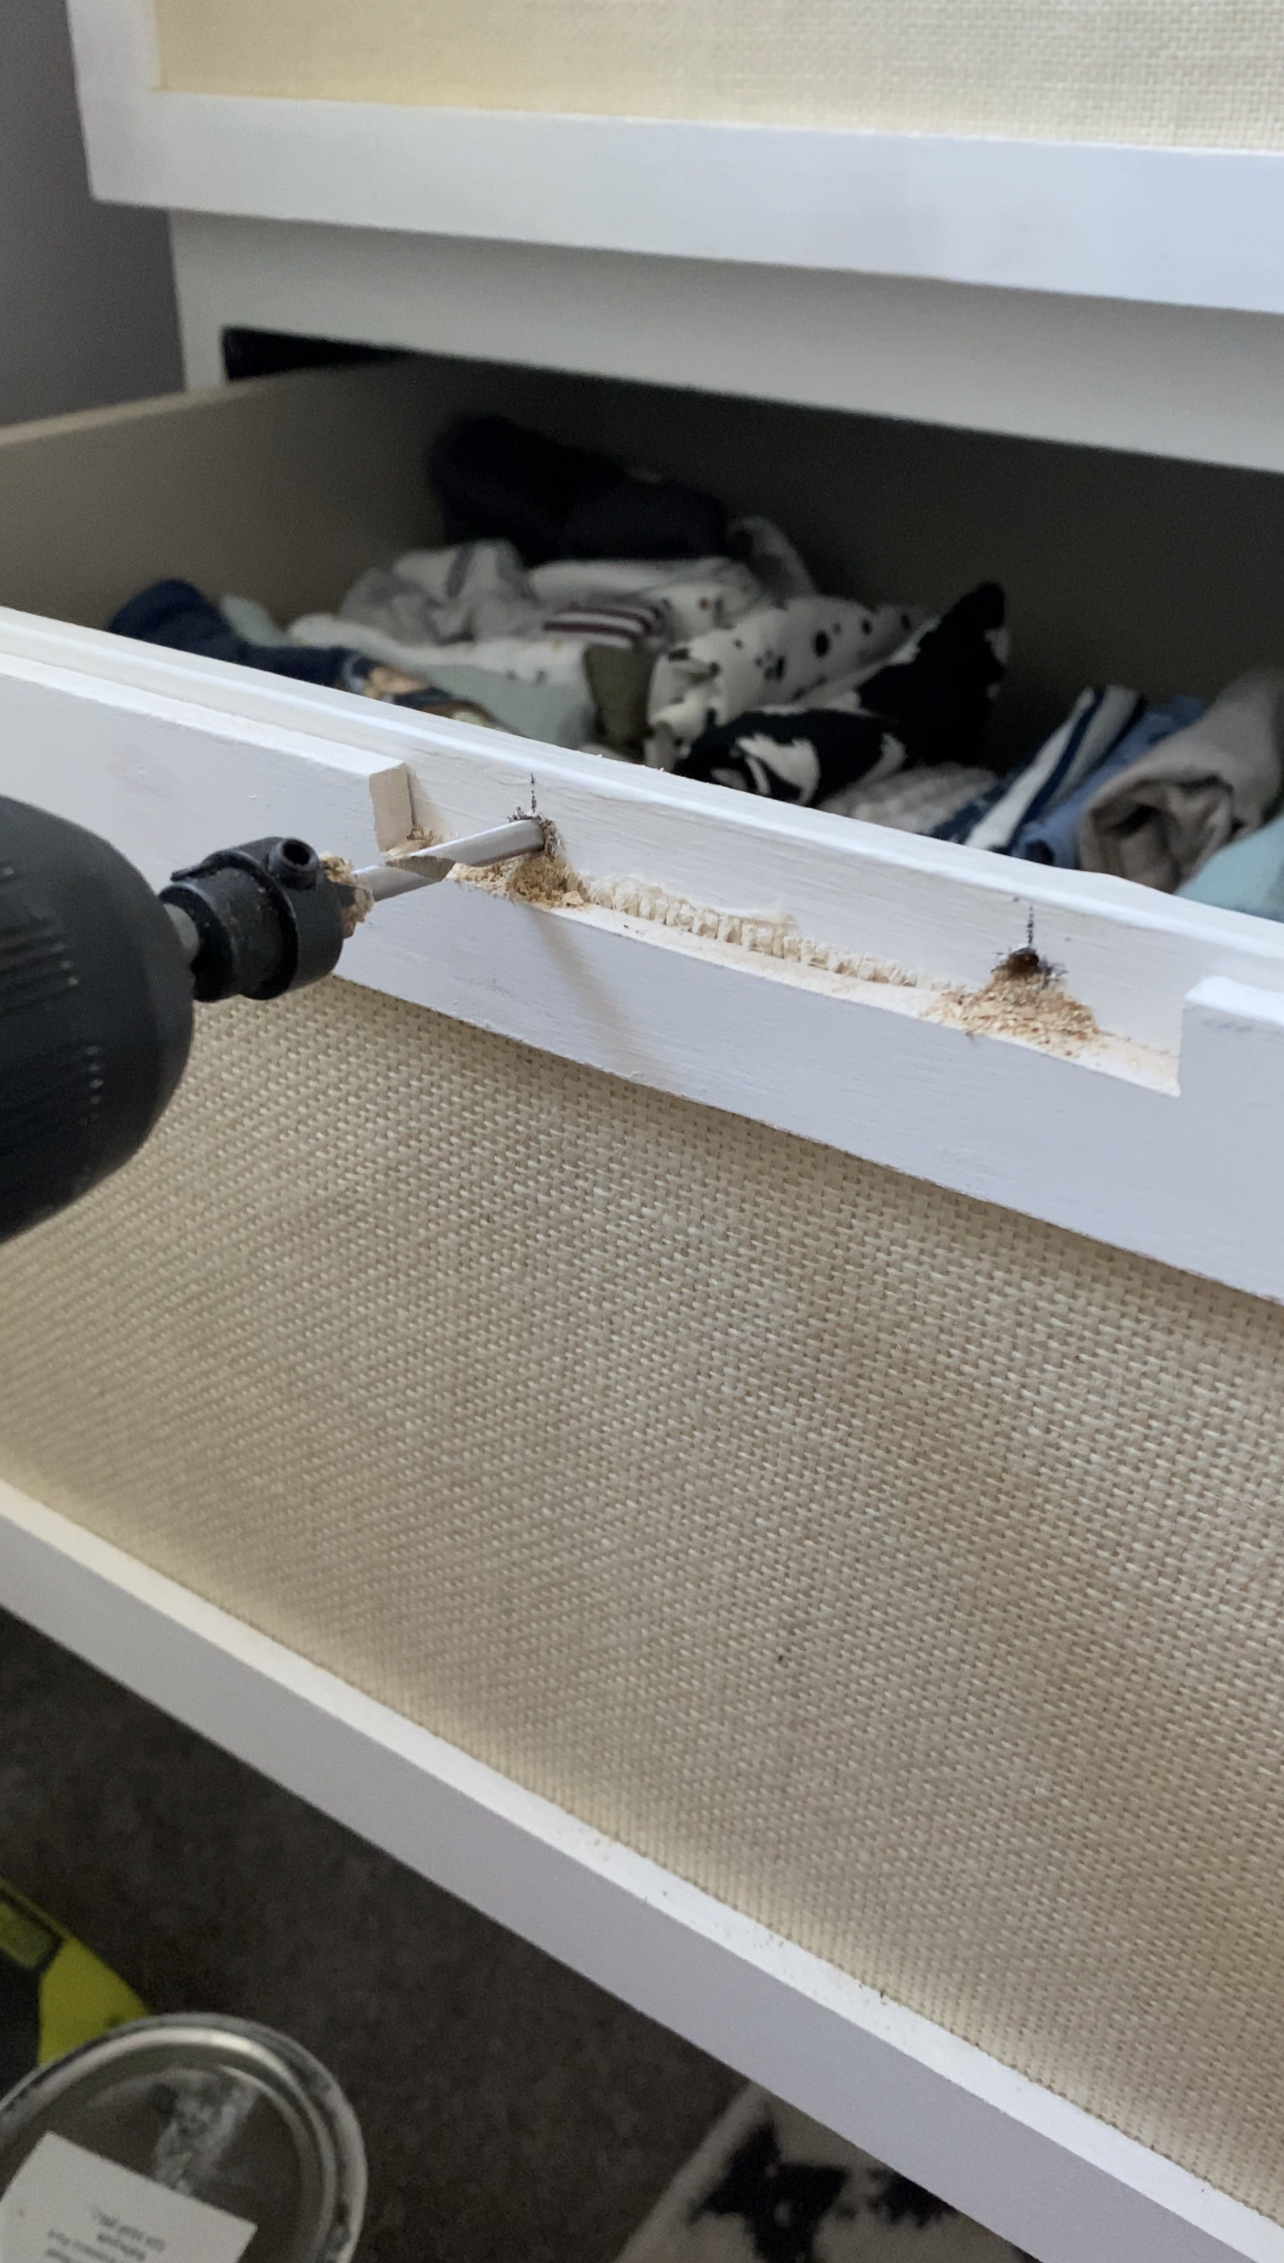
Time to attach the handles! Handles usually come with screws, so find a wood drill bit the same size or 0.5 bigger than the thickness of the screw and use the handle to mark out where the holes need to go. You can place a piece of painter’s tape on the back of the handle, mark the holes and transfer the tape to the drawer for ease.
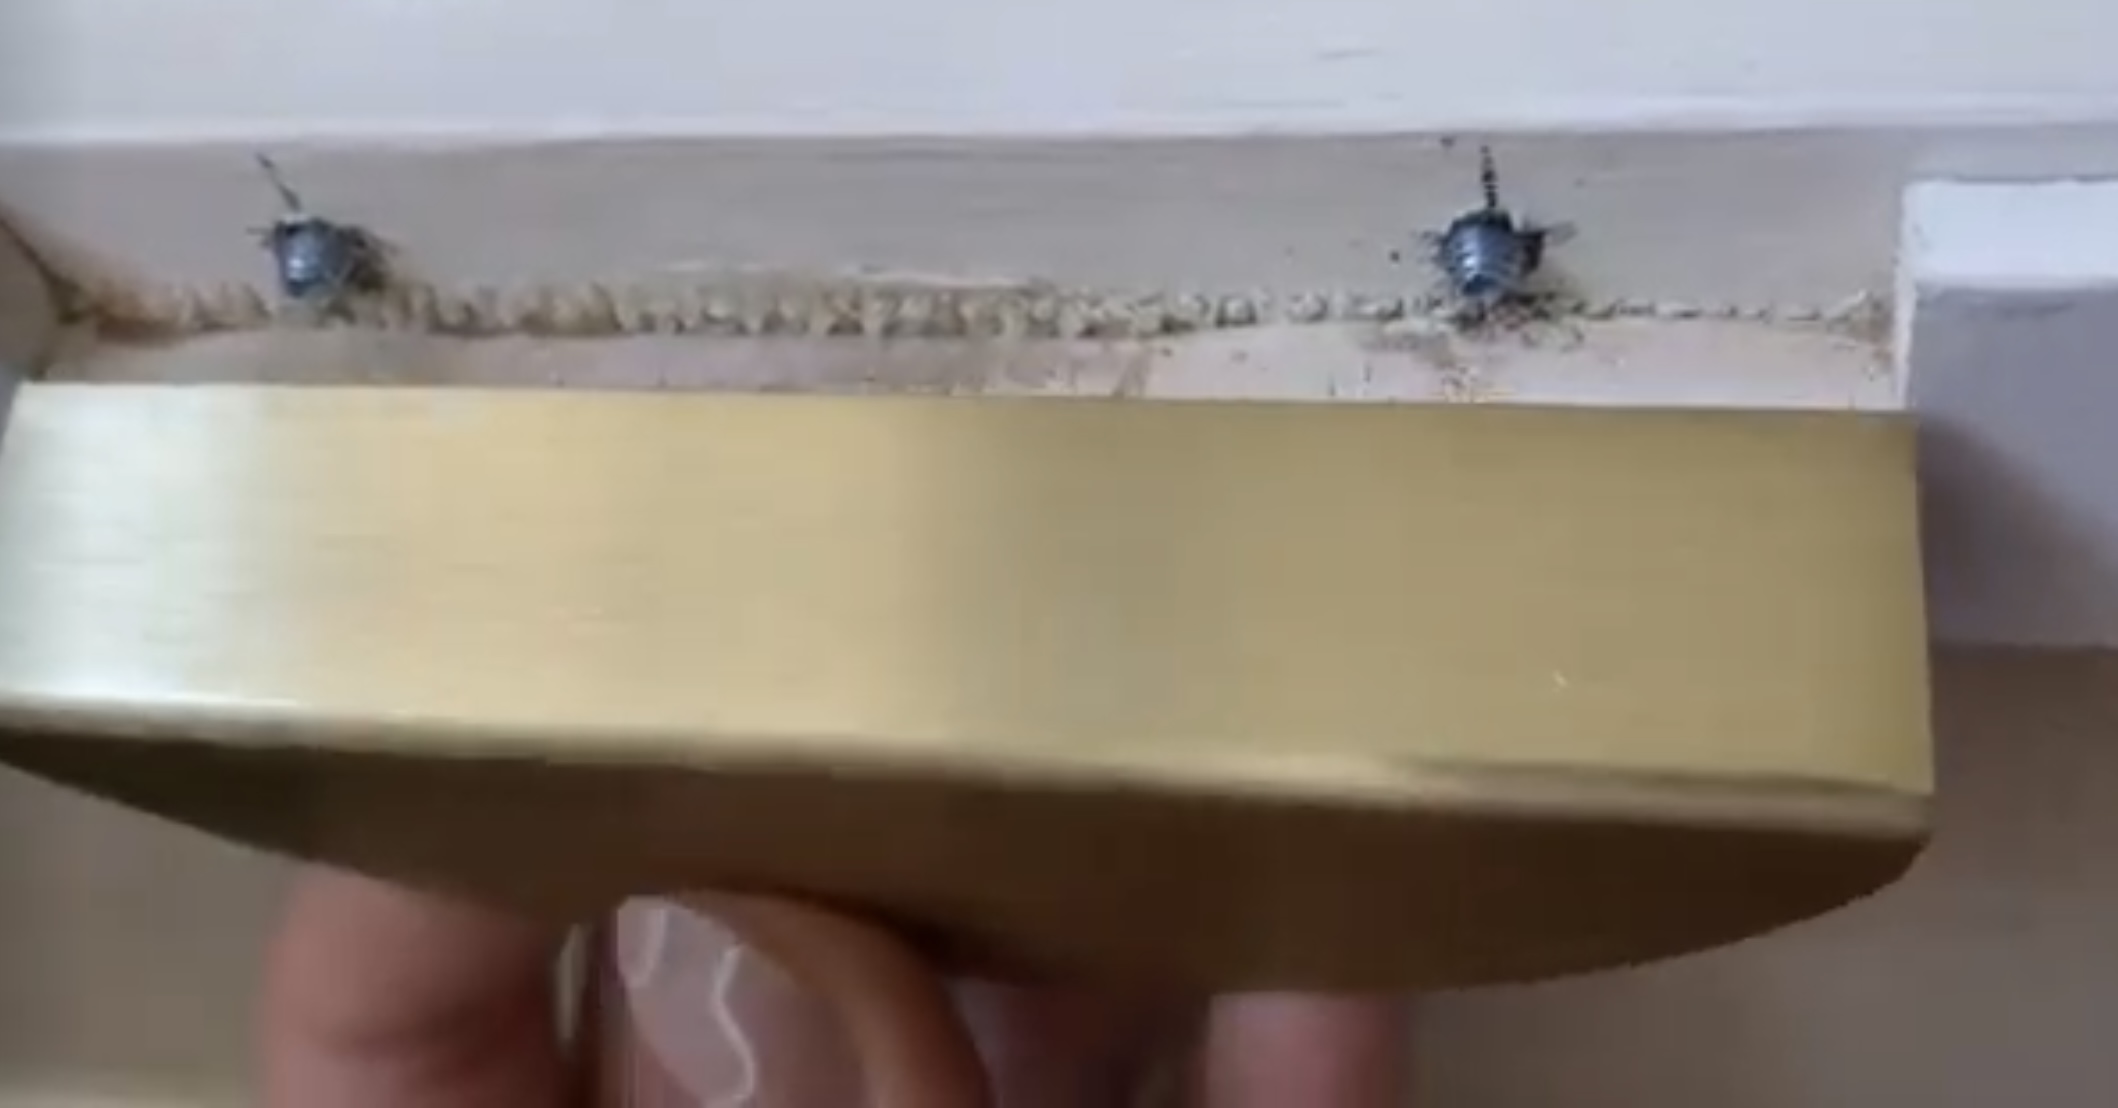
11. Hide the screws
I used a countersink bit as the screws were shorter than the depth of the drawer front. This is also a great way of hiding the screws. Drill in from the back of the drawer to achieve this.
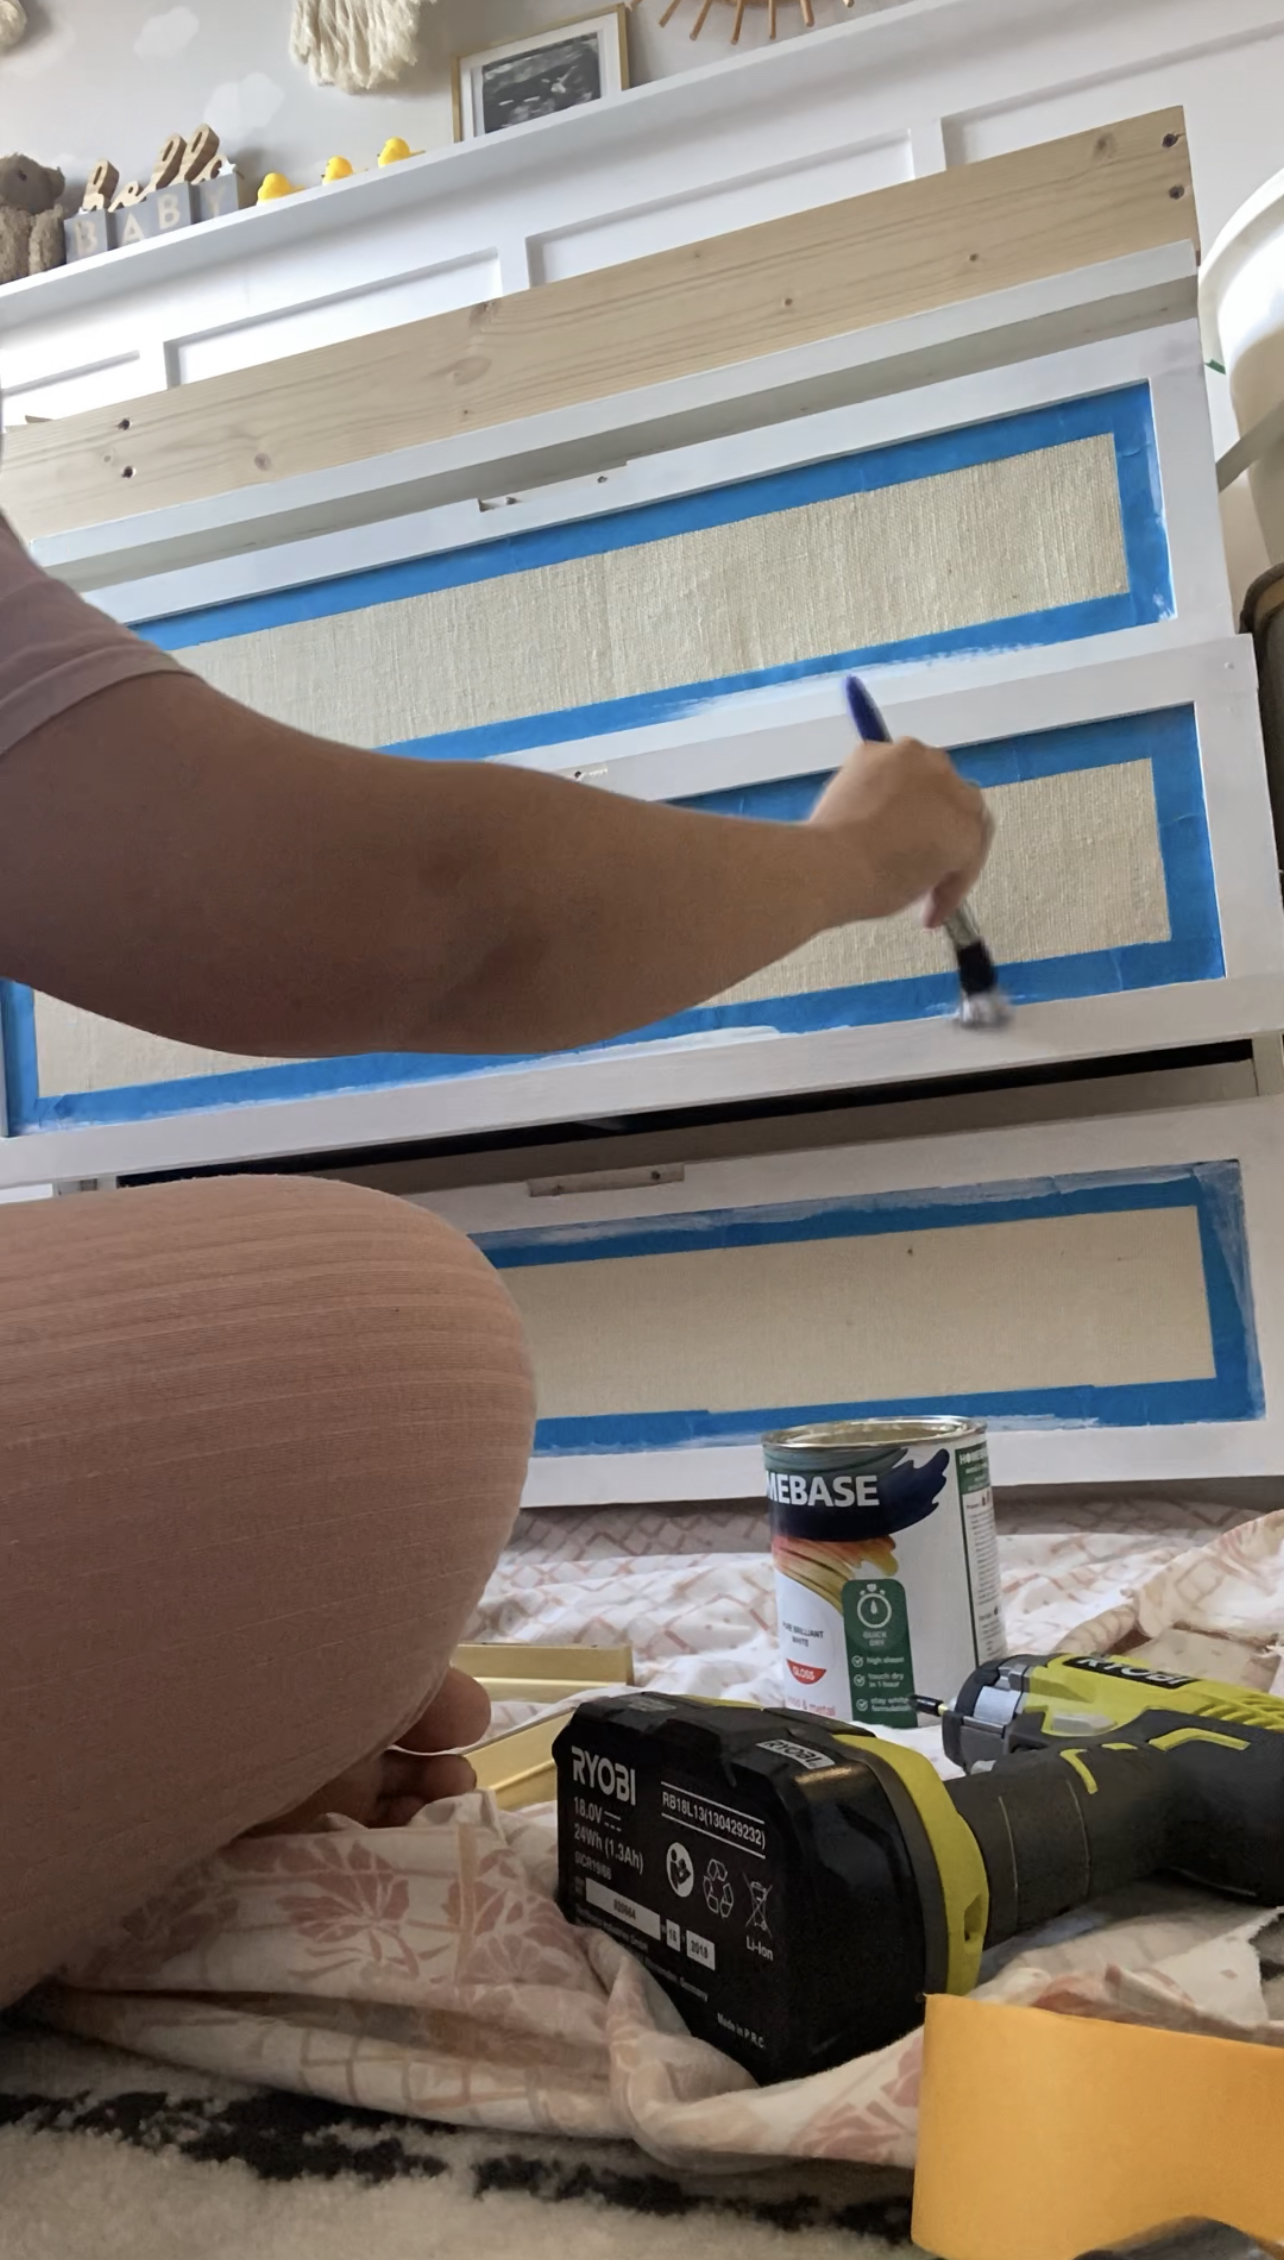
12. Paint around the jute
Apply some painters tape on the jute fabric to mask off the edges and go in with your paint of choice. You're going to need two coats for the best finish.
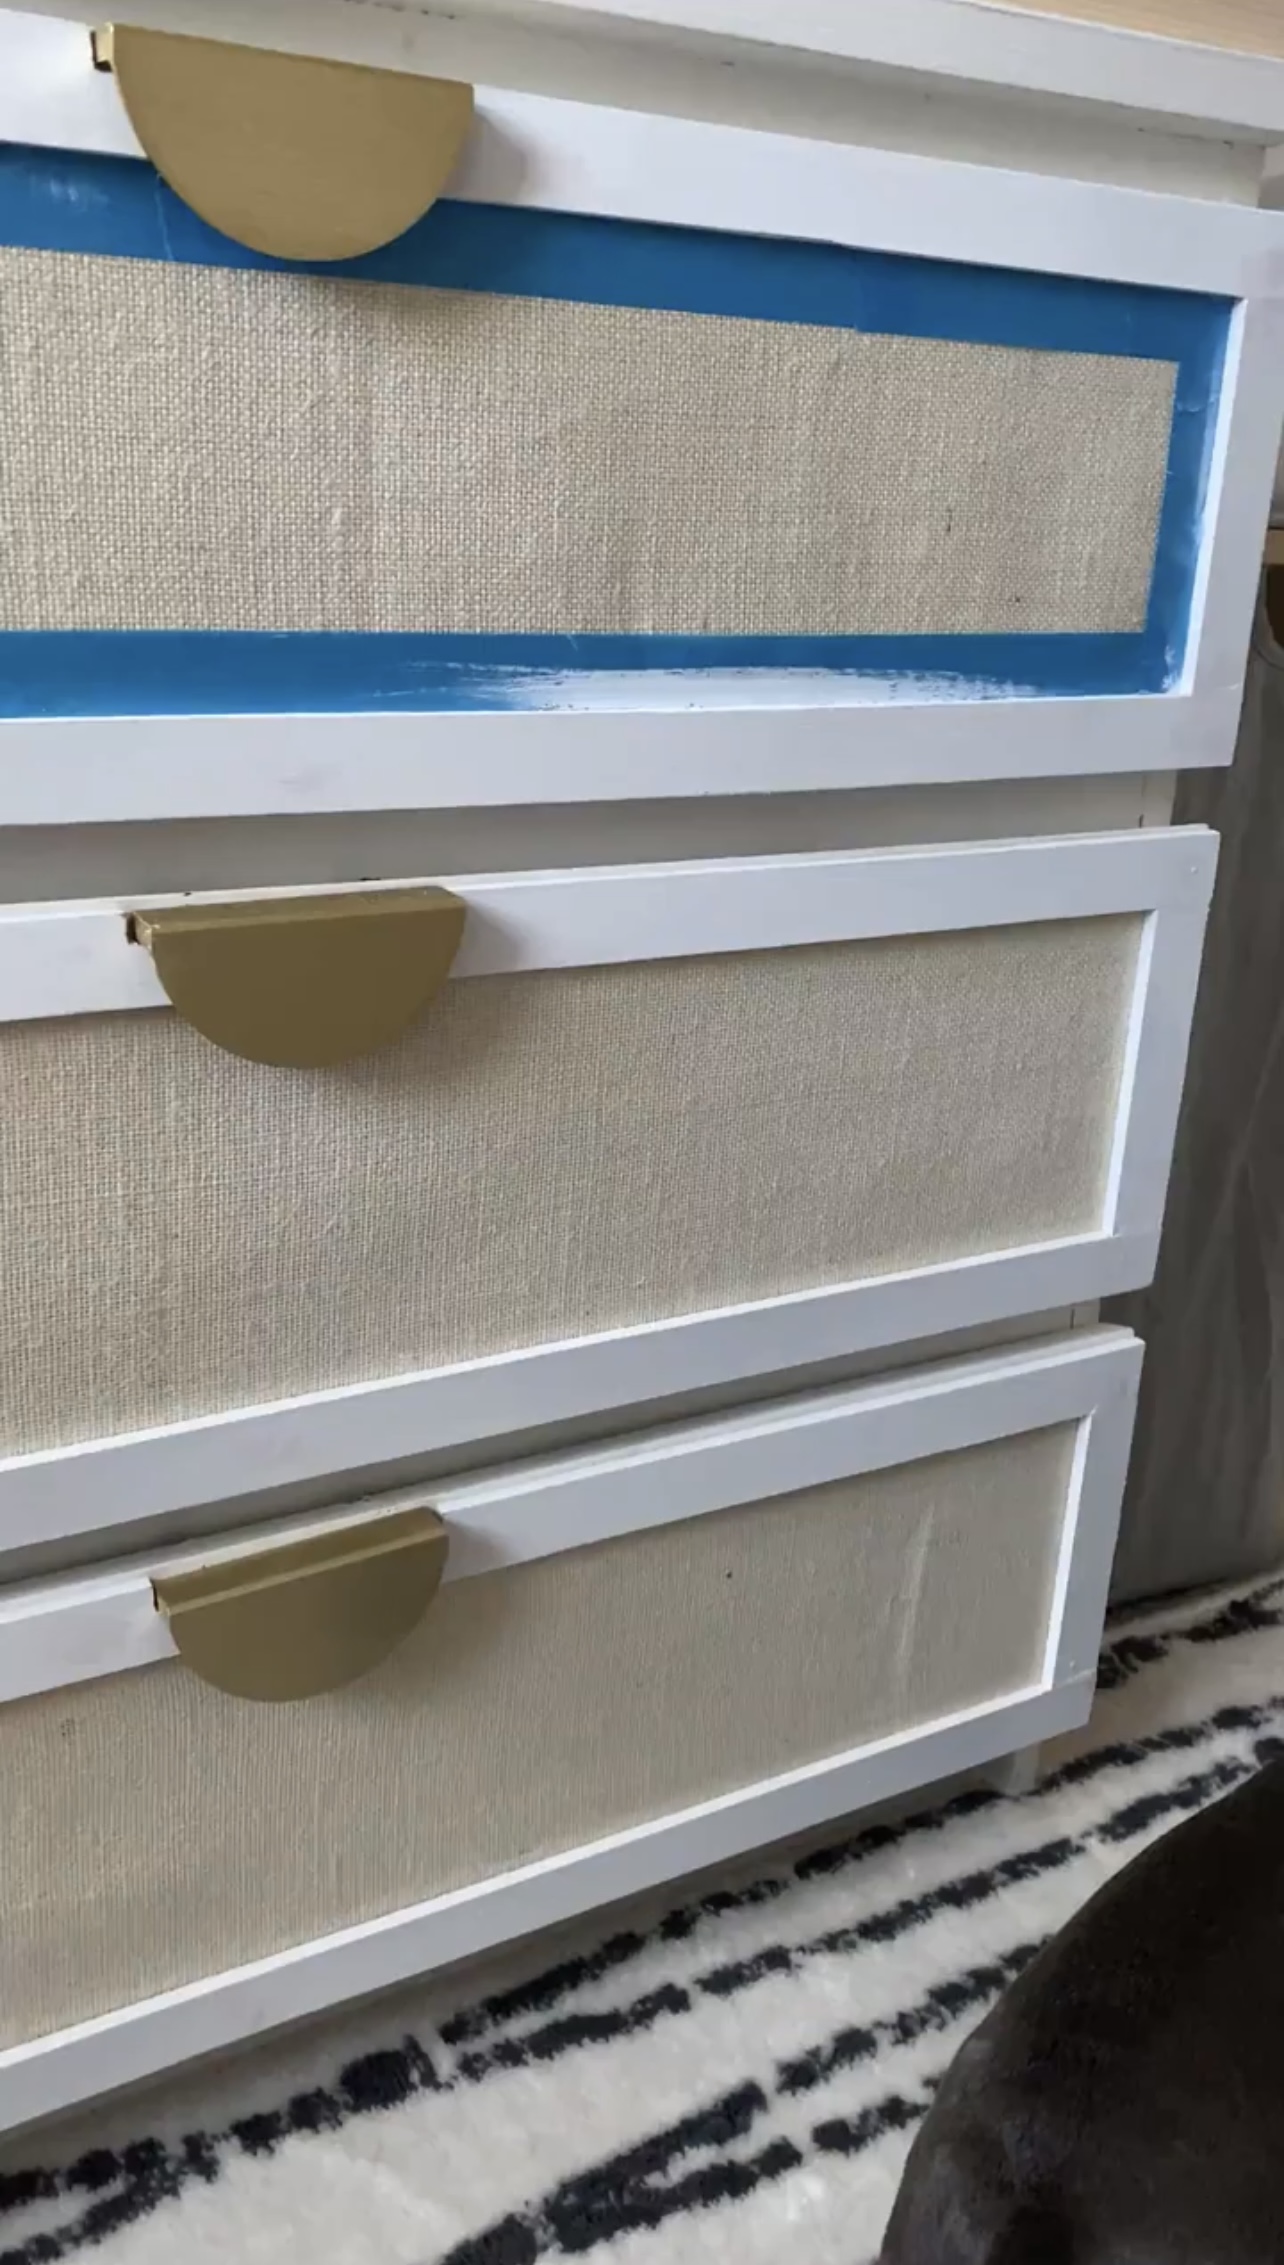
Leave enough drying time between your two coats then peel the tape off while the second coat of paint is still wet so that it doesn't flake.
13. Finish up!
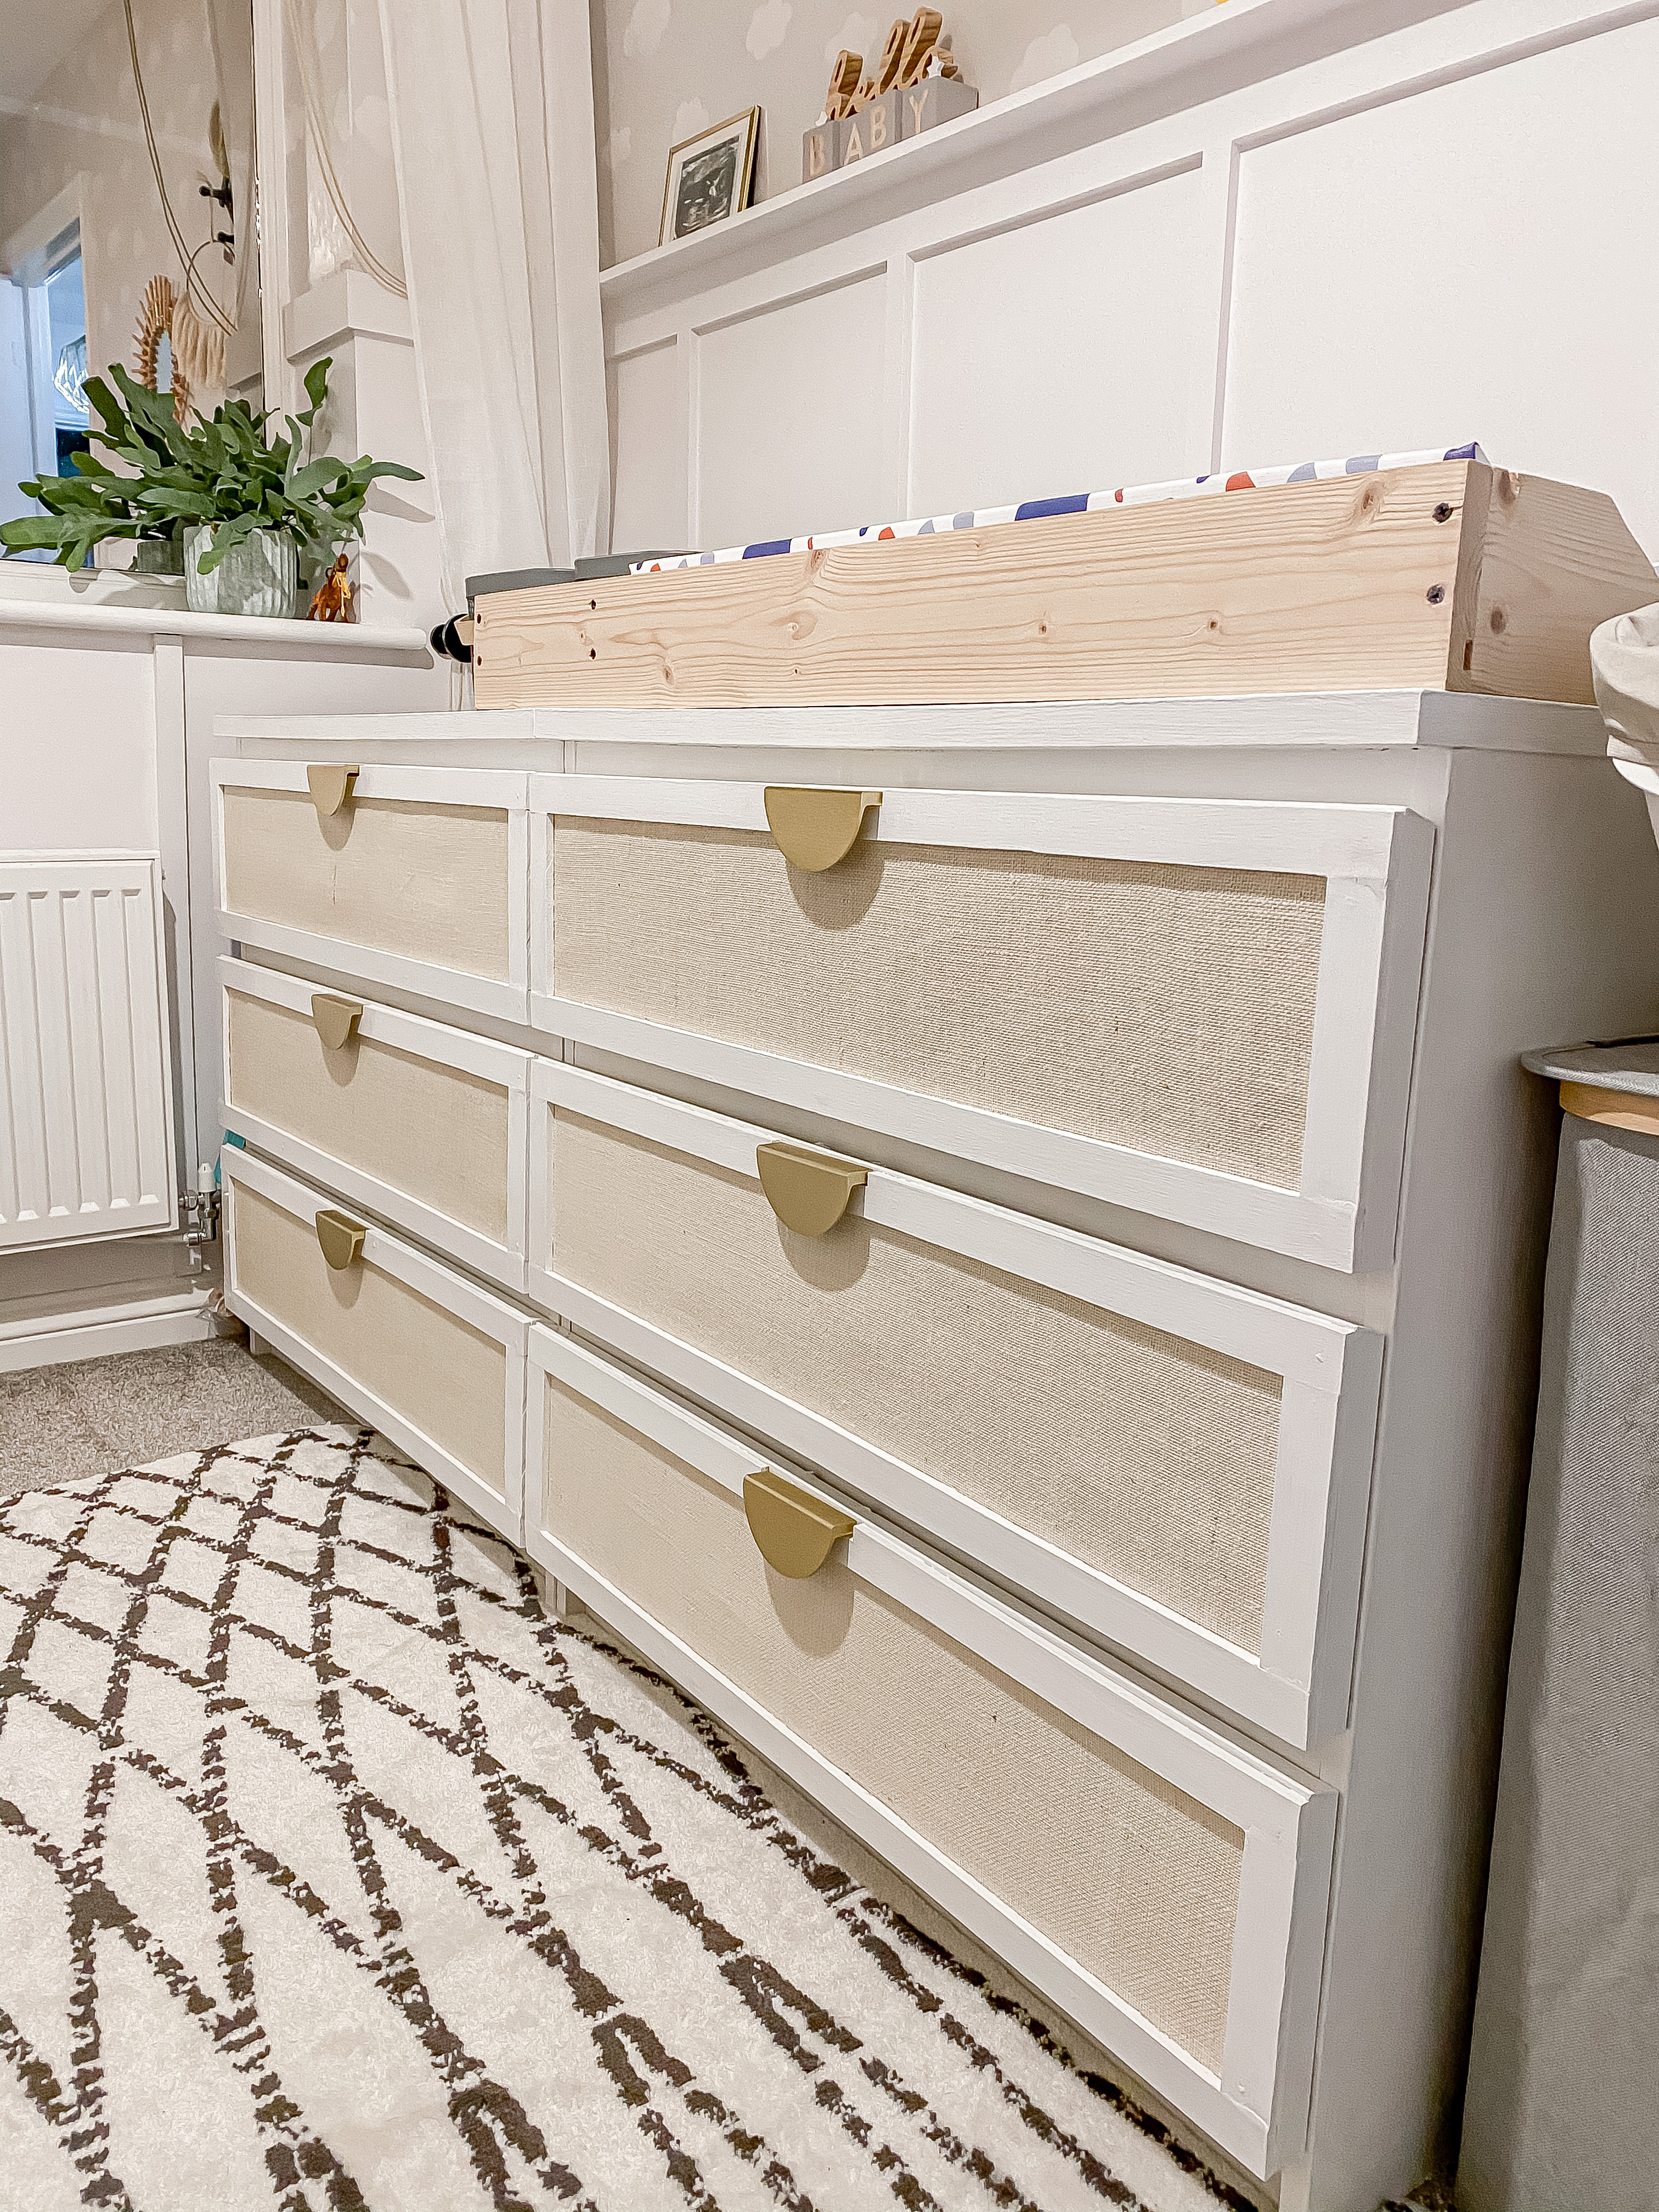
Finally, attach the handles and admire your fine IKEA dresser makeover work!
Optional – use clear lacquer spray on the jute to give it a protected finish.
The result:

Jasmine Gurney is a DIY pro, inspiring women with power tools via her home improvement blog Oh Abode and on Realhomes.com.