How to use a measuring tape for accurate readings
Knowing how to use a measuring tape properly will ensure accurate readings and project success, everytime you use this toolbox staple

Get small space home decor ideas, celeb inspiration, DIY tips and more, straight to your inbox!
You are now subscribed
Your newsletter sign-up was successful
It might sound obvious but if you're wondering whether you know how to use a measuring tape properly or if you want to be 100 per cent certain that you're taking the measurement right, it's likely that you're taking on a VIP project and for that, you need to be clued up!
If you're not sure whether you have positioned the metal bit in the right place (what even is that?) or read it correctly, honestly, you are not alone. But as a must-have DIY tool, knowing how to use and read a measuring tape the right way is essential to project success.
Read our guide on how to measure like a pro and you’ll never need to worry again.
What are the different types of measuring tapes?
Yes, they come in different shapes and sizes in a variety of materials, from flexible plastic to PVC-coated fiberglass. Lengths also vary, right up to 50m plus for external measuring.
For DIY project enthusiasts I’d recommend getting a robust, retractable design with a metal blade that extends to at least 5 meters, as there’s nothing more annoying than running out of tape before you get to the end of the distance you are measuring.
My top tip is to buy a ‘top reader’ tape measure as these are perfect for measuring internal gaps when, for accuracy, you need to include the length of the tape measure case. The image below shows how it does this…
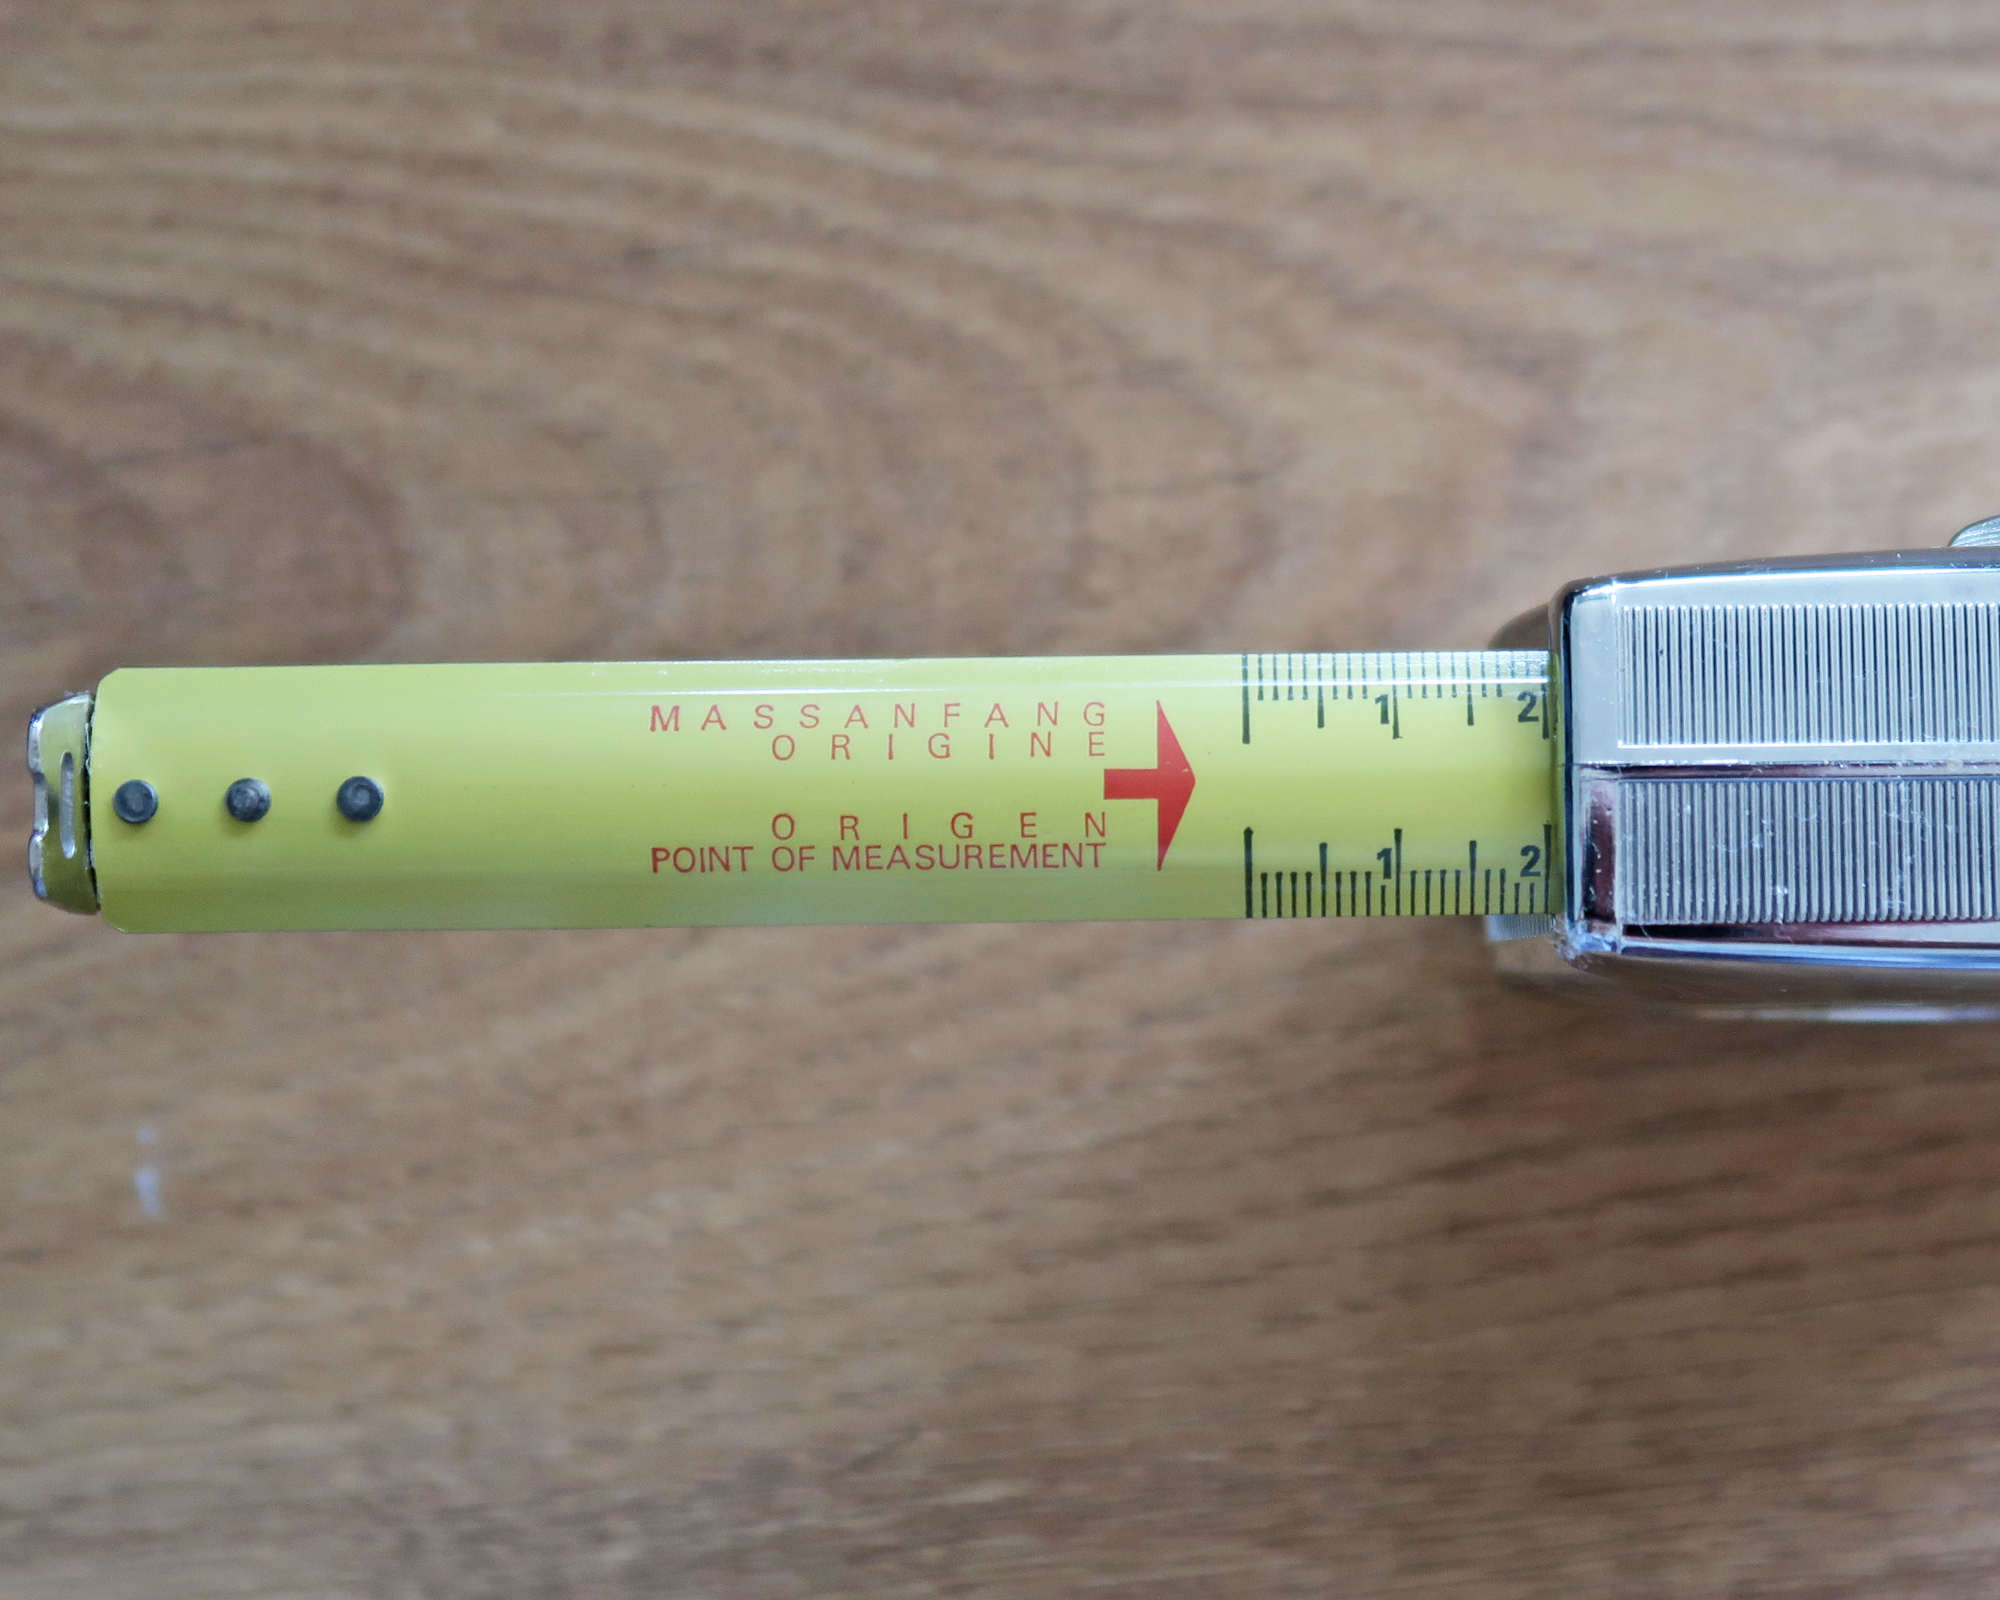
Does the metal end have a name and why does it move?
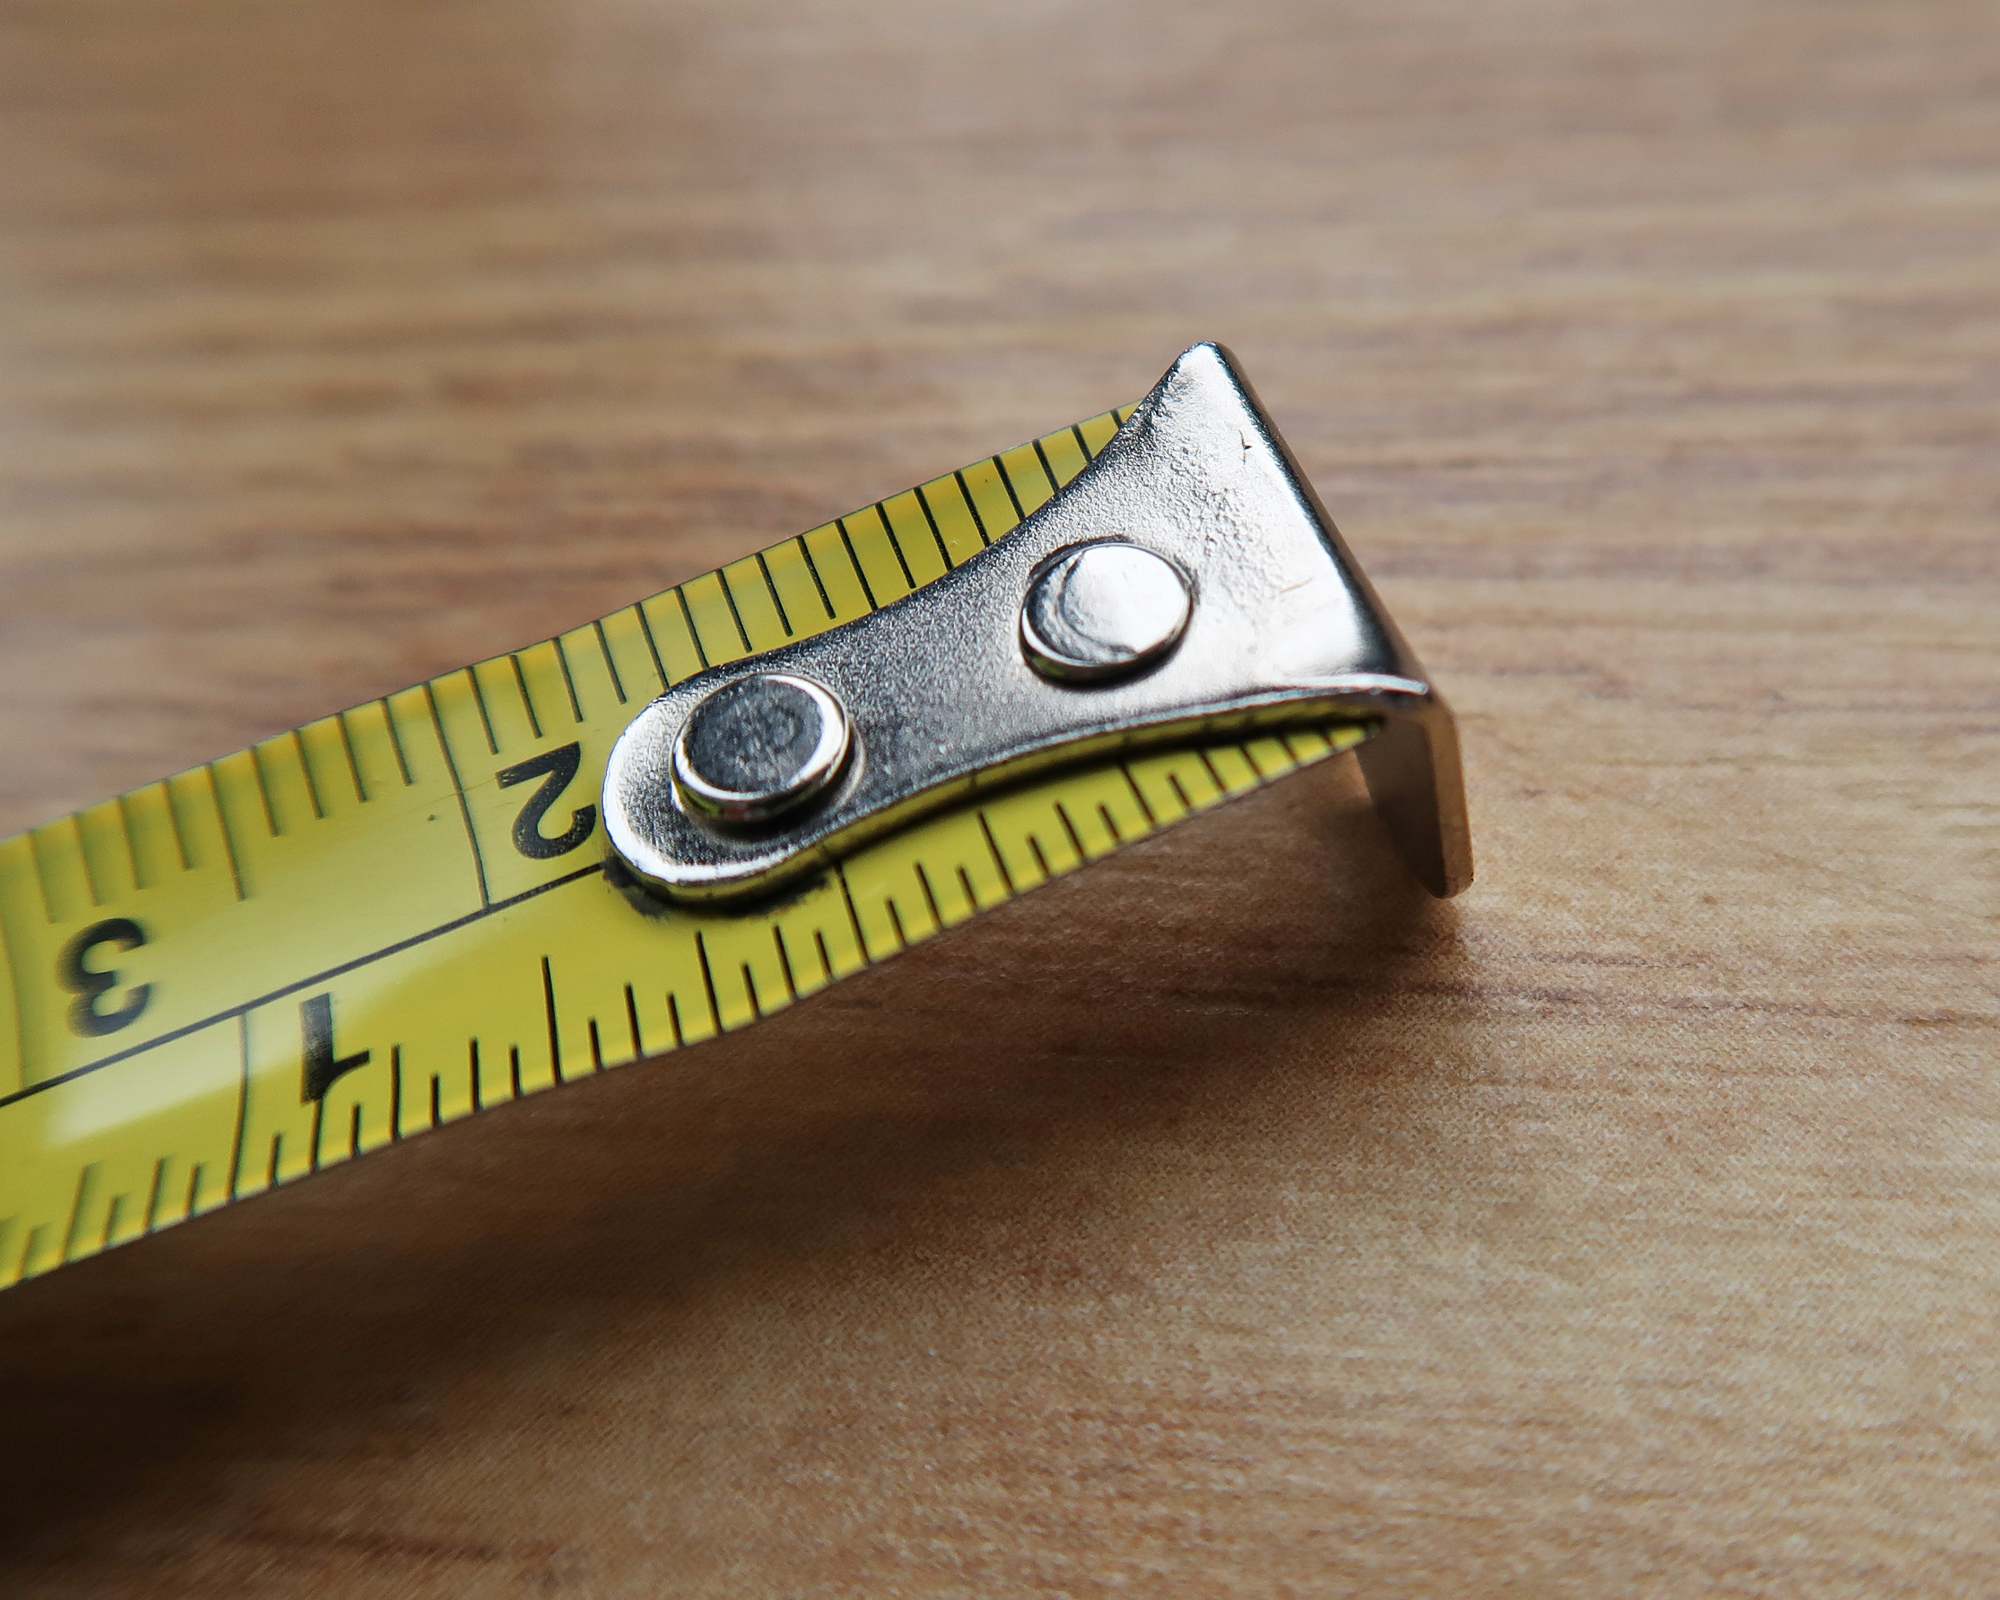
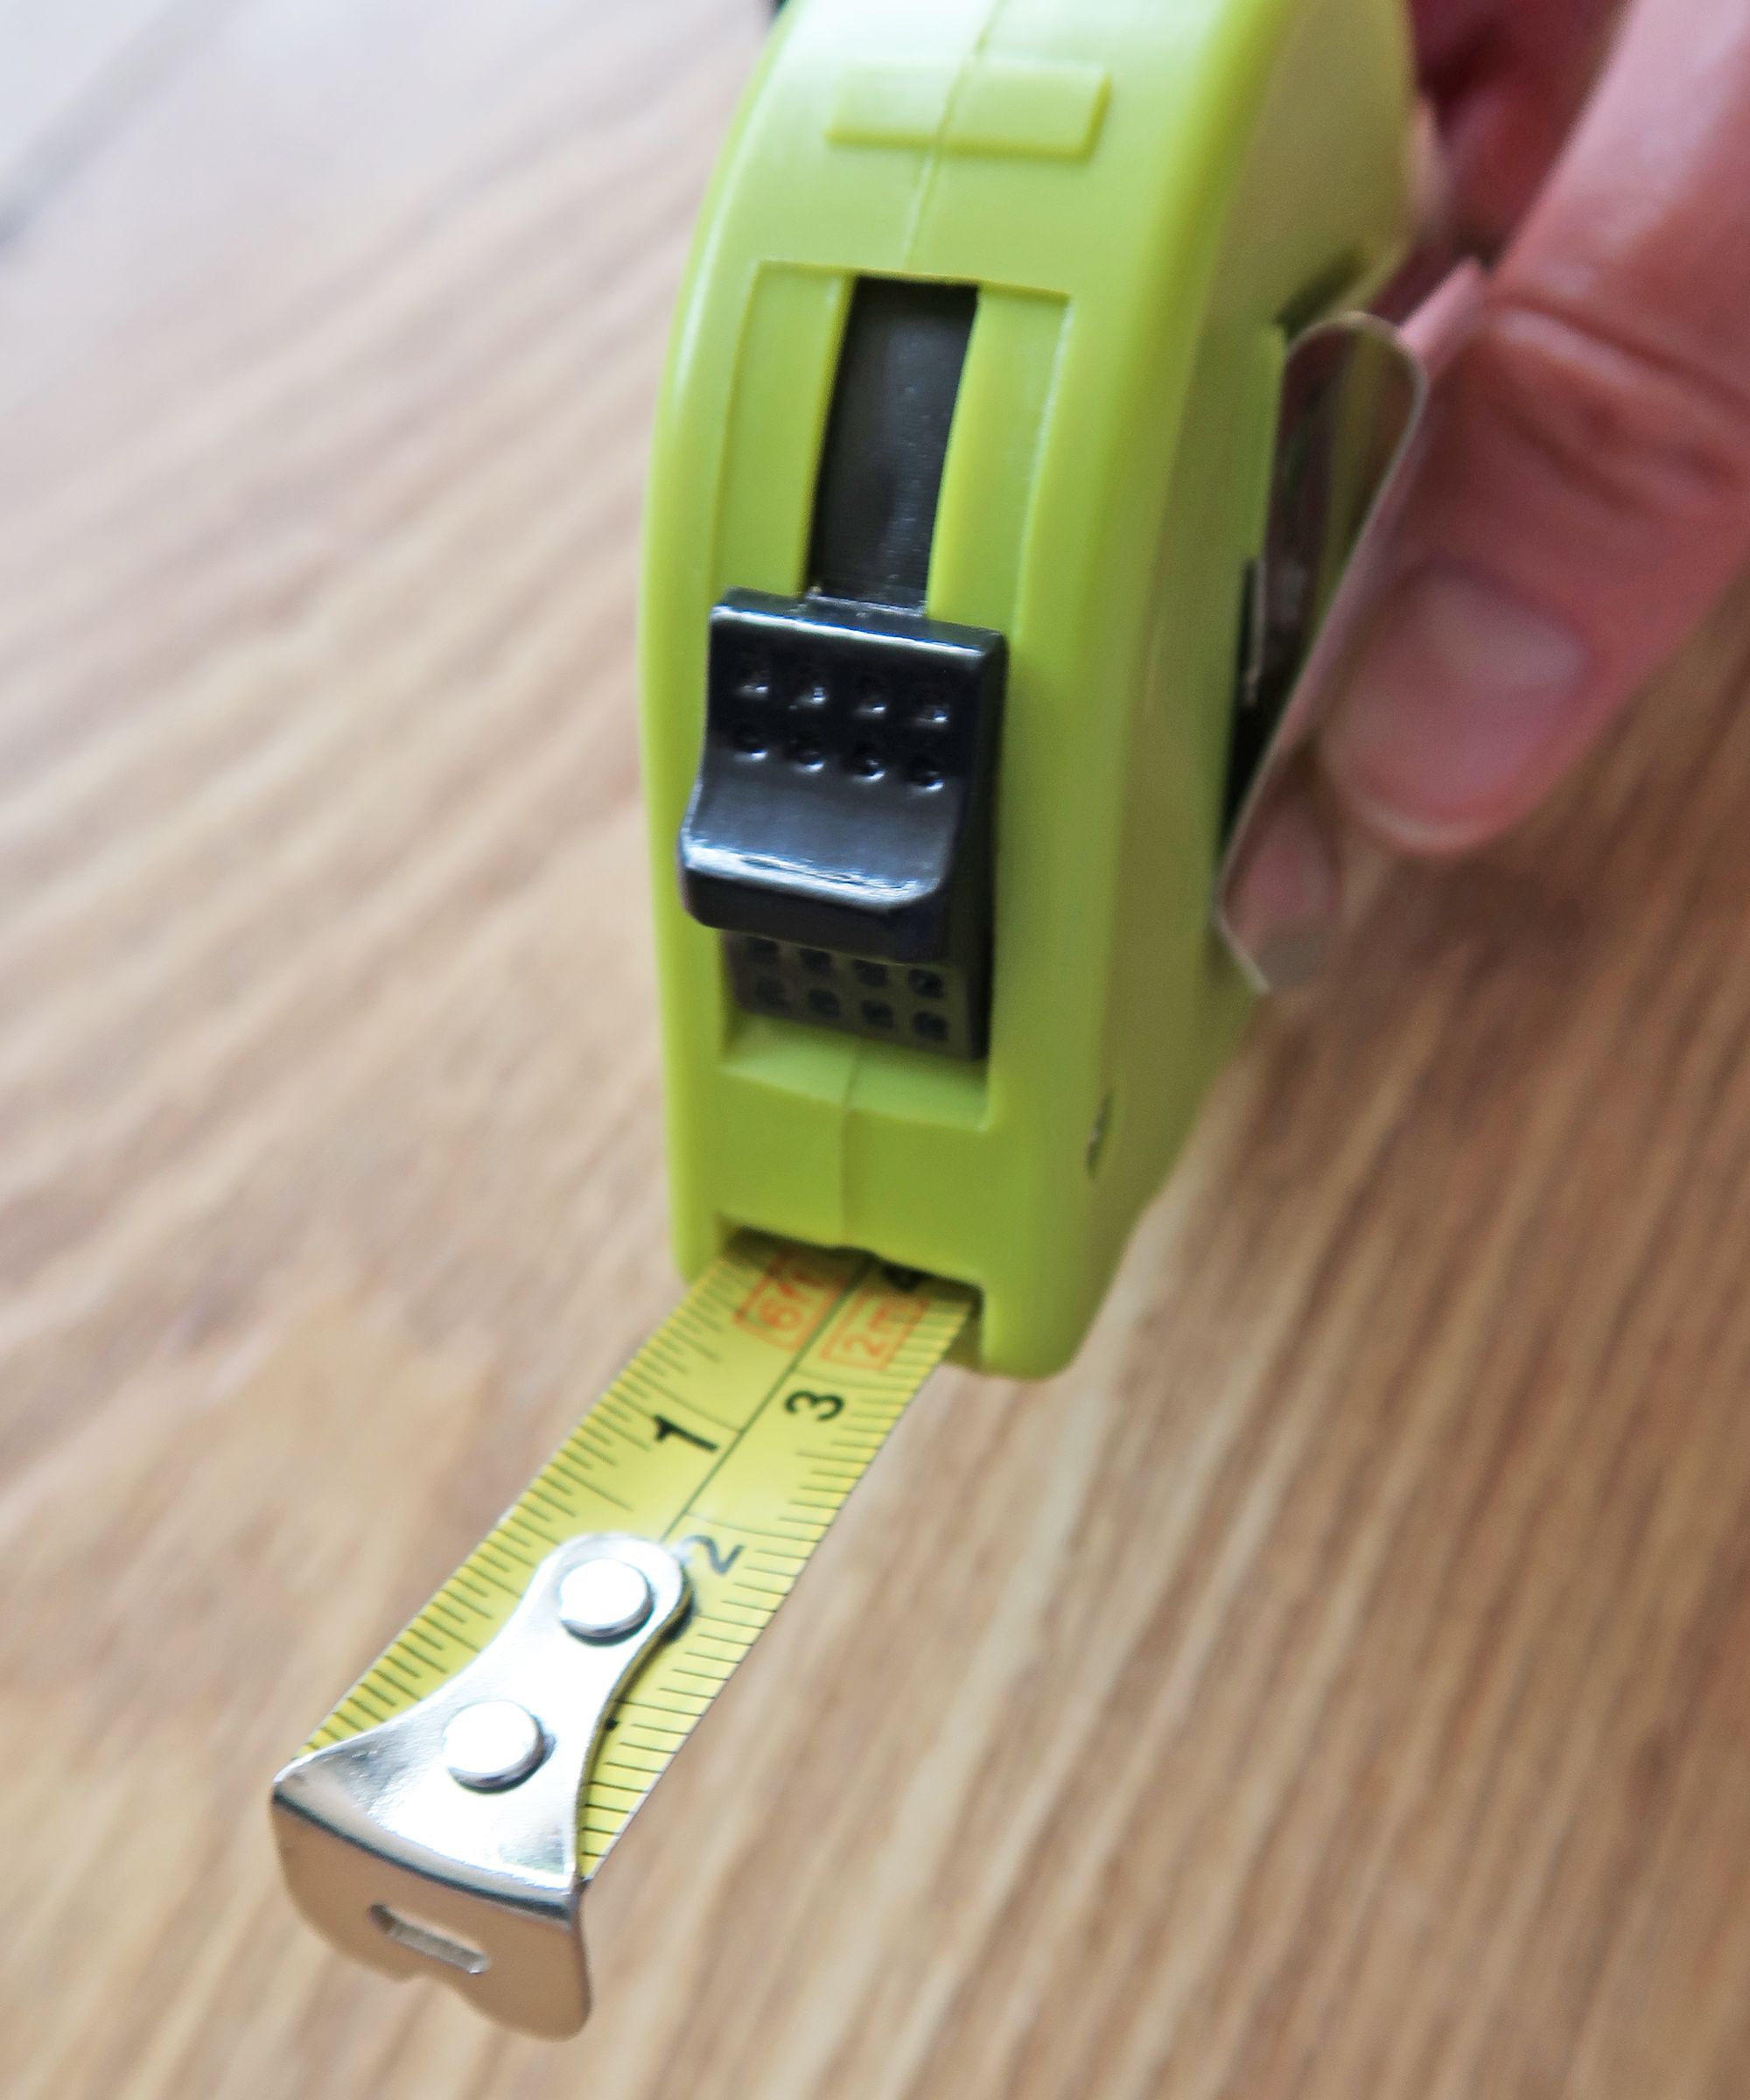
You know what…it actually does! It’s called the tang, or sometimes people refer to it as the clip or hook. If you’ve ever looked closely, the metal is usually attached fairly loosely to the tape itself and moves forwards and backwards by about a sixteenth of an inch. This is not by chance, but is to allow for accurate reading of both internal and external measurements and allows for the width of the metal itself.
Get small space home decor ideas, celeb inspiration, DIY tips and more, straight to your inbox!
You will need:
1. Stanley 033932 Powerlock Tape 5m Top Reader available from Amazon
2. A tool belt is always really useful, I like this xxx from Amazon
3. A pen and paper
Internal measurements
If you are measuring the width of an alcove, you need to know the exact distance between two walls so you can place the metal end up against the left-hand side wall and push the tape towards the wall causing the gap between the end of the tape and the tang to close, giving an accurate measurement.
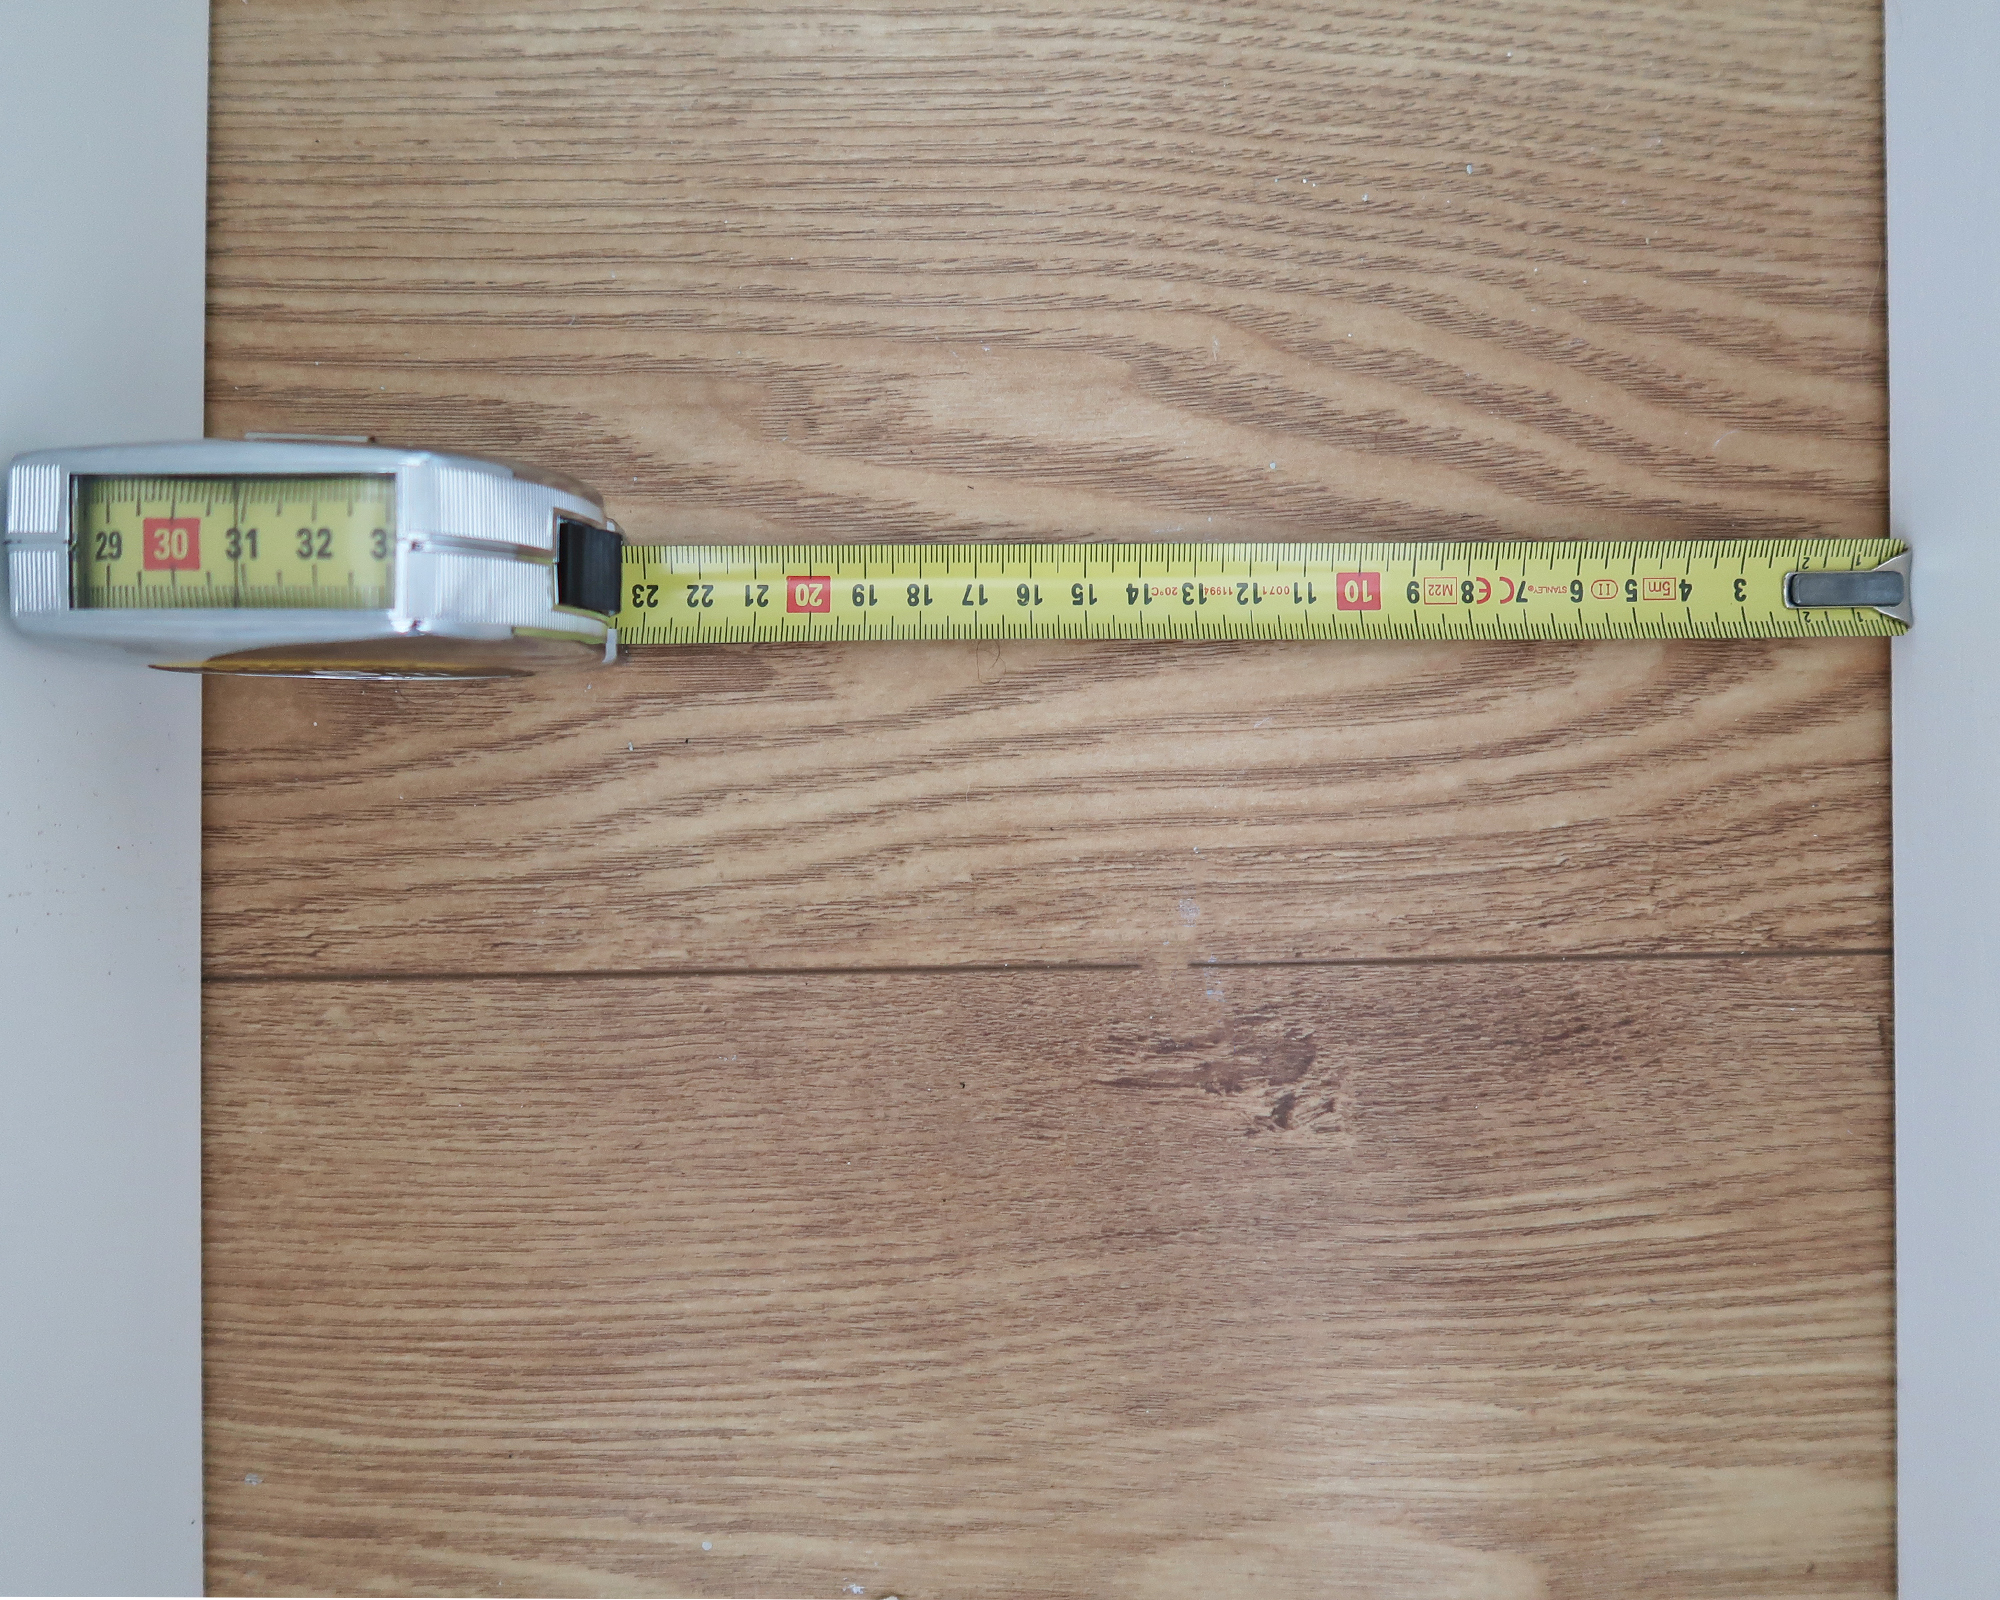
External measurements
On the other hand, if you wanted to measure the length of a piece of wood, you could clip the tang over the end of the wood and as you extend the tape to the other end of the wood, the tang will pull out slightly to ensure you get an accurate reading.
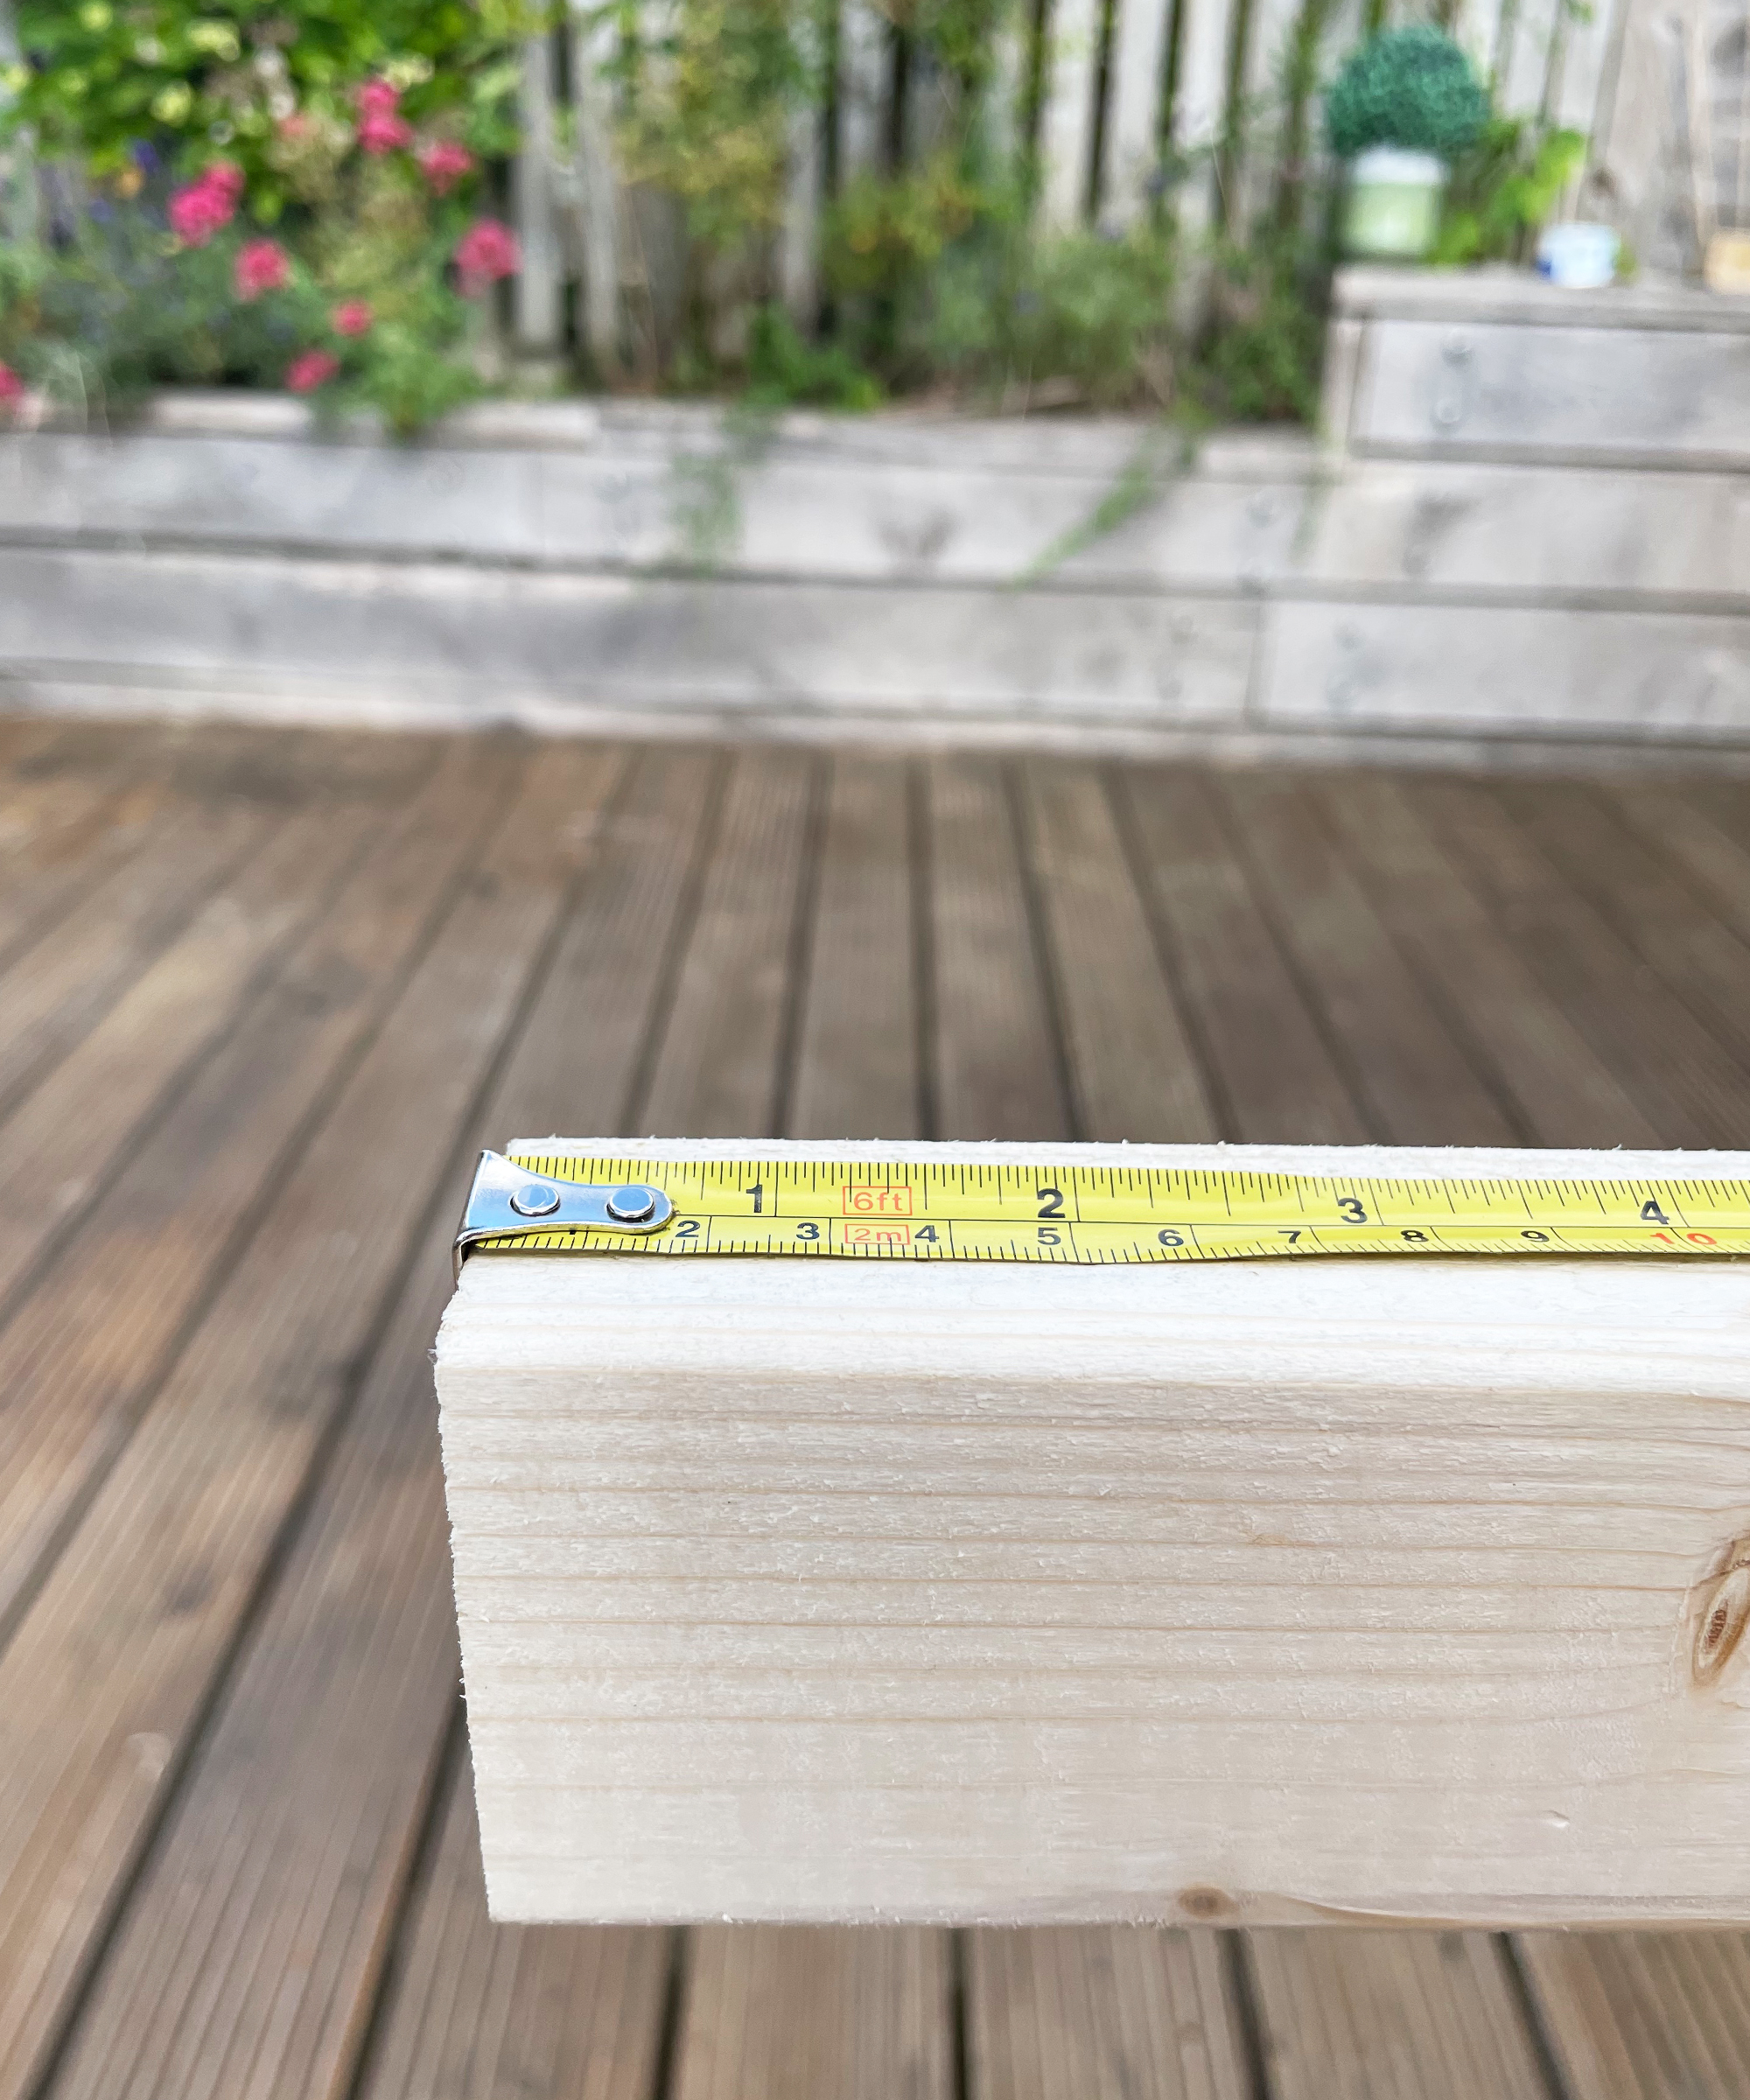
How to use a tape measure
Ahead of using your measuring tape, make sure you have a pen and paper easily at hand in order to record all the measurements immediately and save relying on memory. Ask someone to help if you are measuring longer distances than a couple of meters.
1. Clear any obstructions
Clear any obstructions e.g. furniture to ensure you can get right up close to the surface you are measuring.
2. Secure your starting point
Place the end of the tape measure adjacent to (interior) or clipped over (exterior) your starting point.
For measuring distances that are greater than your arm span, some measuring tapes have a hole in the end to hook onto a screw or nail to secure the tape, alternatively, place the body of the tape measure on the floor or get someone to hold the end of the tape for you.
3. Extend the measuring tape
Extend the measuring tape to the end of the distance you need to measure, ensuring the tape stays flat, smooth, and in contact with the surface.
4. Lock in the measurement
Press the lock feature if you are using a retractable measuring tape. For interior measurements, keep extending the tape until the side of the casing hits the endpoint, then press the lock feature and read the corresponding line on the top of the case.
5. Take your measurement
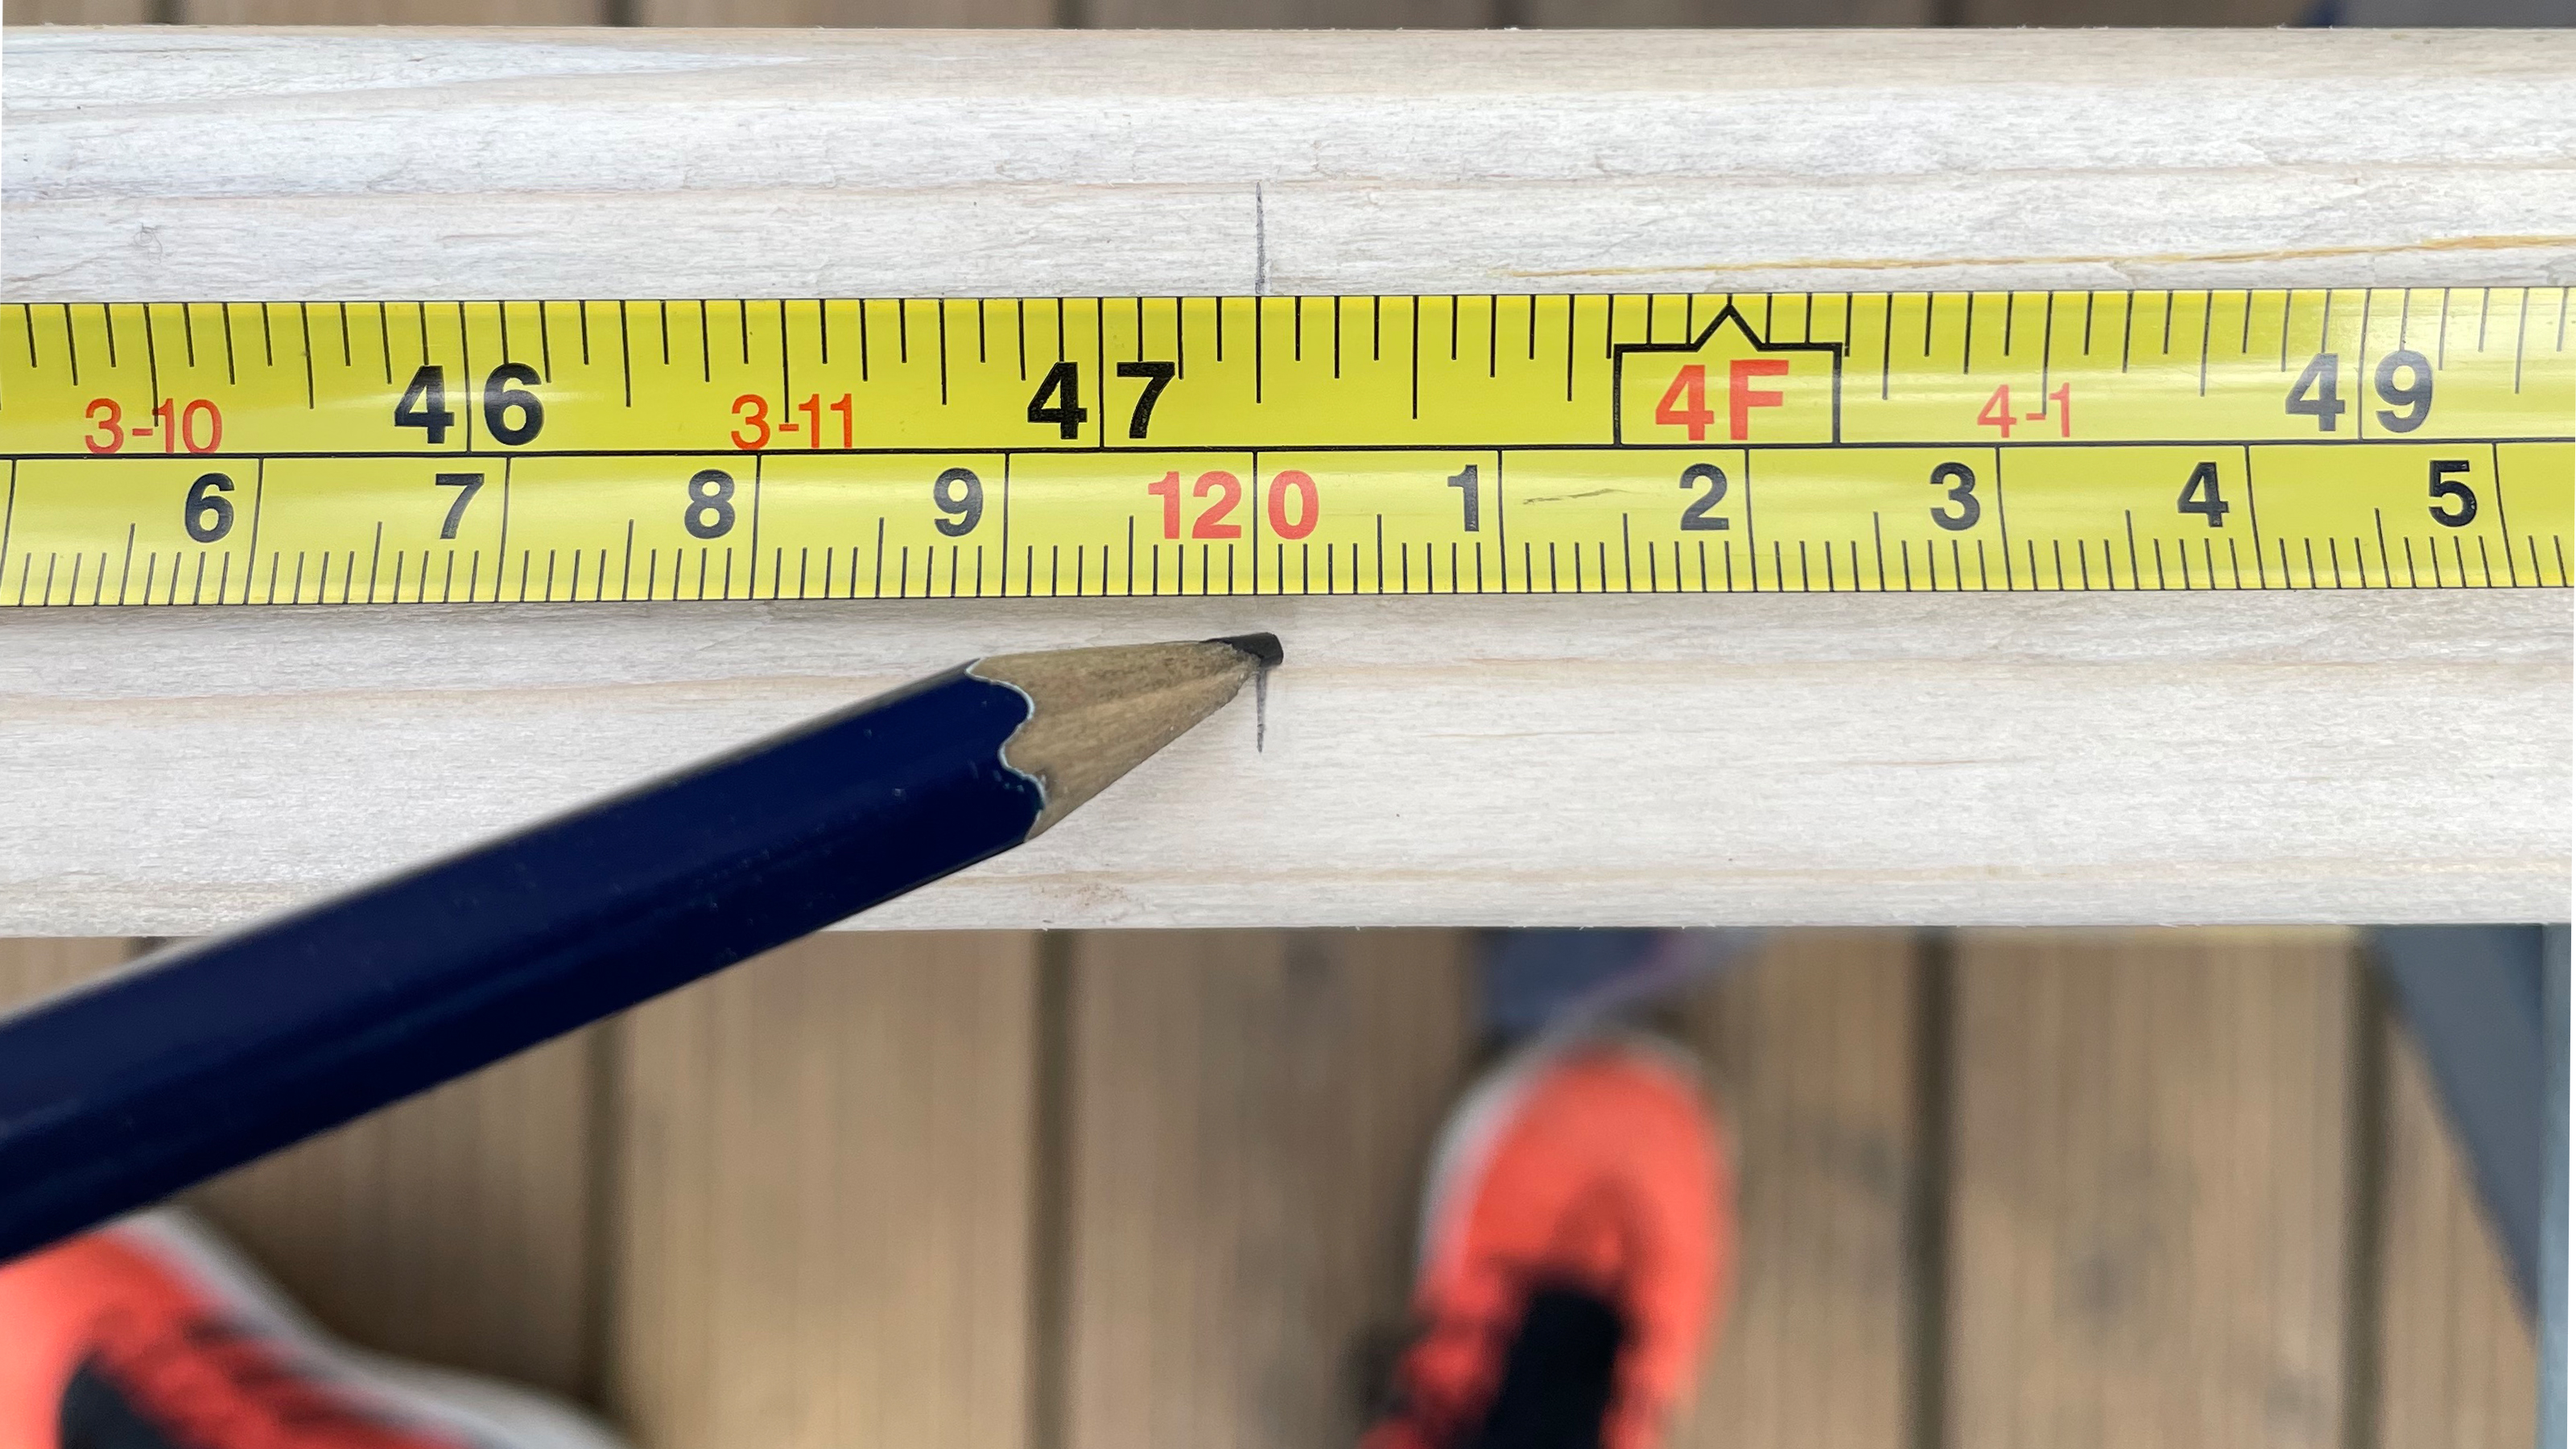
Identify the line on the tape that corresponds with the endpoint and record this value on your paper. Remember to check which units you are measuring in, as many measures will have more than one displayed (inches and centimeters & millimeters for example). It’s always worth double-checking the line on the tape before writing it down to ensure you’ve got it right.
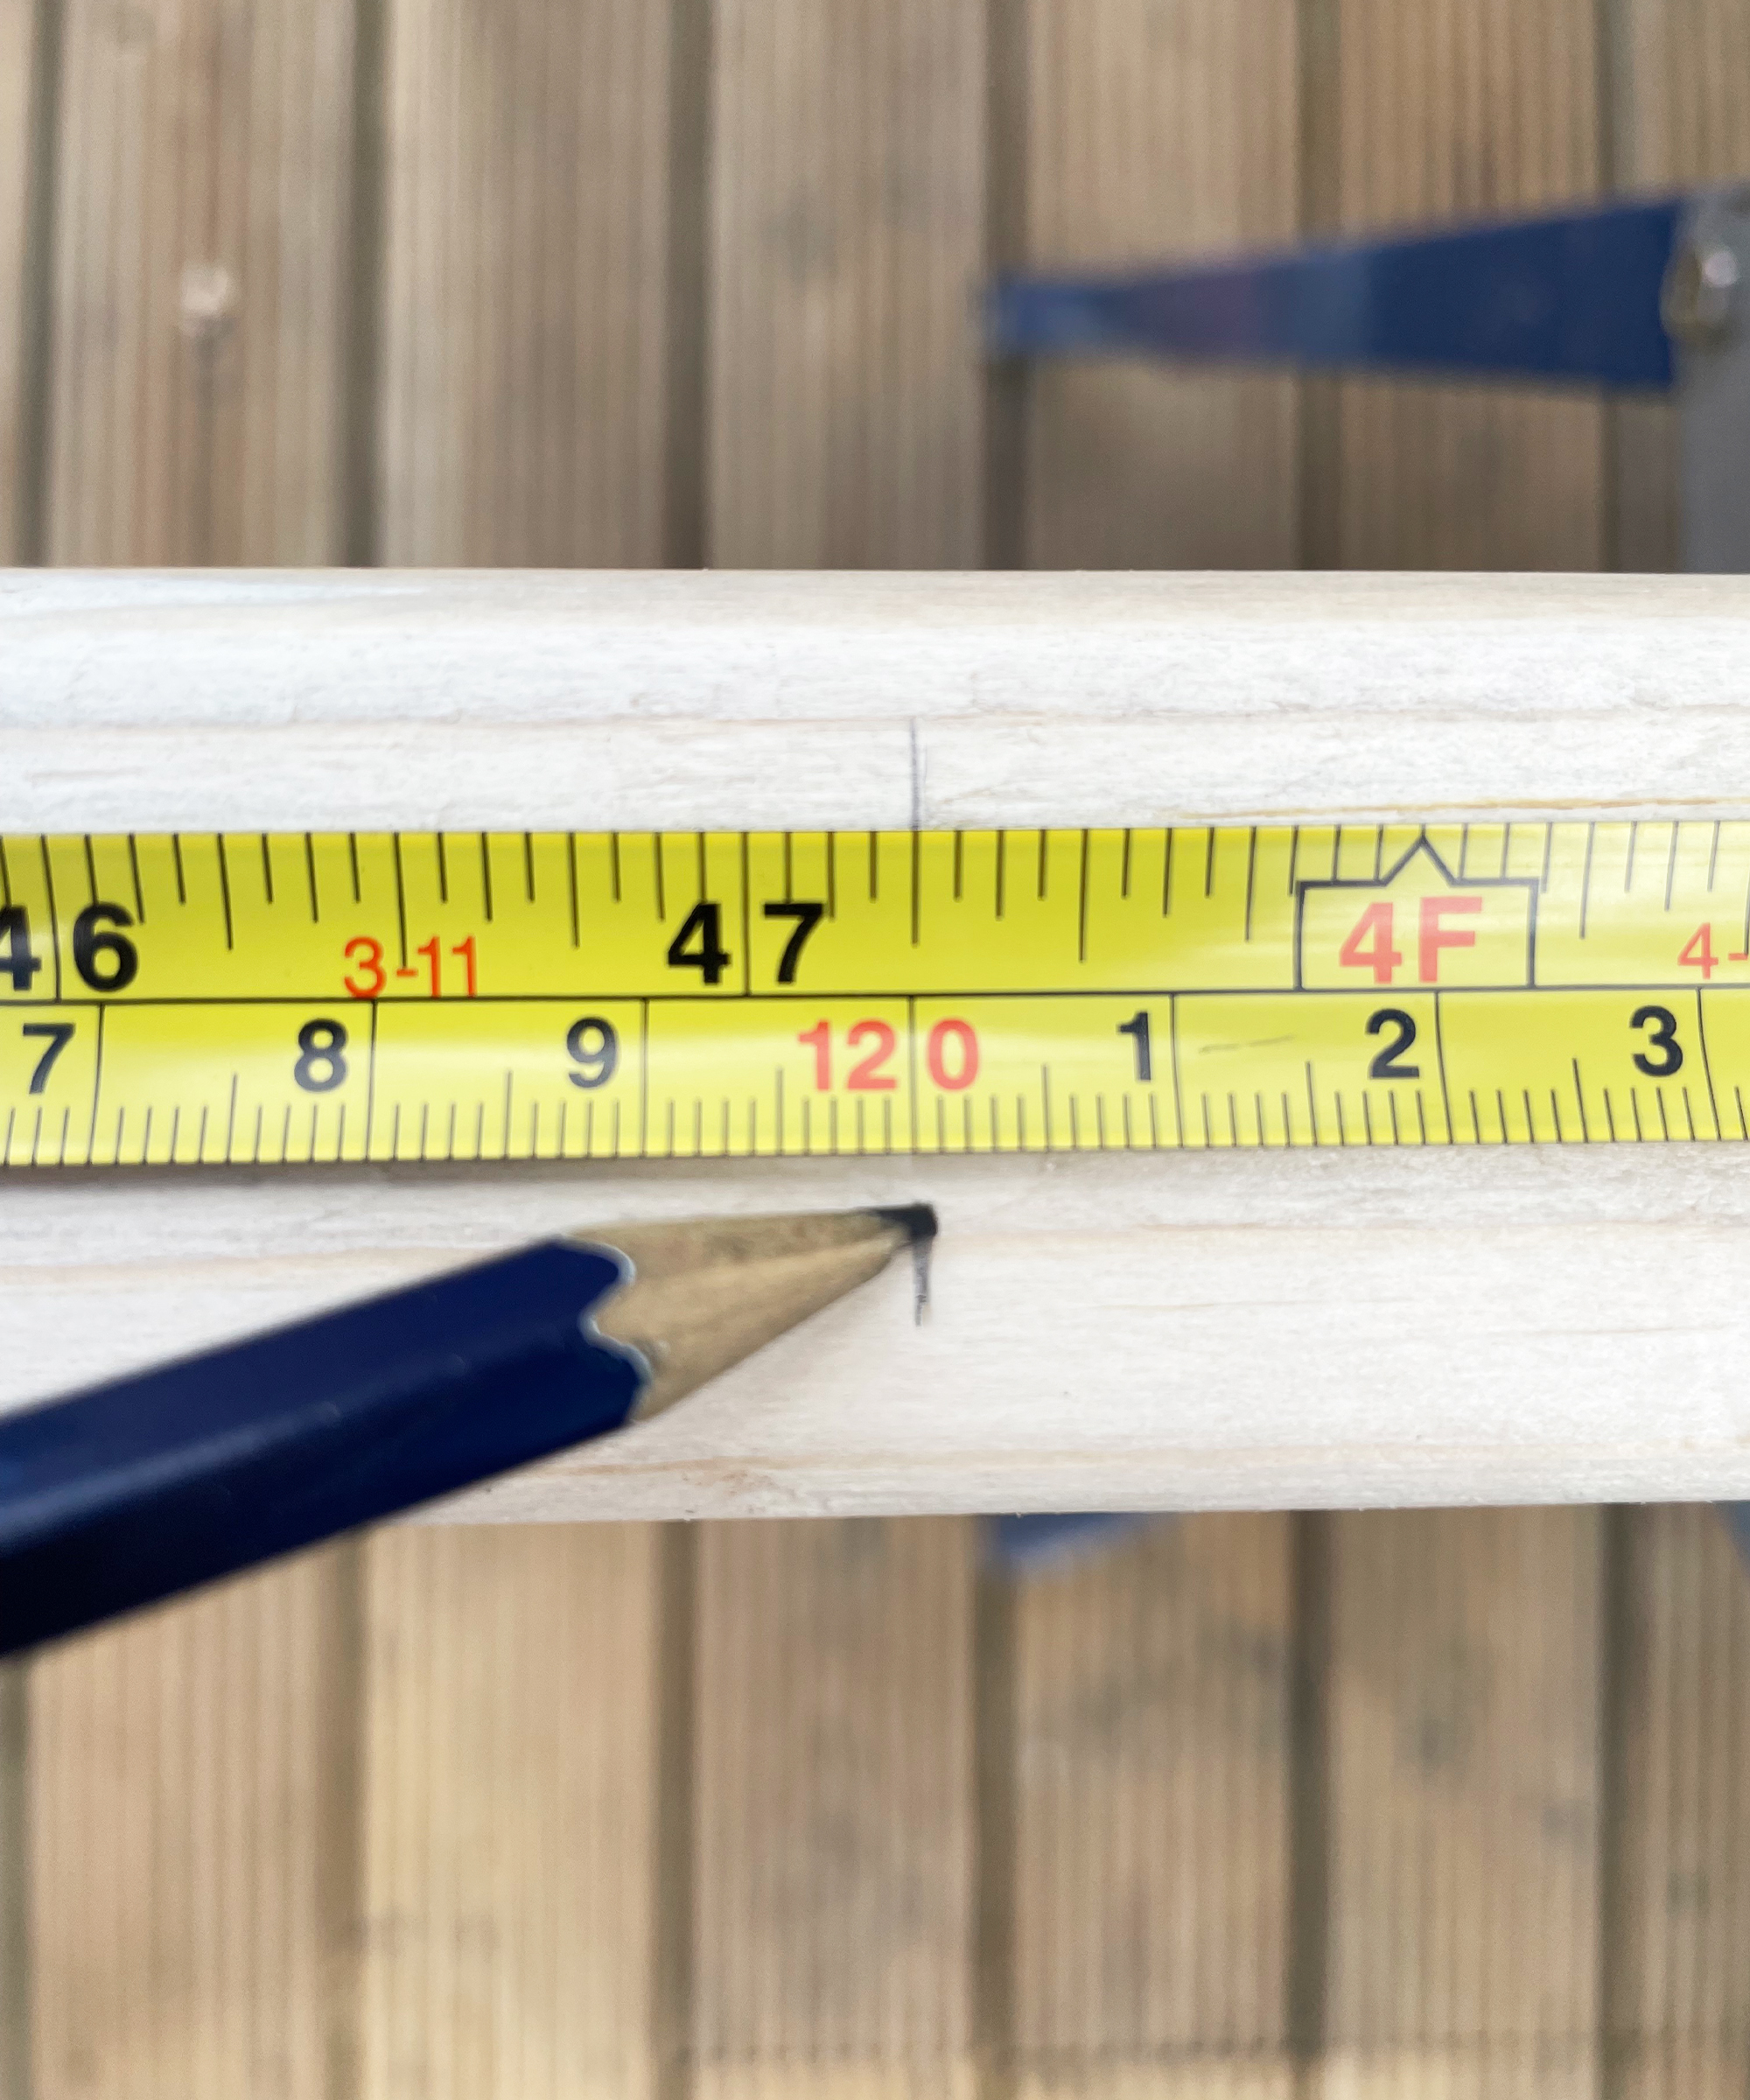
Repeat steps 2–5 for all the measurements you need to take.
When the measuring is complete, with a retractable model carefully remove the lock feature and slowly guide the tape back into the housing. Alternatively, roll up a long tape measure ready for next time.

I'm happiest when I have either a drill or paintbrush in my hand! I specialise in room transformations on a budget and love experimenting with different styles and techniques which I share on my Instagram. I believe that your imagination, not your budget, should be the limiting factor when transforming a room and I love thinking of creative ways to build custom and bespoke-looking furniture using flatpacks or upcycle finds.
I also love writing and my home improvement blog (ClaireDouglasStyling.co.uk) is my passion project where I share creative ideas for interior styling and DIY tips and tutorials.