How to remove floor tiles
Make light work of your flooring project with our straight-talking guide on how to remove floor tiles like a pro

Get small space home decor ideas, celeb inspiration, DIY tips and more, straight to your inbox!
You are now subscribed
Your newsletter sign-up was successful
Removing floor tiles, especially old ones, can be hard work and a bit tedious if you have a large floor to work on. It will also create a lot of mess, dust, and rubbish to dispose of.
Therefore, if you have fallen out of love with your existing flooring, you could consider painting them to give them a fresh look and save yourself the effort of removal.
However, if you know how to remove floor tiles it is a very achievable DIY project in order. No fancy tools are required, just a good old-fashioned hammer and chisel and a bit of elbow grease. It is also necessary before laying new tiles, to prevent adding depth (and blocking doors).
There are a few important points to note to ensure your project is successful and carried out safely, so read on for the low-down.
Shopping list
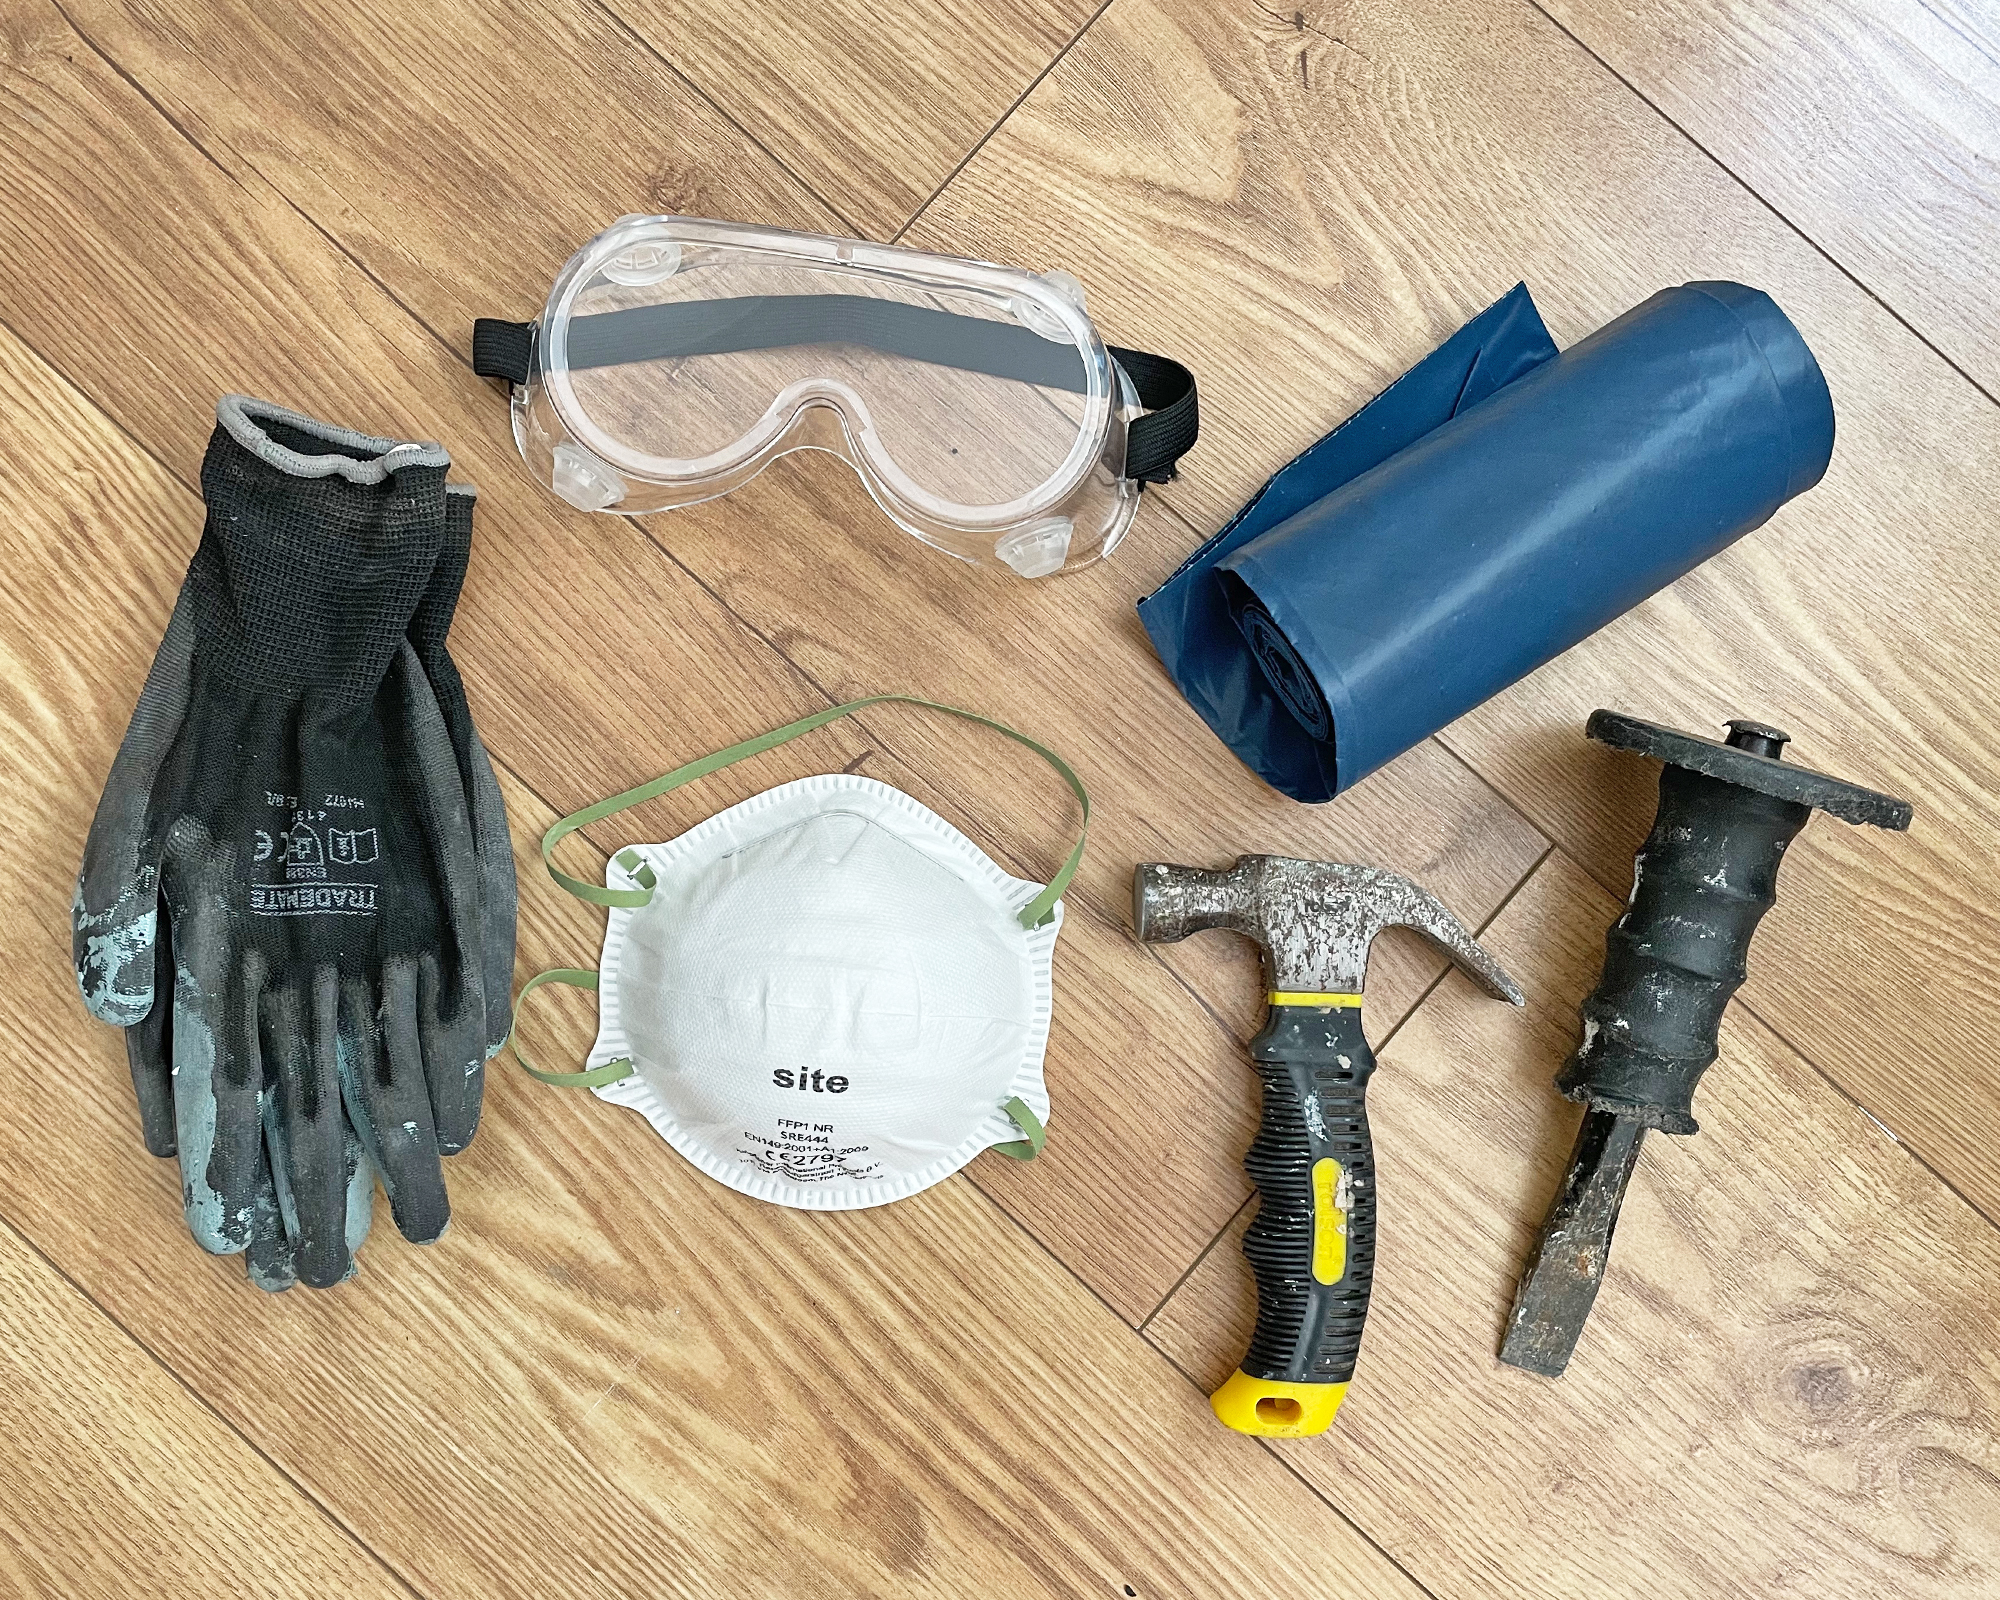
1. Eye protection: like these anti-fog ones from Amazon
2. Hammer
3. Chisel: this one on Amazon is similar to the one I used
4. Knee pads
5. Rubble bags: or boxes to transport the removed tiles
6. Gloves: heavy-duty ones for picking up tile shards
7. Ear protection: in ear headphones or something like this
How to remove tile
This advice is to be followed for ceramic, porcelain and old vinyl tile. It can also be used for thinner stone tiles like the slates I was removing, but note you may need power tools and a sledgehammer (or professional help) to remove heavy flagstones.
1. Clear the area
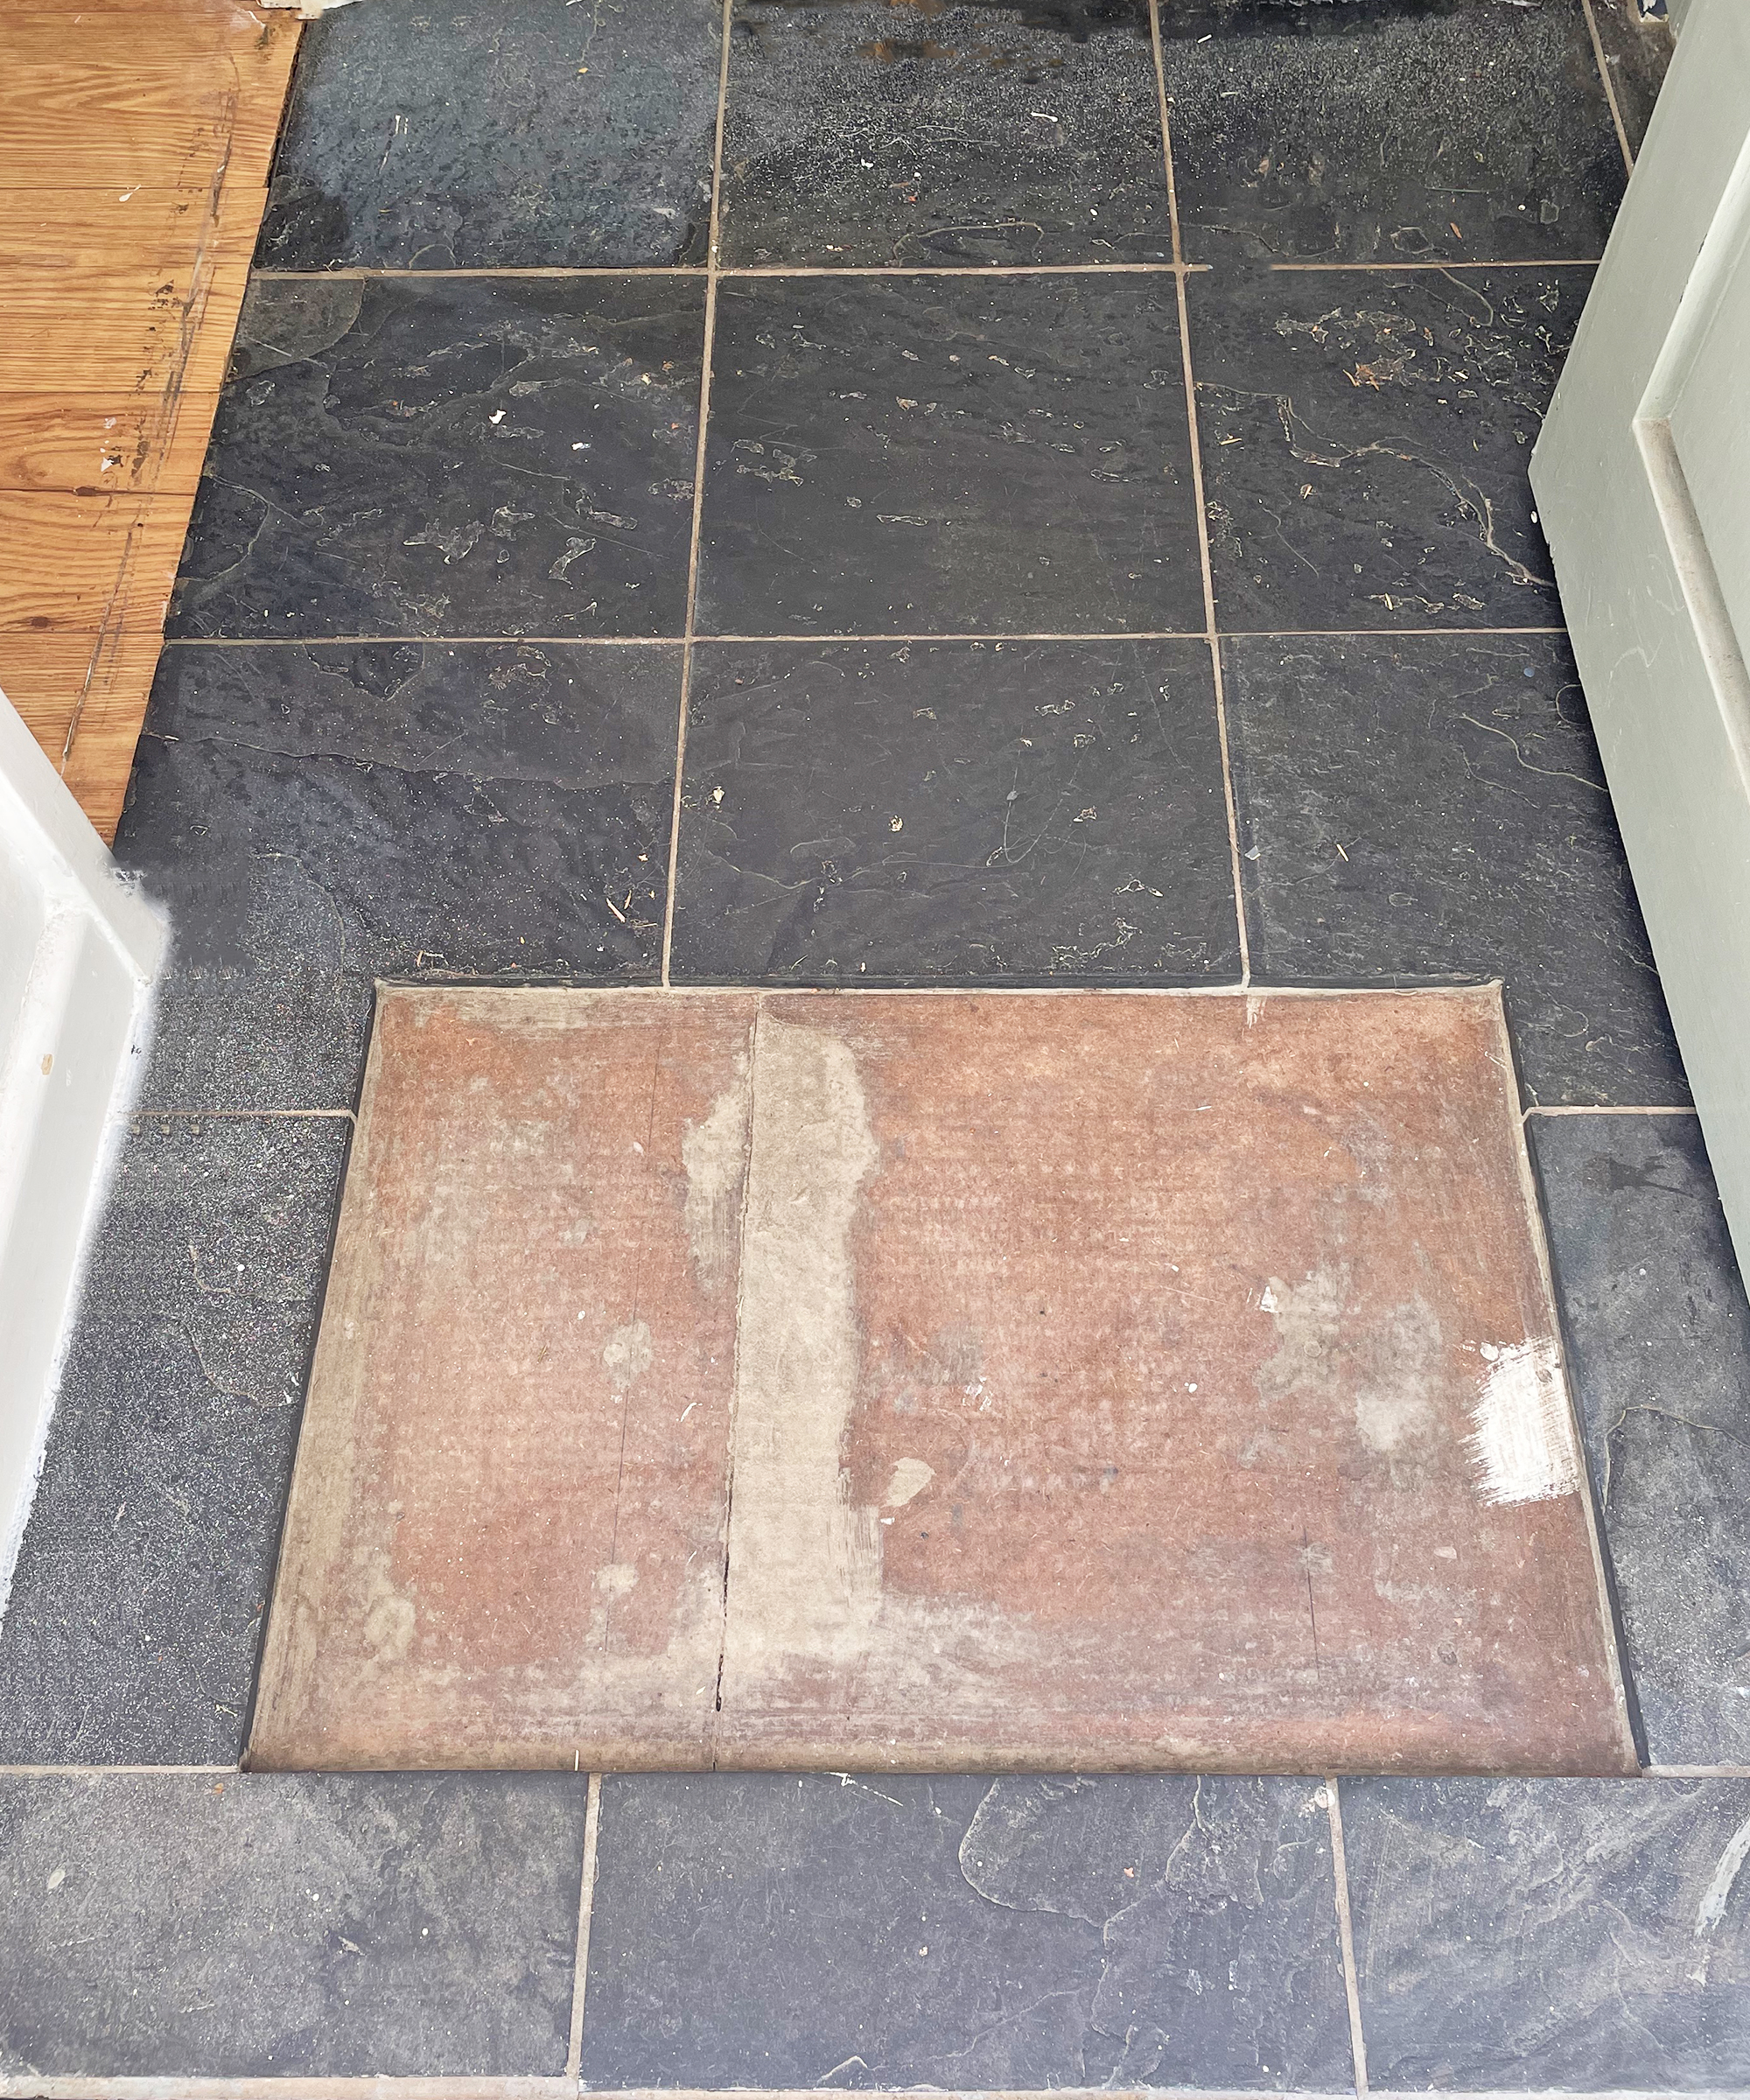
Before you go storming in with 'destruction mode' activated, it’s important to clear the whole area you are working on. This means you’ll have free access to all the tiles (important as you might need to change up the angles you approach from) and your belongings won’t get dirty or damaged during the process. Removing tiles is a really messy business.
2. Safety first
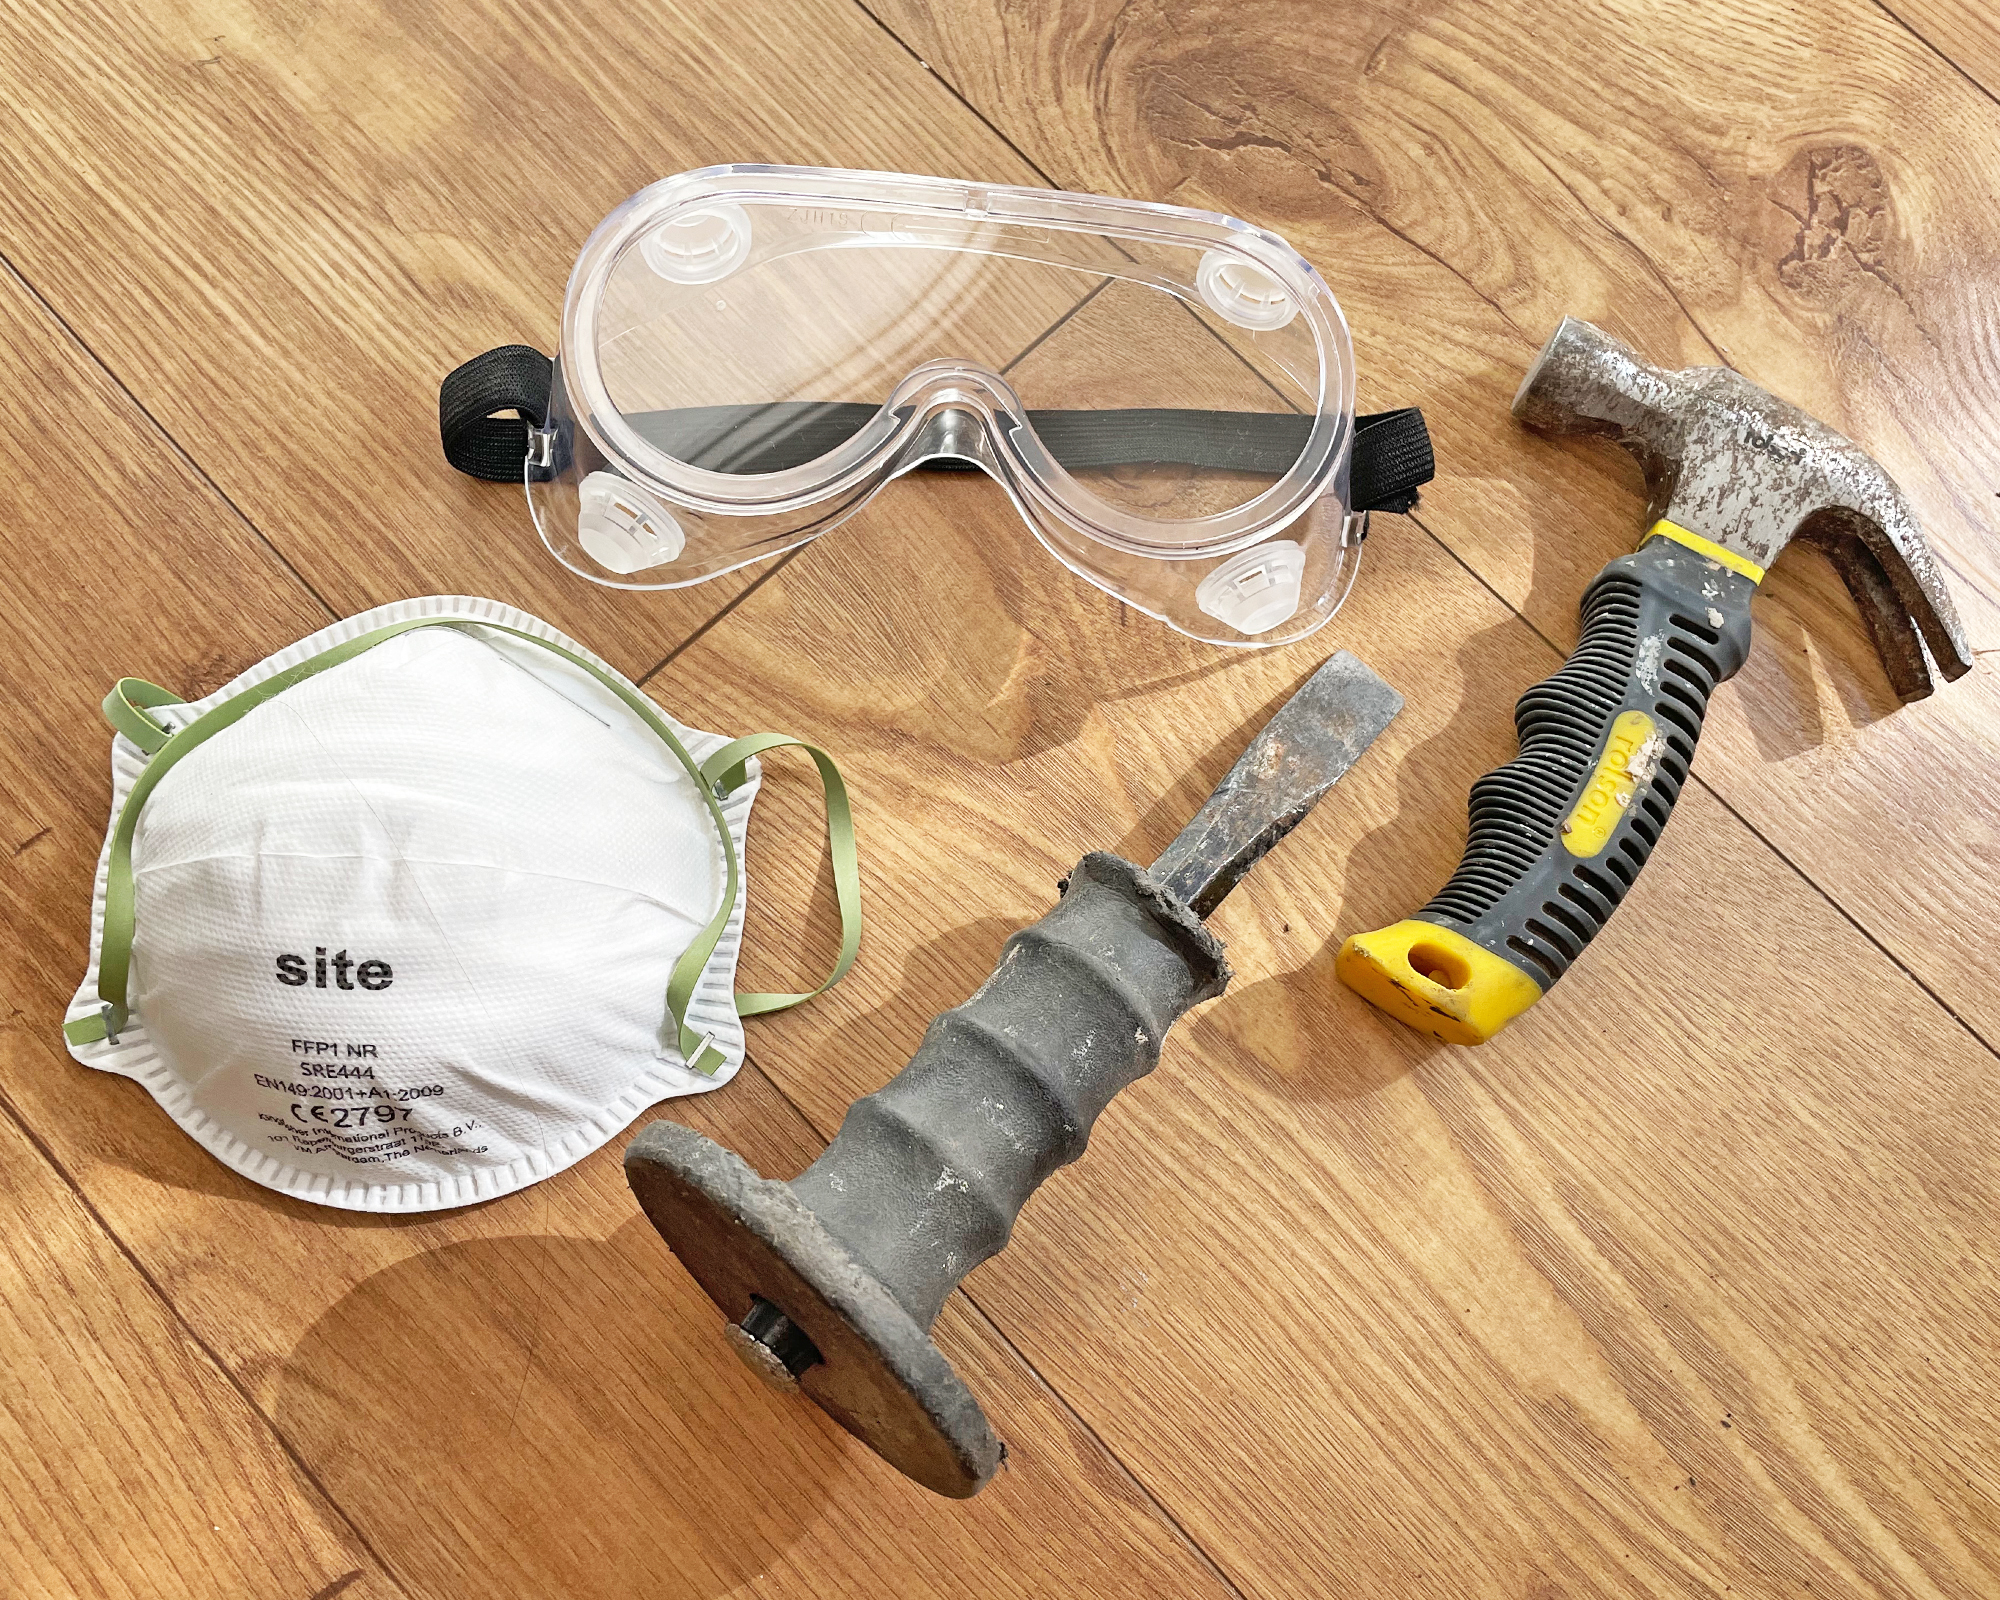
Eye protection
Without wanting to sound dramatic, working with tiles can be dangerous, not only are tiles sharp and often heavy they have a nasty habit of splitting and splintering when hit with a hammer and the shards often fly straight back into your face so eye protection is a must. You can pick up a cheap pair from Amazon like I did and then you don’t have to worry.
Get small space home decor ideas, celeb inspiration, DIY tips and more, straight to your inbox!
Risk of Asbestos
Another consideration when you are planning to remove old floor tiles is the risk of asbestos. Asbestos was used in floor tiles back in the mid-20th Century and was commonly mixed with asphalt or vinyl. Testing is the only sure-fire way to ascertain if your flooring contains asbestos and I would recommend getting a professional in rather than a DIY test because of the inherent risk to health with a positive result. However, there are risk factors that can help you decide if testing is necessary for example if your house was built between 1920 and 1960, you are removing the original flooring and the tiles are 9, 12, or 18-inch square then you have a high risk of asbestos being present.
Asbestos is safe if left intact, but should not be disturbed (eg drilled, sanded, or scraped) because it is extremely dangerous in fine dust form when it can be breathed into your lungs and cause life-threatening illnesses.
3. Getting started
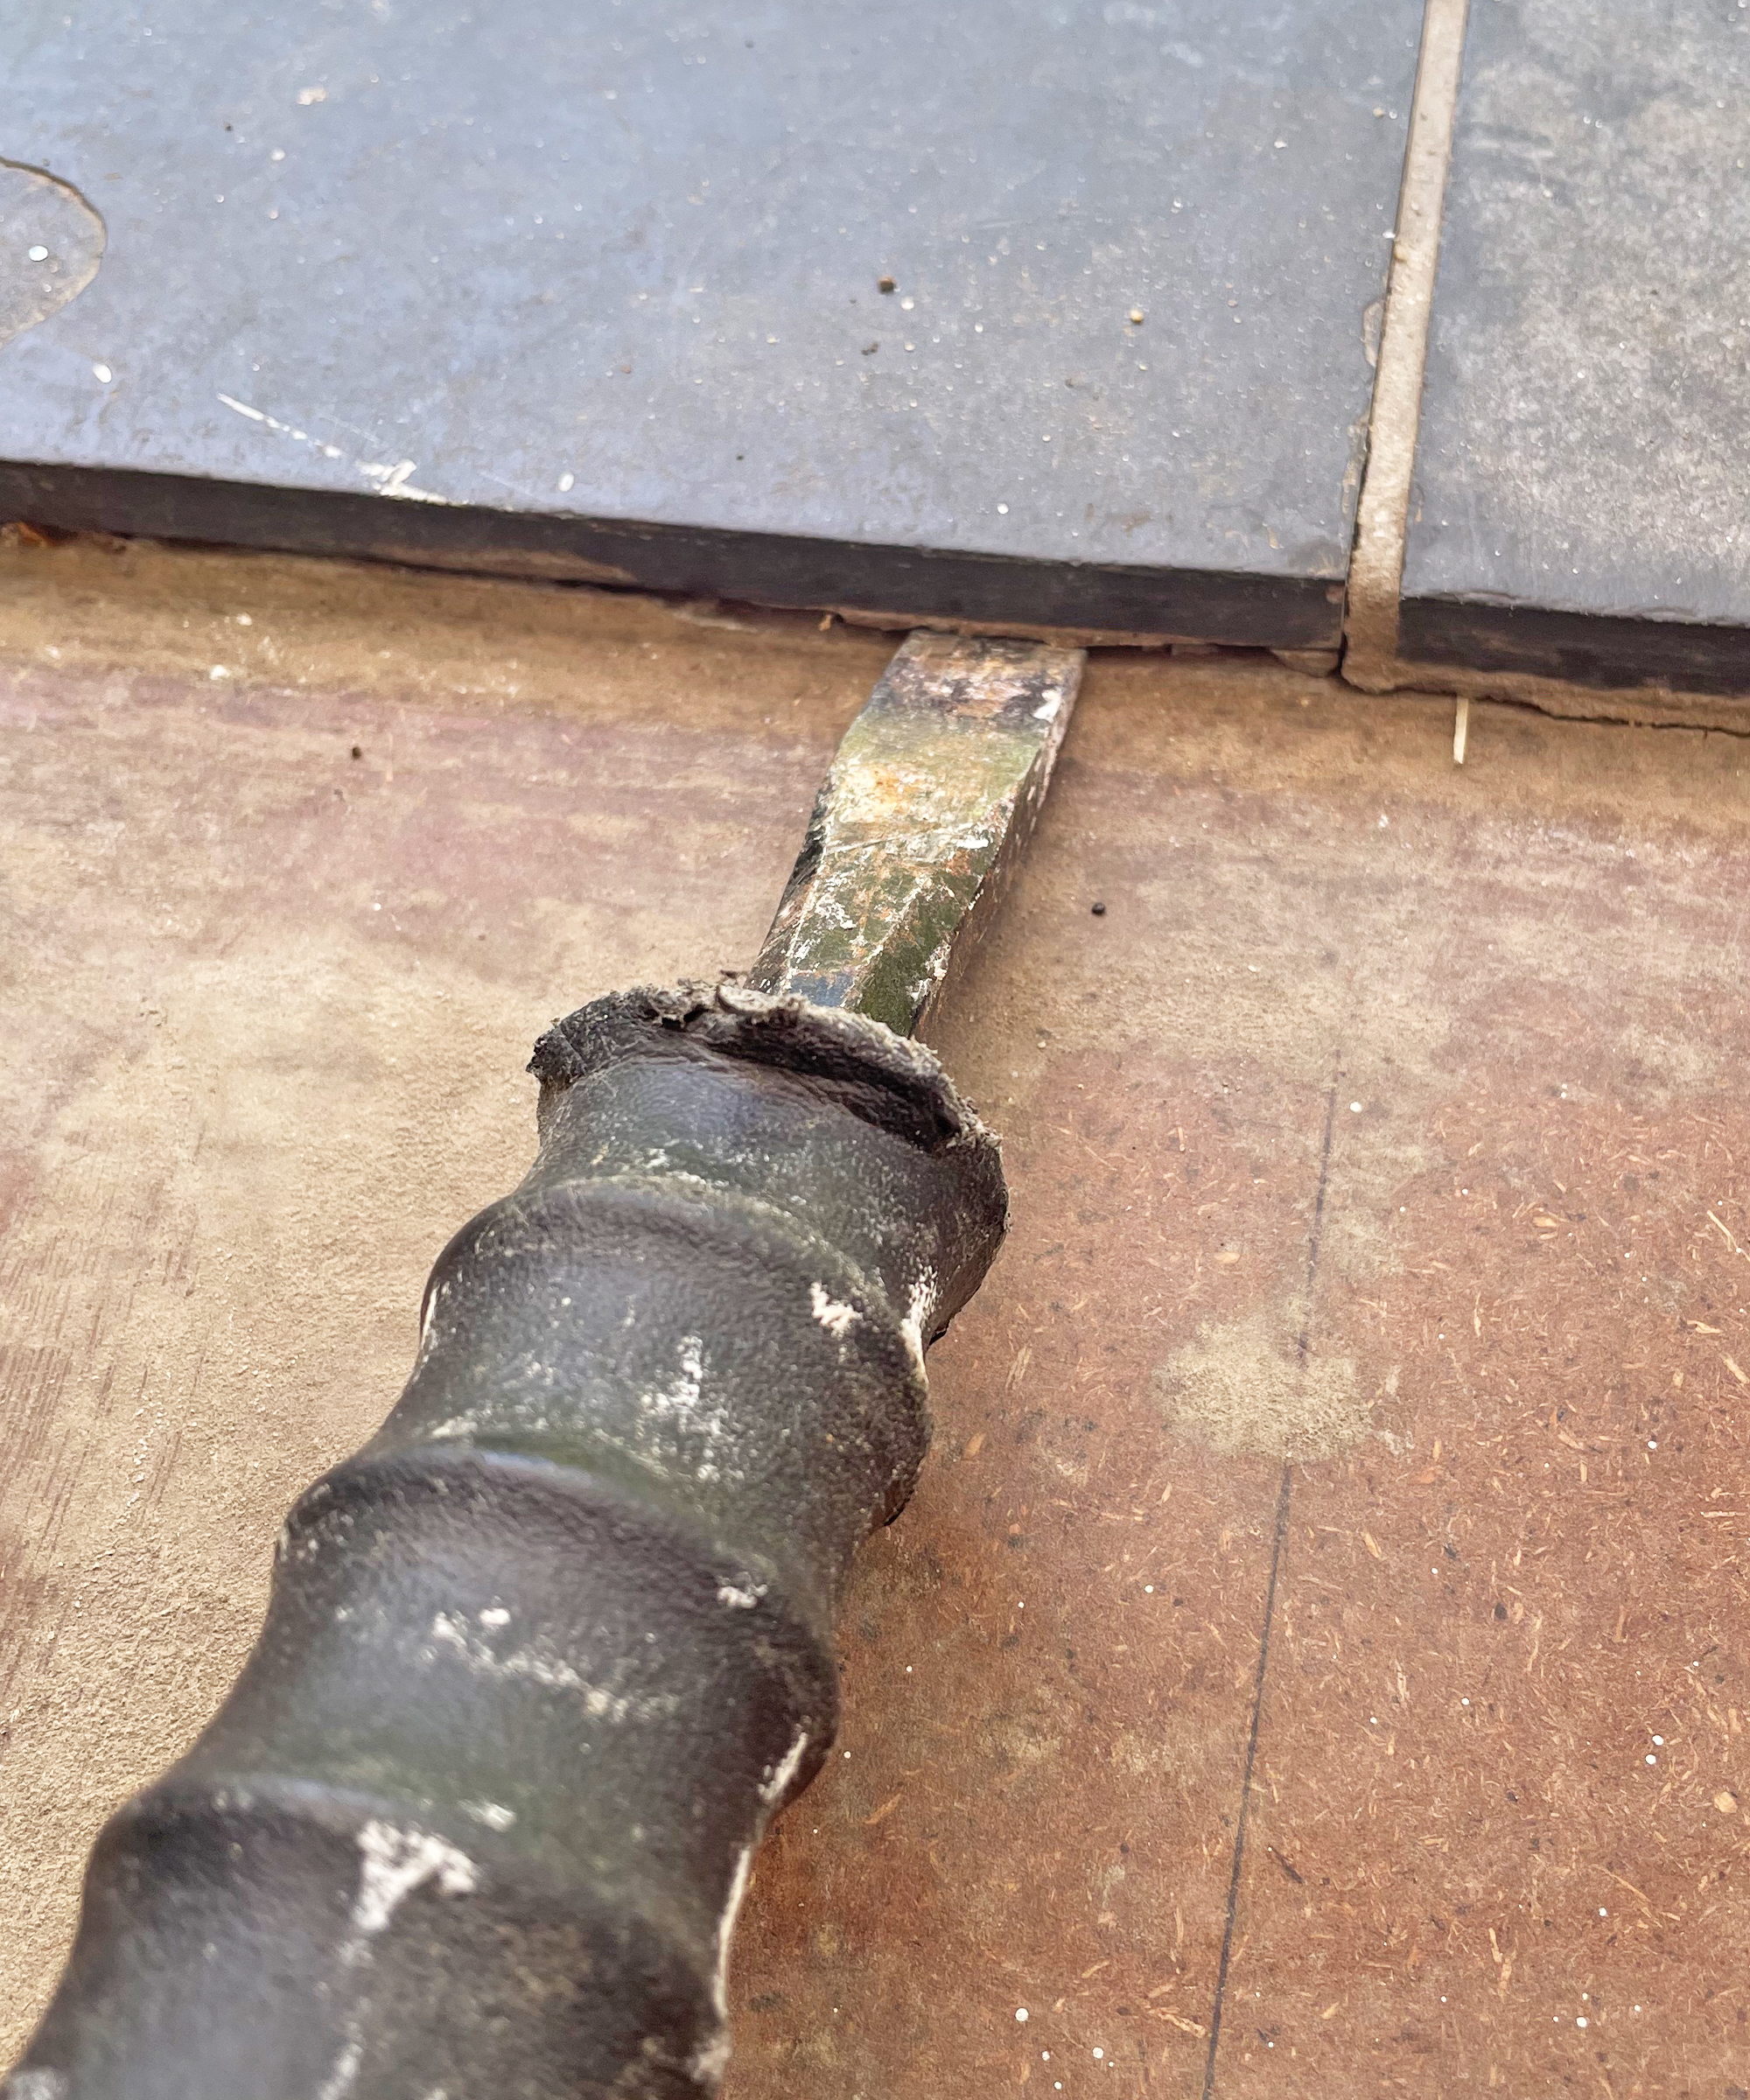
The easiest way to get started is if you are able to get side access to one or more tiles, at the threshold to the doorway for example. In this scenario, you can place your chisel where the tile meets the adhesive layer and lever it up by pressing down with the chisel. Use the hammer and chisel to cut a notch to place the chisel end into if there isn’t one already.
If you don’t have side access to any of the tiles then you’ll need to crack a tile to start the removal process, or if you are trying to save the tiles to re-use them you could attempt to remove the grout around a tile and then lever it out using the chisel.
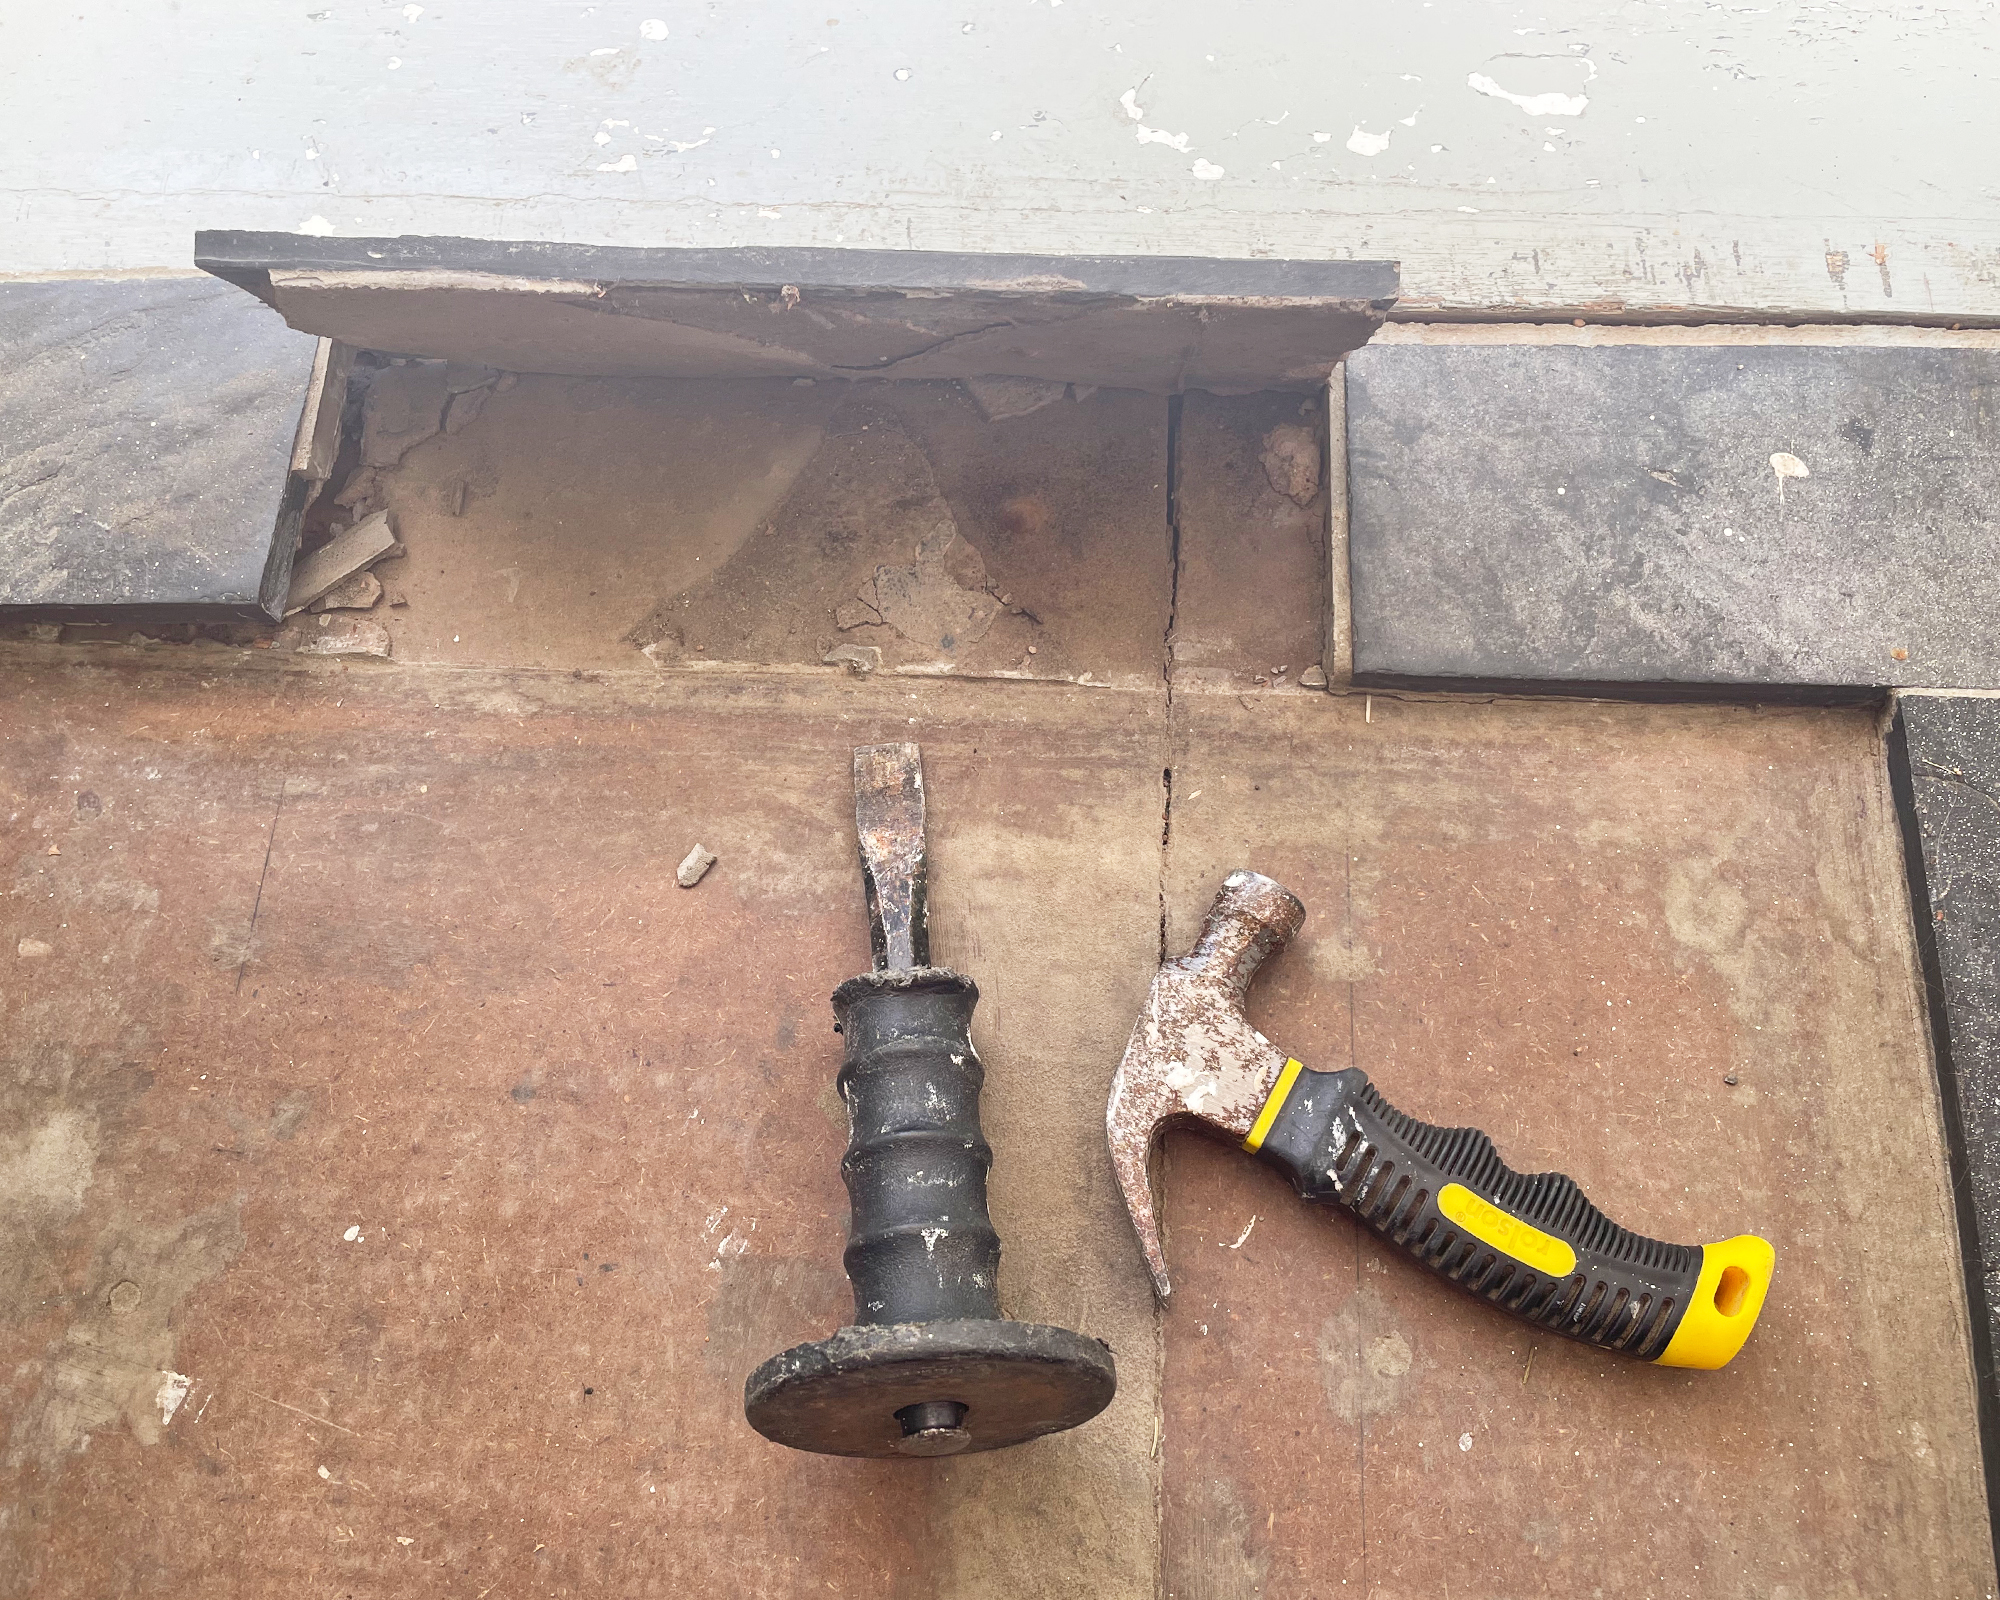
4. Making progress
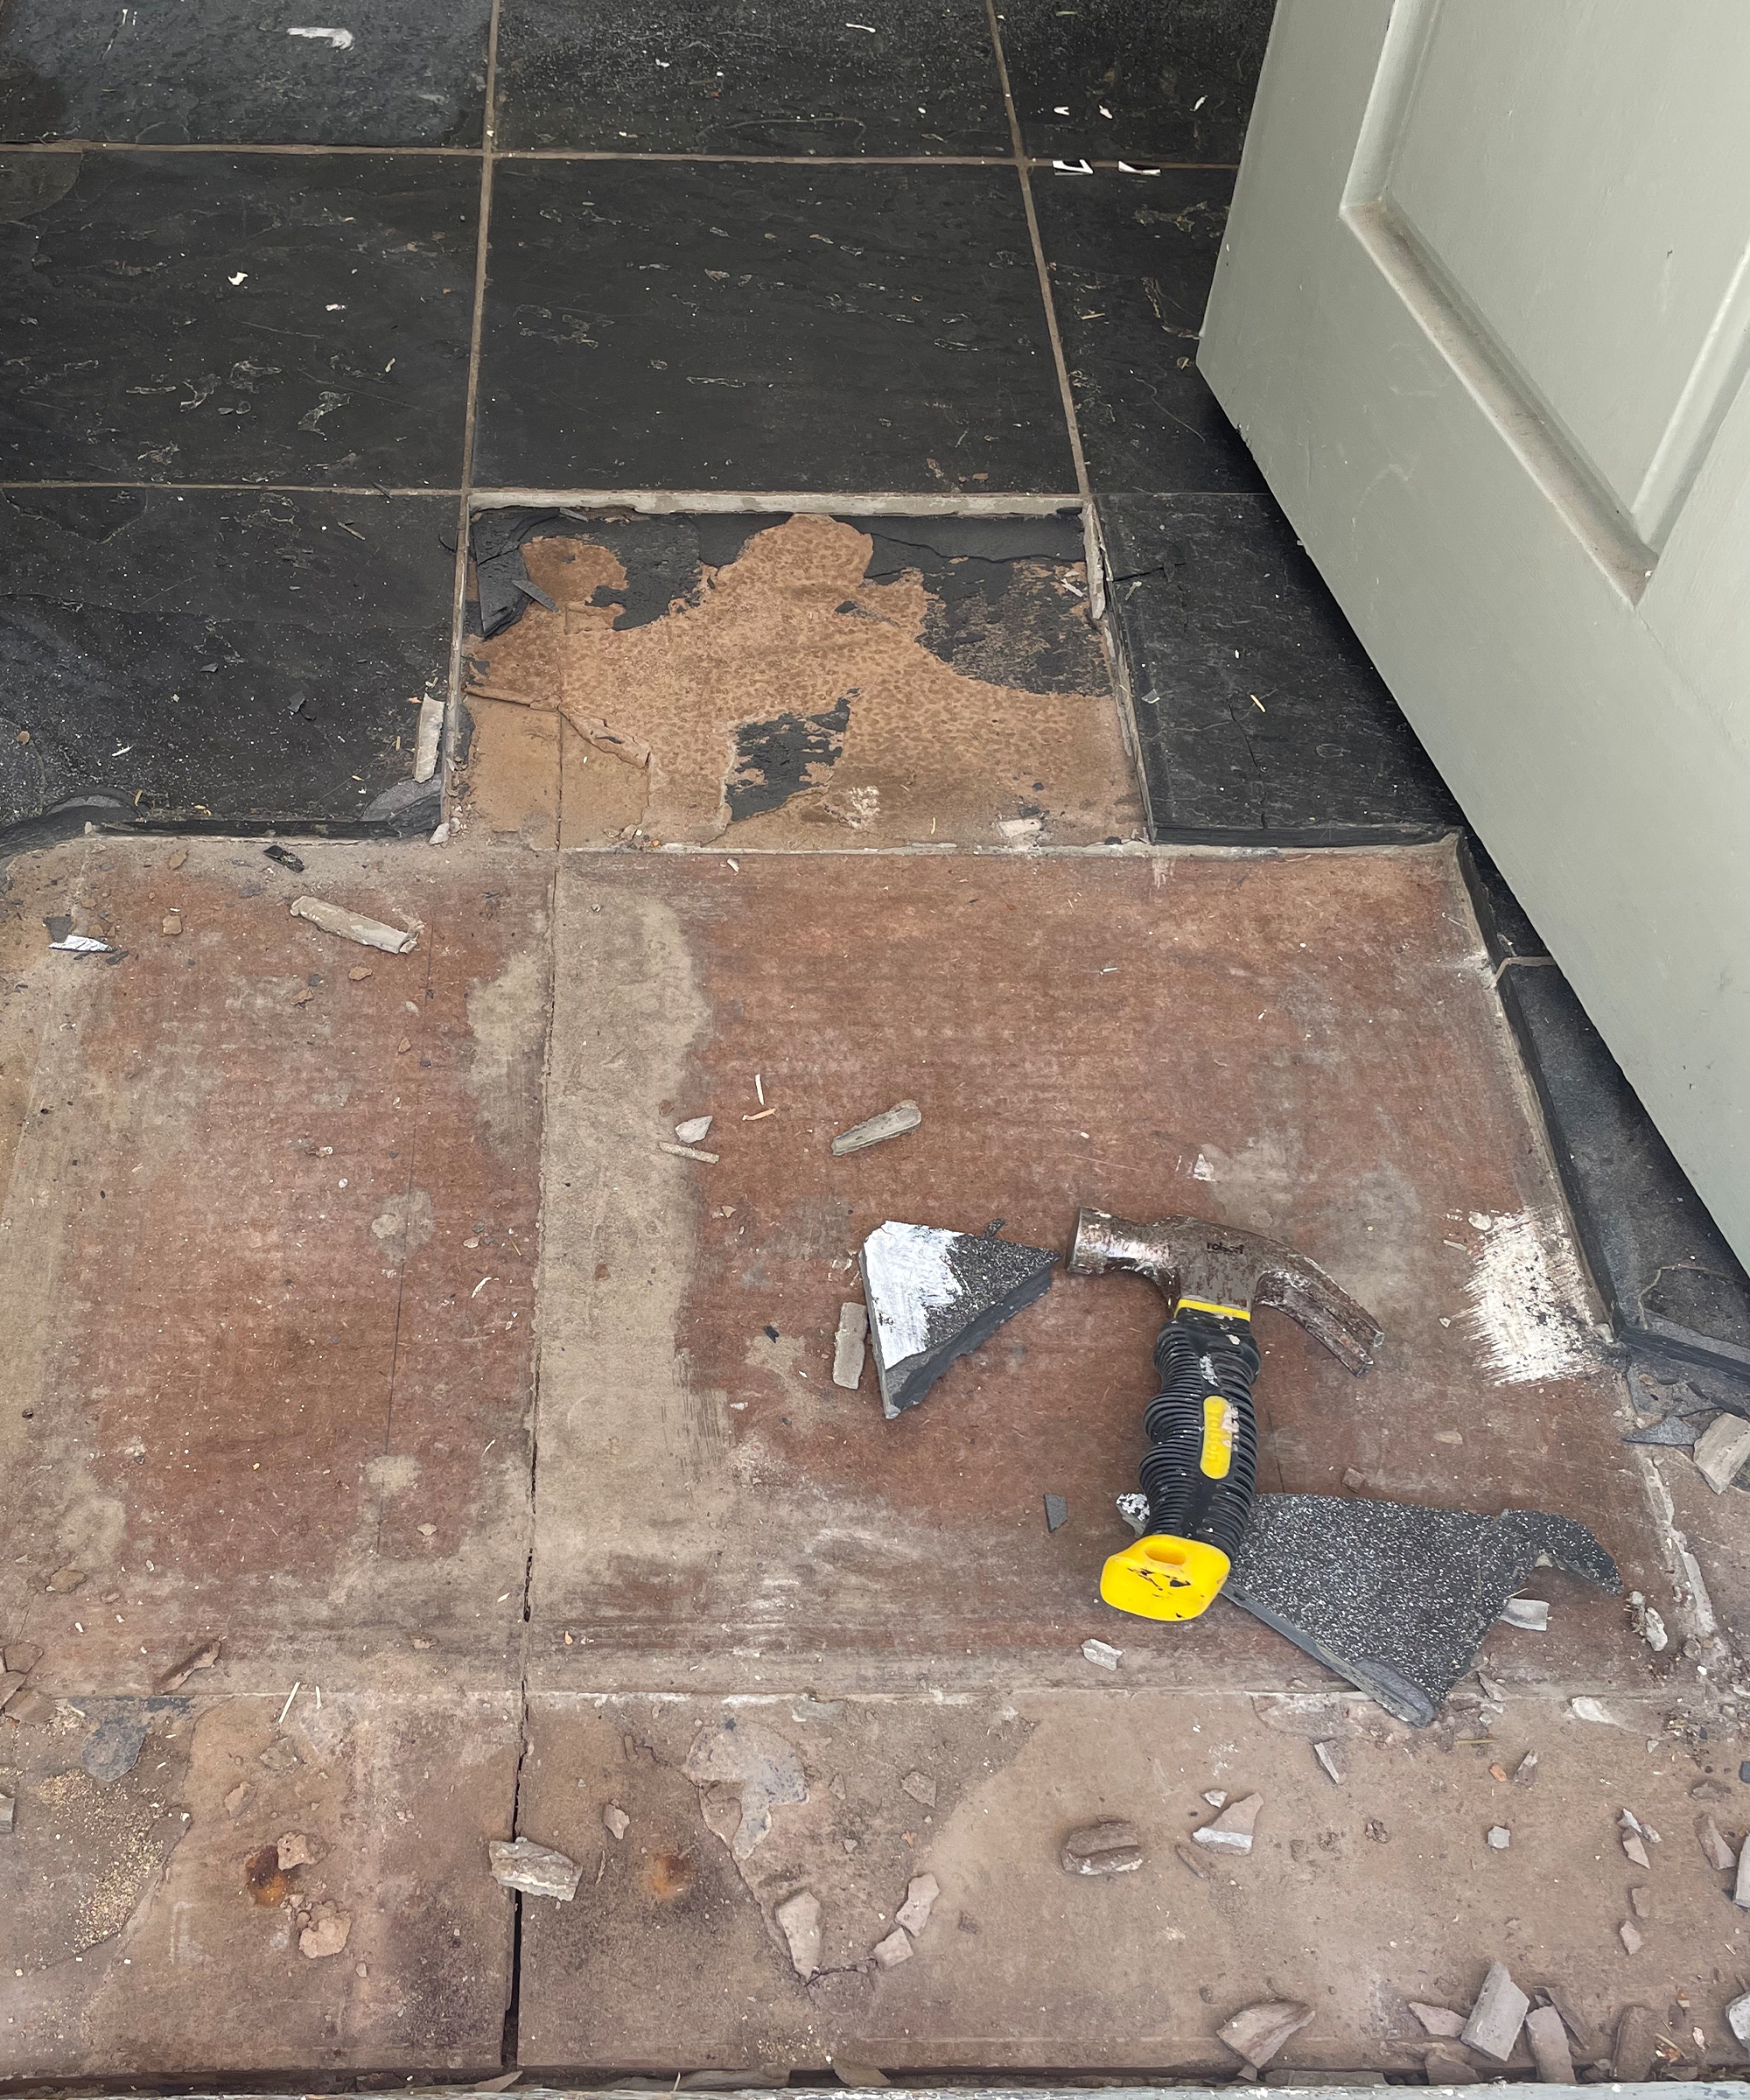
Once you’ve successfully removed a tile or two, the process becomes much easier and quicker as there is more opportunity to get under the tiles and often less resistance as the area of fixed tiles reduces. Continue with the above process of lifting tiles by hammering your chisel under the tiles and loosening them until they can be lifted out. Place the removed tiles in a rubble bag or bucket unless you are planning to reuse them in which case they will need to be stored more carefully.
5. Clean up
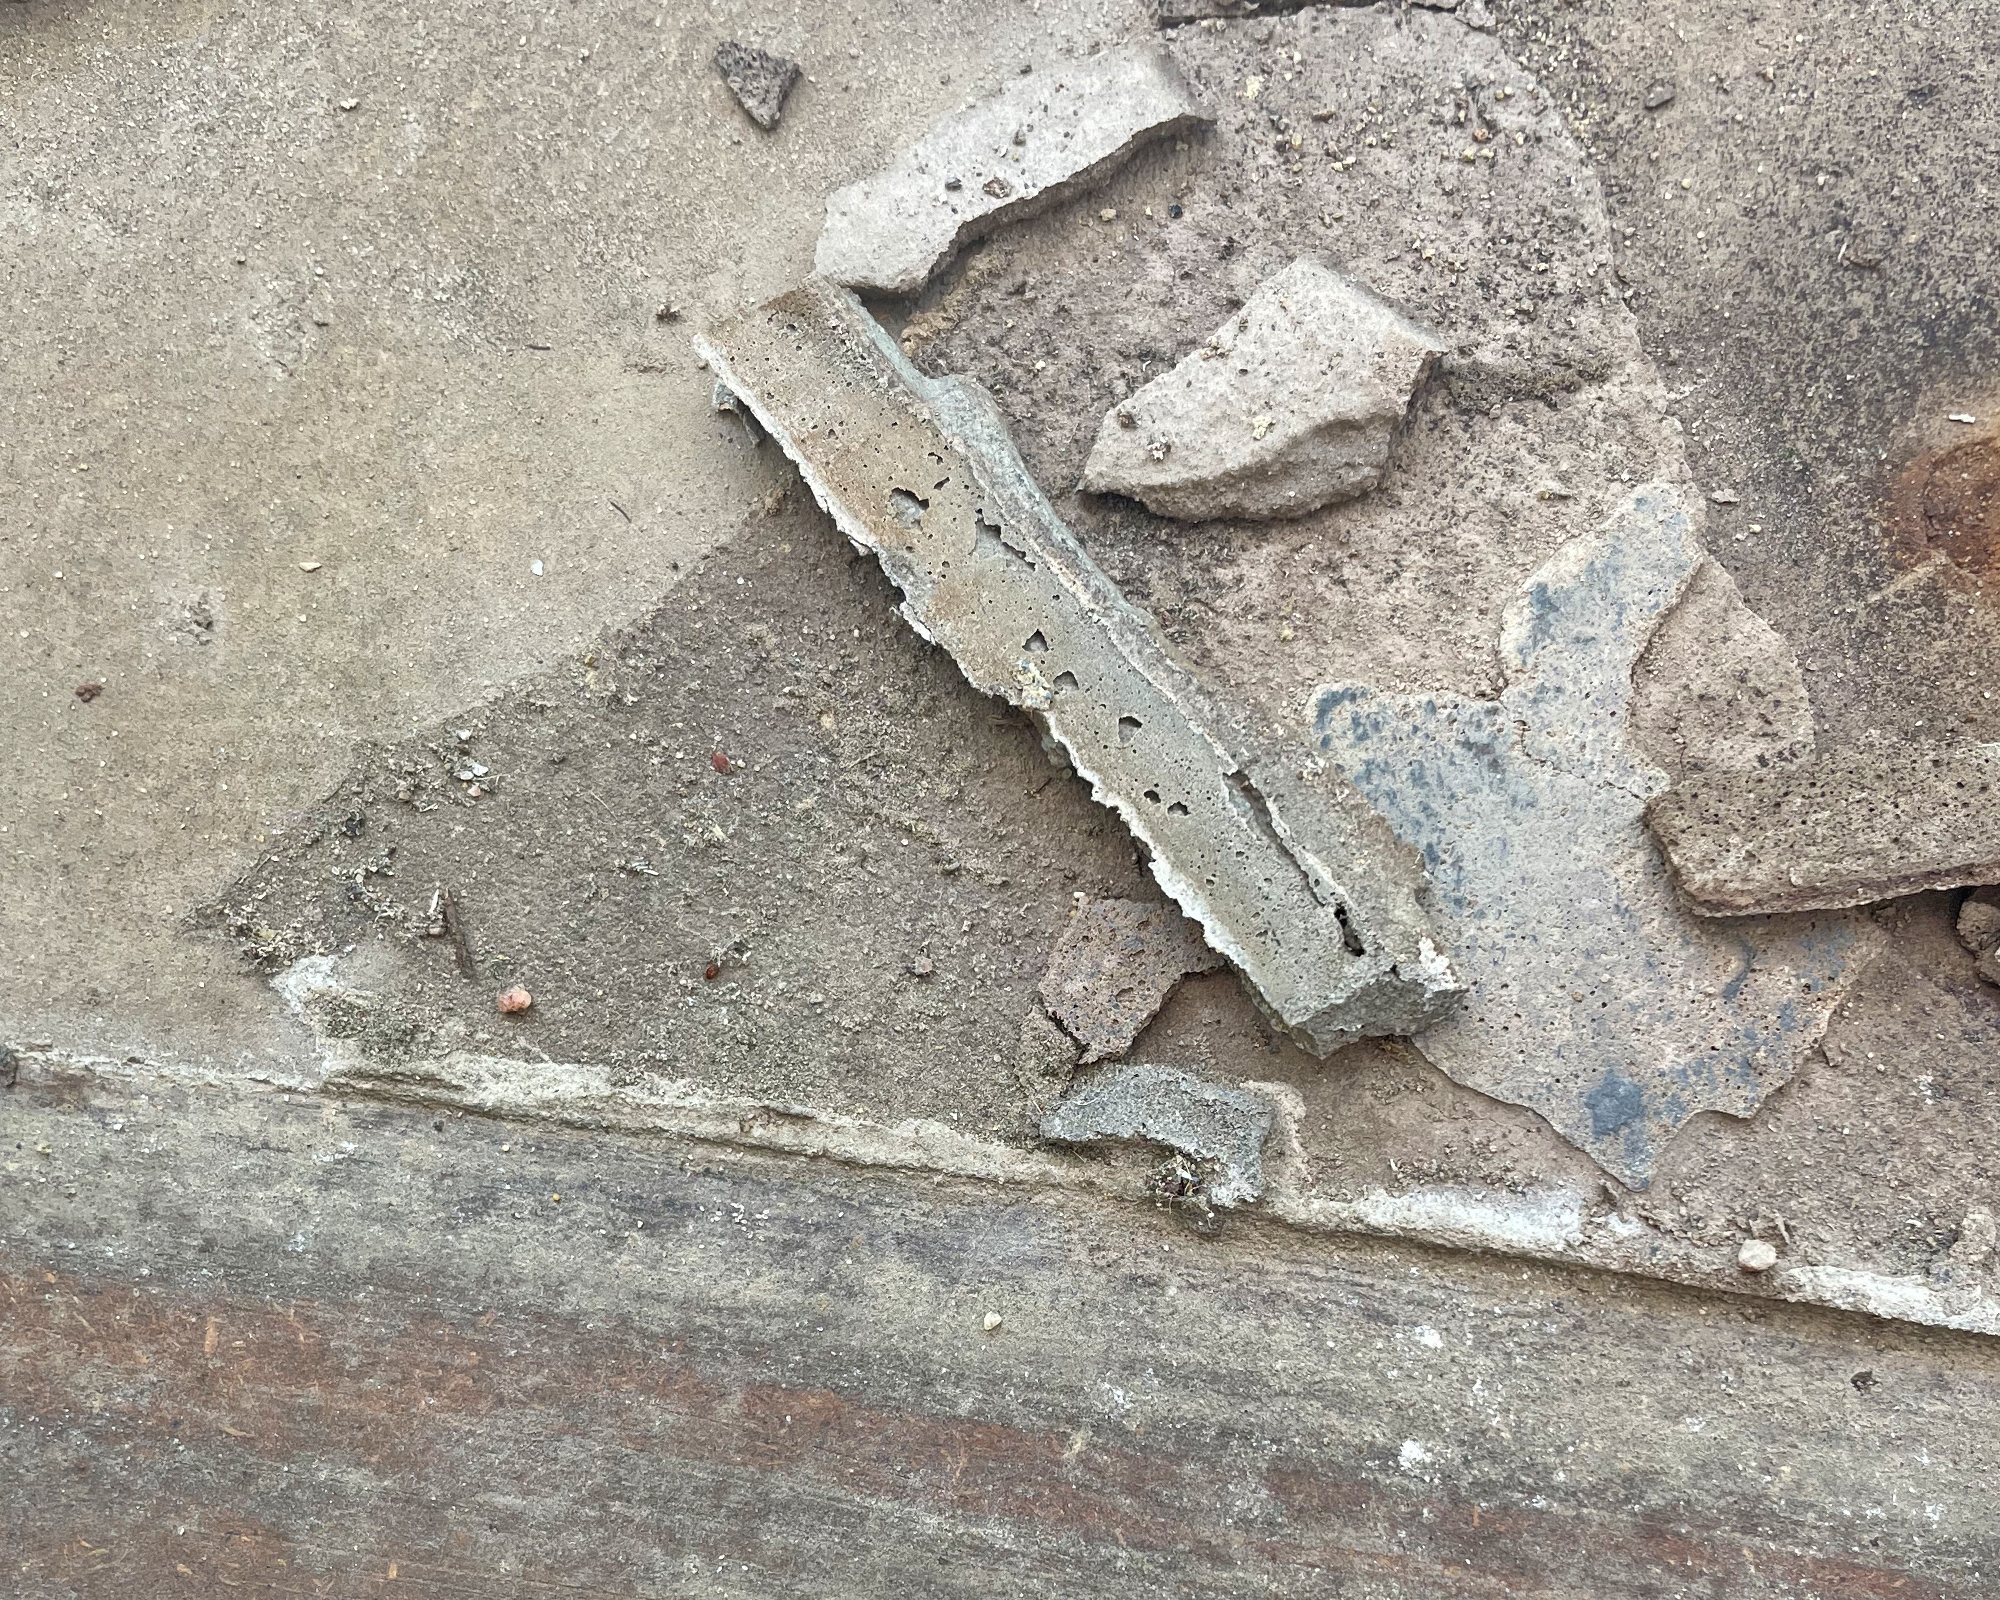
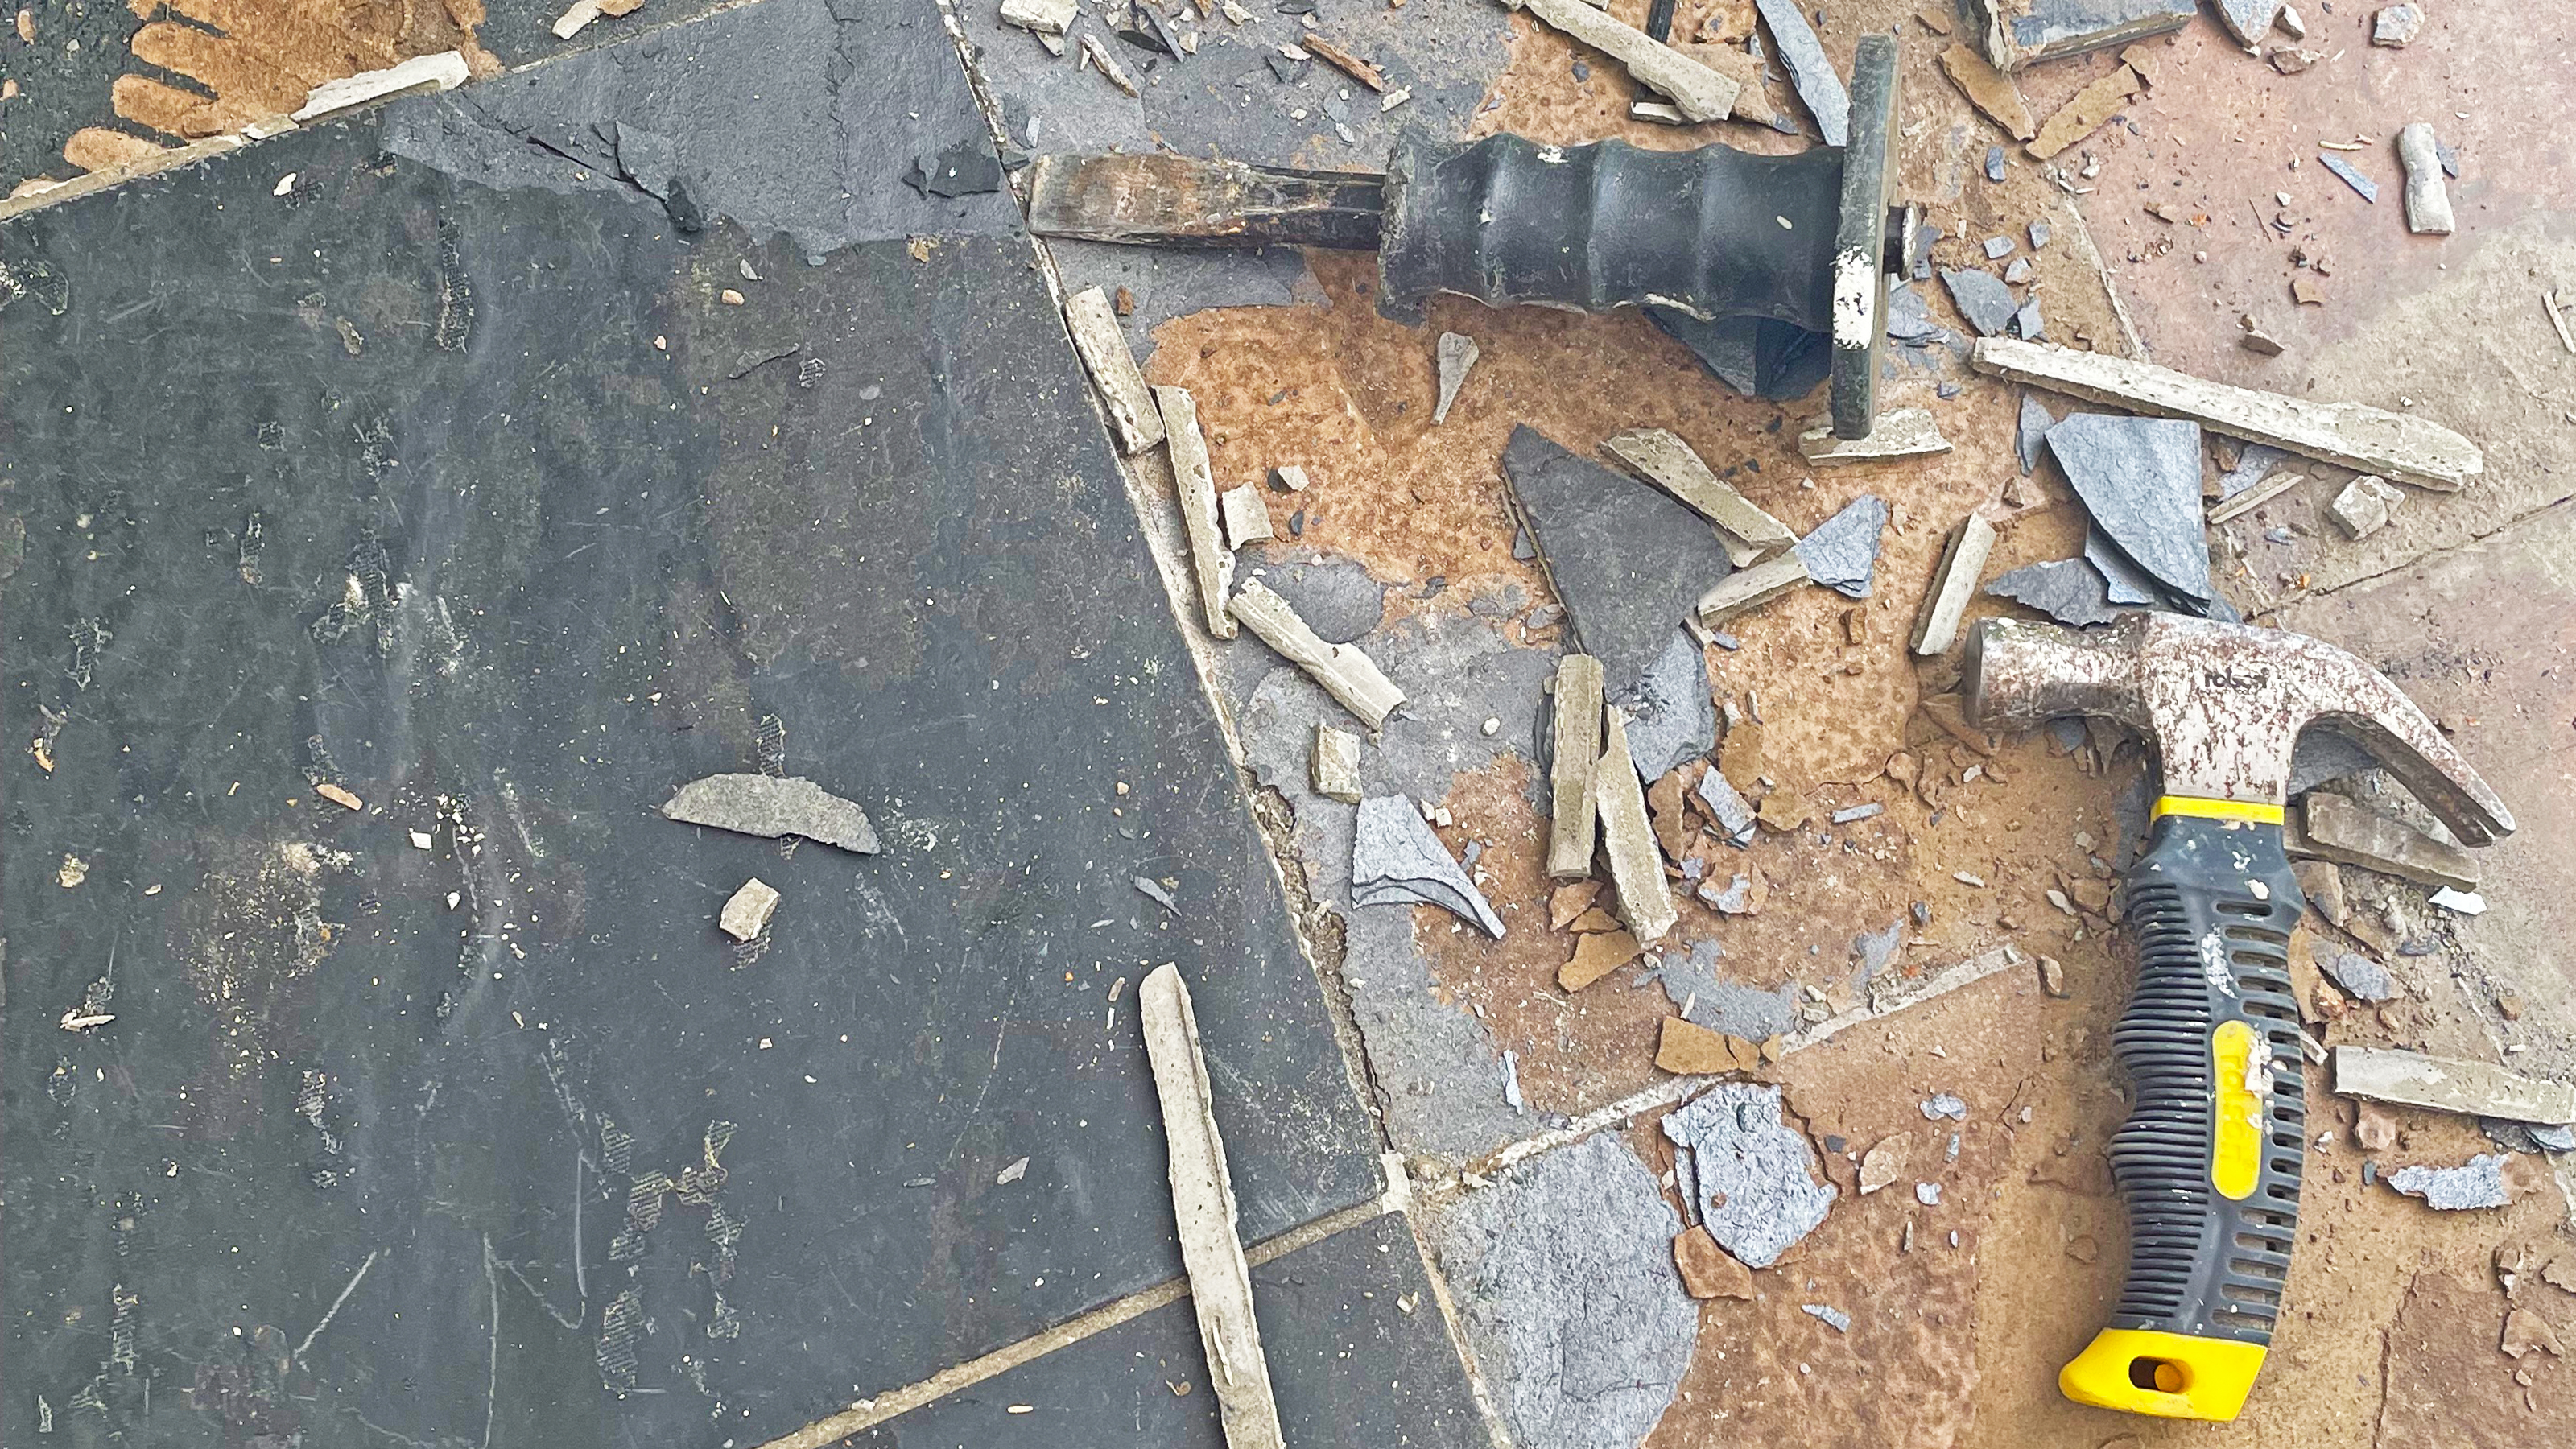
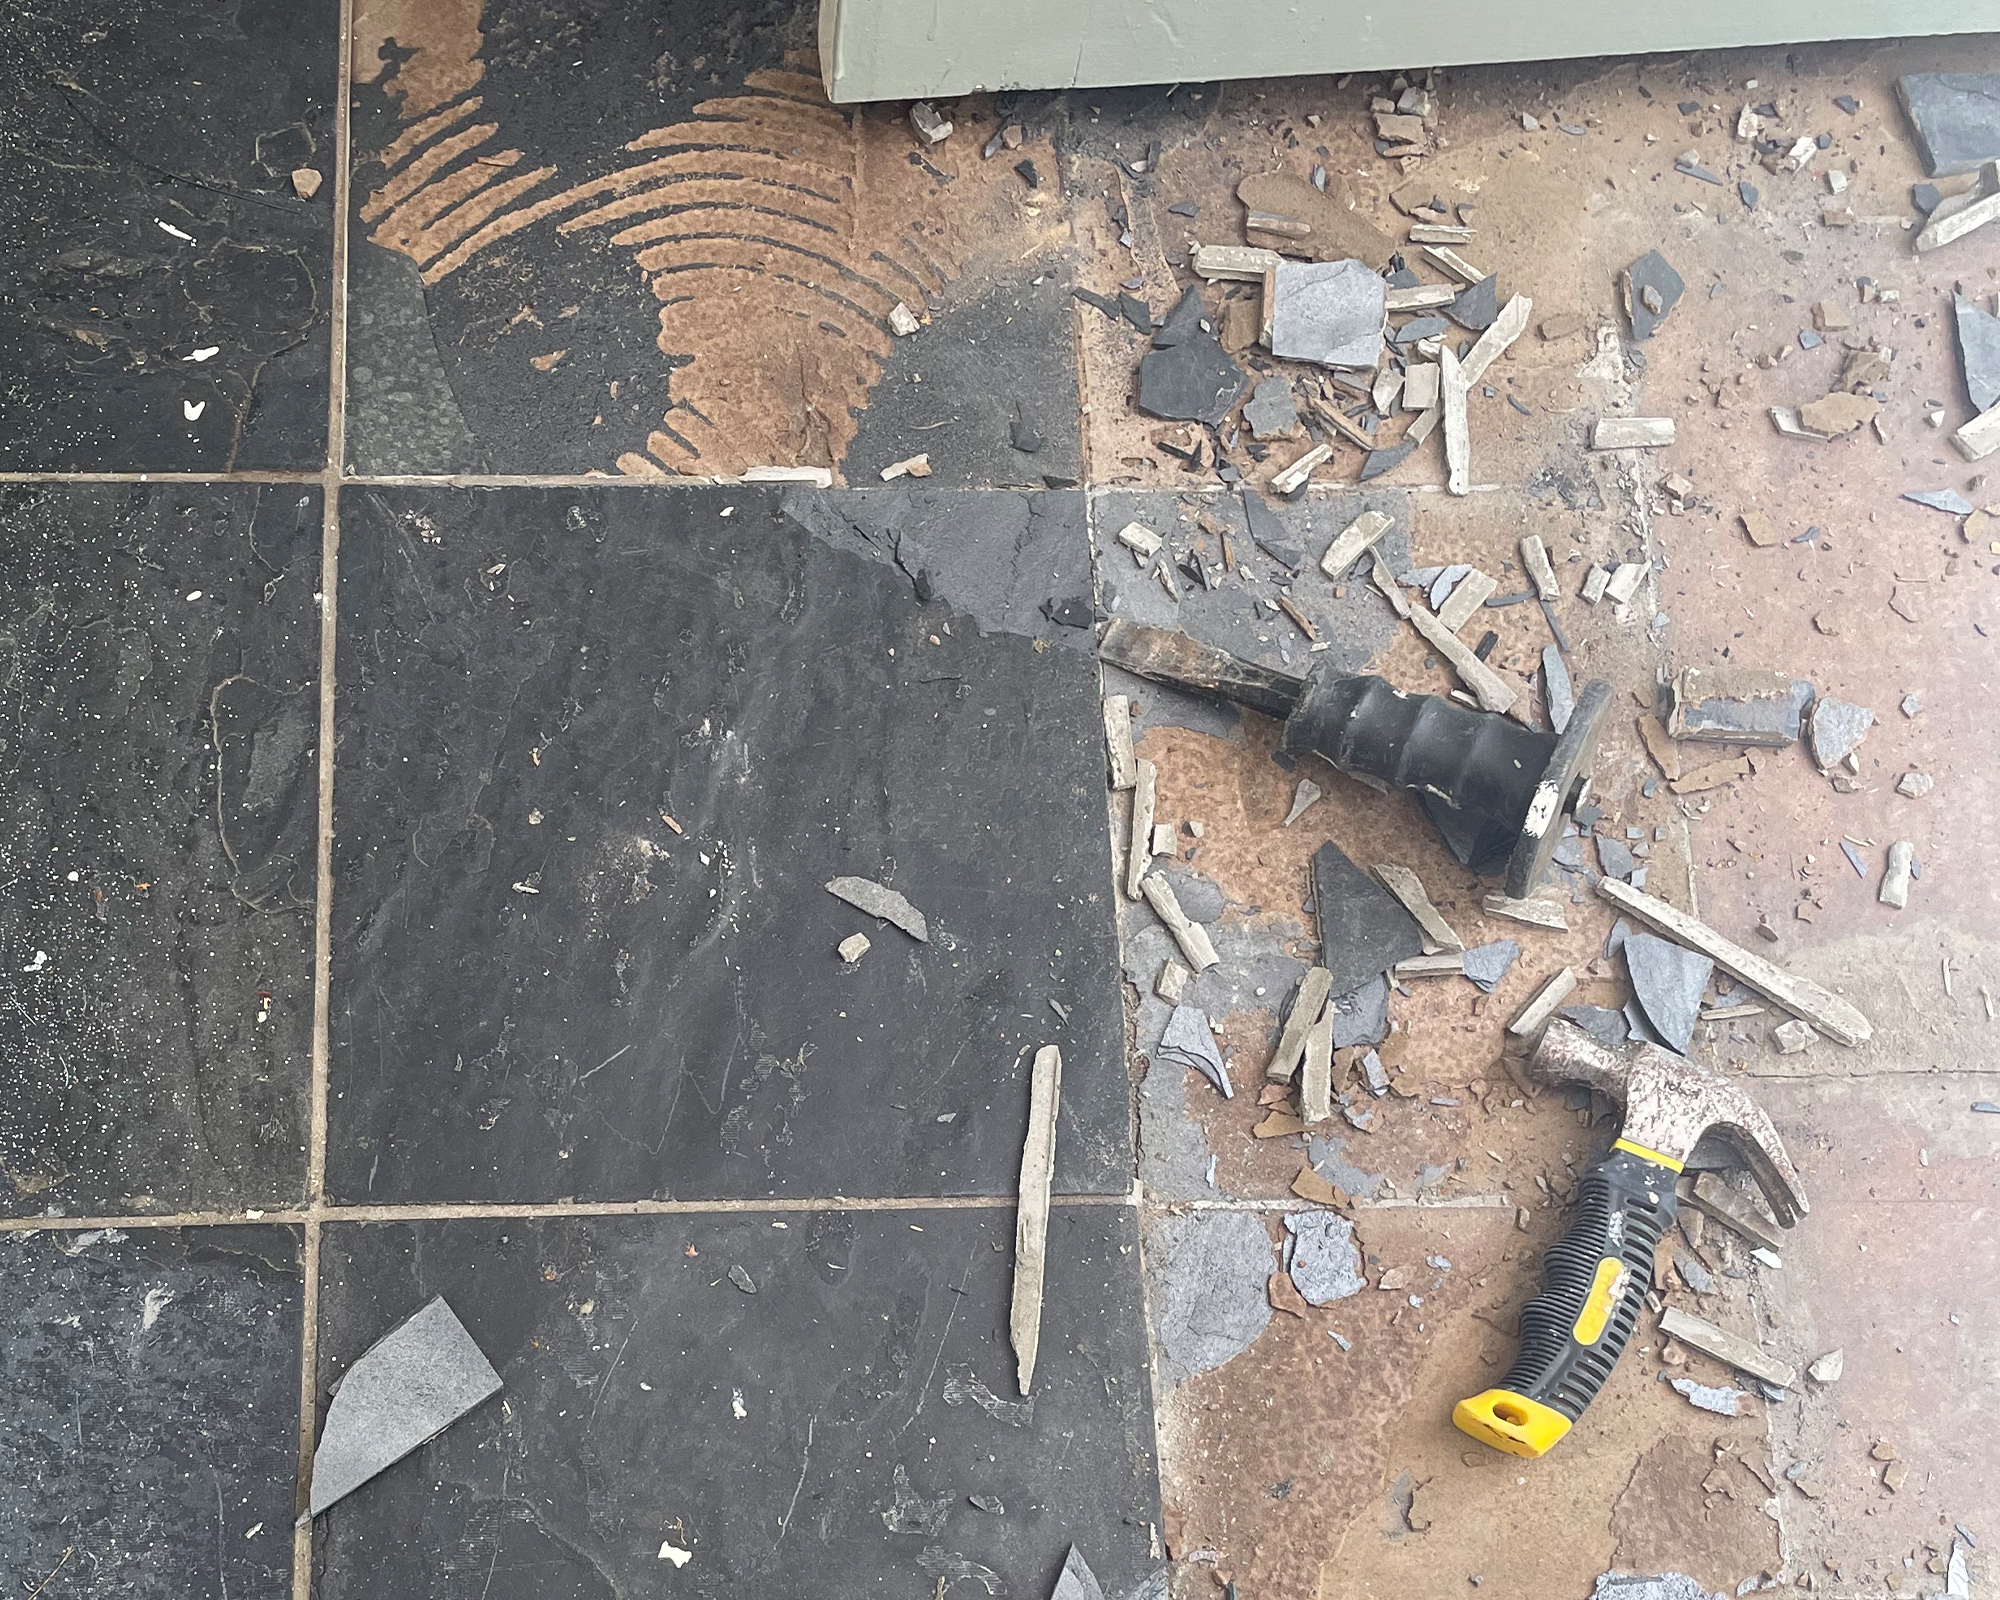
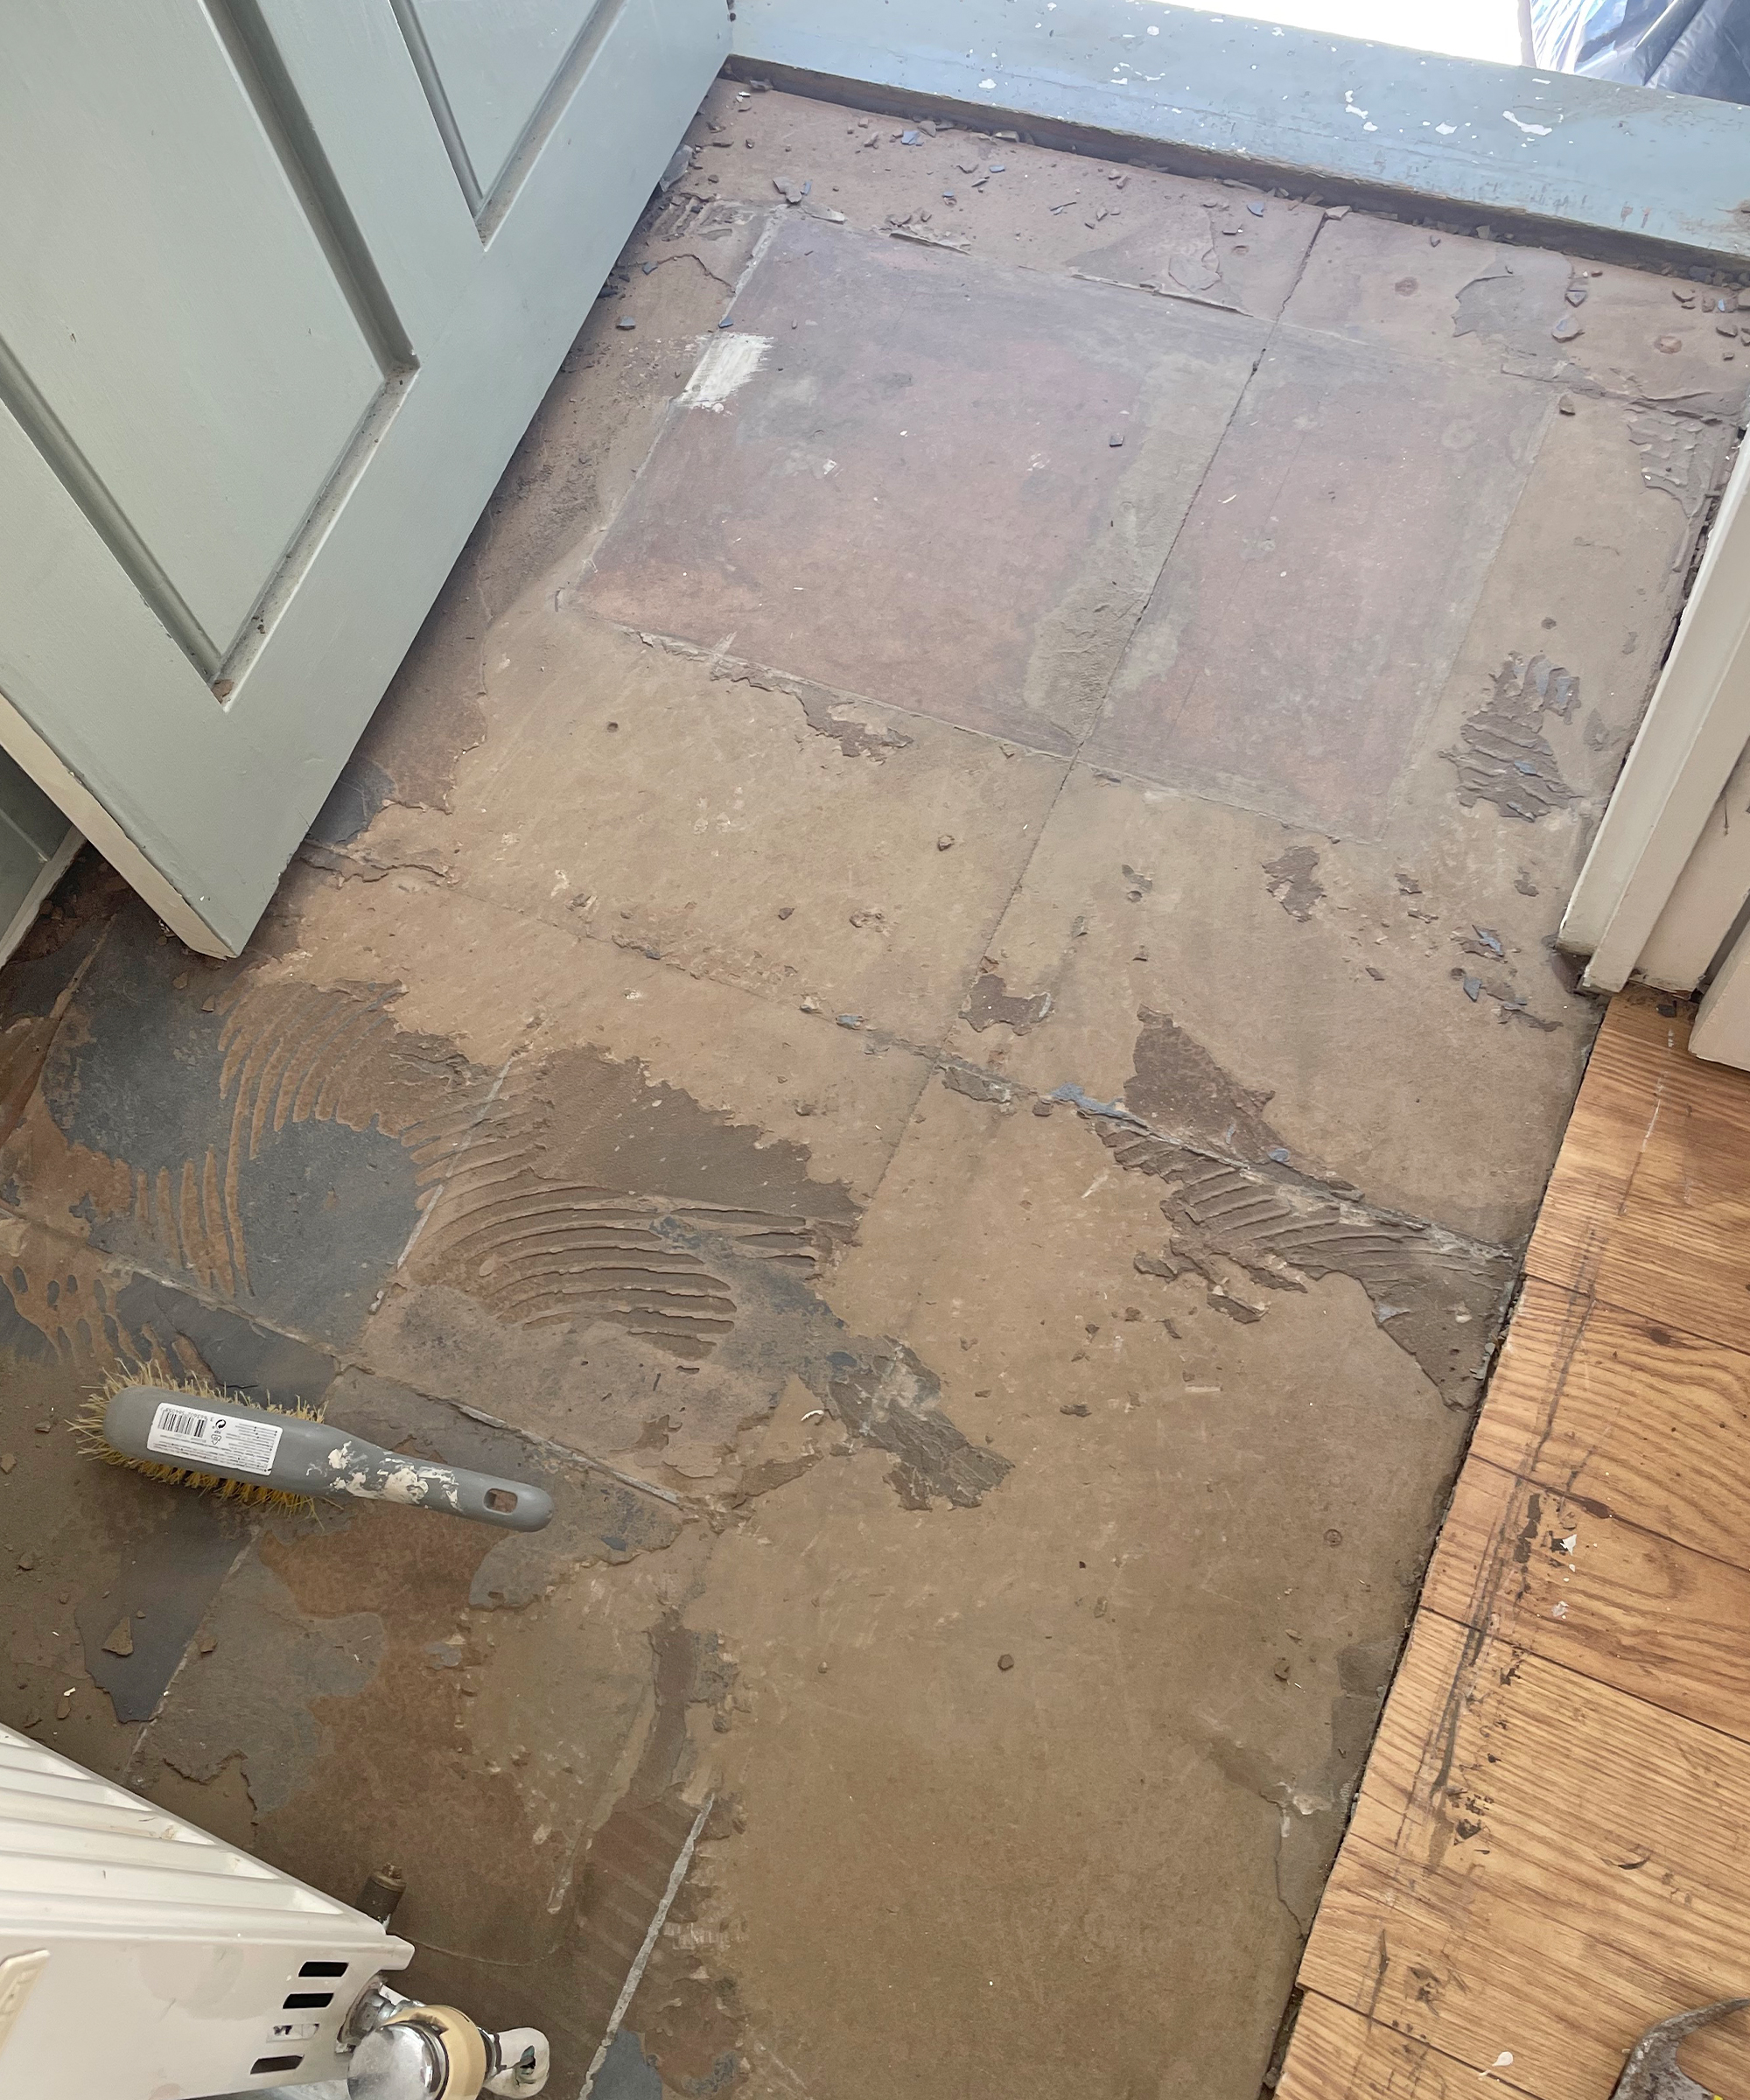
Once you have removed all the tiles you might find there is tile adhesive residue stuck to the sub-floor that needs to be removed. Large chunks of tile adhesive can be removed by positioning your chisel adjacent to the affected area and hammering the end, this should dislodge from the floor, if not immediately, then on the second or third attempt. Once complete you should sweep up the debris and hoover any remaining dust. Then you are all set for the next stage of your flooring project.
How to remove a single cracked floor tile
If a single tile has become damaged in your floor and you had the foresight to keep some spare tiles just in case, then follow these steps… cover the adjacent tiles to reduce the risk of damage. Remove the grout around the damaged tile with a hammer and chisel or Dremel tool, taking care not to damage the surrounding tiles then hammer the cracked tile to break it enough to get the chisel in and lever out a section.
Clean the surrounding floor tiles before replacing the missing one and regrouting.

I'm happiest when I have either a drill or paintbrush in my hand! I specialise in room transformations on a budget and love experimenting with different styles and techniques which I share on my Instagram. I believe that your imagination, not your budget, should be the limiting factor when transforming a room and I love thinking of creative ways to build custom and bespoke-looking furniture using flatpacks or upcycle finds.
I also love writing and my home improvement blog (ClaireDouglasStyling.co.uk) is my passion project where I share creative ideas for interior styling and DIY tips and tutorials.