How to find a stud in a wall: with or without a stud finder
Essential reading before you drill a hole or hang a picture


Want to add some va va voom to your walls but not sure how to put up your stuff? Sick of looking at those pictures that you keep meaning to hang? Worried about screwing in your screw to the wrong thing and it all going a little awry, well fear not, it isn't as scary as it sounds!
You probably know that you need to check a few things before you drill or hammer anything into your walls. Are you avoiding wires and pipes, for one, but also are you securing it safely? For the most secure fixings, you're going to need to therefore know how to find a stud in a wall.
Read on to learn all about this simple step of many DIY projects.
What is a stud?
Well, first off, what's a stud? No, I'm not referring to Danny Zuko from Grease, in fact, a stud is slightly less dazzling than that (but arguably a lot more useful!). A stud is a vertical beam that supports your house frame. Think of a wall before it has the drywall on it. It is essentially a wooden frame with a series of studs running from floor to ceiling that support the frame.
Studs are usually spaced 16 to 24 inches apart (40 or 60 centimeters in the UK). This standard spacing is super useful when you’re trying to find a stud as you can start to identify a pattern and work out where the next one is in the line.
Because studs are made of thick and sturdy wood (or sometimes) metal, they can securely hold screws better than wall materials like drywall so if you want to hang anything fragile or heavy, you want to find the stud to hang it on! This is good to know for shelving or if you are hanging a mirror.
There are a number of ways to find studs, you can use a special tool called a stud finder (there are a few different types of those) or you can find them without using a one which could be a little more tricky. I've broken down both options below so you can see which is best for you.
Get small space home decor ideas, celeb inspiration, DIY tips and more, straight to your inbox!

How do you find a stud using a stud finder?
A stud finder kind of does what it says on the tin, but there are a few types and you use them in different ways so I've outlined the differences below.
1. Magnetic stud finders
Magnetic stud finders like this one from Studbuddy identify the stud by finding the metal fasteners attaching the stud to the drywall. They have a magnet in them that detects metal and alerts you once the magnet is attracted to the metal fastener. Because of this, they aren't super reliable. Although they’re cheap to buy and easy to use, the metal isn’t guaranteed to be attached to a stud and, in addition, they don’t find the center point of studs, they just tell you where the metal is and so they are less reliable than other types.
There are a couple of types of magnetic stud finders:
Stationary magnetic stud finders:
1. The magnet is fixed and so to use this, hold it against the wall and move it back and forth in a zig zag fashion;
2. When it sticks to the wall you've found your stud (or at least some metal)
3. You can either mark it with a pencil or leave the stud finder (which is magnetic and so will be stuck to the wall) as your marker.
Moving magnetic stud finders:
In this case, the stud finder has a “box” inside it, where a magnet is free to move, which makes for more accurate results and means that the magnet will start to move towards the metal when you place it near to the wall rather than you having to scan the whole space. These stud finders also have stronger magnets meaning they more easily detect studs (or metal) covered by plaster.
2. Electronic stud finders
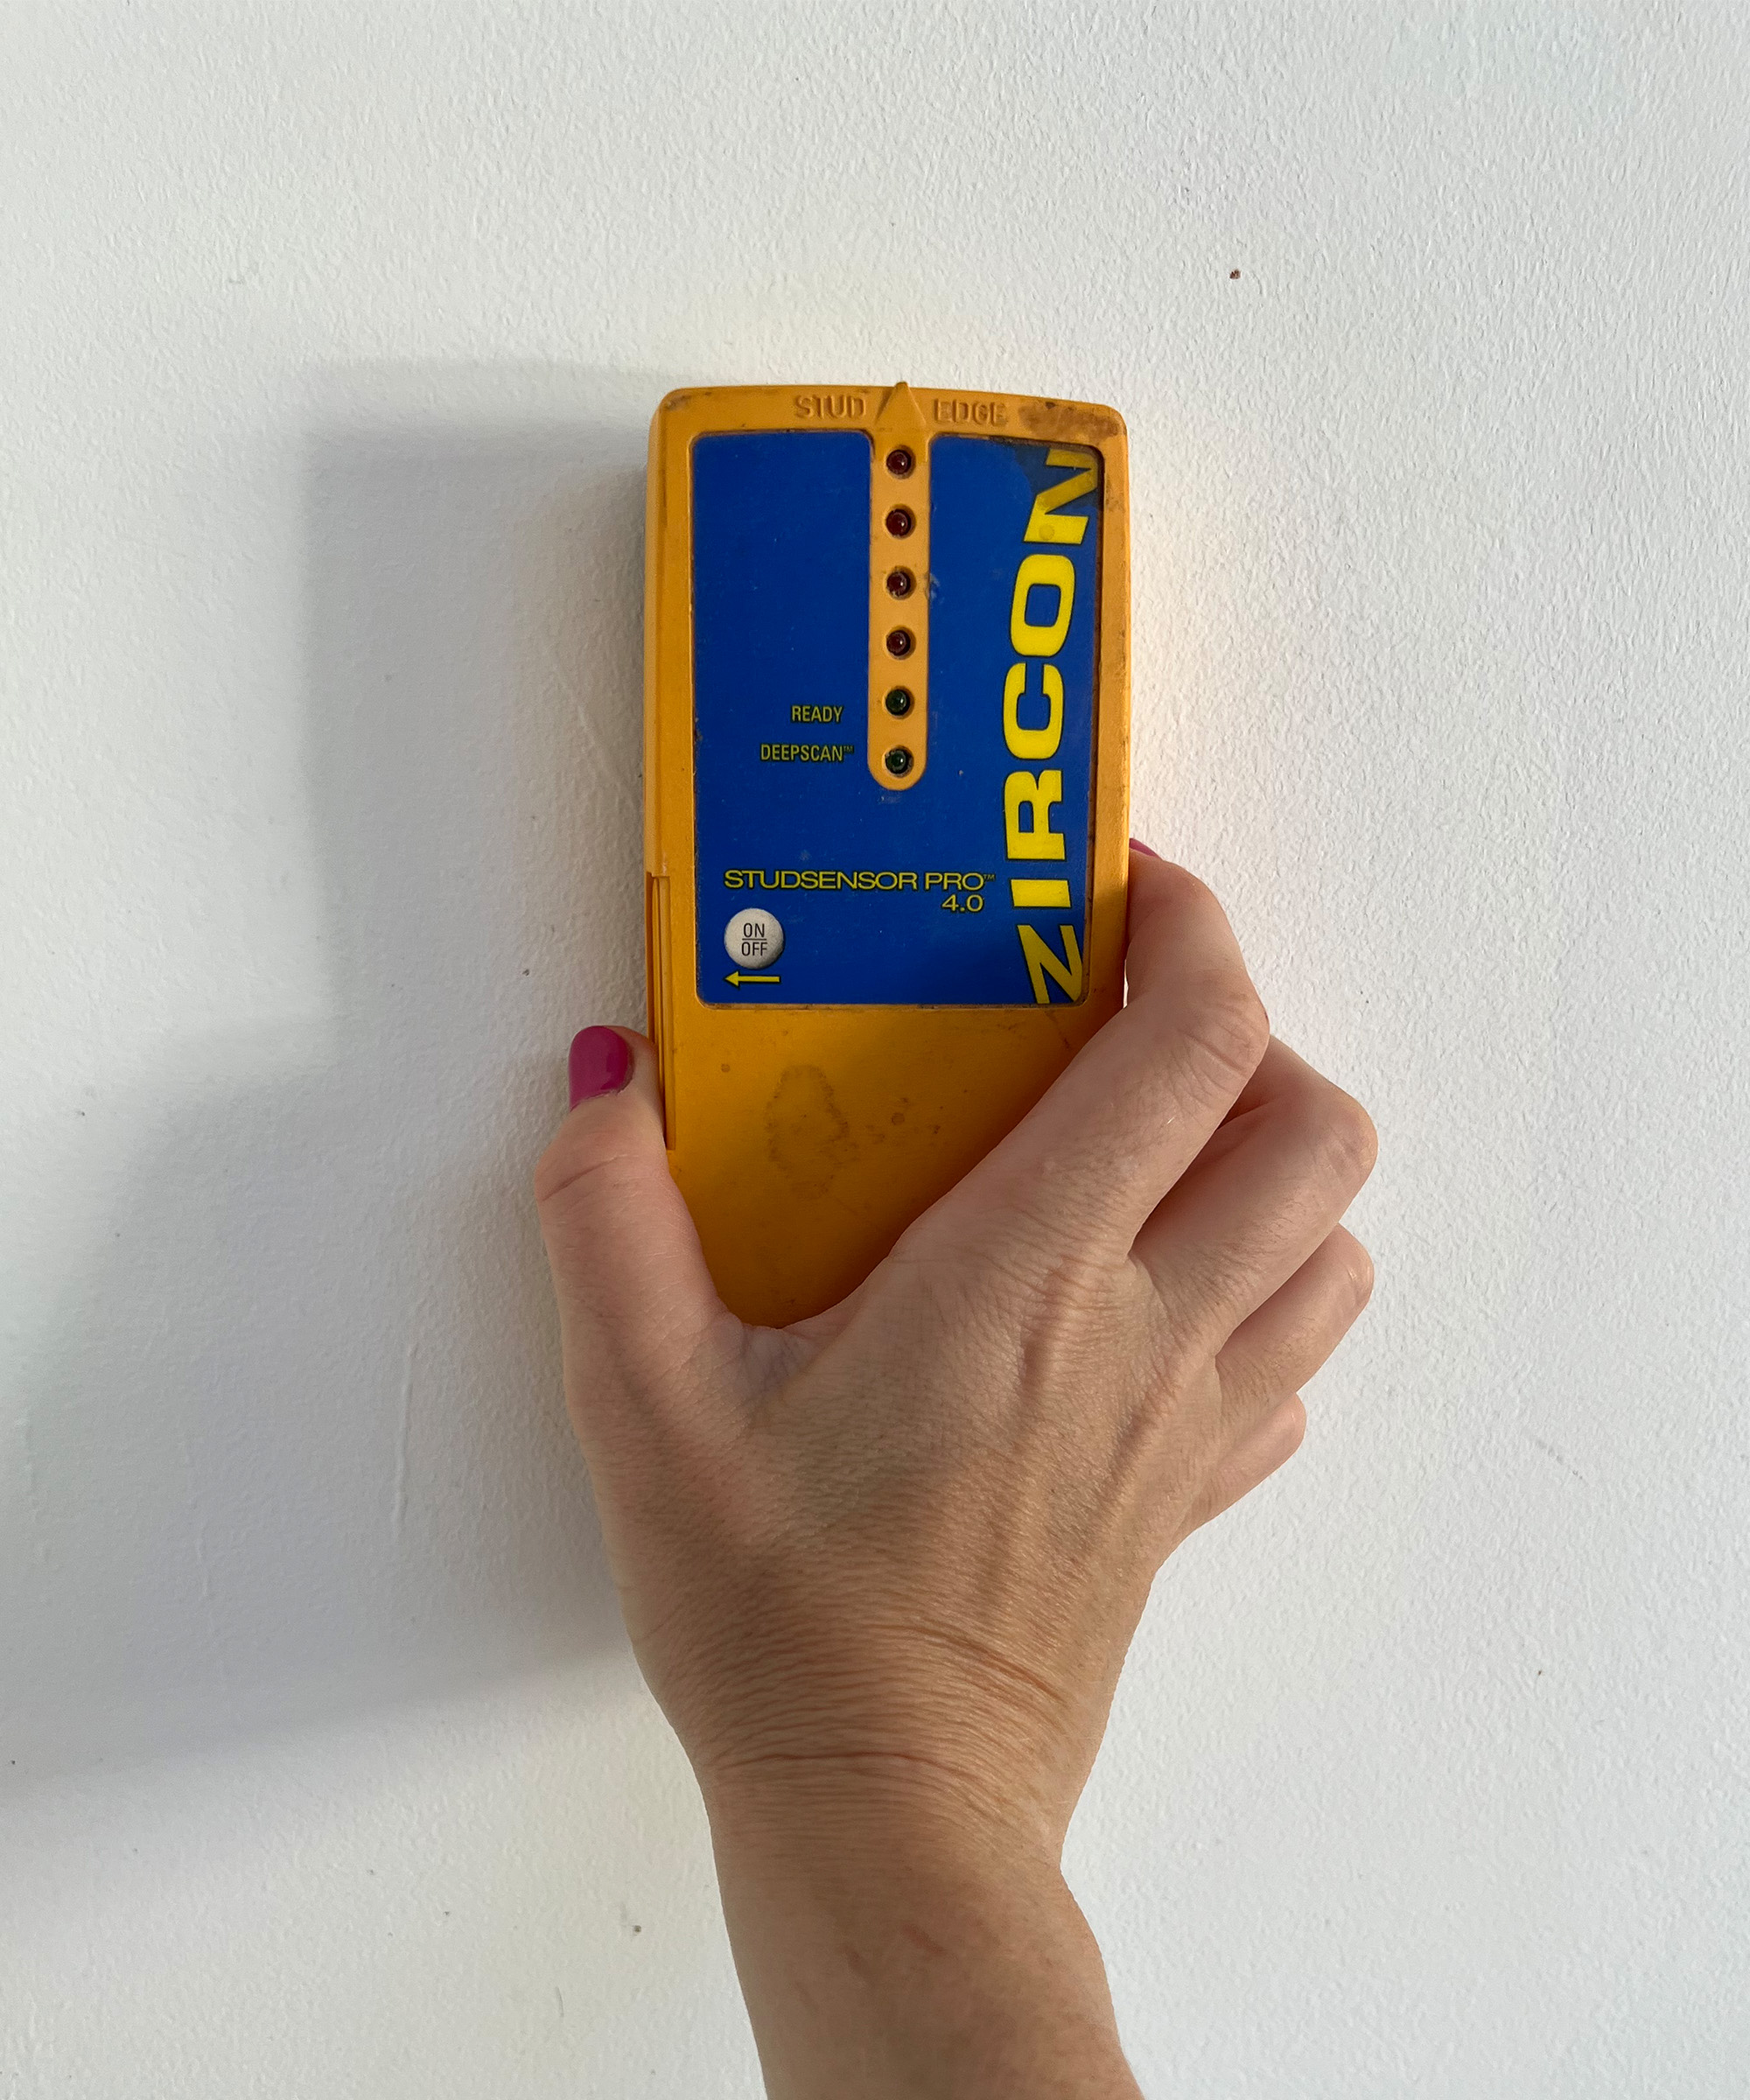
These battery powered stud finders (like this one from Zircon) rely on sensors that detect changes in the dielectric constant of the wall. What that actually means is that they in essence sense changes in the density of the wall (for example going from a hollow area with no stud to a more solid area with a stud).
You press a button on the stud finder which creates a magnetic field that sends feedback to the device when density changes; the device then signals (usually by a beep or light) that there is a change in density, indicating there’s a stud.
Some electronic devices find the edge and others find the center or whole stud so you can choose what works best for you. The advantage over magnetic stud finders is that they find the actual stud rather than metal. You do however have to move quite slowly to use them and it can be a little tricky to track the beep and mark it in the exact place.
In addition, they can’t tell you what type of material is behind the wall. There are three types of electronic stud finders; edge finders, center finders and instant stud finders.
Edge stud finders:
1. Hold it flat against the wall around 20 inches (50 centimeters) to the left of where you want to drill;
2. Slowly slide it to the right and when it lights up or beeps, slowly go back over the last few centimeters to make sure you know where the light or beep happened (and therefore where the stud is);
3. Make a mark;
4. To find the right side, repeat the process but move the stud finder to the left.
Centre finders:
Center finders are easier to use, they use two sensors at a time to detect the center on the stud, you therefore only need to move the stud finder one way and because studs tend to be the same space apart, once you have found the center of the beam it tends to be easy to find the other studs.
Instant stud finders:
Instant stud finders have a bunch of sensors (around 10 to 15) and don’t need to be moved at all to find studs. You simply place them on the wall and they can analyze 50 square centimeters of surface at a time, detecting studs and areas without studs. They are much higher end and tend to be more expensive so not recommended for a one-time use.
3. Radar or laser stud finders / wall scanners
The latest technology, like this JAXWQ stud finder actually uses radar to detect the stud, so it can detect when something’s behind the wall, plus guess what material it’s made out of. Neat huh?
Different materials use different radio waves in different ways and so the stud finder uses complex algorithms to analyze the waves and indicate which material it has identified. It can identify wood, metal, PVC and electric cabling. Not only that but they work through concrete, marble and tiles up to two and a half inches (six centimeters) thick as well as drywall and plywood. Using them is pretty simple, you need to select the material type then place it on the wall to scan it and it will flag where it detects a stud.
4. A stud finder on your phone
Of course you can get a stud finder on your phone, it's 2022!
How does that work?! Essentially you attach a scanning device to your smartphone and run it over the wall then when it finds a stud it shows a picture of it. Some apps even claim to scan without an attachment. Though they can detect things well and give a visual representation, they can be expensive and the app-only ones can be unreliable and at worst, risky as they’re known to be associated with malware so overall, could be one to avoid.
Some basic steps to guide you through using any stud finder
- Calibrate the stud finder, most have a calibrate button that you need to hold down to recalibrate and ensure you get correct results
- Place the finder at the height you want to hang your item, make sure the area is clean and clear
- Your stud finder may have an activation button so press this down and move it as described in the categories above; if you are moving the stud finder across the wall then be careful not to lift it or shake it as you will need to start again because it will impact the reading
- At some point, the stud finder will emit sound or light to signal presence of a stud , if you are worried about the reliability of the detection (i.e. if you are using a magnetic stud finder and want to be sure it is a stud and not another piece of metal) then you'll want to check whether it is really a stud. To do this, go up and down the area to see whether it is a continuous beam (remember that they run from floor to ceiling)
- You can also check to the right and the left of the area. If your stud finder flags up another detection spaced roughly the distance studs should be (16–24 inches), then it is likely that you have found another stud, giving you a pattern of studs and more certainty that you are finding studs rather than anything else in the wall
- Once you have your stud then you can mark it with a pencil and prepare to hammer or drill as needed
So what if you haven't got a stud finder?
You have a number of options, though admittedly, none of them alone are as reliable as using a stud finder so you may want to use a few combined.
1. Use a magnet
This is a similar method to using a magnetic stud finder, if you run a strong magnet like this Neodymium one across the wall and it sticks then the likelihood is that you have found a screw. Beware because this comes with the same challenges as using a magnetic stud finder.
2. Follow the outlets

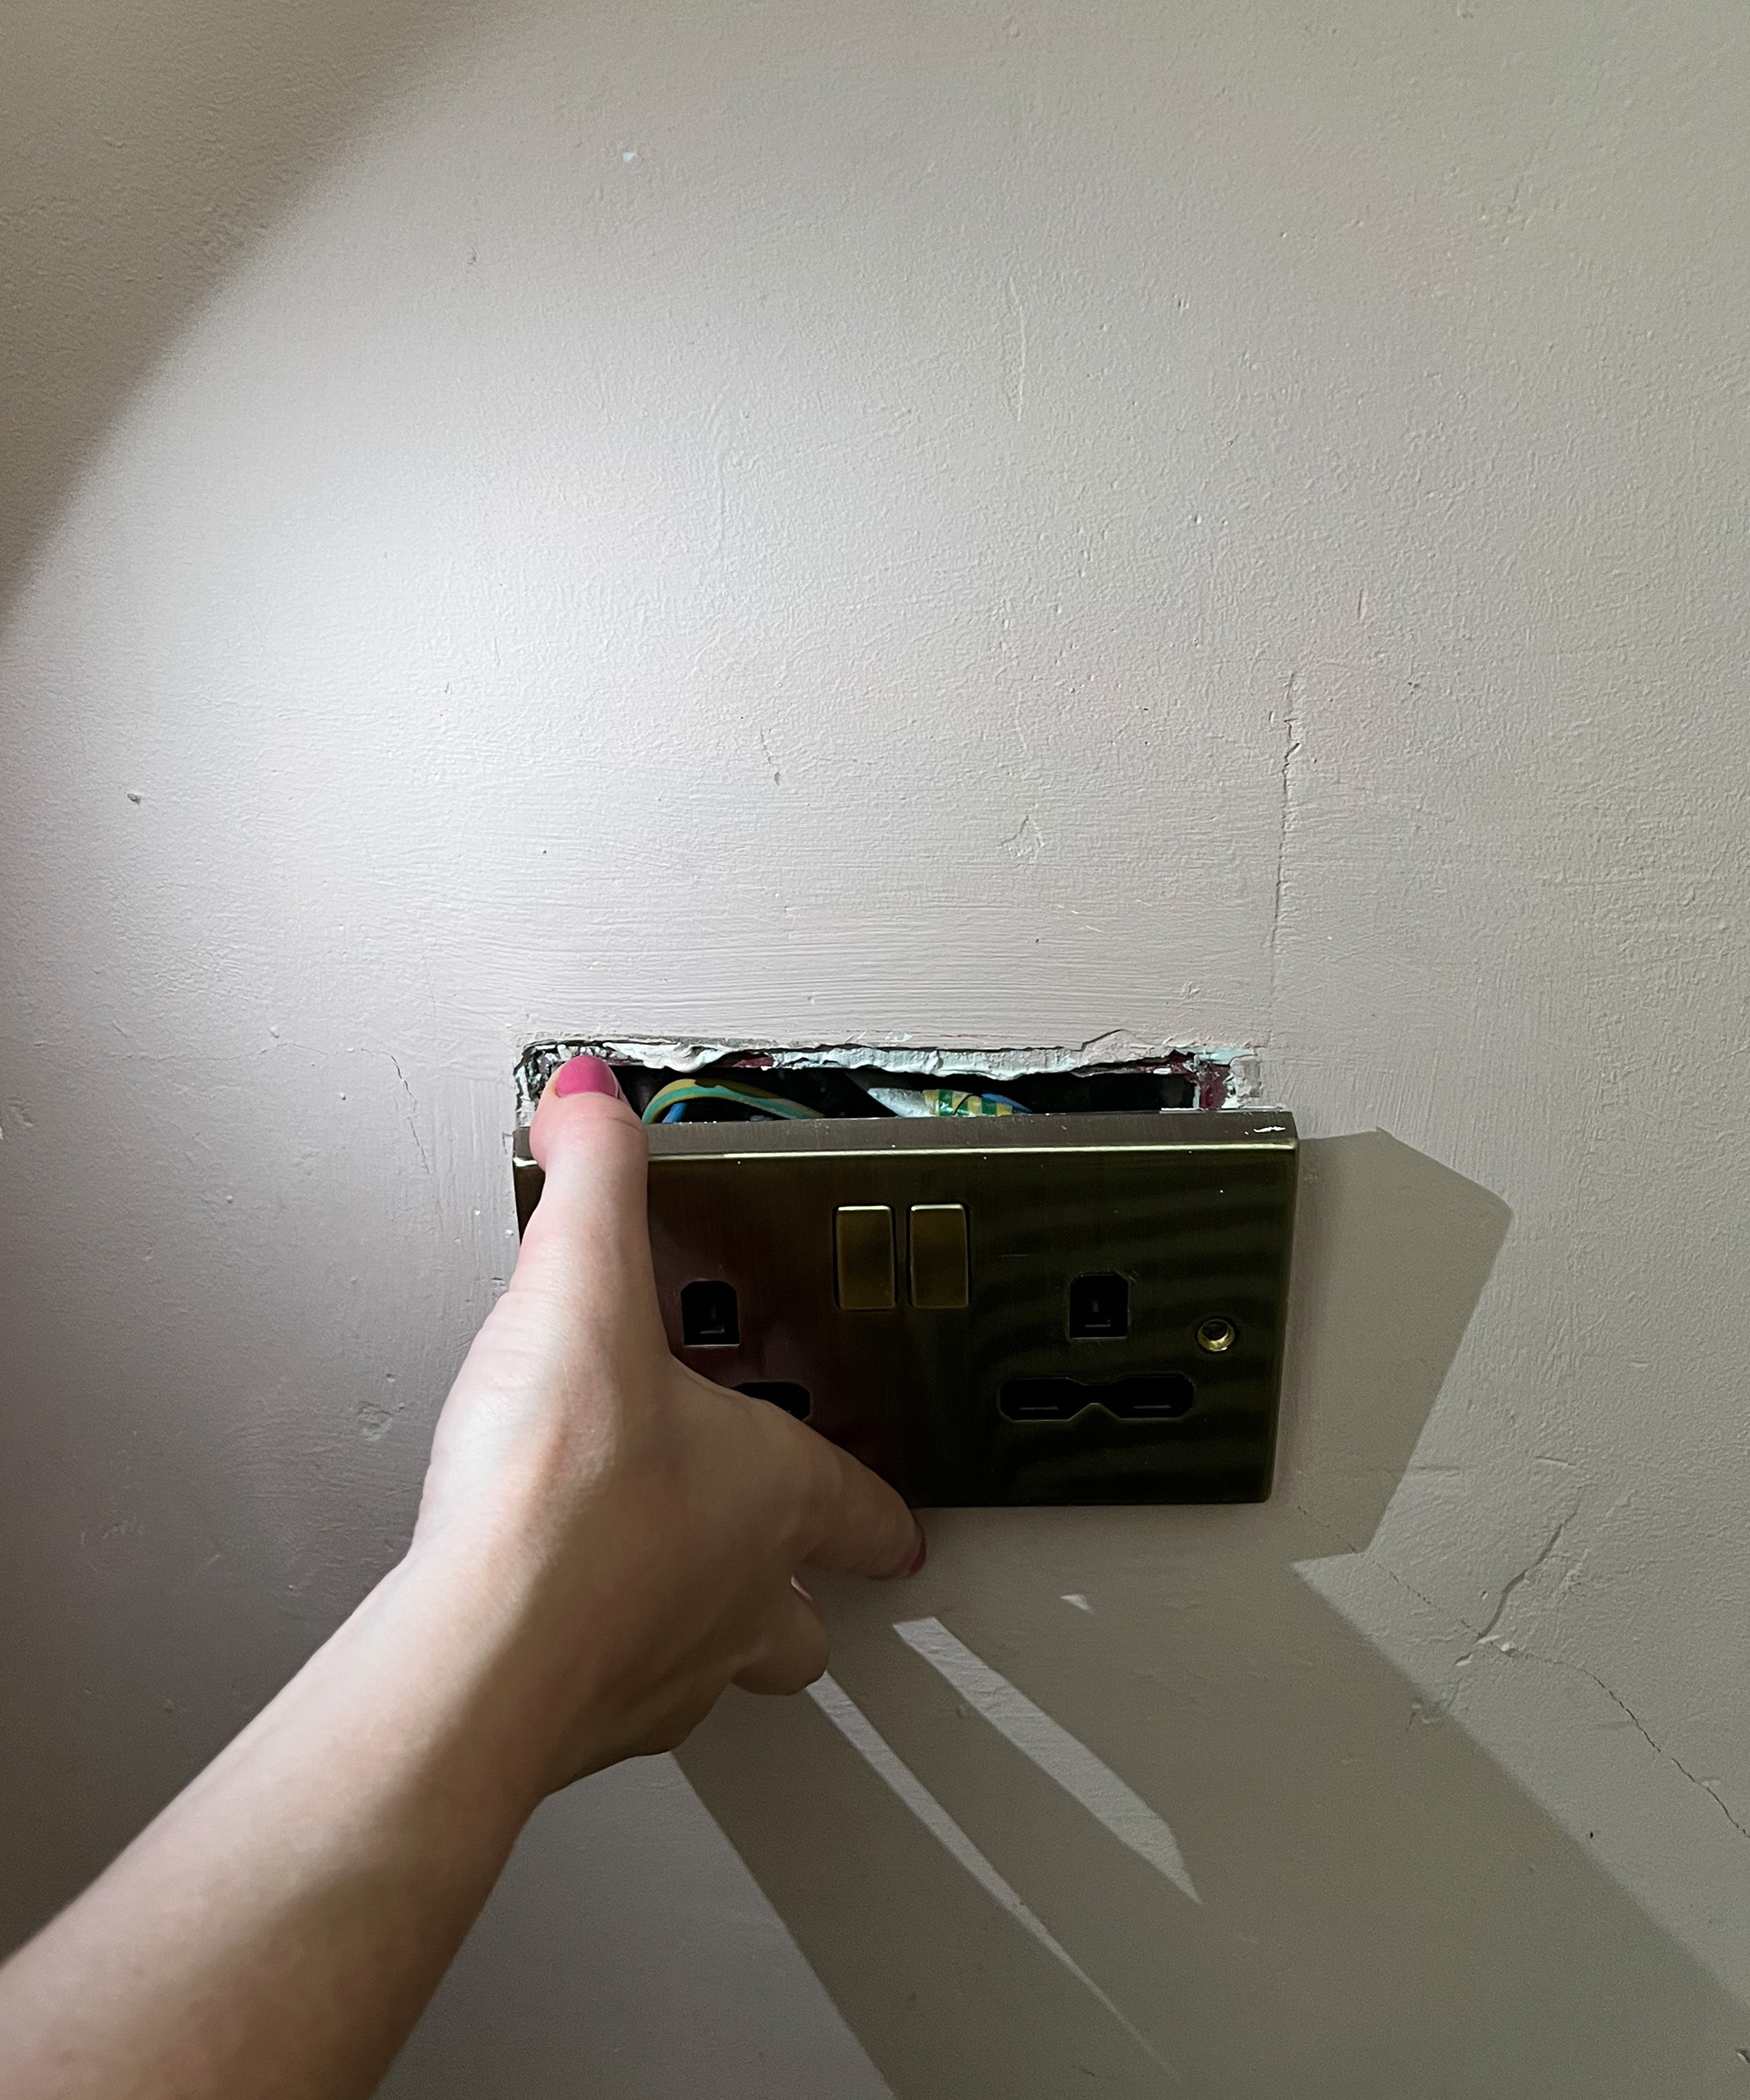
Light switches or outlets like this lovely brass one from Amazon are usually fastened to studs so following these outlets can be an excellent guide. You can remove the cover and have a look inside with a flashlight or the light on your phone so that you can see which edge of the stud is attached to the box.
Once you've worked that out then you can measure two centimeters out from this, which should give you the center of your stud. If you need to hang an item but don’t want to hang it in that location then you could use the initial stud as a guide and combine this with one of the other methods that we've talked about here (e.g. using a magnet or tapping the walls) to find the next stud.
3. Give the wall a tap

Knocking on the wall will give you a pretty quick indication of where you do or don’t have a stud. Start at the edge (or at an outlet like we've just discussed) and measure 16 to 24 inches out, then knock the wall at each point. If you hear a kind of hollow sound, that’s an area without a stud; something sounding more solid or higher pitched means that there is something behind the drywall, this is your stud!
4. Shine on!

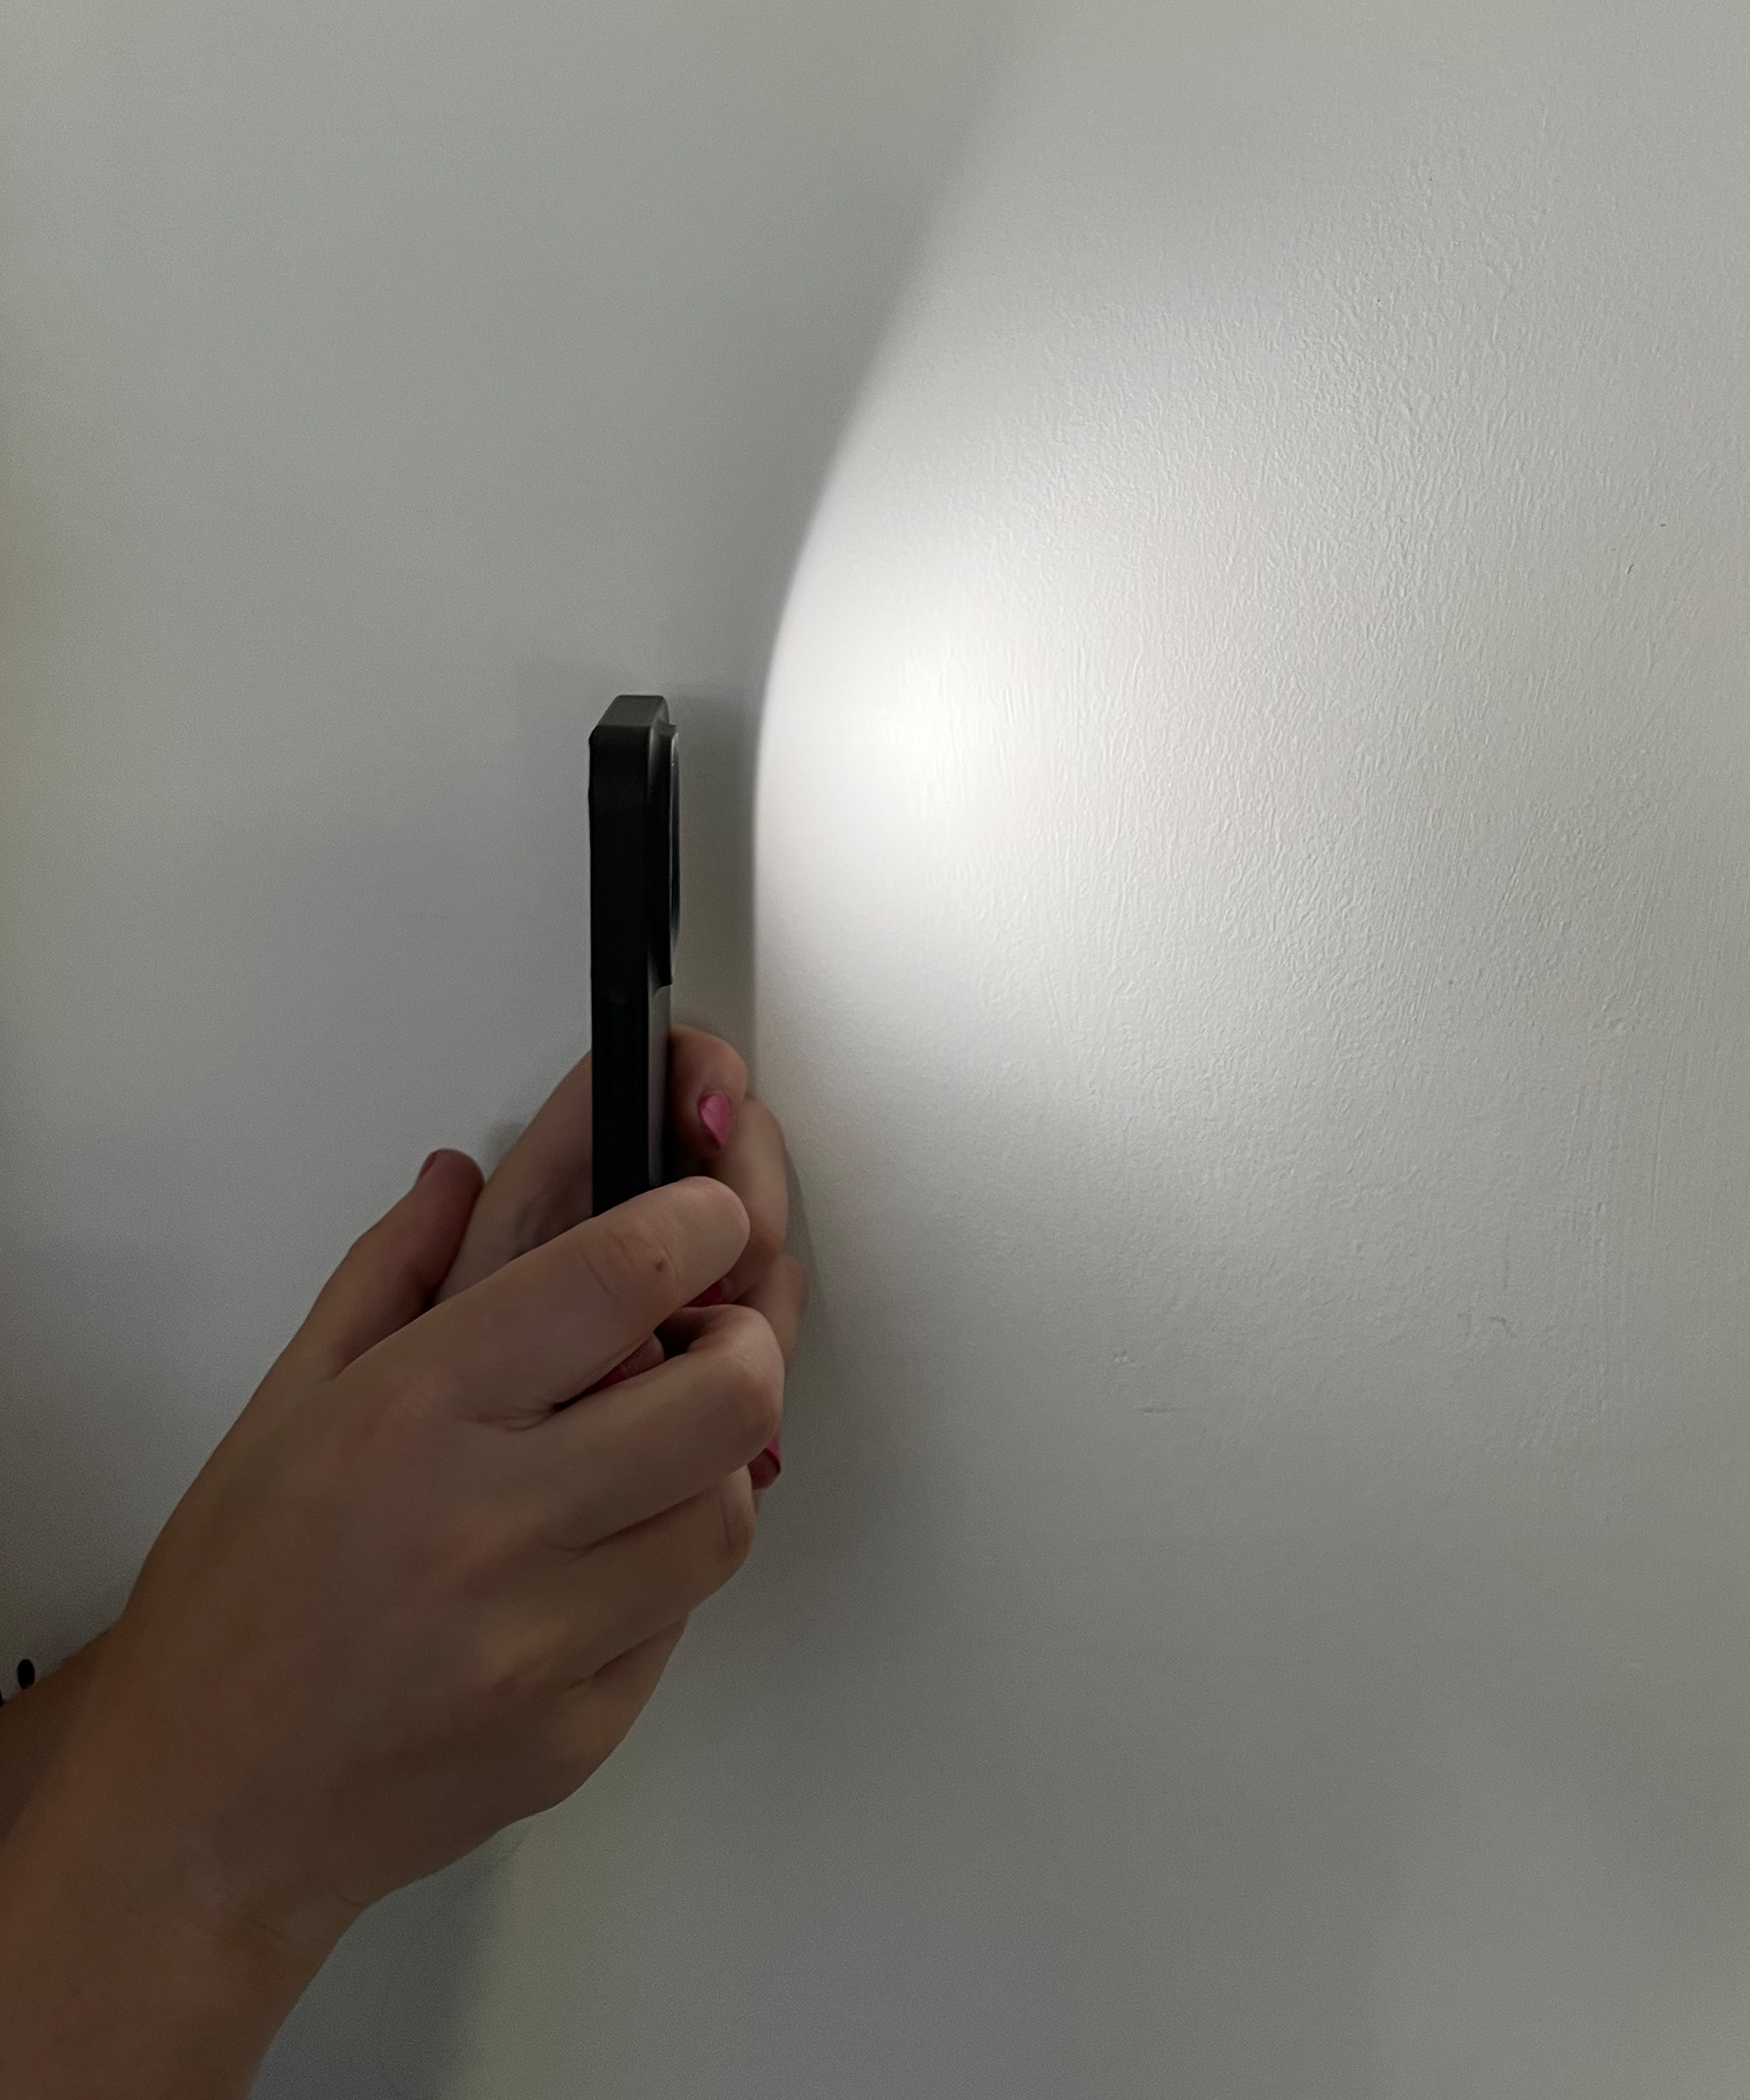
Crack out your flashlight like this handy GearLight one or use your phone and examine your wall. Any dimples in your drywall could indicate areas that the wallboard is attached to the studs. I would pair this with the knock test or another method above as there could be dimples in the wall for another reason so it isn't the most reliable method.
So what's the take-away?
In short, a stud finder is a good tool for the job. If you're going to invest in one but don’t want to break the bank then your best bet is to go for an electronic center or instant stud finder. If you don't want to invest at all then try a combination of the other methods to be sure you've found your stud before breaking out that hammer!

I’m a DIY and renovation expert from a family of renovators; it's in my blood! Renovation is my passion and I love sharing my knowledge, either through my Instagram renovation tips or my renovation course. I love seeing how it helps others build the confidence to create their dream home without it costing the earth!